How to prepare and store at home?
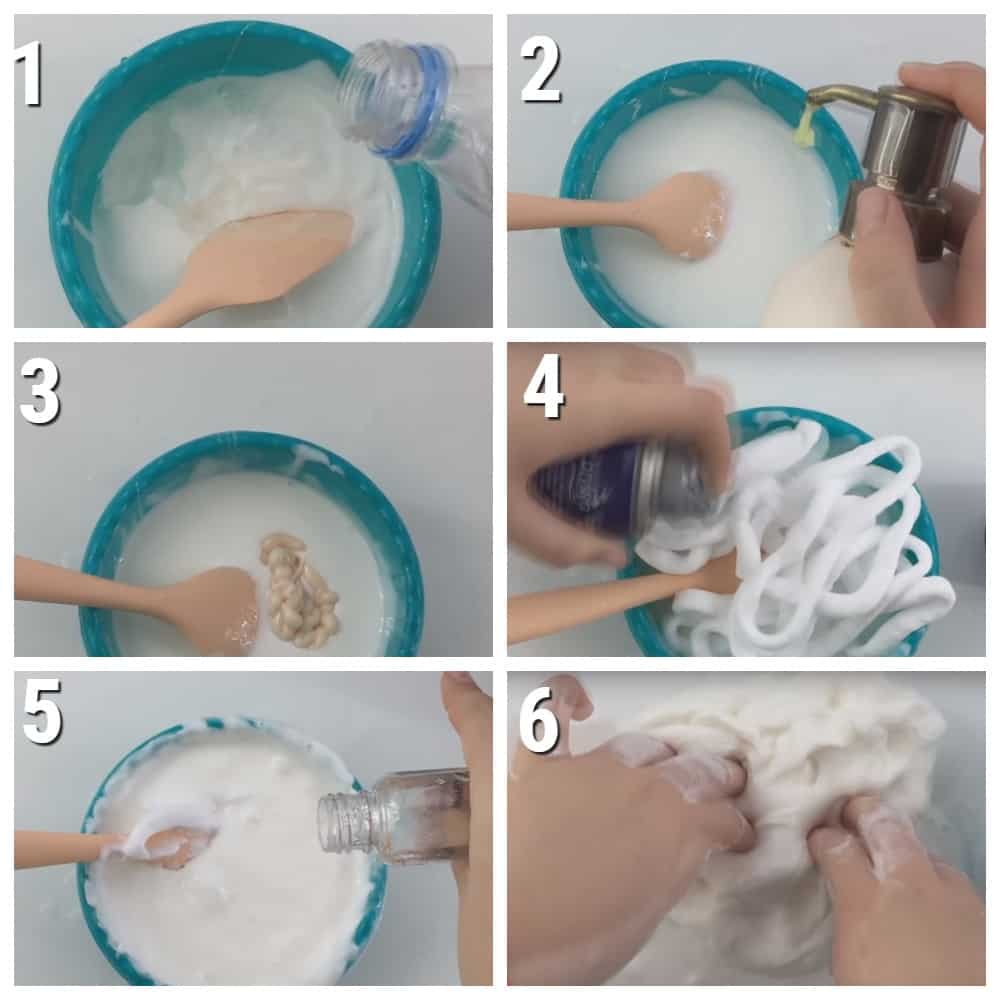
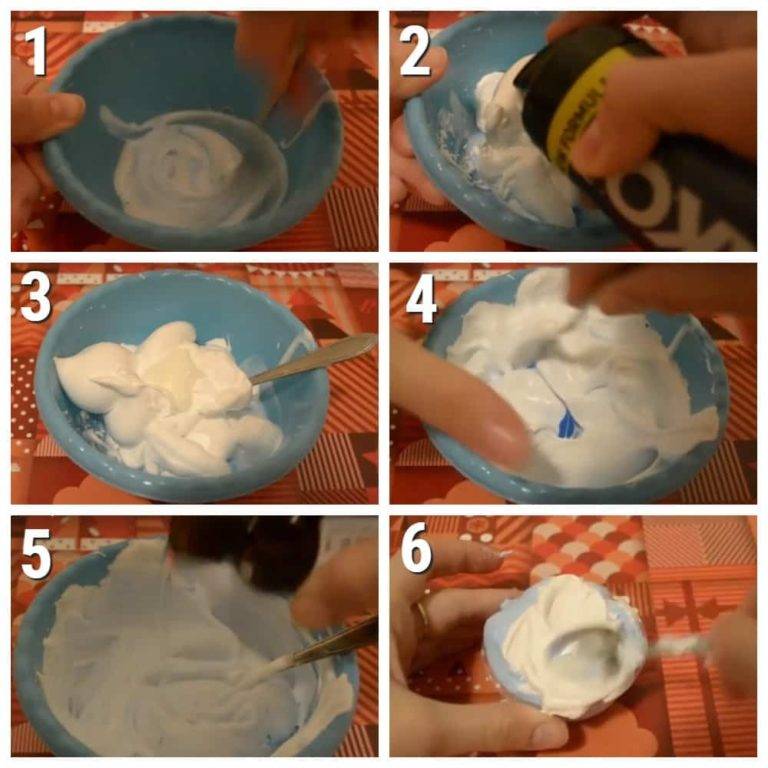
Master class on making ice slime at home:
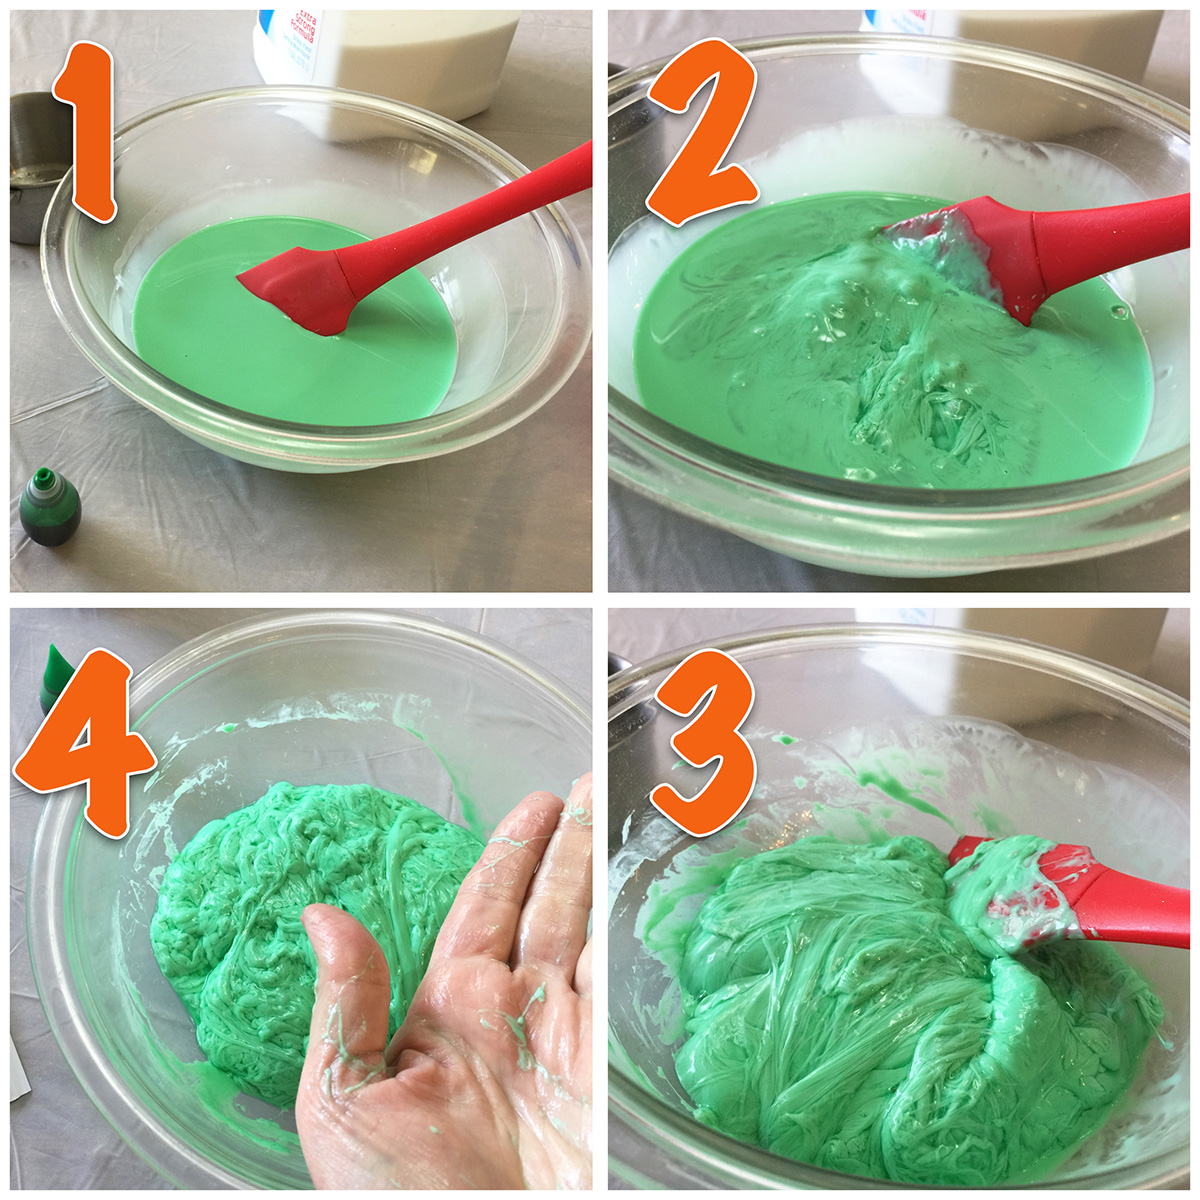
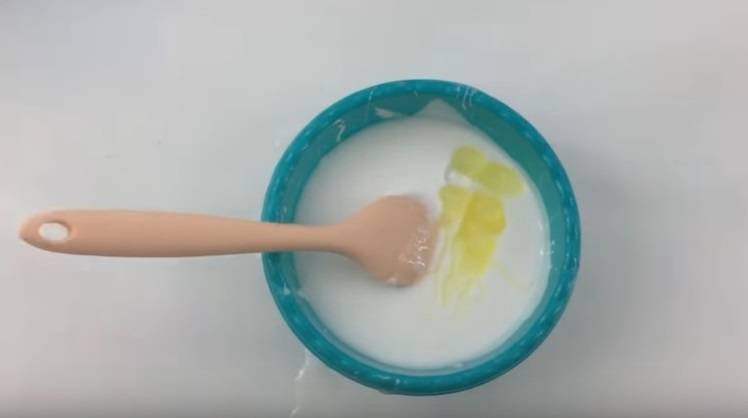
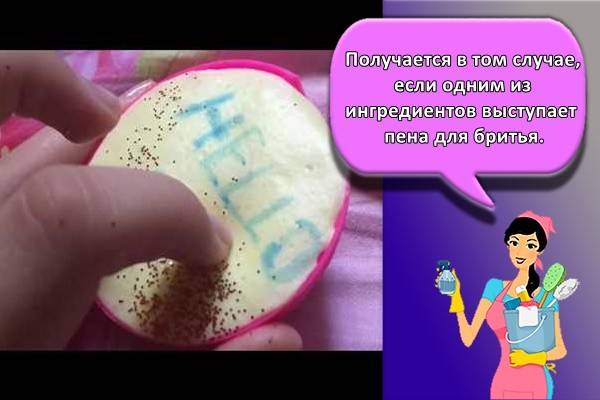
- Glue and shaving foam are poured into the container in a ratio of 1 to 3. High-quality slime is obtained from Domino's PVA office glue. Luch products are not suitable for him, because the product is too thin. Shaving foam should not be replaced with mousse or styling gel. They have different components.
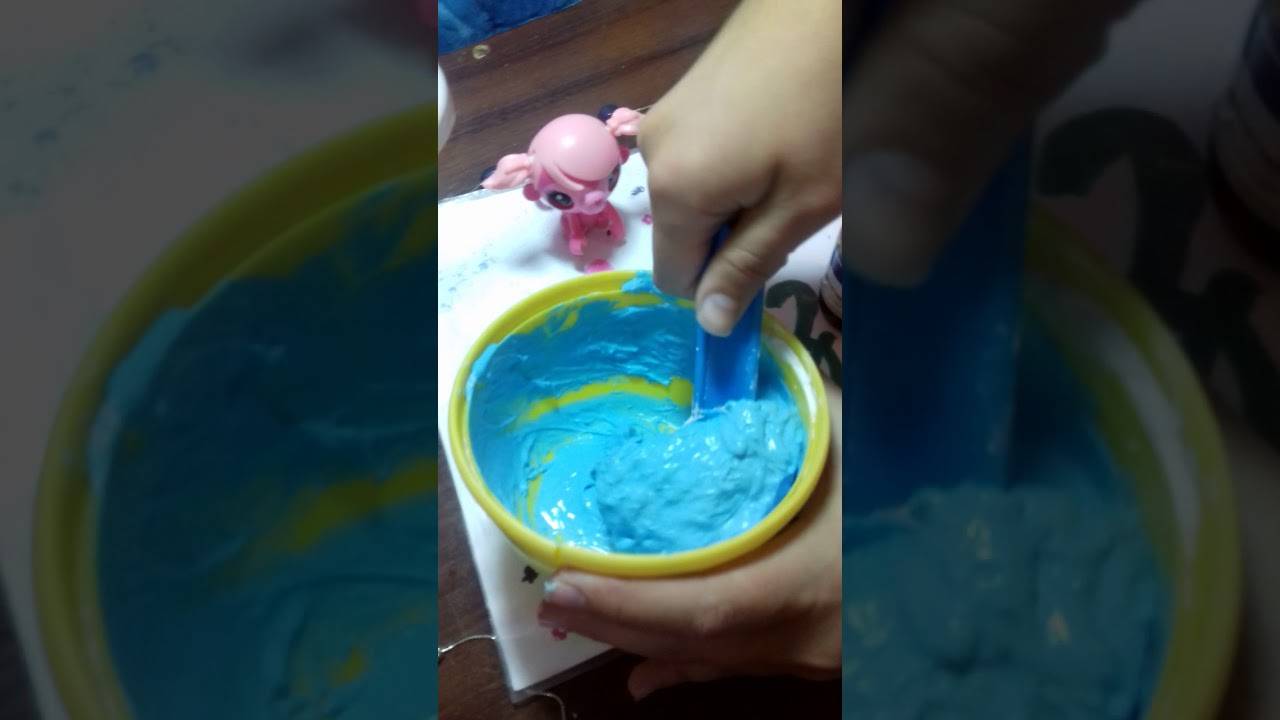
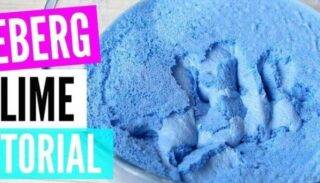
- Stir the ingredients, add paint, for example, blue. The result is a slime that looks like Arctic ice.
- To activate the process, add 2-3 drops of tetraborate.
- Stir the components thoroughly. If the slime dough is thin, add another 2-3 drops of thickener and knead.
- Leave for 12 hours in a dry, separate room.
- If the crust has not formed, you can hold it for another half day.
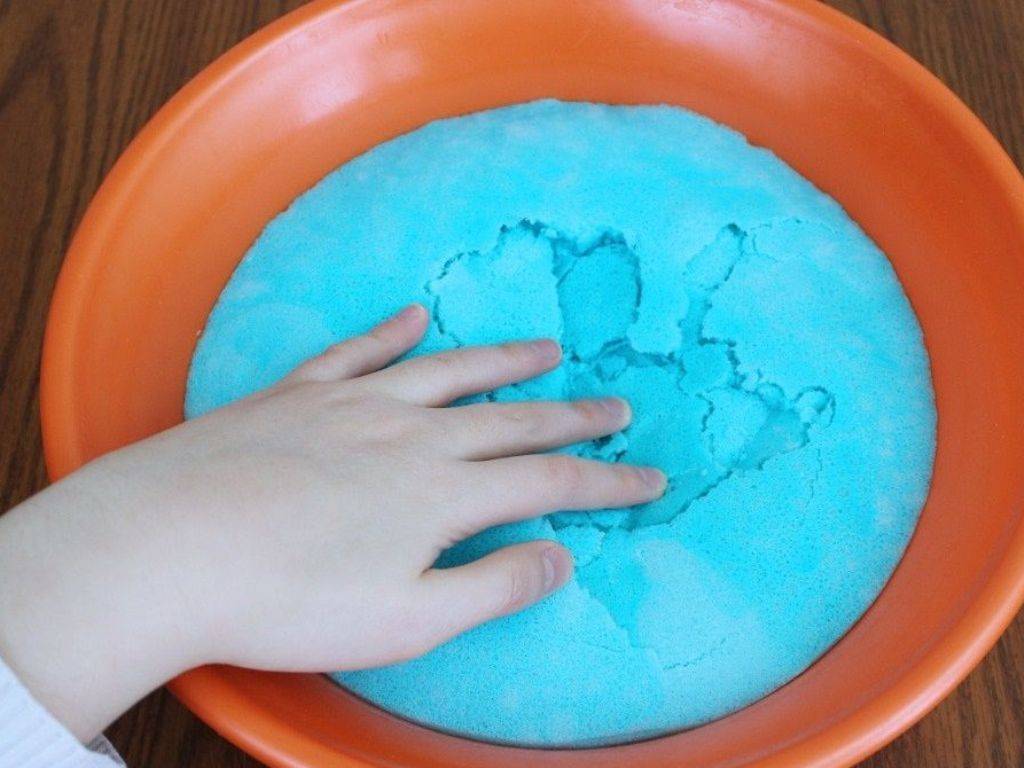
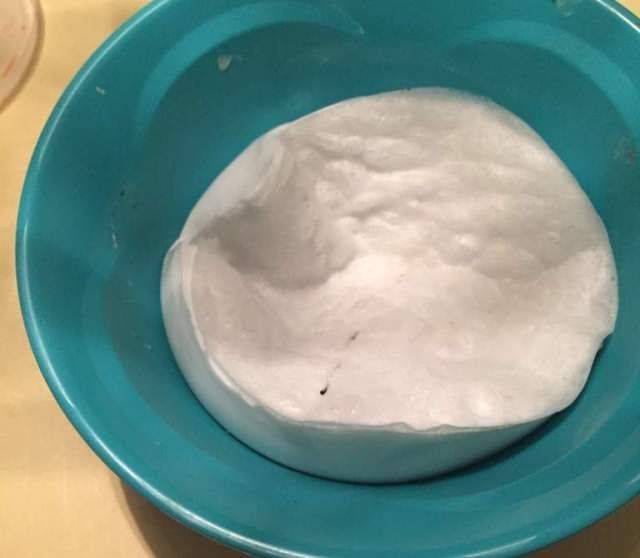
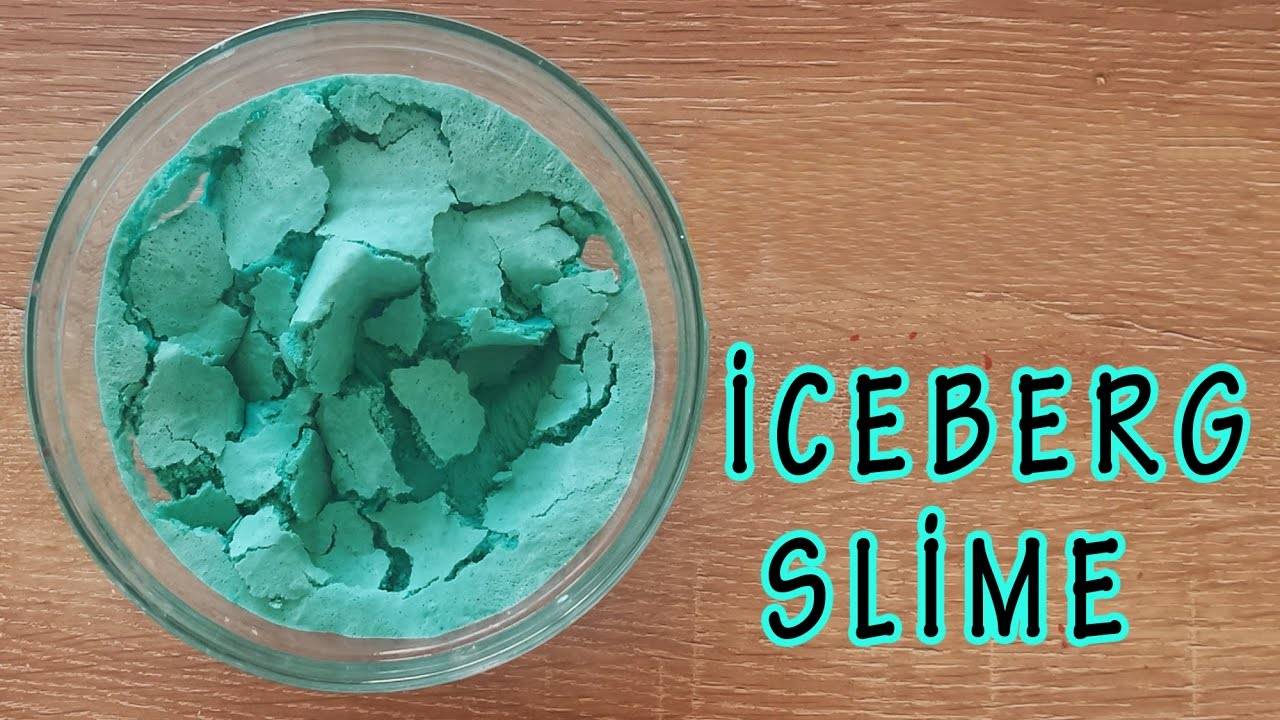
The toy turns out to be soft and delicate, but does not stretch well, because it contains a lot of foam. The crust is even and crispy.
Recipe on how to make an iceberg slime with a glossy rustling crust:
- Prepare 1 can of shaving foam and hair styling mousse, baking soda, a tube of PVA glue and 2 tbsp. l. baby powder.
- Pour glue into a bowl, add baby powder, mix.
- Foam and mousse are squeezed into the mixture with a volume of no more than half of each balloon.
- Knead the mass. If during the kneading process the volume of the slime has decreased, you need to add a little more foam and mousse.
- Add a pinch of baking soda and 2 tbsp. l. contact lens solution as an activator.
- Stir until thickened. If the dough falls well from the sides of the bowl, it's done. With insufficient density, you can add 1 tbsp. l. solution for lenses.
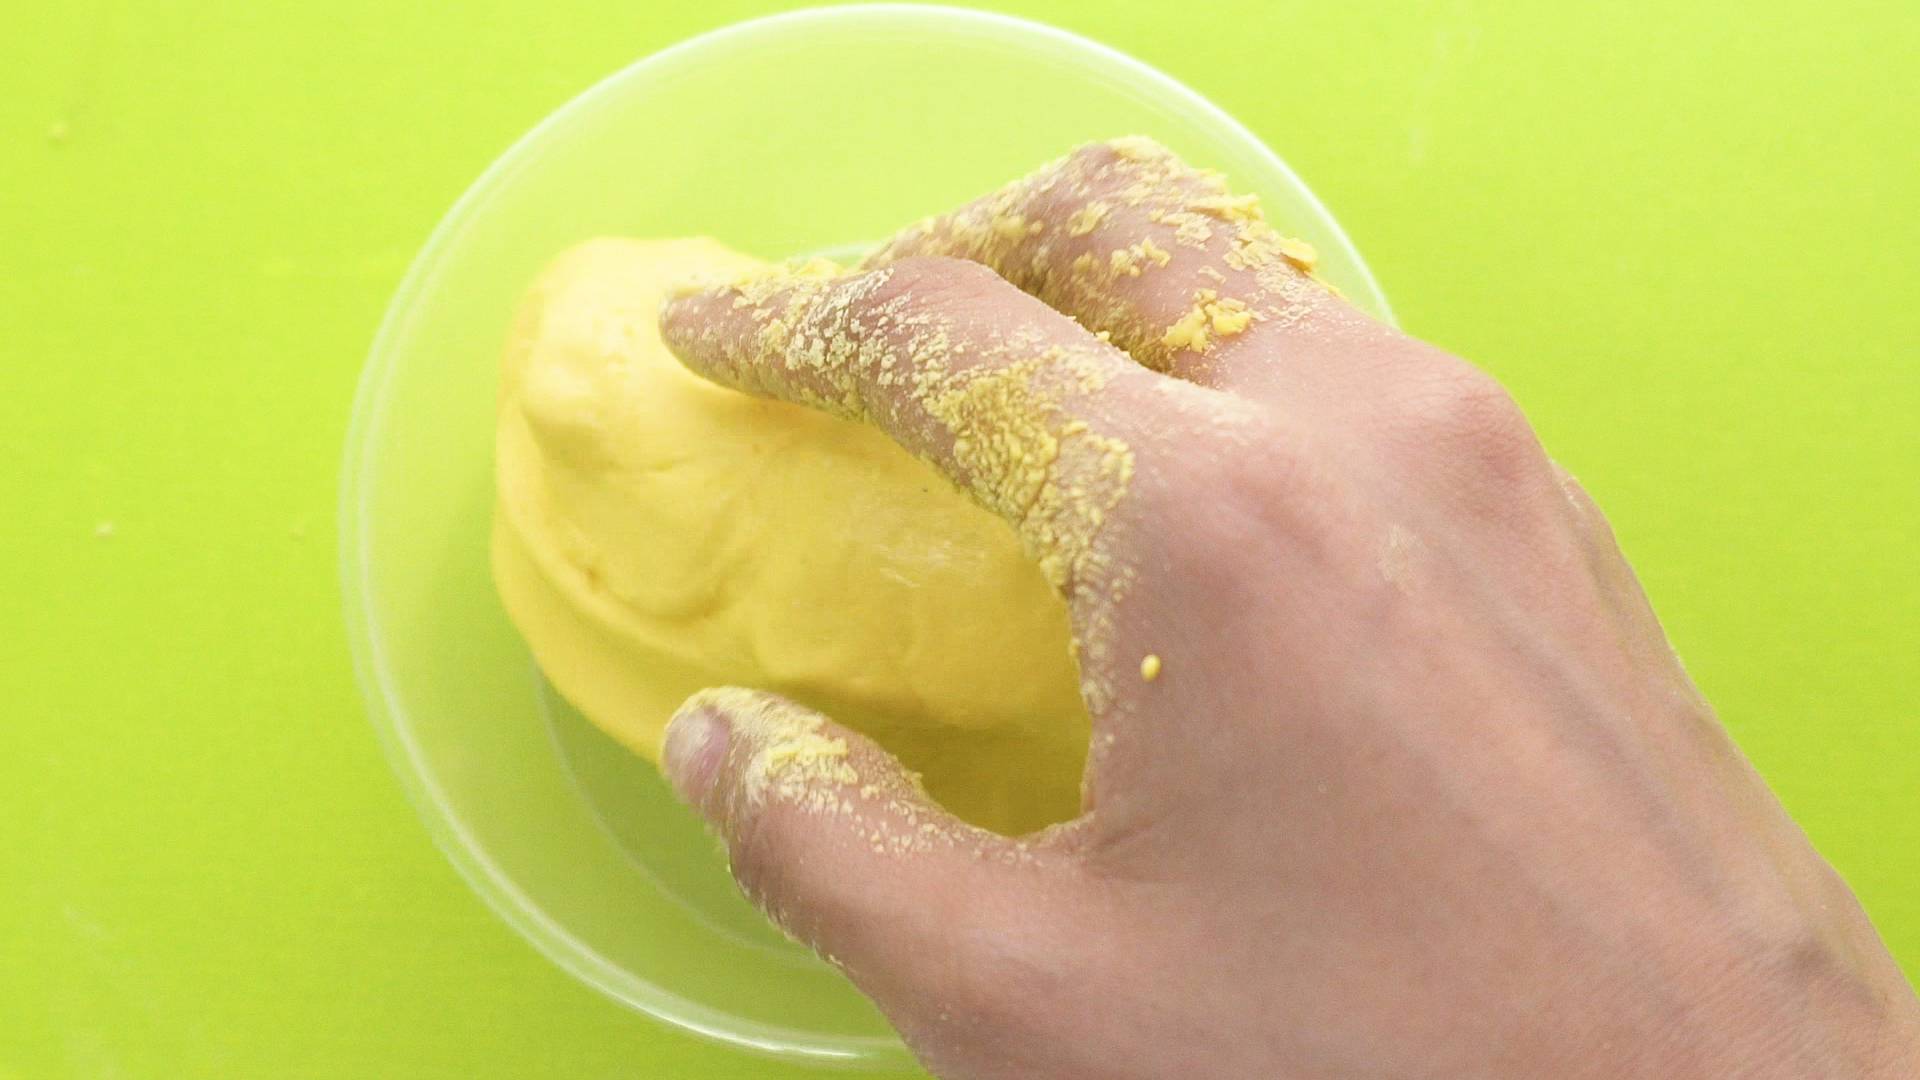
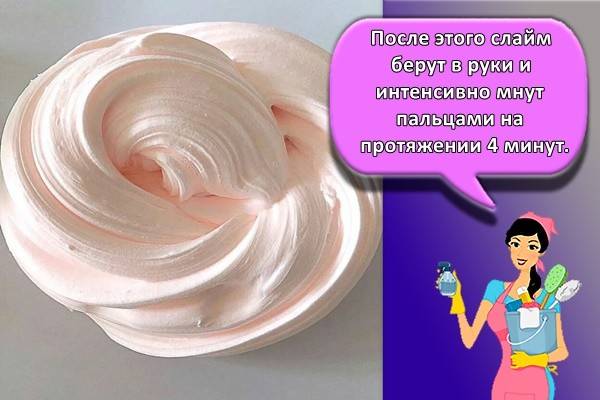
- Move on to kneading the viscous mass with your hands.
- As soon as it stops sticking to your hands, the dough is divided into 2 parts. Set the first part aside, add paint to the second and stir well until a uniform consistency is obtained.
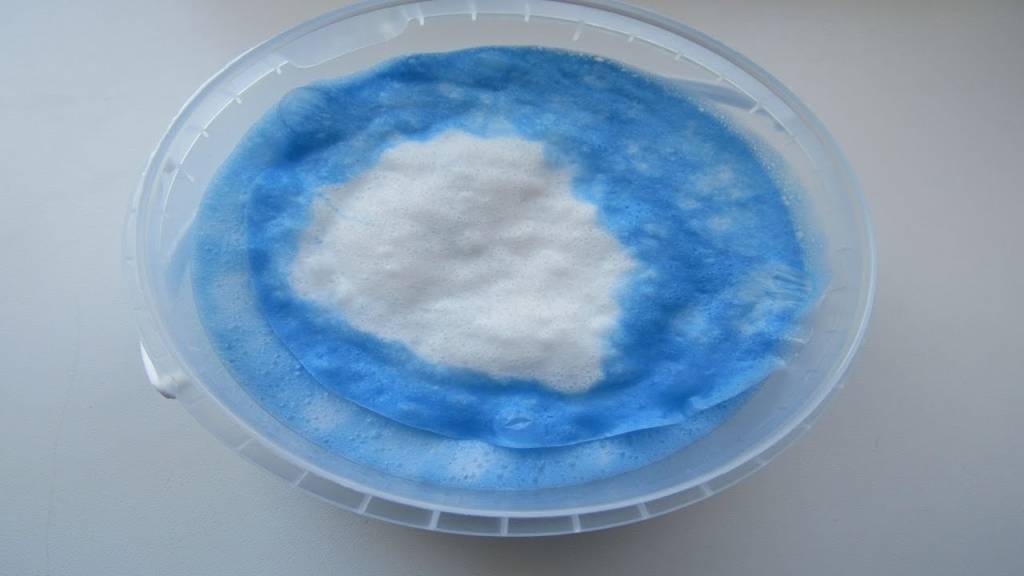
- 2 parts of slime are placed in a container so that the repainted dough is at the edges of the bowl, the white dough is in the center.
- Transfer the dough to a dry, dark place to ripen for 3 days. You cannot touch the crust, otherwise it will fall and not form.
- After 3 days, they take out a ready-made iceberg and start playing with it.
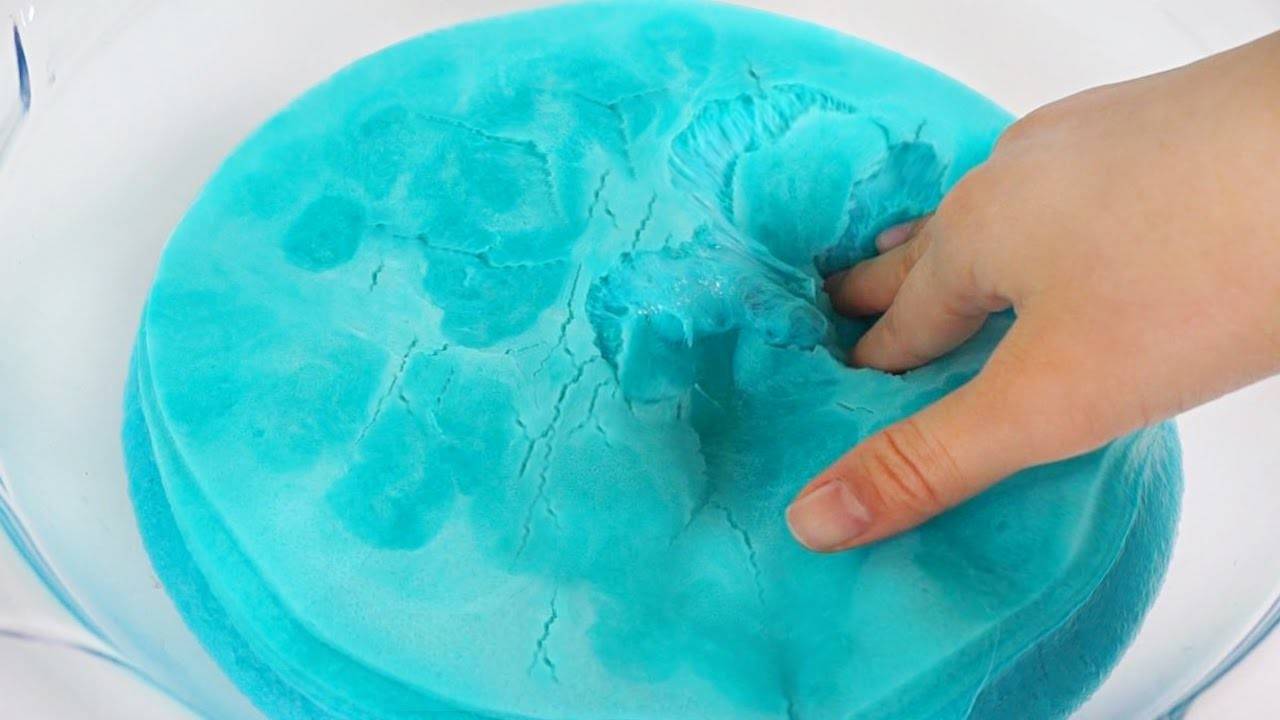
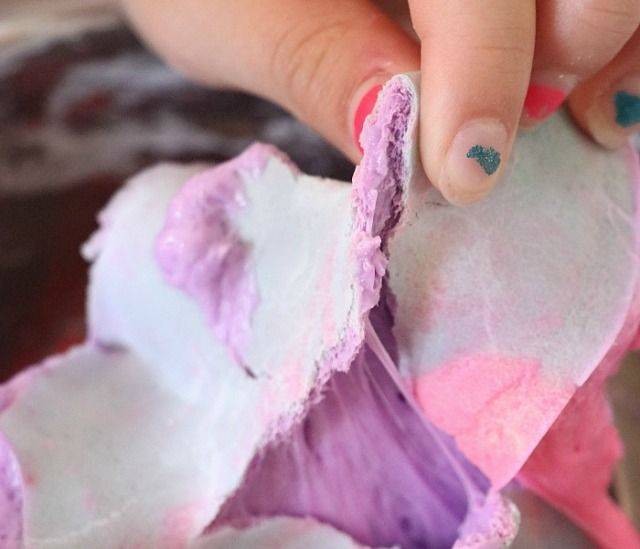
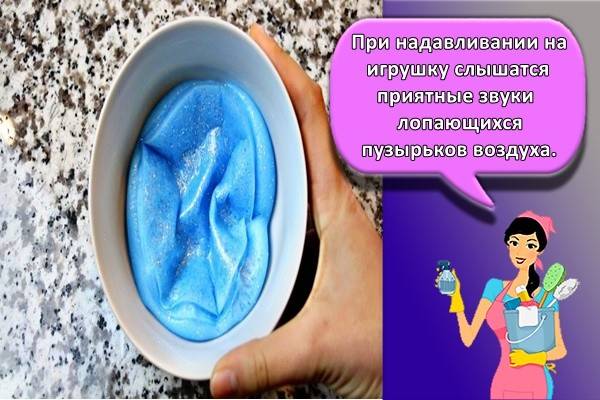
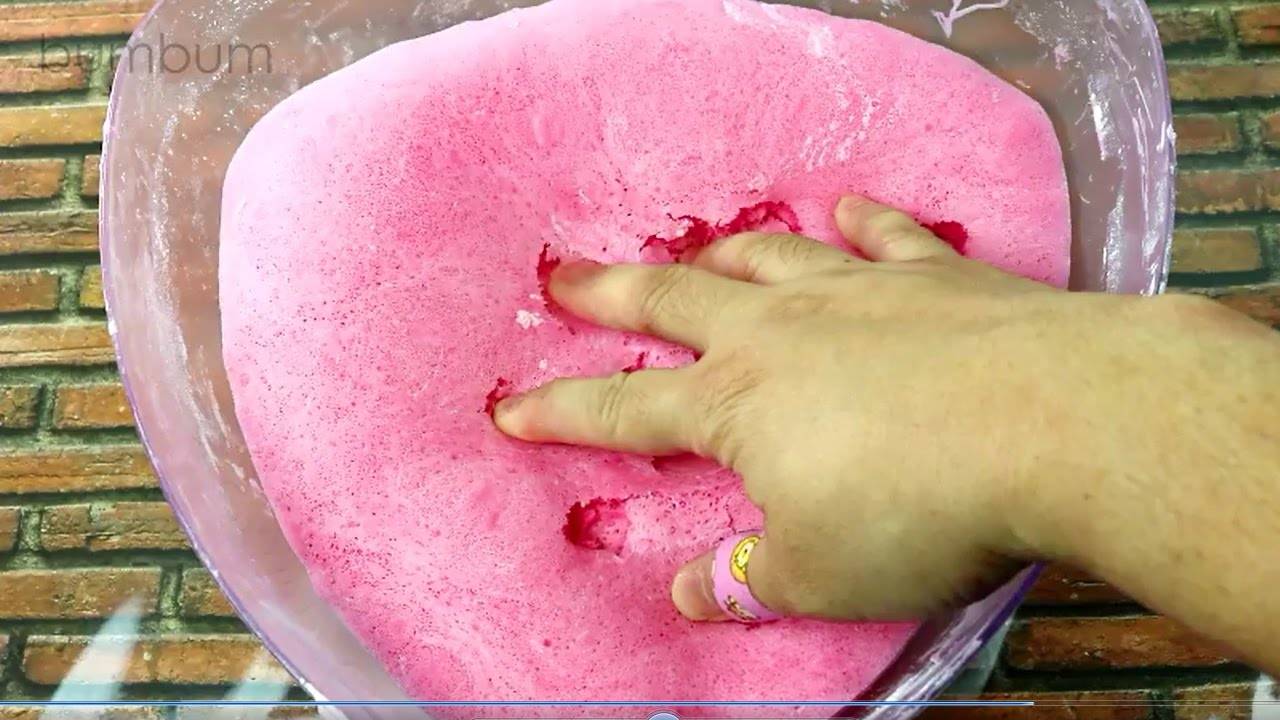
When pressed with fingers, the top layer creates pleasant rustling sounds.
Workshop on making multi-colored iceberg slime:
- They make the base for the slime from starch, borax, glue and foam.
- Divide the steep dough into 3, 4 or 5 pieces as desired.
- One dye is added to the first piece, knead well and set aside for a few minutes to absorb the paint, in the second part - another dye, knead and set aside. With the remaining pieces, perform a similar procedure and add the appropriate dyes.
- All parts are randomly laid out in one container.
- Sent to a secluded place for 4 days.

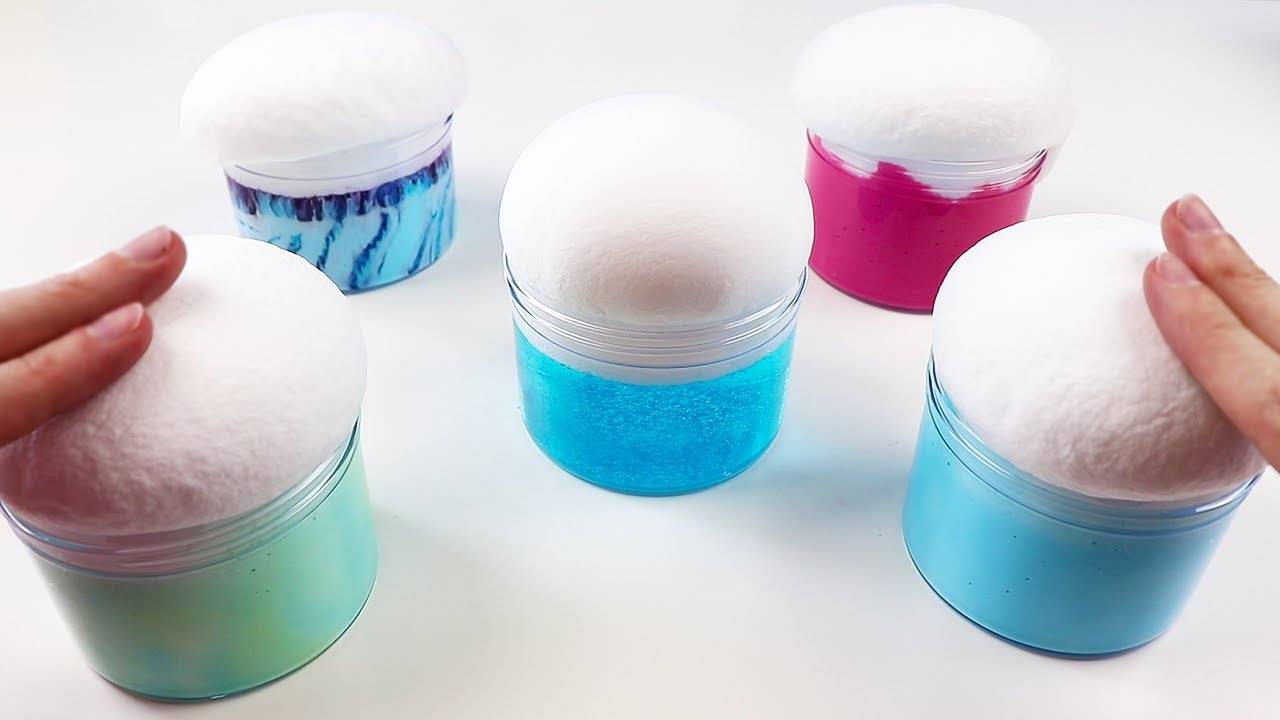
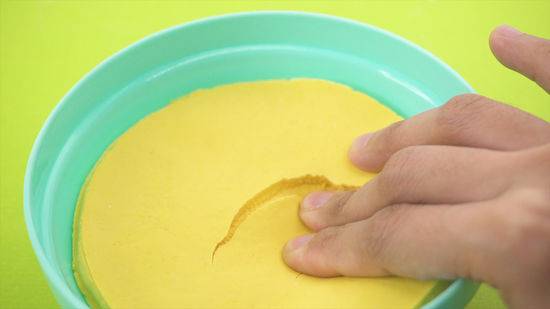
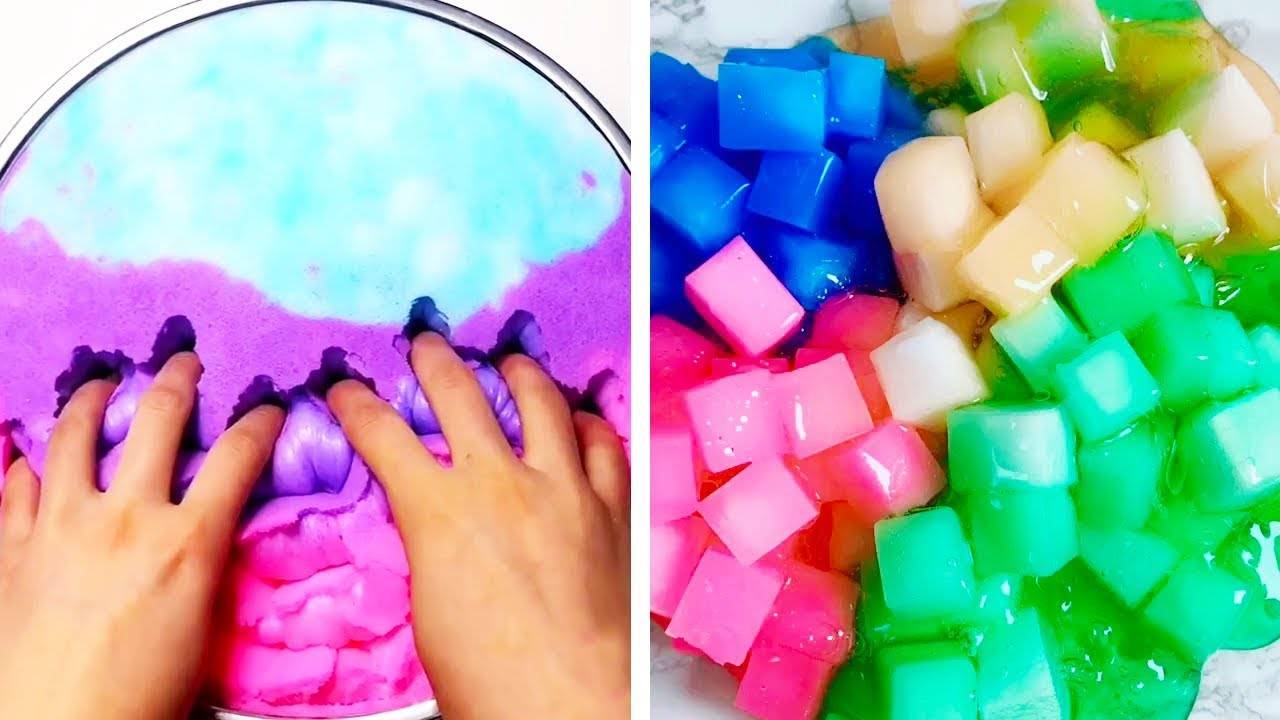
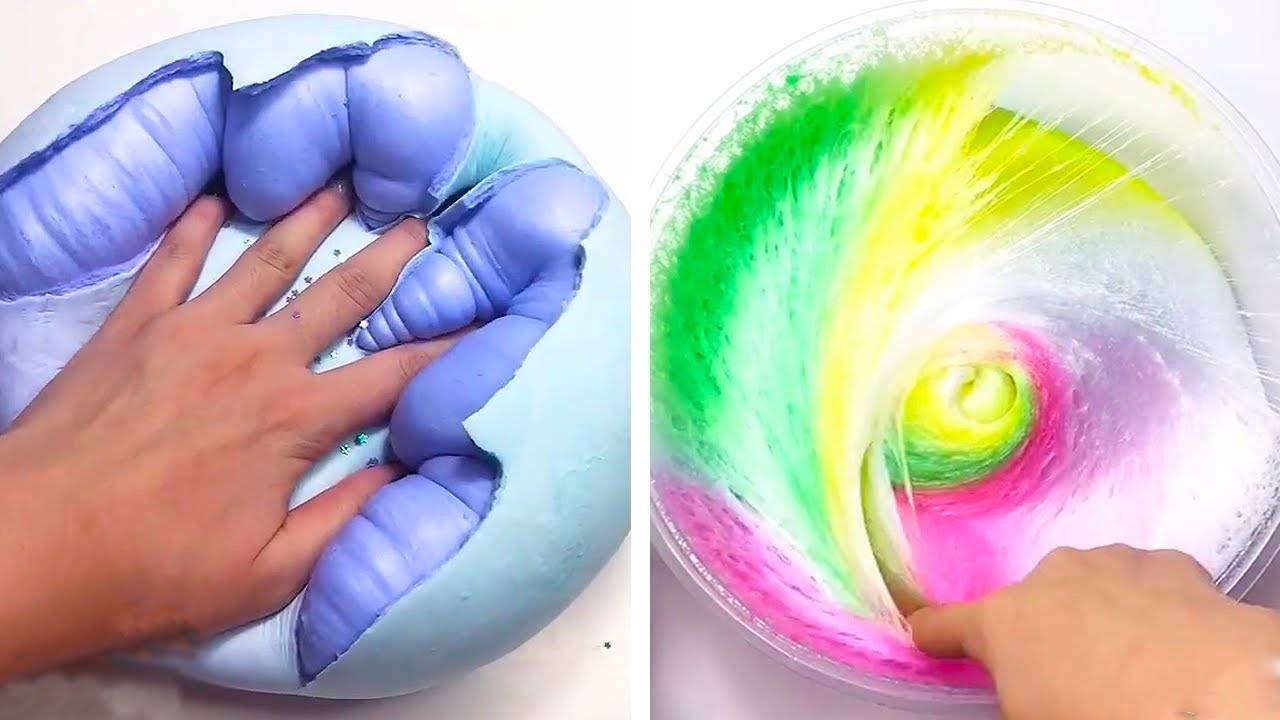
After 4 days, the slime will be ready to play. During this time, a matte hard crust forms, which, when pressed, creates a crunch of bursting air bubbles inside the iridescent jelly-like mass.
To prevent the top layer of iceberg slime from drying out and forming anew for a long time, you must follow the storage rules:
- Do not cover the container with a crispy slime with a lid or film. The hard layer forms on its own after each game.
- After use, allow time for the crust to ripen.
- Do not touch the surface of the slime with your hands if it is not ready yet.
Shrinking and drying out an anti-stress toy means it is no longer playable. Throw it away and make a new one.
Video
The best ice slime recipes
There are many recipes for this original toy.It is easy to make such a slime at home, and it will be in no way inferior to the store one.
Slime with artificial snow
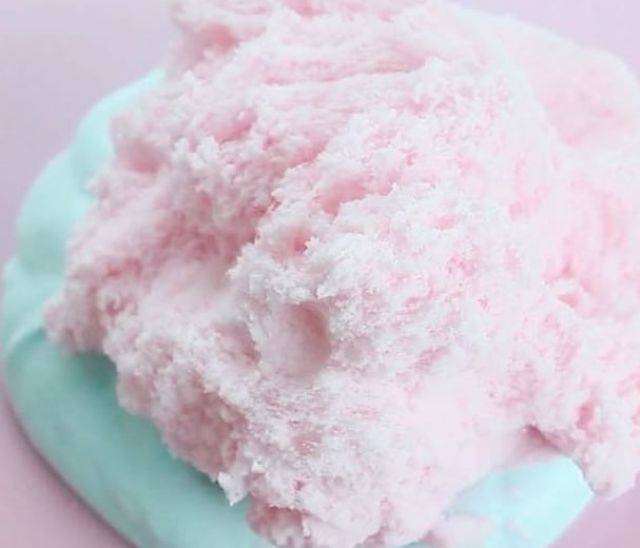
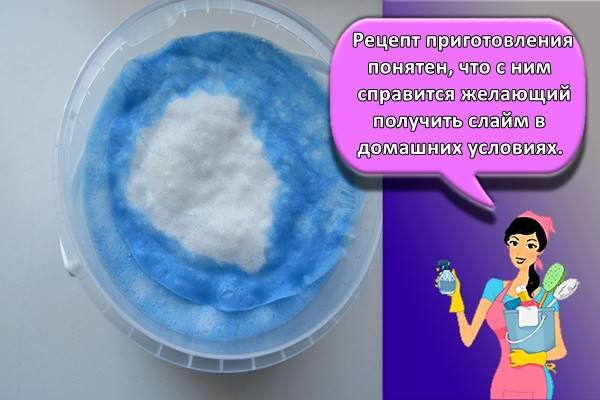
The recipe for making ice slime with the addition of artificial snow is classic. It can be added dry or diluted.
Artificial snow is, as a rule, a polymer material that, when it comes into contact with moisture, multiplies in volume. It can also be made of acrylic, cotton. Depending on which type of artificial snow you choose, your finished slime will differ in texture, shade, density.
Recipe for ice slime with artificial snow:
- We take PVA glue and pour it into a deep bowl.
- Add a tablespoon of liquid soap to 100 grams of glue. Mix thoroughly.
- Add a couple of drops of dye. Usually for ice slime they take a blue tint.
- Into the mixed mixture we introduce a little artificial snow in a dry form, without soaking.
- Knead well and leave for 10-15 minutes, so that the "snow" slightly swells.
- Into the resulting mixture, add the activator drop by drop. An aqueous solution of sodium tetraborate is optimal.
- Knead the mass well until it starts to stick off the walls of the dishes. We continue to knead the slime by hand so that it finally stops sticking.
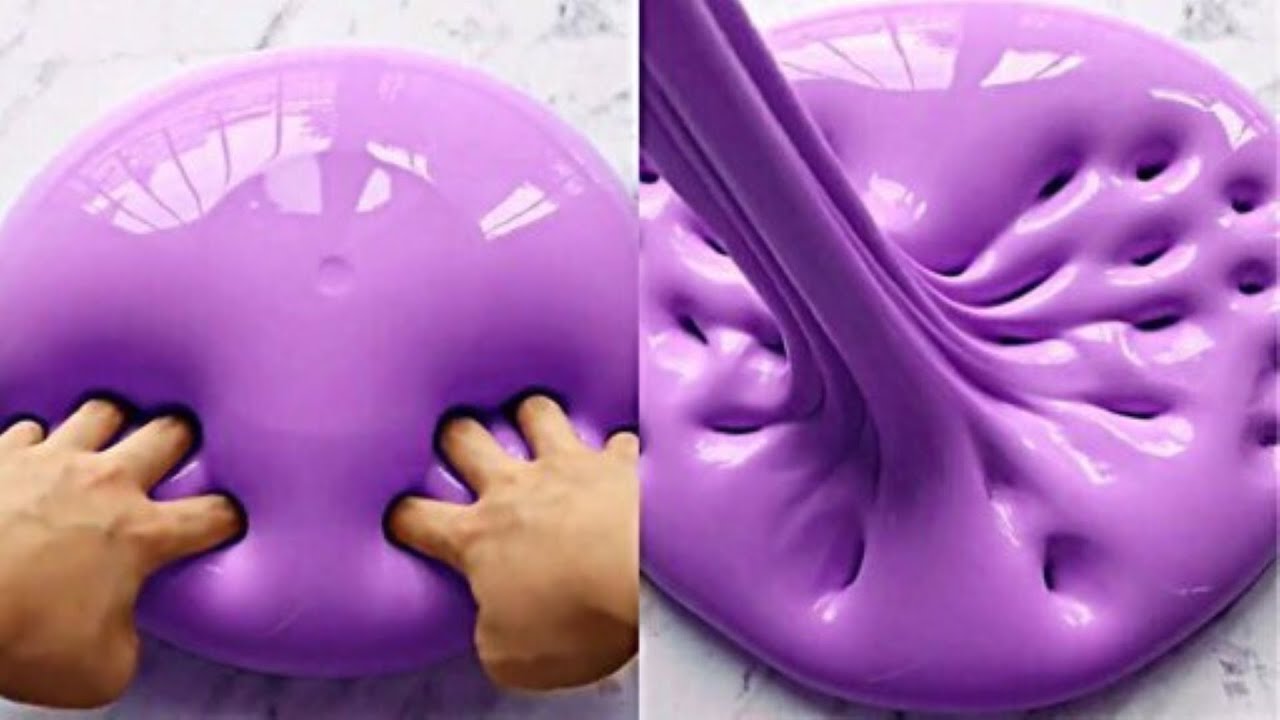
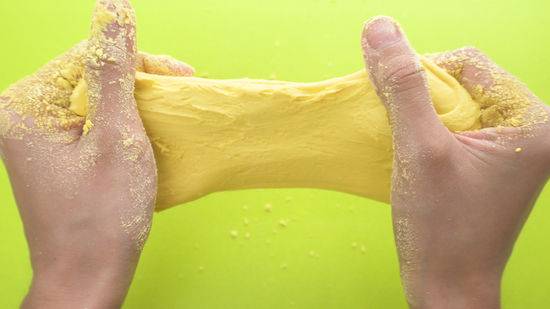
The finished ice slime should have a soft, airy texture. It is flexible and stretches perfectly even in a thin film.
Air plasticine recipe

Airy plasticine has a light weightless texture and when added to ice slime transfers its qualities to the finished product. Therefore, such a toy will be even softer and more viscous.
We make a slime according to the following algorithm:
- Pour PVA glue into a deep bowl and add a little shaving foam. Knead the mixture well.
- If desired, add a dye or, if the airy plasticine has a color, then the pigment is not required additionally.
- Add artificial snow to the mixture. It can be pre-soaked in water to make it swell. Or add dry directly to the glue and leave for a few minutes for the "snow" to increase in volume.
- Knead the mass and add a thickener - liquid for lenses or sodium tetraborate. Stir until the slime becomes plastic.
- Add a piece of airy plasticine to the resulting slime.
- Mix well and the ice slime is ready.
Instead of airy clay, you can also use special Japanese clay. These two materials have similar textures.
Slime from stationery glue

If you want the ice slime to look as realistic as possible, we recommend trying to make an “ice” slime from transparent office glue.
Instructions for making toys:
Pour the desired amount of stationery glue into a deep bowl
Make sure it is thick and of good quality. If the glue is liquid, it may not curl under the influence of the activator, and the toy will not work.
In a separate bowl, soak artificial snow in water to make fluffy flakes.
Pour the "snow" into the glue and mix thoroughly
Make sure that there is not too much of it, otherwise the slime will be too dense and the "fluffy" effect will be lost.
Add the activator to the resulting mixture. Usually it is a mixture of water and sodium tetraborate. We introduce it drop by drop, so as not to overdo it.
We mix all the components well and crush the slime with our hands until it stops sticking to them.
The finished product is translucent, soft to the touch and viscous. And even the presence of air bubbles in such a slime does not spoil it, as this gives an additional effect of ice.
Slime with coconut flakes

Another way to make ice slime is to use coconut instead of artificial snow. It is easier to find in any grocery store and it costs less. In addition, the finished slime will have a pleasant smell.
You can prepare the base for the original toy using office glue with the addition of an activator. Find a suitable transparent glue and add a few drops of thickener to it.
When the slime is mixed well enough and stops sticking to your hands, add coconut flakes to it. Knead the product well so that the chips are evenly distributed over the base. The transparent "ice" slime is ready!
All kinds of slimes and their recipes
Having started to fantasize, invented new slimes, they cannot stop. Already there are a huge number of species, and each has its own name. They differ in texture, viscosity, and some have specific properties: magnet, glow, change color.
Important. In recipes, a solution of sodium tetraborate is most often used as an activator (thickener), which can be prepared independently - 1 hour
Dissolve a spoonful of salt in 200 ml of water. But it is more convenient to use ready-made forms containing the substance. These can be medications: 20% glycerin borax solution, Teymurov's foot spray, Vizin eye drops, lens cleaner. Sodium tetraborate is included in many detergents, which is necessarily indicated on their packaging.
How to decorate a slime for the New Year?

Decorations for New Year's slimes do not have to be purchased at the store. Use components that you can find at home. Anything shiny, beautiful, any small toys will do for a New Year's lizun.
Let's see what additives for slimes for the New Year will be appropriate:
- glitter;
- small sequins;
- shiny paints, varnishes;
- beads;
- foam balls of different shades;
- small toys from kinder surprises;
- small New Year's figurines;
- balloons;
- finely chopped rain for the Christmas tree.
You should not put fragments from Christmas tree toys, sharp objects with corners in the slime compound, since it is easy to cut yourself on them. If you want to decorate the handgam with a figurine, place it next to the toy in a container. Do not immerse it in the slime, so as not to stain and spoil the impression.
How to make slime for the New Year - watch the video:
New Year's slimes are festive toys that require a careful approach when creating. If decorated and presented as a gift, they will surely delight guests.
How to soften a toy at home?
The peculiarity of the slime is that after prolonged use, it loses its ductility and even sometimes begins to crumble. In order to avoid such an unfortunate fate of your toy, you should resort to the following methods of “reanimating” it:
- For the hardened slime, prepare a saline solution - dissolve a teaspoon of salt in a glass of water, put the slime there and put it in the refrigerator for 2 hours. After this period of time, we take out the "chewing gum", carefully knead it and enjoy the toy that has come back to life.
- The glue will also be a great helper to give your slime a second chance. All you need to do is pour a small amount of clear office glue onto the transparent slime mass and knead it again. The toy is in perfect order again. In the absence of office glue, it can easily be replaced with silicate or PVA.
Now you know the simplest and most popular recipes for creating transparent slimes at home. Try it, experiment, enjoy it.
How to properly care for ice slime?
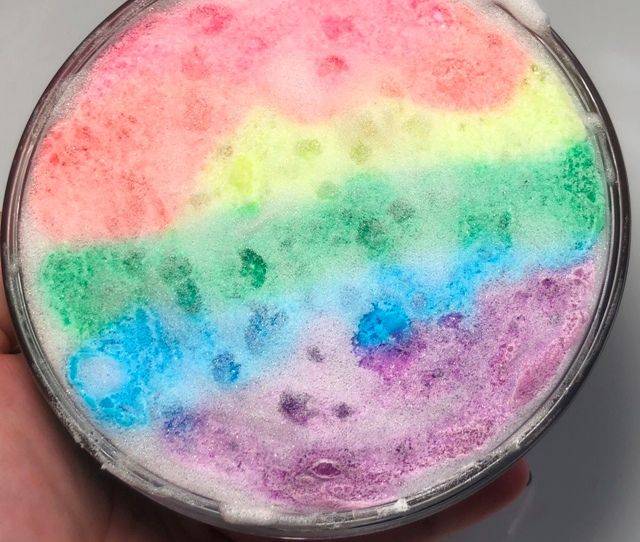
The rules for caring for this original toy are practically no different from caring for a regular slime.
Consider the basic requirements regarding the storage conditions for ice slime:
- Slime should be stored in a hermetically sealed container in a dark place. The sun's rays should not fall on the toy, otherwise it will quickly become hard and unsuitable for play.
- Do not put the product in the freezer. After thawing, the slime may also lose its elasticity, its structure will deteriorate. It is best to store the slime at a temperature of 4-12 degrees above zero.
- If you made an ice slime from transparent glue, then in no case should you heat it. Such slimes react to an increase in temperature with turbidity. And the product will lose its original appearance.
If you want to soften slightly hardened or dried ice slime, add water to it and mix well until smooth. But don't put in the microwave to soften. Only opaque slimes can be heated.
To avoid heavy pollution and damage to the slime, play only with clean hands and try not to drop the toy on the ground, carpet, sand. If this does happen, try to pick out the larger debris with tweezers.
Please note that if the product is very dirty, has an unpleasant odor or is covered with mold, then it is better to get rid of such a toy and make a new one. Old slimes collect a lot of bacteria that settle on the hands.
And playing with such a slime is unpleasant.
What is ice slime - watch the video:
Basic recipes
Slime can be made in a variety of ways, depending on the wishes and set of materials.
Glue and liquid starch
You can also make an unusual soft toy using liquid starch, which will act as a thickener. What is needed for this from the materials:
- liquid starch for washing clothes - 150 milliliters;
- silicate glue or PVA - 50 milliliters;
- dye of any color (optional) and glitter;
- container and devices for mixing.
Manufacturing technology:
- Mix liquid starch and glue in a separate container. The mixture must be thoroughly mixed and left for five minutes to infuse.
- Next, you need to add dye and glitter to the resulting mass.
- Then you need to put cling film on the table, remove the mass from the container and place it on it.
- Wrap the slime in a film and begin to knead.
After that, we can assume that the product is ready.

Glue and borax
The most common material for making soft slime is glue. It is better to take silicate or transparent, but PVA glue is also suitable. It is better to take small sequins so that they do not disturb the consistency of the slime. What is required for work:
- PVA glue;
- thickener (sodium tetraborate);
- water;
- food coloring (optional);
- sequins;
- gloves, container and spoon.
Slime making:
- To begin with, water is mixed with glue. The ratio of such a mixture is 100 milliliters of glue and the same amount of water. The more glue there is, the larger the slime itself will turn out. At this stage, glitter and dye are added.
- It is necessary to thoroughly mix the glue with water, then add borax and mix thoroughly again.
- Next, a regular plastic bag is taken, the resulting mixture is placed in it and kneaded well.
It remains only to get the finished product.
From gel
To get an airy, voluminous and shiny slime, you can use glitter gel. What is required to make a slime:
- glitter gel - 2-3 jars;
- water;
- liquid glue;
- thickener.
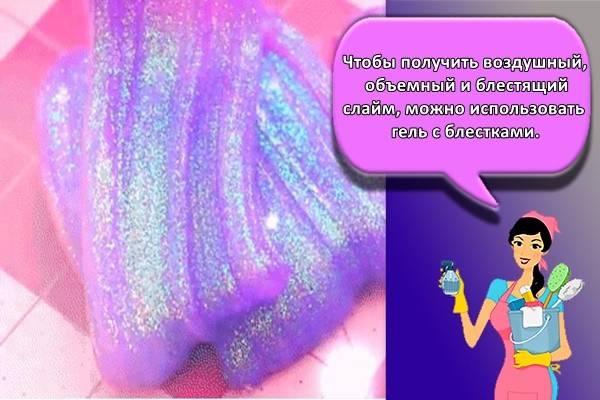
Manufacturing technology:
- First, squeeze out the entire contents of the jars of shiny gel into a separate container. You can use one color or several different gels.
- Next, you need to add a little water to make the consistency of the gel more liquid. Everything is thoroughly mixed.
- A small amount of glue is also added to set the glitter. Again, everything is thoroughly mixed.
- At this stage, it is necessary to add a thickener (sodium tetraborate), which is previously diluted with a small amount of water. Everything is mixed up again. The thickener is added until the slime has the desired consistency.
To finish, the slime is well kneaded.
How to make a transparent, with sequins with your own hands
If you don't have dyes at hand or you just want to create an original transparent toy with bright sparkles, you can use this recipe. What materials will be needed:
- water - one glass;
- borax - 1.5 teaspoon;
- medium-sized sparkles;
- silicate glue - 130 milliliters.
How to make a slime:
- Pour half a glass of water into a container, add glue and mix thoroughly. It is recommended to do this with a metal spoon or spatula.
- Add glitter or any other decor to the mixture (you can purchase it in the stationery departments).
- Pour the remaining amount of water into another container and dilute sodium tetraborate in it.
- Mix the resulting masses together.
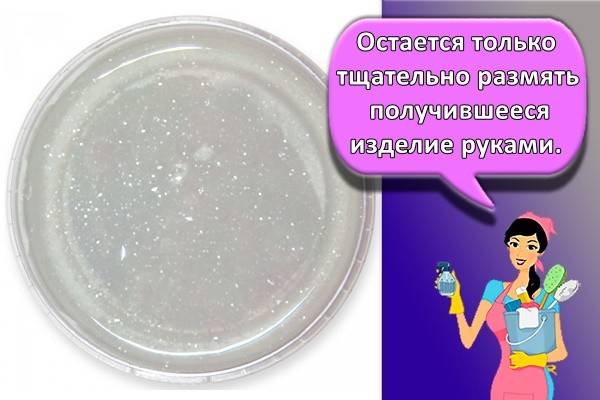
It remains only to carefully knead the resulting product with your hands.
Tips & Tricks
When making and using an unusual viscous toy, it is recommended to take into account some features:
- A lens solution can be used as a thickener. The amount of the agent is determined by eye - a small amount is added and the change in the density of the mass is observed.
- To create a multi-colored slime, you will need a set of dyes (acrylic or those used to paint Easter eggs).
- To make the slime glossy and shiny, transparent stationery glue is added.
- Instead of chemicals, it is recommended to use safer ingredients. For example, a borax solution can be replaced with a soda solution. It is also not recommended to use a large amount of glue.
- If the slime has become too runny, it is most likely deteriorated from excess moisture. To fix the problem, you need to dip the slime in salt, cover and leave for a couple of days.
- If the slime has lost its shape and has become too hard, it must be placed in a container of water and removed in a dark place for a couple of hours.
> Considering these tips and tricks, it is possible to extend the shelf life and attractive appearance of glitter slime.
Share link:

