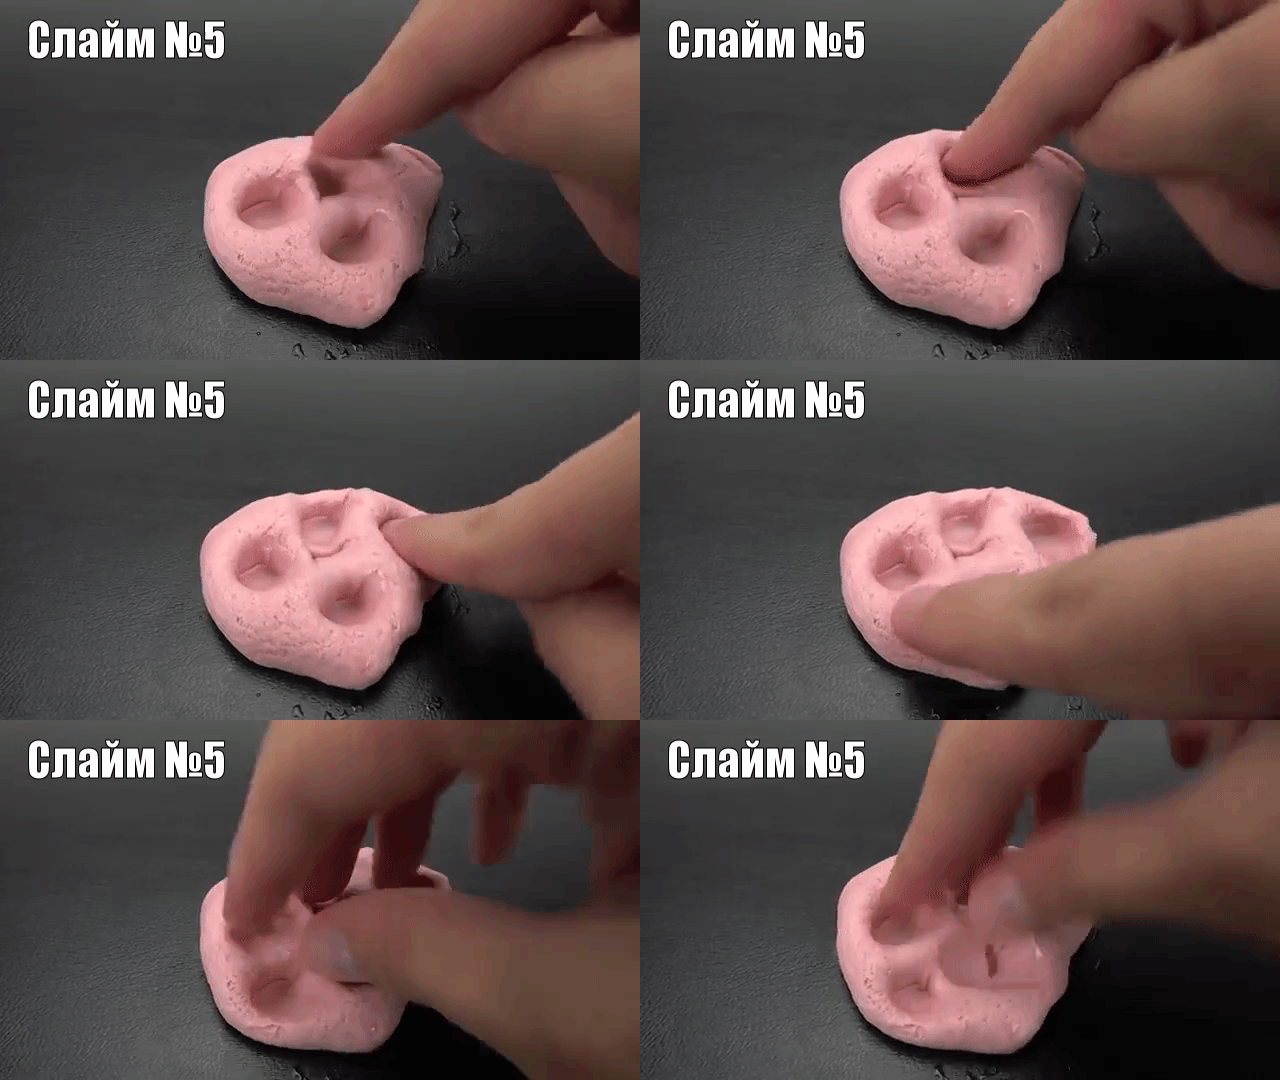
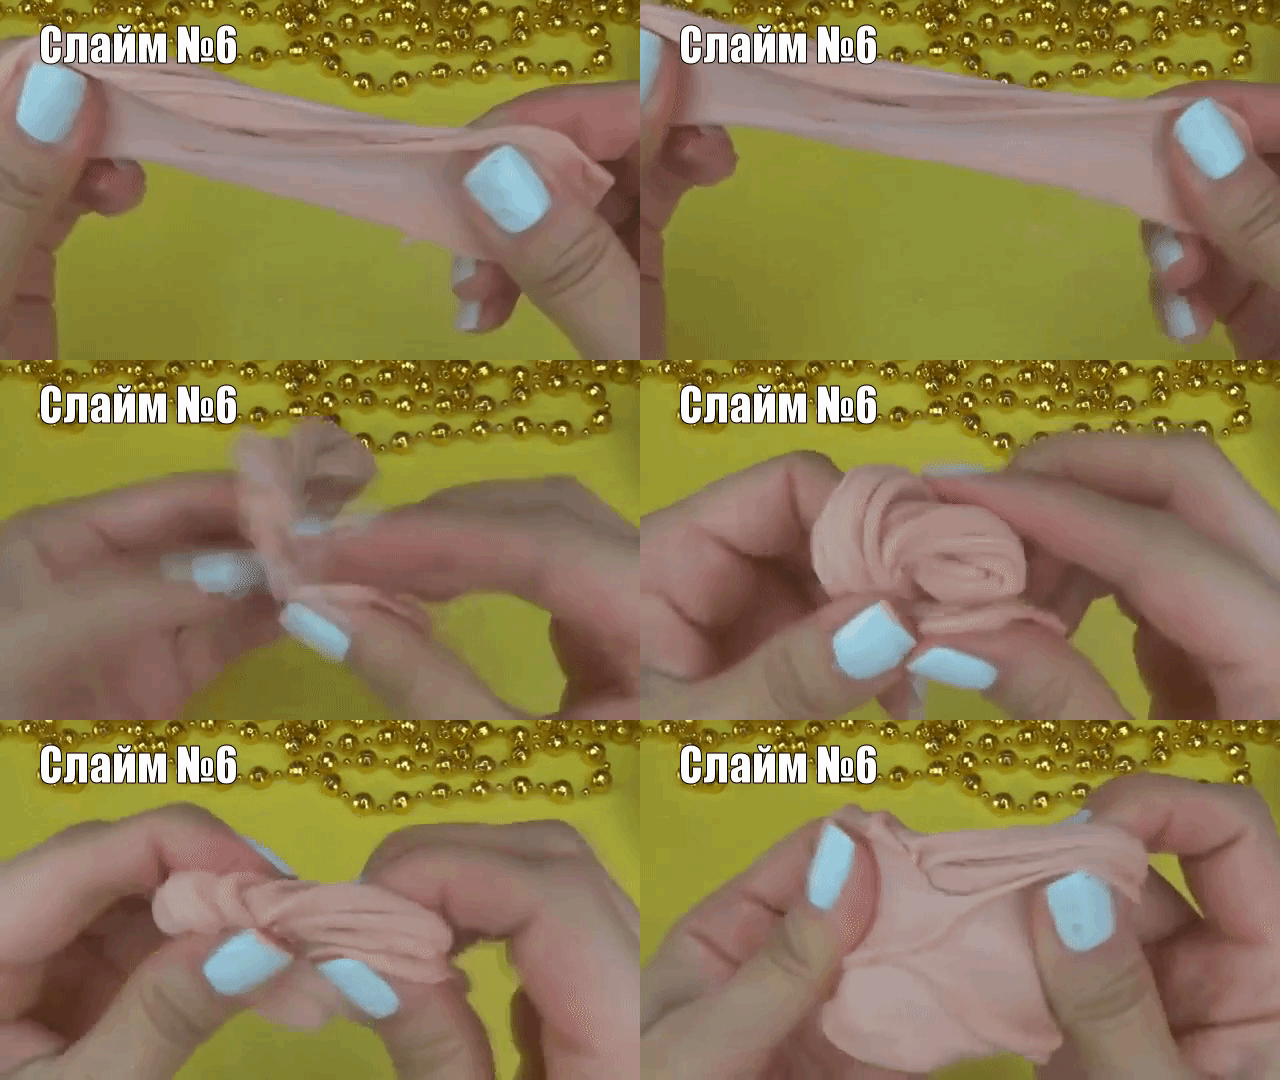
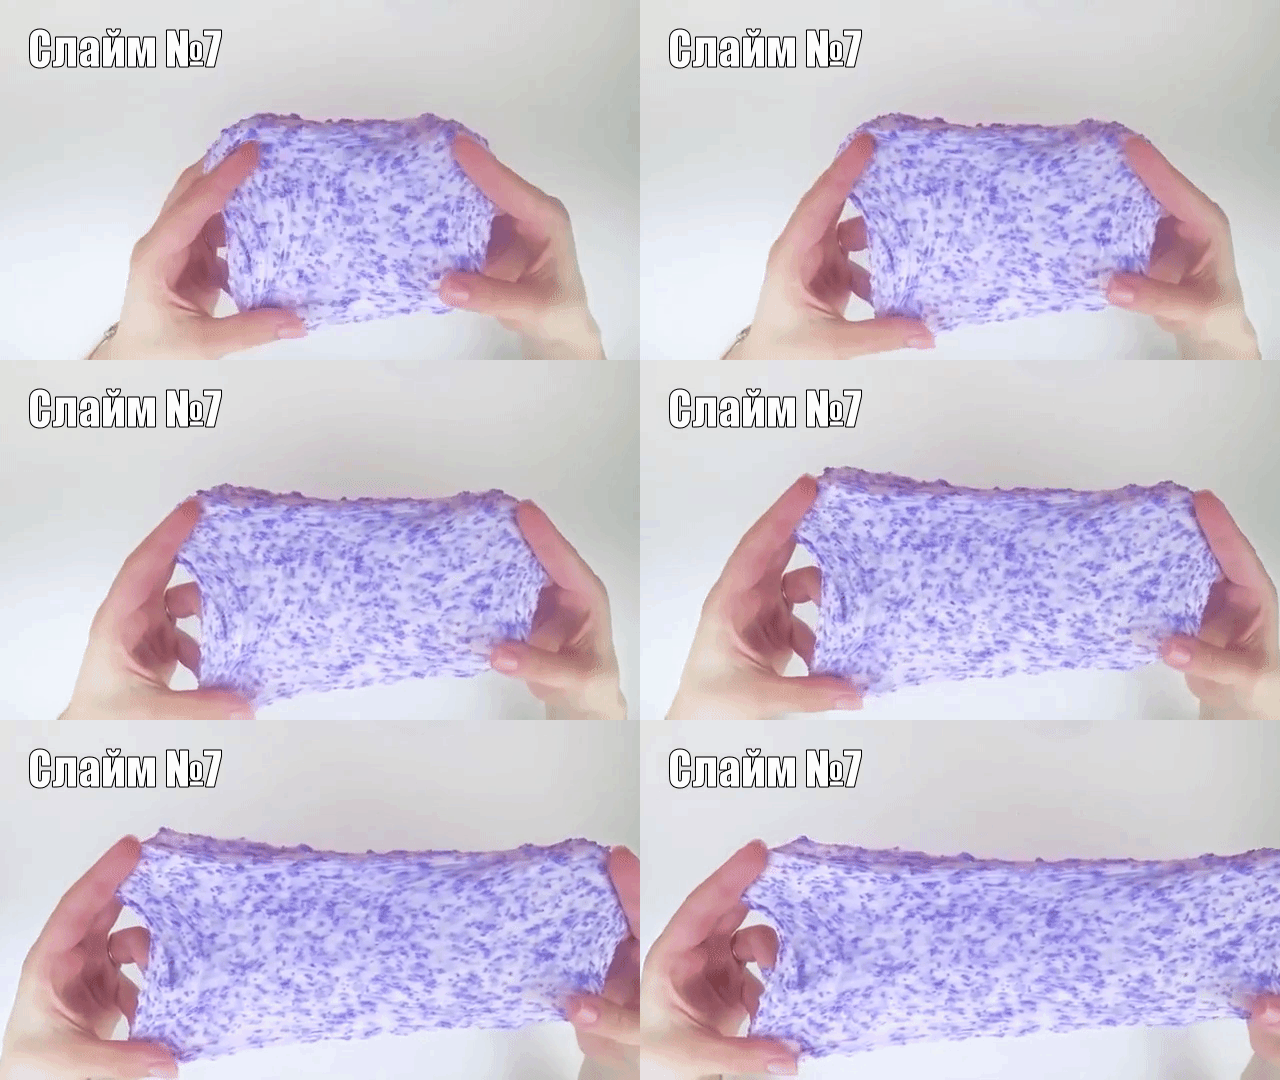
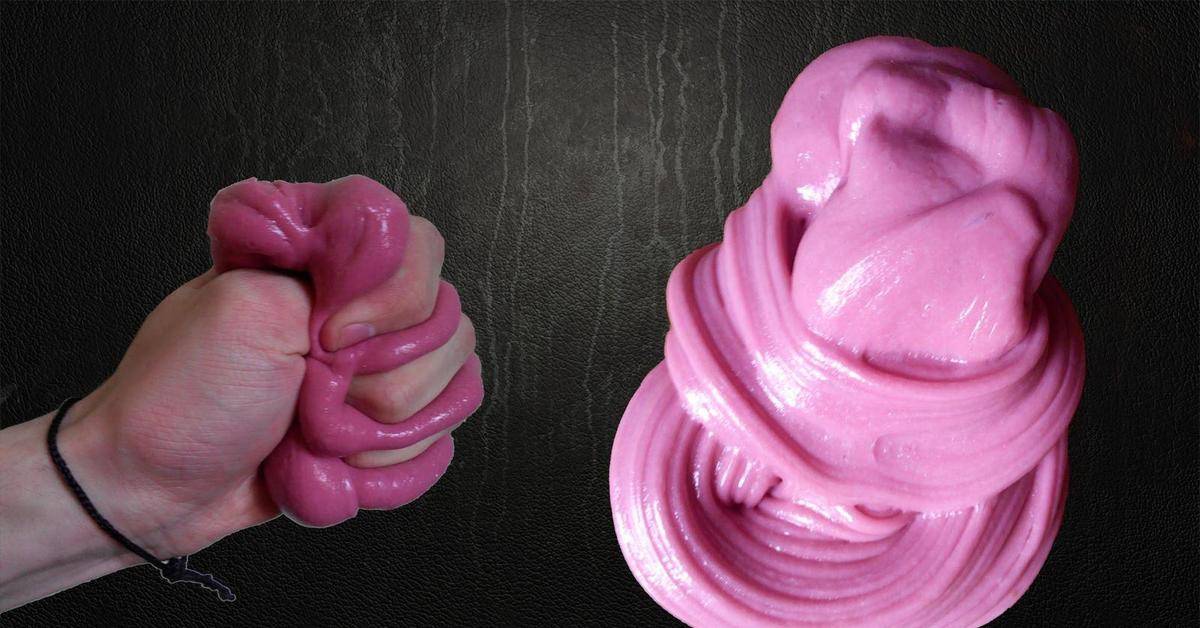
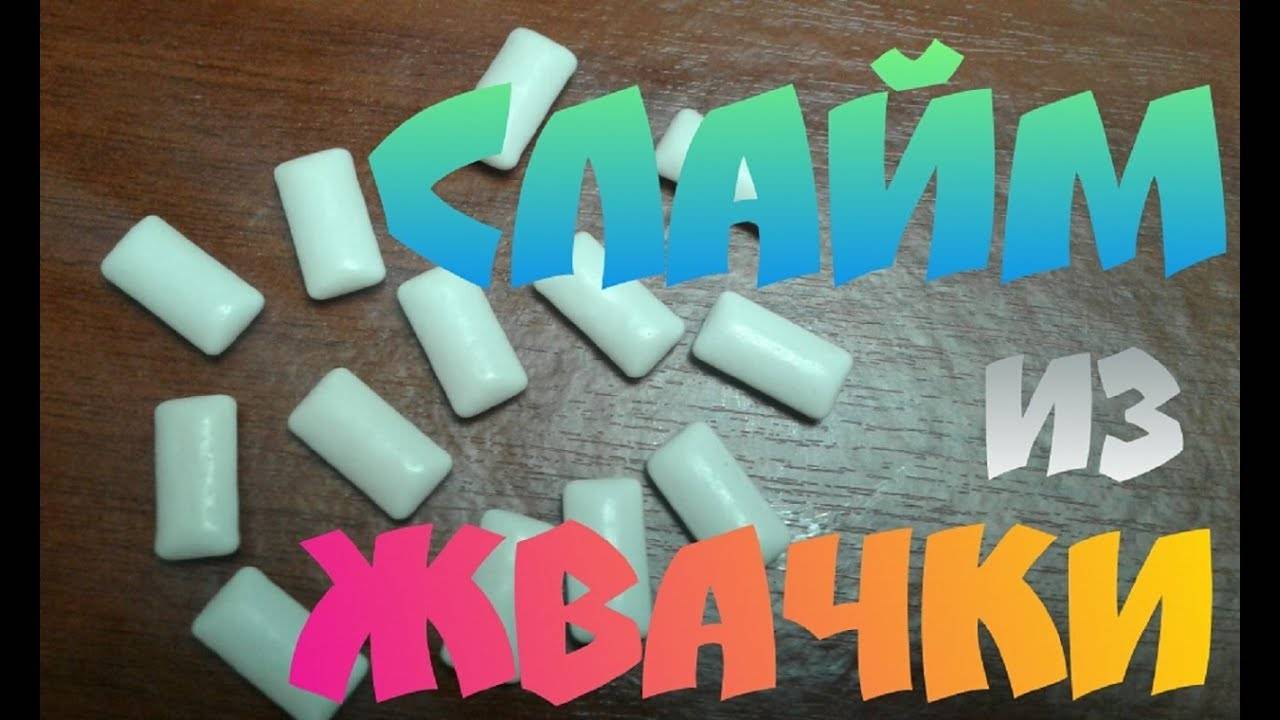
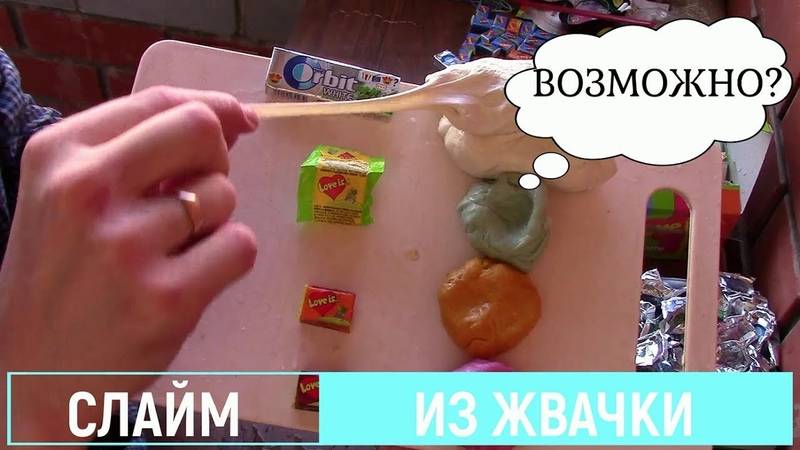
How can you thicken a slime at home?
To make the slime more viscous and thick, you can also use improvised materials that are available in every home as thickeners, this list includes such as:
- sugar;
- gelatin;
- starch;
- soda, etc.
Boric acid
But this activator has several drawbacks:
- Causes nausea, shortness of breath and flaky skin (especially in children).
- It does not work with every glue.
- In some cases, it requires additional thickeners (laundry soap, baking soda, etc.).
Proportions for the activator:
- PVC (100 g);
- stationery glue (200 g);
- boric acid (1 tbsp. l.);
- food coloring and shaving foam.
Gelatin
Gelatin quickly transforms a shapeless mass into a dense and elastic toy. The product does not cause allergies and is safe for children. Most often it is mixed with plasticine and water.
Approximate proportions:
- 15 g edible gelatin;
- 200 ml of water;
- a block of plasticine weighing 100 g.
Important. Before use, gelatin must first be soaked in warm water and let it brew for 40 minutes
Hair fixation spray
Hairspray is readily available - it is found in almost every home and is sold in all cosmetic stores (including supermarkets). But this is where its advantages end. Here are the disadvantages of hairspray when making slime:
- Does not always affect glue.
- Has a specific odor, which, with prolonged interaction, can cause slight nausea, shortness of breath and allergic cough.
- In most cases, toys are not of very high quality (sometimes the service life of the product is reduced).
- It is consumed very quickly.
Preparation of the thickener:
- In a deep container, PVA glue is mixed with a dye.
- Varnish is gradually injected (each "zip" lasts at least 5 seconds).
- The composition is mixed and little by little added to the still shapeless mass.
Borax
Borax is usually used in combination with water, tea soda and PVA glue. To add brightness and color, food coloring is added to the toy. Water and borax are mixed in a ratio of 12: 1, soda is added in an amount of 1 tsp, and PVA glue - "by eye" until the mass thickens. The dye is added last.
Attention! The main advantage of the borax slime is that the color of the toy can be easily changed. To do this, it is enough to rinse it with water and rub in another dye.
Sugar
It is recommended to use powdered sugar as an activator for slime, and not "sand" (so that there are no lumps and the toy is perfectly flat). Shampoo and liquid soap are taken as a basis. Powdered sugar is added in a small amount - no more than 1 tsp. or even less. After mixing the ingredients, the mass is removed for half an hour in the freezer. Most often, however, this thickener is added to edible slimes.
Starch
Potato or corn starch is used as a thickener. Its main advantages are:
- Affordable price.
- Good thickening effect.
- No allergic reactions.
- Possibility of preparing edible slimes. In this case, condensed milk is added to the composition instead of shampoo.
To make starch work faster and better, it is diluted with water in a 3: 1 ratio.
Soda
Along with salt and sodium tetraborate, baking soda works well with almost any ingredient. It is used in the form of a powder or solution. The last option is quite simple to prepare: 3 parts of soda powder is mixed with 1 part of water. As a result, the slime acquires the necessary density and ductility.
Sodium tetraborate
Sodium tetraborate works well with glue and is suitable for making any kind of slime.Other benefits of this tool:
- It is odorless, non-toxic.
- This slime activator is available at any pharmacy that can buy it without a prescription.
- Has a low cost.
- It is economically consumed (including it can be diluted with water).
Preparation:
- Dissolve PVA glue (100 ml) in 50 ml of warm water.
- Add sodium tetraborate (until thick).
Attention! With frequent use, sodium tetraborate can cause health problems (nausea, dry skin, problems with the reproductive system, etc.). In this case, you can replace it, and use a safer remedy than this activator.
How to make birch bark chewing gum?
To prepare chewing gum at home, follow a simple procedure:
- Collect birch bark in advance in the forest beforehand. This is done in the summer after the juice of the movement.
- Dry the punishment.
- Divide it into thin layers.
- Boil the birch gum in cast iron with the addition of butter.
- Make sure that no fire gets inside. To do this, close the lid tightly. Otherwise, the resin will ignite.
- Pour the resulting mass into a bowl of cold water.
- Divide into small pieces and make balls.
Birch gum is very useful for pregnant women. It contains a large amount of trace elements useful for health. Also, this chewing gum improves digestion and aids in better digestion of food. Such gum is in great demand among residents of various villages.
This is how birch gum is made at home!
Tips & Tricks
Slime is a capricious toy that requires constant care to maintain elasticity. In order for the slime to work out and serve for a long time, you must follow the tips:
The sequence of actions must not be disrupted.
Ingredients of the wrong consistency or poor quality should not be selected.
Do not play with the slime with dirty hands or throw it against the walls, floor, ceiling
This will not only contaminate the texture, but will also significantly shorten the life of the slime.
Long-term non-use of the toy can lead to mold, so the more often you play with the slime, the better.
It is necessary to avoid contact with the fleecy surface: the slime will absorb all the debris.
When making slime from gum, it is important not to overdo it with kneading the mass.
To increase the service life of a chewing gum slime, you need to pay special attention to storage: avoid hypothermia, high temperatures. It is better to store the toy in a separate container with a tight, resealable lid.
If the slime begins to harden and loses its elastic properties due to dry air, add water and, if necessary, re-knead the mass. The use of a small amount of table salt will help to get rid of excess moisture.
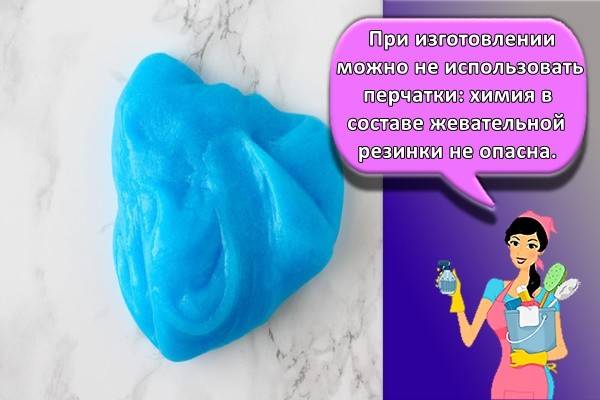
Making slime from gum is a simple process that everyone can do. This is not just a child's toy: playing with a slime has a beneficial effect on the development of fine motor skills. And some examples are even of practical importance: cleaning clothes from adhering lint, cleaning the keyboard from dust. And absolutely everyone is able to relieve stress, calm the nerves. Such a toy will last a long time if you follow the recommendations given, with absolute safety of use.
p> Share link:
Pros and cons of making chewing gum
Slime making is an exciting activity for a child. Homemade slimes have their advantages and disadvantages.
Pros:
- The cooking process is extremely simple and straightforward.
- You can keep your child busy.
- Making and playing with slimes develops the child's fine motor skills.
- The composition does not include chemicals.
- Costs are minimal and ingredients are easy to find.
- The toy is non-allergenic.
- Smells good.
Minuses:
- Do not give the toy to small children, because they can swallow it.
- Slime sticks to upholstered furniture, carpet, clothing and collects dirt and dust. However, it must not be washed.
- May leave marks on clean surfaces.
- Short-lived.
- Tears easily.
- Sticky.
- Can harden.
Slime is a great anti-stress toy for children and adults. The child can make it himself. Children love to glue slimes to ceilings and other hard surfaces.
Chewing gum slime recipes
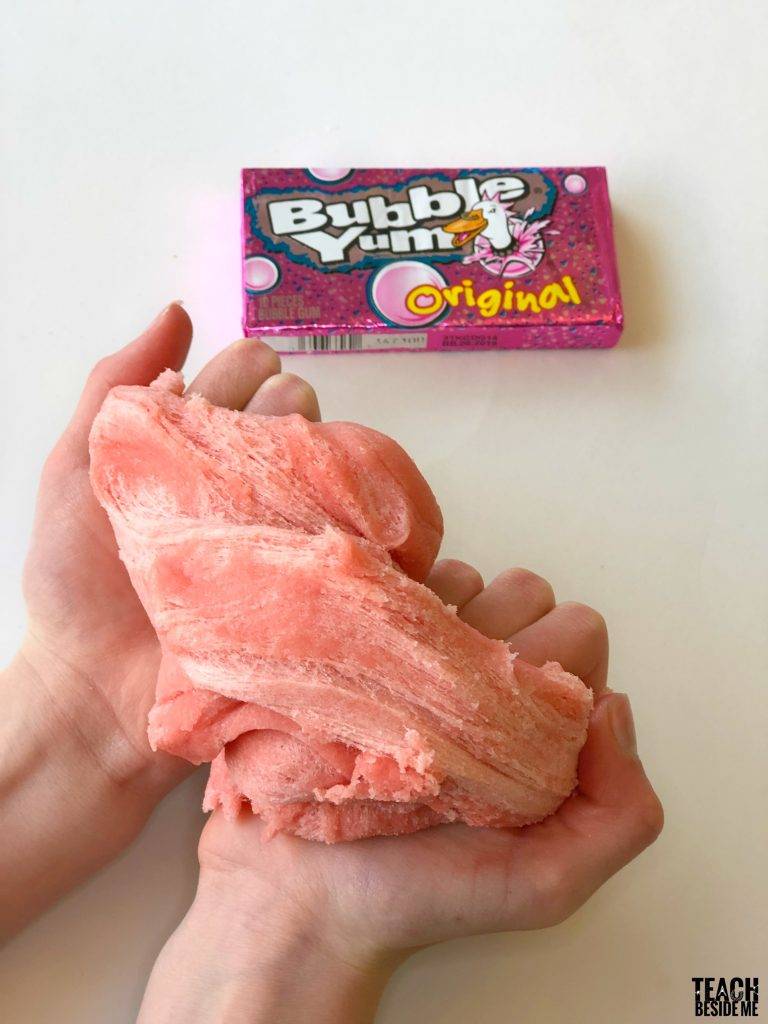
To learn how to make slime from gum, the recipes below will help. Traditional slime can be made from just one gum without adding any other ingredients. This is the easiest and fastest way to make a toy. The main thing is to stock up on a sufficient amount of raw materials. However, it is much more profitable to make a slime with the addition of other ingredients, because the resulting mass for the game will as much as possible resemble a real store slime in consistency.
Toy made of gum and air plasticine
If you mix chewing gum and airy plasticine, you get a fairly light and plastic game mass that resembles a butter slime in texture.
For cooking, prepare the following ingredients and materials at hand:
- ceramic bowl and spatula for mixing the components;
- boiling water (consumption depends on the amount of gum);
- 1 bag of air plasticine;
- acrylic paint or other coloring pigment;
- chewing gum - 10-15 pads.
The following work order is adhered to:
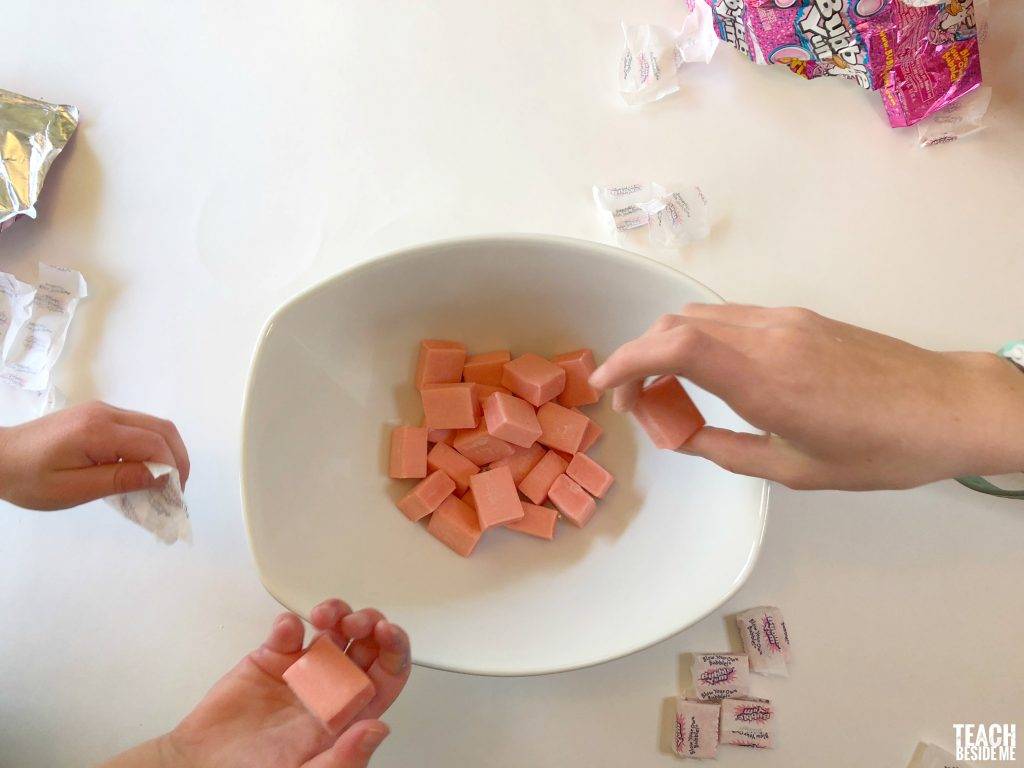
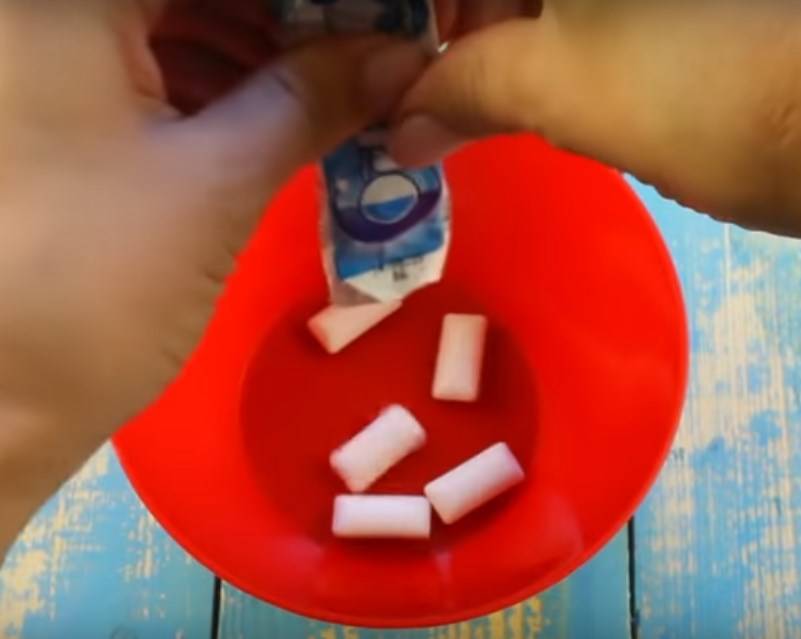
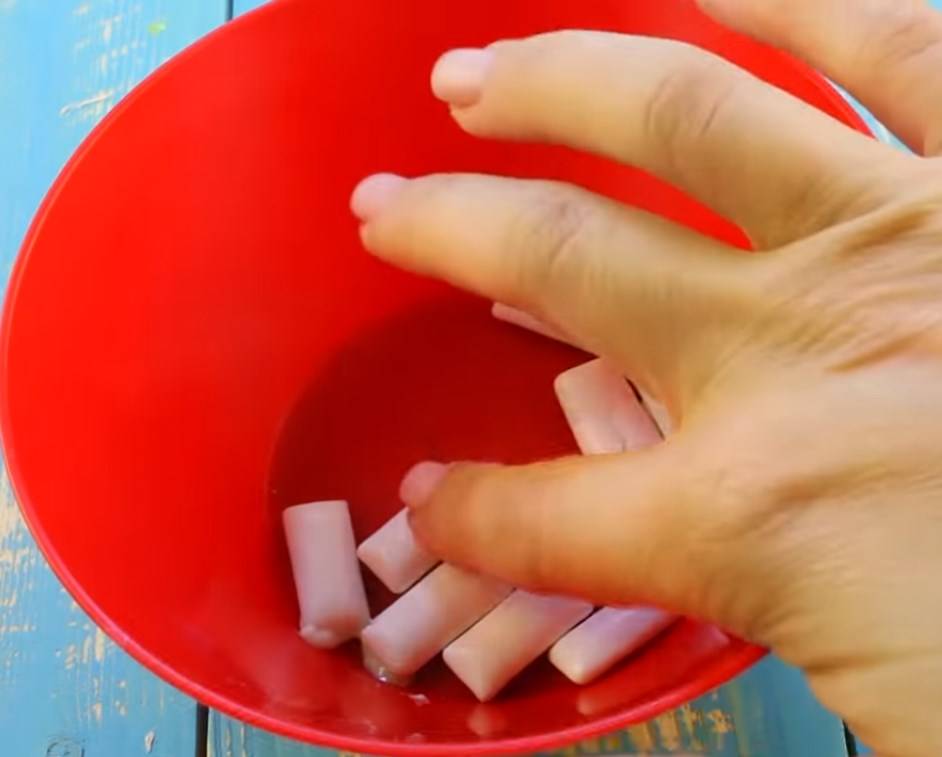
- To begin with, the chewing gum is unpacked and transferred to a ceramic container. To quickly dissolve the glazed coating on the surface of the pads, pour a small amount of boiling water over the gum. The liquid should completely cover the contents of the bowl. After 1.5-2 minutes, the water is poured out.
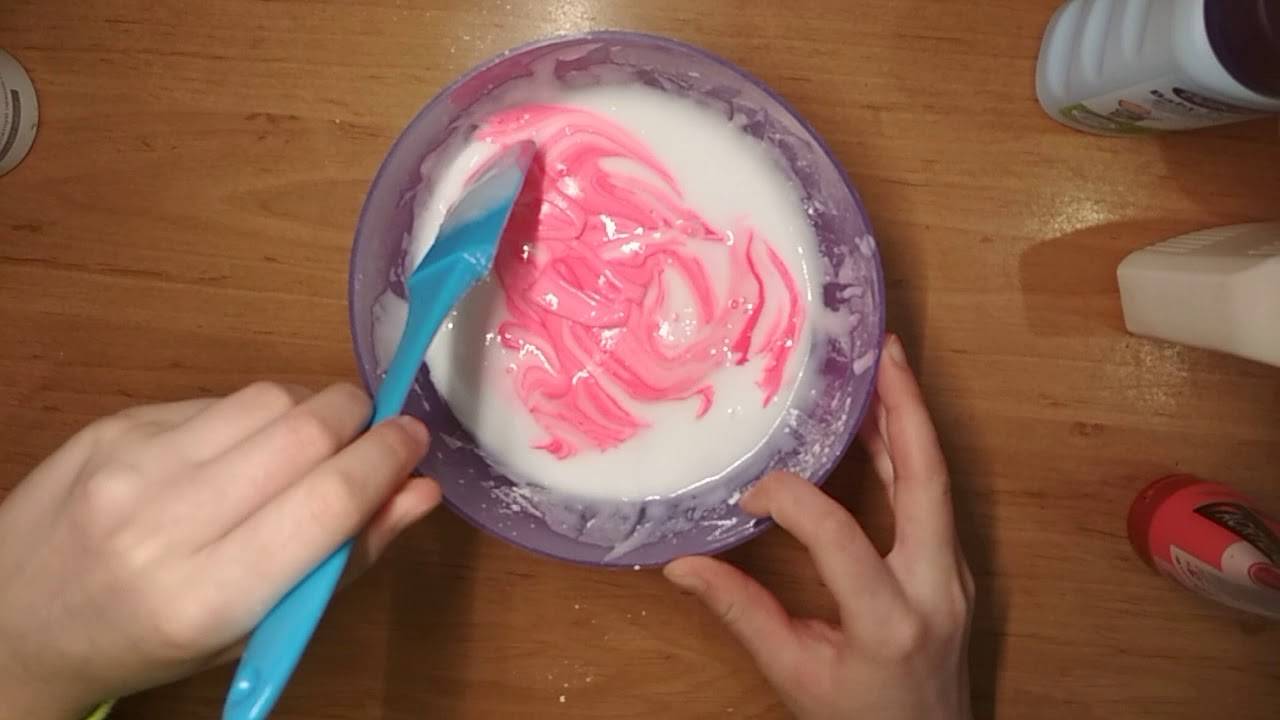
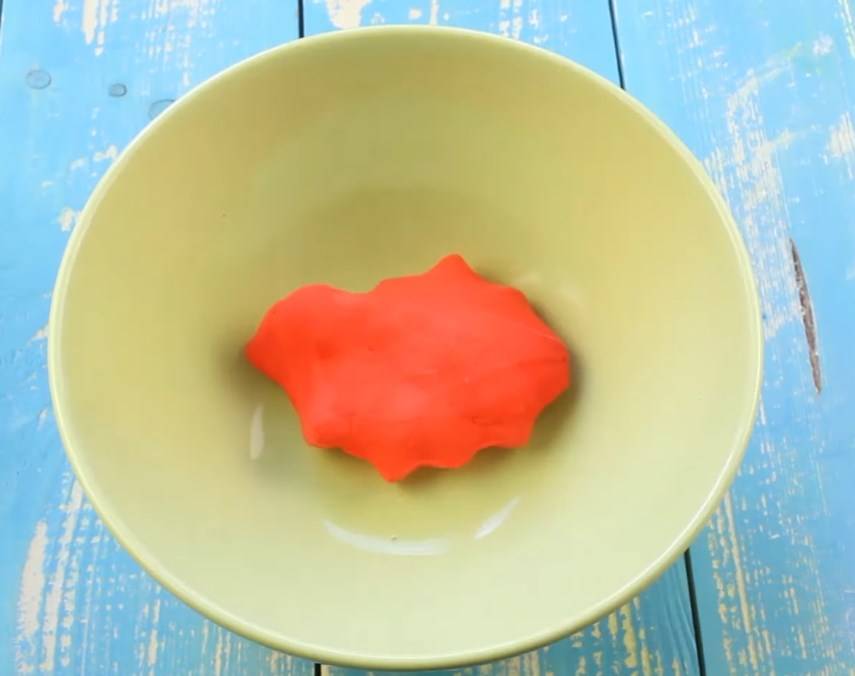
- Stir the mass in a bowl well with a spatula until smooth and add a coloring pigment or paint. All are kneaded until a uniform color is obtained.
- Next, light plasticine is cut into small pieces, which are folded into the same bowl. In this form, plasticine is easier to mix with the main ingredient.
- At first, the mixture is kneaded with a spatula, and then the plastic mass is kneaded well in the hands for several minutes. Now the slime is ready.
With added water
A simple cooking recipe requires the use of the product not in pillows, but in plates. For preliminary softening, they are not poured with boiling water, as described in the recipe above, but chewed. Then the prepared product is soaked in warm water for 10-15 minutes. This will help to achieve elasticity and softness of the mass. After reaching the required consistency, the water is drained, and the slime continues to knead in the hands for several minutes. Store the toy in an airtight container, and soak it in warm water before use.
A simple recipe for making slime from chewing gum
To prepare a toy according to this recipe, you will need about 15-20 gum pads. They are placed in a bowl and poured with boiling water for 5 minutes. During this time, the glaze will dissolve. The water is drained, and the softened mass is first stirred with a spatula, and then crumpled with your hands. The slime will be ready when it stops sticking too much.
Slime from Mentos chewing gum and PVA glue
If you want to get a toy that resembles a store version in appearance and consistency, then you will need a lot more additional components. As the main ingredient, 15 pads of Mentos brand chewing gum are used.
In addition, you will need the following:
- a bottle of polyvinyl acetate glue (can be replaced with a silicate glue mixture);
- shaving foam to achieve splendor - 150-200 milliliters;
- liquid soap, shower gel or shampoo with a high content of lauryl sulfate - 30 ml;
- 15 ml hand cream;
- activator (sodium tetraborate);
- water;
- microwave;
- bowl and spatula;
- decor and coloring pigment (you can do without them).
Slime making procedure:
- Put all the gum pads in a glass or ceramic bowl and cover with warm water. The contents are heated in the microwave for 30 seconds. It may take more or less time, because a lot depends on the power of the oven. It is better to follow the process, stop heating when the gum begins to melt.
- Now shampoo, liquid soap or gel are mixed into the mass. Also pour in the entire portion of the glue and mix thoroughly until smooth.
- Now it's time to add shaving foam and hand care cream. After mixing the ingredients, pour in the decor, if it is decided to use it.
- Finally, an activator is introduced to thicken the mixture. The exact amount depends on the desired density, so sodium tetraborate is poured in dropwise. After the next portion, the mass is kneaded. Once the mixture is easy to come off the bowl, no more thickener is added.
- At the final stage, the mixture is first kneaded well with a spatula in a container, and then they continue to knead in their hands. The resulting toy will smell good, retain its splendor and elasticity for a week.
How to make "smart plasticine" at home?
There are a huge number of recipes for making handgam at home. But here is a small selection of the most effective, proven, and most importantly, the simplest recipes:
- Mix 1 tablespoon of toothpaste with liquid soap and add 5 teaspoons of flour. Stir and knead the consistency in your hands until you get a gum.
- For this recipe, we need 100 ml of warm water, which must be mixed with starch to a consistency that looks like sour cream. And then add PVA glue and mix. You can add dye to the color.
Basic recipe
No matter how many new recipes for making handgam appear every month, the basic recipe remains unchanged, thanks to which you can prepare a chewing gum most similar to the one sold in the store.
So, to prepare chewing gum for hands, we need:
- capacity;
- plastic bag;
- dye (optional);
- 1/4 cup water
- fresh PVA glue (about 100 gr);
- sodium tetraborate.
- Pour water into a previously prepared container, and then add glue and mix thoroughly.
- Then add sodium tetraborate, gradually and as it thickens.
- At the same time, we add dye if we want our gum to be colored.
- After all these stages, we just have to put the resulting consistency in a plastic bag, which must be sure not to forget to tie, and thoroughly knead the contents in our hands.
Reference! After a while, when the composition becomes homogeneous, the gum will be completely ready and you can hardly distinguish it from the usual purchased one.
No glue
You can make “smart plasticine” without the use of glue. Well, more precisely, we can prepare the content that can replace it. For this we need:
- capacity;
- plastic bag;
- dye (optional);
- flour (100 gr);
- ethyl alcohol (25 g);
- gelatin (7 g);
- water (70 gr);
- glycerin (7 gr).
- Before starting the preparation of gum for hands without glue, we need to leave the gelatin to soak in water for one night.
- Then we need to build a "water bath" and install a container with gelatin on it and bring it to a boil.
- Gradually add flour to the mixture and mix thoroughly. But do not be afraid when the mass does not acquire a homogeneous consistency, since when combined with flour it will become homogeneous only after one hour of time.
- Then we pour in glycerin and alcohol, mix everything thoroughly again and leave to warm in a "water bath" for about 30 minutes.
- After all this, we remove the container and cool, and then pour the mass into the bag and knead, giving the mass the consistency of gum.
When you realize that the mixture has reached the desired consistency, you can safely take it out.
Without tetraborate
Handgam can be prepared without using sodium tetraborate.For such a recipe, we will need:
- capacity;
- plastic bag;
- 1 package of gelatin;
- water (250 ml);
- plasticine;
- wand;
- green stuff.
- At first, we do not pour all the water into the container, but only half. That is, 150 ml. We need to put a container of water on fire and bring it to a boil.
- Gradually add the gelatin to the hot water and slowly stir the mixture with a stick. If the gelatinous mass begins to thicken, then we should turn down the heat to the very minimum. After 7 minutes, we should remove the container from the heat.
- Let the consistency cool down a little, and in the meantime we pour 100 ml of water into another container and also bring it to a boil.
- We need to pour the mixture with gelatin into hot water.
- We begin to sculpt small balls from plasticine (choose a color as desired) and gradually throw plasticine balls into the boiling liquid.
- Reduce the heat again and mix the contents until the plasticine balls completely dissolve.
- Add the gelatinous mixture to the hot liquid, mix everything thoroughly again and add a couple of drops of greenery.
- Let the mass cool down a little, then put it in a bag and already begin to knead the consistency with our hands until we get a full-fledged chewing gum for the hands.
Chewing gum
Believe it or not, hand gum can be made from real chewing gum! And it's easier than you think. For cooking we only need:
- capacity;
- a pack of chewing gum;
- water (arbitrary volume).
Since the chewing gum plates are quite tough in themselves, we need to put them in boiling water. After about 10 minutes we can take them out and knead them in our hands.
Well, our chewing gum is ready for hands, one might even say that in the literal sense. You can add glitter to it or paint it with dye (mono use gouache). And most importantly, the gum for the hands of the gum is not inferior in quality to the previous recipes.
What gum are suitable for making slime?
Before making a slime out of gum, let's figure out which types of gum are suitable for this. The consistency and plasticity of the finished toy is largely dependent on the selection of a suitable base ingredient. Chewing gum should be soft and elastic enough to form a plastic mass for play, not a bouncy ball.
It is equally important to pay attention to the production time of the product, since it depends on how long it will be possible to play with the plastic mass.
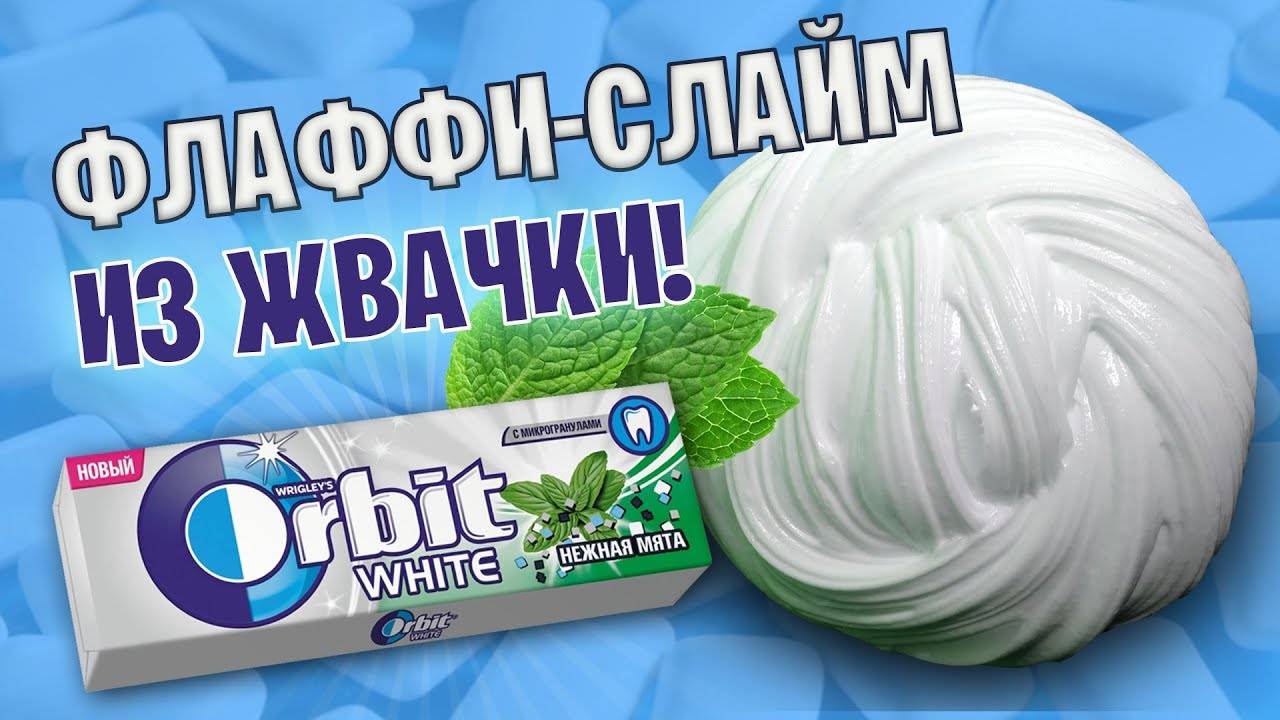
To make a slime, use a gum of sufficient firmness with a minimum content of flavors and sugar. Usually it is poorly chewed at first, but later becomes rather soft. The best option is to make a slime from Orbit and Dirol rubber bands. At first glance, it seems that soft chewing gum is more suitable for making slime yourself. In fact, after mixing with other ingredients, they acquire a too liquid consistency, stick strongly to different surfaces and hands.
The use of chewing gum with minimal sugar and flavors is also no coincidence. The more sweet ingredients and flavors in a product, the higher its stickiness. Such a slime will get your hands dirty and everything it comes into contact with.
Some home craftsmen do not use new chewing gum, but an already used product to make slime. This option has several advantages - the gum was first used for its intended purpose and enjoyed the taste sensations. The gum is not as sticky and sweet as it was freshly unpacked.
Making a magnetic slime

Using this method, you can create an unusual toy that will be attracted to a magnet. You can add phosphoric paint to the composition, thanks to which the product will glow. This recipe requires the following components:
- magnet;
- PVA glue;
- starch in liquid form;
- magnetic shavings or iron powder;
- mixing container;
- gloves.
The toy is made like this:
- Put on gloves first.
- Pour a quarter cup of liquid starch into a container, which must be disposable.
- Add two tablespoons of magnetic shavings or iron powder.
- Mix everything until smooth.
- Add a quarter cup of glue and stir well.
- Knead the slime with your hands for a few minutes to form it.
- If the toy is too runny, add a little starch.
Now you can take a magnet, bring it to the slime and look at the finished result.
Magnetic slime can be made without starch, this is described in this video:
PVA
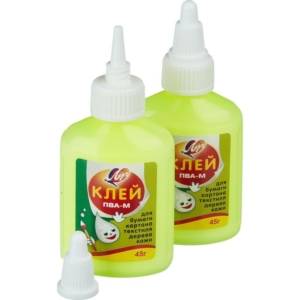 Slime made of water and PVA is very easy to make at home, you just need to adhere to a certain algorithm of actions:
- Pour 100 ml of glue into a deep container.
- Pour in 50 ml of pure water and stir well with a spoon or spatula.
- Add a little dye: potassium permanganate, coffee or iodine. Stir the mixture thoroughly again so that the dye is evenly distributed.
- Add a few drops of boric acid gradually.
- Knead the slime with your hands until it becomes viscous and elastic.
The finished toy is capable of changing its properties: in the hands it spreads, soft, jelly-like, but if you throw it on a hard surface, it will immediately become dense, rigid.
Slime can be stretched and crumpled, it easily restores its original shape.
How to make a Fluffy Slime with your own hands: step by step instructions
Let's take a look at how to make a Fluffy Slime in detail. We will not need so many components, and most importantly, they will certainly be at your fingertips. So let's get started quickly!
Ways to rework a regular slime
First, let's look at how you can make a fluffy slime from a regular slime so that it becomes softer, crispier and more clicky.
To do this, try adding various ingredients to a simple slime:
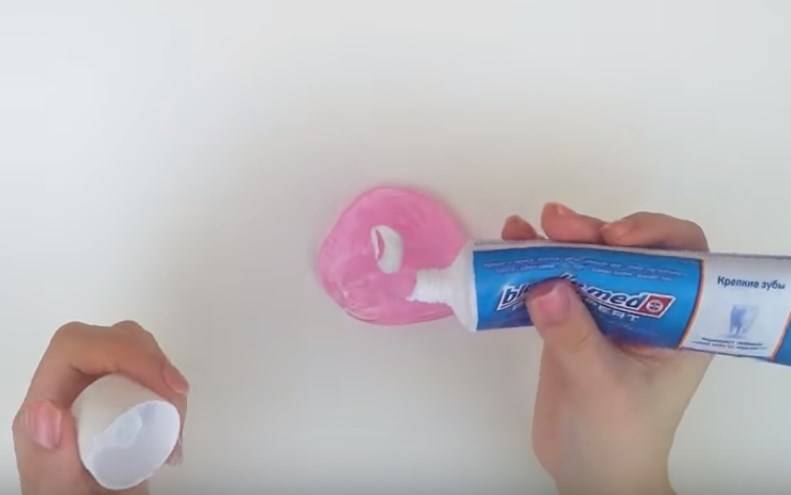
- add toothpaste, literally in a small ball, until you feel the tenderness you need;
- you can also mix shaving foam into the hand gum and you will be delighted with the unusual exclusivity of your toy;
- hand cream is well suited for this business, mix it well with the slime (the consistency of the cream should be slightly watery, then your new work will come out in the best possible way).
No shaving foam
What do you need:
- PVA glue, 50 grams;
- shampoo, 30 ml;
- sodium tetraborate, 0.5 tube.
Method of execution:
- Beat the shampoo well until a stable foam is formed.
- Gradually start adding glue to it, also whisking.
- Then add sodium tetraborate while stirring. The liquid will begin to curdle.
- Take the mass in your hands and knead until you achieve the result.
Sodium tetraborate free
A simple way to make Fluffy Slime without sodium tetraborate.
What do you need:
- PVA glue, 50 grams;
- starch or soda, 1 tablespoon;
- water, 100 ml;
- food coloring.
Preparation method:
- First, we combine water and starch (or water and soda) into a single whole, adding a dye there.
- Then add glue and stir until a homogeneous viscous mass is formed.
- The best way to mix it all is in a slider package.
From glue "Ray"
We offer the most affordable simple way to make slime.
What do you need:
- PVA glue "Luch", 8 tablespoons;
- liquid soap (thick consistency), 1 tablespoon;
- lens fluid as needed.
The main stages of preparation:
- Mix the glue and soap together until the whole mixture is smooth.
- We pour in an activator (liquid for lenses) there.
- Knead well and knead with your hands.
From PVA glue "Luch" and sodium tetraborate
And this is a method of how to make Fluffy Slime from Ray glue from tetraborate, thanks to which the slime comes out exactly like a store one.
What do you need:
- PVA glue "Luch", 100 grams;
- sodium tetraborate, bottle;
- dye.
The main stages of preparation:
- Pour the dye into the glue in small portions, stirring constantly, and add sodium tetraborate.
- When the mixture reaches a jelly-like state, blot it with a tissue to remove excess moisture.
- Transfer the resulting delicate lump into a tight bag and knead for about five minutes.
From PVA glue "Luch" with water
What do you need:
- PVA glue "Luch", 100 ml;
- hot water, 200 ml;
- water at room temperature, 2 tablespoons;
- boric acid, half a teaspoon;
- decorations as desired.
Manufacturing steps:
- Stir hot water and boric acid until perfectly clear.
- In another container, dilute the glue and 1 tablespoon of water until homogeneous.
- Then, gradually (in small portions), add the liquid solution with boric acid to the glue, stirring thoroughly.
- Take the slime in your hands and knead it until the mass is what you need.
From shampoo and PVA glue "Luch"
An option for preparing a very bright unusual slime from the available components.
What do you need:
- PVA glue "Luch", 60 grams;
- shampoo, 40 ml;
- dye;
- sparkles.
The main stages of preparation:
- Pour shampoo, glue into a tight slider bag, adding dye and glitter immediately.
- Knead well until a homogeneous consistency is formed. Ready!
Manufacturing option from light plasticine
Consider how to make Fluffy Slime out of light plasticine. This new kind of plasticine, with an excellent silky texture, is super lightweight and is ideal for fluffy hand gum.
What do you need:
- light plasticine;
- PVA glue, 50 ml;
- corn starch, 10 grams;
- hand cream (with a thick oily texture), 5 tablespoons;
- shampoo (thick), 3 tablespoons;
- lens fluid, teaspoon;
- the water is cold).
Step-by-step instruction:
- Stir, gradually adding to the glue, first the starch, then the hand cream.
- Separately, shampoo with water should be crushed into foam.
- Combine both mixtures by adding lens fluid there, creating a homogeneous mass that will begin to thicken.
- Knead this mixture with your hands and add light plasticine to it (two parts of the mass - one part of plasticine) and mix until tender.
Sequence of work: instruction in Russian
Most of the instructions in a foreign language start with the phrase to make a colorful slime, which means "create colored slime." In this paragraph, the manufacturer lists what needs to be done to prepare the toy.
When the phrase your own lab is encountered, the next is the listing of the ingredients. The instruction also contains colorful or black and white pictures-diagrams, where you can see in stages what should happen if you act in accordance with the instructions.
To obtain a colored or shiny slug, the user is prompted to mix the ingredients from the kit together and add water. After that, the contents of the cooking container are taken in hands and wrinkled.
If you come across a kit called DIY Slime Case Storage Kit Playset, then inside the box you can find:
- 6 sachets of the basic composition of powder for the manufacture of slime, including colored and metallized options;
- 2 bags with small glitter;
- 3 packs of confetti;
- 3 containers for preparation of the composition;
- plastic stirring stick;
- a sheet with colorful stickers for containers;
- instruction sheet;
- bonus - 3 funny miniature toys.
The more expensive the slug set, the more ingredients it contains. Step-by-step cooking recommendations look like this:
- take a mixing container;
- pour component A there;
- add component B to it;
- stir the ingredients with a stick;
- add water;
- stir;
- add glitter or other decorative elements (optional);
- stir;
- take the toy in your hands;
- remember in the palms while trying the density.
If the recommendations were followed clearly, then the slime can be played after that. Store the hand gum in the refrigerator in a jar with a hermetically sealed lid.To prevent the toy from getting dirty, take it in clean hands and do not throw it on a dirty floor or fleecy surfaces.
Tips & Tricks
Even when creating such a toy, safety precautions are observed. This is due to the fact that the composition contains household chemicals. Some tricks will help "revive" the slime:
- Loss of structure and sticking to hands. Over time, the slime loses its consistency. A couple of drops of tetraborate will solve the problem.
- The slime is divided into parts. In this case, the mixture must be hardened. The ideal option is to use glycerin. You can take it not in pure form, soap with its content will come in handy.
- Resizing. A pinch of salt will preserve the volume of the slime and it will not decrease. It is added to the mass together with water. After that, the toy is kneaded with hands. It is useful to repeat the procedure every 4 days, as this will preserve its properties.
You can return the toy to its original shape at home. Better yet, maintain the consistency so that it doesn't change and you don't have to constantly add different ingredients. Slimes are not stored at high temperatures. For the time when the toy is not in use, place it in a tightly closed box in the freezer. The cold does not destroy the structure, in contrast to high temperature indicators.
Share link:
How to make chewing gum at home?
To prepare this delicacy, you should choose one of the following cooking methods.

Homemade chewing gum recipe
In this section, you will find 3 options for making chewing gum at home.
Standard Simple Recipe # 1
Ingredients:
- Food gelatin in the amount of 25 grams.
- Water - 100 ml.
- Any fruit juice 120 ml.
- Sugar - 240 gr.
- A special flavoring agent of your choice.
- Lemon.
- 20 grams of cornstarch.
Manufacturing process
The first step is to cook the sugar syrup. To do this, add 100 milligrams of water to a special container and pour 240 grams of sugar. Simmer until the granules dissolve. At the end of this process, you will have 270 ml of ready-made syrup.
The next step is to pour juice into a glass and put it in the microwave for 30 seconds. In it, he must warm up. Pour gelatin into warm juice and leave to infuse. It needs to be swollen.
The previously obtained sugar syrup must be heated to 500 degrees. Add fruit juice, gelatin, and cornstarch to it. Then mix everything thoroughly so that you get a homogeneous mass.
Any color or flavor can be added to the resulting mixture. Stir as soon as you do this. Then pass through a sieve or cheesecloth folded in several layers. Now it remains to pour into molds and refrigerate for 7 hours.
This recipe for homemade gum will bring a lot of pleasure!
Recipe number 2 from gum base
Composition:
- Any food coloring.
- Gum base is a chewing base (base) - 35 grams.
- Maple syrup or honey - 25 grams.
- Powdered sugar in the amount of 40 grams.
- Any flavored additive.
The process of making chewing gum at home
First, place the gum base in a saucepan and keep it warm on a hot surface. Can be put on a stove or microwave oven. After the mixture has warmed up a little, pour honey or maple syrup into it. Stir with a wooden spatula. Now pour 20 grams of powdered sugar into the solution. You can add any flavor you like. Pour the remaining 20 grams of powdered sugar onto the table. Roll the heated gum base in it.
Now knead the dough from the finished gum base. Next, shape an object that looks like a snake or sausage. Cut it into small pieces and send your freshly made homemade gum in the refrigerator for 2 hours. As you can see, making chewing gum at home is very easy!
Recipe # 3 or how to make corn syrup chewing gum ?!
Main components:
- Chewing gum base 30 grams.
- Dye of your choice - 3 gr.
- Corn starch - 45 gr.
- Corn syrup - 25 ml.
- Additive for flavoring.
Description of the process of making homemade gum
Place the gum base in the microwave oven. Preheat for 2 minutes. Heating power should be medium. After this time, our base should become soft. Then place the corn syrup in it. Now stir. You should get a homogeneous mass. You will get a doughy substance. It needs to be kneaded in starch. Next, you need to knead until a state of ductility appears.
Add an aroma or dye to the plastic mixture. Stir. Now cut into slices that look like real chewing gum. Then they need to be placed in the refrigerator for 5 hours or more.
In the end, these three recipes will help you make your own chewing gum at home.
Recipe number 4 - fruit gum at home
Cooking process
Wash all fruits thoroughly. Peel and slice them. Place all of this in a suitable container. Pour boiling water over and leave to stand for a while.
Next, you should cook this mixture over low heat for 20 minutes. When the fruit is boiled, drain the compote. You can drink it.
Add sugar and continue cooking until thickened. Pour gelatin into the resulting mass. But first it should be dissolved in water. Stir.
Saturate a board or table with sunflower oil and lay out the thick mass. Let it freeze.
Advantages and disadvantages
Like any other homemade slime, this slime has pros and cons. A chewing gum slime has more advantages and is suitable for any child to play.
Positive sides
- the creation of a slime takes little time;
- you can have fun with your child, helping him;
- stretches well and sticks;
- many components are not required;
- chewing gum is sold in any store;
- you can immediately make a colored slime by buying a chewing gum of the desired color;
- simple recipe;
- jewelry sticks well and does not fly off it;
- the composition does not contain chemicals;
- safe for the child;
- does not require large expenses;
- pleasant smell that you can choose yourself;
- a toy made with your own hands is much more pleasant and exciting to play than a store one.
disadvantages
- slime is too sticky and leaves marks on furniture and clothes;
- a lot of gum will be required for a normal size;
- does not mix well with ingredients such as shaving foam, toothpaste;
- it is not always possible to make a slime the first time;
- the slime will quickly lose its shape and become unusable, you will have to make a new one;
- can become very tangled in hair;
The slime must be looked after, "fed" with water and salt, stored in a jar with a lid and not left in the sun or frost. The toy will stick well and stretch for about 1 week, after which the slime will lose its shape and you will need to make a new one. You cannot leave it on the carpet or sofa - it can stick, and then there will be big problems, because the trail of gum will be problematic to remove with simple means.
Video
Flour
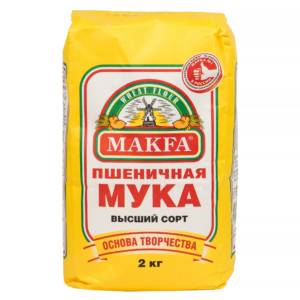 Slime making instructions:
- Pour 500 g of flour into a deep container, it is better to sift it first.
- Gradually pour in one glass of ice water. Then add two tablespoons of vegetable oil.
- Tint the composition with berry or fruit juice.
- Knead the mass with your hands until it acquires a homogeneous consistency.
- Close the slime with a lid and place in the refrigerator for ripening. The toy will be ready in two hours.
Even small children can play with a flour and water slime. It is completely safe for health, since only natural ingredients are used in its production.

