How to wash your hands of dye
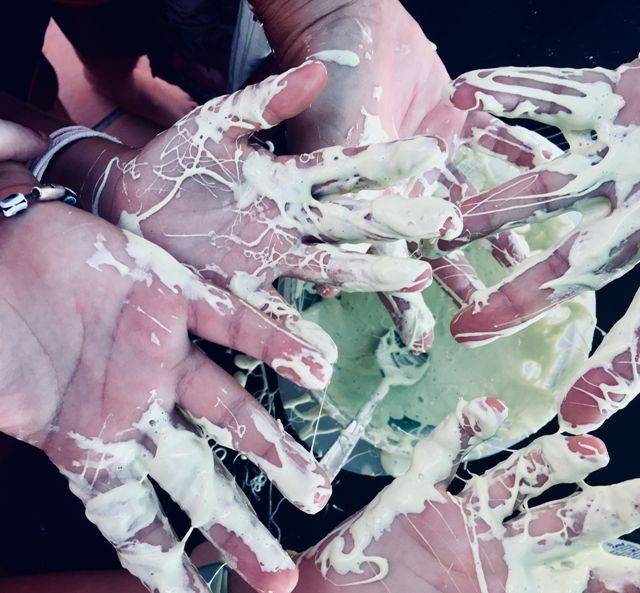
Depending on the thickness and shade of the paint, you will need to wash your hands:
- Warm water and soap. Lathering the skin and rubbing it with a sponge or a stiff brush is an effective way to remove gouache, acrylic, food coloring.
- A solvent is required if building mortars have been used for touch-up. Apply a drop of solvent to a sponge and rub the painted hands. Wash off with plenty of warm water and soap. To avoid irritation, apply a moisturizer to your hands immediately after the procedure.
- Ammonia or hydrogen peroxide. These components of a home first aid kit are an effective remedy for whitening hands after contact with dyes. You will need to apply peroxide or ammonia to a cotton swab, and then apply it to the painted areas for a few minutes. After contact with peroxide, the skin will temporarily redden, so you need to wash it with soap and water and apply a moisturizer.
Possible reasons
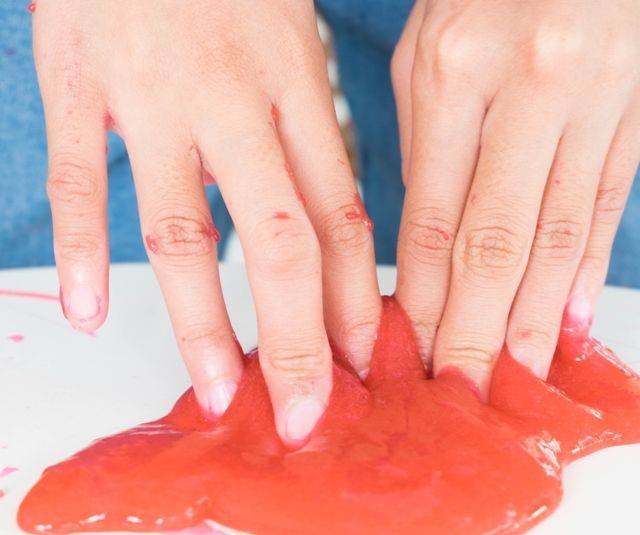
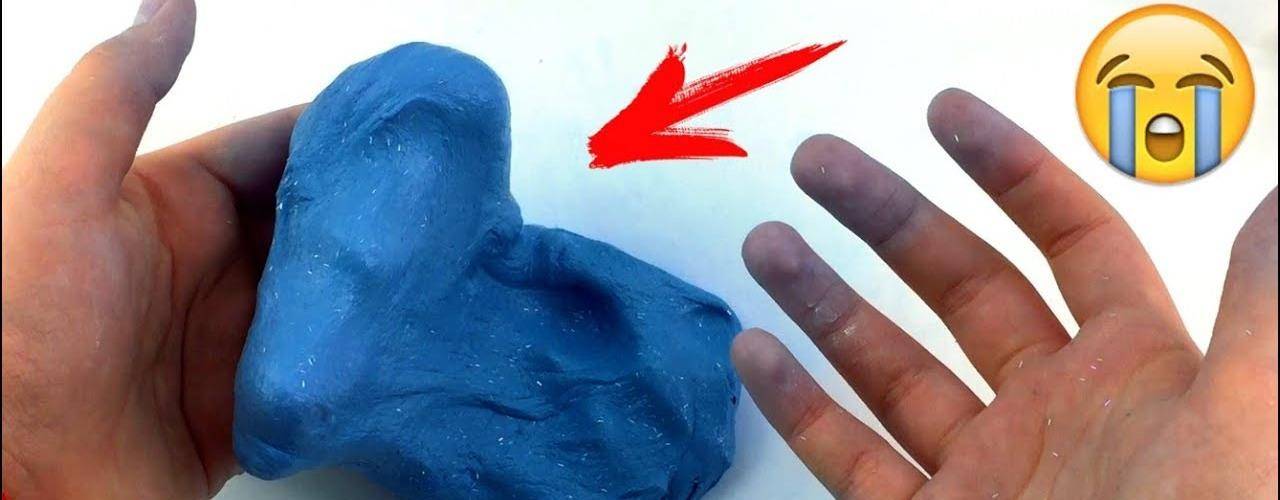
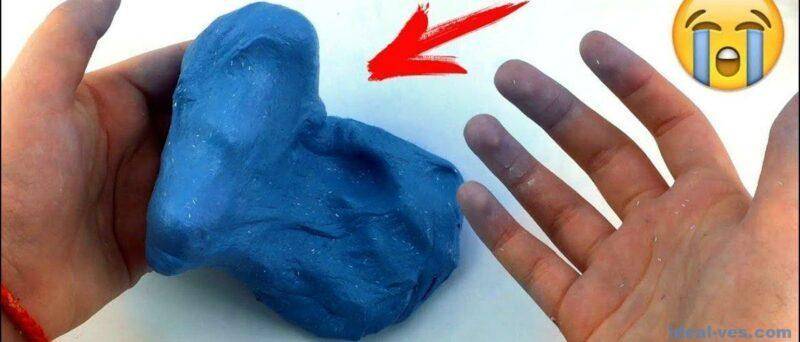
If your hands get dirty because of a store slime, the reason is its poor quality, the manufacturer's dishonesty. Home slimes are dyed due to a number of other reasons: improper dyeing technology, low-quality dyes, their excess, as well as due to heat exposure. Homemade slime often gets your hands dirty due to excess moisture caused by overfeeding.
Violation of cooking instructions
Stages of preparing a hand trainer:
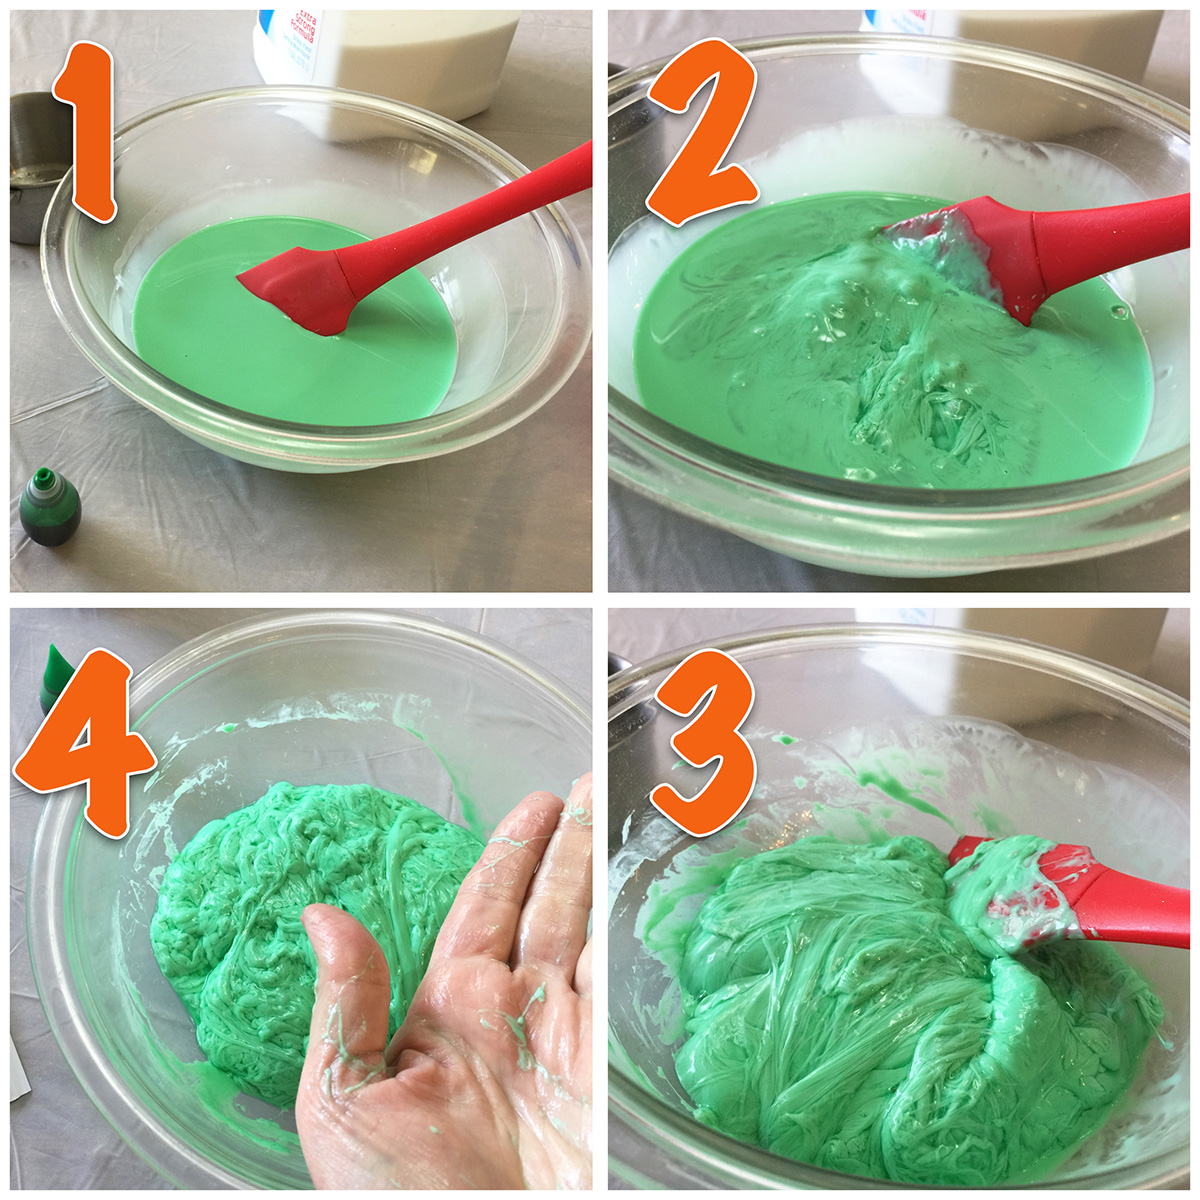
- Mixing the base: glue, shampoo, plasticine, shaving foam and other ingredients.
- Adding a thickener, kneading until the slime is ready.
The dye is added in the first step so that it is absorbed into the mixture as it thickens. If you add paint to the slime after the toy is ready, you will have to wash the stains after each game.
Excess paint
To make the handgum brighter, the slimers add more paint than the recipe says. This cannot be done, since the excess dye is not absorbed into the base. When it thickens, part of it does not merge with the slime, getting your hands dirty during further play.
Influence of heat
Slime melts during the game from exposure to heat. Direct sunlight is dangerous for toys - they also lead to melting. At the same time, part of the paint leaves the hendgam together with the water. It stays on surfaces that are used for playing.
Overfeeding
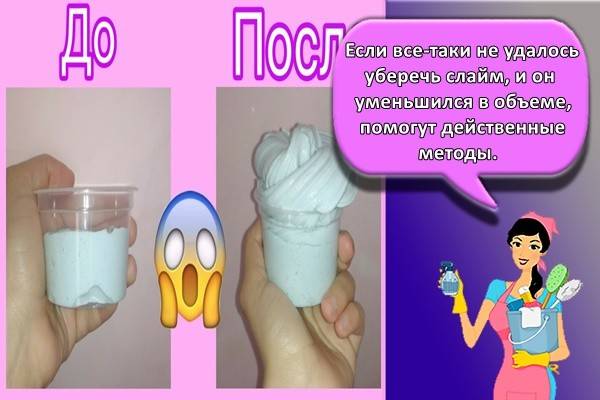
To prevent loss of size, add 2-3 drops of water to the container with hand gum. This is called top dressing. If the toy is saturated with excess moisture, it will become sticky, and some of the paint will be released along with excess water.
How to prevent slime from hardening?
So that there are no questions about what to do if the slime has dried up and why it breaks, before use, you need to familiarize yourself with the basic rules for the care and storage of anti-stress toys.
They are as follows:
It is required to store the product in a container tightly closed with a lid at a temperature of + 2 ... 4 ° C. A refrigerator is suitable for this, and at a lower temperature the mass can freeze, at a higher temperature it can steam up and turn sour (an unpleasant specific smell will appear).
You can't play with Ninja Slime for a long time
As soon as it begins to lose elasticity, it is placed in a jar to cool down.
It is not allowed to leave it outdoors.
Particular attention is paid to feeding. With proper feeding, the slime will last a long time.
You can feed it no more than 2 times a week with 1-2 pinches of salt and water. Do not add flour or starch to it, otherwise bacteria will appear inside the viscous mass, which will lead to damage to the toy.
To preserve the properties of the slime, it is necessary to periodically carry out preventive measures.As soon as it becomes too liquid and starts to stick to your hands, add a few drops of the thickener. If you add a lot of sodium tetraborate, it will harden and tear. No more than 3 drops of activator are allowed.

It is better to purchase a collection of Ninja slimes or certain types from trusted and reliable suppliers that provide quality certificates so as not to buy a fake.
Video
What to do with a slime that gets your hands dirty
You can correct the situation by thoroughly washing the slime and adding a few drops of vinegar or ammonia to it to strengthen the paint. It should be borne in mind that from such an additive, slime sometimes loses its plasticity or, conversely, begins to stick to the hands.
The addition of thickeners - sodium tetraborate, starch, salt, soda - leads to similar changes. Therefore, they are used if the slime not only paints the hands, but also sticks to them.
The stickiness problem in combination with hand painting will disappear when the owner of the slime follows the instructions for use and storage. You can play with slime for 2-3 hours a day, and after that, be sure to place it in an airtight container and put it in the refrigerator. Overnight, the toy will regain its consistency, stop sticking to your hands, and also will not stain them with paint.
If the situation cannot be corrected, the toy will have to be thrown away and a new one prepared. When creating a new slime, take into account mistakes and adhere to the recipe, and also use a minimum amount of dye. You can even give up paint altogether - then you definitely won't have to deal with the problem of hands soiled during the game.
Why does slime stick to your hands?
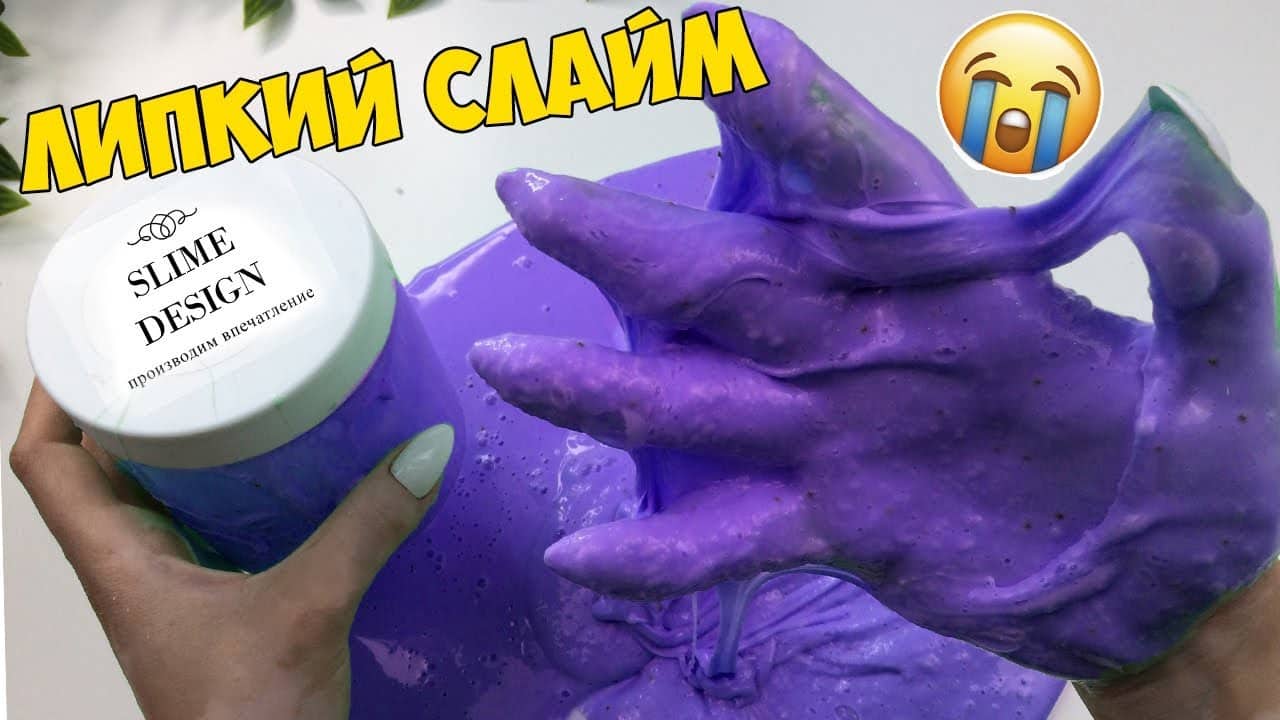
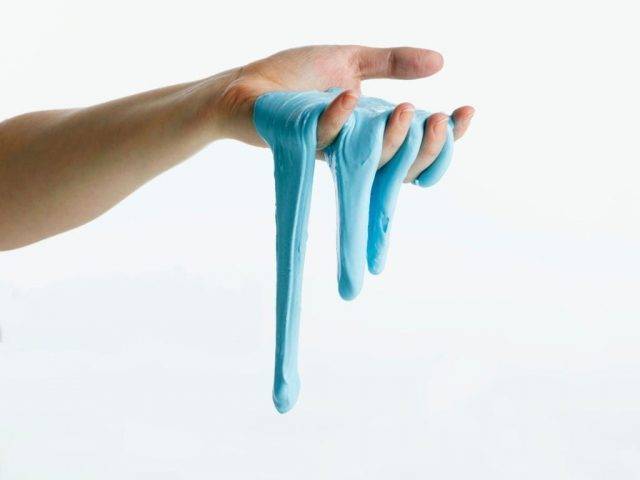
Sometimes the slime can become unpleasant to the touch and not too stringy. This can be fixed, but first you need to understand the reasons why the slime stuck to your hands.

Violation of instructions
If you buy slime in cheap stores, then you will surely face this problem. Most often, a cheap product was either stored in a warehouse for a very long time, or as a part of low-quality components.
Broken recipe
There are a huge number of recipes on the Internet, and they are all from different components. But some are fundamentally wrong and they cannot make a good slime. Use only proven recipes and reliable sources.
Excess paint and heat effects
Slime can deteriorate, and therefore begin to stick to your hands if stored for a long time in a warm place. The sun's rays are bad for the ingredients in the slime. The same can be said for excessive cold.
Overfeeding
Very often on the Internet there is advice on "feeding" the slime. Yes, this is an effective way to prolong its life, but you need to remember that there is only one product that is suitable for this role - salt. The rest of the ingredients will only spoil the composition and you will have to say goodbye to your toy.
Expiration date
All products have an expiration date, so don't forget about that. After this date, the slime cannot be restored. In this case, it is better to buy a new one or make it yourself at home. Shop slime can be stored with proper care for 3-6 months, and homemade slime - 2-30 days.
How to fix a DIY slime?
Let's look at what to do if the slime sticks to your hands, how to fix the situation.
Clean off dirt
After playing or while playing, children put the slime on dusty shelves or roll it on the floor. Dirt accumulates in the slime, which spoils the appearance and properties. You can remove dirt with tweezers or under running water.
Dry
Put the slime in a container without a lid and leave it for a couple of hours, so it can get rid of a little moisture and become less sticky. You can put it on a landscape sheet, most importantly, not on a thin napkin, so that the slime does not absorb the fibers.
Knead
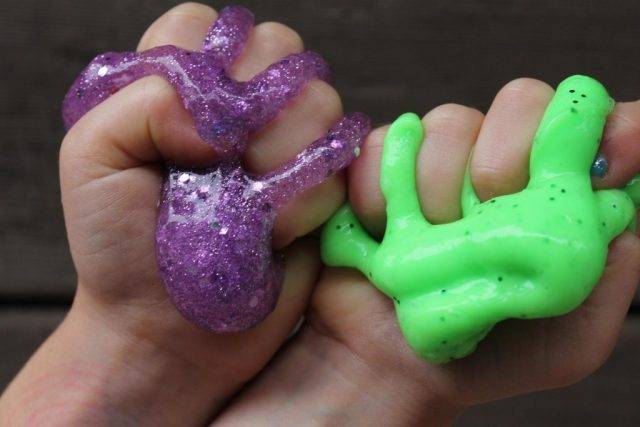
After preparing the slime, it is recommended to knead it in your hands for 15 minutes, but some forget about this rule, as a result - a sticky toy.Store antistress can also be made more viscous in this way.
Sodium tetraborate or borax
It is the most effective thickener for all types of slime. You will need one or two drops. If you go too far with this substance, your hand gum will turn out to be rubbery and completely unpleasant. You can replace the product with lens fluid or air freshener.
Soda solution
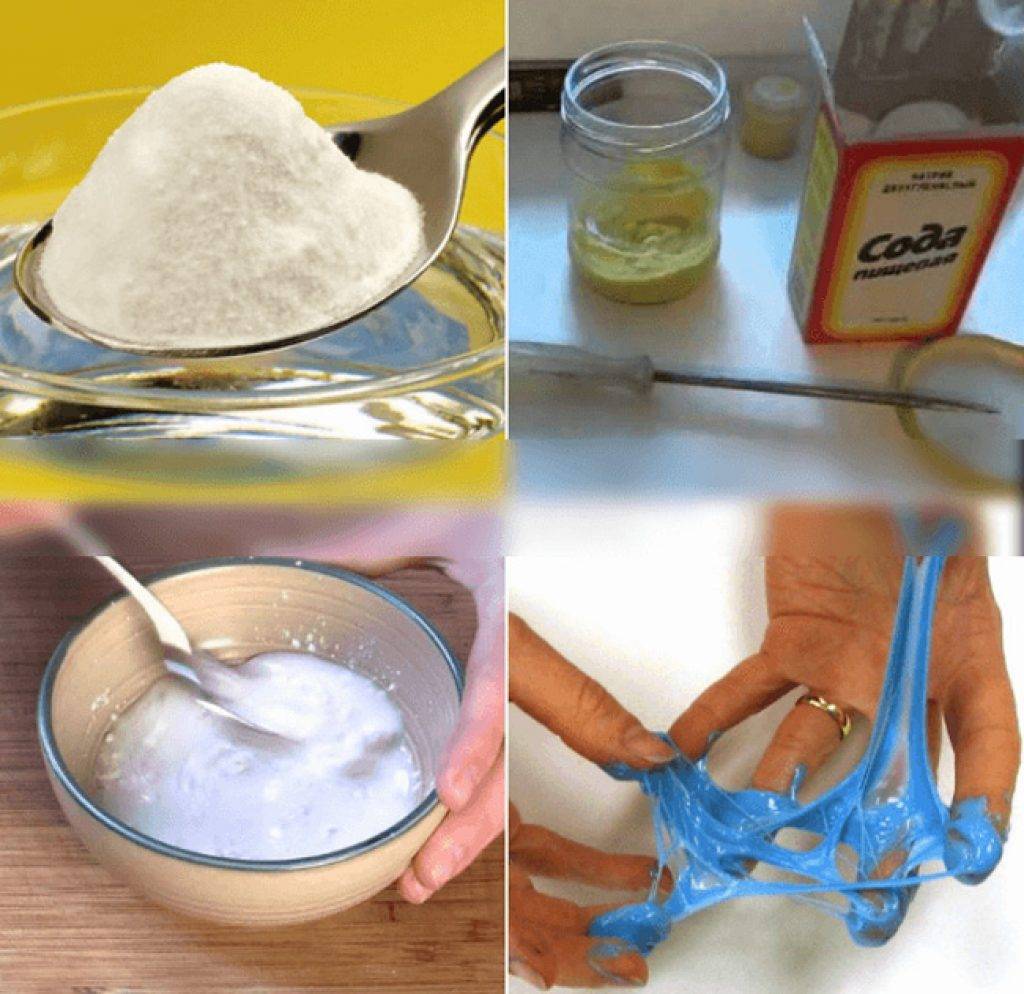
The most famous and popular baking soda recipe. It is safe even for toddlers, which is why it is often added to homemade slimes. Dissolve 2 pinches of baking soda in 1 teaspoon of water and pour into the slime, then knead it well.
Baby oil
Grease your hands liberally with baby oil and knead the slime. Then place it on a thick piece of paper to drain off any excess fat.

We use starch
This recipe is not durable, but effective. Add potato or cornstarch to the slime and stir well. The slime will come into shape, but not for long, after a couple of days it will dry out and cannot be restored.
Washing gel "Persil"
This detergent contains substances that are great for making slime less sticky.
Shaving foam
This remedy is found in many homes. Just for it to work, you need a large amount, almost the entire bottle
Please note that you need foam, not cream or gel
General guidelines for dyeing slime
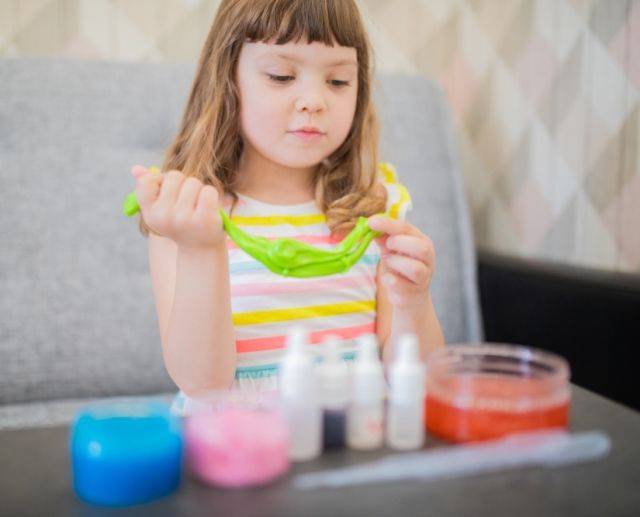
The most important thing that you must understand when starting to dye a slime is that there are no clear instructions in this matter, as in the production of a toy. Here we often use not the recipe, but the option "by eye"
This means that you have to add pigment to the main ingredient gradually until it gets the shade you like. But be prepared for the slime to turn out a little paler than the dyed base. Therefore, if you want a bright color, do not skimp on the dye.
If your task is how to paint the slime in a different color, then the approach is slightly different. When producing a slime from scratch, as already mentioned, it is necessary to add pigment to the base, and when repainting, to work with an already finished toy. In order for it to take the dye, it needs to be thoroughly kneaded and dry pigment mixed in. But only opaque slimes based on PVA glue, razor foam, soda, starch will react to color changes. Transparent slimes made from office glue will become dull, making the toy unattractive.
How can you paint a slime - look at the video:
Since it is easy and simple to paint a slime, this game is very popular with children. Therefore, feel free to stock up on paints and play with the kids to your heart's content.
How can you soften slime at home?
The following reasons lead to loss of ductility and hardening:
- Violation of the rules of care and storage.
- Expiration date.
- Improper feeding.
If the products have been in the jar for a long time and have not been used, they eventually lose their elasticity and begin to dry out. There are 2 main methods on how to revive the Ninja Slime:
- Exposure to heat.
- Without using heat.
In order for the slime to become plastic after long storage, you need to play with it. It is kneaded well in the hands, stretched and inflated. During the game, the slime softens and takes on its original appearance. If you can't change the structure, you can use boiling water or a microwave. When exposed to high temperatures, the mass will soften.

Slime can be restored without heating using softeners such as:
- Water.
- Antibacterial hand cream or gel.
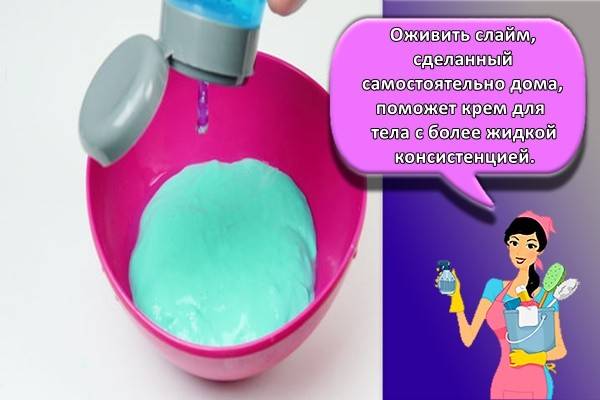
- Body lotion.
- Baby cream.
- Vegetable oil.
- PVA glue.
- Lemon acid.
The materials are suitable for both simple liquid slimes, dense slimes and handgams, and for jelly-like Ninja Slimes.
How to paint slime correctly?
So, what to paint with - you already know, it remains to find out how. This can be done either during the creation of the slime, or afterwards, repainting it in a different color.

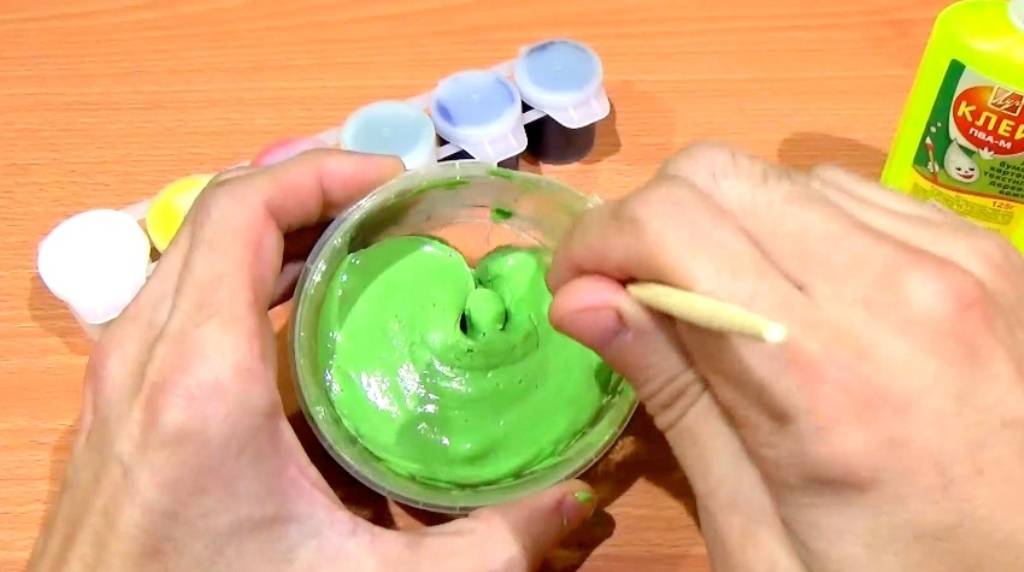
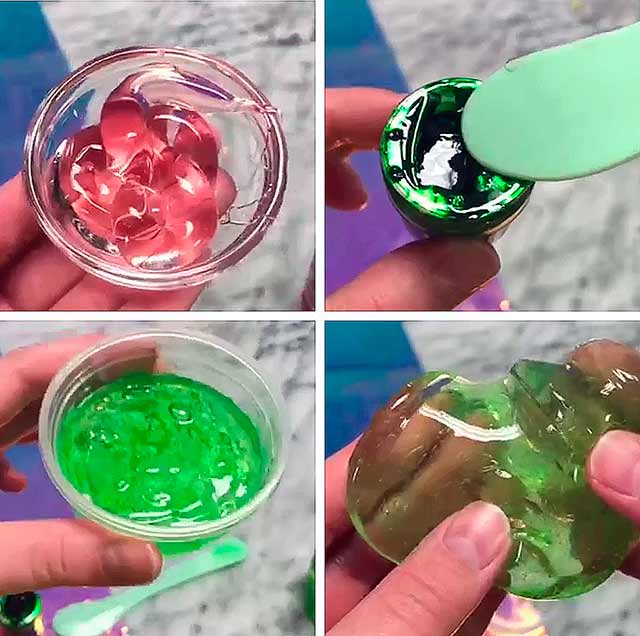
To give color to the slime during the creation process, you need to add the dye to the mass from which it is made, at the initial stage, slightly diluting it with water. If you are making a slime from sodium tetraborate and glue, add dye to the glue. When using a film mask and shaving foam slime, pour in your paint after mixing them.
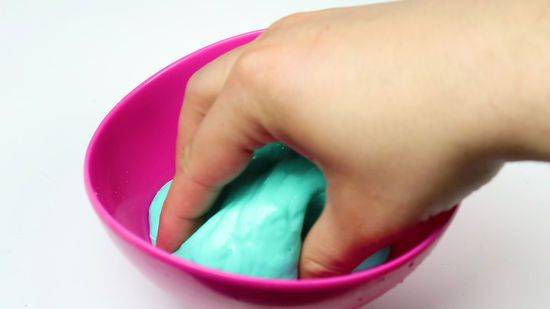
For a ready-made slime, this method is not suitable. To give it a new shade, you need to knead it into a cake, add dye to its center, connect the edges of the slime and knead it again. Repeat this until the new color is distributed over your slime to the extent you want.
When thinking about painting slimes, you need to remember that the color in which your toy will be painted will be lighter than the solution you have prepared. So don't expect your blue slime to suddenly turn bright pink and your brown slime dazzling yellow. If you want to see such metamorphosis, just make a new slime.
Video
What is slime?

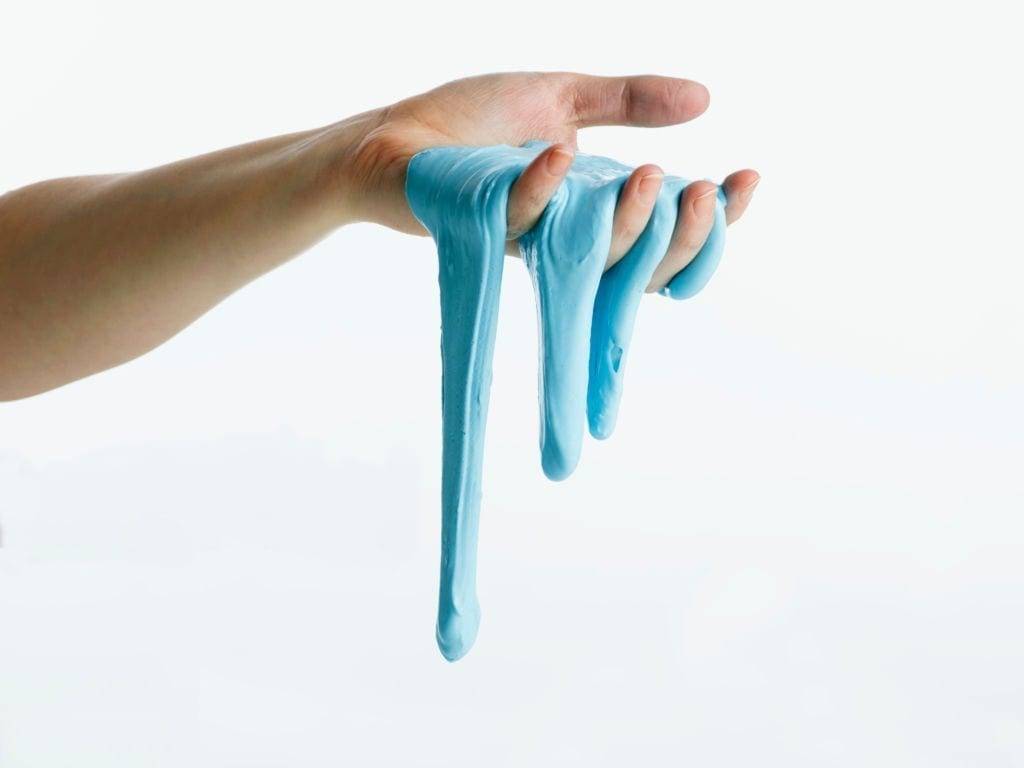
Slimes are among the most popular toys for children. The variety of shapes, colors and additional components makes them interesting for a wide range of children, regardless of gender, age and play preferences.
Everyone loves slimes - and not only to buy them ready-made, but also to make them yourself. This process is often used in educational programs for a child.
And special attention is paid to the question - how can you paint the slime, as children love playing with colored toys
The most popular types of slimes:
- Original - it is called a classic slime, one-color, transparent.
- Glossy - usually also one-color, but with a characteristic shine.
- Matte - on the contrary, this type of shine is absent.
- Crunchy - soft, opaque, crunchy when kneaded.
- Iceberg - has a hard crust on the surface.
- Black - its distinctive feature is black.
- Phantom is a slime that glows in the dark.
- Monster, Insect, Lost World - these species are characterized by the presence of additional elements, for example, plastic or rubber eyes, insects, dinosaurs.
What can be made from hardened slime?
During the restoration of the structure of the Ninja Slime, excess cosmetic additives may be added. An activator - sodium tetraborate, boric acid or lens fluid - will help to correct the situation. Without sodium tetraborate, slime can turn into a liquid slurry.
If the hardened toy cannot be softened, it should not be thrown away. Many useful things can be done from it:
- Filler for new slime. The Solid Ninja Slime must be crushed into small pieces, shaped into balls, and added to a new DIY or store toy. The result is a product with decorative elements, soft and pleasant to the touch.
- Space composition. The hardened mass is placed in a bottle or jar, sparkles, beads, sequins are added. Such a thing will serve as a decoration in any home.
- Jumper. Made from slime, which is not completely dry and is slightly kneaded with hands. A ball is rolled out of it and left in the cold to solidify. Suitable as a bouncing ball. If you form several balls, add different dyes and string them on a bright thread, you get a beautiful composition that can be attached near the house or in the nursery.
Homemade food coloring recipes
For dyeing slime at home, you can use a store-bought dye or one prepared by yourself. In both cases, we focus on what we use to paint eggs. Since it is not difficult to purchase food coloring in the store, we will dwell in more detail on how to make it at home.
You can get a variety of colors:
- onion peel gives a burgundy hue;
- red cabbage - lilac;
- coffee, tea, sugar - brown;
- beets or bright garden berries - red;
- carrots - yellow;
- blueberries - purple;
- cranberries or lingonberries - pink.
So, you need to get juice of the color from a food product, which will subsequently stain our slime.

For example, to obtain a yellow dye, you need to grate carrots on a fine grater, fry them in a pan in butter and then, when it cools a little, rub through a strainer.
Beets will help to achieve a red color. It is enough to also rub it on a fine grater and simmer in a pan (without oil, but with the addition of water) for about 15 minutes. For a more intense color, you can add a couple of tablespoons of lemon juice.
The easiest way to make a purple slime is to whisk or mash the blueberries and then strain.
The blue color for the slime will turn out from purple if you add 1 tsp to your juice. baking soda and wait a little - the color will change in about an hour.
If you decide that it is not for you to do this kind of cooking, remember that you can always replace homemade dye with a store bought one. It can be any coloring matter: from brilliant green to hair dye.
What if the slime does not stretch, but tears?
There are 3 stages of slime hardening:
- During the game, elasticity is lost, it is difficult to press on it.
- Slime does not stretch or wrinkle.
- Slime breaks and becomes hard.
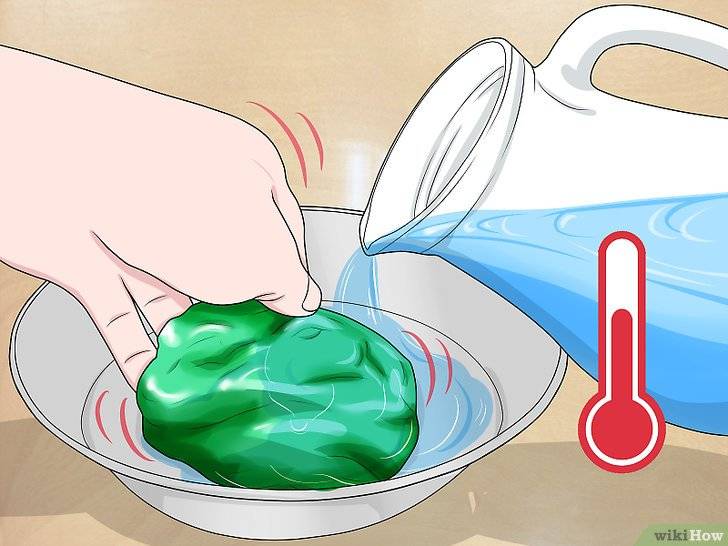
Boiling water is used to revive viscous antistress. The procedure is carried out as follows:
- Boil water.
- Fill the container up to 145 ml.
- Put dried slime in hot water for 8 minutes, cover with a lid.
- After removing it from the water, knead it with your hands, without waiting for the mass to cool down.
This recipe is suitable for items that are not completely dry and hardened.

If it is dry and does not stretch, you can soften the slime in the microwave:
- Boil 6 ml of water.
- Place the slime in a container and pour boiling water over it.
- Place in the microwave for 36 seconds.
- Take the heated mass and knead it thoroughly in your hands.
The second option for heating in the microwave:
- Put the jelly-like mass in a container, fill it with hot water.
- Knead with a wooden spoon for 10 minutes.
- Take the slime out of the container, transfer it to a thermo mug and put it in the oven for half a minute.
- Remove the container from the microwave.
- Take out the mass and let cool.
Children are only allowed to perform microwave treatments under the supervision of an adult.
The most effective cosmetics are toothpaste, lotion, liquid soap, and shaving foam.

A guide on how to fix slime with toothpaste if it is hard, stretches poorly and does not form a thin glass film:
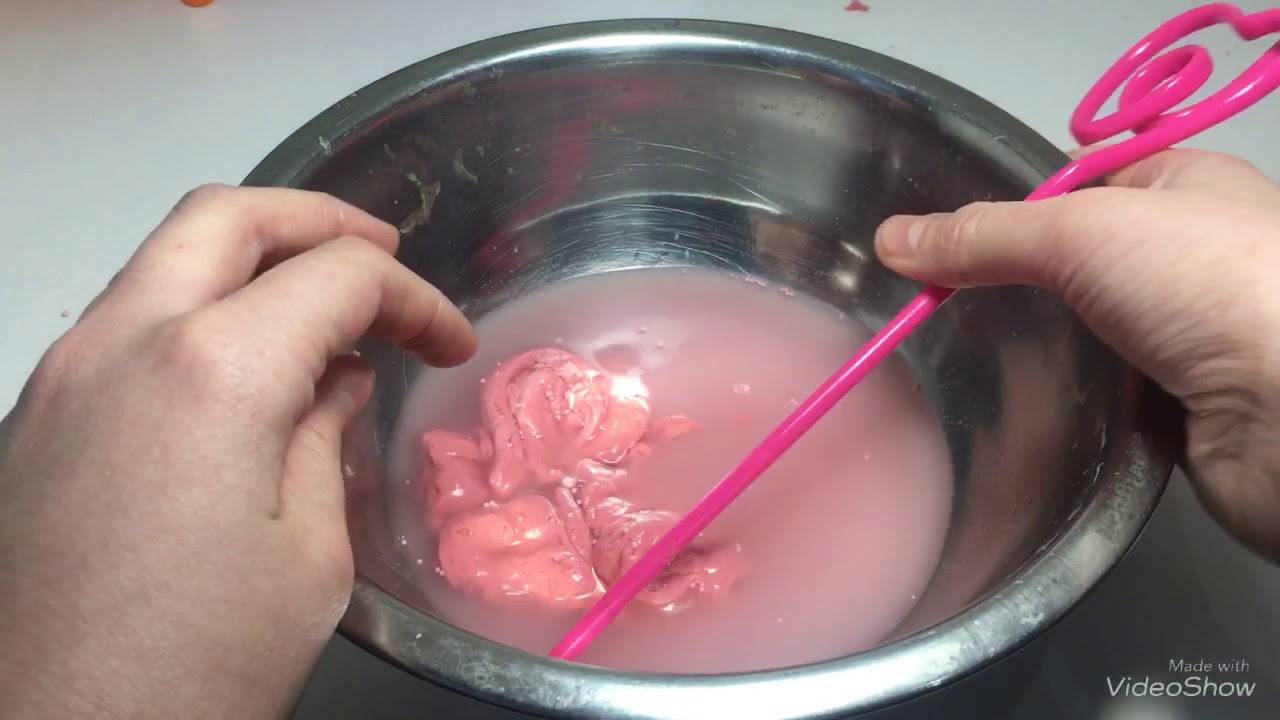
- The solid mass is placed in a small container, poured over with hot water, and covered with a lid.
- Leave for a day.
- After a lapse of time, add 1 pea of toothpaste and mix the components well.
For better viscosity, it is recommended to add auxiliary ingredients, for example, a little moisturizer for the hands.
Instructions on how to change the consistency of the slime using cosmetics, if it does not stretch, but tears:
- On a flat surface, roll the slime into a cake.
- From above, smear the product with hand lotion or apply a little shaving foam. The substances are smeared evenly with a thin layer.
- Leave for 10 minutes.
- The lubricated antistress is kneaded in hands and kneaded well.
With strong hardening, as a result of which the structure of the viscous substance is completely disturbed, the addition of citric acid is allowed. To revive the toy, just add a couple of crystals, after which the slime is carefully crumpled. At first, the softened mass will begin to stick to your hands, but after a long kneading, the stickiness will disappear. If you overdo it with citric acid, the slime will become too runny and sticky.
Antibacterial gel is used not only when the slime dries up, but also during operation for disinfection. To destroy pathogenic microbes that accumulate on the surface of the product, add no more than 1-2 drops of the substance, to restore elasticity - no more than 4 drops. After applying the gel, the toy must be kneaded well.

