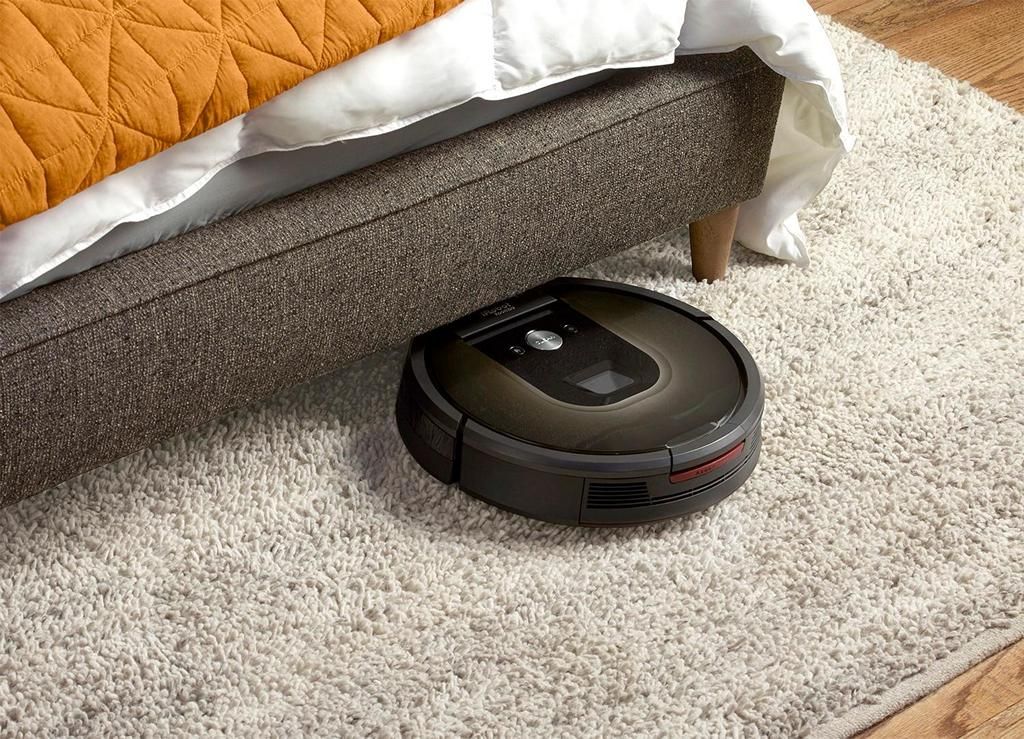
Our top 2019
We decided to compile a rating of robotic vacuum cleaners with a map, which will help you make the right choice.
| Model | Xiaomi Mi Robot Vacuum Cleaner | Samsung POWERbot VR-10M7030WW | Neato Botvac D7 Connected | iRobot Roomba 980 | iClebo Omega |
| Photo | |||||
| Cleaning type | dry cleaning | dry cleaning | dry cleaning | dry cleaning | dry cleaning |
| Power, W) | 55 | 80 | There is no data | There is no data | There is no data |
| Main brush | |||||
| Side brushes | 1 | Absent | 1 | 1 | 2 |
| Battery (mAh) | 5200 | There is no data | 4200 | 3300 | 4400 |
| Functions |
|
|
|
|
|
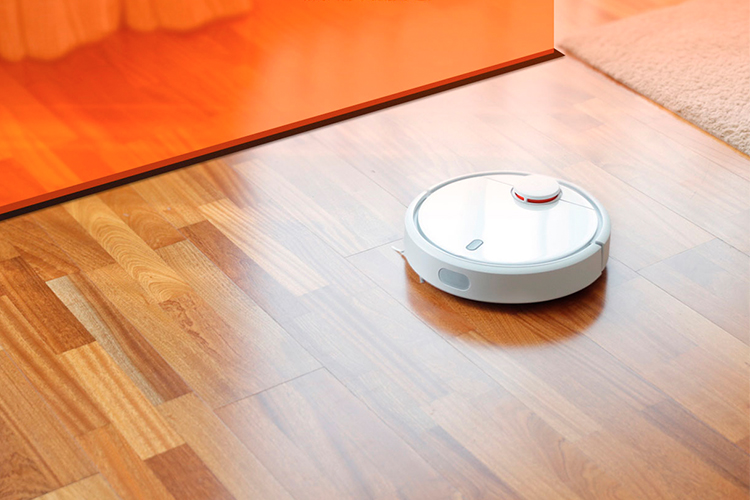
Xiaomi Mi Robot Vacuum Cleaner
Robot with lidar on the roof of the case and the ability to control from a smartphone. We recommend the first version if you do not need wet cleaning. The second version costs one and a half times more, but offers minor improvements.
iClebo Omega
Premium device. Self-regulates suction power in Depending on the floor covering, it overcomes obstacles up to 15 mm high, has a 5-stage air purification. An updated model iClebo Omega O5 has appeared on the Russian market - the economical can buy the old one at a reduced price, technology lovers can pay extra for the new one.
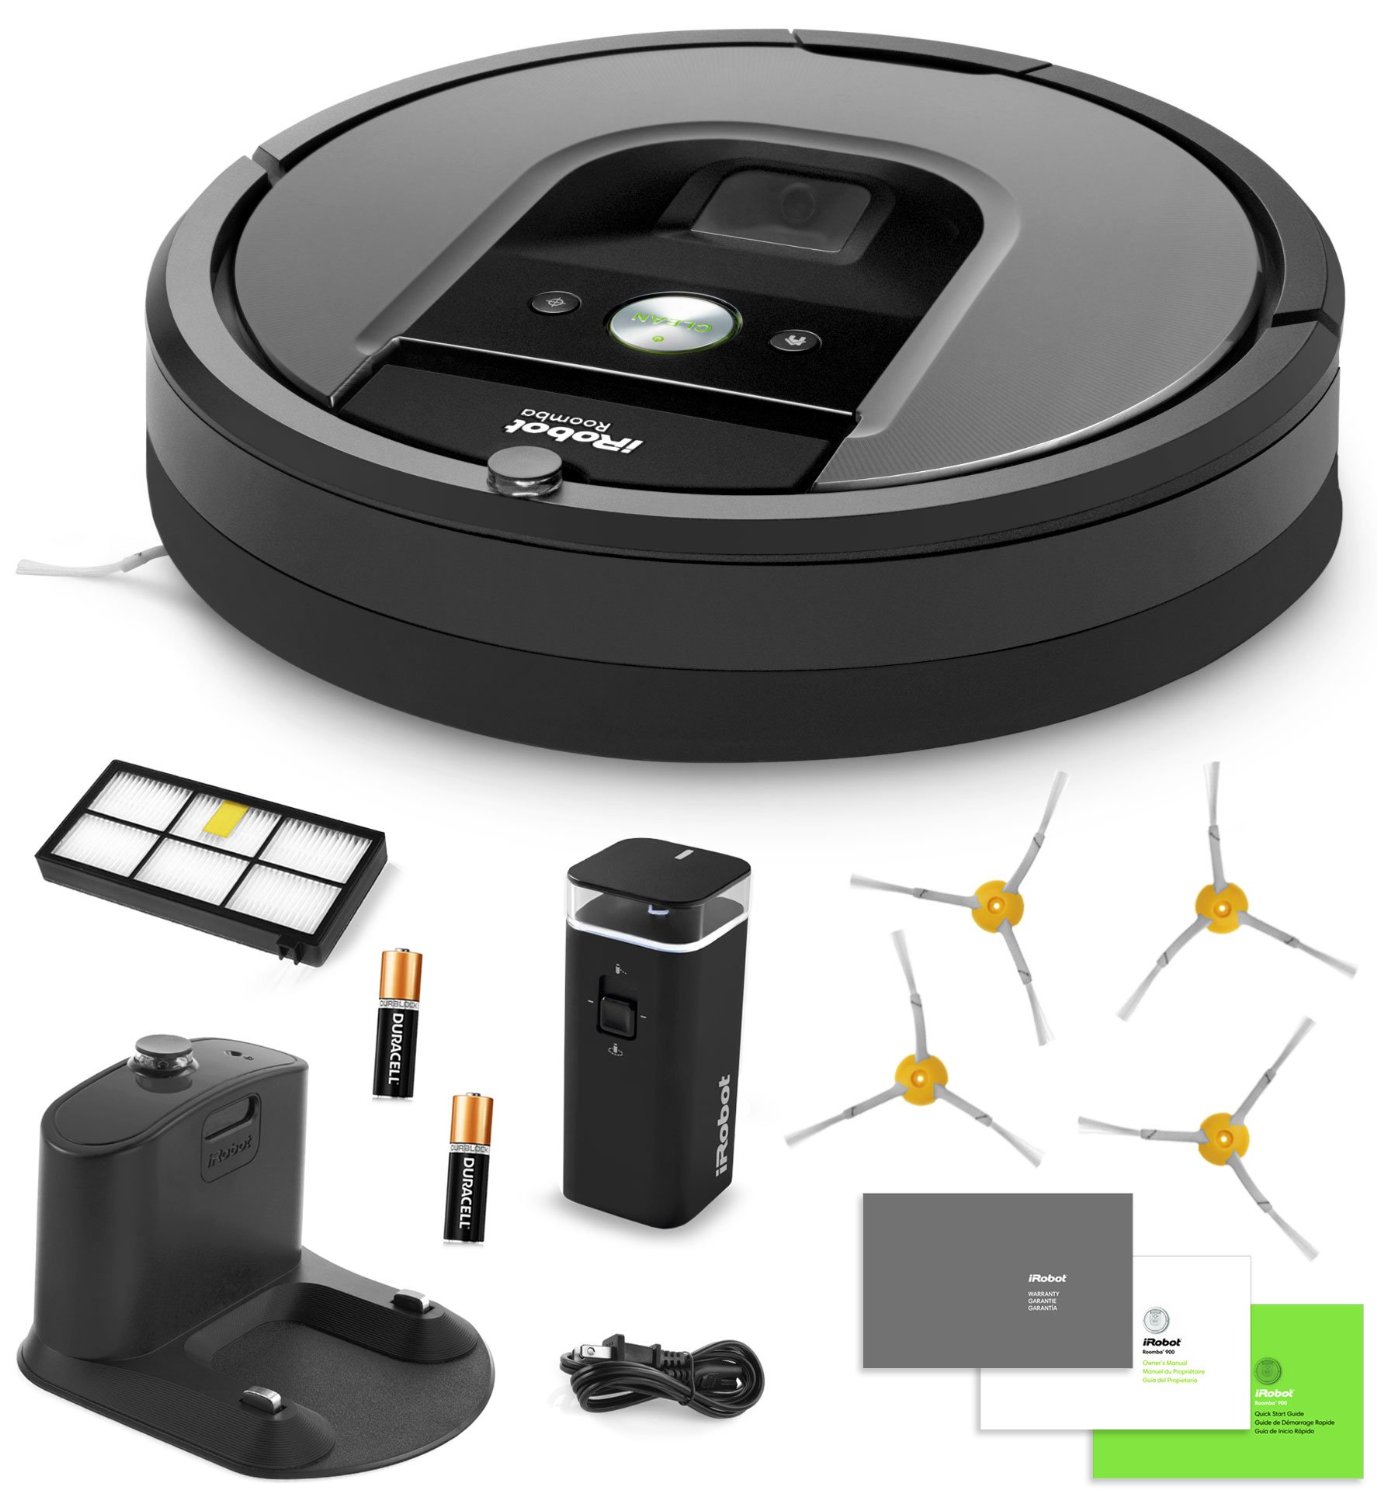
iRobot Roomba 980
Overcomes obstacles up to 19 mm high, according to the manufacturer, does not get tangled in the wires. A distinctive feature is two rubber rollers instead of the traditional turbo brush. The design improves cleaning of carpets and helps to avoid winding of threads around the brush.
Samsung POWERbot VR-10M7030WW
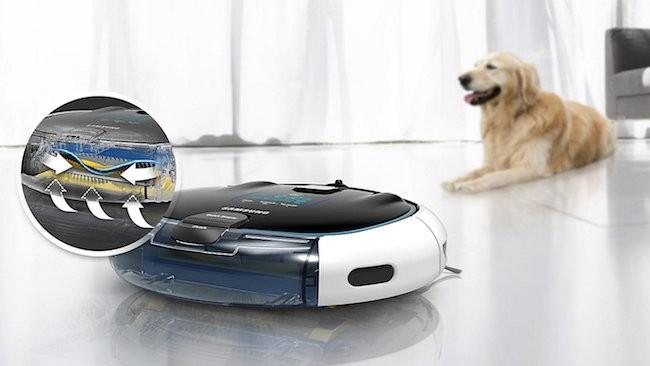
Robot vacuum cleaner with the function of building a room map from a Korean manufacturer, designed for dry cleaning of coatings, including carpets. It is distinguished by an original design, in which there are no side brushes, and the central wide one is brought forward.
iLife A9s
Looking for the cheapest map building robot vacuum cleaner? This Chinese is for you. Dry cleaning and wet mopping of the floor, control via the mobile application and using the Amazon Alexa voice assistant. Unfortunately, Alexa is not available in Russia.
Neato Botvac D7 Connected
Winner of IFA 2017 in Berlin. Equipped with laser guidance to help you plan your home, the D-shape allows you to thoroughly clean corners and walls. In the application, you can set restricted areas, which eliminates the need to buy a virtual wall.
Assembling the robot
The assembly process includes not only installation, placement of all parts in the provided places, but also the cutting of windows, holes, the formation of the sidewall of the case. Polystyrene sheet bends easily when heated. You can use a hot pot of water or a hair dryer.

When gluing, the parts are fixed for the entire setting time of the composition. More detailed instructions are given on the glue tubes. This is usually 24 hours. For epoxies, other grades of components, the time to full readiness may differ.
To fix the boards, individual units inside the body of the vacuum cleaner, it is allowed to use a thermal gun with glue sticks. But fasteners on self-tapping screws will become more reliable and flexible. The mechanical part of the installation does not cause any difficulties.
It is available to everyone who, in childhood, underwent the practice of assembling and disassembling on the Lego constructor. If an error has not crept into the calculations, all the details fall into place
It is important that the electronics, motors and wheels are protected from dust. For this, the dust collector must be isolated from other compartments.
Solution options are below. There you will also find a diagram of the vacuum cleaner.
Which way to move - everyone decides for himself.If there is a desire to make a simple home assistant, then you can do with a minimum of details without overloading the structure.
The same applies to increasing (decreasing) the battery capacity, replacing the Arduino board with a more compact one, including additional sensors. And the basic version of the vacuum cleaner can be assembled literally over the weekend or 2-3 evenings.
Upgrade options
There are no boundaries for perfection. Upgrading a robot vacuum cleaner can affect both mechanics (wheels, installing additional rotating brushes) and electronics (replacing the Arduino board, sensors, charge controller, etc.).
It is possible that during operation, the owner of the vacuum cleaner will want to paint the body; aerosol nitro enamels are suitable for this. Or replace the software by adapting it to the Android environment to make the vacuum cleaner even smarter. And it could be controlled using a smartphone. There are ready-made ideas and solutions. And you can come up with something of your own, the Arduino platform was created for this.
p> Share link:
Does the robot vacuum cleaner need a virtual wall?
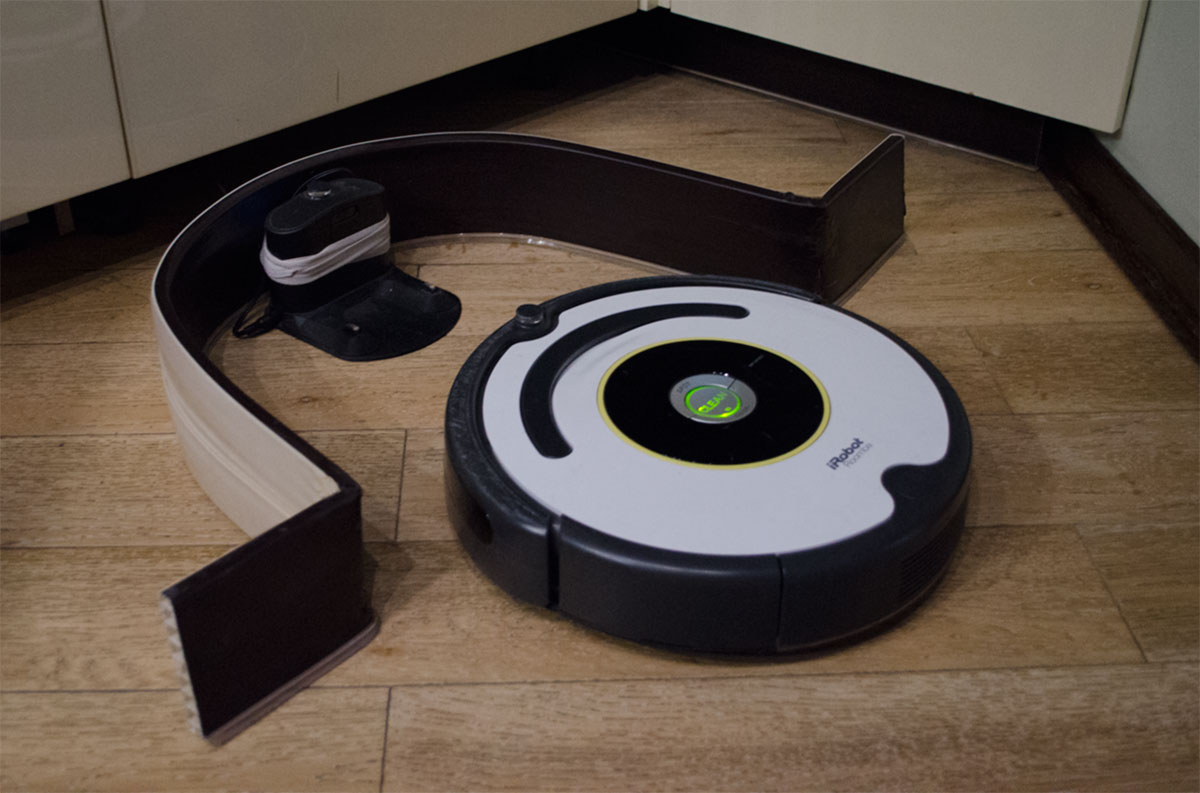
According to the assurances of experts, the use of a device such as a virtual wall has the following clear advantages:
- The possibility of maximum automation of the cleaning process.
- The ability to secure fragile items.
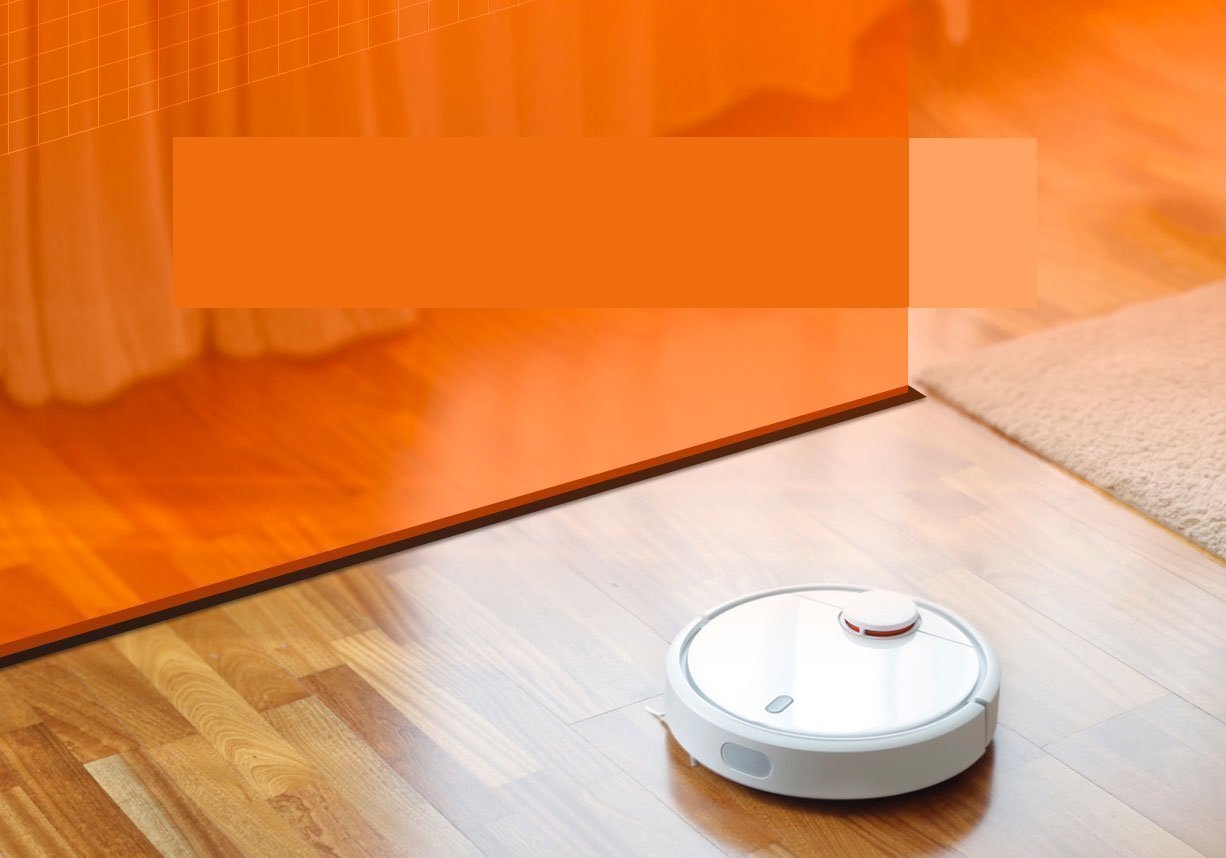
- The ability to “shield” the area near the window from the device, where it can “get entangled” in low curtains.
- Possibility of zoning cleaning in studio apartments and large rooms.
If we compare such a device with a system of special cameras, on the basis of data from which many models of robotic vacuum cleaners draw up cleaning maps, then it has a slight advantage over them, since such a zone limiting system is less likely to fail. In addition, the use of cameras implies each time you change the location of large objects in the room, drawing up a new cleaning plan.
If we draw a parallel between such a wall and a virtual beacon, then most often the latter will have a more solid number of advantages. The main task of the lighthouse is to allow or prohibit the device from moving to other rooms, and upon completion of work, return to the recharging station.
The device allows the device to move to the next room when cleaning in the first one is over, which in general allows achieving a higher level of autonomy and quality of cleaning, although when using a beacon, malfunctions do not become very rare. In addition, most of the models supplied to the market immediately with a navigation cube are much more expensive than the "classic" ones.
Summing up, we can conclude that virtual walls are actually an indispensable device for use with a robot vacuum cleaner. Their operation allows not only to protect interior items and the device itself from damage, but also to improve the overall quality of cleaning.
Operating principle
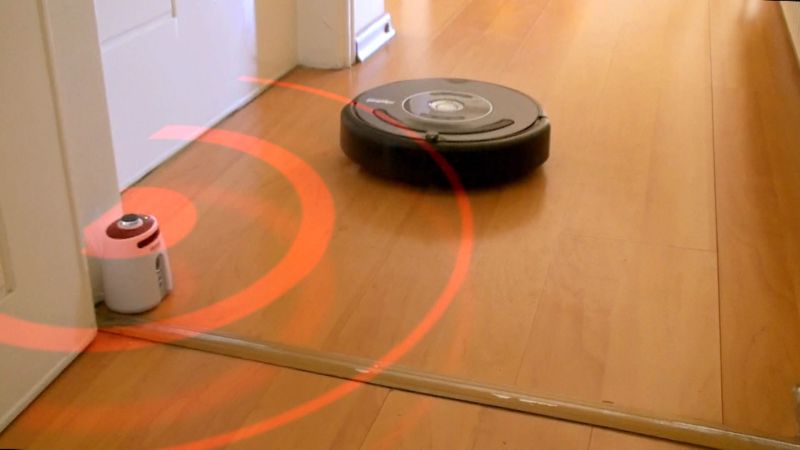
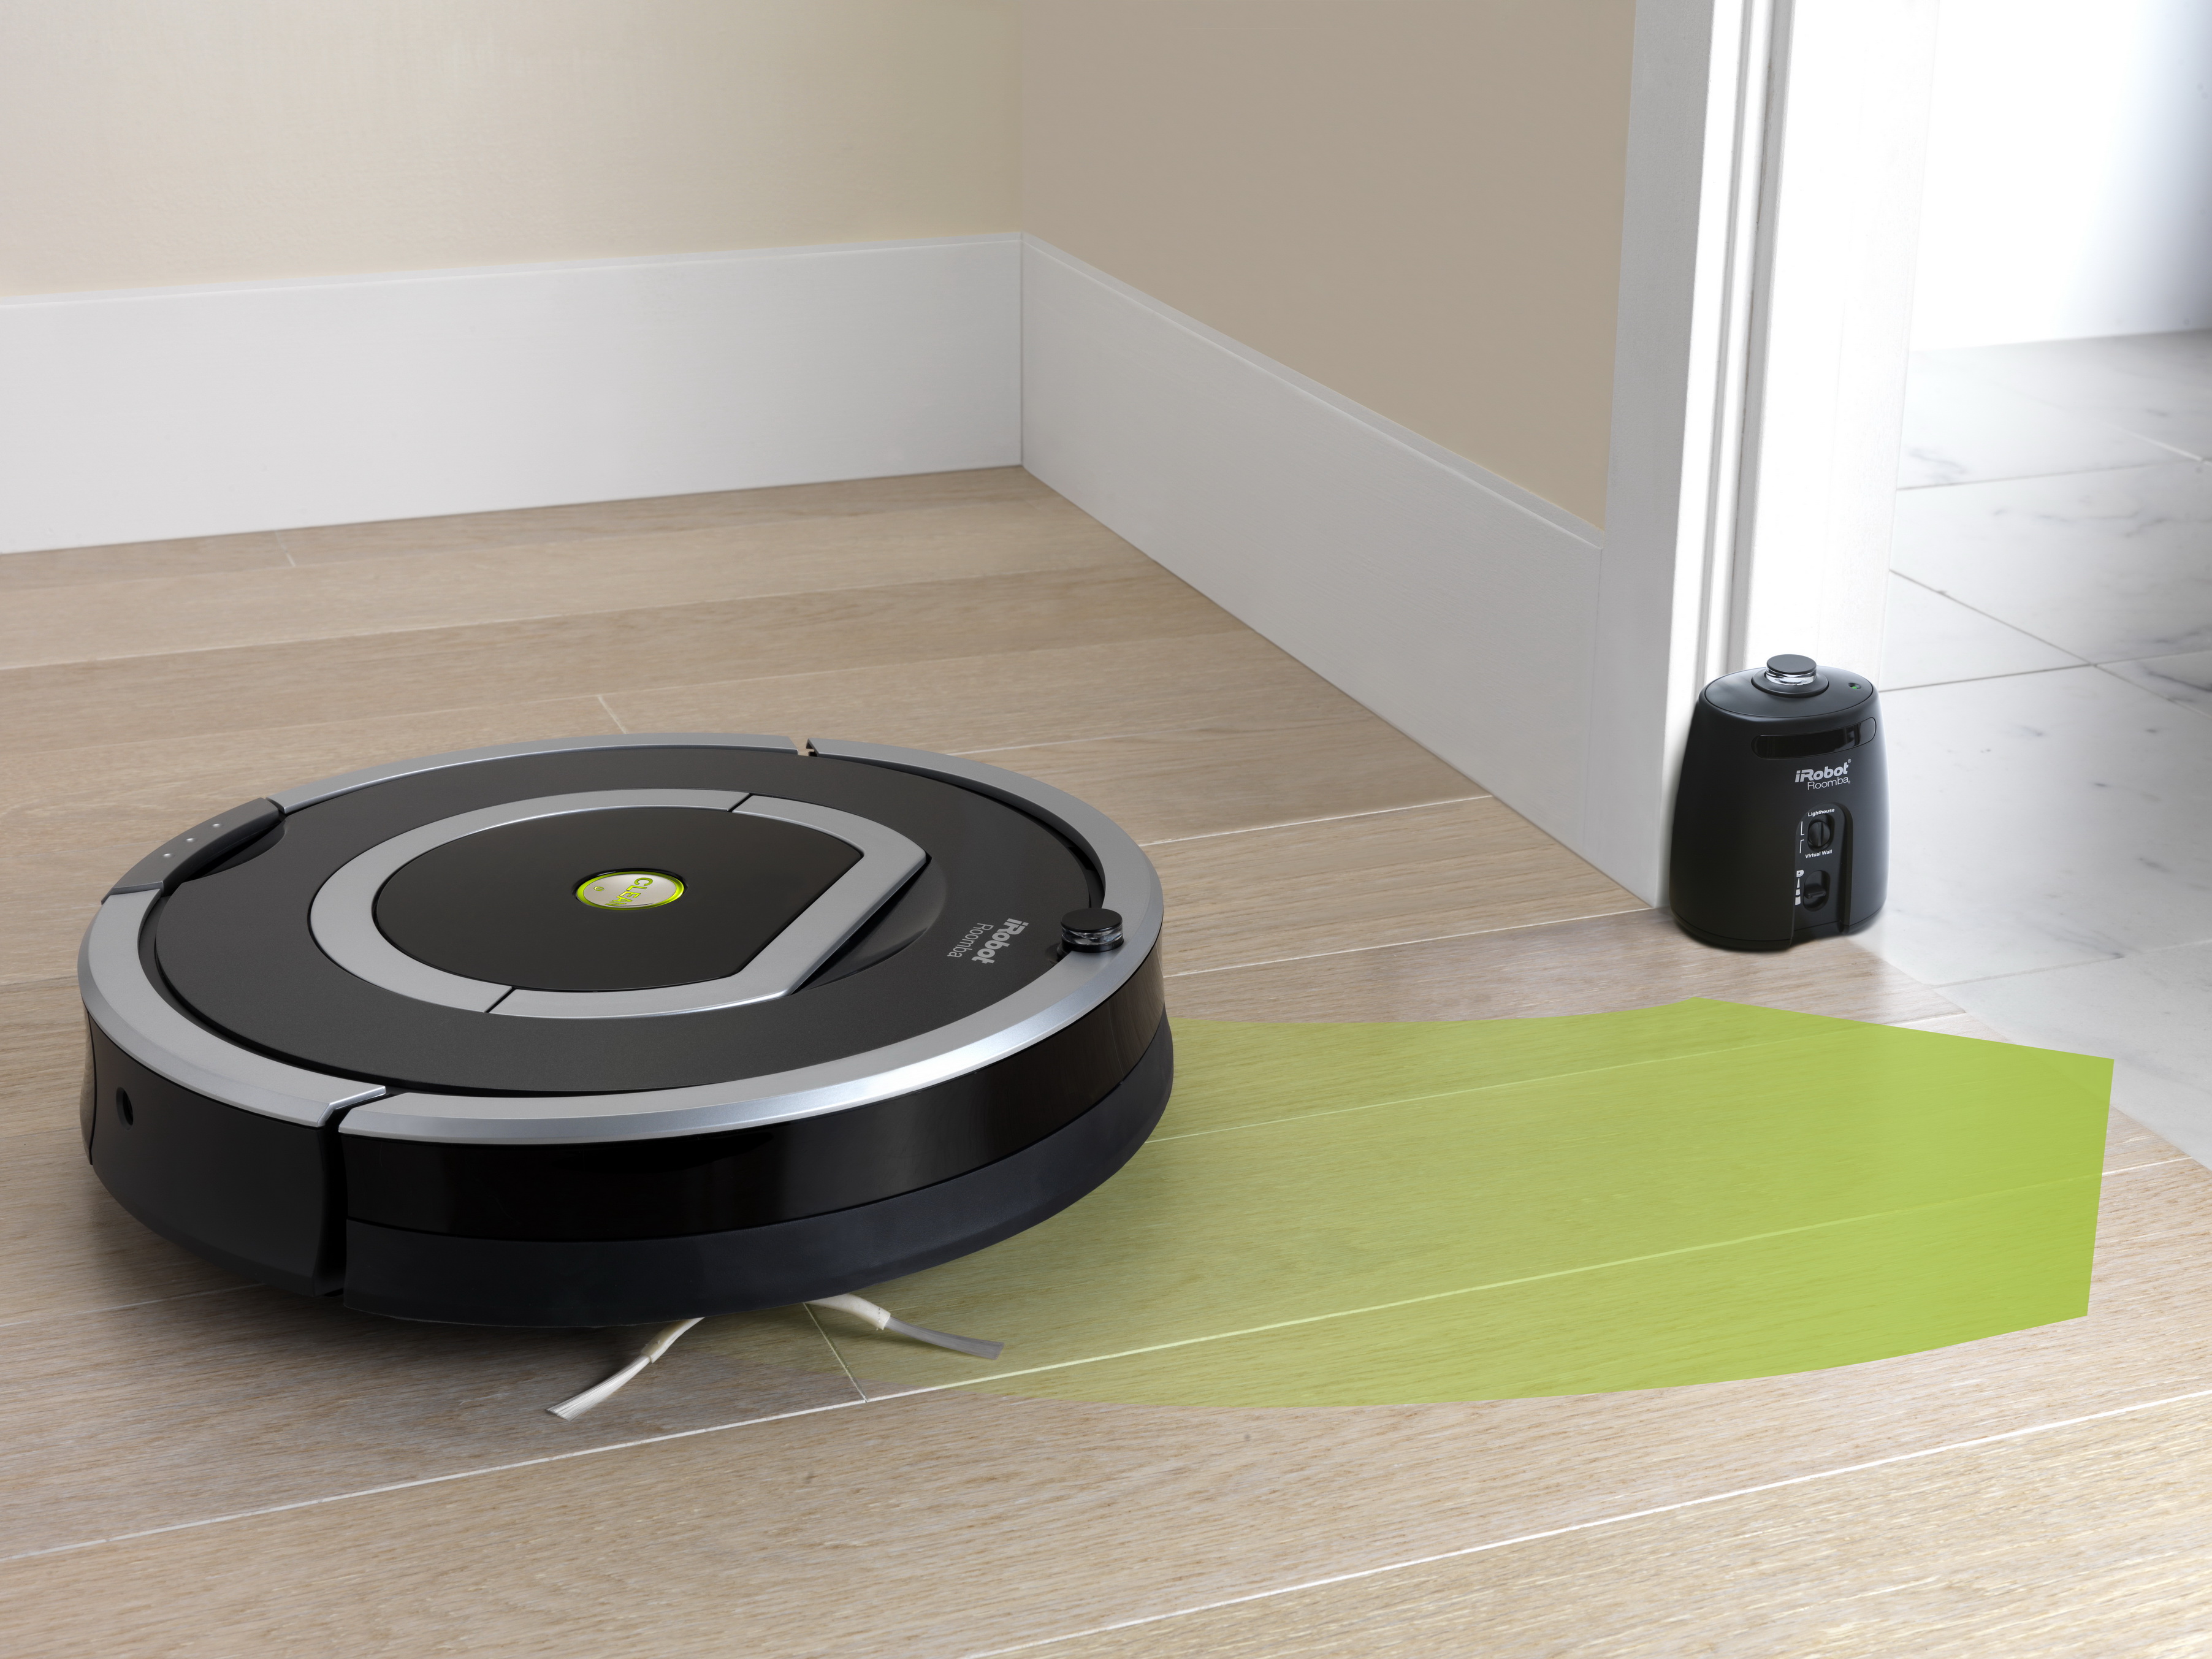
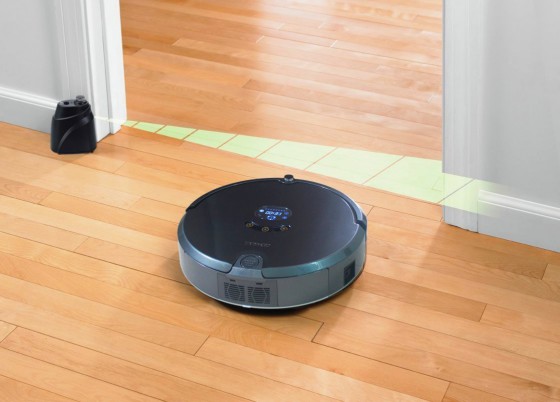
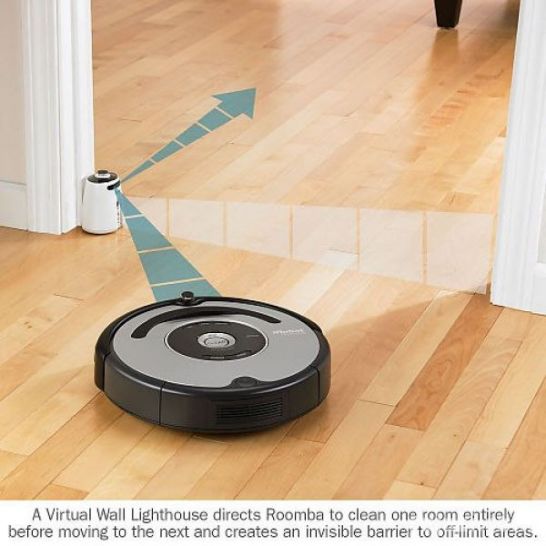
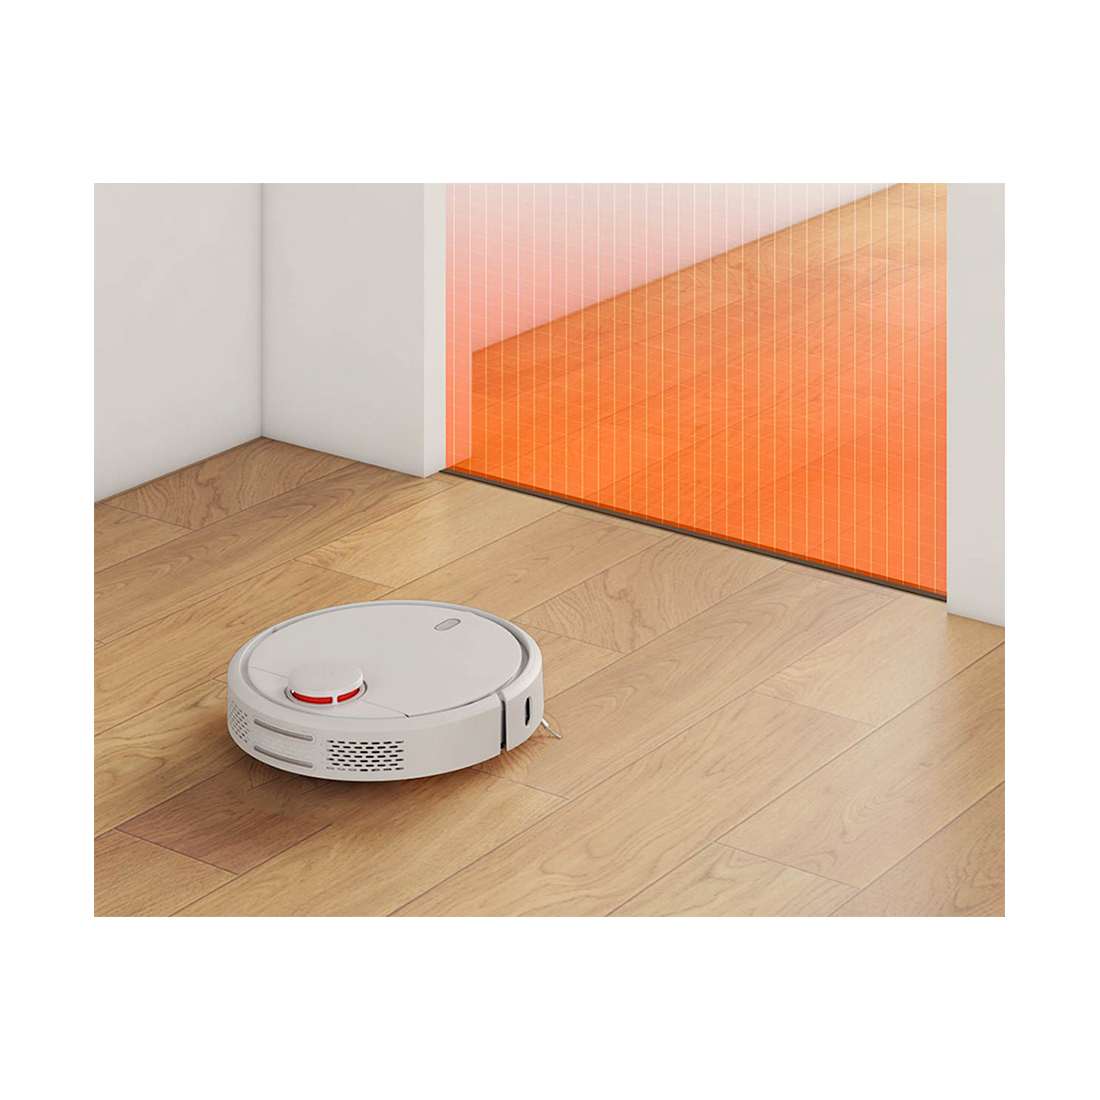
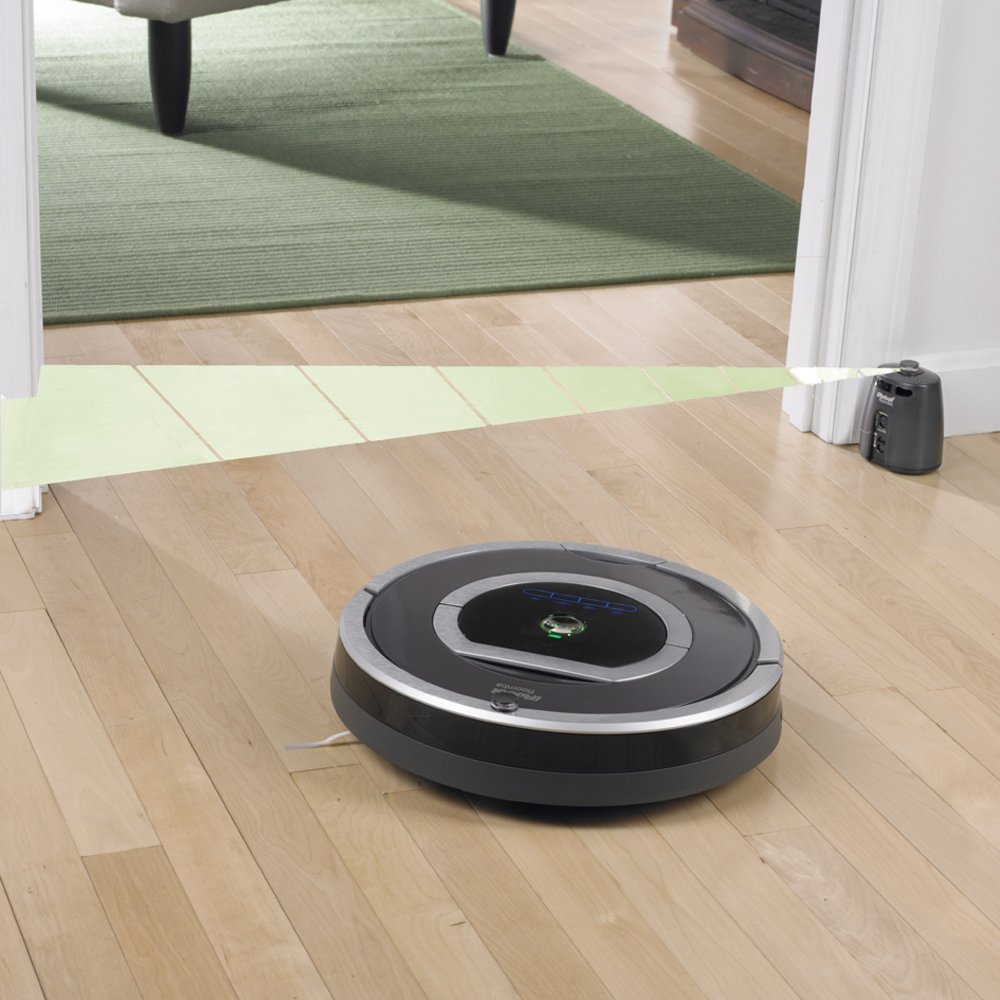
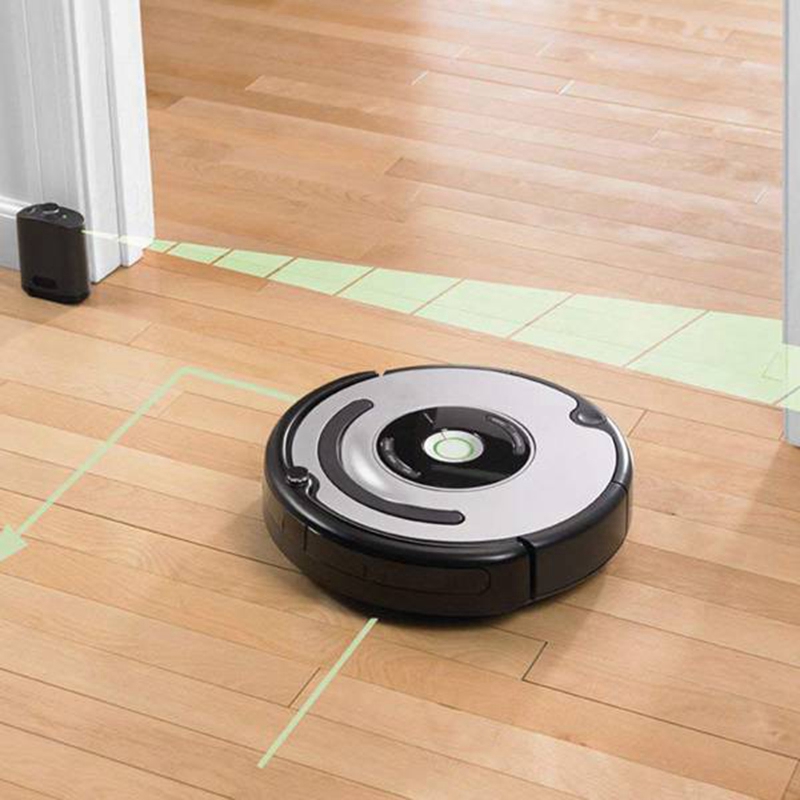
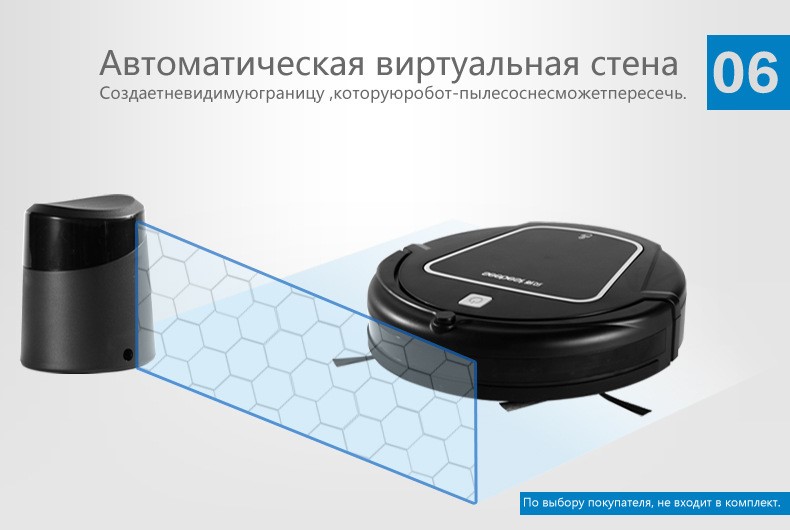
Let's see how the virtual wall works. Its principle of operation is quite simple. When the robot is on, it sends an infrared beam so that it is in the path of the vacuum cleaner.
Mid-range robots navigate the space of an apartment using infrared sensors. They also emit a signal that, reaching a solid obstacle (wall, chair, cabinet), returns to the sensor, which receives the rays and converts them into a command for the vacuum cleaner.
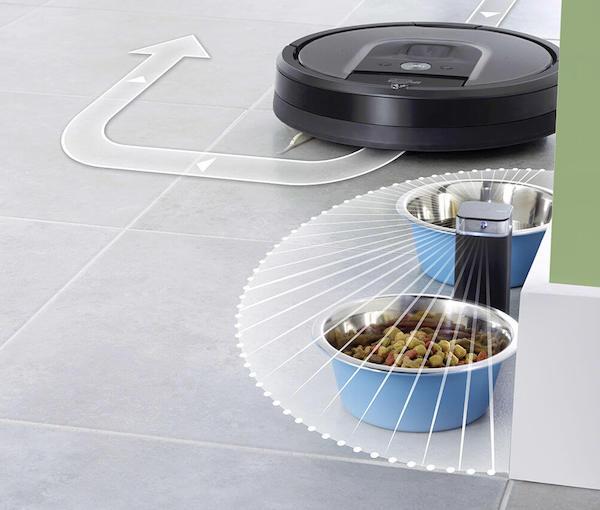
A similar situation occurs when the signal from the robot meets the signal from the limiter. The robot perceives it not as a virtual wall invisible to the human eye, but as a real obstacle. The sensor gives a signal that there is a zone in this place that is not allowed to clean. Therefore, the robot changes the route so as not to cross the line indicated by the limiter, or immediately forms it taking into account virtual reality.
How does the Magnetic Stripe for Xiaomi Robot Vacuum Cleaner Work
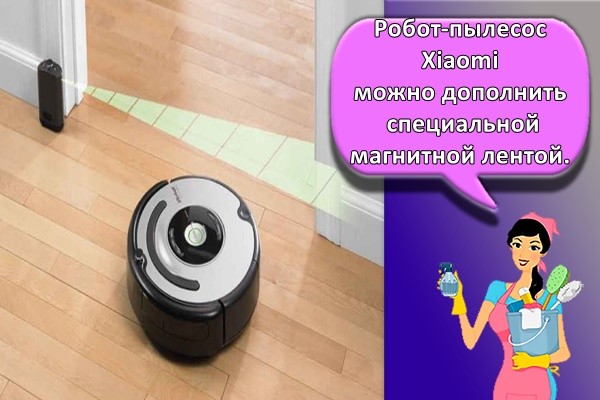
The Xiaomi Robot Vacuum Cleaner can be supplemented with a special magnetic tape.This device helps you zone the room and keep certain areas clean. With the help of magnetic tape, it will be possible to protect areas that the robot should not fall into.
The main characteristics and advantages of the product include the following:
- Small thickness. The width of the tape is 2.5 centimeters, while its thickness does not exceed 2 millimeters. This helps to avoid problems with the movement of people and pets. The floor can be easily swept and washed.
- Effective invisible barrier for the vacuum cleaner. The smart device picks up the signal from the tape at a distance of 3.5 meters. This gives him the opportunity to plan his actions in advance.
- Virtual barriers of different lengths. The product is sold in rolls. However, due to the special marking, the tape can be divided into segments that are multiples of 30 centimeters. This ensures economical use of the material.
- Exposing the device to magnetic radiation. The sensor in the vacuum cleaner is able to easily pick up the signal of the strip located on the belt.
- No need for a network connection. The tape can function without power supply or batteries.
- Ease of fixation. To fasten the tape, it is enough to measure the length of the obstacle and cut the required fragment. It is good to clean the flooring in the zoning area. Then gradually remove the protective film and fix the magnetic sticker on the floor.
We make the case
If you immediately wanted to do everything right, then you cannot do without a housing for our vacuum cleaner. For this we need plastic - polystyrene, polyvinyl chloride.
First you need to figure out how the filling will fit inside the case. If you follow the path of least resistance, then you can take the ergonomics of any ready-made vacuum cleaner as a basis. They are usually disc-shaped, about the same size. This means that you will need to cut (make) 2 circles of the same diameter and a side wall (solid strip) of the vacuum cleaner.

A battery compartment is allocated depending on the power supply. It is best to use the widely used 18650 batteries - these are found in laptops, toys and power banks. Motion sensors are located in front, they are responsible for the "behavior" of the vacuum cleaner. It is imperative to consider the placement of the wheels, their drives, the central board (Arduino) and the turbine with the dust collector.
It depends on the correctness of the calculation, the thoroughness of the layout of the parts, it will soon be necessary to radically alter the design of the vacuum cleaner or be limited to a small modernization. The dimensions of the case are tied to the type of microcontroller, additional boards.
The original Arduino provides 3 gradations: "Uno", "Pro", "Leonardo", as well as boards with additional connectors ("Mega", "Due"). There are also more compact options - "Nano", "Micro". And that's not counting the numerous Chinese clones, which are no worse in terms of functionality. But it is often much cheaper.
Therefore, it is better to foresee these factors in advance. And only then start implementing your idea, making the body of the vacuum cleaner. Do not make a diameter less than 30 centimeters. Otherwise, nothing will fit. Better then use the free space to add a battery or expand the dust bag.
Also, the design of the case should take into account the possibility of disassembling, repairing the vacuum cleaner. Therefore, it is recommended to make removable covers or hatches to provide access to the interior. It will take a little more time than just making plastic parts. You may even have to first make a mock-up of a vacuum cleaner, draw a robot on paper.
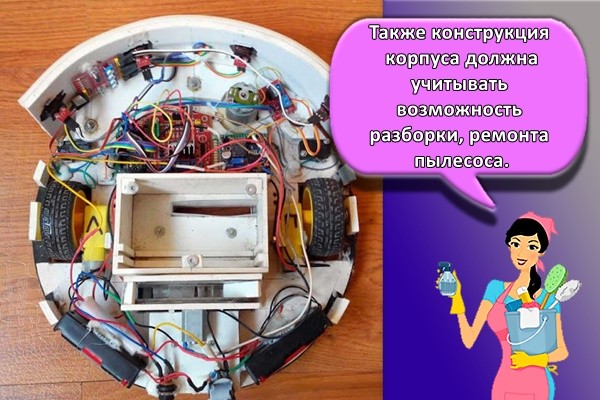
But such a tactical move will save you from many problems associated with rearrangement, alteration of the vacuum cleaner. Often, the elimination of such difficulties requires more effort than the initial calculation, the placement of nodes, taking into account the listed requirements.
It also does not hurt to take into account that the Arduino microcontroller will require firmware, software change.To do this, it is imperative to bring out the connector through which the "brain" of the robot will be connected to a large PC. And after all the main points have been identified, you can begin to translate the idea of a vacuum cleaner into reality.
When choosing a housing made of PVC, polystyrene, an adhesive of the appropriate composition is used for assembly. It is not suitable for bonding epoxy cast parts. And for plates made of "epoxy", the glue must also have its own
It is important to understand
It is possible to assemble the body of the vacuum cleaner even from thin (up to 5 millimeters) plywood. Greater thickness will increase weight. Less will not provide the required rigidity. Working with wood is not a difficult task: the parts are cut out with a jigsaw, sanded, adjusted to size and glued together.
And, finally, an option for the laziest is to find a case from an unusable robot vacuum cleaner or buy a ready-made one in one of the chain stores. But in this case, you should select the components in advance, taking into account the dimensions. Otherwise, you will have to change one thing: either the body or the parts.
Assembly diagram of a robot vacuum cleaner at home
To correctly make a robot vacuum cleaner with your own hands, you must adhere to the following algorithm (the scheme must be performed in a clearly specified sequence):
- Download the required software. If you want to make your robot vacuum cleaner as similar as possible to factory counterparts (based on the functions performed), you will need to download the necessary software to the Arduino microcontroller. This can be done using an ordinary personal computer - you just need to upload the code to the Arduino board.
- Secure the main components. In order for the vehicles of the robot vacuum cleaner, cooler, microcircuits, batteries and all other filling of the device to be securely fastened, you will need a plywood base. It will also be the bottom of your vacuum cleaner. The turbine and the waste collection container, pre-glued to each other with the help of superglue, are also attached there. Also, the container must be equipped with a special tube through which the blown air will be removed. It should be protected with a thick cloth that will serve as a filtering agent. The cooler must be sequentially glued to all the servos, and then planted on the same plywood platform, on which by that time the microcircuits and batteries should already be mounted to power the device. Wheels for a robot vacuum cleaner can be purchased from the market (however, you can try making them yourself from a tin can).

The mechanical part of the robot vacuum cleaner
- Install the bumper. In this model, it is made of polyvinyl chloride. However, metal counterparts are also possible. In any case, in a collision, he must physically act on a switch, which will make the vehicle move in the other direction. It is also worth noting that after a collision, the bumper must return to its original location.
- Install the housing. In order for all the contents of the structure to be reliably protected, it is best to use a polyvinyl chloride case. At the same time, cuts can be made on it so that it is better removed. The housing cover is attached with magnets. Ideally, there should be at least 8 of them (variations in which more of them are used are welcome).

Making a robot vacuum cleaner at home
Pros and cons of technology
The first method (distance sensors) is the most primitive, it is used in outdated and cheap models, for example, iCLEBO Smart. The device does not track the movement of furniture, people, animals in real time and builds a room layout for a long time.
The camera used in the second method requires light, so the vacuum cleaner can get lost in a poorly lit room. In addition, the camera of the device is guided by the ceiling, which does not repeat the floor area with the furniture placed.Ultrasonic distance sensors come to the rescue, helping the vacuum cleaner to "see" obstacles, to complete and refine the map.

In the third version, the lidar may be buggy when it encounters a mirror or black furniture. Ultrasonic distance sensors come to the rescue, indicating obstacles to the cleaner. The laser rangefinder makes the vacuum cleaner taller than models without it, which creates problems when driving under low furniture. Moving parts and complex lidar design reduce reliability.

What matters is how the manufacturer has set up the software. If one vacuum cleaner, burying himself in the mirror, realizes that there is a wall in front and marks it on the map, then the other tries to pass, believing that the path is clear
Robot plotter
Also on sale you can find a mixed-type robot vacuum cleaner. He carries out both dry cleaning and wet cleaning. However, it should be noted that this type of home equipment is not well suited for allergy sufferers. This robot cleans with a cloth or microfiber cloth. Also, a model of this type will not clean absolutely all flooring. Preference is given to the following flooring material:
- tiles;
- laminate;
- linoleum;
- lacquered parquet flooring.
As for the carpet material, there are limitations - this type of automated equipment will not clean material with a pile longer than 3-4 millimeters.

Moneual Wet and Dry Robot Plotter
Installing a virtual wall
For a virtual wall to have a positive effect, you need to correctly position it in the room. At the same time, the area for cleaning should be maximum, they limit movement and access only to certain areas. Before starting cleaning, you need to carefully inspect the apartment. Determine in which rooms and areas the robot can be launched immediately, and where preparatory activities need to be carried out: remove curtains, wires, children's toys and things scattered on the floor. All fragile design items are subject to deportation.
Usually, you won't be able to remove absolutely everything. Therefore, they decide which areas to make closed for the ubiquitous robot. Install the device near the wall so that the beam formed by it overlaps the path of the vacuum cleaner. It is checked whether the robot will be able to bypass the obstacle from the side, bypassing the device behind its back.
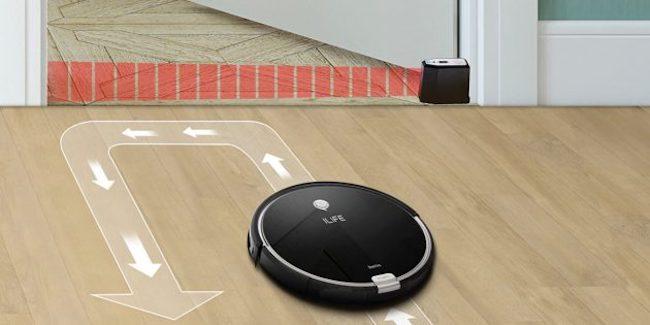
Sometimes, instead of a virtual wall, they use interior doors, various ottomans and suitcases that block the road to unprotected places. But the suitcase blocking the road to the vacuum cleaner also disturbs the residents of the apartment. It must be permanently removed and installed before the robot starts cleaning. And it doesn't look very neat.
If you already have one wall, you can additionally purchase any number of them. All of them will work together with a vacuum cleaner, ensuring comfort and cleanliness. Some robots turn on automatically when cleaning starts, others need to be turned on beforehand. It depends on the design and is indicated in the user manual.
Operating principle
The mechanism of action of the device is based on the use of infrared radiation and sensors that can capture it. When such a ray is detected on the path, the robot perceives it as an obstacle. This allows him to plan his route so as not to cross the line. The application of the method of limiting cleaning areas requires a certain amount of human participation. The owner must arrange such walls on his own
In this case, competent placement is of no small importance, which provides coverage of the maximum area for cleaning.
It is important to ensure that there are no fragile objects or curtains in the affected area. For more comfortable zoning, you have to use several virtual walls at once.
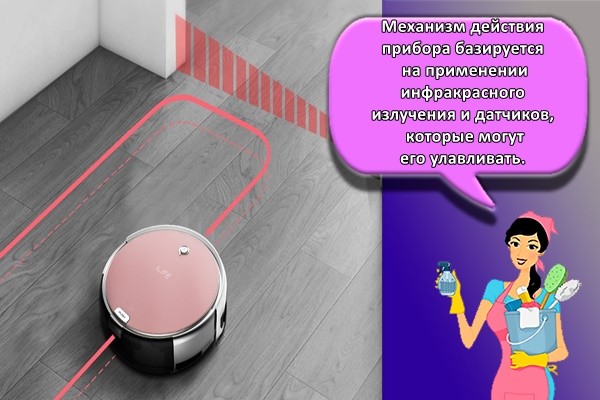
The infrared beam helps the vacuum cleaner to avoid touching fragile or dangerous objects. It is enough for the owner to install virtual walls. However, they can be turned on and off manually or automatically when the robot is started. The specific mode depends on the model.Almost all robot vacuum cleaners come with similar navigation aids.
Technology features
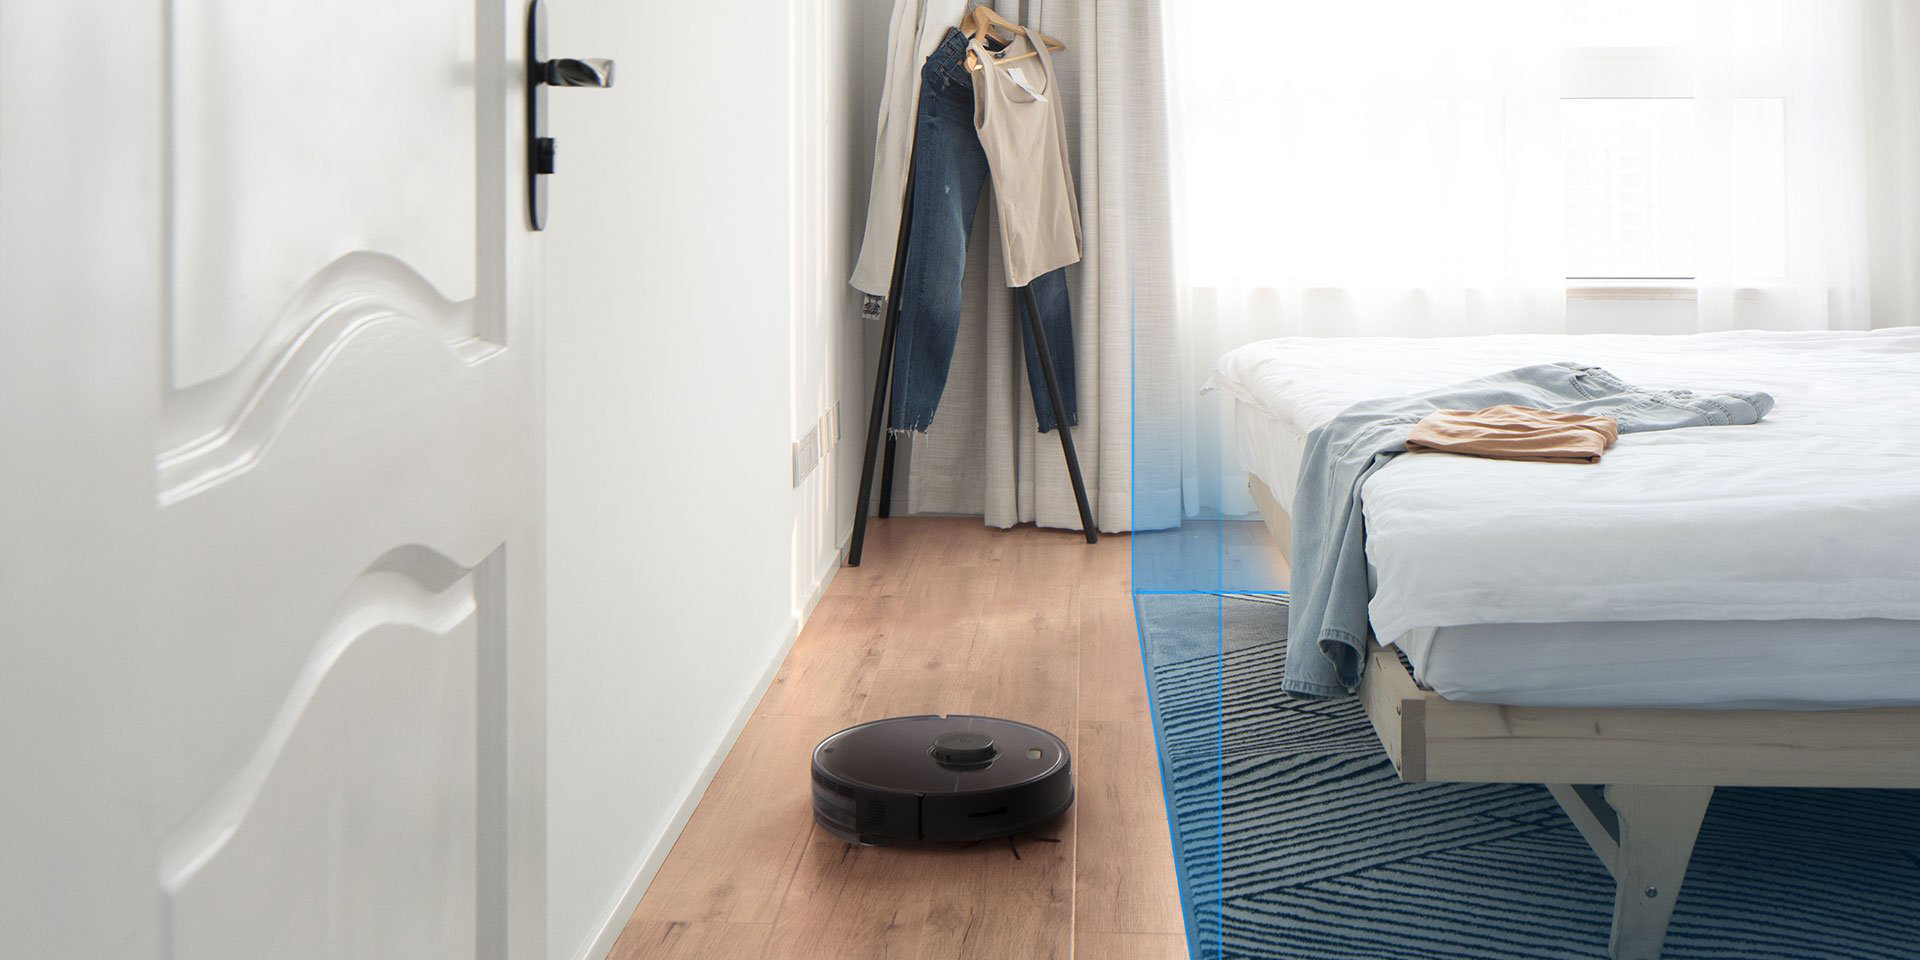
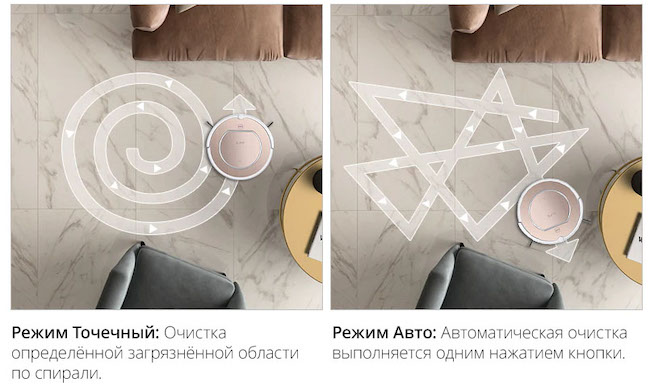
Thanks to the sensors, a map of the room to be cleaned is built, after which the machine makes an optimal trajectory of movement and cleans every centimeter of the floor without crawling over one place 10 times. We know three options for building a floor plan.
- Distance sensors (contact or ultrasonic). The robot moves along the walls, examining the room by touch, and draws up an approximate plan, after which it selects the trajectory of movement and starts cleaning.
- A camera on the housing cover. The processor continuously processes frames from the camera, using them for orientation in space.
- Lidar (laser rangefinder on the case cover). The device rotates during operation, receiving information about the objects around and the distance to them.
Where to get and how to upload the firmware
Software, or firmware, is something without which our robot vacuum cleaner will not budge, will not perform its functions as a home assistant. You can get it on the same resource where the Arduino board was purchased, or on one of the amateur sites where homemade products are collected.

In one of the solutions, the author of the development kindly shared with the readers a program designed for the simplest, most chaotic cleaning. In general, Arduino is a platform on which enthusiasts create solutions for their own needs. Therefore, there are 2 ways: write software yourself (if you know how to program) or use someone's help, take a ready-made one.
Basic knowledge about Arduino, PC, the principle of their interaction is indispensable. For those who are not confident in their own abilities, it is better not to take risks. There are several ways to synchronize the Arduino microcontroller, upload software:
- using the Arduino IDE;
- programmer;
- connecting to another Arduino board.
The first way involves downloading (or using online) the Arduino IDE. The software runs on most modern operating systems - Windows, Linux, Mac OS. Before taking action, it is highly advisable to understand exactly what is being done.
Doing something blindly with the Arduino by trial and error is strongly discouraged. It is better to order a ready-made and stitched board. You should also prepare a USB connection cable in advance. All information about working with Arduino, its software environment is on the net. It is not difficult to master it, there would be a desire.
The Arduino IDE interface is quite simple and intuitive. If something doesn't work out, you can always turn to the dedicated section of the Arduino Wiki for help.
The next way is to use a programmer. This is a special device sold separately. But it allows you to work with different Arduino boards, download software to them.
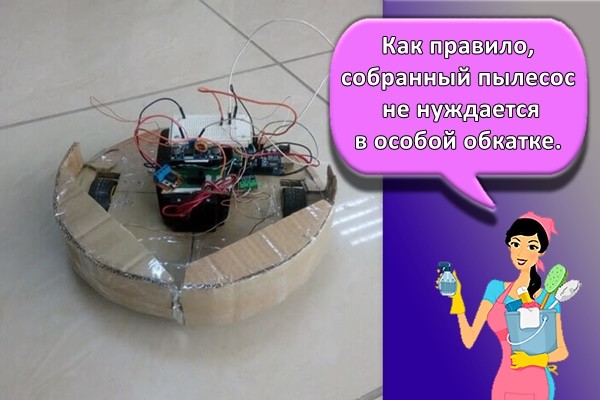
The last suggestion uses one of the Arduino as a programmer. The method is no worse than the others, it is quite effective. To implement each of the proposed options without disassembling the vacuum cleaner every time, you should provide access to the board connector in the housing. This can be a window, an extension cord with a USB connector, brought out under the cover of the vacuum cleaner, or your own method. If only it was convenient to use.
Output
Cameras, sensors installed inside the robot vacuum cleaner react only to real, solid obstacles. No program can predict where exactly the owner will not want to let the home assistant pass. The use of a virtual wall allows the robot to "explain" that it is impossible to go to a specific place, although the passage to it is not blocked by any real barriers.
We recommend:
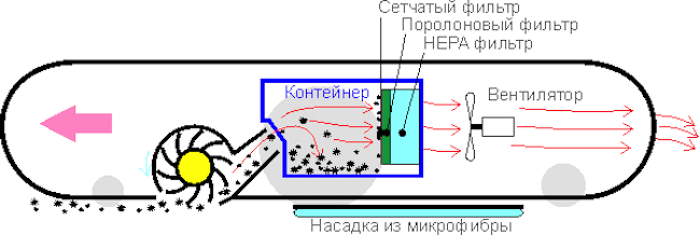
How a robot vacuum cleaner works: device and principle of cleaning
Robot vacuum cleaner iLife V50 Pro with memory function

Robot vacuum cleaner iRobot Roomba 616: high-quality cleaning without high costs

Robot vacuum cleaner ILife V8s with i-Move and i-Dropping technologies

Iclebo Omega robot vacuum cleaner: smart cleaning with comfort
Samsung robotic vacuum cleaners: model overview


