Step-by-step instructions for repairing a ball at home
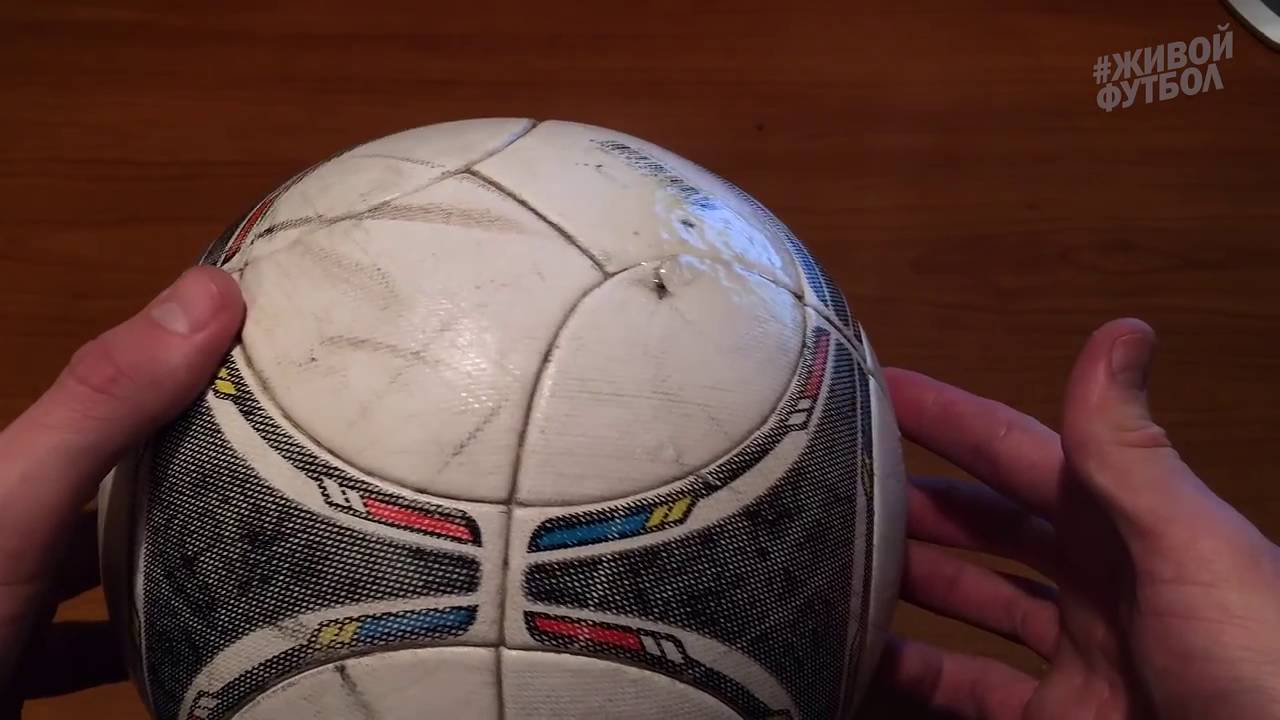
The preparatory stage is over, it's time to move on to considering the issue of how to sew a soccer ball at home. We offer you step-by-step instructions. Familiarize yourself with the possible options for damage and the method of their elimination.
 There are several methods for repairing damage.
The easiest way to fix the ball is without a camera. In this case, there are fewer actions.
If the camera remains intact, it will be easier to fix the ball.
It is also important to understand the peculiarity of the material from which the repair object is made. This could be:
- leather (mainly with a camera) - the most durable, but expensive material;
- a leather substitute, depending on the quality, the price also fluctuates;
- synthetic materials (cheap, but short-lived, it doesn't always make sense to fix them).
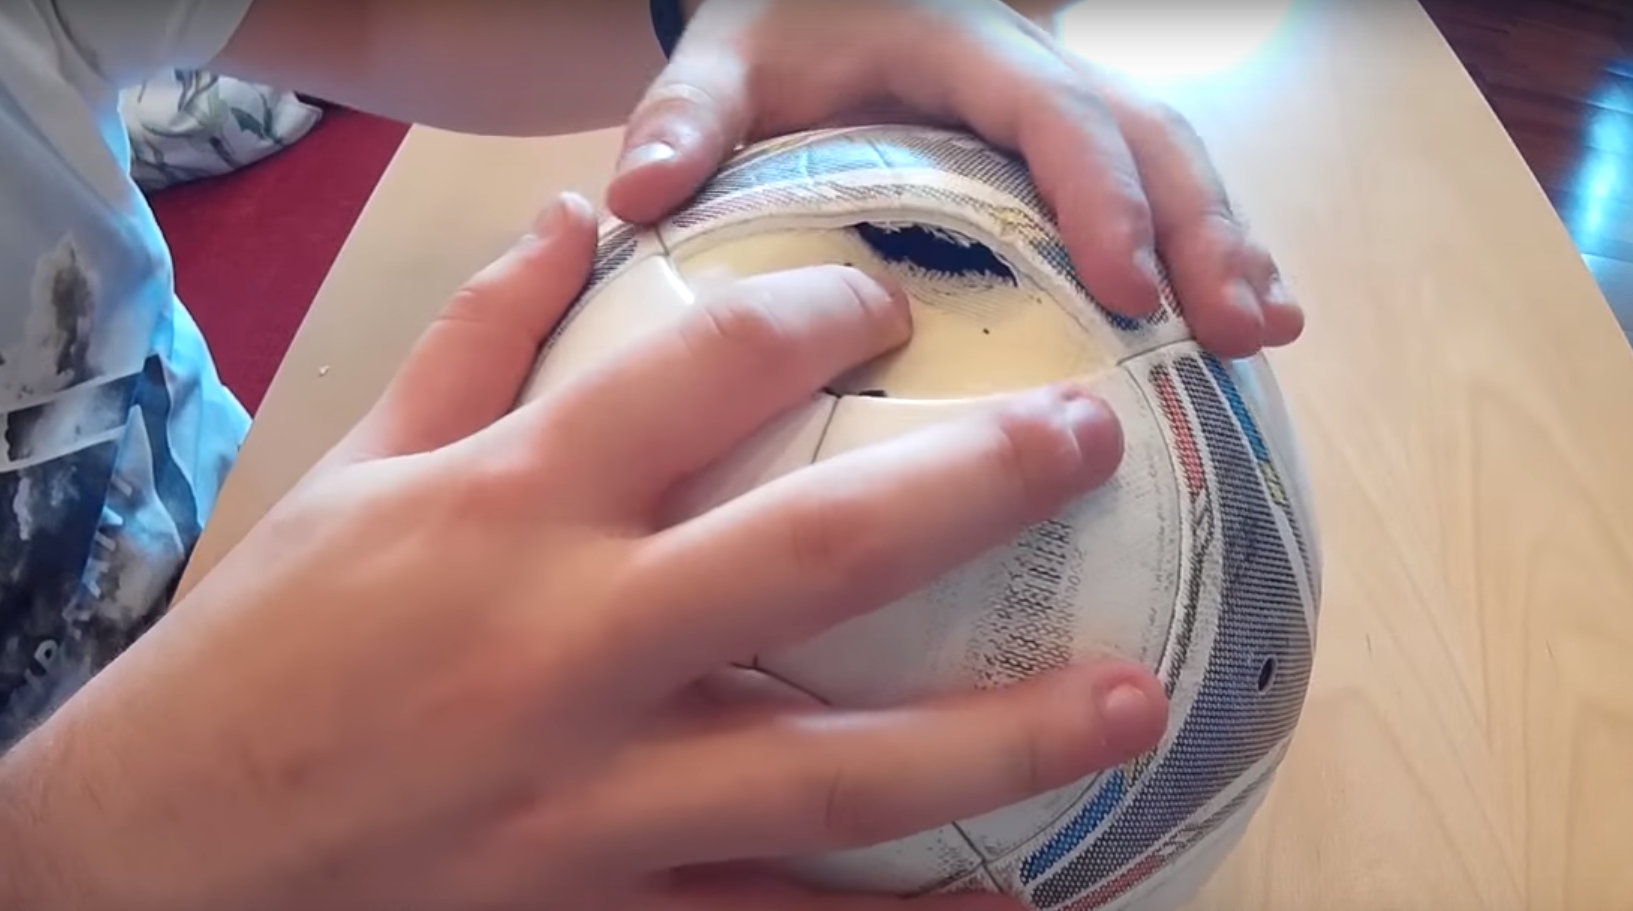 The way the ball is repaired depends on the material of the product and the nature of the damage.
In any case, regardless of the casing material, the camera is always rubber. So, first things first.
The camera is always made of rubber.
If the hole is small
Having established the puncture site, it is not difficult to understand what the size of the hole is. If it is insignificant, you will not have to put the patch. You can simply use a rubber glue applied to a pre-marked location. It dries, depending on the composition, from 20 minutes to 24 hours. But it is better to follow the manufacturer's recommendation.
 If the puncture is small, then you can simply seal it with rubber glue.
How to apply the glue:
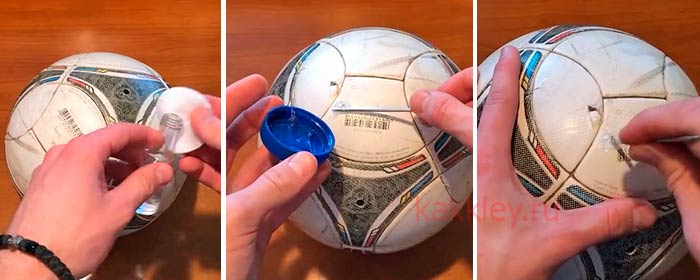
- Degrease the surface. For these purposes, we use an ordinary ear stick and acetone. This should be done not only to clean the place, but also to improve the adhesive properties.
- Using a thin object (toothpick, kebab skewer, knitting needle, etc.), we apply glue in such a way that it covers not only the area of the hole, but also around it.
 Degrease the surface before applying the glue.
 Before gluing, you need to release air from the ball.
For the best effect, glue should be applied not only to the surface of the hole, but also inward. This will allow the glue to pull together and fix the puncture.
 For better fixation, the glue must also be applied inside.
Sealant repair from the inside
The sealant got its name for a reason. It is a versatile product that provides secure adhesion to a wide variety of materials, from glass to rubber. A sealant is used when the puncture is minor. It is used without the need to dissolve the seams and remove the casing. The productivity of this method is not always justified, in terms of effectiveness it is similar to rubber glue.
 In some cases, the ball can be repaired from the inside with a sealant.
How to glue without cutting the surface
Damage may be minor. In this case, you can use a patch. The market is ready to offer ready-made materials for gluing, with a layer of special glue already applied.
In case of minor damage, a patch can be applied.
The algorithm is similar, looks like this:
- We clean the place of pasting. Without cutting the surface, damage is eliminated, as a rule, on tubeless models. Cleaning with regular rubbing alcohol will remove grease and dirt (even if not visible to the naked eye).
- Preparing a patch. If this is a ready-made version, you do not need to apply glue. But, if the situation happened somewhere outside the city, you can cut out a piece of rubber. The size of the patch is determined by the severity of the puncture. It should cover the damaged surface + 2-3 mm around.
- For emergency repair of a puncture, you will need to use instant glue.
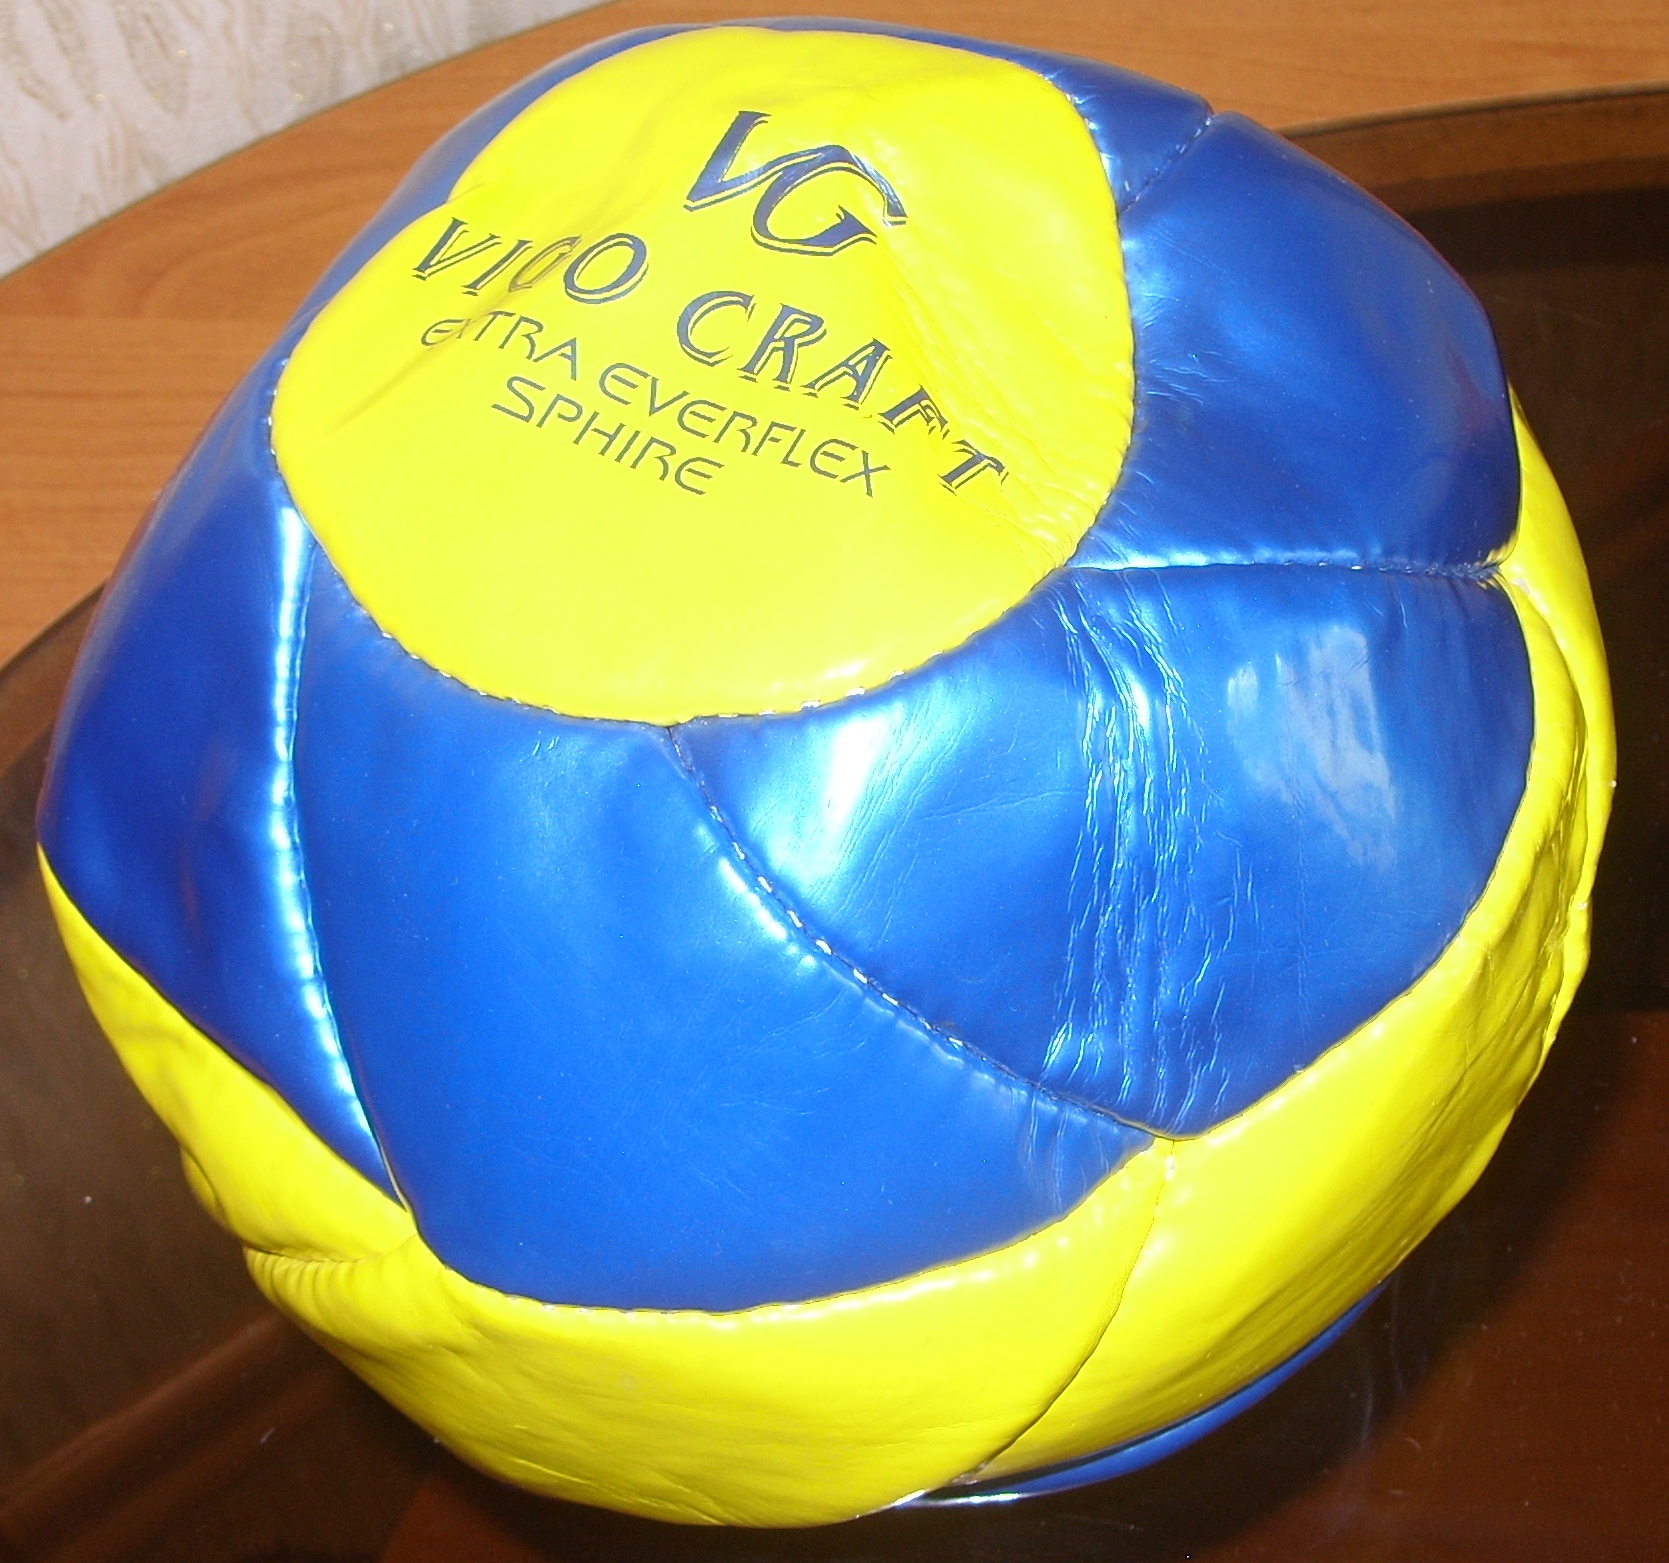 The patch is applied according to certain rules.
 Dry the surface before applying the patch.
How to act if the camera is torn
It is almost impossible to fix cameras whose surface is covered with a layer of rope. It will need to be replaced. The same goes for significant cuts when most of the camera has lost its integrity. You can glue, but the duration of the effect is unlikely to be long.
 In some cases, the camera cannot be sealed.
In any case, you need to perform the actions in the following sequence:
- We find the place where the tightness is broken. The ways to do this are described above.
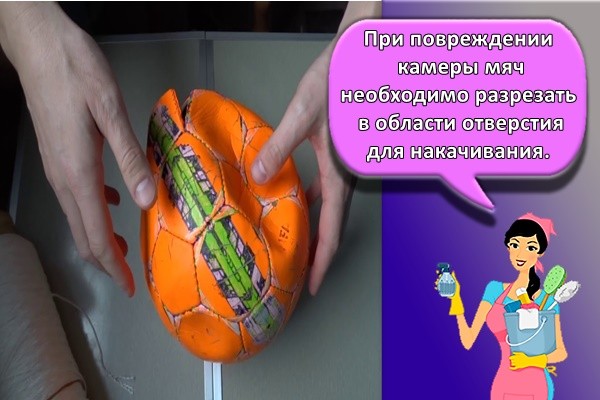
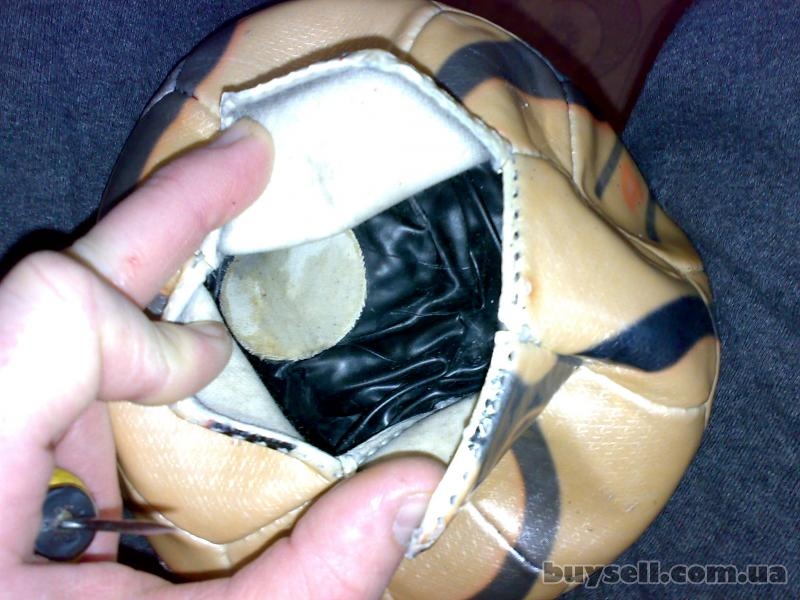
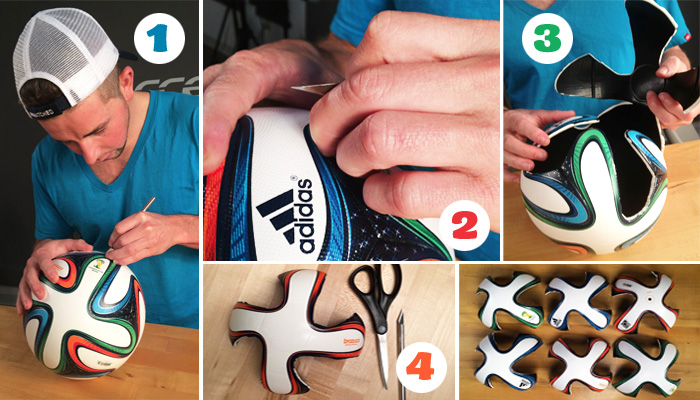
- We cut the casing of the ball. This should be done in the place where the ball is being inflated.
- Preparing a patch (see above).
- We glue it, eliminating the gap / puncture.
- We place the camera back into the casing, and sew up the incision. A nylon thread is best suited for this in view of its strength and elasticity.
 If the camera is torn, the repair takes place in several stages.
It is not possible to use the ball in the game right away. It is better to let the glue show its maximum properties and reach the peak adhesion.
 It is not recommended to use the ball immediately after renovation.
Rebuilding the nipple and chamber
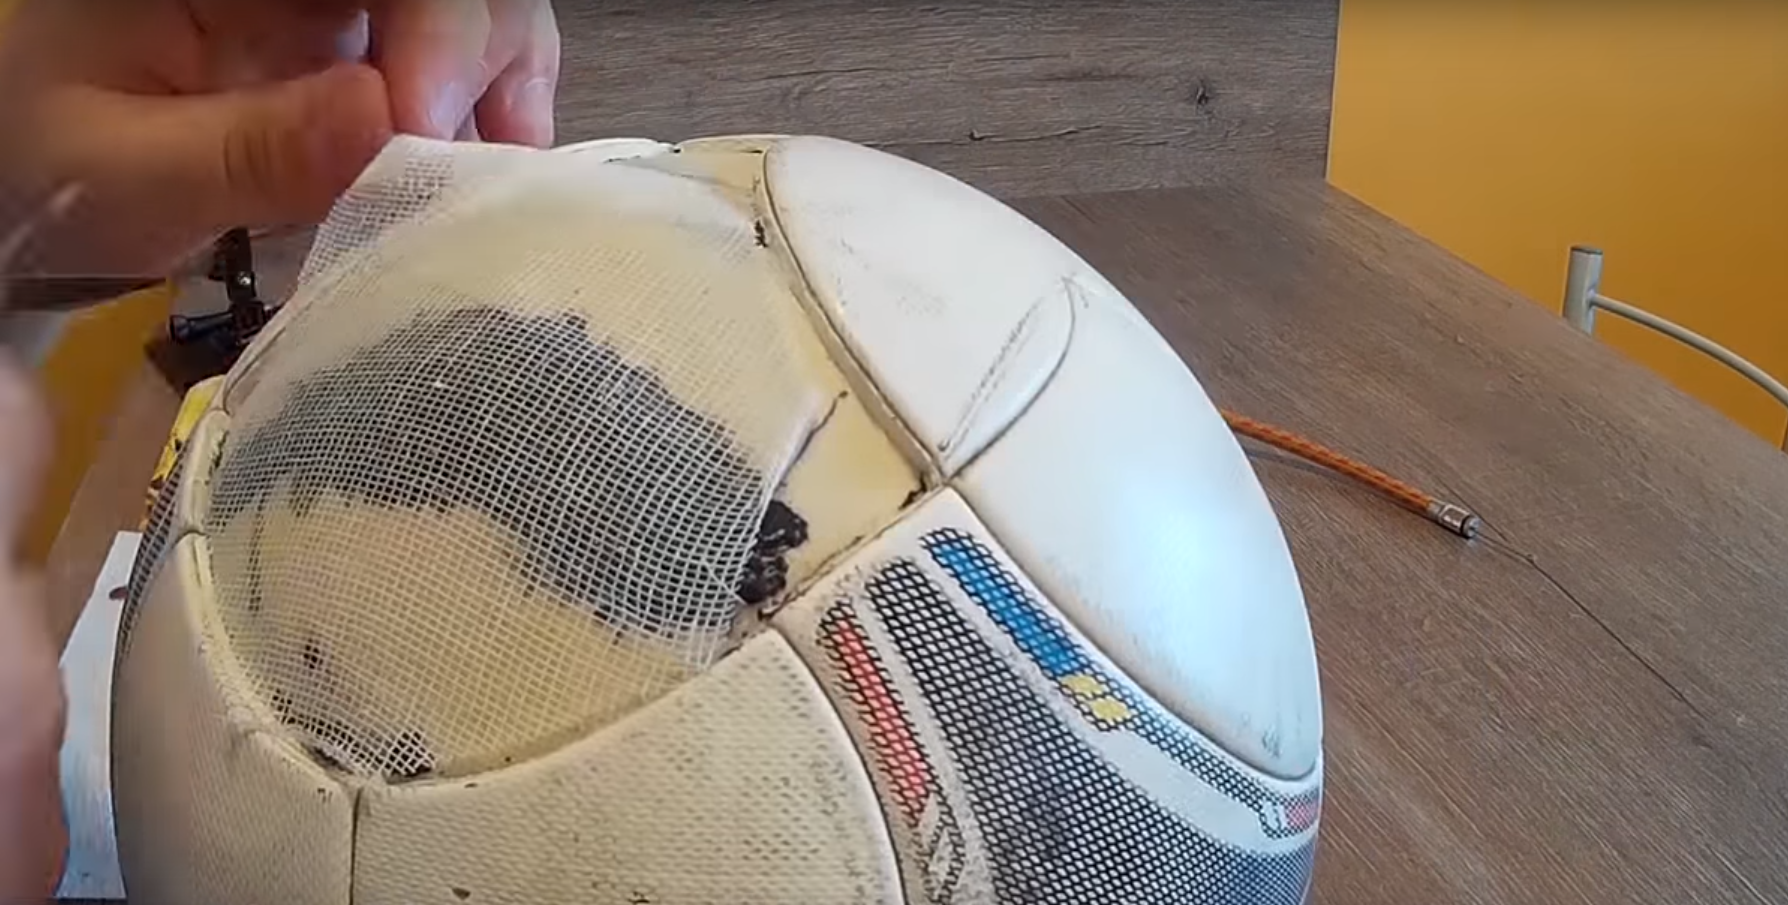
The knowledge of how to sew the ball correctly will be useful to you even if the nipple begins to poison or the inner chamber is damaged directly. Note that in times of global shortage of this knowledge, it would be enough for you: with the "scoop" you could easily buy new "parts". So all the trouble was taking out the old ones and putting in the new ones. Nowadays, ball repair is no longer so easy. It's almost impossible to buy a football camera. So you have to carefully rip open the shell and reanimate the old "filling".
- If the nipple is holding, and the ball goes down, then the camera is poisoning. It is necessary to release air from it, carefully cut a minimum of seams and pull it out. The camera is lowered into a bucket of water; the place of breakdown is determined by the emerging bubbles and is circled with an indelible marker. Next comes the repair kit for air mattresses. Treat the camera, insert it back. And how to sew a soccer ball, you already know.
- You can detect nipple incontinence in the same way as on a bicycle tube, or simply dip it into water and observe if air is escaping. For repair, the ball is unpicked in the segment where the nipple comes out, a non-working element with a piece of the chamber is cut out until the end of hardening. From the inside, the convex nipple (approximately 12 mm in diameter) is tied with a strong thread so tightly that a wet needle can hardly enter. When the pressure is held, a patch 2 cm larger is glued over the nipple, after which the nipple is bridged onto the chamber with the same repair kit.
How to find a puncture on a ball
The first thing to do is to find the place of damage on the surface of the ball.
 The first step is to find where the damage is.
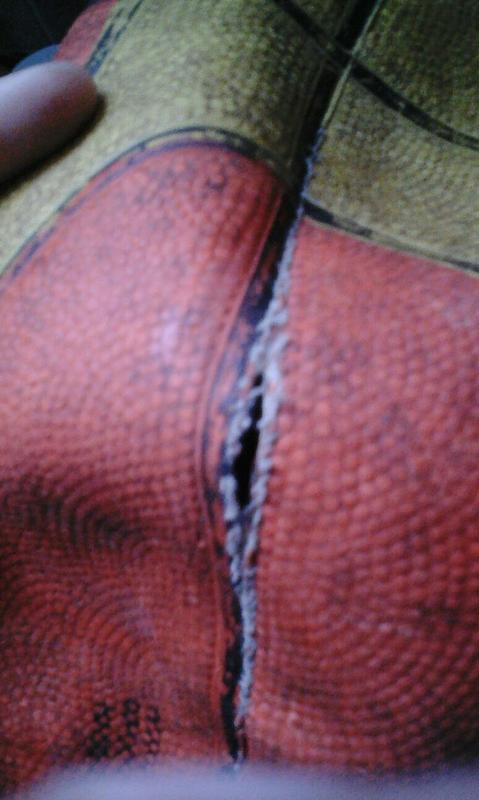
Sometimes this is obvious: when the puncture / cut is clearly visible. Possible troubles include:
- significant (cuts, large tears) and minor (punctures) damage;
- problems with the nipple (valve or the place of attachment to the camera);
- mechanical wear or damage to the tire (manifested in the form of loosening of the seams).
 Ball damage can occur for a variety of reasons.
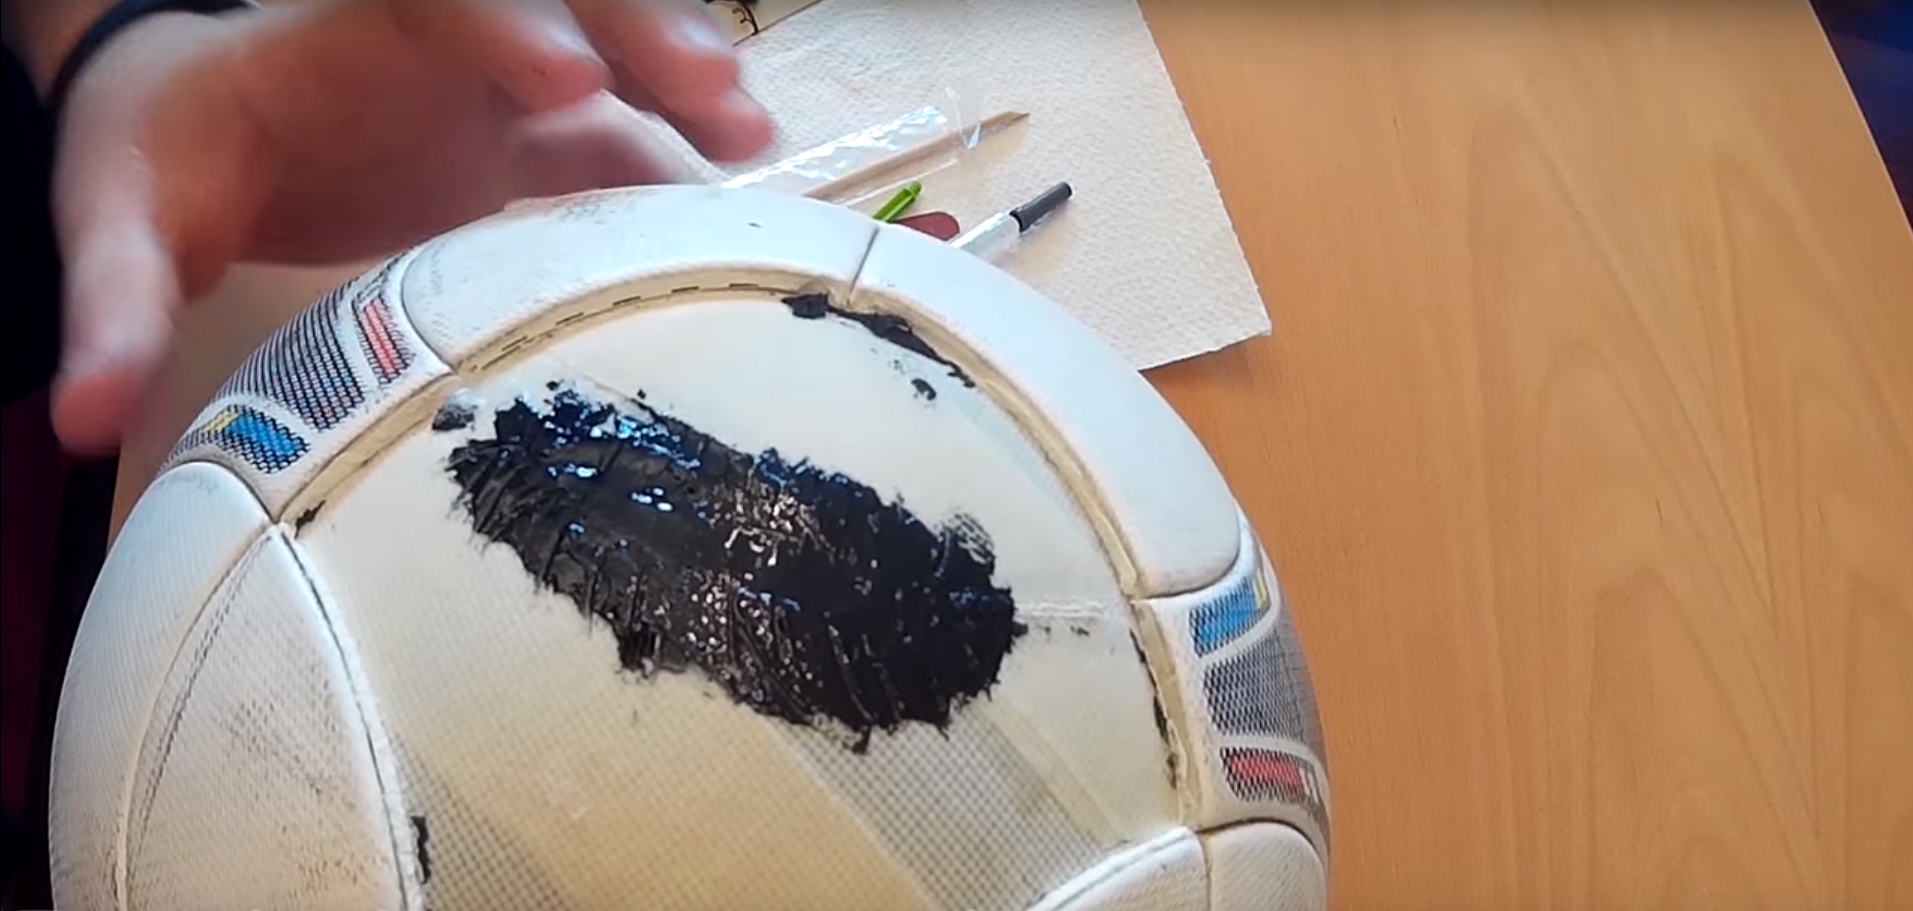
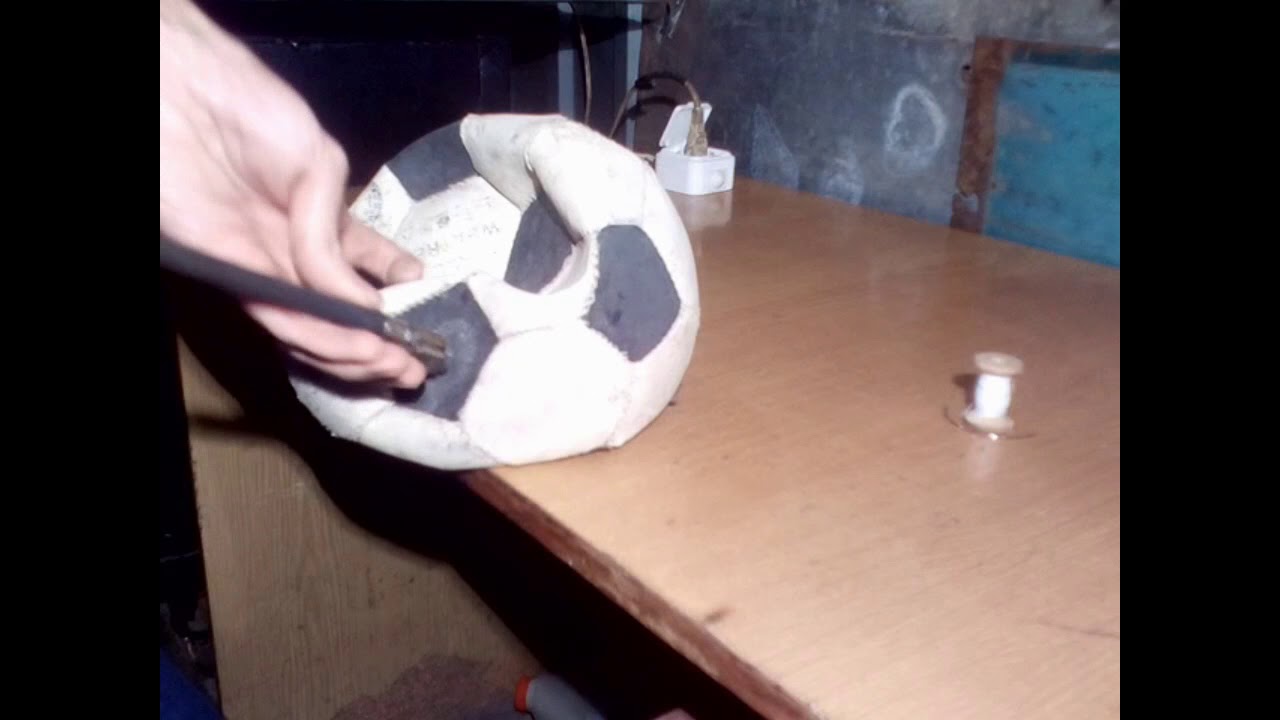
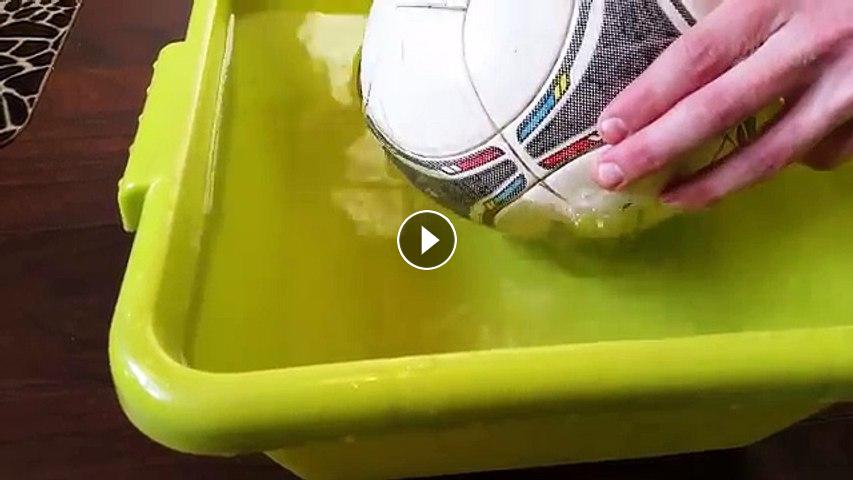
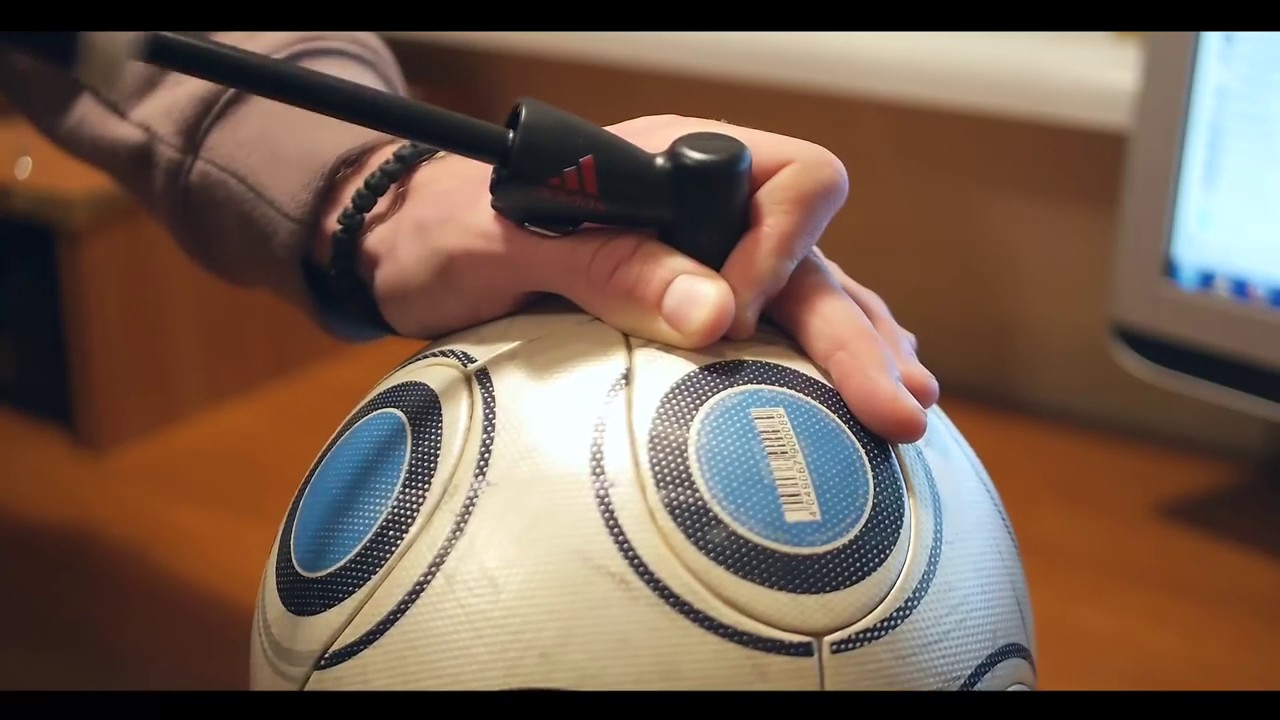
The optimal and working method to detect hidden damage is to pump a ball and dip it into a container of water. The same place will be manifested by the active release of air bubbles. In order not to lose it, take a toothpick in advance and stick it into the puncture site. This will be a kind of beacon for further repair activities.
 To locate the damage, the ball needs to be pumped up.
Sometimes a newly formed hole in the chamber can be detected without water: if the air comes out quickly, finding a leak is not a problem. Circle the area with chalk.
 The place where the ball was punctured can be marked with chalk.
Required materials and tools
Before dealing with the question of how to glue a soccer ball, you need to understand what is needed for this.If you have experience in gluing car / bicycle cameras, then the principle of ball repair is clear to you.
 The principle of repairing a ball is similar to that of a damaged bicycle tube.
You need to purchase the following materials and tools:
- Glue. There are a lot of options on the market, but rubber is the best in practice.
- Instant adhesive (fast drying). They are versatile, act almost instantly and effectively.
- A fragment of an elastic band can serve as a patch. Purchased patches can also be used.
- Scissors or knife (at your discretion).
- Degreaser (acetone is fine). It will be needed to prepare the rubber surface for gluing.
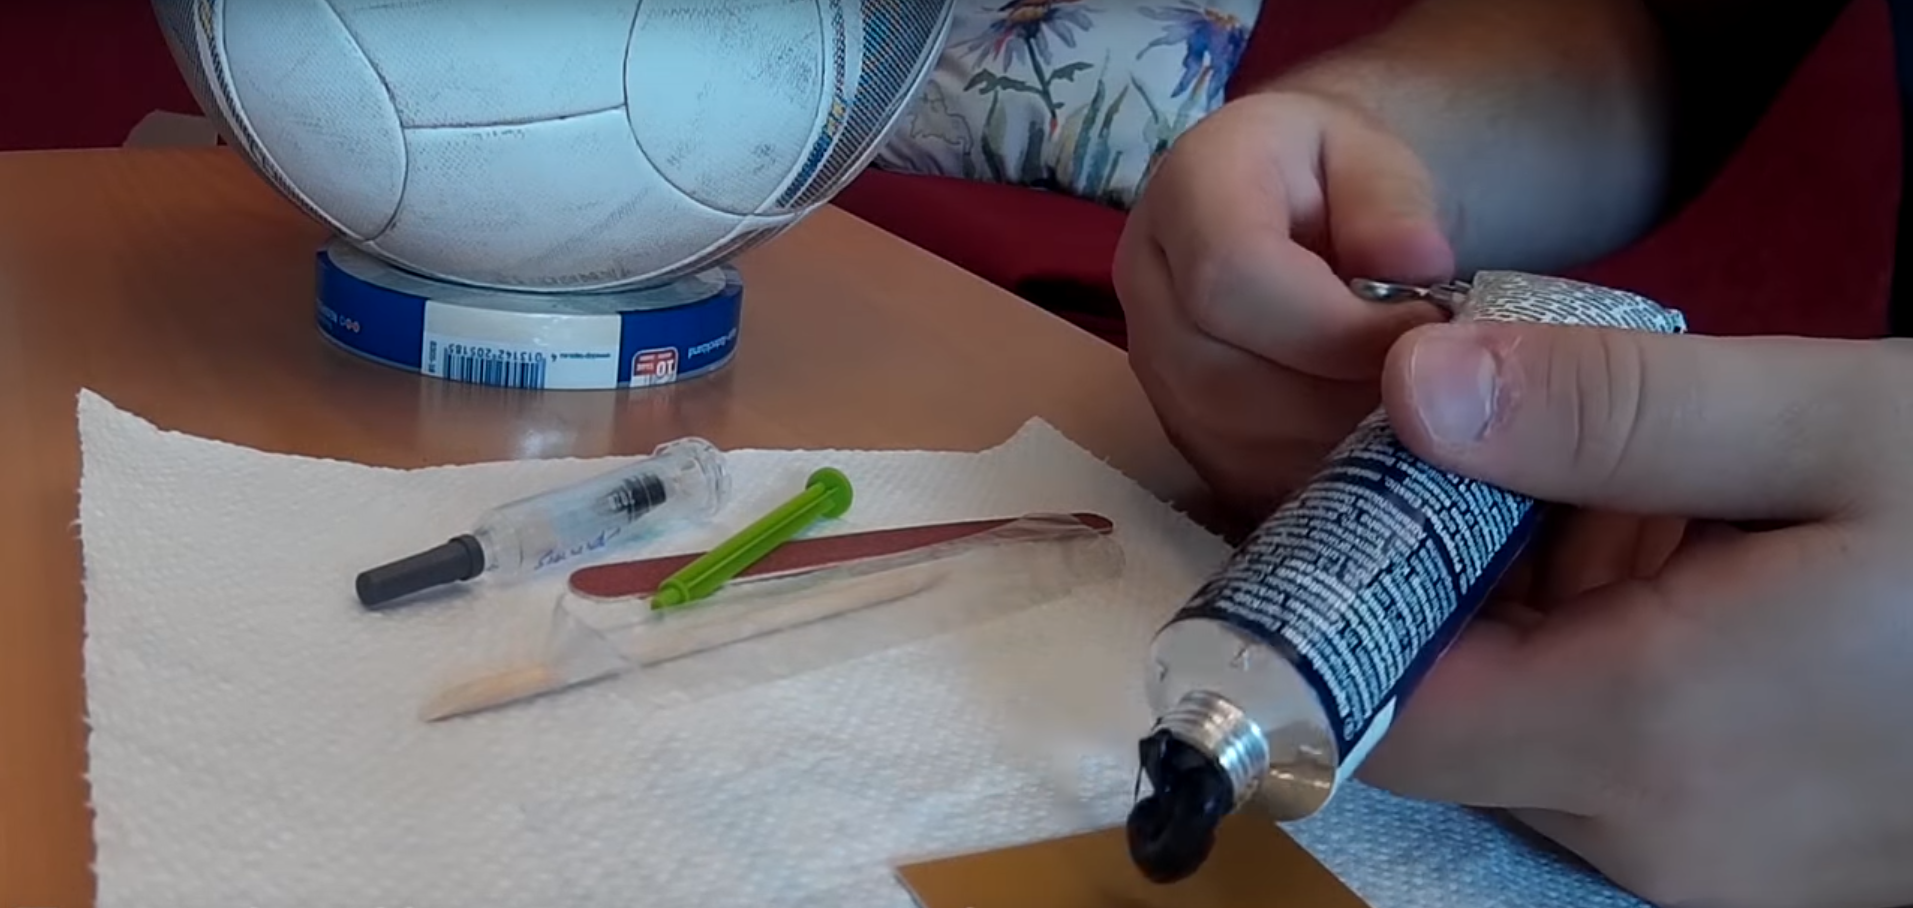 Before starting work, make sure you have all the necessary tools.
The surface of the ball is pre-cleaned.
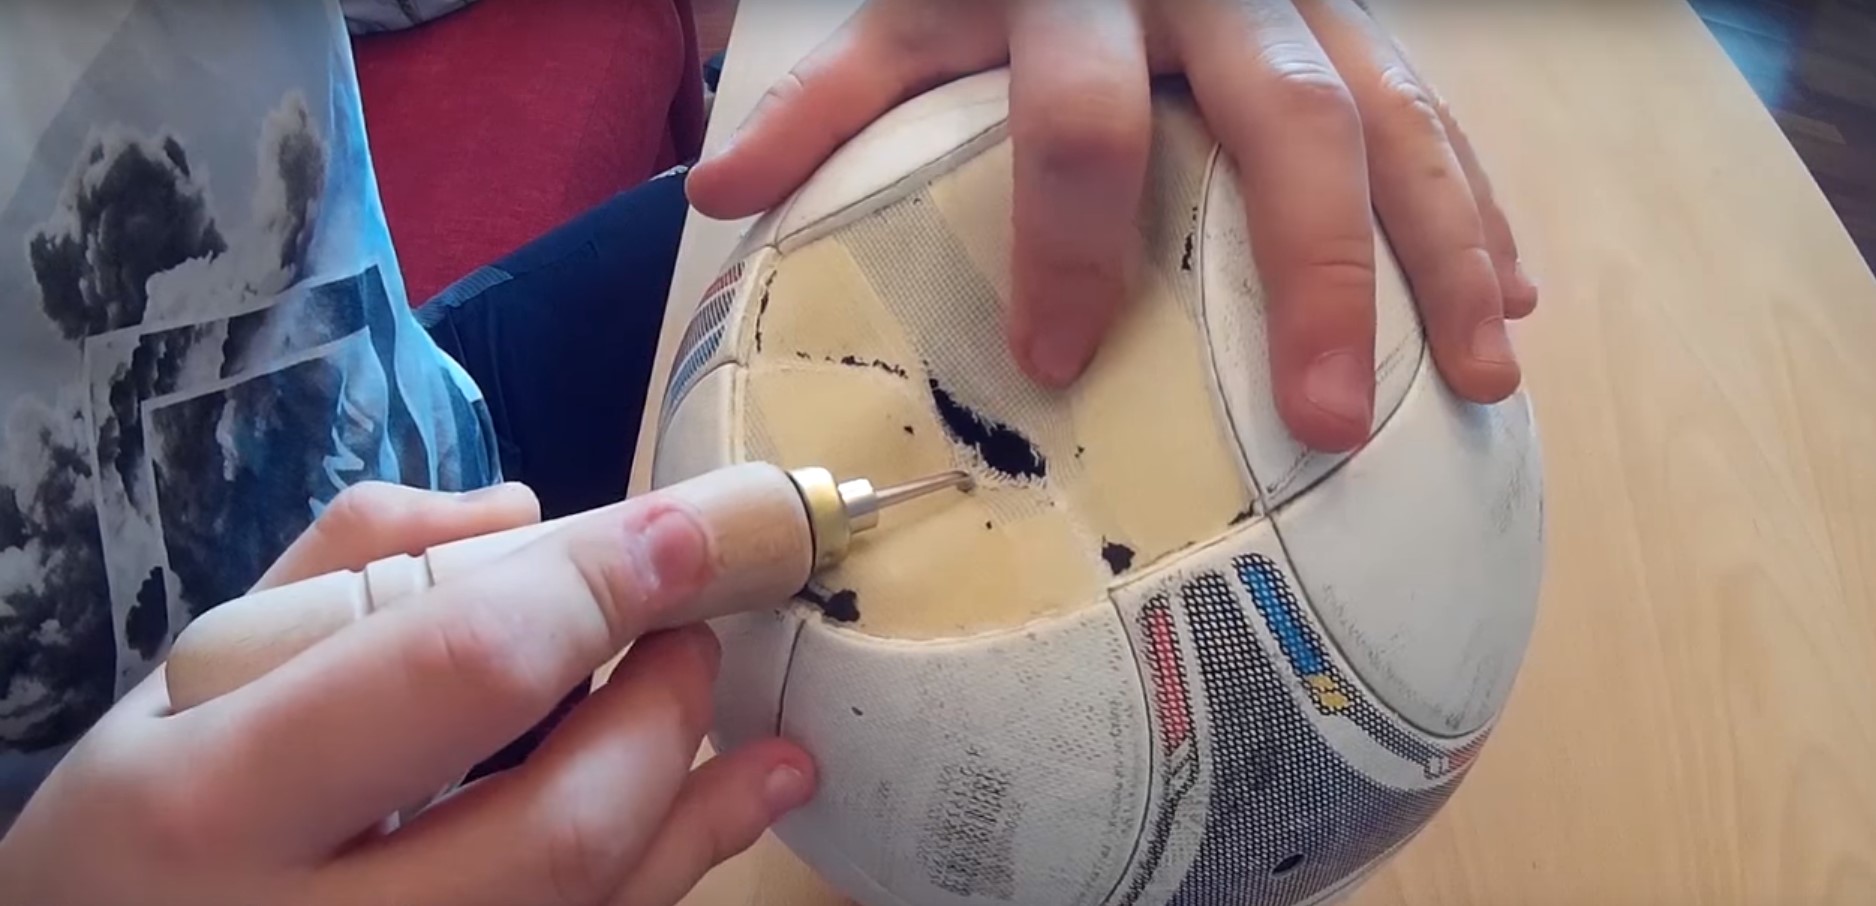
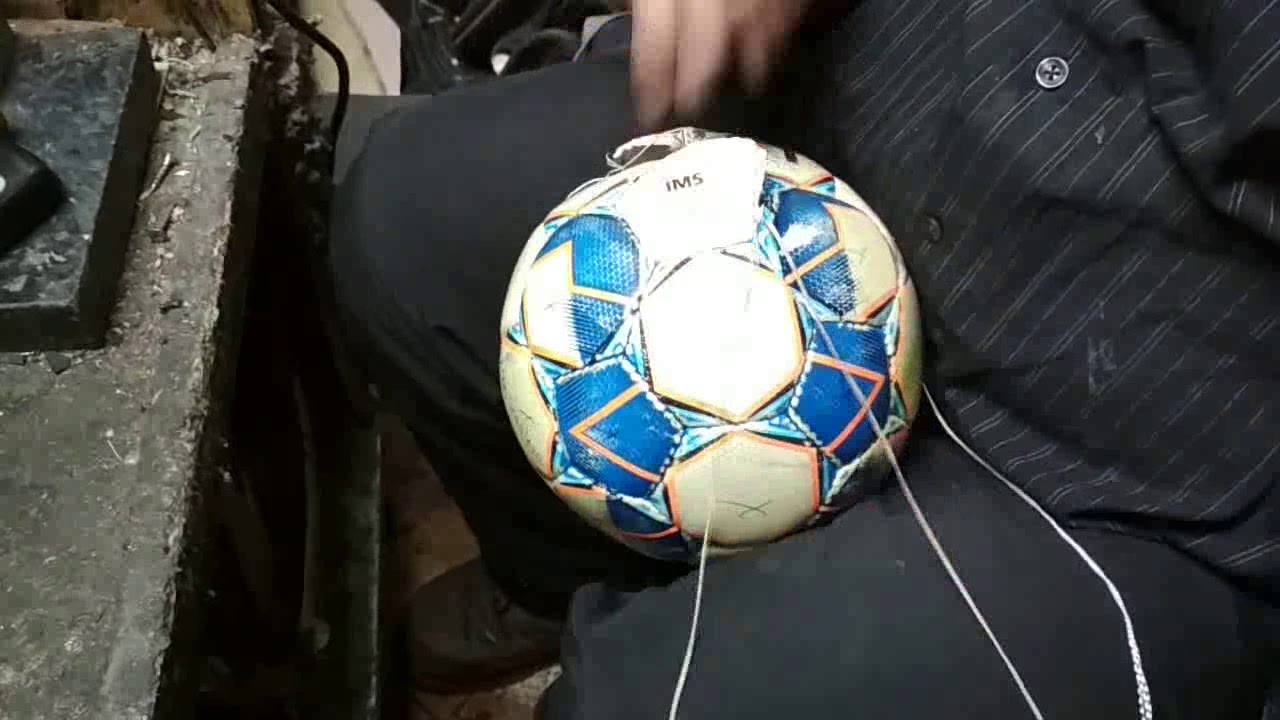
How to sew a soccer ball correctly
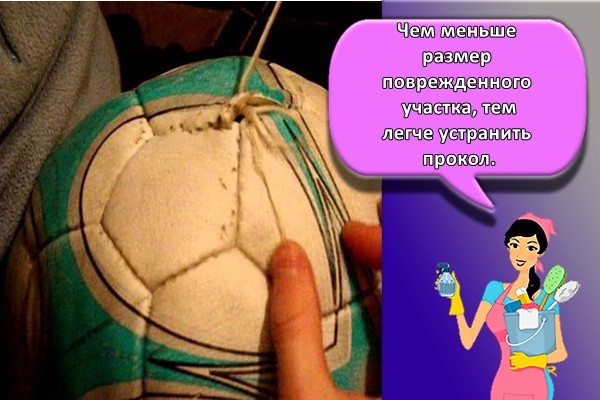
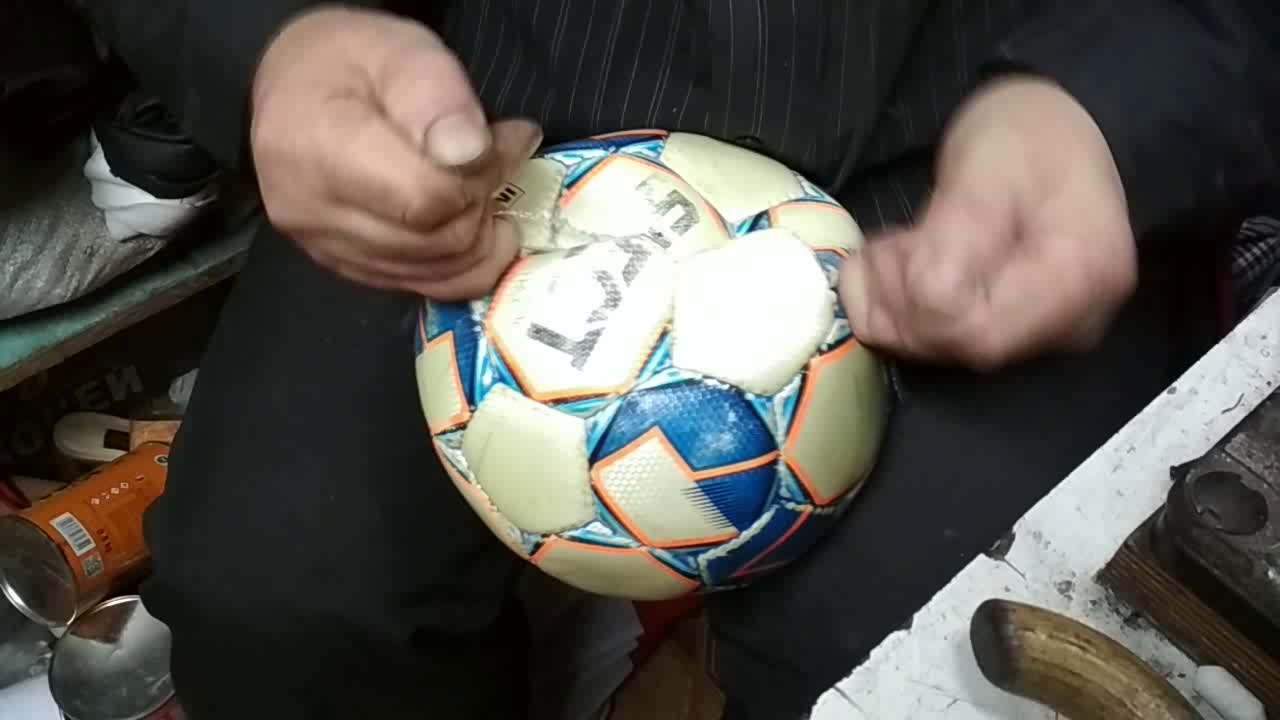
We proceed to the split seam.
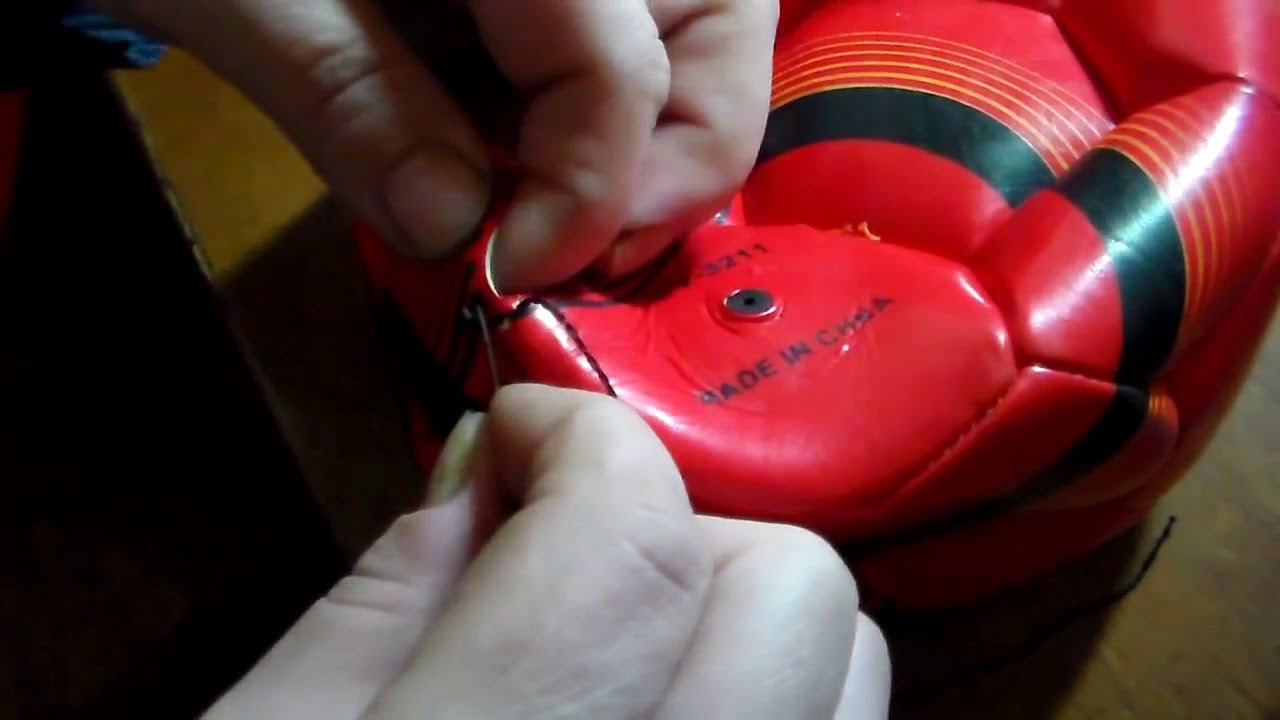
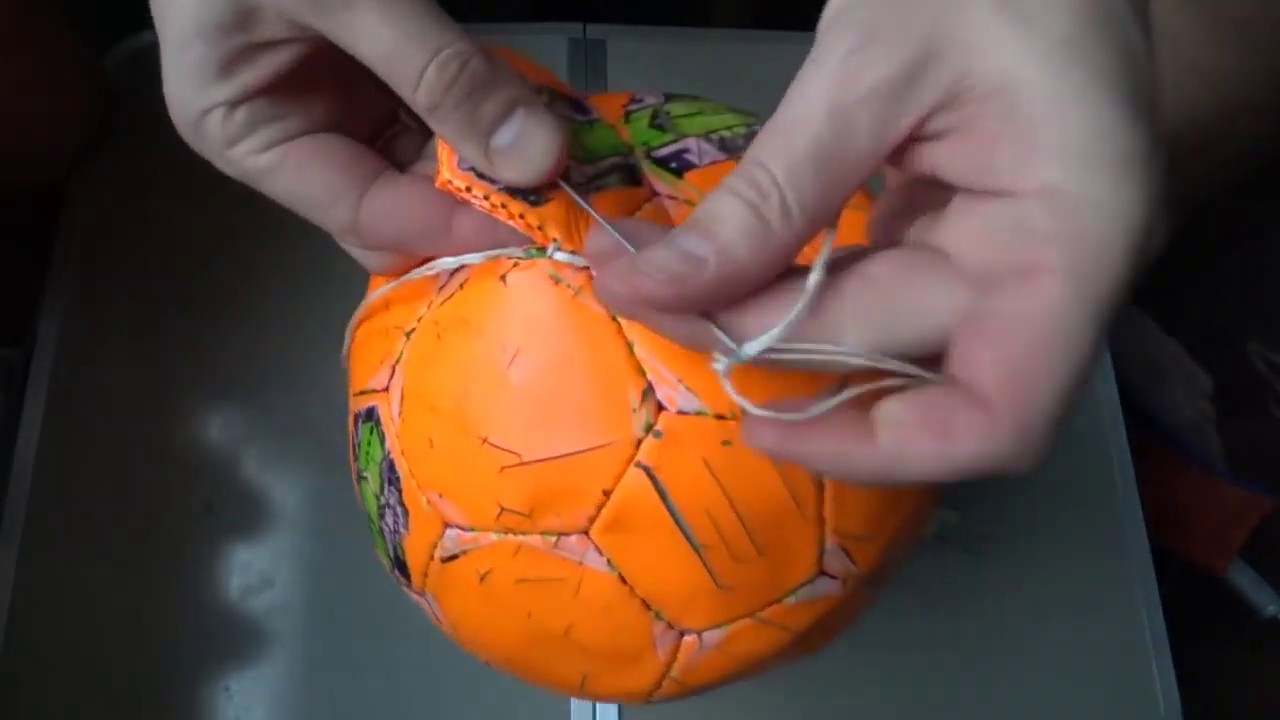
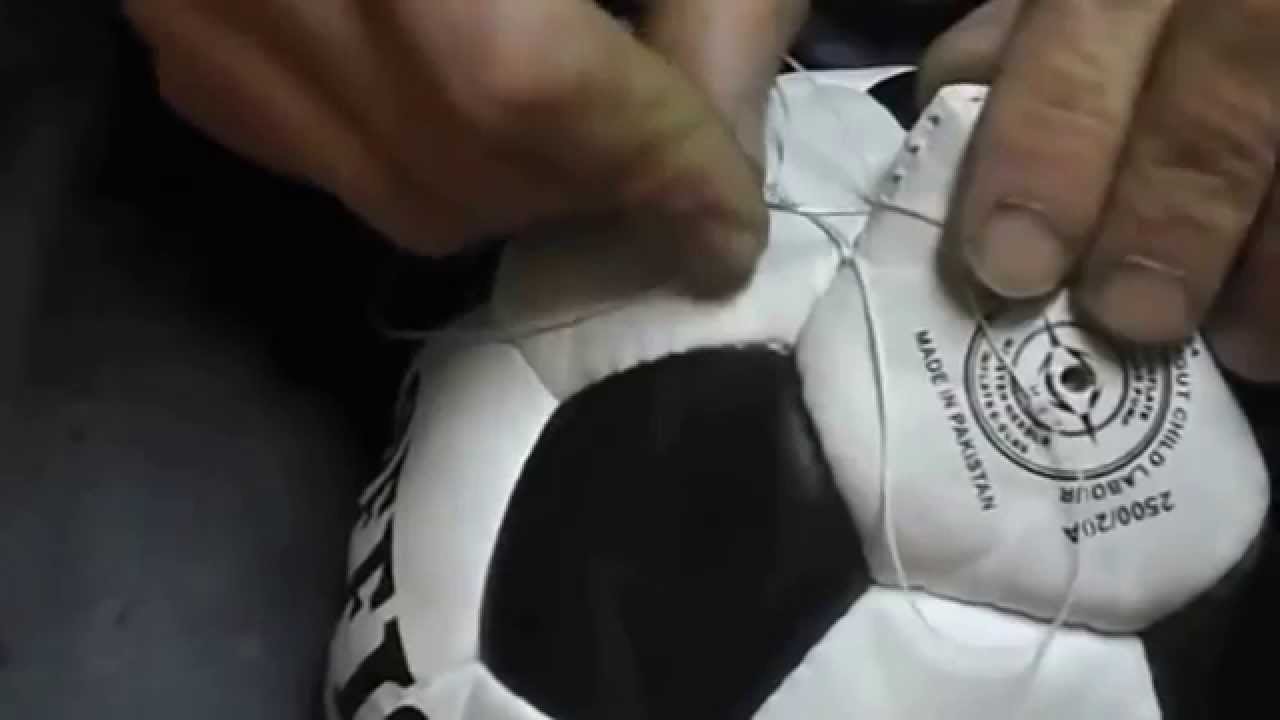
- A loop is inserted into an already existing hole so that it passes through both elements to be connected.
- The end of the thread is pushed into the loop and pulled to the other side.
- A double knot is tied with a maximum tightening of the thread and so that it is inside.
- The loop is inserted into the next hole on the right; one end of the double strand stretches to the right.
- The loop returns to the previous hole, and the second end is pulled towards the already stretched thread.
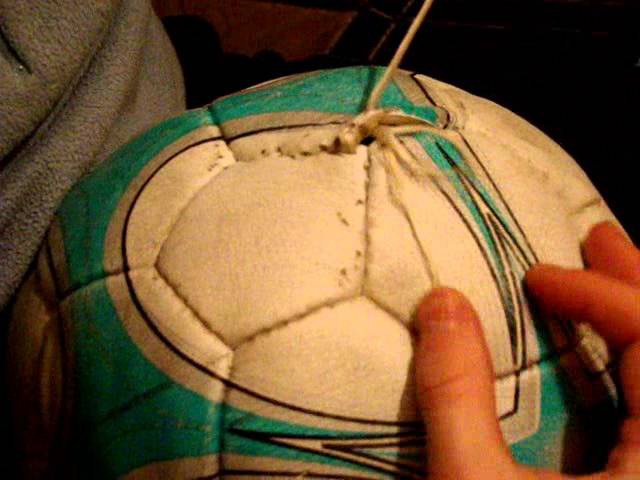
This procedure is repeated over and over again. Visually, the seam looks like a pair of opposite snakes. When it reaches the corner of the pentagon, the threads stretch strongly in opposite directions for the most tight connection of the elements, after which several knots are tied and melted with a lighter. In this state, the mount is guaranteed to be protected from divergence.
When the last element remains, the ball is turned onto the "face", the camera is inserted, and the pentagon is sewn in the same way as the rest, but without tightening. Putting it in place, the Swiss pulls the ends through the remaining small hole, ties and melts the knot, which is then pushed inside with a match.

How to glue a gymnastic ball?
A patch is the first thing that comes to mind in this case, but it will not work to solve the problem by sticking a plaster or adhesive tape.
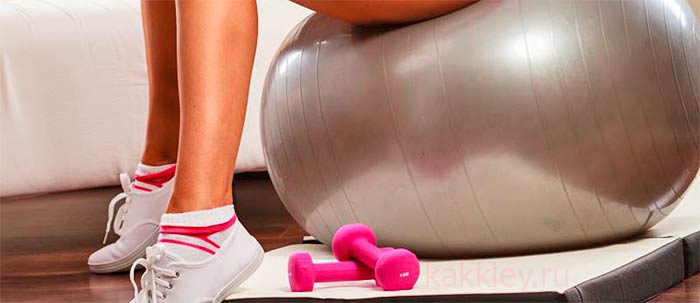
It will be enough to sit down and jump a little on the ball, as the patch itself flies off the smooth latex surface.
However, if your fitball is leaking, do not rush to the store for a new one.
You can glue the hole on the rubber ball, because there are special repair kits for this purpose.
Universal "first aid kits" for the repair of any inflatable products are produced by INTEX.
The kit includes VINYL CEMENT superglue and a 5 x 10 cm transparent patch. You can buy such a repair kit in the nearest Sportmaster store or on the market, it costs about 150-200 rubles. The glue seizes almost instantly, for which it is called "cold welding". A colorless patch will not be visible on an item of any color.
If there is a hunter-fisherman's shop nearby, you can purchase a PVC boat repair kit, which also includes a small tube of special glue and pieces of rubberized fabric. Such a set allows you to seal the damage more thoroughly, but the process itself requires more time, and the cost of this repair kit is often comparable to the price of a fitball.
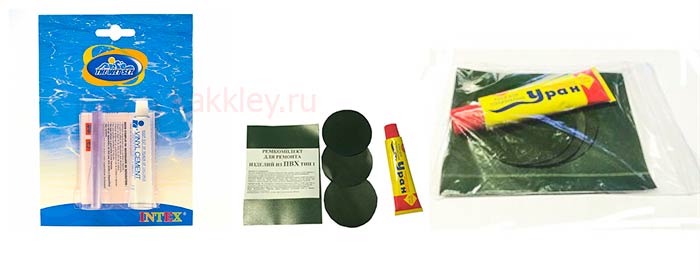
Fitness Ball Repair Instructions
To properly glue the fitness ball using the INTEX kit, follow the instructions below:
- determine the exact location of the damage (soap solution will help to find the puncture);
- prepare a patch of a suitable size with rounded corners;
- degrease the puncture site and the surface of the patch with a small amount of acetone;
- apply superglue to both glued surfaces;
- apply and firmly press the patch;
- inflate the fitball and leave it inflated for several hours.
If during the check it turned out that the air from the fitball comes out through the nipple, then it is better to glue the ball from the inside.
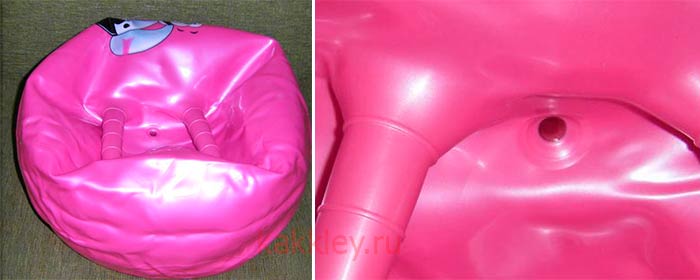
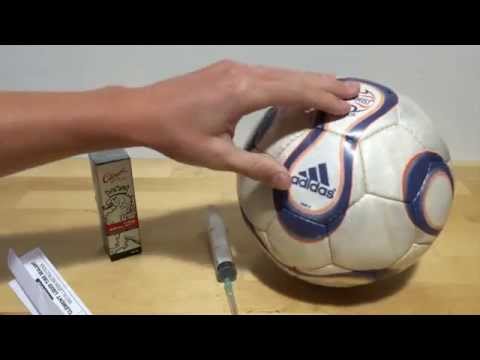
To do this, fill a regular medical syringe with a small amount of superglue and insert it inside the inflated ball so that the glue clogs the hole.
Recommendations and Tips
The fitball can only be repaired in the event of a minor puncture. If a large incision has formed on the surface of the ball, it makes sense to purchase a new product.
The fact is that modern fitness balls have an ABS (anti-explosion) safety system - in the event of a puncture, they descend slowly.
The restored ball is devoid of such a system. If a new gap appears at the repair site during training, there is a risk of injury.
Compliance with the rules of its operation will help to extend the life of the fitball:
- It is recommended to use the fitness ball on a flat floor indoors;
- Before carrying out exercises in the open air, you need to make sure that the surface does not have potentially dangerous protrusions that can cause mechanical damage to the ball;
- It is recommended to keep the fitness ball inflated.
How to glue a torn soccer ball camera
Before you seal the hole in the ball, you should understand the various modern means for restoring cameras. If you have previously repaired car or bicycle tire tubes, some of the tools may sound familiar to you.

"Piece of Mind" Camera Repair Kit
The manufacturer has included everything you need in the kit:
- Glue,
- Patches of different sizes,
- Metal surface cleaning tool,
- Instructions,
- Spools.
With all of the above at hand, you can glue the camera of the injured projectile in about a couple of hours, even without special skills.
Customers are positive about the use of this kit.
YP3204P-C Camera Repair Kit
The composition resembles the first sample:
- Activating glue,
- Five large patches,
- Stripping tool,
- Spools.
The set of patches differs. Large dimensions will help eliminate even significant camera defects.
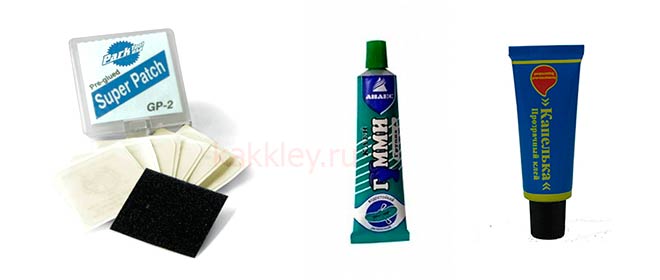
Park Tool Bicycle First Aid Kit PTLGP-2
Accessories for the restoration of bicycle cameras will perfectly cope with our task. This set consists of six self-adhesive patches.
The easiest and most convenient tool to help beginners, you just need to apply a patch to the damaged area and wait for the specified time.
Gummy glue for repairing rubber products
If your favorite ball is made of rubber, rubber glue will work for you. Gummy is an excellent option, which has a low cost and a lot of positive reviews from buyers. It is not difficult to use it: apply a thin layer of glue to the hole, let it dry for 5 to 10 minutes. Repeat the manipulation. When the second layer dries up, you can safely inflate the shell.
Glue "Drop" from Henkel
Need to glue the patch to a leather or rubber surface? Use the "Droplet" for this purpose. The manufacturer recommends degreasing the surface before use. The composition must be applied to both surfaces; for better adhesion, place the structure under a press.
Can a basketball or bouncy ball be repaired?
It is recommended to use a repair kit to seal the hole in the rubber ball. Universal formulations are manufactured by INTEX. The kit includes VINYL CEMENT superglue. It also contains a transparent patch measuring 5x10 centimeters. You will be able to purchase such a kit in a sporting goods store or in the market. The adhesive hardens almost instantly. Therefore, it is often called cold welding. A clear transparent patch will not be visible on the product.
This kit provides a thorough repair of damage. Moreover, the process takes a lot of time. In addition, such a kit is quite expensive.In some cases, it is more advisable to purchase a new ball. To glue the product with high quality, you should follow these steps:
- Find the exact puncture site. It will be possible to identify the damaged area with a soap solution.
- Prepare a patch of the required size. It should have rounded edges.
- Apply adhesive to both surfaces.
- Attach and firmly press the patch.
- Inflate the ball and leave it in this state for several hours.
If during the check it was possible to find out that air from the product comes out through the nipple, it is recommended to glue it from the inside.
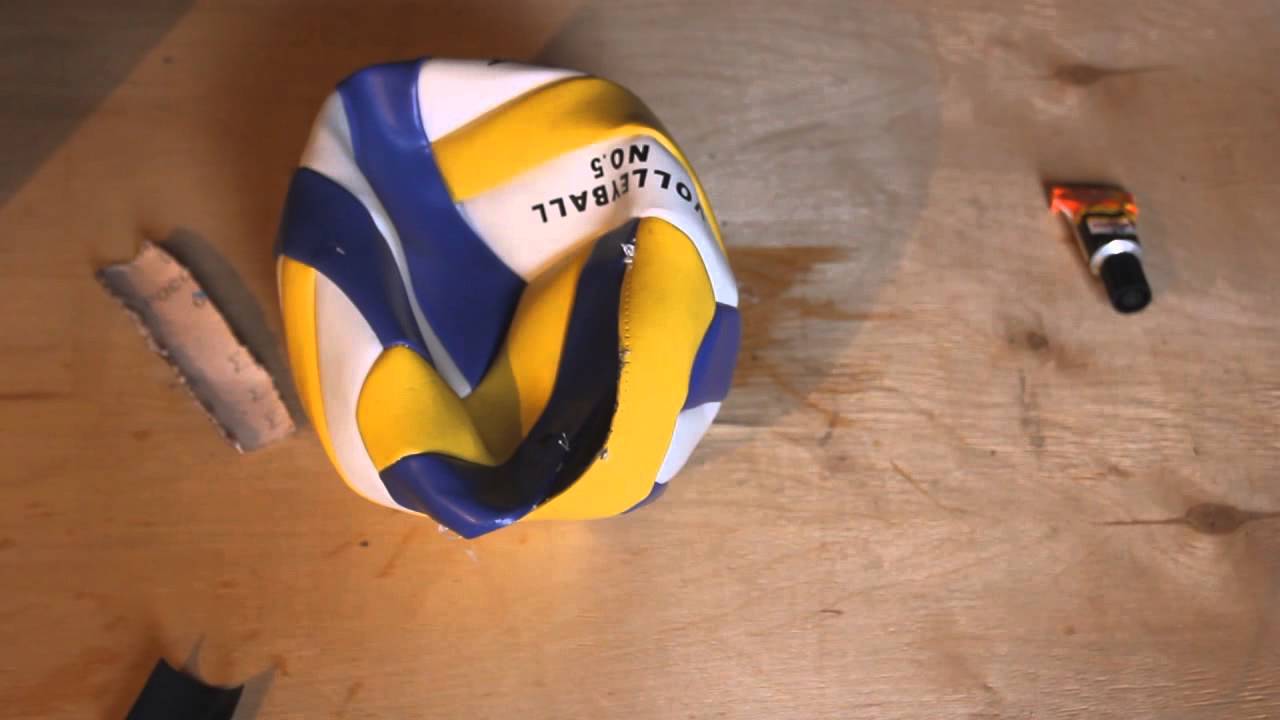
To glue a volleyball ball, you should do the following:
- Find the damaged area.
- Degrease the surface with acetone.
- Place a tourniquet in a small hole. It is better to use a ready-made set.
- For serious damage, it is worth using a patch. It should be glued and placed under the press. Then pump up the product and assess its integrity.
To avoid the need to repair the ball, you should follow these recommendations:
- After active leisure in the fresh air, it is recommended to remove dirt with a damp cloth or rag. To get rid of stubborn dirt, you should use a liquid soap solution. In this case, aggressive cleaning agents should not be used.
- It is recommended to dry the ball in a well-ventilated area. This should not be done near heating appliances. If the product is too wet, an old towel will help remove excess water.
- The storage temperature should be maintained at + 6-23 degrees. The ball must not be exposed to direct sunlight. It is also recommended to protect it from high humidity and frost.
- Glued rubber products should be kept inflated.
You can glue the ball in a variety of ways. To achieve excellent results in this, you need to choose the right adhesive and patch.
Strict adherence to the rules of the procedure is of no small importance.
Share link:
Preparing the toolkit
In order for your work to be successful, you need to stock up on:
- strong threads, thick, nylon, twisted, but the fishing line will not work - it will stretch itself and tear the material being fastened;
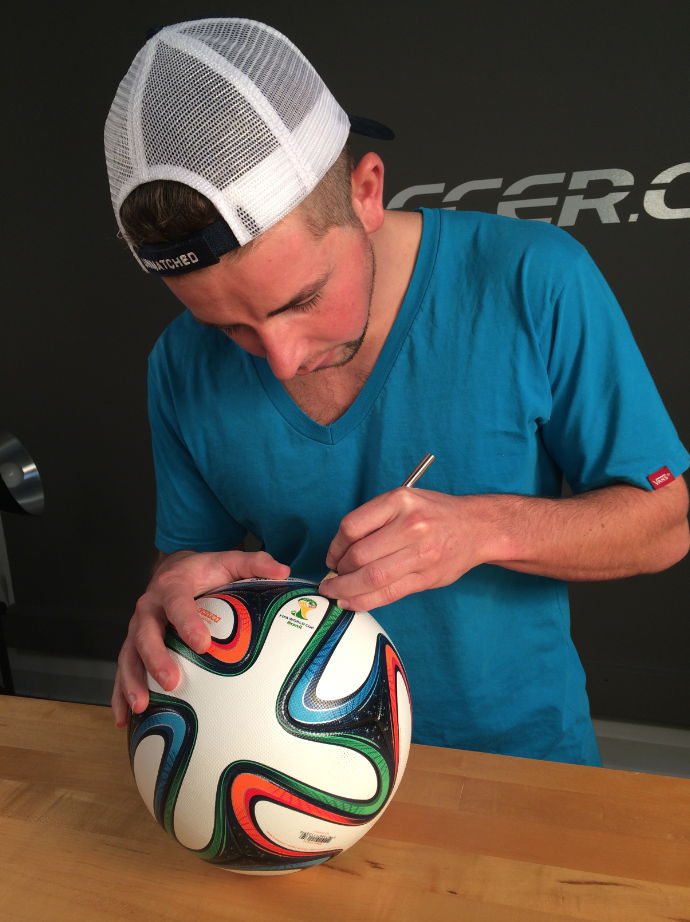
- an awl, matched to the size of the holes on the elements of the ball;
- with a special loop tool.
Let us dwell on the latter in more detail. To create it, a piece of elastic steel string with a cross-section of no more than half a millimeter and a length of 20 cm is taken. In the middle, it is heated on a candle, burner or lighter and bent in half. The ends are clamped with an M5 screw into the rod - it will become a handle that greatly facilitates the work. The end of the buttonhole expands to fit the thread and bends slightly to push it through. You can get to work.
Helpful hints and tips
Like any product that is actively used, the ball requires a kind of care. And it concerns not only the repair procedure, but also the operation, storage, cleaning.
 Sports equipment should be looked after regularly.
Here are some helpful tips to help keep the ball as long as possible:
- After each game, the surface is examined for pickets, small branches and thorns. If they did not reach the camera, then there is nothing to be afraid of, just delete them.
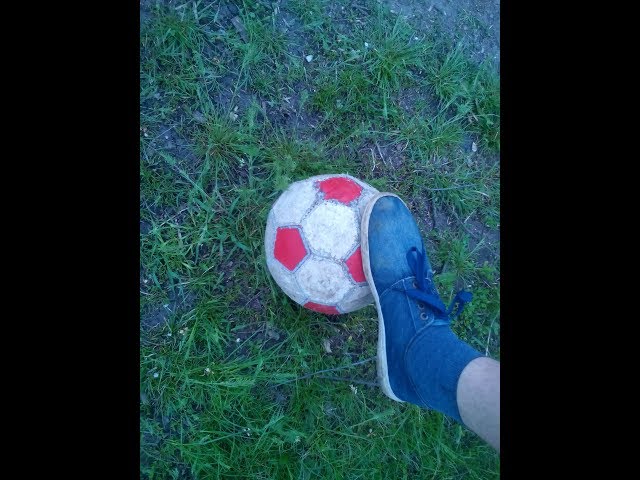
- Do not overload. The habit of putting his foot on the ball or sitting on it does not benefit him. Excessive pressure can cause gradual deformation.
- Washing using chemicals is undesirable.
 In order for the ball to last long, it must be handled correctly.
Sports ball repair manual
Almost any breakdown can be fixed on your own, with some knowledge.
How to fix a soccer ball
Chamber soccer balls are often easy to fix, but a lot depends on the damage. Let's consider the elimination of the most common defects.
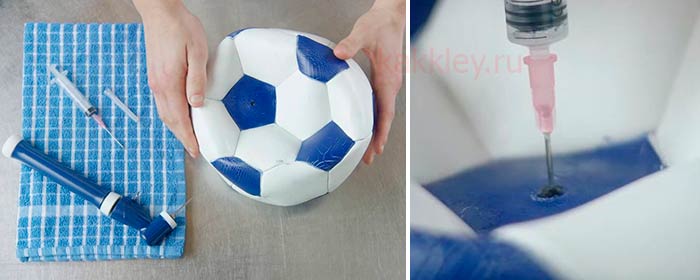 How to fix a soccer ball camera
Camera replacement and repair
Having a camera complicates the task.
Nevertheless, the problem is solvable, follow the instructions:
- Start by steaming the seam until the threads are slightly parted.
- Cut the threads along the seam and remove the camera.
- Replace the camera with a new one or restore the old camera (item 4.).
- Use a special kit to bring the camera back to life. Sand the surface to be repaired and apply the activating adhesive, stick the patch and wait for the specified time. Self-adhesive patches will make your task easier. Place the restored camera back.
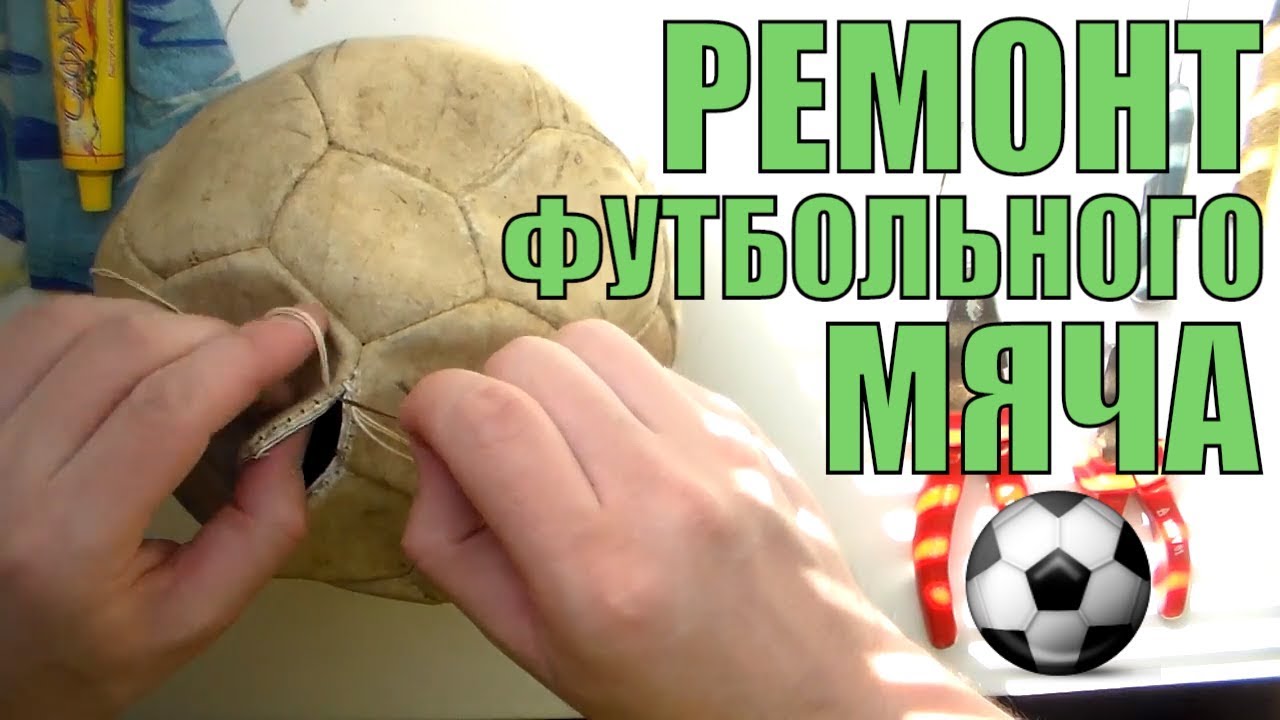
- Sew the seams. Use nylon thread and an awl for best results.
Fixing the seams
You will need: awl and nylon thread.
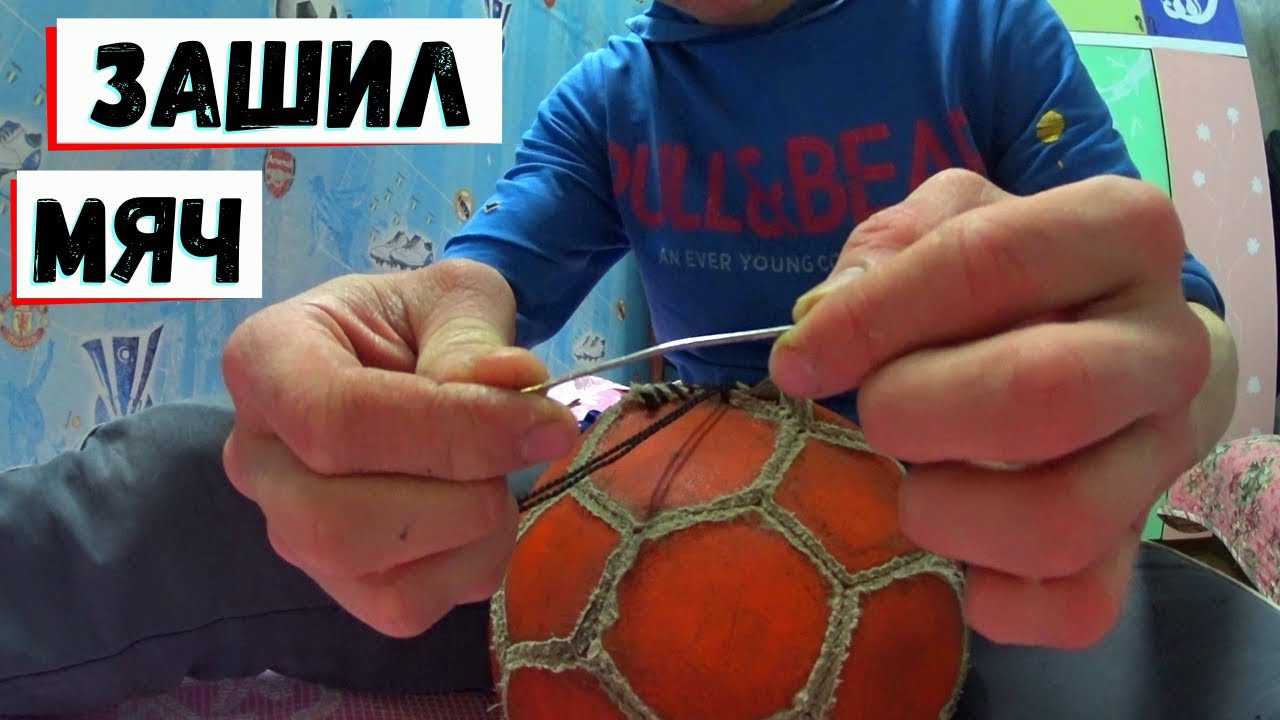
How to sew:
- At the end of the thread we make a large knot.
- With the help of an awl, we pull the thread through the finished holes, you do not need to make new ones.
- Use a figure-of-eight seam to pull the sides together.
- Hide the rest of the thread inside the chamber. Your shell is ready.
VIDEO INSTRUCTION
Rubber ball puncture
The puncture should be repaired by analogy with the repair of a volleyball apparatus. You can use rubber glue if there are no cameras. Just apply it to the puncture and wait for the required time.

Volleyball repair
After examining the aids, it's time to start fixing the gap. It is completely easy to fix a volleyball, even if this is your first time.
First, arm yourself with everything you need:
- Soap solution for hole detection;
- Acetone, or other surface degreasing agent;
- A repair kit for tubeless products to choose from, depending on the severity of the hole. If you are dealing with a punctate cut, you can use tourniquets, for more serious "injuries" patches and glue are suitable;
- Pump for subsequent pumping of the projectile.
Having acquired all the tools, feel free to start manipulating to bring the ball back to life.
- The first step is to look for a hole. To do this, water the intended area with soapy water and begin to gradually release the air. The soap bubbles will give away the affected area.
- Degrease the working area with acetone.
- So, if the hole is small, the easiest way is to put a tourniquet. It is better to use a ready-made set. Using a special awl, enlarge the hole, then install the tourniquet and wait for the time indicated in the instructions. When the tourniquet is grabbed, feel free to cut off the protruding end and you can start playing.
- In case of significant damage, you will have to deal with a patch, if it is not self-adhesive, prepare a reliable glue. Apply a patch and place under the press. After waiting for the time according to the instructions, pump up the ball and make sure it is intact.
VIDEO DESCRIPTION
Recommendations and Tips
- After playing outdoors, remove dirt with a damp cloth or tissue. A solution of liquid soap and warm water will help remove stubborn dirt. Avoid using aggressive cleaning agents;
- Dry the ball in a well-ventilated area away from heating appliances. If it's too wet, wipe off excess moisture with an old towel;
- Maintain the storage temperature between + 6 and + 23 degrees. Protect your ball from direct sunlight, frost and moisture;
- Glued rubber copies, be sure to store them inflated.
Each player becomes attached to their accessories, not wanting to change them. By following simple instructions, you can extend the life of your ball and get it repaired when needed.
Storage and operation
Careful attitude and correct use of the fitball will allow the product to be stored longer. To do this, use the ball on a flat and smooth surface. You can not hold fitball classes in the country or the beach. If the product is used at home, you need to make sure that there are no small piercing or cutting objects on the floor that could cause a puncture.
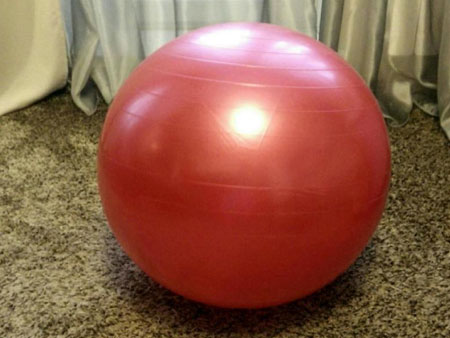
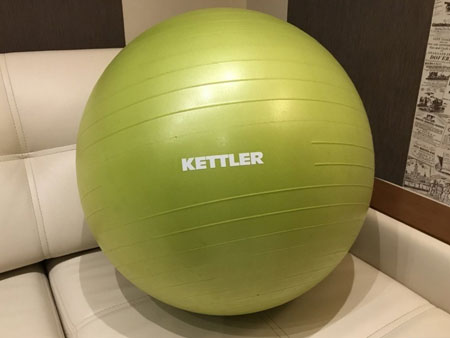
The ball is kept inflated. Caring for the product does not require much effort, especially if the fitball is branded.Usually, due to its high antistatic properties, small debris or dust does not stick to the ball, the product remains clean for a long time. As it gets dirty, you can wipe the ball with a damp soft cloth and warm soapy water.
A high-quality and correctly selected product will help get rid of problems with the musculoskeletal system. Do not neglect the advice of experts and buy only high-quality goods in specialized stores.
An excellent student from Moscow invented a fat burner! 12 cm at the waist goes away in a week if mixed with kefir ...
More details
A revolutionary technology for losing weight at home. Lose the excess without dieting and training! In just 23 minutes a day.
Purchase
Age fat is not from food! You will get 22 kg of fat per week if you drink 150 ml of hot on an empty stomach ...
More details
Previous
Outdoor horizontal bar: why you should buy


