Each gardener strives to create a unique landscape design on his site. For this, in addition to ornamental plants, using paths, ponds, clay figurines. This list can be supplemented with stones that glow in the dark. Through them, you can not only decorate, but also illuminate the backyard area. This will save energy.
Stones are decorative, easy to manufacture and can have a large number of shades. It is easy to make them yourself, and if you involve children in this, she will definitely say thank you.
Selection of materials for making glowing stones
Stones can be artificial or natural. The former are lightweight and have no transportation problems. The latter are often covered with cracks. This is a factor due to which the duration of training increases.
If you decide to use natural stone, pebbles are better as the starting material, due to the smooth surface and round shape.
Stones that have been prepared in advance are painted with luminescent paint.
Such paints retain their effect for over 30 years.
Making glowing paint
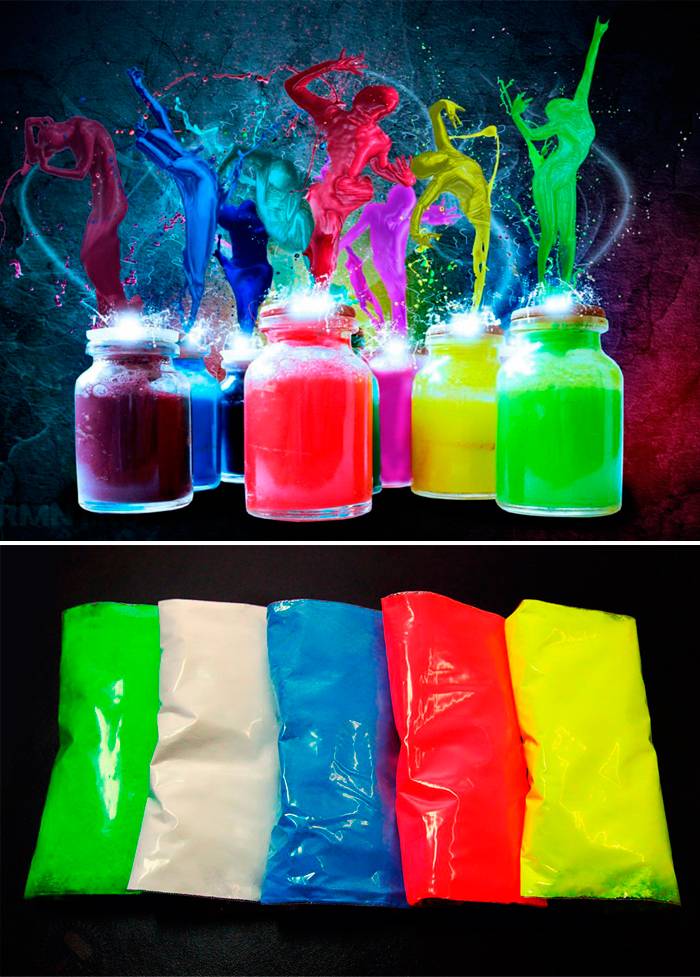
But you can prepare such a composition with your own hands. You should purchase an alkyd, acrylic or polyurethane-based varnish in advance. It is taken in proportion to the phosphor (luminous paint in powder) 1: 3. The varnish affects the durability of the resulting paint. In our case, you need one that is intended for outdoor work. You also need a glass or ceramic container, a solvent.
Step-by-step process for preparing phosphor paint:
- Pour the varnish into the prepared container.
- We add phosphor, about 30% and for better distribution of 1% solvent.
- We mix.
With self-selection and painting of pebbles, the cost of glowing stones is quite low.
Dyeing process
- Elimination of cracks, dirt and other defects from the surface of the collected pebbles.
- Painting with a brush. If you plan to tamp the pebbles into the ground, paint can only be applied to the top of the stone.
- Laying workpieces on a flat surface covered with a cloth or clean sheets of paper.
- Application of the second layer after the first has dried.
- Re-drying of finished products.
- Placement of stones.
The last layer provides protection against burnout, abrasion, washing off, wear.
Tip: it is better to apply the luminous layer on a white surface, therefore it is better to cover the stone with a white soil first.
The surface can be glossy or matte. During the day, glowing stones for the garden accumulate sunlight, which is emitted at night (about 10 hours).
The coloring composition can be applied to the material in several more ways:
- Painting in a large container. First, pebbles are poured into it, then paint is poured in 2 stages. Thus, more efficient staining is ensured.
- Spraying with a spray bottle. Processing should be uniform. It takes more time than the previous method.
Decoration with glowing stones
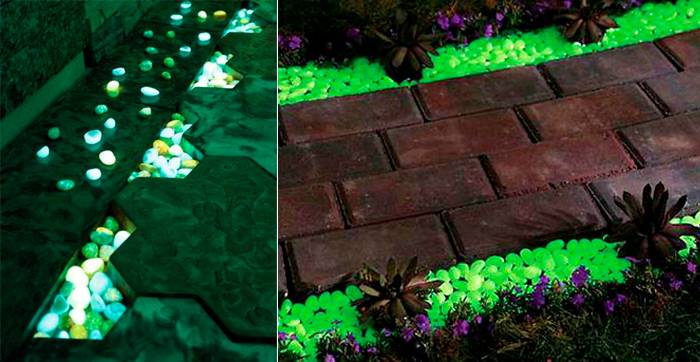
They are often poured into glass containers. They can play the role of an economical night light or an exclusive souvenir. Stones are allowed to be used as decoration for finishing plates, outdoor foundations, walkways, swimming pools and other decorative elements.
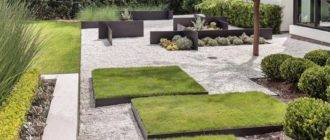
It is unlikely that it will be possible to list all the design options for the site. The most interesting ideas: sprinkling the sides and paths with small stones, edging flower beds.
The method of laying is determined by taking into account the size and shape of the stones.
As a result, the landscape design will become original, fashionable and stylish.

