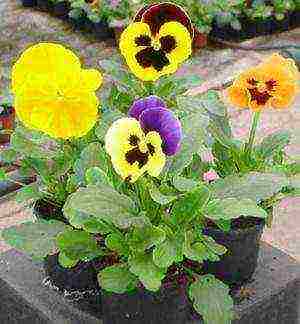
Seedling preparation
So you've bought a few bags of pansy seeds. The most common mistake of inexperienced florists is sowing viola in the spring with the expectation that in the summer the plant will delight the eye with lush flowering. But this is not so, because this is a two-year-old flower. In fact, seedlings of pansies should be planted in the summer, in July.
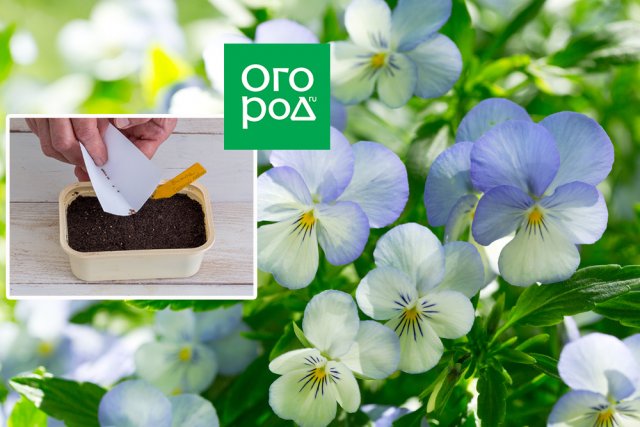
To begin with, you should treat the seeds with fertilizer that accelerates growth. Finished seeds are placed in a half-centimeter groove and sprinkled with earth. The next step is to water the seedlings.
The soil must be shed completely, but very carefully to prevent erosion of the ground.

In the photo, watering seeds planted in a cassette
Experts advise mulching the planting with small sawdust to keep the soil moist.
Ten to fifteen days will pass, and small shoots will appear, which should be slightly hidden from the sun's rays using a dark film, and after fifteen days, remove it. Around August, the pansies will be ready to land on their "permanent residence".

Viola shoots
If you do everything according to this scheme, bushes with lush, rich and long flowering will sprout. This cannot be achieved from pansies planted by a simple seedling method, because this is how we give the sprouts a strong and confident start.
Viola, planted in the ground, needs to be sheltered for the winter with straw or spruce branches. This kind of air cushion will keep your plant safe and sound during the winter and keep the roots from freezing. At the onset of spring, the flowers must be fed with complex fertilizer twice - even before the formation of buds and at the very start of flowering.

Where is the best place to plant viola
Growing from seeds
In regions with harsh climates, planting viola seedlings from seeds becomes the only way to grow this flower.
The complexity of this method of growing viola lies in the need to create a number of conditions:
- Additional lighting;
- Compliance with the temperature regime;
- Selection of the optimal soil.
In late February - early March, you can sow viola seedlings at home. First, the seeds must be soaked in a solution of Zircon, Epin or EM-1. this will accelerate seed germination and make the seedlings more resistant to pathogens.
The optimal substrate for growing viola is made from peat, the pH of which is 5.5-5.8. It is not necessary to apply fertilizers to such a soil; it is necessary to feed the viola seedlings in the phase of the formation of two true leaves.
On this topic:
BACK
FORWARD
1 of 42
To obtain good seedlings, it is important to create drainage in the container. Sow viola seeds for seedlings on top of a moistened substrate, sprinkling them with a thin layer of vermiculite. Before emergence, the container is covered with plastic wrap or a piece of glass. This will speed up the seed germination time. Periodically, the shelter must be removed for ventilation, which will avoid the formation of fungus in the soil. If you use cups for growing, 3-4 seeds need to be sown in each of them. After germination, the strongest and most well-developed sprout is left in the glass, removing the rest.


With container growing, viola seedlings are dived twice:
- The first time the plants are planted when two real leaves have formed.
- The second pick is carried out at 5 weeks of age. For this, separate pots are used, the diameter of which does not exceed 10 cm.
If the plants dive into large seedling boxes, it is important to maintain a distance between the plants of about 6 cm.Unheated greenhouses in the summer cottage are suitable for growing seedlings
To do this, use any mineral fertilizers, pouring the solution under the root. Further feeding is repeated every month. You also need to be careful with watering. Water should be directed under the very root, avoiding drops on the leaves.
When transplanting to the bottom of a hole 5 cm deep, you need to pour a handful of sand as drainage and plant pansy seedlings with a lump of earth. The distance between plantings should be about 10-15 cm. For larger plants with large flowers, the distance between the bushes is 20 cm. The seedlings are watered abundantly at the root and slightly shaded for several days. The sand will allow the water to quickly go deep into the soil without forming stagnation. This reduces the risk of blackfoot viola disease.
This is the basic scheme for growing pansies. But how to grow viola seedlings healthy so that they do not stretch out in a container on the windowsill?
Since sowing is carried out at an early date, the seedlings need to be supplemented, for which they use ordinary fluorescent lamps or phytolamps, which belong to the category of special lighting devices. Viola requires at least 14-16 hours of daylight. Growth regulator Alar somewhat restricts the growth of seedlings, but subject to the use of supplementary lighting.
Even an increase in temperature to 23 degrees causes the viola shoots to be delayed for up to one month. As soon as sprouts appear above the soil, the temperature should be reduced to 12-15 degrees. The grown viola seedlings easily tolerate low temperatures, even at 5 degrees, they feel good. At the same time, development slows down somewhat, but under conditions of a lack of light, the seedlings stretch less.
Planting process
As mentioned earlier, viola usually blooms in the second year, but gardeners have found a way to make it bloom in the first year of life, or, conversely, you can grow a viola, which will bloom only after 2 years. If you want a flower to bloom in a few months, then you need to plant it with cuttings and grow it only at home. Cuttings are planted in the same potting mix, which will need to be distributed among the pots.
If you decide that it is better to plant the flower in the open field, then do not forget to prepare the planting site, and then follow the next instructions step by step.
To begin with, the seeds need to be treated with fertilizer that accelerates growth.
Then you need to prepare the potting mix and pour it into a large pot or cassette.
In the soil, you need to make small grooves (half a centimeter deep), where we will place the seeds.
Top the seeds need to be sprinkled with earth (or better with a homemade soil mixture).
Next, you need to properly water the plant so that the earth is completely shed, but without eroding the soil, otherwise the opened seeds will die.
To retain moisture in the soil, you can mulch it with fine sawdust.
After that, you need to put the seedlings in the sunny part of the house (preferably in partial shade) and watered the soil as it dries.
After about 2-3 months, you can start replanting the seedlings in prepared soil, the optimal distance between them is 20 centimeters.
Be sure to loosen the soil before planting.
Viola should be planted along with a piece of earth covering its roots.
The holes you have prepared must be large enough to accommodate the seedlings freely.
It is very important to ensure that the roots do not bend during planting.
After placing the sprouts in the holes, fill the voids with the rest of the potting mix and compact well with your hands.
After that, the sprouts need to be watered abundantly.
At the end, the planting is mulched with dried leaves, hay and needles.
This concludes the planting process. If you did everything correctly, then you will see the first flowers in a little more than a year. At the time of transplanting, some viola varieties may bloom, but do not worry, viola tolerates transplants very well, including during flowering.So you can replant it on time, without worrying that it will somehow harm the flower.
Also, do not forget that after transplanting to a permanent place, the flowers need your care. Do not forget to water them in time, do not let them drown, with an excess of moisture in the soil, the roots of the viols begin to rot, which leads to the decay of the entire plant. Be sure to fertilize the plant in a timely manner.
It is especially important to do this in the first years of his life. Do not forget that the soil in which the violet grows must conduct oxygen well, and therefore it must be loosened from time to time
It is also very important to mulch the flowers for the winter to keep the soil warm. Among other things, it is recommended to prune viola bushes once a year.

Viola: growing from seeds in open soil
Growing seedlings is troublesome. Therefore, many people decide to sow viola seeds directly into the ground. This can be done in late spring or early summer - then the viola will bloom in August-September. If the sowing work is timed to August, then flowering will be postponed to the next year - to early spring.


Sow viola seeds in grooves, 0.3-0.6 mm deep. The distance between the seeds should correspond to the distance between future plants - 10-15 cm. If there is a problem with the germination of seeds, you can plant them more crowded, and after germination, plant viols at the required interval.
After sowing, spill the soil abundantly and wait for the shoots to appear. At the stage of 2-3 pairs of real leaves - pinch. Further care for the viols consists in regular watering and feeding.
 Viol flowering, when sowing seeds in open ground in early June, begins in August and lasts all autumn, until frost
How to properly plant zinnia on seedlings: the main stages
In this matter, not only the planting of zinnia on seedlings itself is important, but also preparatory measures.
Choice of capacity
The peculiarity of zinnia seedlings is that she does not really like picking. Therefore, it is correct to plant seeds immediately in individual containers, for example, plastic cups, peat pots, plastic cassettes, peat tablets, hand-made seed containers, for example, milk bags, kefir, cut bottles, etc. The optimal volume is 200-250 ml.
If, nevertheless, you want to sow zinnia seeds for seedlings in a common box or bowl, then you need to choose wide containers so that you can keep the gap between the seeds. This will help avoid picking. The optimal height of the box or bowl is 10 cm.
Land preparation
Preparing the potting mix is an important step before sowing seeds at home. If the seedlings are uncomfortable, they will grow worse and slower. The main requirements for the soil for growing zinnia seedlings are that the soil should be nutritious, light, loose, have excellent air and water permeability.
You can sow the culture in a universal soil for flower seedlings. If it is not loose and light enough, then be sure to add a loosening element to it - perlite, vermiculite, sand.
You can also make your own potting soil at home. To do this, mix the following ingredients:
- sod land (part 2);
- garden land (1 part);
- peat (1 part);
- sand (1 part).
If you could not find sod land, then you can add another ingredient instead - humus or compost (1 part).
Seed preparation for sowing
The seeds of this culture germinate normally, they cannot be called tightly similar. However, it is recommended to carry out pre-sowing preparation, namely to soak zinnia seeds in a solution of a growth stimulant drug, for example, Epin-Extra, Zircon, Energen, etc. Thus, the seedlings will definitely be friendly, and the seedlings will be more resilient and strong.
Direct landing
Next, you will have a master class with step-by-step photo instructions for sowing zinnia seeds for seedlings at home:
1) Put a drainage layer on the bottom of the container, 1.5-2 cm is enough.
Except for peat pills and pots - you can't put it in pills, and you don't need it in pots. As a drainage material, you can use perlite (it is in the photo), expanded clay, small stones, eggshells.
2) Fill the cups with soil, leaving a small distance to the edges (about 2 cm).
3) Moisten the ground abundantly.
It is most convenient to water from a spray bottle, so the moisture will spread most evenly.
4) Make small holes in the center of the container.
It is very convenient to make holes with a pencil or some kind of stick, but you can also just use your finger. The depth of the holes is 3-5 millimeters.


5) Plant the zinnia seeds in the holes.
As you can see in the photo, the seeds of this flower culture are very large:
Due to their size, it is very convenient to plant them in the hole with just your fingers:
6) Fill the planting holes with soil.
You need to fill up in such a way that the surface of the soil and the holes are equal.
7) Water after planting.
At this stage, it is also important to moisten the soil, since moisture is necessary for the seeds to germinate.  Cover containers with a lid or plastic wrap to create a greenhouse environment.
Cover the containers with a lid or plastic wrap to create a greenhouse environment.
A mini greenhouse will help you get faster and more friendly shoots.
9) It is recommended to sign the cups with future zinnia seedlings.
Flowering period outdoors
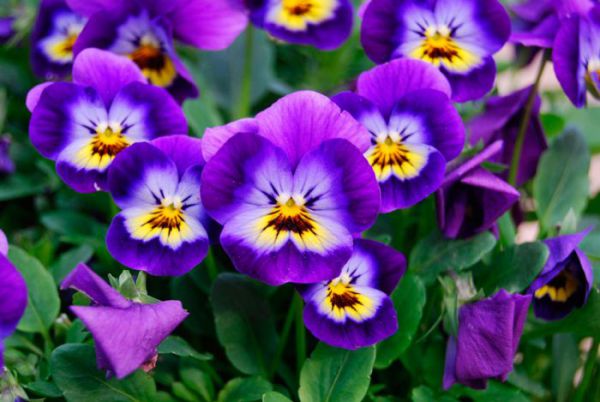
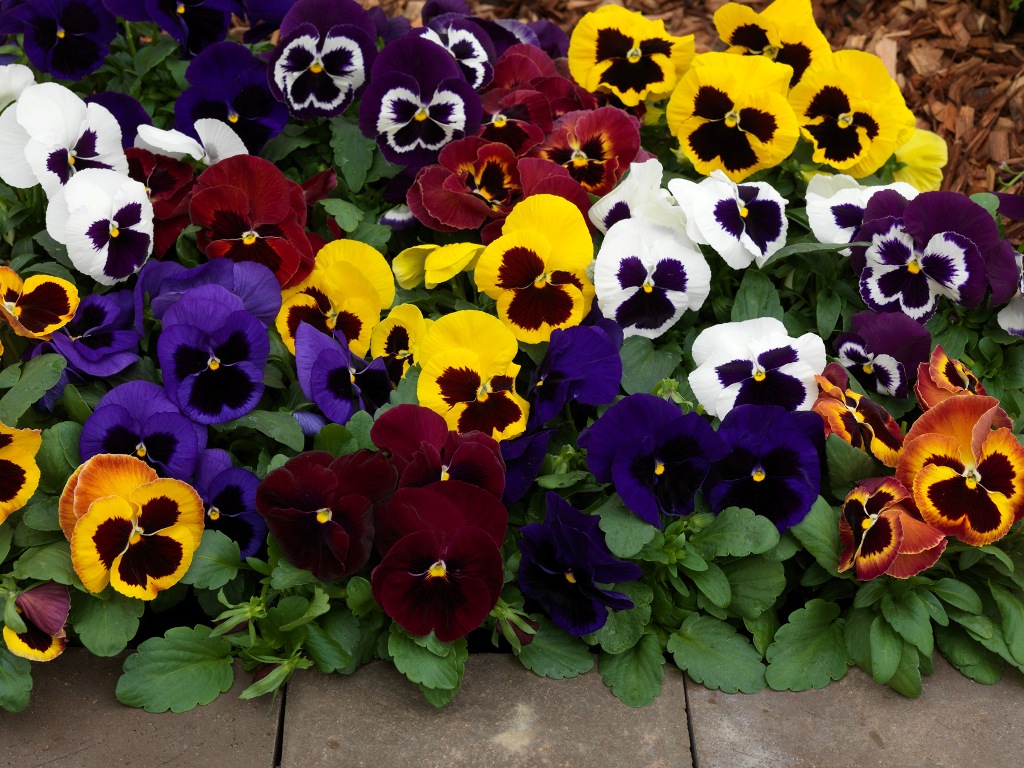
Under favorable conditions, the violet can be in bloom for more than six months.
In addition to the usual, widespread tricolor violets, there are perennial garden saintpaulias. They bloom in the spring, pleasing the eye with their colors.
Important! Violas entering the flowering phase in early spring, in the middle of summer, can lose their decorative effect, stretch out and slow down flowering. In such bushes, the stem should be cut to a height of 5 cm
This will cause the regrowth of new shoots, and with them another wave of flowering will arise.
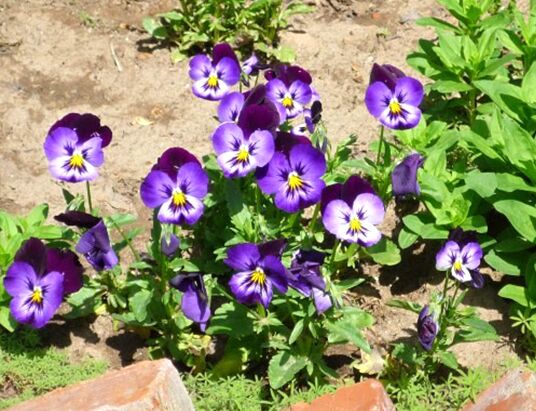
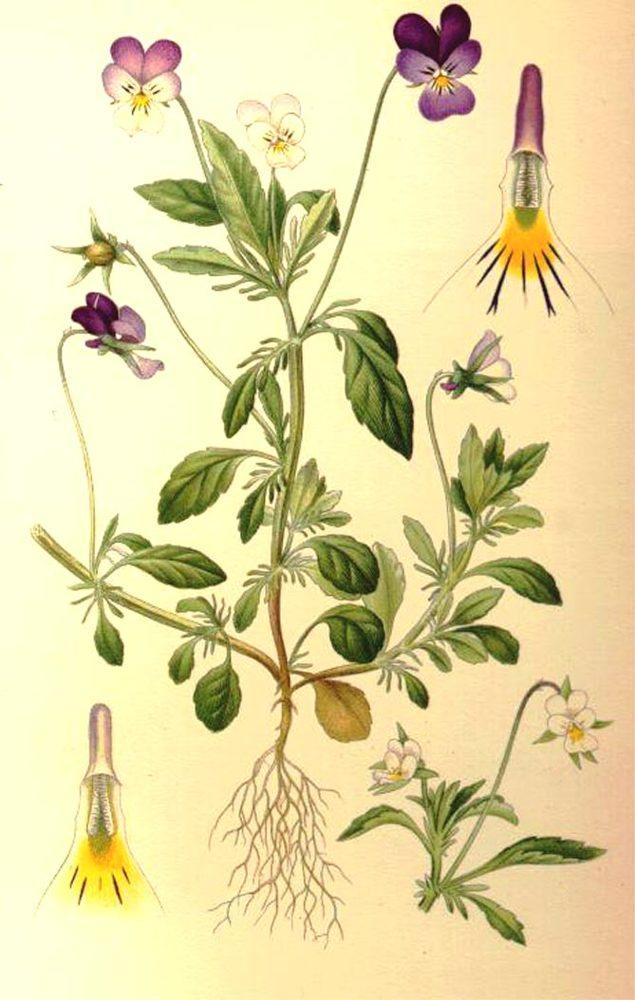
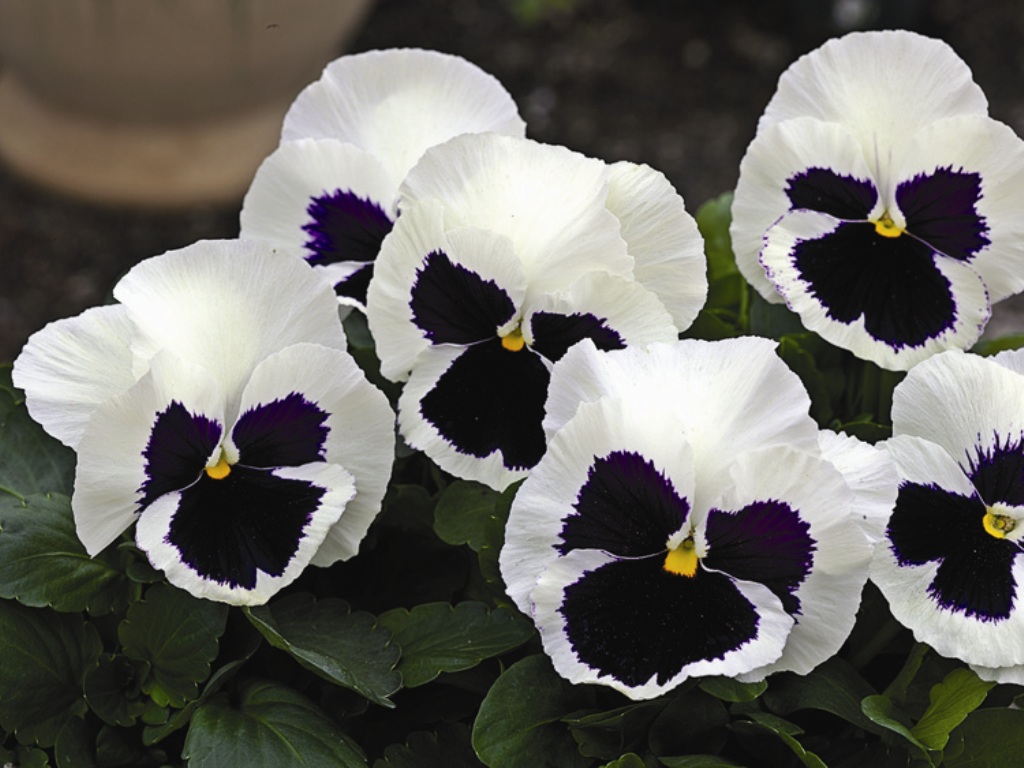
Perennial varieties of viola, for street flower beds are horned and fragrant violet, Vittrock's viola, moth violet:
- horned violet or ampelous, popular perennial. It enters the flowering phase in the first half of May and this process lasts until October 1;
- Wittrock's tricolor violet is sometimes called Pansy by people. This annual plant blooms from early April to early October;
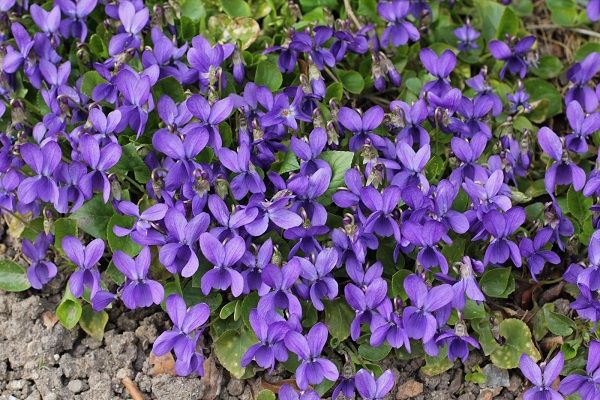
- moth violet is a perennial plant. Its flowering period is April-May. Inflorescences are solitary, purple with a delicate aroma;
- low fragrant viola is endowed with a delicate scent. It blooms in May, and the flowering phase lasts 1-2 months.
Viola is fragrant.
Growing viola seedlings
You can grow viola for early flowering by sowing seeds for seedlings in the last decade of February or in the first decade of March. You can take any containers: plastic cups, boxes, containers.


The soil is sold in stores or prepared independently from equal parts of land from the garden, peat, humus. Arrange the prepared soil in containers and disinfect in advance with a pink solution of manganese or boiling water, cover with foil and leave for 12 hours.
Sowing seeds
The seeds are very small, so they are placed in a tissue bag in a solution for a growth stimulator, then dried on a napkin.
Landing technology:
- make shallow grooves (3-6mm) in the soil with a row spacing of 1cm;
- pour with settled water;
- with tweezers, for convenience, spread the seeds every 1-2 cm;
- lightly sprinkle with earth and moisten by spraying;
- cover the container and put in a dark place with a temperature of 20 ° -25 °;
- Raise and ventilate the shelter 2 times a day.
Often, due to the small size of the seeds, sowing is carried out without embedding in the ground. The seeds are spread or scattered, but not embedded in the soil. The covered containers are removed in a dark place until shoots appear. With this method of sowing, germination occurs faster - the seeds do not waste energy on punching seedlings through the soil.
An alternative method to both of the previous ones: spread the seeds on the surface of the watered soil, sprinkle lightly with sand, cover and remove to a warm and dark place.
Seedling care
After 5-7 days, the seeds should begin to germinate. The containers must be immediately rearranged to a bright, warm place, leaving the film. Continue airing the plantings, gradually increasing the duration of airing, remove the film after 7 days. Moderate watering is carried out when the soil begins to dry out. On the 21st day after the emergence of seedlings, feed them with a complex fertilizer for flower crops, repeat after 7-10 days.
Seedlings appear later, if old seeds were used, sprinkled with a thick layer of earth, or the soil is heavy on top. With a delay in germination, you can additionally, for safety reasons, carry out sowing in one more container.
Viola tolerates cool weather well, so the seedlings can be taken out at 5 ° -10 ° C to the balcony, loggia - this will be hardening for seedlings.
Picking
The appearance of 1-2 leaves indicates the readiness to dive into individual containers with a diameter of up to 10 cm. Small damage to the roots does not harm the plant, it recovers quickly.

When planting, the stem must be buried to the cotyledons, then the root system will develop strong and powerful, additional roots will appear, and the appearance of the plant will improve.
Choosing a place in the garden for the viola

The plant takes root well, both in sunny places and in partial shade, and even in the shade. In the sun, the flowers will be larger and brighter, but the flowering itself will not be so long. In the midday heat, viola suffers from heat. In dense shade, the flowers will be smaller, and few of them will open.
The most ideal option is a plot illuminated by the sun in the morning and at sunset, and protected by a lace shade from the crown of trees at midday. In this case, pansies will show all the power and beauty of flowering.
The plant needs loose and fertile soils, but viola cannot stand fresh organic matter. The flower will respond positively to regular feeding (once every 2 weeks) with complex mineral fertilizers and wood ash.
Viola does not tolerate damp low places with stagnant water. In such conditions, the plant often gets sick with various rot.
Don't forget to remove weeds in flower plantings. If you remove faded flowers and seed pods from plants in time, flowering will be more magnificent.
Combination with other colors

When planning the planting of pansies in a flower garden, a novice florist asks the question: with what flowers is it better to plant viola?
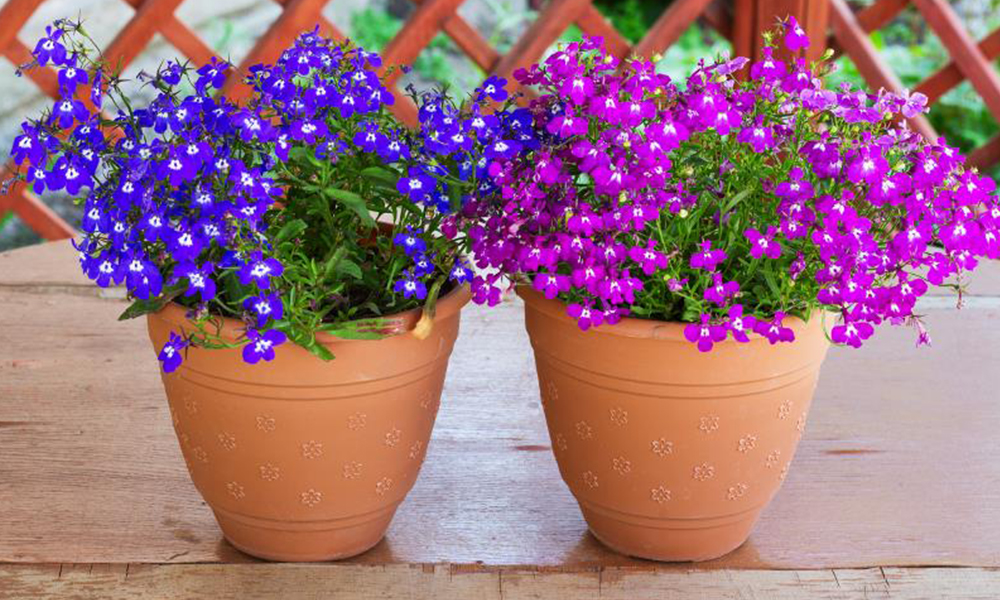
Bright juicy shades of pansies look great against the background of green hosts, lace astilbe, go well in joint plantings with pelargonium and lobelia.
The viola, planted in colorful rows along the bushes of tall daylilies and chrysanthemums, looks good.
It will be successful to create bright viola glades in the garden, in the shade of trees and shrubs. Vases, pots and planters with beautiful flowers can be placed in the garden, in the yard and on the veranda. Plants thrive in a limited amount of soil. One has only to remember that the soil dries out faster in pots, and watering the flowers is required more often.


Sources of information:
- Recommendations of Cand. biol. sciences N. Petrenko, magazine "Flower" №23 (2018)