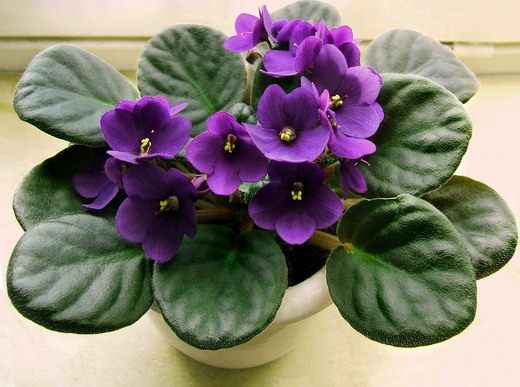
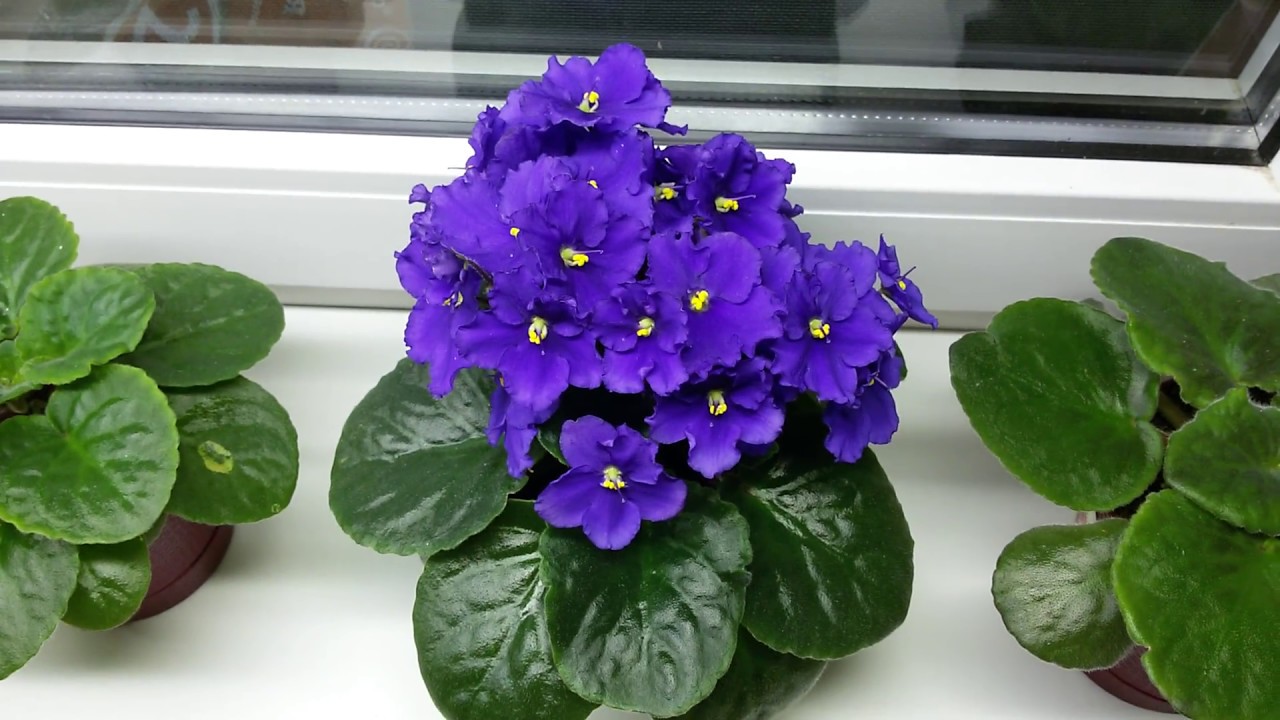
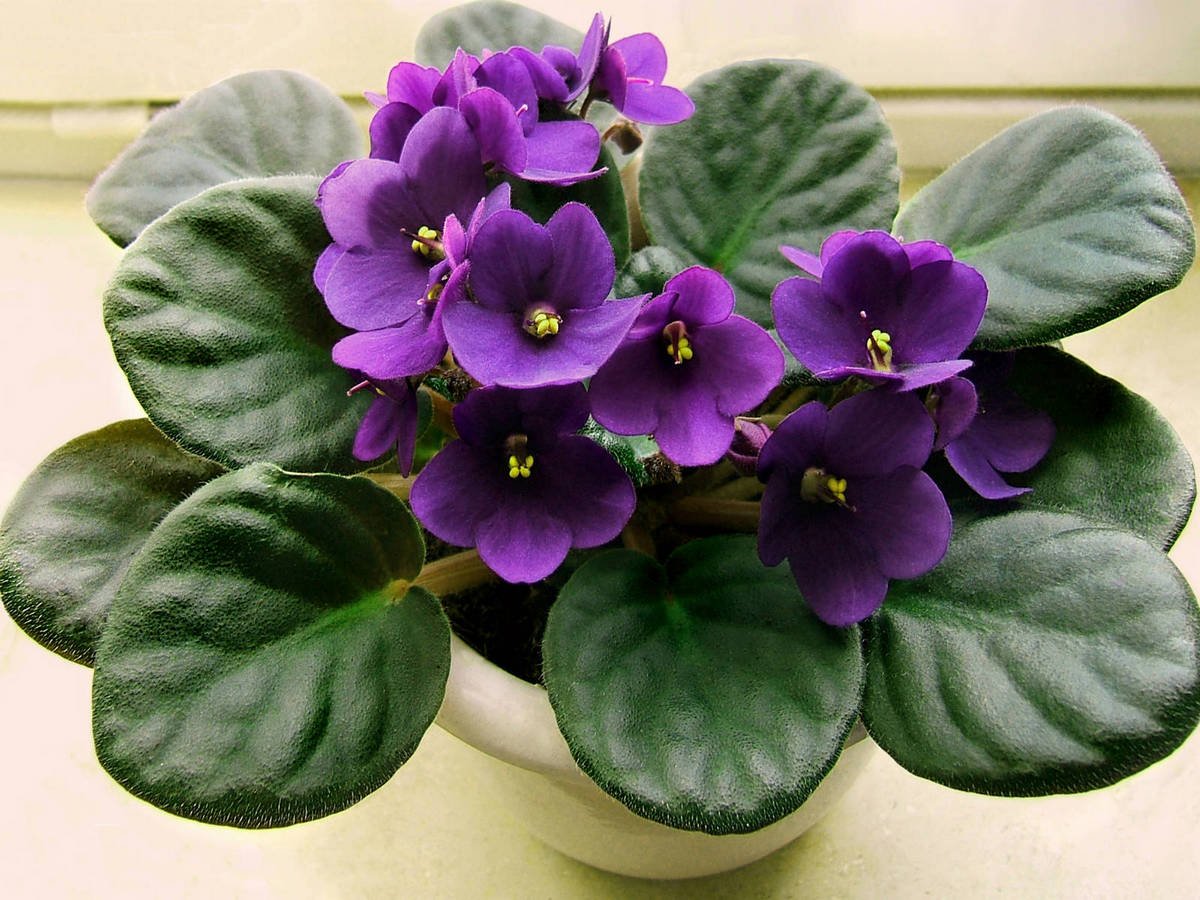
Popular varieties of violets

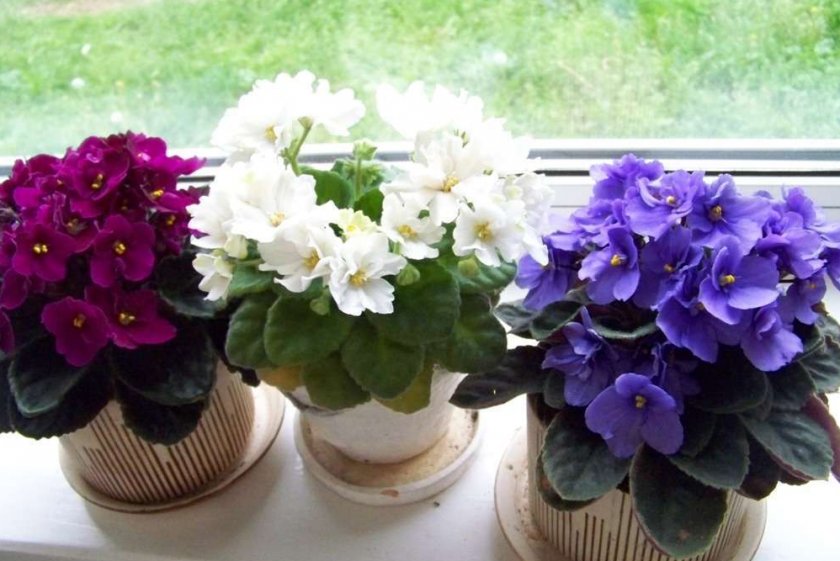
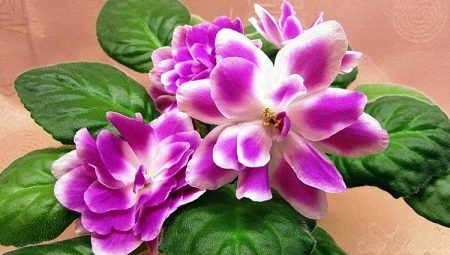
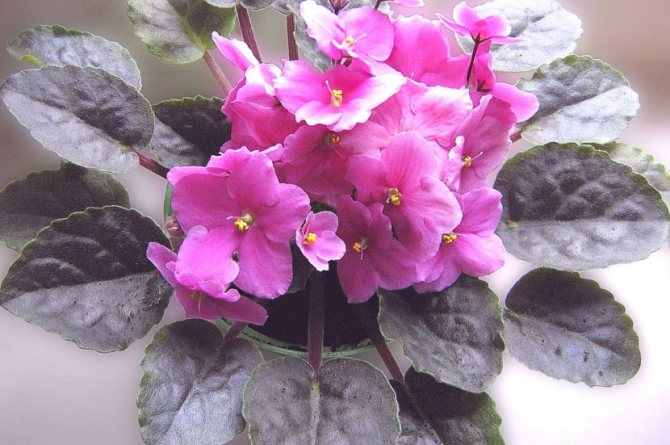
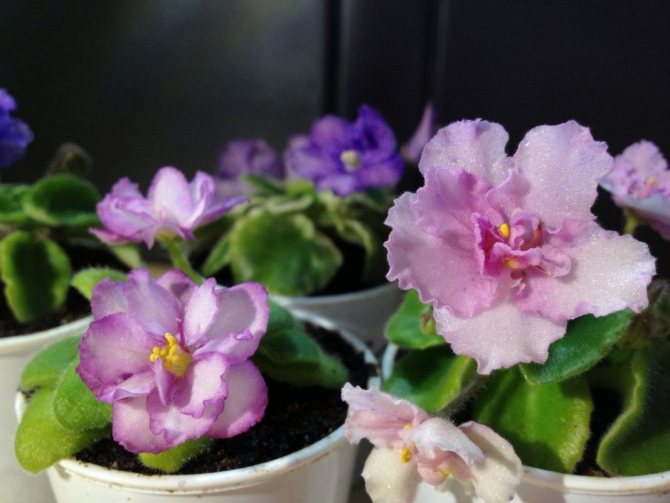
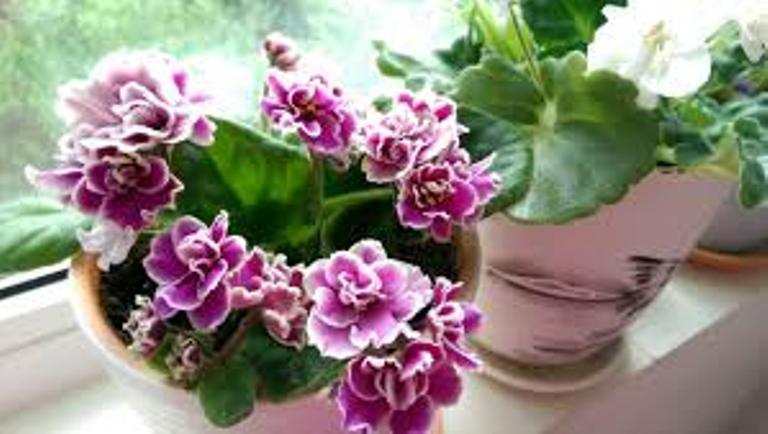
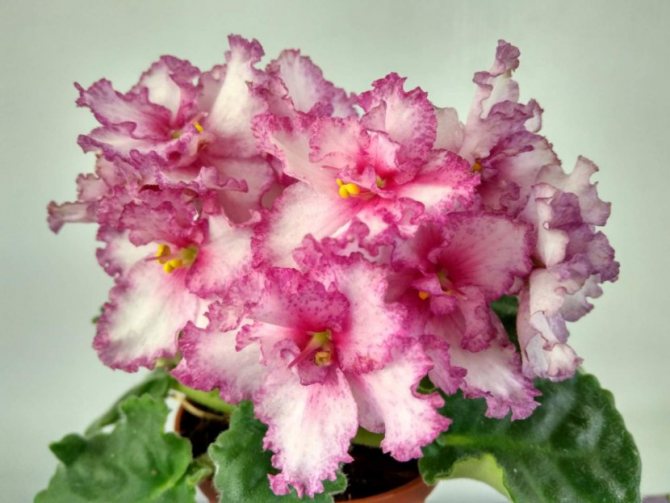
- Flamenco. The flowers are semi-double, lilac-pink with a greenish fringe and a bright, yellow core. The green ryushka is a distinctive feature of the species.
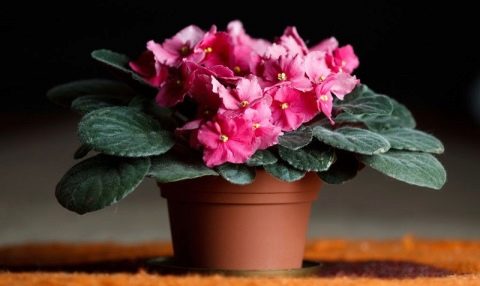
- Fiery moths. The flowers are red or burgundy, with simple petals that have a slight fringe. Less common with light edging.
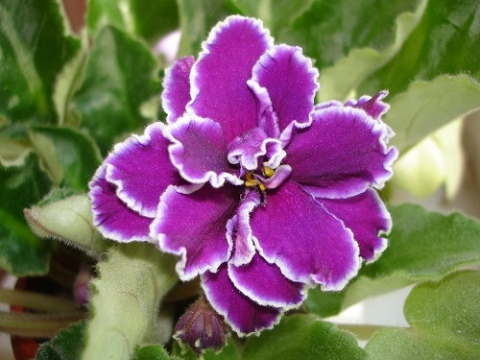
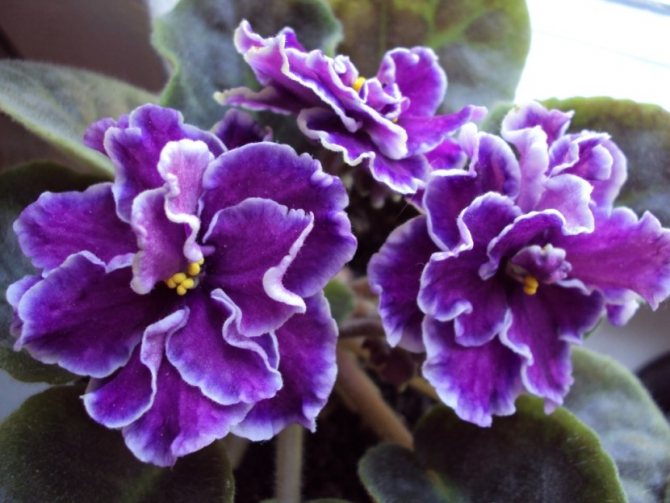
- Mars. With large crimson buds, characterized by a wide frill. Edges can be decorated with a white border.
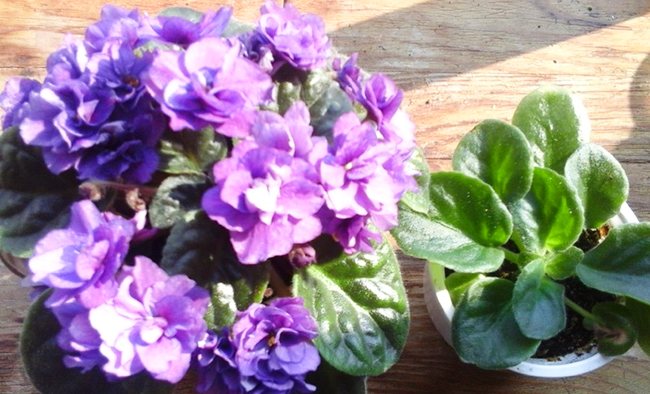
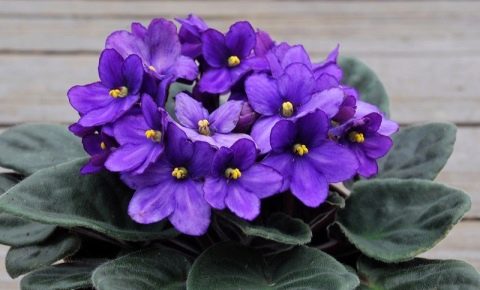
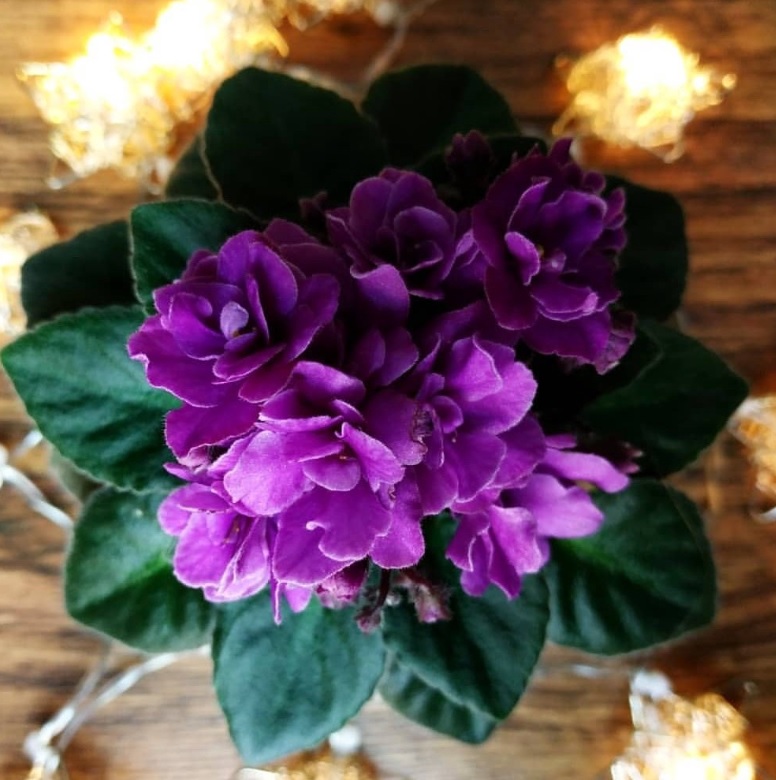
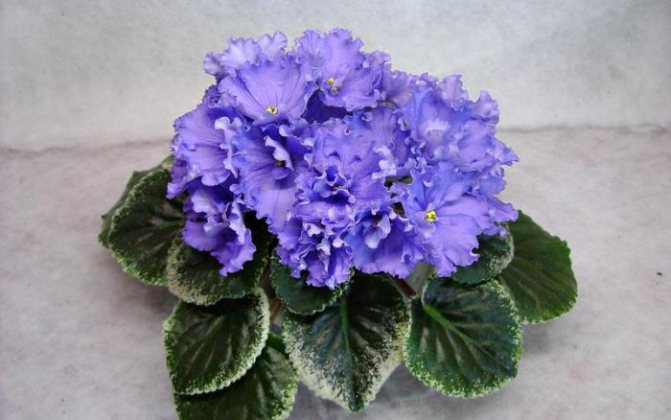
- Rococo Viol. These homemade violets are terry varieties. Their flowers are deep, blue in color. They resemble curly balls in shape, which go well with light green foliage.
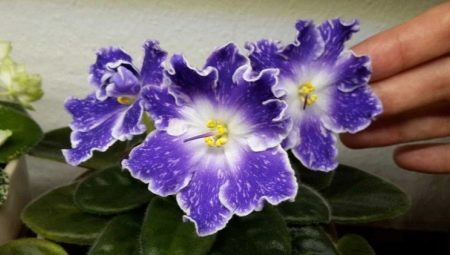
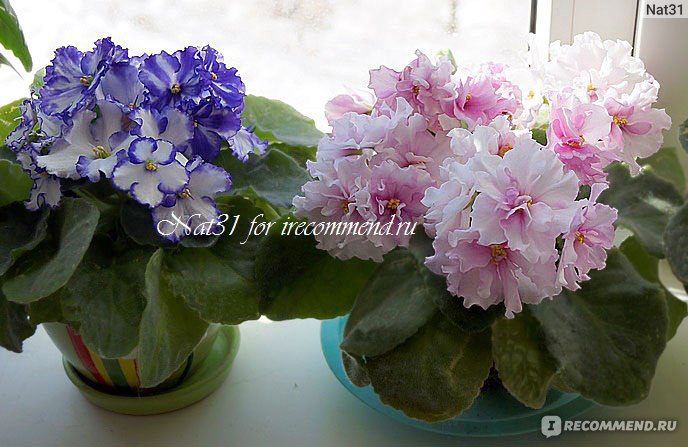
- Rosemary. Plants with double star-shaped flowers. The main color is pink, with ink splashes and a light-colored border.
- Rococo Rose. They look like medium-sized roses, delicate pinkish color. They belong to terry varieties.
How to plant violet seeds?
For the successful cultivation of Saintpaulia from seeds, you need to complete a number of preparatory stages and take each of them very seriously. Here's what you need to do before planting a violet with seeds at home:
- purchase high quality and healthy seeds;
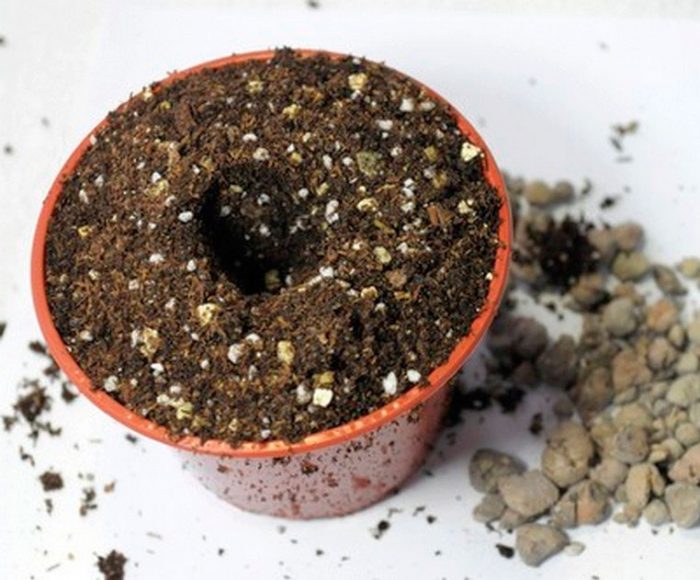
- properly prepare the potting mix;
- find a suitable flower pot;
- prepare seed for sowing;
- carry out sowing technology.
Buying or preparing substrate
Individual growers purchase a ready-made substrate for flowers in retail outlets. This is also the right approach, as it is properly combined and contains all the nutrition you need.
However, in case of financial difficulties, potting soil can be made with your own hands. The substrate is usually prepared from the following ingredients:
- sod land - 50%;
- peat - 40%;
- sand - 10%.
Attention! It is common knowledge that the violet prefers slightly acidic soil. For this, peat is added to the mixture.
Finding the right pot
Growing violets at home cannot be called a super-difficult task, but in order to get the result, you will have to fulfill a number of requirements.
It is very important to choose the right pot for her. Do not use large pots, as the roots of the violet are few and in a large pot it will not develop normally.
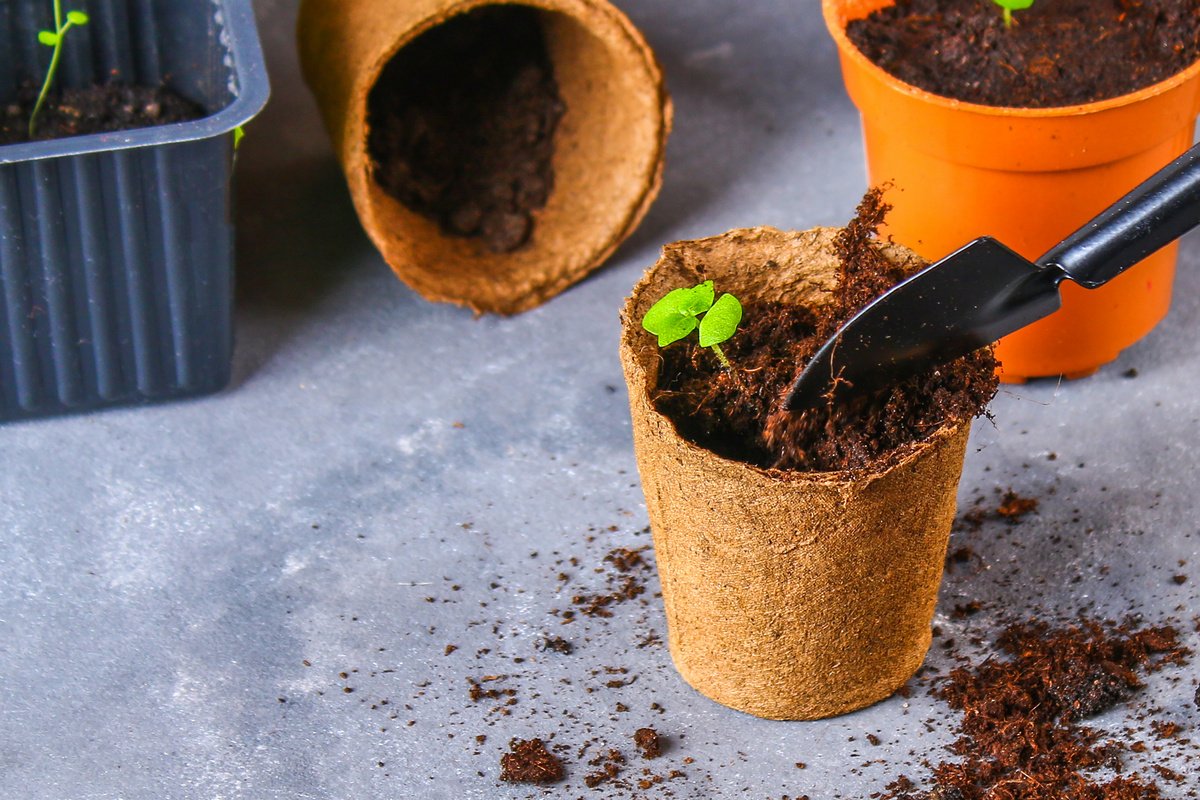
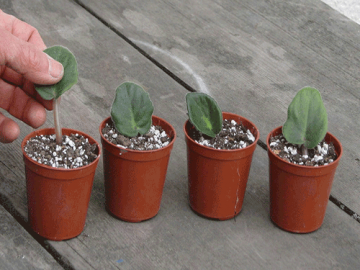
Many gardeners who grow Saintpaulia from seeds do not use pots, but plastic cups. The violet in them feels great and develops normally.
You can use plastic cups to germinate the seeds.
Sowing preparation
Some varieties of violets, such as the Usambara violet, have very small seeds. In this connection, they are pelleted before planting. Dragee seeds make it easier to maintain the planting pattern and the seed is consumed more economically.
Instructions on how to properly sow violet seeds with pelleting:
- First step. The seeds are moistened with water and mixed with the same amount of crushed charcoal. The mixture is poured into a jar, put on a lid and shaken for several minutes. As a result of shaking, coal dust is fixed on the shells of seeds, increasing their size;
- Second phase. Sand is poured into the composition and again subjected to shaking. The seeds prepared in this way are placed in containers on moist soil and covered with a lid. Keep the container in a warm place out of direct sunlight. During germination, you need to moisten the substrate and control the temperature until the seeds germinate.
Technology
When all the preparatory work is completed, you can proceed directly to sowing annual or perennial violets. It must be carried out according to the following algorithm:
- sift the soil mixture through a sieve;
- fill the sowing containers with the sifted mixture;
- spill the substrate with a solution of potassium permanganate;
- wait a while for the substrate to dry;
- level and lightly compact the surface of the substrate;
- make shallow grooves on the surface;
- sow violet seeds into the grooves;
- cover the seeds with a thin layer of the mixture;
- spray over the soil after sowing.
Care
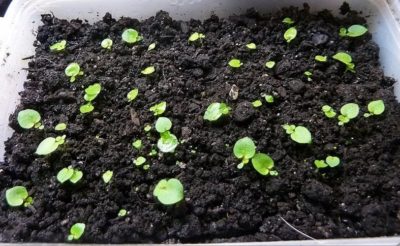
After the seeds are planted, you need to monitor the temperature regime, since it depends on how long the violets will sprout:
- at a temperature of +20 degrees, the first shoots can be expected about 20 days from the day of sowing;
- if the substrate temperature is raised 5 degrees higher, then the first sprouts of Saintpaulias will come to the surface in 15 days.
Getting a plant from seeds
For a positive result of growing violets from seeds, you need to adhere to certain rules:
- Take a plastic wide and not deep container, and fill it with a thin layer, up to 3 cm, special soil, consisting of a mixture of peat and earth. The soil can be bought ready-made or you can prepare it yourself, observing the proportions, you do not need to fertilize at first. To ensure oxygen exchange, the pot must be placed on a special raised saucer; by its design, it allows oxygen to pass through the drainage hole.
- Violet seeds should be purchased from specialized stores. Seed preparation for sowing consists in mixing them with sand in a one-to-one ratio.
- Seeds germinate well in a warm and bright place, so the pot should be covered with a transparent film or lid and put in a bright place. Direct sunlight and drafts should be avoided.
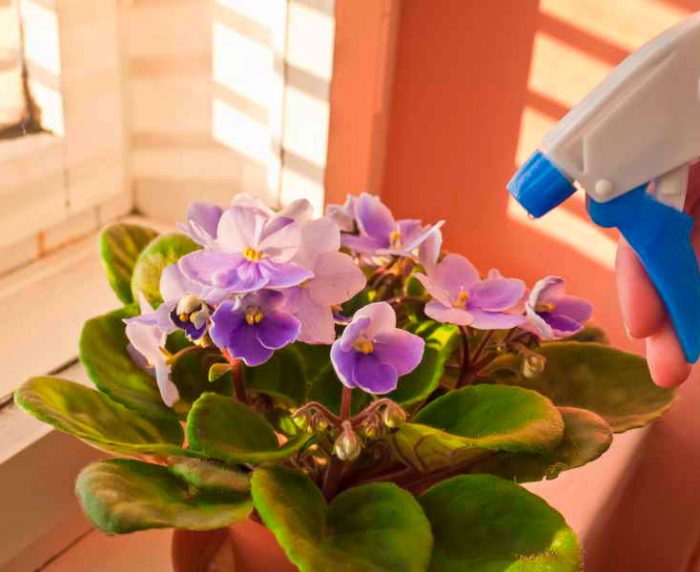
On a note. The soil should always be slightly damp; a spray bottle is a good choice for this. The ideal temperature for germination from seeds is 22-25 degrees Celsius. - The first sprouts from seeds begin to germinate already on day 20, all this time the mixture should be moistened with a spray bottle.
- The first pick of seedlings should be carried out when they reach a height of about half a centimeter and release the first leaves. Plant at a distance of 2 cm from each other in fertile soil, which should be fertilized with charcoal.
The next transplant should be carried out as needed, when the sprouts begin to interfere with each other and are already planted in separate small containers. Before transplanting into a permanent pot, time must pass for the root system to be strengthened.
The peculiarity of growing violets from seeds is that the germinating new plants are of the same size and with multi-colored flowers.
From the video you will learn how to grow a violet from seeds:
How to plant a violet leaf without roots?
Choice of capacity
 Small cups or pots, up to 200 ml in volume and about 5 cm in diameter, can serve as a good container for non-root propagation directly into the ground.
Experienced violet growers advise using disposable plastic cups for these purposes.
Their transparency allows you to monitor the state of the soil, and the material is easy to make drainage bends.
Priming
An important component when planting a leaf with a handle is the choice and layout of the soil mixture. If a ready-made soil is purchased, then it should be intended for flowering ornamental plants.
Baking powder made of inert materials or sphagnum moss is necessarily added to it.
Experienced violet growers prefer to prepare the mixture on their own. To do this, they mix perlite and vermiculite in equal proportions, without adding to the soil. Perlite provides breathability to the roots, and vermiculite moisture absorption and friability
It is better for inexperienced growers to purchase ready-made soil and add perlite and sphagnum moss to it, which has antibacterial properties.

It is better for inexperienced growers to purchase ready-made soil.
Some growers recommend growing on pure perlite, but with this composition, you should strictly monitor the state of moisture. A fragile plant without a sufficient amount of moisture, and perlite is not a moisture-absorbing component, dries up quite quickly, which can result in death for such a still weak future plant.
Selection and preparation of planting material
Correctly chosen material is important and decisive for the further development of Saintpaulia, therefore, this step must be approached responsibly. If you thoroughly disassemble the structure of the violet, you will notice that the leaves are arranged in rows on the rosette
First of all, you need to decide from which row it is preferable to take the material:
- 1st, the lowest row - the leaves are relatively old and, due to their age, can not give children for a long time. In addition, their close location to the ground often provokes the picking up of various diseases and pests;
- 2-3 rows - with young, already matured leaves. The most optimal option for planting material;
- the middle of the outlet - the leaf is usually small, and if it is torn off, there is a risk of damage to the growth point of Saintpaulia, which can lead to unpredictable consequences;
- the upper rows are young leaves that have not yet matured and have not gained enough energy.
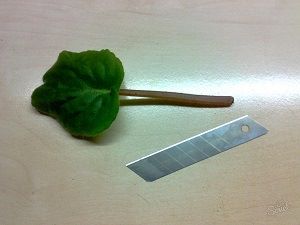 The second step is to select the leaf itself for propagation:
- the sheet must be free of any kind of flaws (spots, scratches, breaks, etc.);
- must be healthy, with color characteristic of the variety;
- the structure of the sheet plate should hold its shape well and be elastic.
Important! The leaf is taken only from a healthy plant!
Often, planting material has to be taken from friends or elsewhere elsewhere, which causes it to fade during long-term delivery. In this case, it should be lowered for 1.5-2 hours in clean, warm, slightly tinted water with potassium permanganate, and then dried.
The final step before planting is leaf preparation.
The separation of the leaf plate from the plant can be carried out in two ways:
- a simple cliff;
- with sharp cutting tools.
Experienced growers recommend using a sharp knife or pruning shears, performing the operation in a more civilized and safe way.
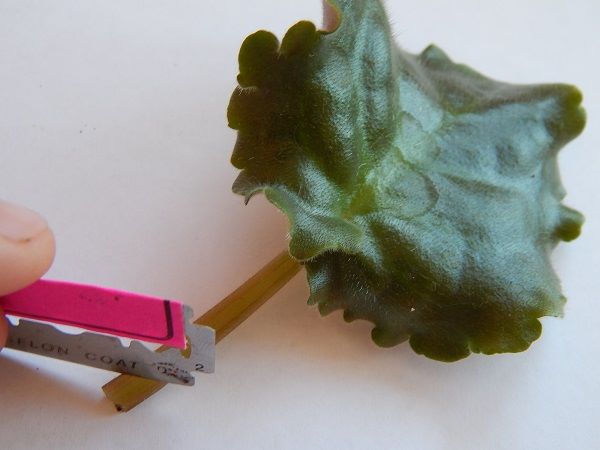
The cut should be done with a very sharp instrument.
The correct incision is considered to be a cut at an angle of about 45 ° (the area of root formation and nutrition increases). Do not forget about disinfecting the cutting tool and processing the cut site on the mother plant with crushed activated carbon. The length of the hemp should be at least 5 mm and not more than 4 cm. Longer cuttings should be shortened.
Main varieties
We recommend that you familiarize yourself
Violets are distinguished by the following features:
- 1Sizes of outlets: micromini (up to 6 cm), mini M (10-15 cm), midi (15-20 cm), standard (20-40 cm) and large (from 40-60 cm in diameter). Separate varieties are ampelous or trailer indoor flowers.
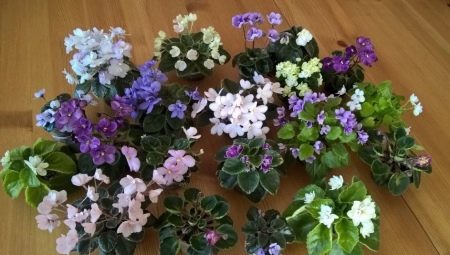
- 2 Inflorescences. The types are classic, star-shaped, bell-shaped, in the form of a wasp or a spider. Petals are semi-double, double and simple. In hybrid varieties, they can be pointed, rounded, corrugated, even and torn along the edges. By color, they are divided into monochromatic, two-tone and multi-tone.
- 3 Leaves, or rather their type and color. They can be oval, round, kidney-shaped and elongated. Foliage edges are solid, corrugated, serrated or wavy. They are usually olive, dark brown, green, or grayish.
At home, you can breed the following varieties:
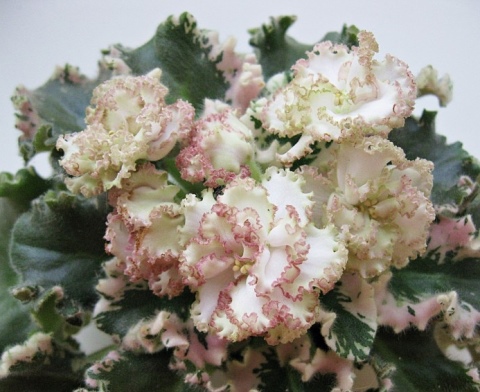
- 1Caprice. Inflorescences are white, terry. The fringe on them is greenish. The foliage is very variegated. They have a wavy structure.
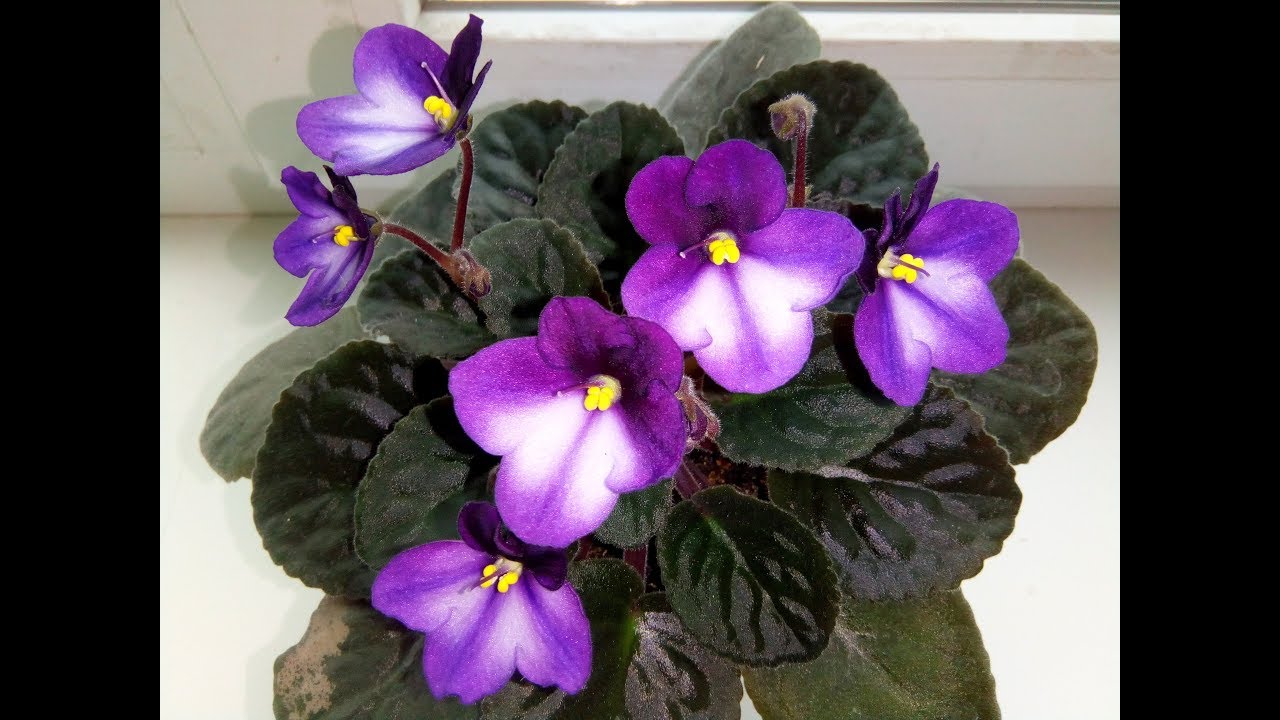
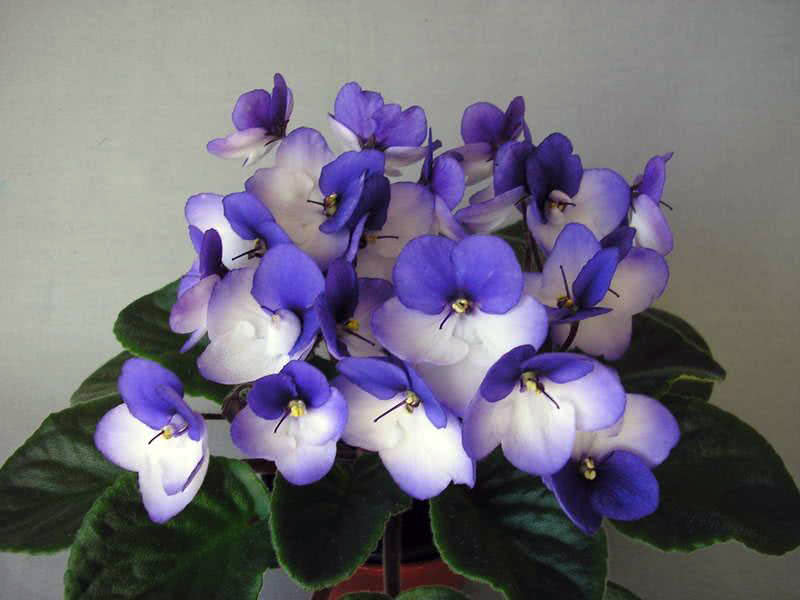
- 2Macho. The flower is purple, but the edges are white. Terry petals.Leaves are simple in shape and green.
- 3Your Majesty. It is a pink Saintpaulia with double petals that have wavy edges. The foliage is bright green.
- 4Sea Wolf. A very large blue flower with a net pattern on its petals. The leaves are dark.
- 5Water. The inflorescence itself is blue, but turns into pink, and then a bronze-green hue. Leaves are light colors.
- 6Frill. Dark blue inflorescence. At the edges there are ruffles of a light green shade. The leaves are also wavy.
- 7Tomahawk. This violet has a bright red hue. Blooms profusely. The leaves are dark green.
- 8Max Black Pearl. Violet black with a purple tint. Velvet petals. The foliage is small. The plant is very compact.
- 9Mysteries of Paris. The inflorescence has a dark black-lilac shade and a purple-red pattern. There are whitish ruffles. The foliage is variegated.
There are other names for both the home violet itself and for individual varieties. Now there are varieties such as Frozen, Green Lace, Irish Cream and others, which are distinguished by their greenery. New varieties have also appeared with pure yellow petals or with a pattern of this color on them - these are Lemon Kissies, Sunkist Rose and Worm Sunrise.
Care
To get beautiful and healthy Saintpaulias, you need to take care of them. Lighting, temperature, location of the flower, and appropriate care are important. Consider the basic rules for growing violets, the observance of which will allow you to achieve the desired result.
- Violets need light, but despite this, it is better to isolate them from direct sunlight.
- It is bad for a flower when the leaves come into contact with the glass.
- Violets love moisture, but you cannot water them with cold water, and also fall on the leaves when watering. You need to water it regularly, as the soil dries up, but you can't pour the violet.
- It is necessary to promptly remove dried flowers and damaged leaves.
- Violets are afraid of changes in temperature and cold.
- Top dressing is carried out every two weeks using mineral fertilizers (10 g per 3 liters of water). Plants especially love nitrogen. A deficiency can lead to poor growth and lack of flowers.
- When transplanting a plant, it is necessary to make drainage from perlite, mosses, expanded clay balls.
- The lower leaves should be left slightly above the soil. A socket is placed at the soil level. The wrong choice of depth leads to poor flower growth.
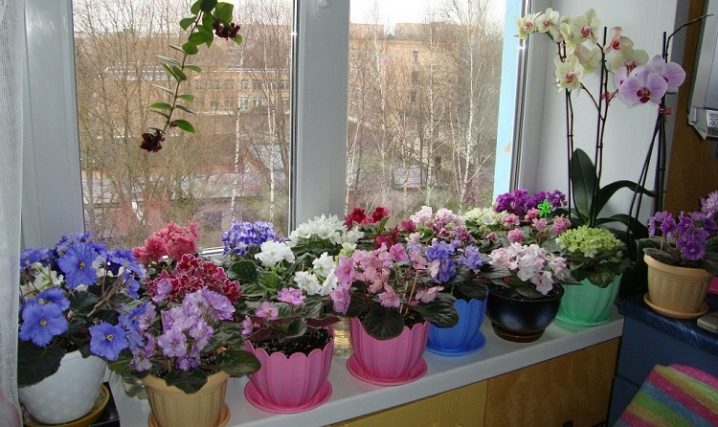
Some growers propagate violets with leaves. To do this, you need to take a few leaves from an adult violet and put them in a container with water. Choose small jars made of dark glass so that the light does not directly hit the cut, but the container is transparent. The stalk should be long. The cut at the cutting is made diagonally. Change the water regularly.
In about a month, the roots will appear. After their appearance, plant the cutting in the ground. A new rosette of leaves is formed. If you are planting several sprouts in one container, do not miss the moment of picking.
It is important that the plant grows strong. This method is faster than breeding from seed, but the plant can be weaker and wilder.
Reproduction of violets is a wonderful hobby. Find one of the many varieties to your liking and get a real flower garden that will delight you every day. Despite some subtleties of care, the violet is not a very whimsical plant, so even a novice grower has a chance of successfully breeding these flowers.
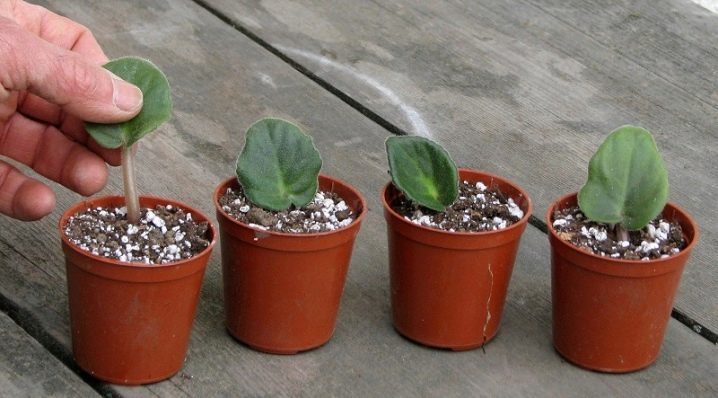
When and how are the seeds harvested?
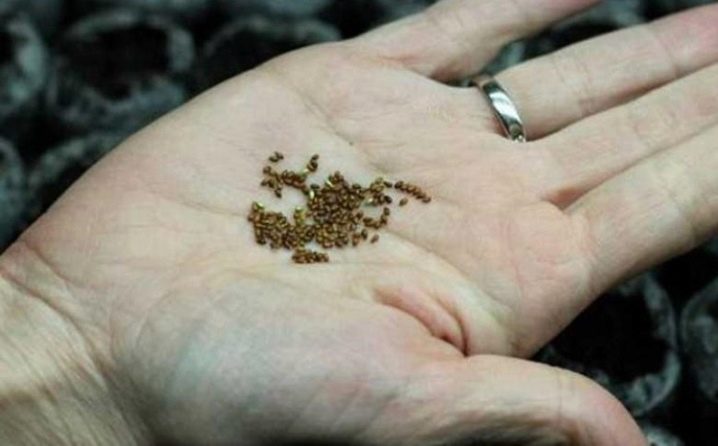
To use the seeds for further propagation of violets, they must be properly harvested. It is difficult to track the moment of full ripening, so at home it is better to remove the box from the peduncle in advance so that the seeds do not fall into the same pot when the shutters open themselves. This should be done when the peduncle dries up and the fruit turns brown.
The main thing is that the seeds are viable. This may not be the case if you remove the box too early.If you collect the fruits 3-4 weeks before the natural opening of the fruit, then the germination of seeds will be as much as 80%.
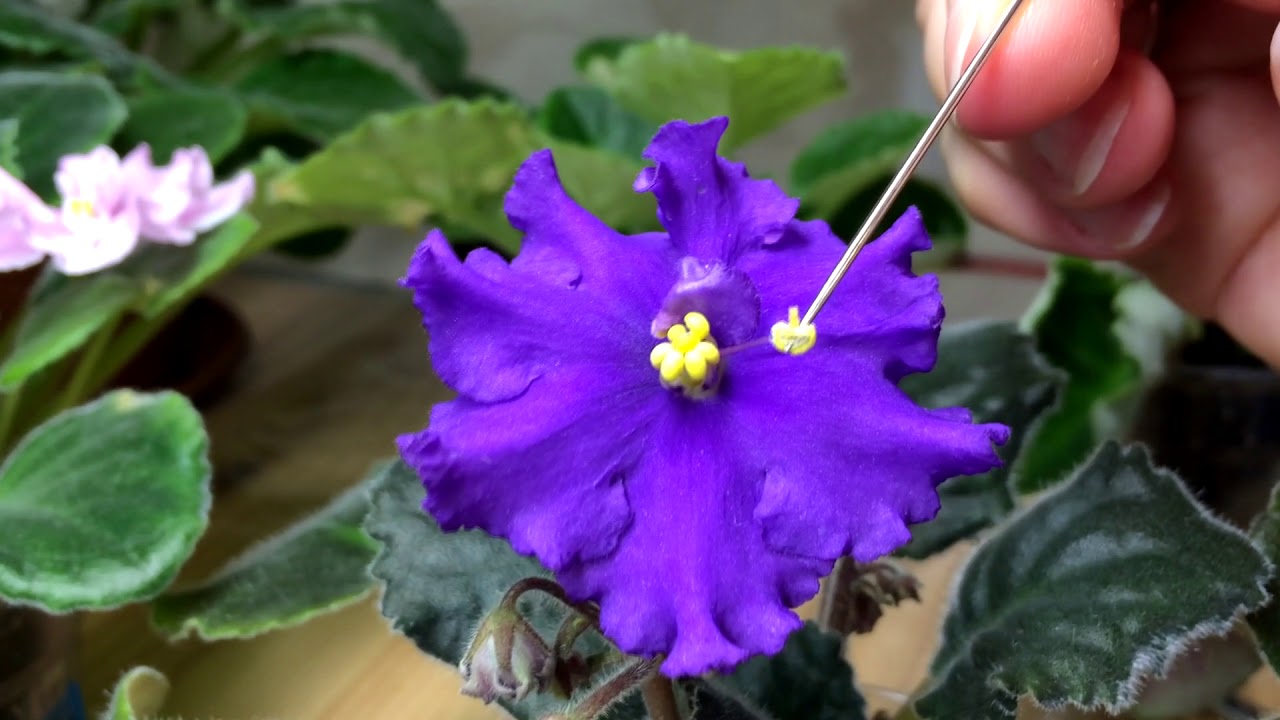
After separating the fruit capsule from the violet, it must be completely dried in a warm room. This will take 1-3 weeks. You can open a dried box with the tip of an ordinary needle. The seeds are hidden inside the capsule.
Basic care elements
Some varieties of violets, especially large-flowered ones, take a long time to germinate. The timing of the appearance of the first shoots can exceed 1 month.
If the seeds are bought in a store, then you should pay special attention to this feature. Without waiting for shoots, the grower mistakenly disposes of the material
To prevent the seedlings from being affected by the black leg disease, they must be ventilated and not flooded. The soil should be moist but not watery. If the grower accidentally "nailed" the sprout to the ground with water, then it must be urgently lifted with a toothpick or needle. A fragile plant will not be able to straighten and die.
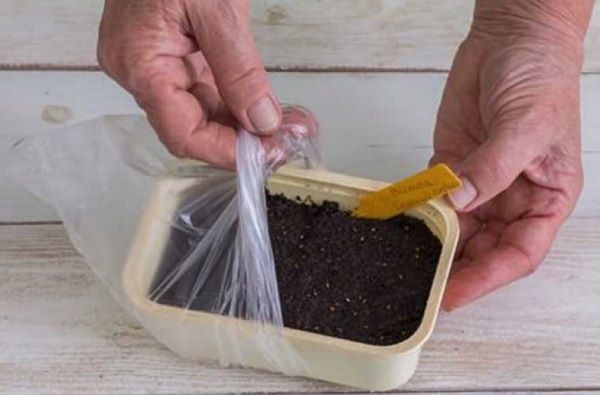
Air the seedlings to avoid rotting.
For the growth and development of the viola bush, space is required, therefore, in the phase of two leaves, the seedlings dive into separate containers. If violets are used for pots or balcony boxes, then the seedlings are planted immediately in them, maintaining the recommended distance between the plants.
Important! When transplanting, plants are buried to the first leaves.
All types and varieties of violets respond very well to fertilizers.
Viola feeding time:
- young shoots are sprayed with a growth stimulant solution;
- weekly dressings include watering with mineral fertilizers in a diluted form at the root;
- after planting in the ground, the flowers need monthly complex fertilization.
Garden violets do not tolerate fresh manure and dung as fertilizer. It causes burns and death of the bush. It is best to use autumn humus, leaves and special feeding for flowering plants.
Growing violets from a leaf in soil
If you adhere to the opinion of experienced flower growers, they advise planting the violet directly into the ground, since the plants turn out to be stronger and more viable, and also more children grow on them. How the process of growing violets takes place, we will consider below.

For easier planting of violets in the soil, you can buy soil for synpolia at a specialized store. It is necessary to enter the following leavening agents into it:
- Styrofoam;
- vermiculite - perfectly loosens the earth and absorbs moisture;
- sphagnum moss;
- perlite - the main one, it is necessarily used in the cultivation of violets.
Rooting of violets in the soil occurs according to the following scheme:
- The stem of the leaf must be taken to the side and broken, then it is cut off at an acute angle.
- It is necessary to release the stem with the leaf into a manganese solution for a few seconds.
- Then leave to air dry for thirty minutes.
- A disposable glass is filled with warm, moist soil.
- Plant a leaf and a stem of a violet, compact the soil around.
- There is no need to water the plant.
- It is worth covering the glass with a flower with plastic wrap. Watering is carried out once every seven days. In order for the violet leaf to root its roots faster, it does not need to be additionally fertilized.

Lighting
Violet really does not like direct sunlight, their delicate leaves just burn in the scorching sun, get deep burns, and the soil quickly loses moisture, which is fatal to its delicate roots.
And this is not surprising, because in nature the violet grows in a dense African forest, in moist soil covered with moss.
Our advice:
The best place for Saintpaulias is the sill of an east-facing window, where the plants are illuminated by the light morning sun. On west-facing windows, the sun can be aggressive in the afternoon, especially in summer.
Therefore, in the summer, violets need to be shaded by covering the window glass with gauze. Violets can be successfully grown on north-facing windows as long as they are not shaded by trees or neighboring houses.When a violet has little light, it "signals" this by raising its leaves high and stopping flowering.
I grow adult violets on windowsills oriented east, west and north, as I live in a private house with many windows. But I grow the children of violets on a rack made of metal corners, using artificial lighting.
I bought a shelf unit ready-made in a construction supermarket, but you can also make it yourself from metal corners or wooden bars. An old bookcase will do as well. Above each shelf of the rack, I installed one 40-watt fluorescent lamp.
Having experimented with the height of the shelves and the number of lamps above them, I settled on this option: the height of the shelf is 35 cm and above each shelf there is one 40-watt lamp. This option is both economical and effective.
Our advice:
The length of the shelf should be equal to the length of the lamp, so first buy a lamp and use it to calculate the length of the shelf.
I have heard the opinion that Saintpaulias, grown under artificial lighting on shelves, then grow poorly and bloom on window sills. I want to refute it.
All my Saintpaulias, grown in this way, then perfectly adapt to the conditions of a not very sunny windowsill and bloom profusely. Now the first snow is already outside the window, and Saintpaulias are blooming on the windowsill.

