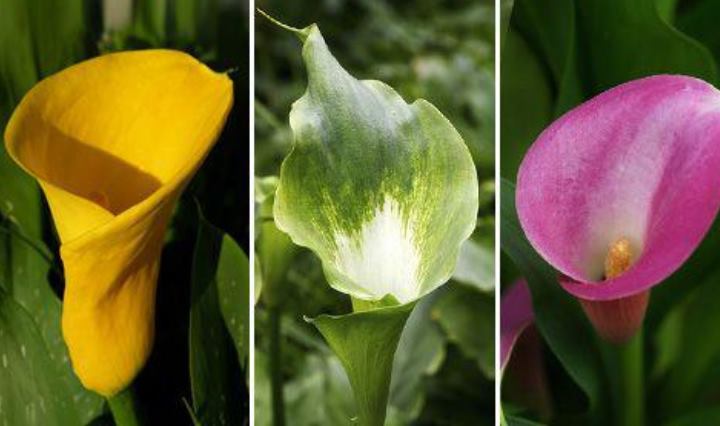
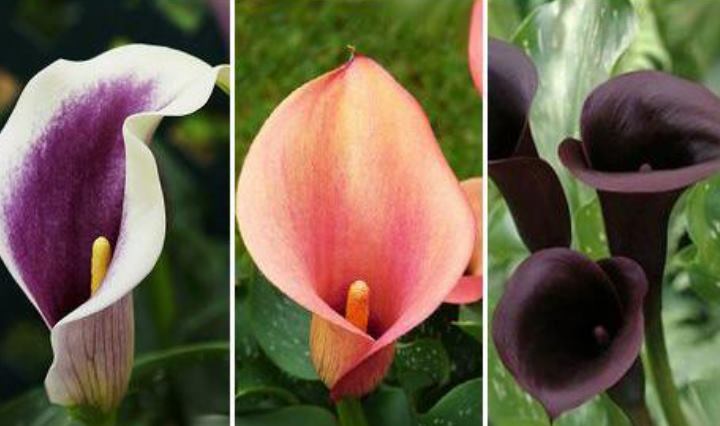
We fight diseases and pests of calla lilies
Due to the excessive dryness of the air, the flower infects the spider mite. Spray calla lilies more often, if infection has already occurred, treatment with a solution of households will help. soap or special. preparations of acaricidal action (Neoron, Furan).
On garden calla lilies in the open field, aphids and thrips often appear, destroying spring young shoots. In addition, insects carry viral diseases. Calla is believed to be a resistant plant in this regard. At the first signs of infection, treatment with special preparations is necessary.
Calla lilies can also be caused by improper care. For example, waterlogging of the soil, in this case, wait for root or stem rot, anthractosis. Dosing errors during fertilization are also costly. Excessive nitrogen content causes bacterial rot. Plants in poor soils with inappropriate acidity levels will be in poor condition.
Pick-up location
Garden calla lilies prefer to grow in sunny, warm places. You can plant flowers in partial shade areas, but in this case, the growth will change for the worse. Direct sunlight at noon can threaten the plant, causing burns. It is necessary to shade the foliage of the flower on hot days. The landing site should be free of drafts.
Priming
Street calla lilies will delight with lush flowering if they grow in fertile and slightly acidic soils. In a country house with clay soil, it is also suitable for growing, if you add sand and peat in equal parts to it. Monitor the amount of nitrogen fertilization, the excess is harmful to the plant.
How to properly plant calla lilies in open ground
These plants prefer sunlight alternating with shade, moist, acidic soil. Although calla lilies grow more leaves in the sun, and flowers in the shade. You need to plant tubers over a large area, as they love space.
Before planting calla lilies, three points should be observed:
- Timing of boarding. You can start planting calla lilies from March to May. If the temperature drops to 0 degrees at night, it will not harm the plant. They are planted in the ground 15 cm deep and regularly watered a lot. True, the adaptation of a newly planted calla lily in Russia may not let flowers in the first year. You will have to wait a few years for the plant to take root. In dry seasons, flowers need to be watered abundantly and often.
- Site selection and soil preparation. The best place to grow calla lilies is in bodies of water. Lakes and wetlands. If there is a backyard lake, you can decorate it with this water-loving plant. However, it does not always turn out that there is a watery area surrounded. Therefore, in the garden, calla lilies should be planted in a place where the soil can be easily and quickly moistened. Also, you should not plant tubers in the heat or, conversely, in a deaf, impenetrable shade of the sun. Flowers should be protected from unnecessary drafts.
- Soil selection and soil preparation. Before planting in the ground, you should fertilize the soil with sand and peat fertilizers. Landing on fertile soils is desirable. True, if it has a high content of organic matter, the growth of the plant may slow down. In specialized stores, there is quality soil for sale. It is better to purchase it and additional fertilizers, since calla lilies can take root for a long time in ordinary soils of Russia. It is also better to buy tubers ready-made, brought from Africa or properly grown at home. It is best to fertilize the plant while it is growing.
Open ground planting process

There are several ways to plant tubers:
Placing tubers in a temporary "dwelling". The following steps should be performed step by step:
Tubers are planted at the end of March or the first weeks of April. The tubers are literally lowered into the ground by 3-5 cm;
The substrate is bought in a specialized store. You can also take soil in the yard. You just need to dry it in the oven at 160 degrees. Add peat if necessary;
Planted tubers are often not worth watering. Before planting the plants, you need to harden the callas. To do this, you need to periodically take out the tubers to a cool room and arrange for airing;
When planting in the soil, you need to carefully consider the roots of the plant. The roots are very fragile. Therefore, it is better to plant a calla with a clod of earth.
The tubers are planted directly into the soil. You do not need to do the rest. This method is preferred by many gardeners. Immediately germinated tubers are placed in garden soil
It is important to remember that in this case the calla lilies will bloom earlier.
Make the hole 10 cm deep, if the tubers are small, then up to 5 cm.
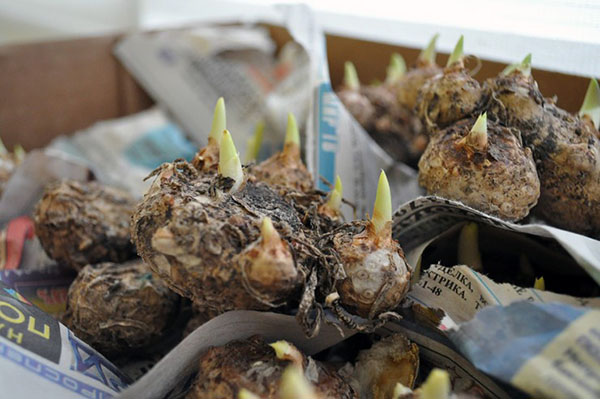
Tubers are planted with tubercles or shoots upward.
It is best to choose acidic soil. To do this, you can often mix peat and sand, and parts of sod and leafy land. Tubers are planted without preliminary actions:
Before planting, you should make sure that the temperature does not drop to sub-zero at night.
Calla lily care at home and in the garden
The homeland of zantedeskia is South Africa, therefore, when caring for a flower, you should adhere to all climatic characteristics of this region as much as possible, taking into account the life cycle of a calla. An important point is also the presence of a dormant period in this flower, which falls in mid-May-late June.
Lighting
Since the birthplace of culture is the tropics, it needs a large amount of light for normal development. However, direct sunlight should be avoided; it is better to darken the growing area.

It is important that if forcing occurs in winter, an additional light source in the form of fluorescent lamps will be required, so that the plant receives full illumination on average 10 hours a day.
Temperature and humidity
The optimum temperature in the flowering stage is 14-16 degrees Celsius, at a higher temperature the quality of flowers decreases, their development stops. In winter, a temperature regime of 10-12 degrees is possible with moderate watering. It is best to place the flower on a north-facing window.
It is required to maintain humidity at a sufficiently high level (80-85%). Sometimes experienced florists even place a flower pot in a constantly filled container of water in order to increase humidity.

However, it should be remembered that during dormancy, one should abandon such intense moisture, reduce the frequency of watering until dry soil is formed by 1/3 of the depth of the container.
Watering and feeding
Watering should be regular and abundant during flowering periods, and daily on hot dry days. The correctness and completeness of watering should be monitored independently, relying on the period of flower development, humidity, season, illumination, condition of the soil, flowers and foliage.
In the flowering phase, it is important to follow a few rules:
- Water must not stagnate in the sump and above the soil.
- The soil should not be dry.
- Watering is desirable with settled water.
As the flower and foliage dry out before dormancy, the amount of watering should be reduced. When the leaves are completely dry, you need to keep the soil dry, with little or no watering.
Top dressing is carried out regularly and in moderation, since zantedeschia can suffer from its excess. It is believed that fertilizing this crop is required no more than twice a month. As a top dressing, balanced liquid fertilizers are used, which are added to the water for irrigation. The amount of sunlight will help you navigate in the frequency and volume of feeding.The less it is, the more abundantly the soil should be fertilized, and vice versa.
Flowering period
Blooming calla lilies need weekly fertilizing with mineral fertilizers with a predominant content of phosphorus and potassium. Nitrogen fertilizers enhance the growth of the leaves, while the flowers may not bloom at all.
With the onset of flowering, zantedeschia should be transferred to a well-lit room, but exclude direct sunlight. The flower loves coolness, so the optimal room temperature for it will be 14-16 degrees. During this period, calla lilies require frequent watering and high levels of humidity.

Therefore, you need to regularly monitor the consistency of the soil, it should be constantly wet, but without the liquid level in the pan or above the ground.
Preparation for winter and dormant period
After a violent flowering, usually in the spring and summer, zantedeschia gradually regresses: the leaves turn yellow and wither, growth stops, and a dormant period begins. After all the foliage has fallen, the pot of tubers is moved to a cool place, the optimum temperature is 5-8 degrees Celsius.
Or you can remove the tubers from the pot, carefully peel them from the soil, dry them and also place them in a cool place. If there is no such place in the house, placing the tubers in the refrigerator in the vegetable compartment is ideal. The resting stage lasts an average of 1.5-2 months. During this period, the tubers should not germinate, otherwise the calla lilies will not bloom.
You need to wait until they are completely dry and separate with ease. In the dormant stage, the plant is not watered. In the refrigerator, tubers are stored in a bag or container with holes, lightly sprinkled with charcoal and a thin layer of moist peat.
It will also be interesting: Agapanthus (African rose) - planting and caring for a plant in the room and outdoors?
Growing garden calla lilies
You can plant calla lilies in open ground in mid-spring. The main thing is that the earth is well warmed up. Planting must be watered well immediately. The next time it is necessary to moisten the soil after 10 or 14 days. It is best to acidify water with oxalic or citric acid.
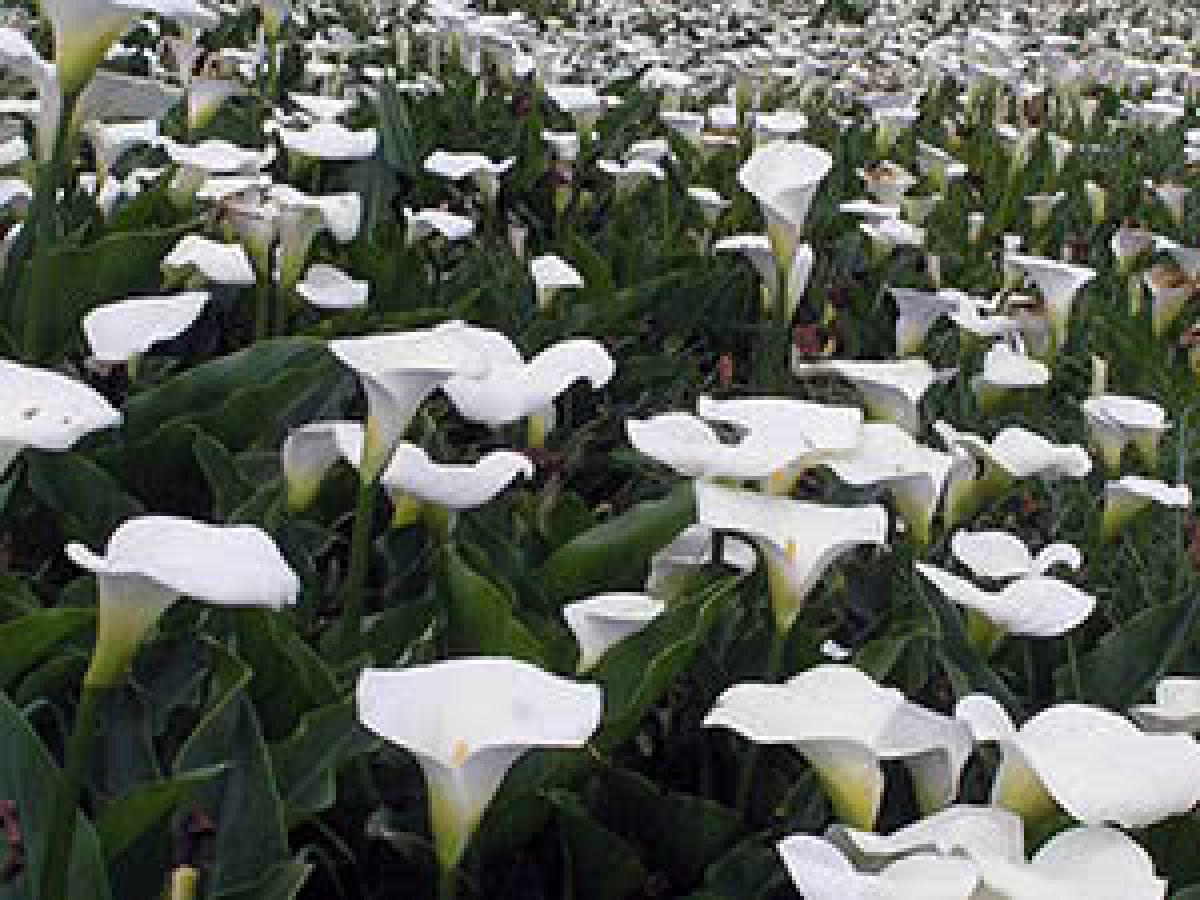
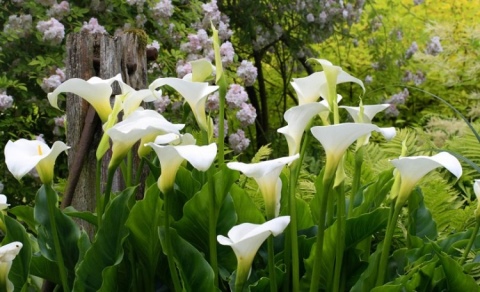
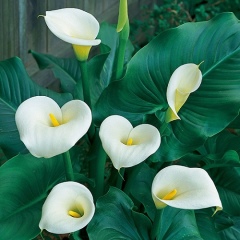
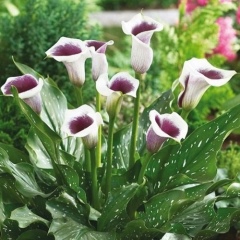
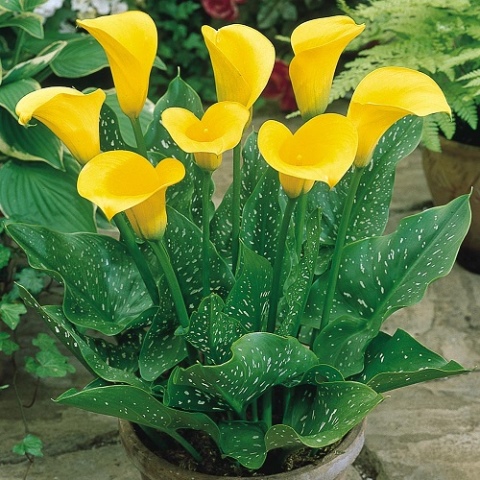
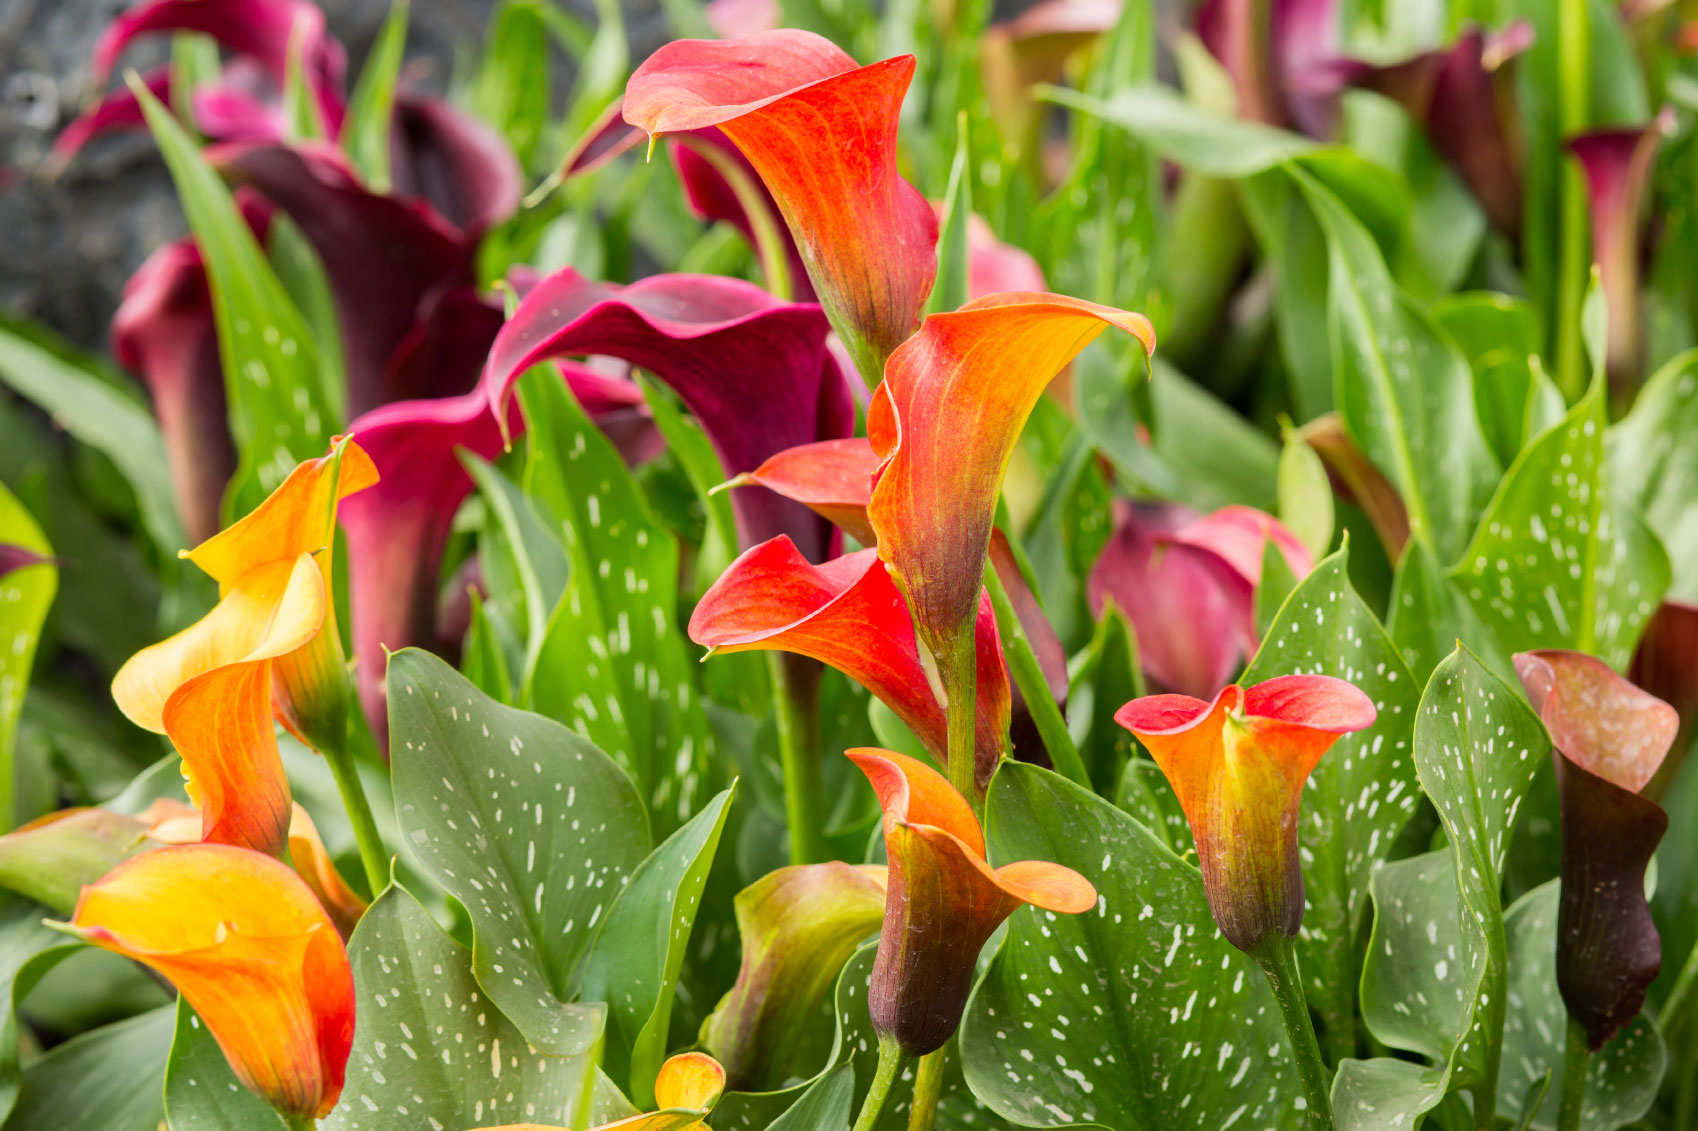
Garden callas are very popular among gardeners. Regardless of which variety of flowers grows in the flower beds, they give the garden plot an exquisite look, thanks to the high decorative qualities of the leaves and flowers. Growing calla lilies in the garden requires certain rules. This is primarily:
- spacious flower beds;
- fertile and light soils;
- lighting - at noon, flowers should be naturally protected from direct sunlight;
- ideal soil for calla lilies is acidic, in extreme cases, slightly acidic;
- before planting, flower beds must be drained to remove excess moisture.
You can grow calla lilies in the garden in the following ways:
- preliminary germination of plant tubers in flowerpots with subsequent planting in flower beds;
- planting tubers directly in open ground. Note that regardless of the method of planting calla lilies, flower beds in the garden should be prepared in advance. They are first of all dug up, and the soil is mixed with peat, river sand and last year's rotted leaves in equal quantities. It is also recommended to apply a complex mineral fertilizer.
If the weather conditions are favorable, then already four weeks after planting, this plant already begins to bloom. But this does not happen in the first year, but in the second. After the calla has faded, you should stop watering it. At this time, the plant begins a rest period. In order for calla lilies to have such a rest period more favorably, it is best to leave 3 or 4 leaves on it. The rest are carefully cut off. Calla will delight with its flowering until the end of September - mid-October. After weather conditions become unfavorable, this crop will need to be transferred to containers or containers with soil mixture.It should consist of turf and peat in a 2 to 1 ratio.
Fresh articles about garden and vegetable garden
Peach shelter for the winter
Platicodon: planting and care at home
Calla lilies with large rhizomes should be planted in separate pots. As for specimens with a smaller size, they can be seated in groups. True, in this case, their accuracy should be avoided - calla lilies do not tolerate crowding. Those babies that appeared during the transplant must be separated. So the calla will be able to develop better and there will be a chance for its beautiful winter flowering. But this will be only if there was no overfeeding with nitrogen and the rest period was normally transferred.
How to care for planted flowers
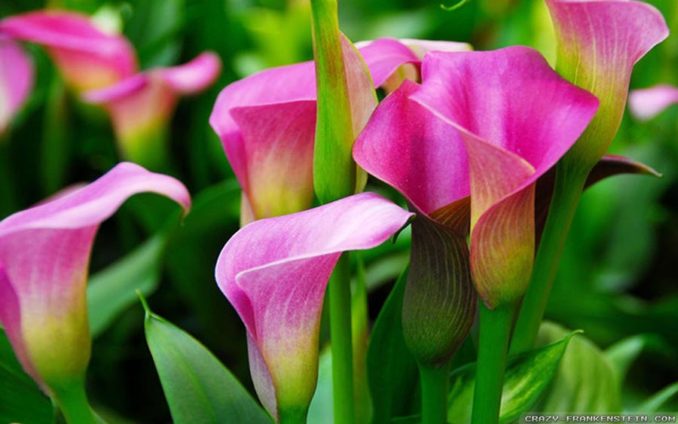
Like most exotic flowers, this crop needs special care. And, if garden calla lilies grow in the best conditions, then their flowering will begin 1.5-2 months after they are planted, and will last until the arrival of autumn. So, how to care for calla flowers in the garden.
Calla lilies have an interesting physiological feature - at first they form a root system, and only then germinate. Therefore, in order to prevent incorrect root formation, it is not worth watering the planted tubers in the first 2 weeks. Watering can be done only when the first shoots appear. And this, as a rule, will happen after 2-3.5 weeks. When watering, make sure that no water gets on the tuber. The easiest way to water is by moistening the soil around the edges.
Regular watering can be done when the leaves appear on the summer cottage pet. At the same time, watering must be moderate. Depending on the weather conditions, you can water the flowers 1-2 times every 7 days.
In general, care for calla lilies should consist of watering, fertilizing, weeding and loosening the soil. The first feeding is done when calla lilies are planted. For this, complex mineral fertilizers are suitable at the rate of 30-40 grams. for 1 sq. meter. For the natural development and growth of the plant, this will be enough for the entire summer season. Due to the fact that calla lilies like weakly acidic soils, they should be additionally (2-3 rubles per season) watered with citric (acetic) acid at the rate of 1 tablespoon of acid per bucket of water.
In terms of the prevention of diseases and pests, the care of labor will not be.
A species such as garden calla lilies is almost not susceptible to diseases or harmful insects. There are cases of whiteflies appearing, but they will not cause significant harm to flowers.
How to store dug tubers

Caring for flowers also assumes the preparation of tubers for wintering. You need to start this procedure in September. Calla tubers are dug out before frost arrives, so that they do not damage the root system.
The plant tubers are carefully removed from the soil. Then, it is necessary to free the roots from the remnants of the earth and rinse them
This should be done with extreme caution, since the flower roots are delicate and very fragile. At the same time, there is no need to remove the leaves
It is in this form, as in the photo below, that garden calla lilies should be stored for another 2 weeks. The temperature regime in the room where the dug flowers will be stored should be from +5 to +15 degrees. This period is necessary for flowers in order for all nutrients to pass from the foliage to the tubers.
After 14 days of storage, leaves and roots can be removed. Moreover, they will dry out during this period, and the removal procedure will not harm the tubers. The plants are now properly cared for and ready for storage.
You can put calla tubers in paper bags and put them on the balcony (or in another room), worrying in advance that the temperature is within 5-15 degrees. Under optimal conditions, calla lilies in this form will be perfectly stored until April.
How and where to plant flowers?
Most preferred for growing garden calla lilies are warm, sunny areas, where favorable conditions will be created for flowers.It is undesirable to place plants in conditions of partial shade; for these plants, places where they receive the maximum amount of sunlight are better suited. But if scorching rays fall on the flowers at the chosen place throughout the day, then it is advisable to create a shadow for them in order to avoid burning the leaves. You also need to take care of protection from the winds, since drafts can also harm calla lilies.
It is necessary to pay attention to the composition of the soil: it should be distinguished by high fertility and have a slightly acidic reaction. But when applying organic fertilizers, you need to observe the measure, since their excess will lead to a completely opposite effect.
First of all, this concerns nitrogen, an excessive amount of which can greatly affect flowering. In the absence of other suitable places, calla lilies can be grown on clay soil: before planting, peat and sand, taken in equal quantities, must be added to it.
Usually, garden calla lilies are planted in the spring. Already in the first days of May, a fairly comfortable weather sets in, in which the bulbs can quickly take root and begin to grow.
However, you need to be careful with the timing, since the last frost can harm young plants. For planting, pits are prepared with a depth of 5-10 cm. From this moment they begin to take care of the flowers. And the first operation that will have to be done will be watering.
Landing features
When planting tubers of garden calla lilies, it is important to maintain the optimum depth, which should be about 10 cm. Plants are recommended to be placed at least 30-40 cm apart
When planting flowers, do not manipulate the soil, compacting it or pressing the bulbs themselves into the soil. You just need to place them in the prepared holes, and cover them with a layer of soil on top.
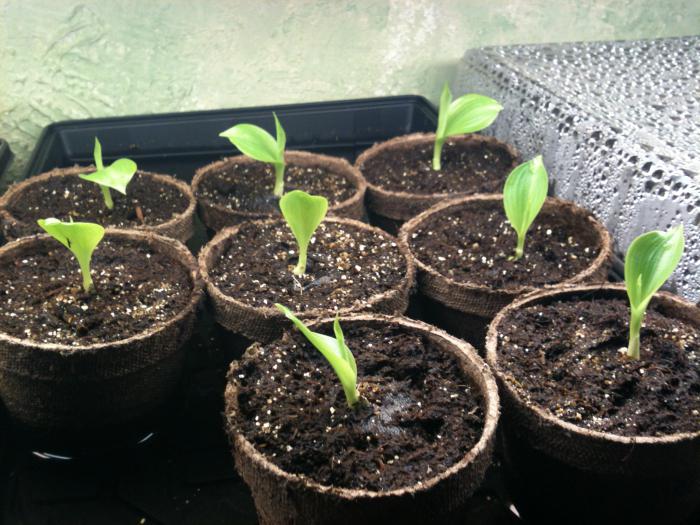
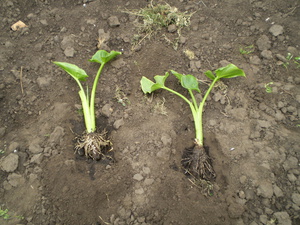 Also, many growers practice the method of growing calla lilies through germination. This will require a temporary pot in which the tubers are planted, after which they are looked after until they can be transplanted to a permanent place. In some years, with this method of growing the bulbs, calla lilies often begin to bloom even before the onset of a favorable moment for transplanting into the garden.
Transplanting tubers into pots is carried out at the end of March, however, it is important here to choose the appropriate container sizes. As a soil mixture, use ready-made seedling soil, which can be found in flower shops.
Caring for potted bulbs does not differ from the traditional method of growing flowers:
- for this you need to keep the soil moist by watering it 2-3 times a week;
- even before there is a favorable moment for transplanting flowers into open ground, it is necessary to harden the tubers in 7-8 days;
- directly on the day itself, on which the transplant of calla bulbs is scheduled, you need to very carefully remove the plants from the pot, trying to keep the root system intact.
Botanical description and chemical composition
Calla is popularly called Calla. It is represented by a perennial flowering shrub of low height. Comes from the Aroid family. A feature of the plant is the only species in the individual, which is represented by the marsh calla. The plant is unpretentious in cultivation, therefore it easily takes root in a temperate and northern climate.
The plant is herbaceous, reaches a height of 25 cm. The flowers have shoots in the form of creeping or recumbent stems. The rhizome of the plant is a thick, flat and flattened root, elongated downward. The root has a large number of adventitious roots that help the plant stay on the water surface. The length of the central root in adults exceeds a meter in length, and the size of the adventitious roots overcomes the mark of half a meter. The diameter of the rhizome at the base of the stem reaches 2 cm in diameter. The color of the underground roots is primarily white.In addition, on the soil surface, some rhizomes creep, forming a white or dark green sheet of several creeping roots. A shortened central shoot appears from the base of the roots.
Long stalks with leaves extend from the rhizome of the calla. The leaf petioles are long, dense and thick in volume. The color of the petioles is bright green. At the end of the petiole, a large heart-shaped leaf is formed, which is initially located in the form of a swirling plate. In diameter, the petiole can be up to a centimeter, and in length does not exceed 30 cm.
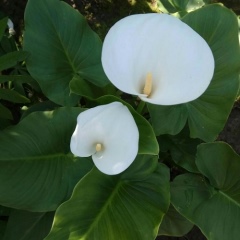
The leaves are arranged singly on the petioles. The leaf plate is represented by a heart-shaped plane with a pointed end and smooth edges. The sheet plate is directed upwards. The base of the leaf is concave inwardly, and the plate itself is bent back towards the ground. Above, the leaf plate has a rich green hue, and below it is represented by dull green colors. Leaves are glossy. Veins forming a mesh are visible on the entire surface of the leaf plate.
Calla flowers are small bisexual biconcave petals. Several flowers appear on one plant. The shape of the inflorescence is represented by one petal - a veil, concave inward. At the same time, 6 stamens and an ovary are located inside the petal. The flower cobs grow up to 6 cm in diameter and are pollinated by insects. Under natural growing conditions, flowering occurs in late spring - early summer.
Inflorescences are located on separate peduncles that emerge from the base of the rhizome. Each peduncle has no more than one bud. The base of the bedspread has two ears, and there is a small ledge on top of the petal. Before the flower ripens, the veil plays the role of a bud, which opens up gradually straightening. Flowers are located at the level of foliage. The size of the whole flower is approximately equal to the length of the leaf plate.
After flowering, a fruit appears inside the bedspread, represented by small berries collected in a single fruit. The fruits are red. Each berry grows no more than a centimeter in diameter. Fruit ripening after flowering lasts for a month. In northern climates, fruits appear later - towards the end of summer.
Each fruit contains seeds inside that are oval in shape. In one berry, up to 10 seeds appear, small in size, brown in color. Calla berries have several air cavities inside, due to which they easily float on the surface of the water.
After the berries ripen and the peduncle rot, the berries, along with the rest of the coverlet, fall to the ground or into the water. From the abundance of lag, the fruits quickly swell and burst. The seeds freed from the pulp fall off and germinate. A young plant appears the next year.
Calla flower has a unique composition of chemical elements. The foliage and roots of the flower are of the greatest importance for medicinal purposes. So, in parts of the plant there are such chemical elements as:
- Alkaloids;
- Saponins;
- Tanning components;
- Starch;
- Minerals and vitamins.
In addition to the content of these components, calla leaves contain a small amount of resins and organic substances, organic sugar and vitamin C, which determine the medical and medicinal purpose of the flower.
How tubers winter
It is very important to check each individual root for rot and damage.
Answering the question of how to store calla tubers in winter, competent gardeners focus on the integrity of the planting material. If black spots appear, they should certainly be scraped off with a regular teaspoon or a special tool.
After that, the tuber is left for 3-3.5 hours so that the damaged areas dry out a little.
After each "scratch" must be treated with crushed activated carbon or brilliant green for disinfection. The same is done when it is required to break the mother's root in order to separate the "children".At the end of the procedure, the tubers are placed in napkins made of natural materials and stored in this form, packaged in cardboard boxes. From time to time, it is necessary to examine the planting material for integrity and monitor whether any rot or infection has started on it. However, with the correct handling, such "complications" should not arise.
The box is placed in a sufficiently cool and dry place. The container should have a tight lid. When deciding how to store calla lilies at home, do not forget the time when to take them out. This is usually done in the spring. This method of keeping tubers allows the plant to be viable and healthy for a long time, until the time comes for planting in the ground.
Callas: care during the season
Further care consists in watering, loosening, weeding and regular feeding.
Watering calla lilies in summer
Calla should be watered sparingly, avoiding waterlogging. But you can't leave it in hot weather without watering: when the soil dries out, the calla stops blooming, turns yellow, sheds its leaves and goes into a state of dormancy.
Feeding calla lilies
If you fill the calla lily planting hole well with humus or compost, you can restrict yourself to mineral fertilizing in the summer. Calla reacts to an excess of nitrogen with a powerful growth of the bush to the detriment of flowering, so fertilization must be balanced. You can use special instant or liquid fertilizers to feed flowering plants. They usually include an approximately equal ratio of nitrogen, phosphorus and potassium (see packaging for information).
On soil not filled with humus, you can feed the calla with infusion of mullein (1:10) or chicken droppings (1:20).
What to do with peduncles?
If you are not going to collect seeds, then at the end of flowering (when the colored blanket turns green), remove the peduncles so that the plant does not waste energy on seed formation and blooms for a longer time.

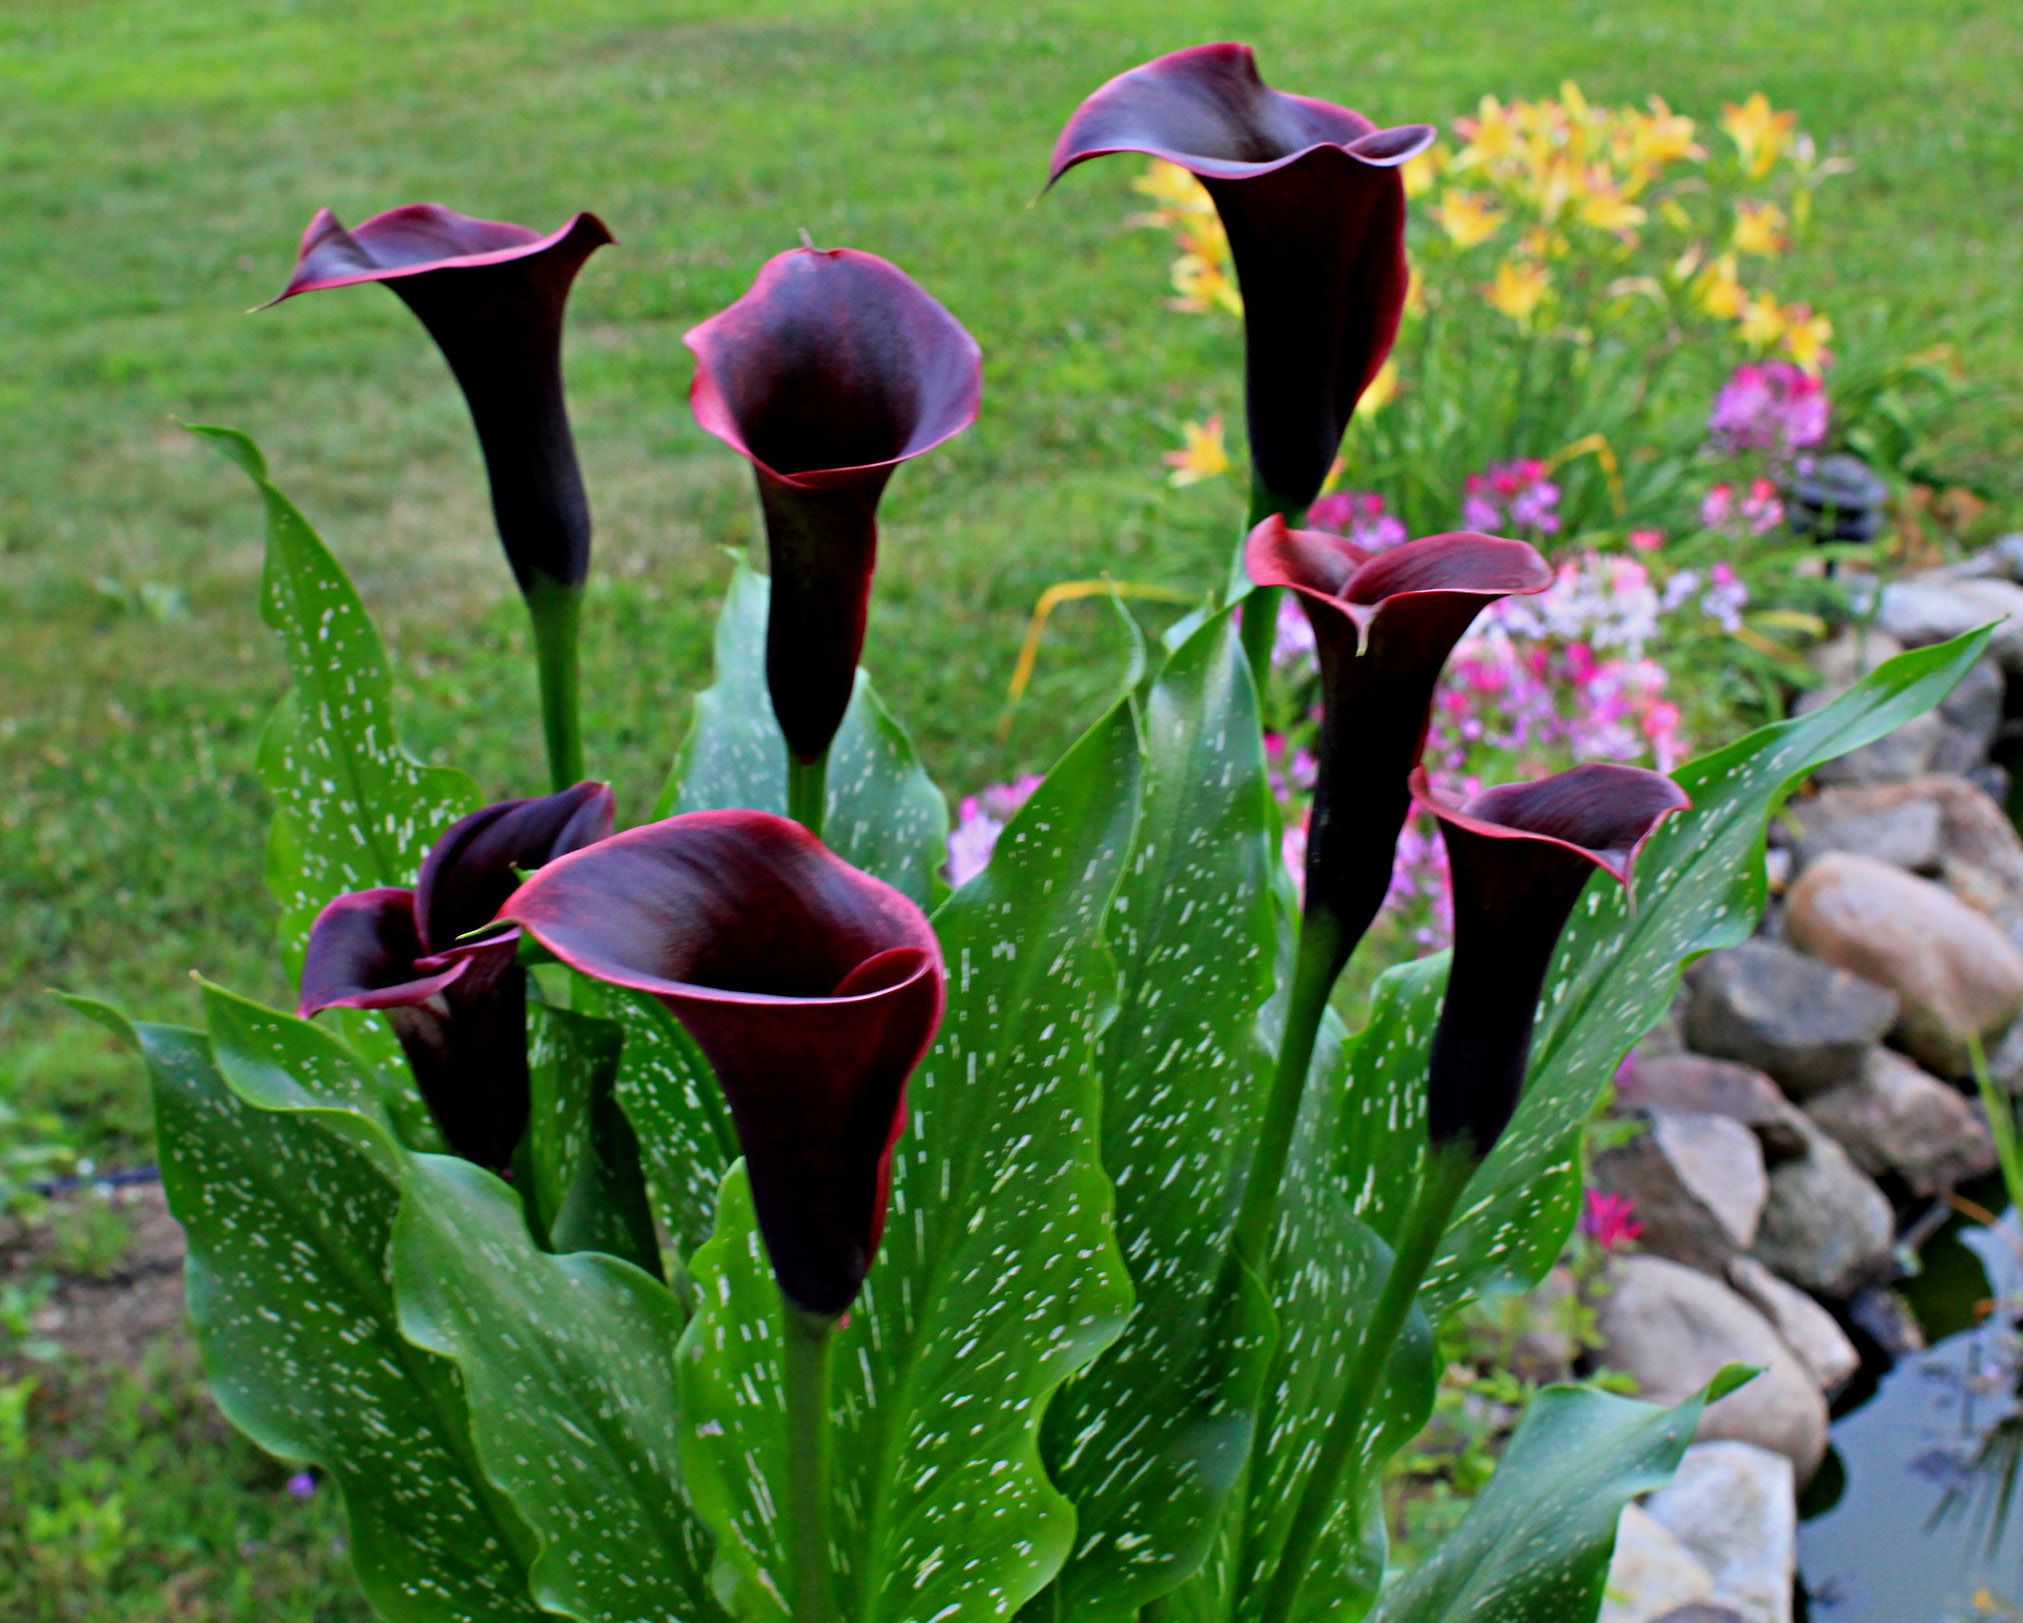
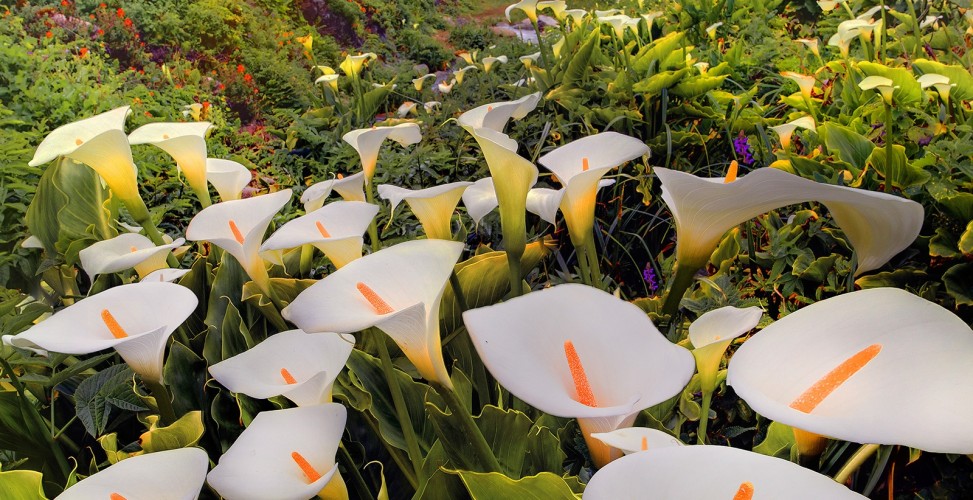
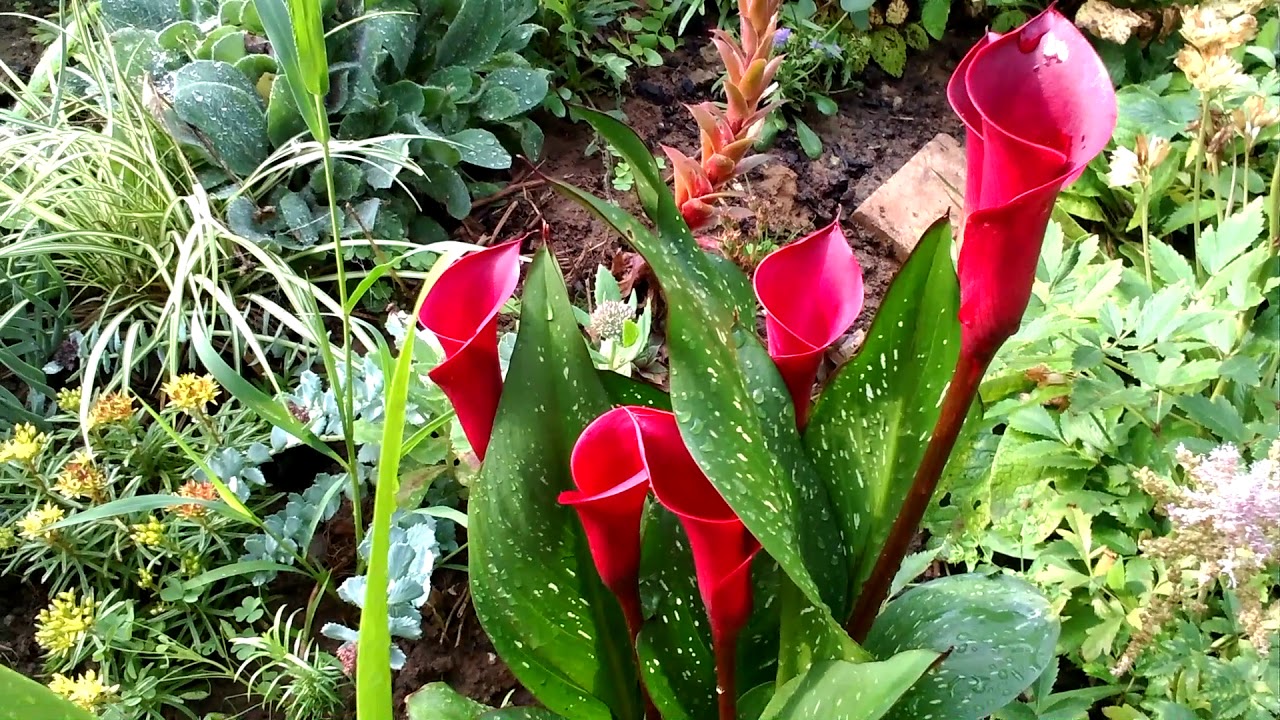
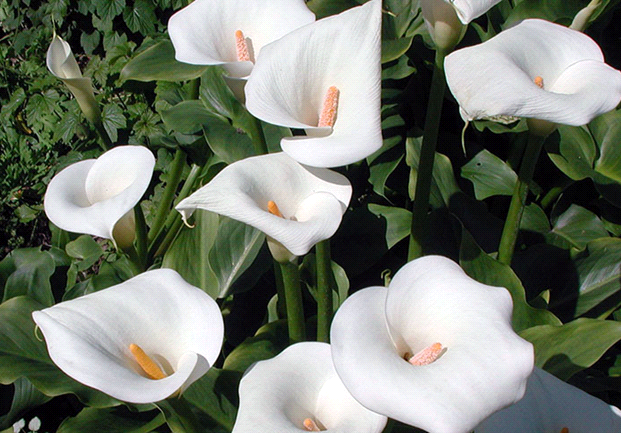
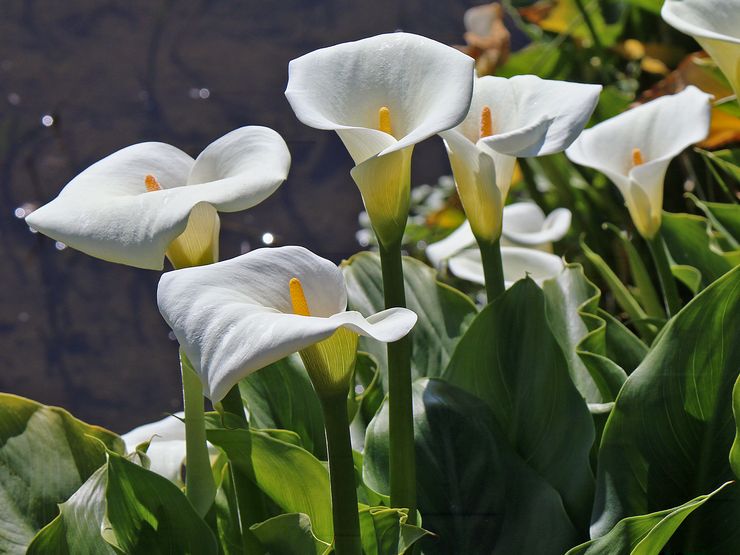
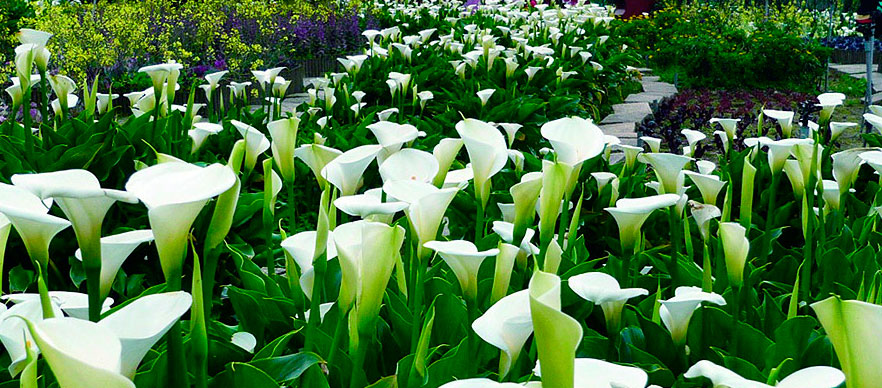
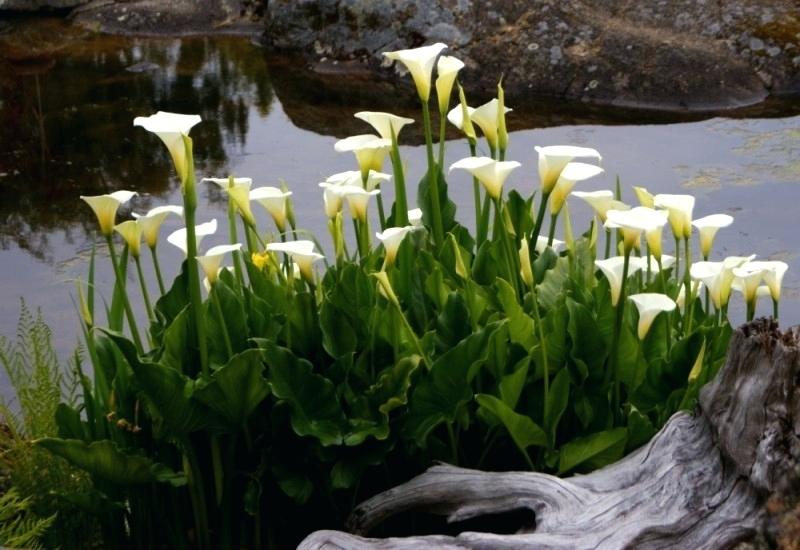
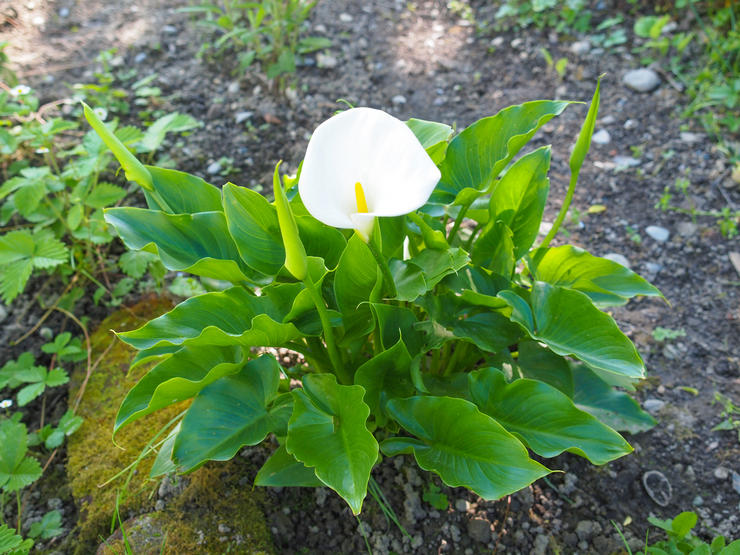
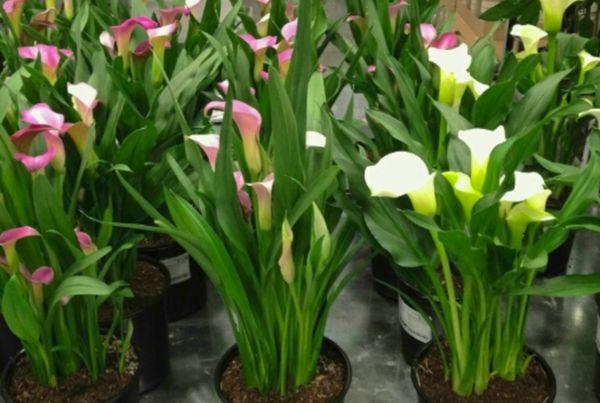
in the photo: flowering calla lilies in the garden

