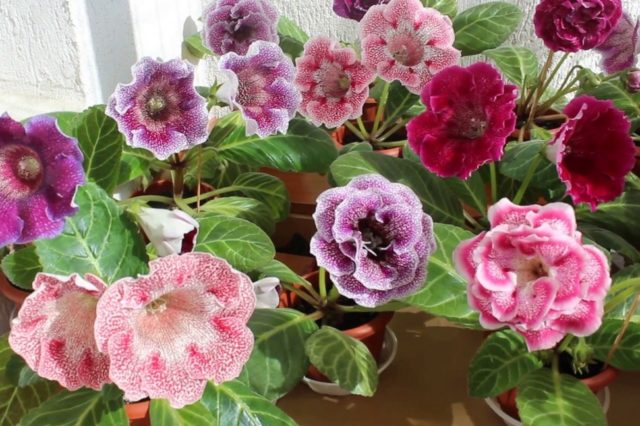
Gloxinia care at home
How to care for gloxinia at home
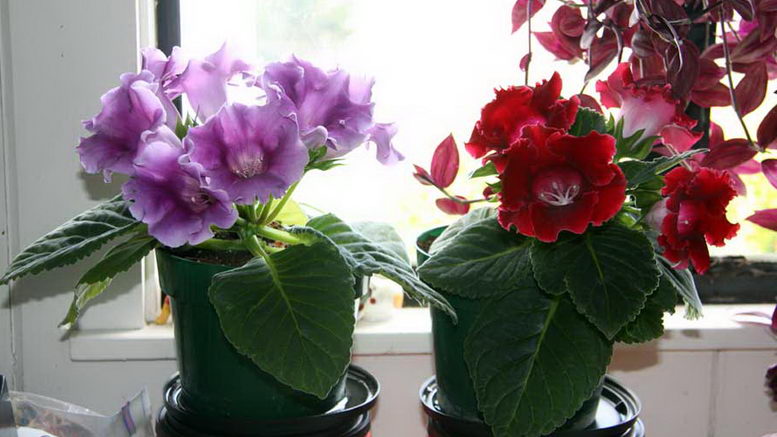
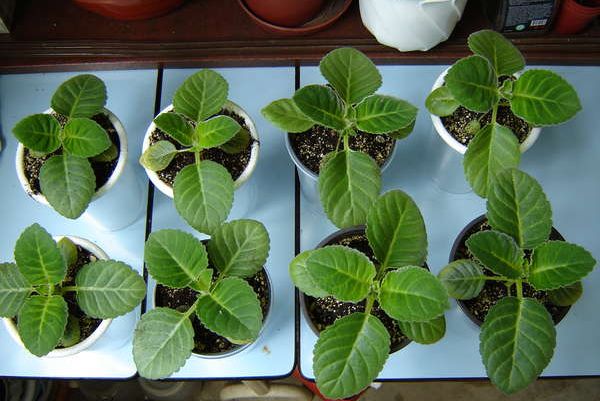
If you decide to grow gloxinia, provide it with a spacious place on which bright diffused light will fall: it needs twelve to fourteen hours of daylight hours, so during long nights, be prepared to arrange additional lighting for the plant. There is an easy way to find out if a flower has enough light: if the dark green leaves are horizontal and the stem is short, you do not need to worry, but if the leaves and stem stretch up, then the plant lacks light.
However, remember: caring for gloxinia involves, first of all, protection from direct sunlight, which is detrimental to the plant.
And one more important point: no drafts! If you decide to keep the flower on the windowsill, you will have to forget about frequent airing. And the humidity of the air, which gloxinia needs, will have to be increased artificially, placing containers with water around the flower, since the plant does not like moisture on the leaves and flowers, which cannot be avoided when spraying.
As for the temperature, during the growing season, gloxinia will be satisfied with the usual room temperature for this time of year, but during the rest period it needs coolness - about 10 ºC. Watch the plant, and it will tell you itself what changes in care it needs: from overheating, the leaves of gloxinia stretch up, if the leaves are lowered below the edge of the pot, then the flower freezes.
Watering gloxinia
Water gloxinia during the growing season in a pan or overhead watering, trying not to wet either the leaves or flowers. Between waterings, the top layer of the substrate should dry out. At the end of August, the intervals between waterings are increased so that the plant gradually enters a dormant period until the end of October. Both waterlogging and insufficient watering should be avoided. Pour gloxinia with settled or filtered water a degree or two warmer than room temperature.
Gloxinia fertilization
Gloxinia is fed during the period of active growth once a decade with a complete complex fertilizer for decorative flowering plants. In mid-August, feeding is stopped. If you neglect the application of fertilizers, problems can arise with both growth and flowering: growth slows down, the buds become smaller, the color of the flowers fades, which causes the decorativeness of the plant to suffer, the flowering period becomes much shorter.
Sometimes the plant suffers from a lack of boron. This becomes noticeable in summer at maximum daylight hours: deep notches appear along the edge of the leaf plate. In this case, you need to carry out foliar feeding of gloxinia with a 2% borax solution. And let me remind you that an excess of fertilizer is much more dangerous for a plant than a lack of it, so try to be moderate in this matter.
Planting gloxinia
Gloxinia is transplanted into a new pot at the end of the rest period every year. The potting mix is the same as for begonias and violets. It can be purchased in a store, or you can make it yourself from two parts of a sheet, one parts of humus earth and one part sand.
So, in February, the gloxinia tubers are taken out of the pot along with a lump of earth and transferred into a new pot, slightly larger than the previous one, in which a layer of drainage is preliminarily laid, and a layer of soil on top of it. Then the substrate is gradually added and tamped. As a result, the tuber should be buried only halfway into the substrate. The primary planting of gloxinia is carried out according to the same principle.
Gloxinia has faded - what to do?
When gloxinia has bloomed (usually in May-June), cut off the stem and almost all the leaves, leaving only 2-4 lower leaves on the plant, in the axils of which stepchildren will soon appear, of which you will leave a couple of the strongest, and remove the rest ... At this time, it is advisable to feed the flower with fertilizers for growth, and a month later, when the buds appear, you need to introduce fertilizers for flowering.
The second bloom will likely not be as lush as the first, but that's okay. Sometimes gloxinia blooms all summer, and the question of re-flowering disappears. When the gloxinia has completely bloomed, you need to gradually reduce watering and stop feeding, wait until the leaves turn yellow and dry, then cut off the tops, leaving a stump of 1-2 cm above the tuber.
Reproduction of gloxinia with a leaf at home
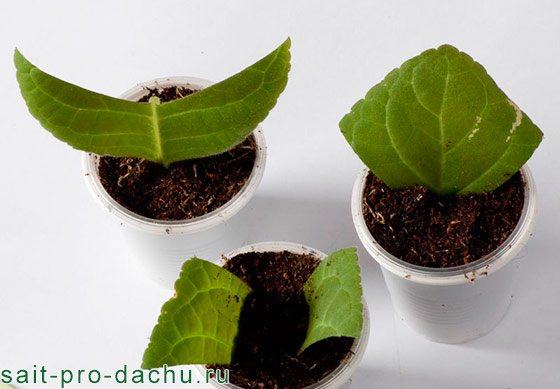
The right time for harvesting leaf cuttings is the bud formation stage. In order to propagate a flower with a leaf at home, you should take healthy-looking, green and large leaves with a cutting length of about 3 cm.To correctly perform the procedures, you can focus on a step-by-step recipe with a photo:
- Cut off the leaf with a very sharp and clean tool (due to a poor blade, the injured parts of the gloxinia can rot).
- You can treat the cut site with a rooting stimulant.
-
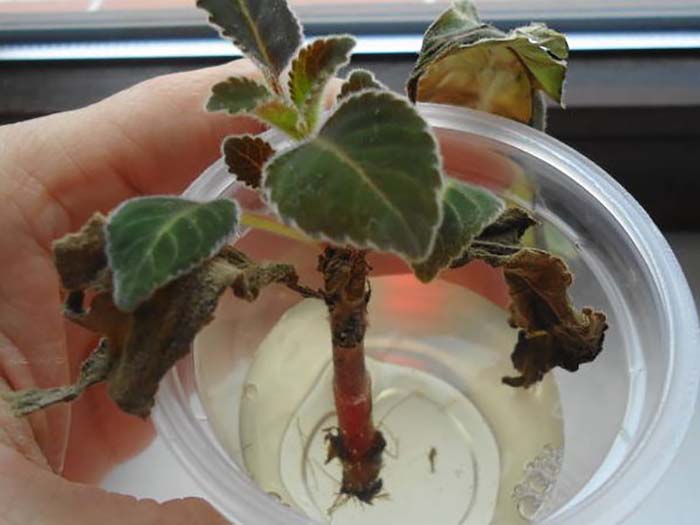
Then put in a glass of warm water (level - up to 1 cm).
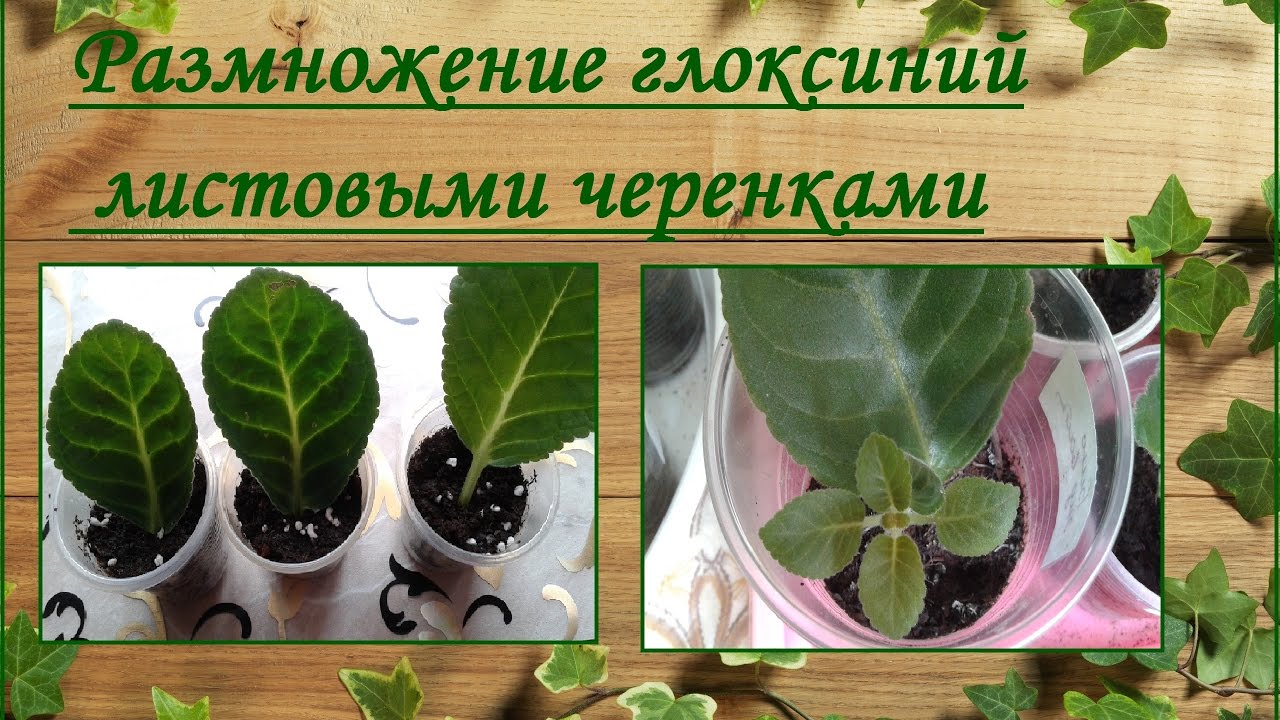
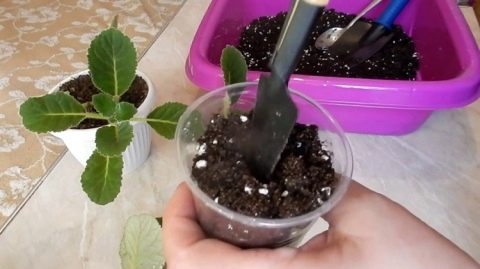
- With the appearance of roots (after about 3 weeks), it is necessary to plant the leaf at an angle (45 °) in a peat tablet or a small bowl with soil (a special store-bought substrate or a mixture of high-moor peat, vermiculite and sphagnum moss -3: 1: 2) to a depth of 1, 5-2 cm.
-
Drizzle, cover with transparent cellophane and place in the most illuminated place, but not in direct sunlight.
-
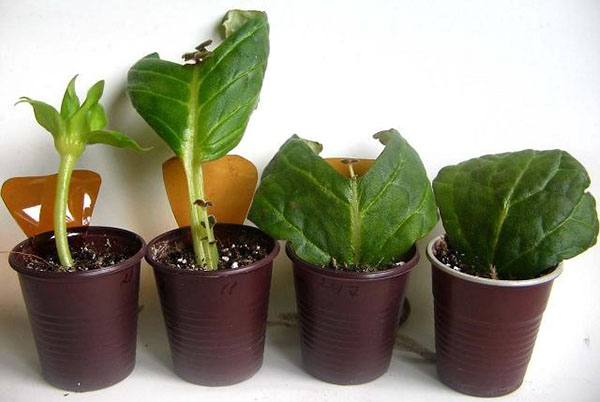
When sprouts appear, remove the shelter, separate and place the children in personal pots with drainage (small fractions of foam or expanded clay). Whether they have formed tubers or not, a transplant is required in any case. Over time, they will acquire their own tubers.
Another method:
Plant the cut sheet directly in a container with a moistened substrate;
Create a greenhouse from cellophane and place it in the most lighted and warm place;
It is important not to allow waterlogging;
The leaf will take root, after the appearance of the children, transplant.
Leaf babies
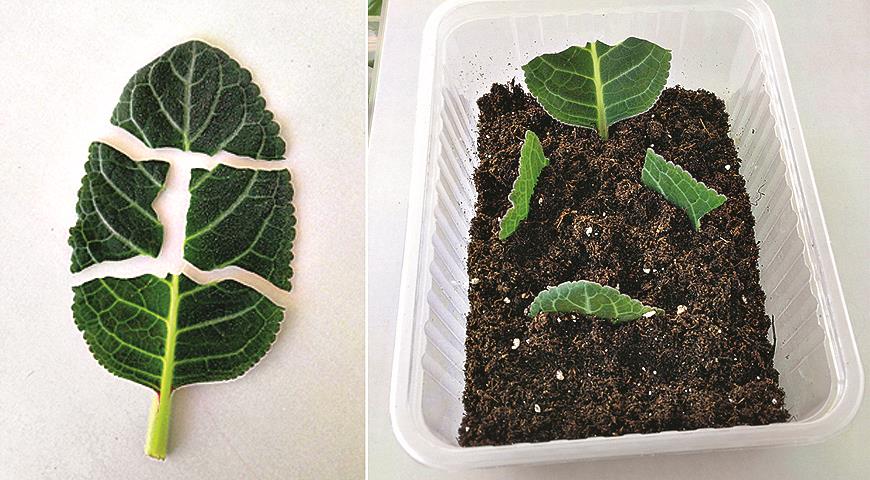
You can get offspring from the big mother sheetby dividing it into parts:
- The segments should be placed with their underside in different containers on a moistened ground and pressed down.
- Then cover with transparent material and send to a bright and warm place.
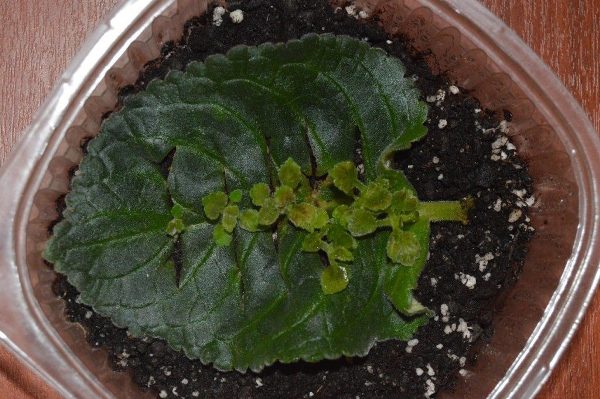
- In a couple of months, babies will appear on the widest vein.
- The shelter should be removed, the plant should be watered, and the obsolete “parent” should be removed after a while.
Splitting the mother sheet
It will also be interesting: Anthurium - reproduction and transplantation of a flower at home, male happiness?
Possible difficulties and problems
Unfortunately, it is not always possible to immediately "make friends" with a capricious southern beauty. Sometimes there are some difficulties, and at different stages of cultivation. It is necessary to prepare for possible problems and know how to solve them.
Table 2. Possible problems and solutions.
| Problem | Possible reason | Solutions |
| The tuber does not wake up after "hibernation" | Improper storage, as a result of which the tuber dies. | Remove the tuber from the soil or bag and inspect. If it wrinkles or turns dark brown, then it is better to throw it away. Live pinkish rhizome. |
| Pulling shoots | Too high temperature and lack of light. | Spray the air next to the pot more often, place the container on a pallet with moistened expanded clay. Place the flower in a lighter spot. |
| Slow growth | Cool indoor climate or poor soil quality. | Transplant the bush into new soil and raise the temperature in the room. |
| Flowers do not bloom | Lack of nutrients or drafts in the room. | Feed the plant regularly, and move the pot away from drafts. |
| Lack of flowers | Excess nitrogen compounds in the soil, lack of light. | Avoid feeding that contains nitrogen. If this does not help, then move the pot to a bright place. |
| Foliage dries and withers | Infrequent watering or rotting of the tuber. | Increase the amount of watering. If this is not the reason, then examine the tuber, remove the affected areas. |
Diseases and pests
The diseases most characteristic of gloxinia are caused by various fungi. These are gray rot, powdery mildew, late blight, which appear most often as a result of a violation of agricultural technology.
| Gray rot | Brownish spots on the leaves. Appears due to excessive watering or the use of cold water. | We treat the leaves with a fungicide (Fundazol, Copper oxychloride) from a spray bottle, then lightly blot with a napkin for better drying. |
| Powdery mildew | Whitish bloom on the leaves. The fungus parasitizes a weakened plant. The abundance of nitrogen in the leaves provokes its development. | Treat with fungicide. Use balanced fertilizers with a predominance of calcium and phosphorus, do not exceed the dosage. |
| Late blight | Translucent spots appear in the center of the leaves. The disease sometimes manifests itself in the hot season, when a large amount of ammonia accumulates in the leaves. | Treat with fungicide, move the plant to a cooler place. Pretreatment with Epin will help gloxinia survive the heat. |
| Blackleg | It appears on seedlings in the first months of life, until they have developed immunity. | Infection occurs only through an infectious droplet - add sand to the soil to avoid stagnation of moisture on the surface of the soil. |
The main pest of gloxinia is the cyclamen mite. When it appears, young leaves are deformed, do not grow to the desired size. The plant is treated with acaricides (Neoron, Kleschevit, Fitoverm) at least three times. Sometimes gloxinia is affected by thrips - they are interested in pollen. It is not difficult to spot these pests - they are small black bugs with a forked tail. To get rid of, use systemic insecticides (Fufanon, Aktara); all peduncles must be removed.
The consequences of improper care
If the grower notices yellowing and falling leaves, then watering is too frequent or there is a lack of nitrogen. Curling leaves indicate excessive dryness or high temperatures. High humidity is indicated by the simultaneous rolling of the leaves, shortened pedicels and deformed flowers hidden under the leaves. Flowering may be absent due to excess nitrogen or lack of light.
Why gloxinia may not wake up, and what to do to correct the situation
With a long hibernation, the plant is placed in a bag to arrange greenhouse conditions for it. For a more detailed study of this issue, we suggest watching an informative detailed video:
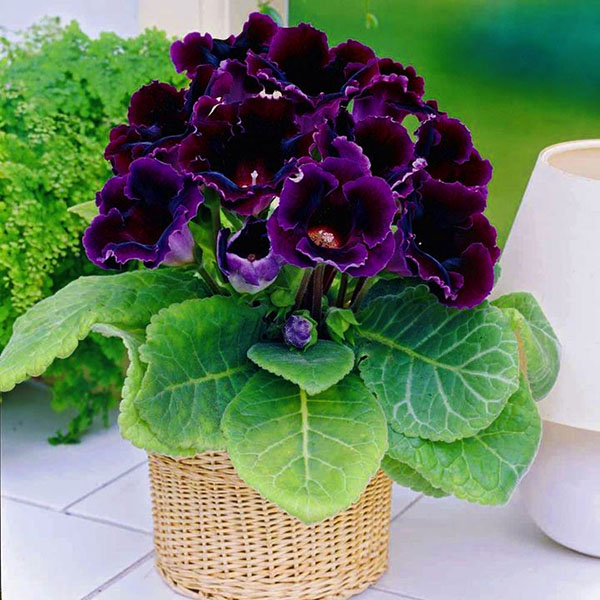
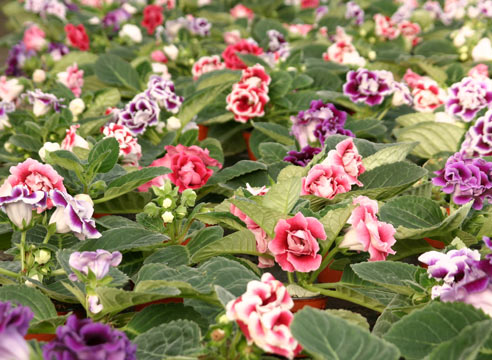
Gloxinia is a non-capricious plant, and you will very quickly learn how to take proper care of it at home. Let your flowers be as beautiful as in the photo in the article.
What is it?
The botanical name for Gloxinia is Sinningia, and growers call it Gloxinia. The reason for the appearance of an unusual botanical name is the perpetuation in textbooks on botany of the labor of V. Sinning (director of the garden at the University of Bonn), who was seriously engaged in breeding work with her participation.
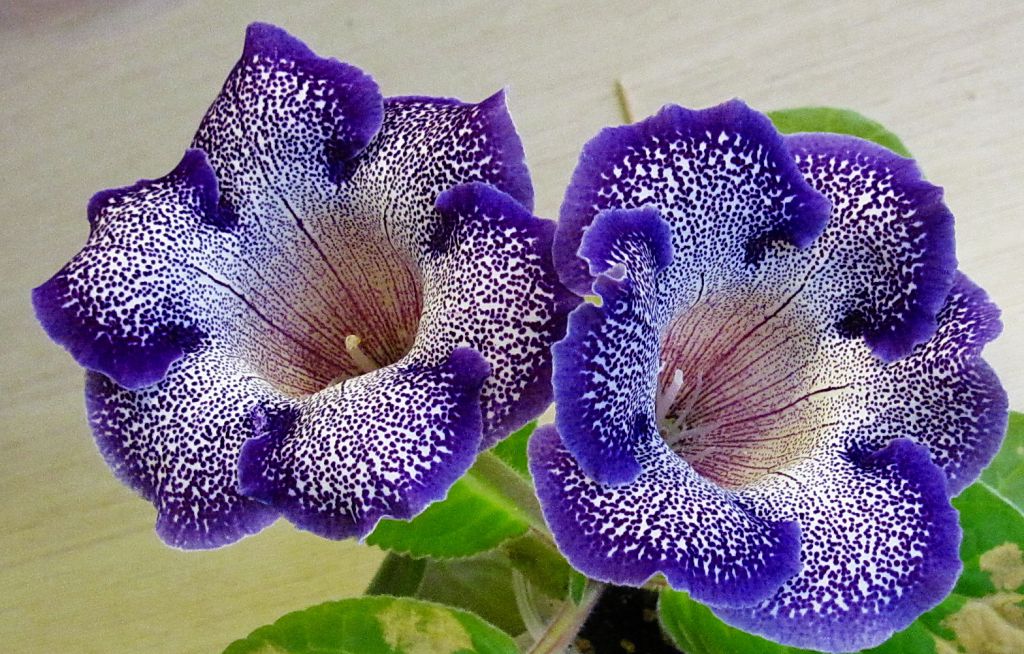
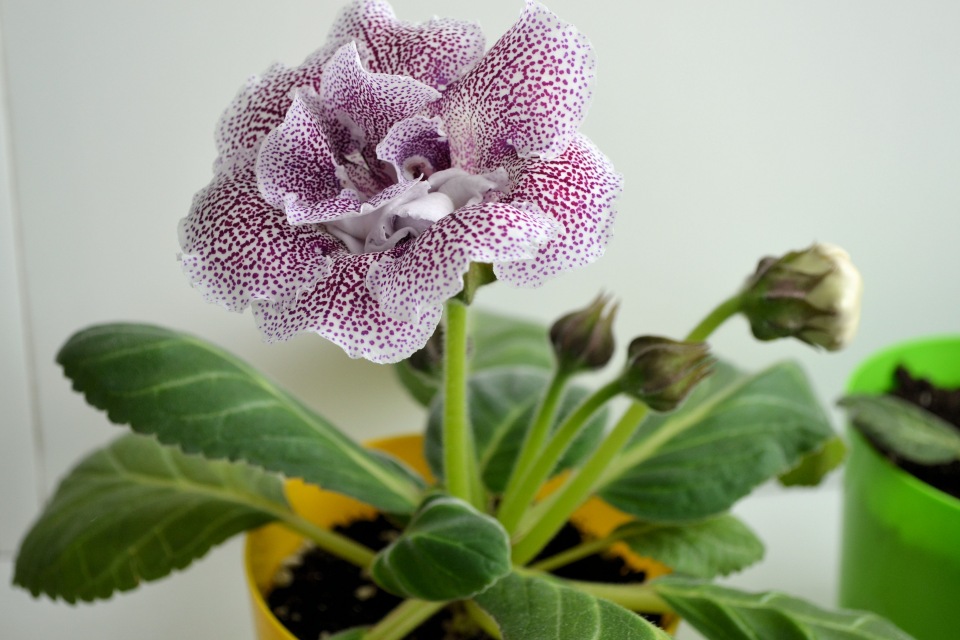
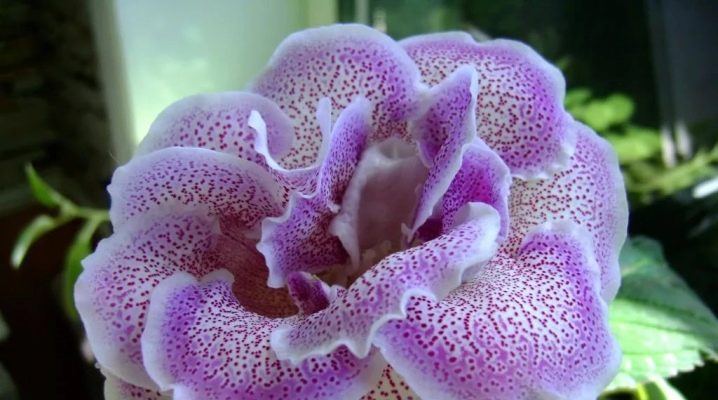
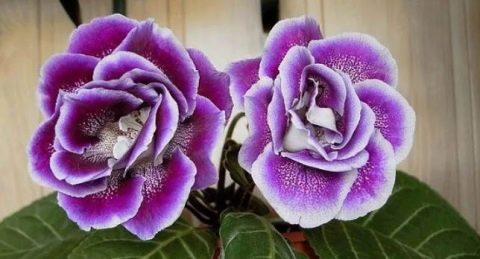
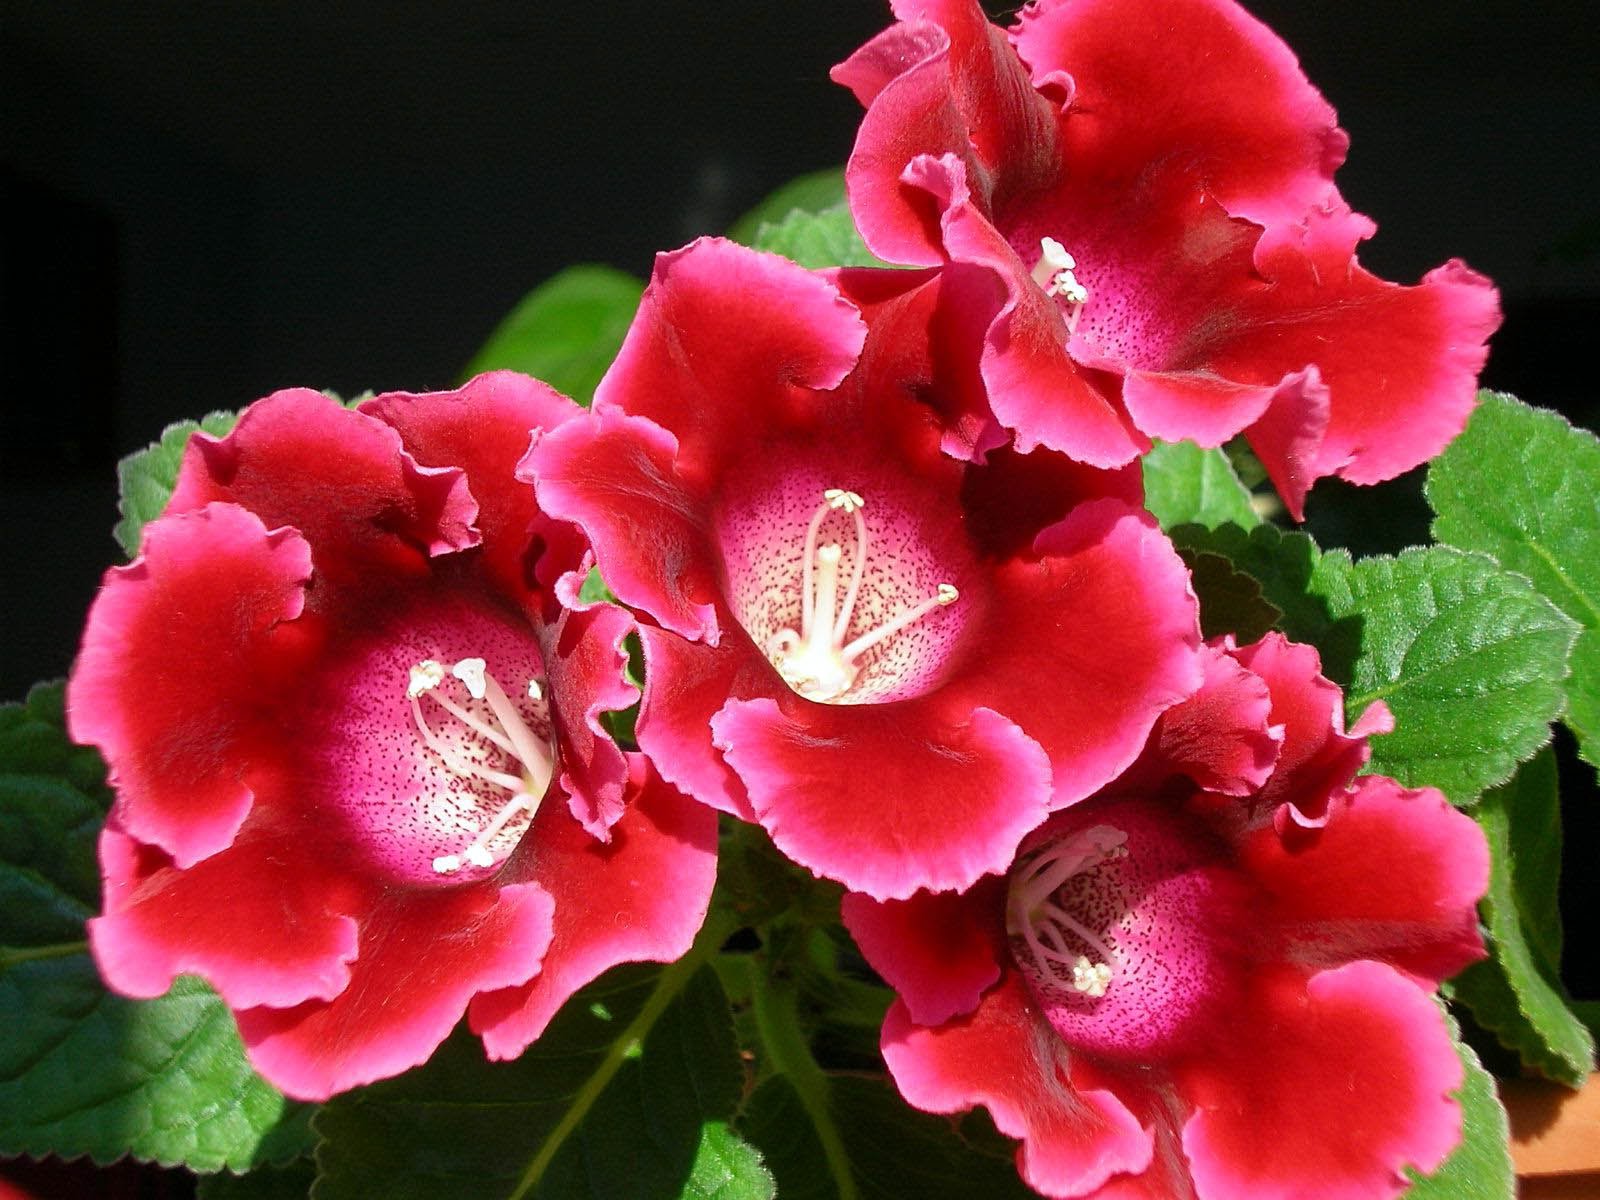
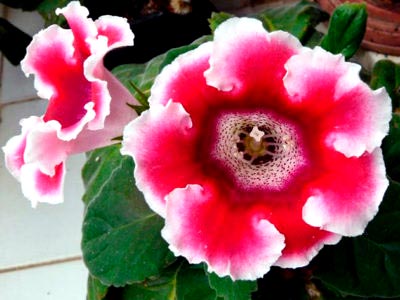
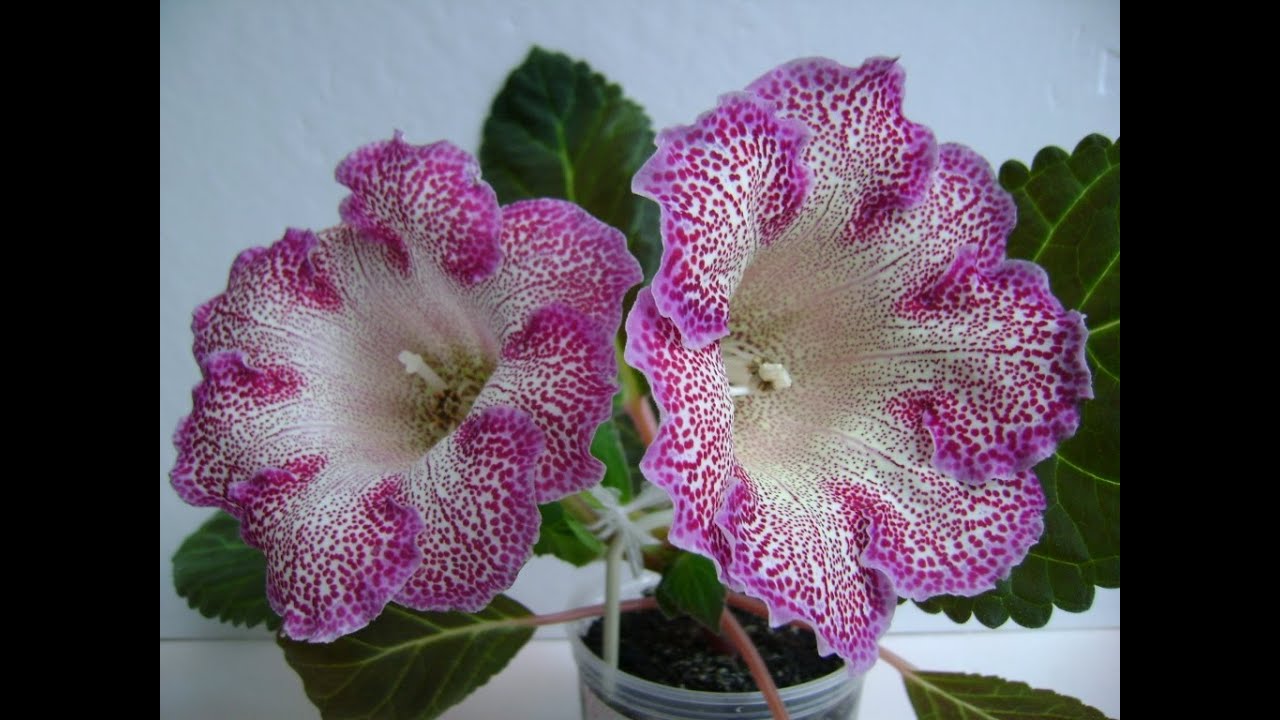
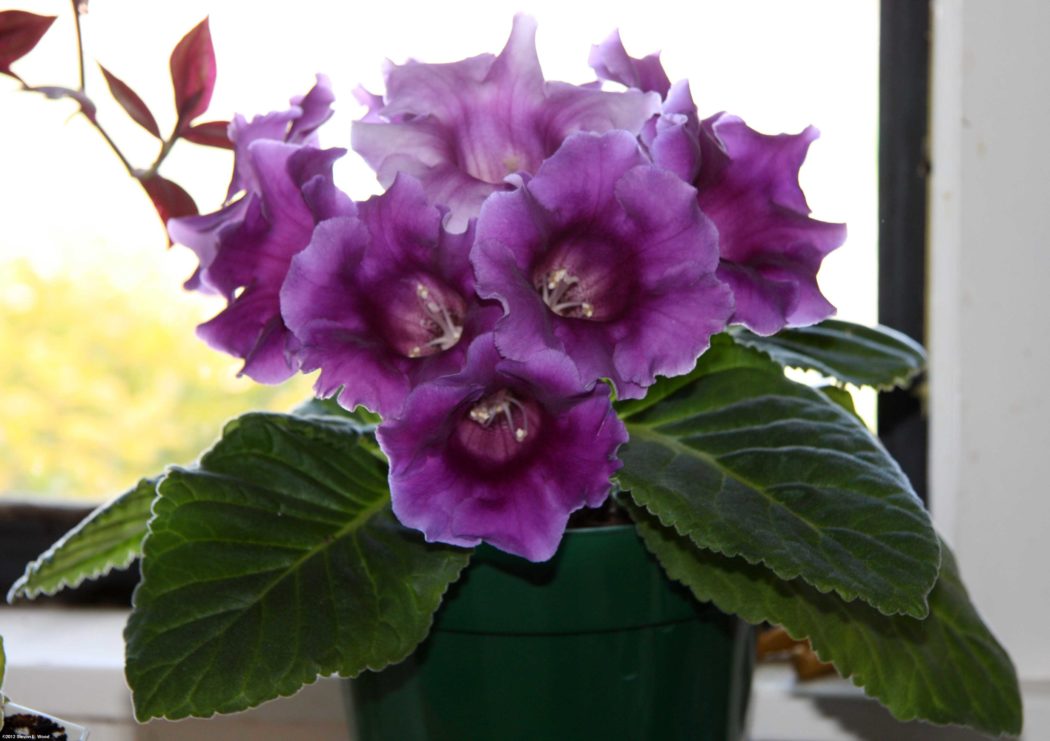
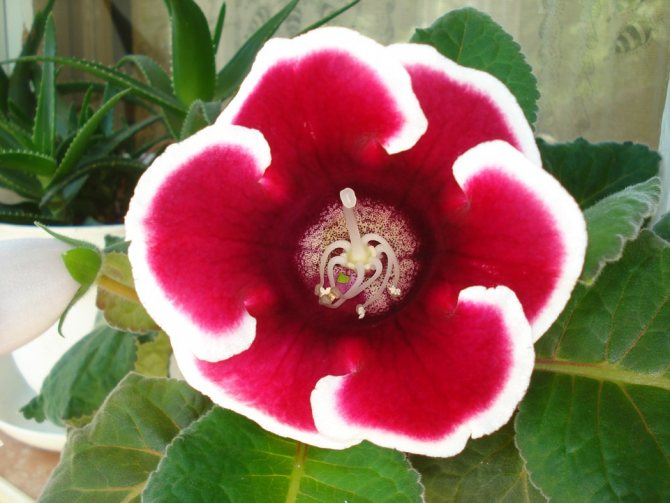
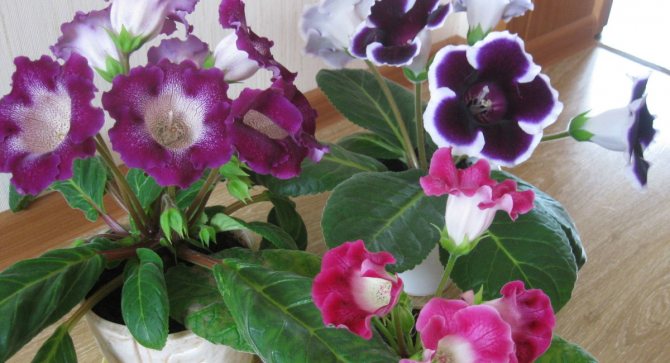
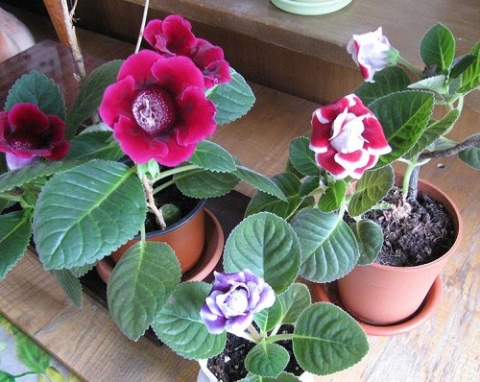
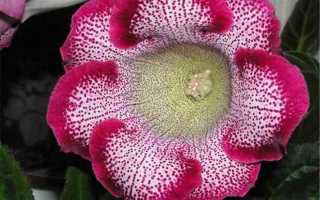
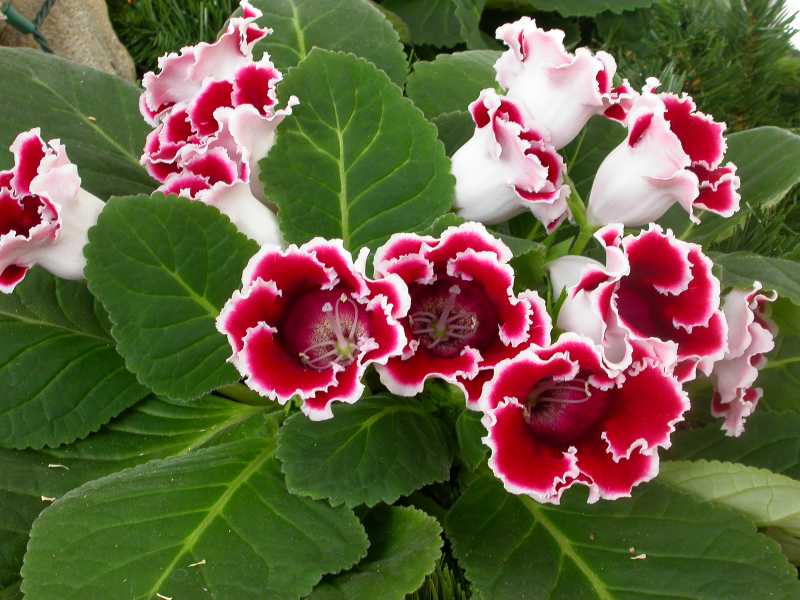
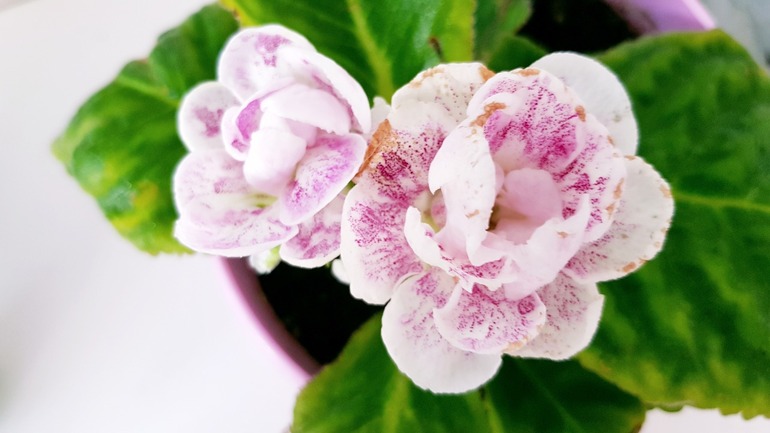
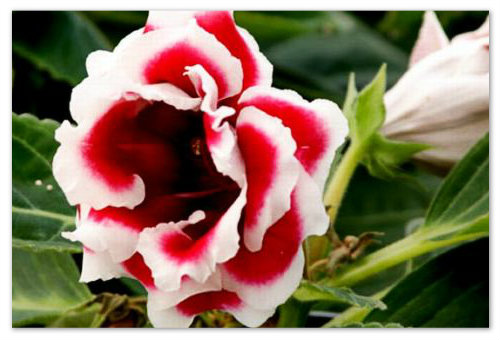
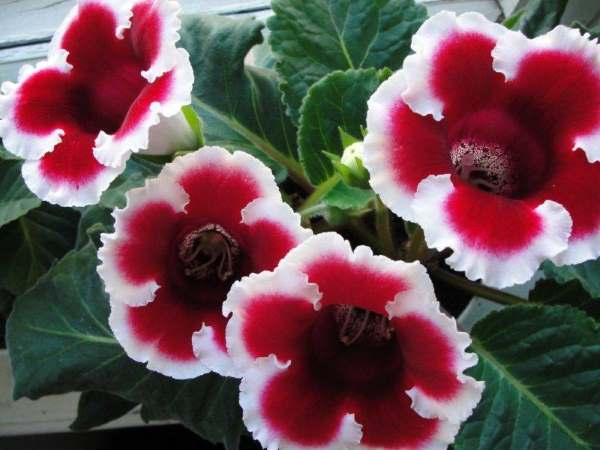
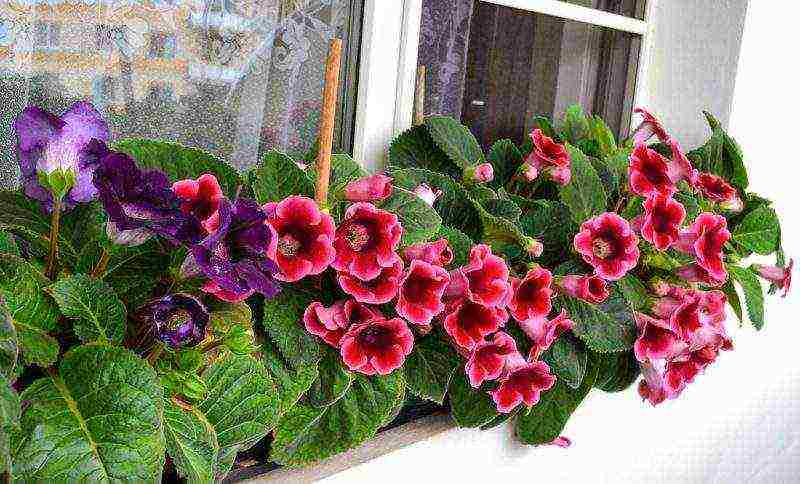
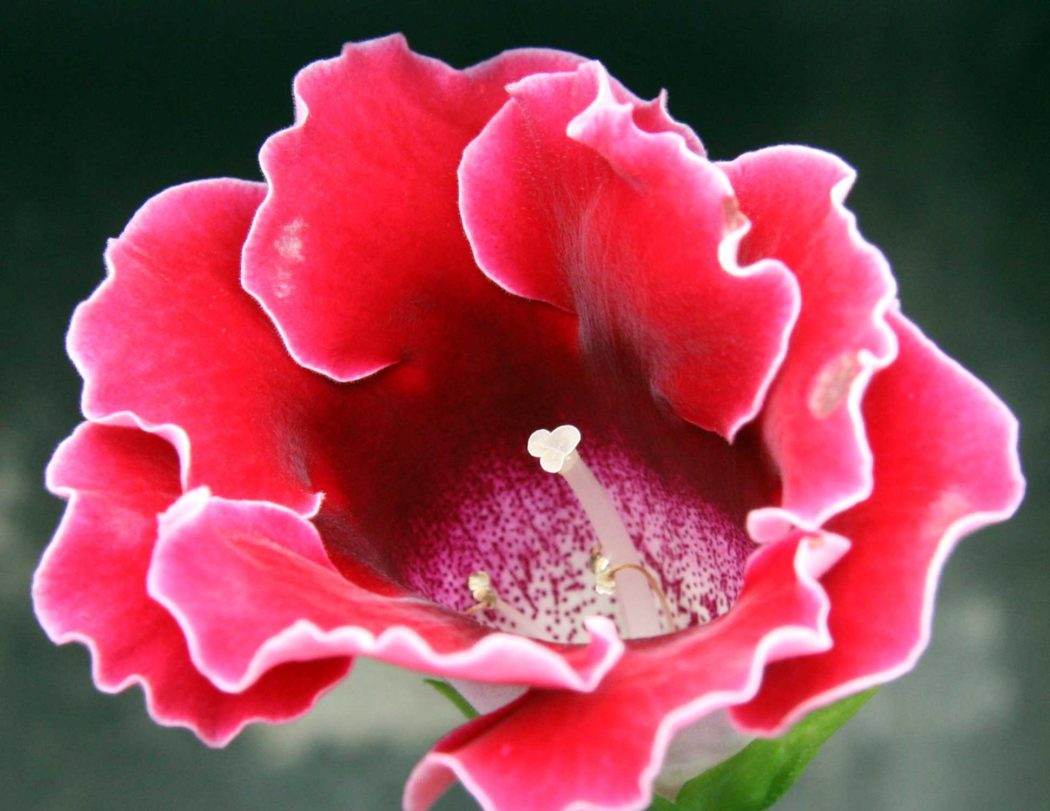
Gloxinia has flowers that look like bells. Depending on the type, they are terry or simple. The color scheme of the buds varies. In some representatives, the edges on the flowers are ruffled, while in others they are contrasting.
The differences between the types of gloxinia are not only based on the features listed above. All flowers are of different diameters and shapes.The same can be said for flower stalks and foliage.
More on the topic "Growing gloxinia from seeds and cuttings":
Gloxinia in a tuber
Gloxinia in a tuber. Transplantation and breeding of plants .. Gloxinia from seeds. Is it too late to plant them? Today I bought 2 sympapushnyh hybrids, and now I think: have you got excited ???
Gloxinha from seeds.
Gloxinha from seeds .. Transplantation and cultivation of plants .. Floriculture. Houseplant care: planting, watering, feeding, flowers, cacti. Good people help with advice! I really like gloxinhas - I bought seeds in winter and 10 days ago in damp ground, in ...
Girls who tried growing gloxin
Girls who have tried growing gloxinia from seeds? Mine froze on the insulated balcony (even before the frost started, she managed to leave for When she wants to rest, she herself will tell you: the leaves and the stalk will turn yellow and dry, only after that they need to be cut off.
Save help, on gloxinia aphids and more
Gloxinia woke up. Plant transplantation and breeding .. Floriculture. Growing gloxinia. Pests. Most often, gloxinia are affected by thrips and red spiderweb ...
Who grew gloxinia from seeds?
Plant transplantation and breeding .. Floriculture. I grew from seeds of different companies. Which ones I don’t remember exactly, but I bought at the All-Russian Exhibition Center in “NK” and “Russian seeds”. Which of them sprout better, I don’t remember exactly, but somehow there were no special problems.
Gloxinia leaf
Gloxinia leaf. Plant transplantation and breeding .. Floriculture. Houseplant care: planting, watering, feeding, flowers, cacti. Section: Plant transplantation and breeding. (Yesterday I accidentally bought a leaf of Gloxinia. Terry. What to do with it?)
Gloxinia, tubers.
Growing gloxinia. Gloxinia, tubers. I planted gloxinia both in the ground for violets and in the common flower - normally, people who were still in the know advised the universal German.
Gloxinia from seed
Gloxinia from seeds. Flower care .. Floriculture. Houseplant care: planting, watering, feeding, flowers, cacti.
gloxinia
gloxinia. Exchange of seedlings, cuttings. Floriculture. Caring for indoor plants Girls, can someone share a leaf? So I want to grow, especially those ...
Streptocarpus and gloxinia.
Streptocarpus and gloxinia .. Transplantation and breeding of plants .. Floriculture. Houseplant care: planting, watering, feeding, Gloxinia flowers. I planted gloxinia from a tuber. For some reason, it grew very quickly, the leaves are large, lush bush, but not high ...
Gloxinia! I want to say a huge one again
Houseplant care: planting, watering, feeding, flowers, cacti. Section: Flower care. (Gloxinia! I want to once again say something great to those who advised me in the spring about ...
How to care for gloxinia?
How to care for gloxinia? Flower care .. Floriculture. Please tell me how to care for gloxinia so that there are no long stems.
Gloxinia bush shape
Gloxinia bush shape. Flower care .. Floriculture. Houseplant care: planting, watering, feeding, flowers, cacti.
Gloxinia
Growing gloxinia. Gloxinia is a plant of long daylight hours; for normal growth and development, it needs 12-14 hours of illumination of at least 5000LK.
Gloxinia
Gloxinia. Transplantation and breeding of plants .. Gloxinia from seeds. Is it too late to plant them? Today I bought 2 sympapushnyh hybrids, and now I think: have you got excited ??? Gloxinia. I planted gloxinia from a tuber. For some reason, it grew very quickly, the leaves ...
Gloxinia
Gloxinia. Plant transplantation and breeding .. Floriculture. Growing gloxinia. Can you cultivate a positive outlook on the world? Here are the extra ones and cut through Gloxinia. Section: Plant transplantation and breeding. (is it possible for gloxinia to cut off excess leaves).
Gloxinia woke up
Gloxinia woke up. Plant transplantation and breeding ..Girls who have tried growing gloxinia from seeds? Growing gloxinia. Pests. Most often, gloxinia are affected by thrips and red spider mites.
Gloxinia tubers
Gloxinia is a beautiful, unpretentious, easily propagated and apartment-friendly flower. Gloxinia reproduce by dividing the tuber, stem and leaf cuttings, as well as ...
Gloxinia
Gloxinia. Flower care .. Floriculture. Girls who have tried growing gloxinia from seeds? Mine froze on the insulated balcony (Cultivation of gloxinia. Pests. Most often, gloxinia are affected by thrips and red spider mites.
Gloxinia
Gloxinia. And no one tried to grow gloxinia from a tuber? The tuber is plump, pretty, it seems not rotten. They bought in the "world of hobbies". The instruction paper only says what to plant with a deepening upward into the peat soil and does not say to what depth.
Common mistakes
Sometimes an inexperienced grower fails to achieve the desired result. And the point here may be to ignore any point of the step-by-step instructions, as well as injuring the plant. Let's take a look at the most common mistakes.
- If the stalk rots or disappears, it may be due to excessive pressure on it. When planting in the ground, you need to make a hole not with the handle itself, but, for example, with a pencil or a wooden stick. The soil for rooting needs to be poured, but not tamped.
- Barely appeared seedlings die, not withstanding direct sunlight. It is necessary to move the container away from the sun and shade it.
- The sprouts stretch upward, becoming weak and lethargic when they lack the sun. In this case, it is necessary, on the contrary, to move the flower closer to the sun, but so that direct sunlight does not fall on it. We need diffused light. If necessary, gloxinia provide artificial illumination.
- A cut of a leaf or a cutting rots when the conditions of hygiene are violated: disinfection of the instrument cannot be ignored during cutting, leaves or cuttings must not be broken off.
- Withering and drying out may be associated with inappropriate temperature conditions in the room.
- Do not take diseased leaves, cuttings and tubers. It is not always possible to propagate gloxinia when they take old planting material.
- Seedlings, leaves, cuttings and tubers rot at high soil moisture. Dosed watering is needed.
- The stalk, like the leaves, can rot in soil or water without processing the cut. A chlorine solution is suitable, which must be diluted in warm water. After processing, the leaves or the stalk are washed under running water, dried and planted in the ground.
- It is not worth propagating and planting planting material in autumn and winter: leaves, cuttings, cut tubers and peduncles take root better in spring and summer.
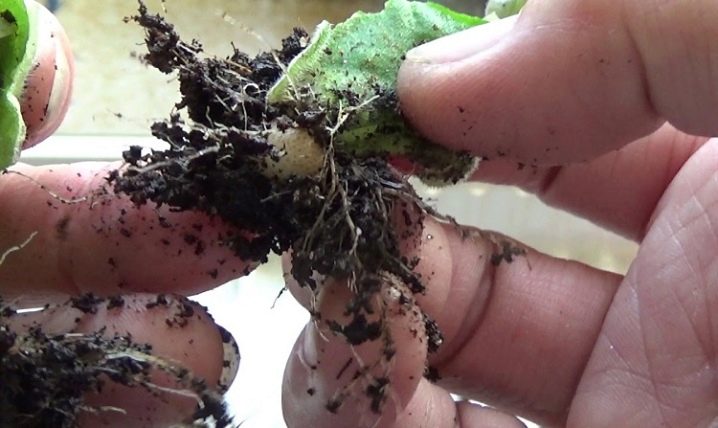
You can learn how to transplant gloxinia from the video below.
Rooting by a leaf blade or part of a leaf
Reproduction of gloxinia with a leaf is one of the easiest and most affordable ways.
Take young leaves only during the budding of the plant. The length of the leaf petiole is three to four centimeters. If the leaf is wilted, dip it into the water - it will gain elasticity.
1 way
-
Just put the stalk with a leaf in water (it is better to take boiled water).
Roots have appeared, which means it's time to finish the water procedures.
- After the roots have formed, plant the leaf in a peat tablet or glass with soil.
- Put a plastic bag on top.
For the first time, "isolate" the stalk from the outside world.
After the appearance of new leaves, remove the package, remove the old sheet.
In the same way, you can root cut tops of plants in spring, especially if there are many of them. Such plants will bloom earlier than from rooted leaves.
2 way
- Leafy cuttings root well directly in the ground (or peat tablet).
- Prepare the cuttings as in the first method.
-
Prepare the soil.It should be loose, moisture permeable. You can take a purchased one by adding perlite (vermiculite) to it. Alternatively, fill peat tablets with water until they swell completely.
Do not compact the soil around the plant; it must breathe.
- It is advisable to treat the cut of the cutting with any rooting stimulator (this will accelerate the appearance of roots).
- Make a depression in the middle of the soil or tablet, cover it with sand. In the sand, plant the cutting obliquely to a depth of 1.5 cm.
- Cover the container with the planted leaf with a bag or glass jar on top.
-
Place the nursery in a warm place so the roots form faster.
The appearance of young leaves is the birth of a new life.
- The bag or jar must be removed after the appearance of young leaves and the formation of nodules on the handle.
The most widely used and easiest to execute is the method of propagation by leaf cuttings, taken necessarily from an adult flowering plant. This common method includes the following steps:
- rooting in water (can be skipped);
- landing in the ground.
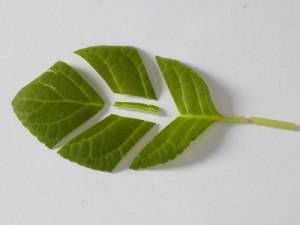
To root the cuttings in water, certain actions must be done in the correct sequence. First, using a clean blade, cut the leaf petiole so that it is about 2 cm long.
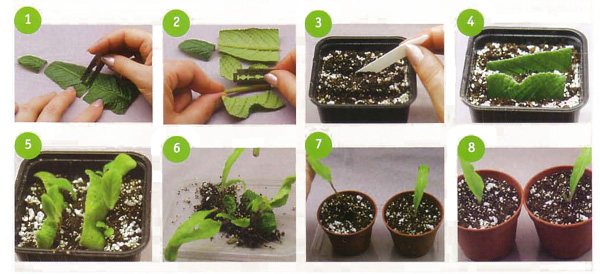
If the leaf is very large, you can get two cuttings from it for rooting. To do this, you need to cut off its upper part along the lines of the veins, and then cut off the sectors from it along the lines of the lower veins, leaving a small central petiole in the middle.
Then we fill the plastic cups with boiled water at room temperature to the level of 1 cm. We put the leaves in cups, placing the cuttings in the water and very carefully supporting each sheet with a piece of styrofoam so that the leaf remains in the correct position.
It is important not to damage the delicate leaves!
Then we cover the glass with a sheet with a transparent bag, creating a kind of greenhouse. We leave the leaf in this position for 14 - 20 days, until the stalk grows roots 1 cm long.
If the top of the gloxinia is at the disposal of the grower, it must be rooted in the same way as in the method using leaf cuttings.
Apical cuttings in gloxinia are cut in the same way as in tuberous begonias - above a couple of leaves growing at the base of the tuber. Maternal gloxinia with the remaining leaves is able to grow new ones - young ones, and not die. The cut off top is planted in a loose soil mixture or placed in water.
Rooted with apical cuttings, gloxinia bloom much earlier than those that are rooted with leaf cuttings. If the tuber is well developed, it can give not one, but two shoots at once. In this case, with complete confidence in the safety of your actions, cut off one of the shoots at the very base of the tuber, and root it boldly. Gloxinia rooted in this way begins to bloom in the first year, up to 7 flowers can appear on the plant.
This method is acceptable when you did not get a completely whole leaf for reproduction, if the leaf blade was damaged during the transportation, or the leaf stalk broke. Don't get discouraged prematurely! The leaf blade can be divided into parts. It is better to do this in length: the cut is made along the central vein of the leaf, right along it.
The place of the cut is stuck into the soil mixture and watered. After 3 - 4 weeks, rooting occurs, young small leaf shoots begin to appear from under the parental plates. If you root gloxinia in spring or early summer, before autumn, a hazelnut-sized nodule has time to develop in the root system, which will easily overwinter. If rooting is carried out in the fall, the size of the tuber will be the size of a pea, the gloxinia will have to winter with leaves.
Problems arising from the reproduction of gloxinia
But even the not too whimsical gloxinia sometimes fails to propagate: the uterine leaves wither, the peduncles and tubers rot - the cuttings. There's always a reason for that.
The reason for the unsuccessful attempt to reproduce gloxinia lies in non-observance of simple rules.
- The peduncle or leaf was not cut off with a sterile instrument, but simply torn off from the plant. In no case should you do this! You need to wipe the blade with an alcohol solution.
- Direct sunlight. They are detrimental to gloxinia, cause burns on the leaves. From 11 am to 4 pm every day, the plant must be shaded with a transparent fabric (curtain).
- Heavy soil. The substrate for the flower should be loose, light, water and air permeable (ready-made soil for violets is ideal). You need to change the ground.
- There is no drainage. This moment cannot be omitted. It is drainage that helps remove excess moisture, thereby preventing root decay. It is necessary to transplant the plant into a substrate with vermiculite.
- Excessive moisture. It is imperative to adjust the irrigation mode, according to the recommendations, to prevent stagnation of water in the bowl.
- Lack of light. Move the plant to the brightest place, provide additional illumination with lamps in winter.
- Temperature too high or too low. Optimal: 23–25 ° C. Provide the recommended air temperature.
- Non-disinfected soil brought from the street (greenhouse), which can be infested or inhabited by pests. You should only use a special primer purchased from a store. The brought land should be treated with insecticides and fungicides according to the instructions.
- The tuber is not properly divided or infected. With this method of reproduction, you must strictly follow the recommendations.
How to save young plants and tubers
- The mother leaf, its fragment or peduncle rotted or died. Unfortunately, he can no longer be saved. You should determine the reason listed above and take new material for the propagation of the flower.
- Young shoots wither. Examine them. If the nodules are healthy, there are roots, then transplant them into another container, after disinfecting the soil with a solution of potassium permanganate. If decay of the underground part of the plant occurs, cut off the rotten area with a sharp blade (when the affected area is small), dust with activated charcoal and plant in a new substrate. With extensive decay of the stem and roots, it is more expedient to dispose of the young shoot.
- Seeds do not germinate. You always need to control the expiration date of the seed, and when planting, you must not cover the seeds with earth!
- Tubers and cuttings rot. You should get the tuber out of the ground, inspect it. Cut off rotten areas with a disinfected sharp blade; it is best to treat the wounds with garden pitch. If mold is observed on the tuber, rinse in running water and place in a solution of any fungicide for two hours (dilute according to the instructions). Then take it out, dry it for an hour, plant it in fresh soil mixture.
Gloxinia is one of those rare species of flowering plants that have minimal maintenance requirements and make it easy to get new beautiful offspring, only following simple rules and recommendations.
Propagation by leaf cuttings
Gloxinia leafy cuttings can be rooted at any time from spring to autumn, both before, during and after flowering. It will not be superfluous to warn that young leaves that have grown in the spring take root easier and faster than old ones cut from the plant at the end of summer. Although they both release the root system, both in soil mixture and in water. The cut leaves are simply dipped in a glass of water.
To prevent the leaf blade from getting wet, it is recommended to make a simple device with your own hands: cut out a small hole from cardboard or in a nylon lid through which the handle is passed. The lid or cardboard is placed in a glass of water, the water level in which should reach the edge of the handle. When evaporating, add water.
During the rooting period of the cuttings (the duration of which can reach 1 month), an activated carbon tablet is placed in the water to prevent decay processes. Note that the length of the handle does not play a special role.
First, roots form at the base of the leaf cutting, then a small nodule begins to tie. Sometimes, in order to get the largest number of tubers, the edge of the leaf cutting is divided in half lengthwise.
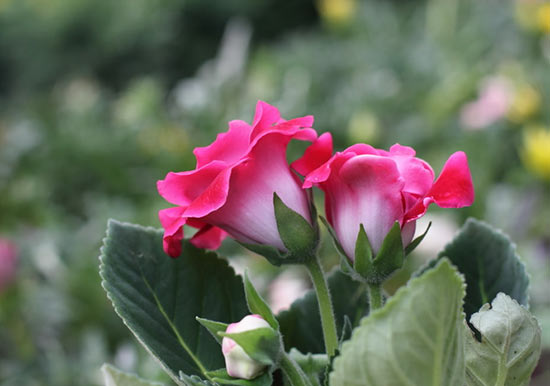 Gloxinia flowers
2 way
- Take the largest leaf.
- Use a sharp blade to cut the veins on it.
-
Place it on the prepared soil with its bottom side, press down.
Choose the healthiest and largest leaf to reproduce.
- Cover the top with a jar.
- The rest is the same as in the second method.
- With this method, young rosettes are obtained smaller than with cuttings of leaves.
Gloxinia can be propagated even with a piece of leaf:
- Cut a healthy green leaf into 2 equal parts in the form of a tick (if necessary, the number of parts can be increased).
- We shorten the petiole, leaving 2 centimeters.
- Further, using the same algorithm, we plant leaf fragments in the ground, arrange a greenhouse.
Peculiarities
Gloxinia is a perennial that needs rest after abundant flowering. Therefore, she can even get rid of the leaves. However, depending on the conditions created for it, the plant is able to delight the gardener with long flowering more than once a year. The flower is very photophilous, it likes diffused light, so the best place for it would be the window sill facing the east or west side.
In the spring, she feels great on the south side of the house, building up the green mass and getting ready to lay the buds. Cutting off leaves for propagation or disturbing the tubers when the plant is blooming is highly undesirable. In addition to stopping flowering, it can cause flower disease.
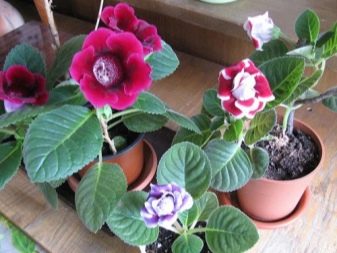
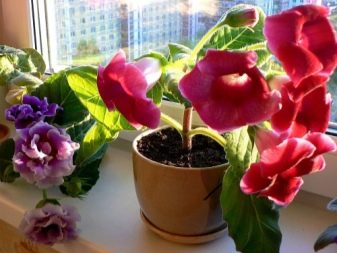
As for breeding methods, it is recommended to take the best planting material for each of them. The diseased parts of the flower are not suitable for this. You can not choose for planting and parts affected by pests - this will not give any result. In addition, the plant feels comfortable only under the right conditions, therefore, for reproduction, depending on its type, you need to prepare a special substrate and container.
Speaking about the type of soil, it is worth noting: peat tablets can be used instead of the substrate.
Otherwise, it is more important that the soil is loose, capable of passing moisture in sufficient volume. You can plant gloxinia by adding perlite to the substrate
It is better to fill the tablets with boiled water, waiting for them to swell.
Depending on the choice of planting material, it can be treated with special preparations (growth stimulants) for the fastest rooting. You need to wait for the sprouts in a warm, but not hot place for the plant.
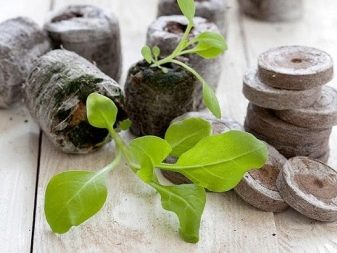
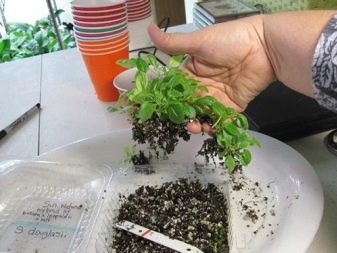
What is this flower?
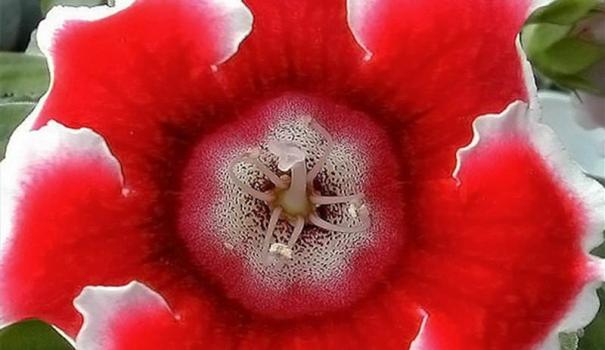
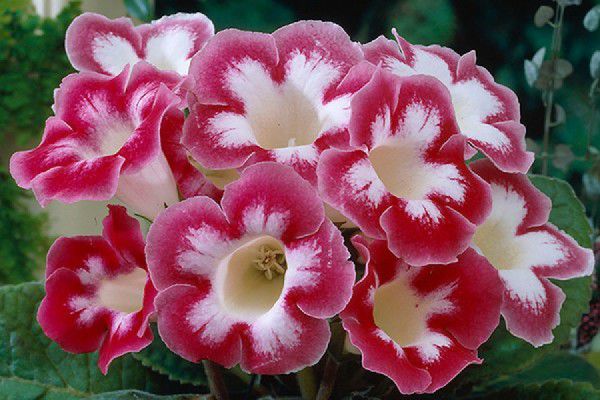
Reference! Flowers come with luxurious ruffles, combining several tones in one flower, flowing into one another or monochromatic, with smooth edges of the petals. The most popular colors are red, white and yellow.
The second name of the plant is Sinningia, it belongs to the Gesneriaceae. Sinningia is a perennial with a tuberous root and plump dense leaves. It can bloom with regular and double flowers. They flaunt over the rosette, in the form of velvet bells.
Gloxinia was originally an inhabitant of the deciduous tropical forests of Central America, and more precisely, it is most likely to be found in Brazil. She hides in the lower tiers of the forest, in the shady part.
The climate there is very humid, combined with periods of drought and heat, when the ground part of the plants dries up, ceasing to function, and the center of life shifts, dying in the root system, which "falls asleep" in anticipation of beneficial moisture for several months.So gloxinia learned to preserve its life, adjusting to the climatic rhythms of the region.
Care of young plants
During the growth period, a young flower needs careful care, since it has not yet gained strength and can be exposed to diseases or pests. This often happens if the conditions for the growth of gloxinia at home are violated.
It is necessary to organize the plant in a warm, bright place without drafts. Examine leaves on both sides once a week to spot spider mites or cyclamen in time. The second type is very small insects that settle on the back of the leaves, feeding on their sap.
With improper over-watering, gloxinia will most likely get sick with a fungus or be affected by rot. To save the plant, it is removed from the soil, the roots are washed with a fungicide solution, the damaged rotten areas are removed and transplanted into new soil. The old one is no longer suitable for planting, as it is infected with fungal spores.
Gloxinia is transplanted into a new container with a nutrient mixture when the root system fills the entire volume of the pot, and the roots begin to grow into the drainage holes.

