Flower diseases, treatment instructions
The effectiveness of treatment depends on how quickly and accurately the disease is diagnosed. If the conditions of detention are violated, it is necessary to take measures to return the azalea to a comfortable living environment.
Important! The defeat of a bacterial, fungal or viral infection requires treatment with appropriate compounds, which are selected taking into account the existing symptoms.
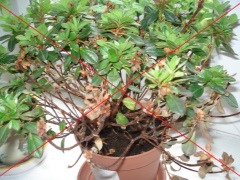
Desiccation
The reason is the lack of moisture, light and fertilizers. Treatment involves removing dried parts of the azalea and creating the necessary conditions (what if the indoor azalea is dry?).
Yellowing
The most common cause is exposure to direct sunlight and placing the plant in a room with too dry air. To normalize the condition of the bush, it is enough to eliminate the negative factor.
If clay is detected in the soil, transplantation is necessary.
Read about the main reasons why the leaves, buds, stems of rhododendron turn yellow and how to save the plant, read here.
Blackening
The reason may be the reaction of the azalea to watering with very cold water or the defeat of Fusarium. With small areas of damage, the plant is treated with Fundazol, if more than 70% of the azalea has turned black, it cannot be saved.
Crumbling
Loss of leaves can be associated with a lack of useful trace elements or regular waterlogging of the soil (about what a grower needs to do if azaleas fall off, and also partially or completely blacken the leaves, described here).
- Azalea is removed from the pot to assess the condition of the root system, when areas affected by rot are identified, they are removed.
- After returning to the dried soil, the plant is created with the necessary microclimate using plastic wrap and a growth stimulator (Elinom).
Read about why azalea sheds leaves, flowers and buds, what to do to save the plant, read here.
The consequences of improper care
Leaf necrosis with their darkening and gradual death of the axis occurs as a result of exposure to low temperatures. The creation of azaleas in a more comfortable environment helps to correct the situation.
A deficiency of useful trace elements and excessive moisture provoke chlorosis, which contributes to the drying of the leaves. Treatment requires the application of fertilizers based on magnesium and iron.
Fungal
Plants weakened by improper care often become victims of fungal infections. Treatment involves the processing of appropriate compositions not only of the azalea, but also of the windowsill where it is located.
- The appearance of dark red spots on the leaves signals the defeat of Alternaria, which requires the immediate application of Bordeaux liquid.
- If the azalea has become a victim of gray rot due to stagnant air in the room, areas with gray spots are treated with soapy water.
- With late blight or root rot, the conditions of the plant are normalized, and the damaged areas are treated with Fitoverm.
- Brown or red bumps on the leaves occur when anthracnose develops. The fungal infection prefers tropical climates and is susceptible to copper-based drugs.
- The appearance of spots, which on the inside have a brown tint, and on the outside of the leaf - gray, indicates a lesion with cercospora. You can cope with the fungus thanks to the treatments with Ditan M-45 and Fundazol.
- Treatment with a solution of soda is necessary for plants, the lower leaves of which were under a white powdery bloom. Azaleas become victims of powdery mildew, subject to frequent changes in temperature.
- Young plants and specimens, weakened by the attack of aphids, can die due to rapidly growing colonies of sooty fungus.A sign of the disease is a black and gray bloom on the leaves. Treatment requires the use of fungicides and rinsing with soapy water.
How to reproduce correctly: step by step
Each method of breeding azaleas has its own characteristics, advantages and disadvantages that you need to be aware of.
Dividing the bush
The simplest, but at the same time the most effective way of plant propagation is the highest degree of establishment of new plants.
The method is applicable only for adults when the age of the bush is more than 3 years. The root system of the plant must be healthy and developed.
The process of reproduction of azaleas by dividing the bush is as follows:
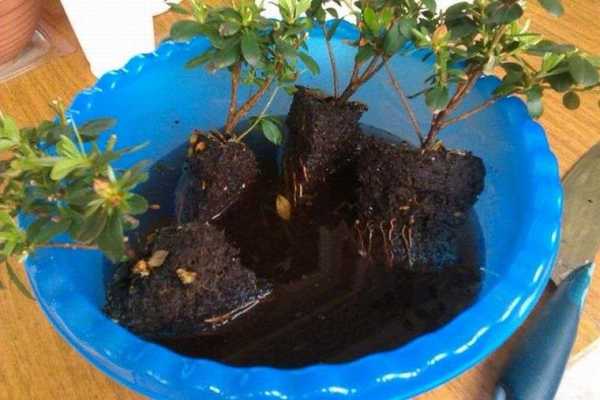
- The pot is immersed in a container of water for 10-20 minutes so that the soil absorbs as much moisture as possible.
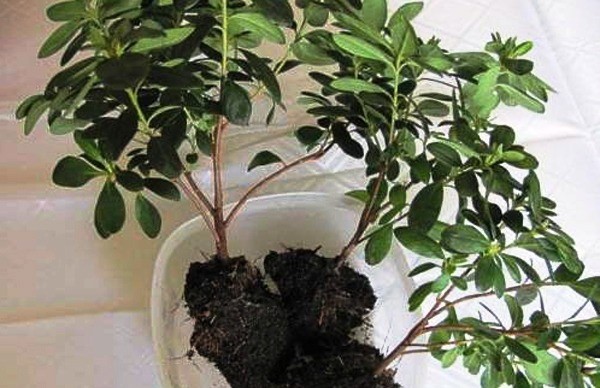
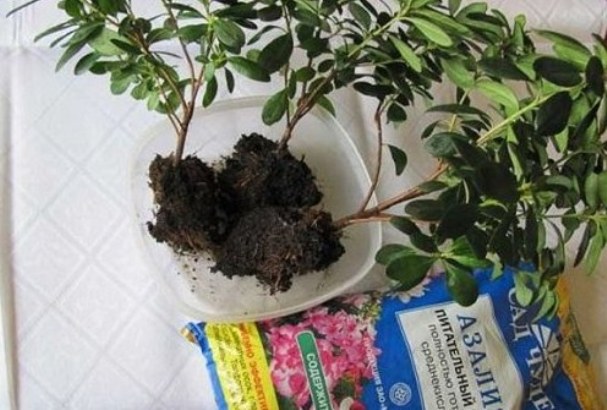
- The azalea is taken out of the pot along with a lump of earth, carefully cut into pieces with a sharp knife, trying not to damage the roots.
- Each part is planted in separate pots, filled with soil suitable for azaleas, and well moistened.
- For the purpose of survival and adaptation, the separated bushes are placed in a dark place for a week.
Azalea prefers acidic soils.
Graft
The grafting method is used when other methods cannot be applied, which is typical for varieties that grow slowly and root poorly.
Vaccination involves the transfer of an azalea cut to a plant 4-5 years old. The bush to which the cutting is grafted is called the stock; the stalk itself is a scion.
Vaccination includes the following steps:
- The choice of a scion with a high rooting ability - the cutting should not be older than 5 years and have a length of about 15 cm.
- The choice of the rootstock on which the grafting will be carried out is an adult plant with a high rooting ability, from which a stalk about 15 cm long is also taken.
- The scion is separated from the mother bush by an oblique cut.
- Make a similar cut on the rootstock.
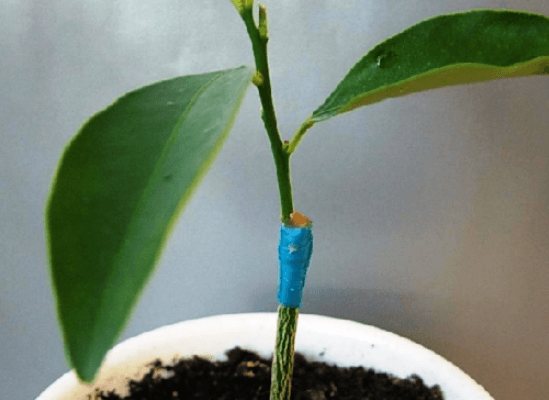
- Place the cuttings of the scion and rootstock to each other and wrap with polyethylene foil.
- Plant the grafted stalk in a pot, cover with foil (read about the secrets and rules for planting rhododendron here).
- To increase the likelihood of successful plant survival, it is necessary to provide high humidity - spray the bush daily for 10-14 days.
In addition to the methods listed, sometimes azalea is propagated by cuttings or using seeds.
Growing a plant from seeds is a very complex and lengthy process, most often it is used by breeders to develop new varieties.
How to root at home?
In water
- In an opaque container (or from dark glass), settled water at room temperature is poured, a little "Kornevin" is added, a tablet of activated carbon, water is dropped from the handle. As the water evaporates, you need to add it.
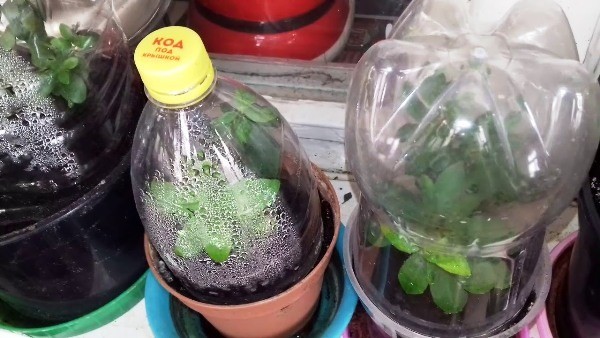
- On top, the container with the handle is covered with a transparent cap (cut off plastic bottle, plastic bag) to create an increased level of humidity (80% - 85%), which will contribute to the formation of the root system of the petiole. From time to time (once every 2 weeks), the greenhouse needs to be ventilated so that the shoots do not rot.
- The container is placed in a bright place without direct sunlight. The optimum temperature for rooting is + 22C - + 25C.
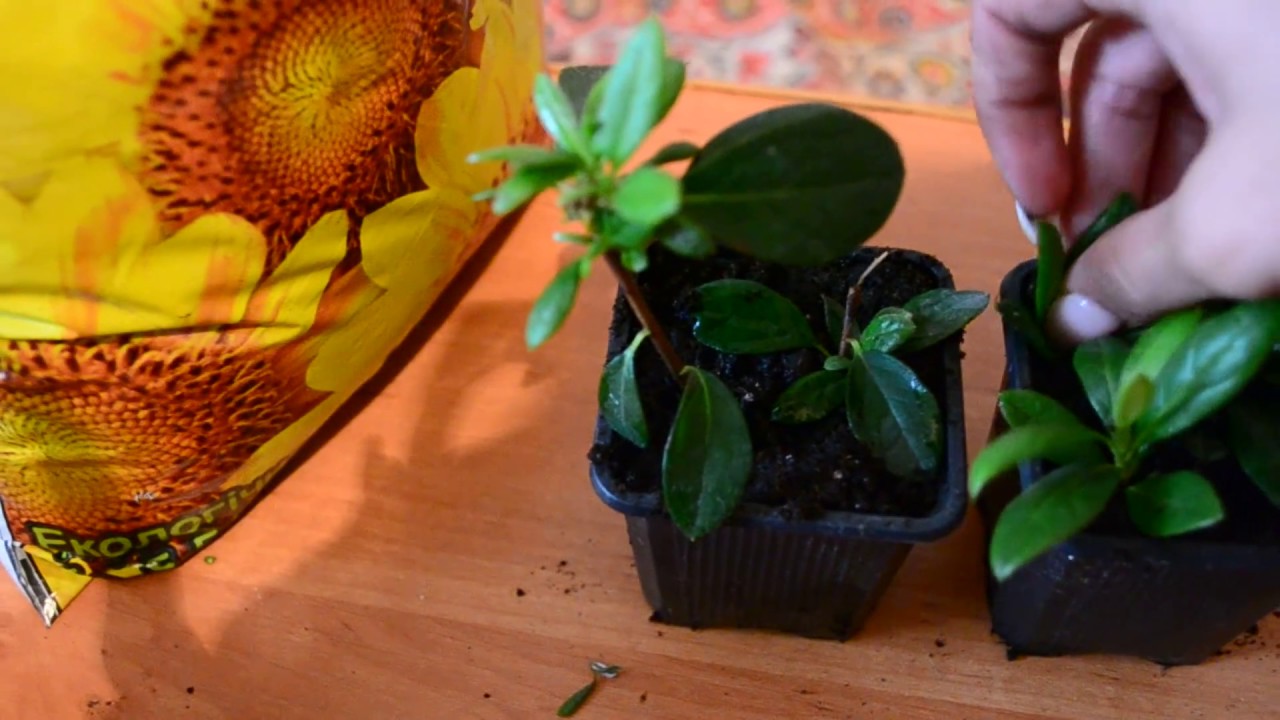
- After 5 cm roots appear (after about 1 month), the young plant can be planted in the ground.
Into the ground
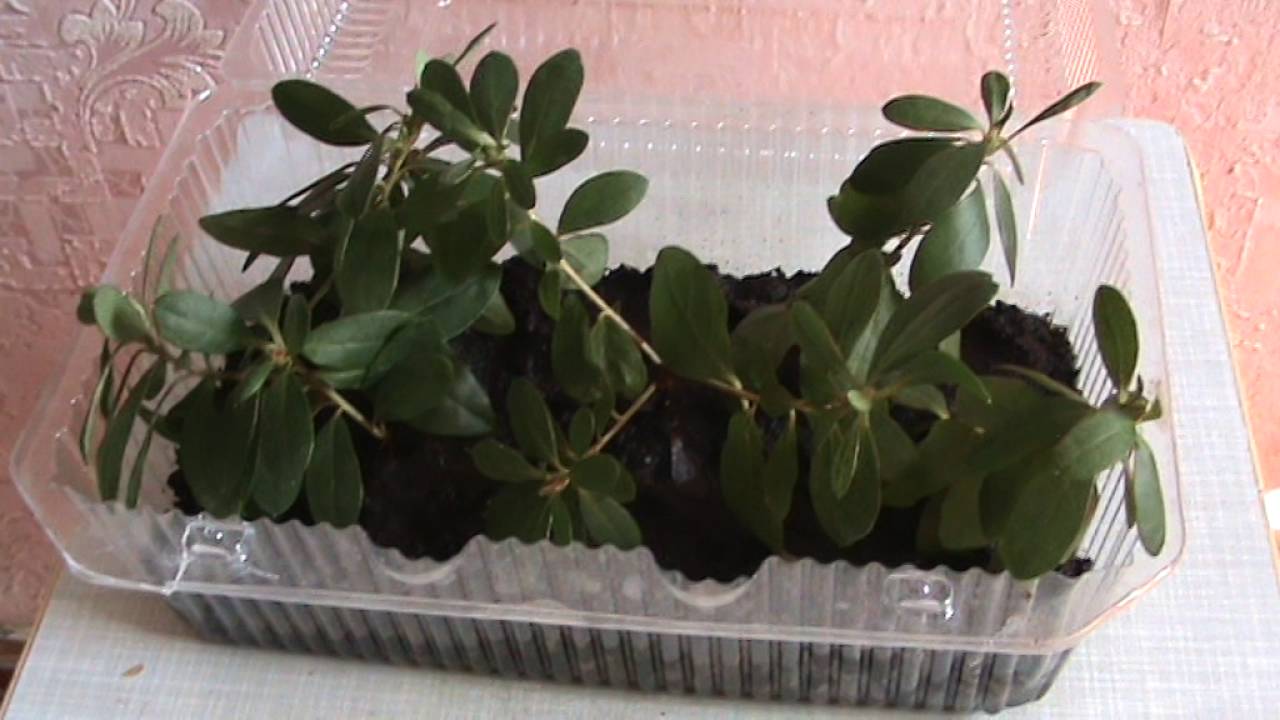
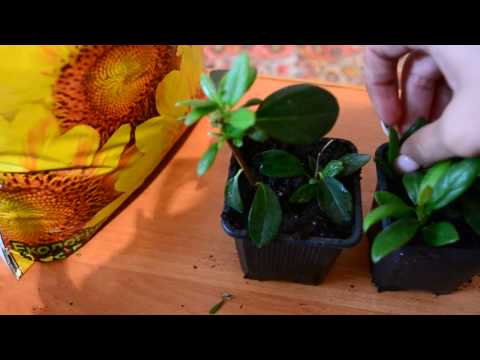
- A drainage layer is placed at the bottom of the transparent plastic pot, the rest of the space is covered with soil.
- The stalk, pre-treated with "Kornevin", is buried in the moistened soil by 2 cm and slightly crushed by hands for better fixation.
- From above, the container is covered with a plastic bag, which is secured with an elastic band, or a plastic bottle, placed in a well-lit place, but without direct sunlight.
The temperature that a young plant needs is + 22C - + 25C.Watering is necessary as the soil dries up, systematically ventilate the "greenhouse".
Attention! If the inside of the plastic bag is covered with condensation, then it must be carefully removed, shaken off the water and placed back on the container with the handle.
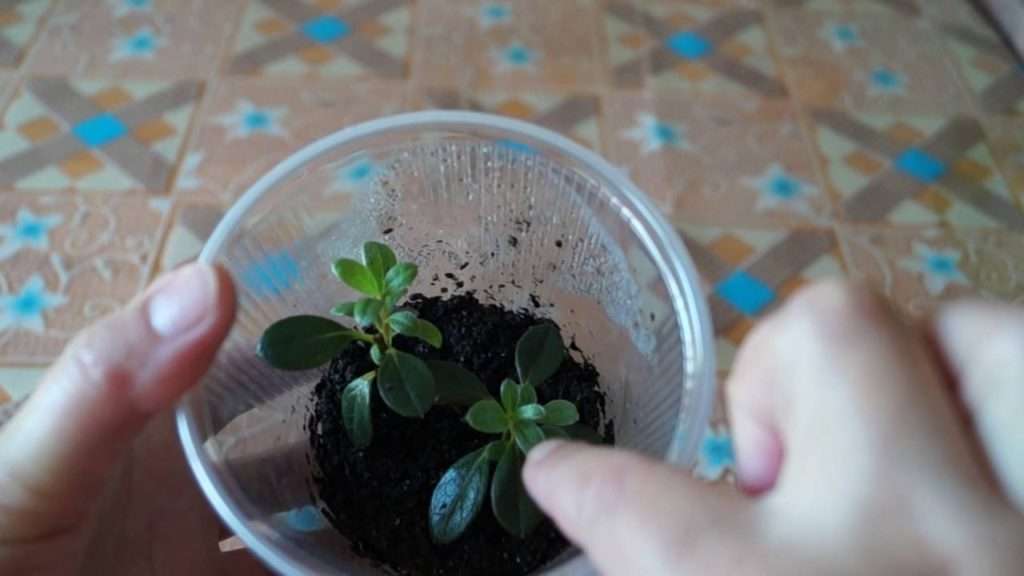
When, after about 1.5 months, the plant will release roots, it can be transplanted into a permanent pot and looked after as an adult plant.
If we compare the two methods of rooting, then the preference is always on the side of growing the roots in the substrate. Compared to the fragile and brittle roots grown in water, the root system grown in soil is already adapted to the extraction of moisture and nutrition. She is stronger and more adaptable to her new habitat. As a result, such a plant will begin to gain strength and growth faster, and will release flower buds faster. In addition, it will be much easier to plant such a plant using the transshipment method.
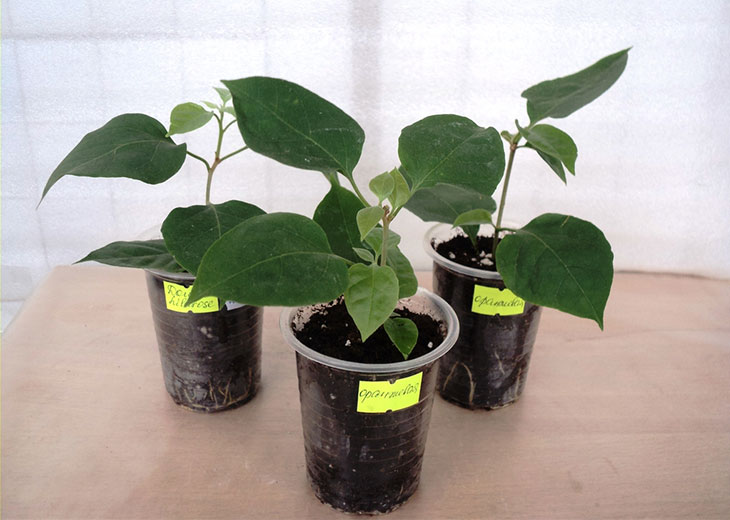
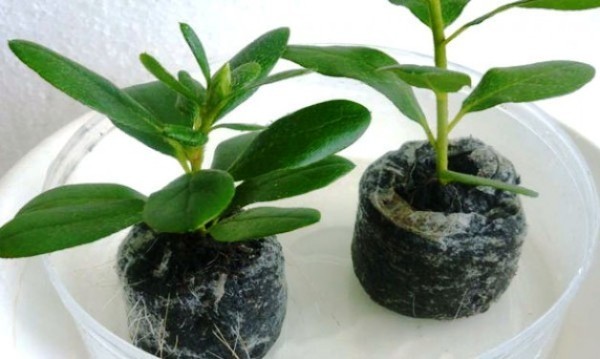
You can also root a hibiscus stalk in a peat tablet.
- A little drain is poured into a 300 ml plastic cup, and then a tablet is placed. It must be poured with boiled water, which will make the tablet swell.
- Cut and treated with a growth stimulant, the stalk deepens into the tablet by 2 - 3 cm.
- From above, the container is covered with a bag.
As the substrate dries, it needs to be watered. Once the roots have grown, the plant can be planted in a permanent pot.
Transfer
How and when to transplant an azalea at home?
Azalea transplant is carried out in the spring, after flowering.
It is not recommended to transplant azaleas during budding and during flowering.
Otherwise, the plant may discard buds, flowers, and leaves. It will be difficult to save him.
How to transplant an azalea? When transplanting an azalea, it is important to know that it has a very sensitive root system, which has its own microflora. Mushrooms live on its roots, providing the azalea with adequate nutrition.
Therefore, it is very important not to break this symbiosis during transplantation.
You can take a ready-made mixture called "Azalea" or prepare the soil yourself, taking 1 part of peat and 2 parts of rotted needles. Or you can mix in equal parts peat, humus, sand, turf and leafy soil and add 5 parts of coniferous soil to them. Another option:
- part of the sand
- part of dried and crushed sphagnum moss
- 2 parts of rotted needles.
For an azalea with a superficial root system, a new container should be selected wide enough and not very deep, but 5 cm higher than the previous one.
At the bottom of the pot, a drainage layer of at least 3 cm thick is placed in the form of large expanded clay or broken shards. A layer of pine bark is placed on the drainage (it helps to increase the acidity of the soil), and then the container is filled with prepared soil. It is useful to add Trichodermin to the substrate to prevent fungal infections and rot.
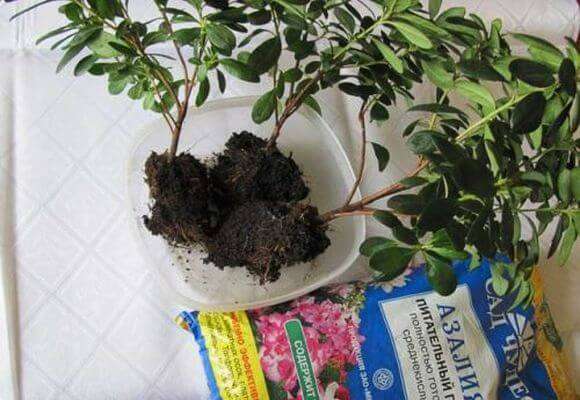
Before transplanting azaleas, cut off dry twigs, faded buds and clean the stems of dried leaves. Next, the bush together with a lump of earth is taken out of the pot and placed by roots in a basin with filtered or boiled water and "Kornevin" or "Zircon" dissolved in it.
The procedure is repeated by changing the water twice. The roots of the azalea are very tightly entwined with a clod of earth, so it is impossible to completely remove it, and it is not necessary. However, such bathing helps to wash out most of the salts that have accumulated in the soil during the year.
Before immersing the plant in water, it is recommended to make cuts in the earthen coma with a knife - these should be grooves about 0.5 cm wide on the sides, bottom and top. This will help the roots to absorb moisture, easier to settle down and germinate in new soil. Otherwise, they will not be able to get enough nutrients and dry out, which can lead to the death of the plant.
After part of the soil (usually no more than a third) is washed out of the roots, you can start transplanting, or rather, transferring the flower to a new pot.It is taken out of the basin and, when the water drains, is placed in the center of the container, and then evenly sprinkle the roots with earth, lightly tamping
In this case, it is very important not to deepen the root collar of the plant.
If the azalea has grown too much, it is divided into bushes, cutting the root ball into several parts according to the number of divisions. Each bush with a lump of earth is placed in a separate pot.
What to do after an azalea transplant?
After transplanting, the azalea is abundantly watered with water in which it has soaked, and placed in a warm and bright place with shade from the sun's rays. Watering is repeated after four days. In partial shade, the plant is kept for about 12 days. It is useful to spray a flower that has not yet matured after transplantation with "Zircon" or "Epin".
You should also protect the weakened plant from drafts. You should not immediately fertilize the transplanted flower, you must definitely give it the opportunity to adapt and get stronger well.
Transfer after purchase
It is undesirable to immediately subject the newly purchased azalea to the transplant procedure.
Let the plant remain in quarantine for several days - separate from other flowers.
During this time, it adapts to unfamiliar conditions and can painlessly move into a new pot.
Often, azalea is sold in the store in blooming form and, according to the rules, it is impossible to transplant it at this moment.
However, if it is flooded and sick or its capacity is clearly small, an exception can be made and the soil and pot can be changed to the plant.
But this must be done very carefully, using the transshipment method, only slightly cleaning the root ball
The transshipment method is also used when transplanting Coleria, Aloe, and Poinsettia succulents.
Read more about transplanting an azalea in the video below:
Needless to say, transplanting and breeding a home azalea requires diligence and patience. But all the troubles will pay off handsomely, because your collection will be replenished with one or more plants of extraordinary beauty.
Propagation of azaleas by seeds
Such a complex method is used mainly by professionals in order to obtain new varieties, but ordinary flower growers can also decide on such an event.
Seeds of various varieties are sold in shops and horticultural centers. These are mostly hybrids that have not retained the characteristics of the mother plant.
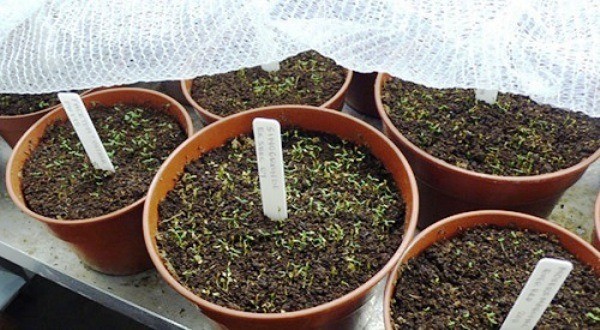
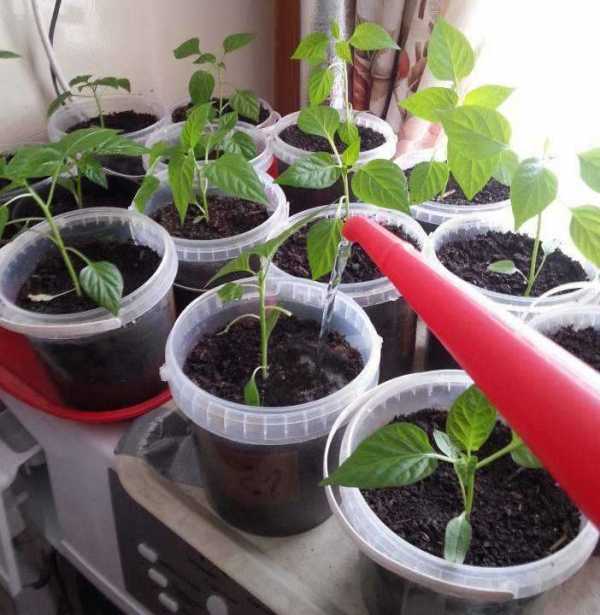
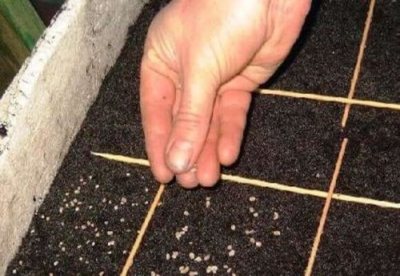
Seeds are sown in spring on the soil surface; when embedded in the ground, they may not germinate. The containers must be covered and placed in a sunny place.
There is one important condition: the seeds should be no more than 3 months old from the date of their collection.
It is necessary to water the seeds from a sprayer and only with softened water, which is prepared as follows: 3 g of oxalic or sulfuric acid is taken for 10 liters of water.
Seedlings can appear in ten days, but the entire germination process lasts about a month, while the germination percentage is 70%.
The picking of the plant begins after the full disclosure of the cotyledon leaves, always with an earthen lump.
Young azaleas will live in special boxes throughout the summer, but closer to September they can be planted in small pots, the diameter of which is 6-7 cm.
There is another way of reproduction of this plant - by dividing the bush. This is usually done after flowering, when the plant stops growing and calms down somewhat. The bush should be taken out of their pot and divided into several parts, while the roots should be minimally affected.
The soil for azaleas can be either purchased or prepared independently. After transplanting, water the plant and place it in the shade, where it will be easier for it to settle down in a new place of residence.

Features of cuttings in different types of rhododendron
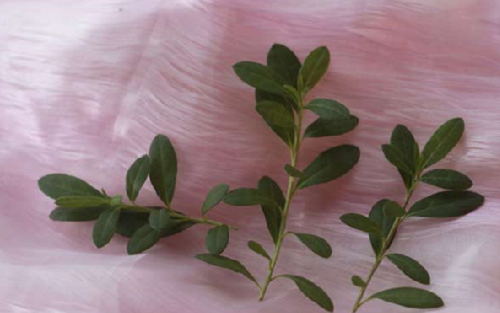
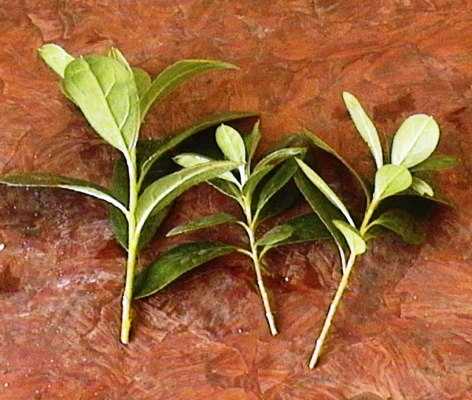
- In deciduous varieties, a young shoot with light-colored incomplete leaves should be selected for rooting, while the stem should bend easily, but not break. The bud at the apex will be maturing. This is the growth of the last year, and it should be separated.
- In evergreen varieties, woody shoots are used. The leaves of the future plant should be dark-colored, of normal size, like on the mother bush, in an amount of at least five pieces.
How can you tell if a scion is ready to be cut off?
- Cuttings of deciduous rhododendrons are ready to detach as long as they are soft in the stem and do not break.
- Evergreen varieties of rhododendron show readiness for cuttings with a dry crease of the stem. At the same time, the characteristic crunch of a breaking tree is heard.
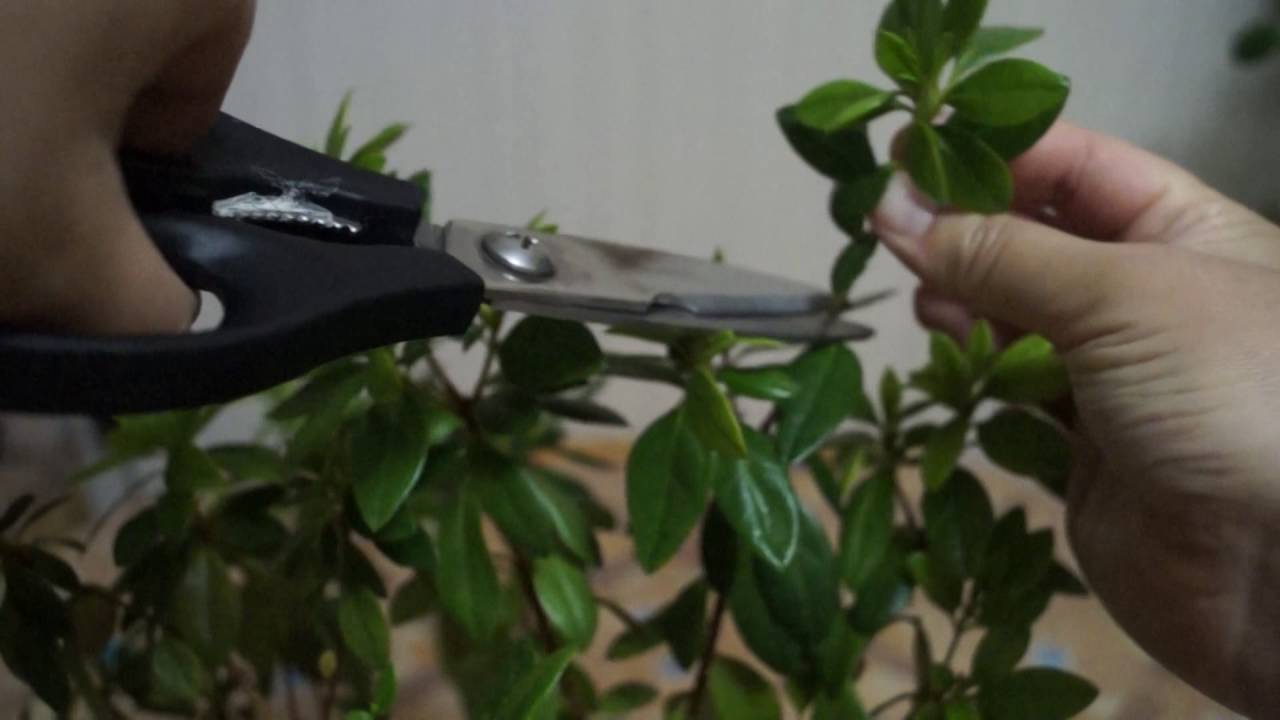
The stalk is always taken from a healthy adult plant with no signs of visible external damage. Pruning azaleas for cuttings is done once a year so that the mother plant has the strength to further ripen the buds and bloom.
Adult azalea bushes need pruning to form a beautiful and even crown, so even if not propagated, this is part of basic care.
How to propagate an azalea at home
The process of plant propagation by cuttings consists of three main stages. Let's consider each of them in detail.
Separation from the mother flower
When performing the procedure for separating the cuttings from the mother plant, the following recommendations should be followed:
- All garden tools must be sterilized before use. This is done in order not to infect other plants.
- The branch for the cut is selected healthy and corresponding to the parameters indicated for different types of azaleas.
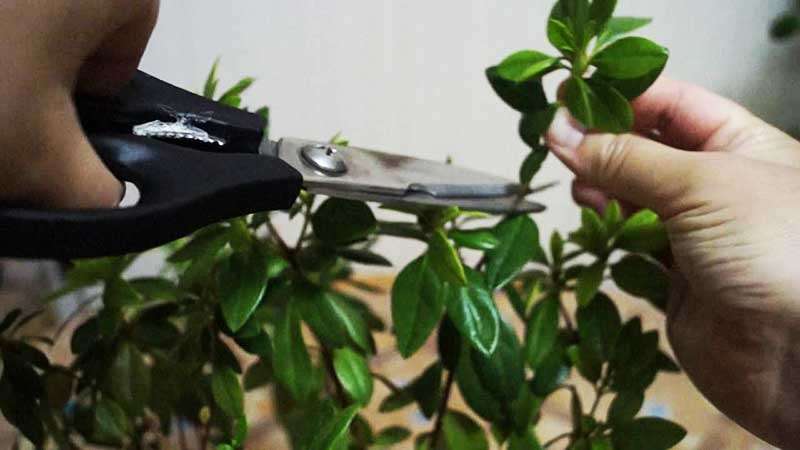
- The cuttings are cut under the lower bud, with a 1 cm indention. The cut is made at an angle of 45 degrees, several lower leaves are removed.
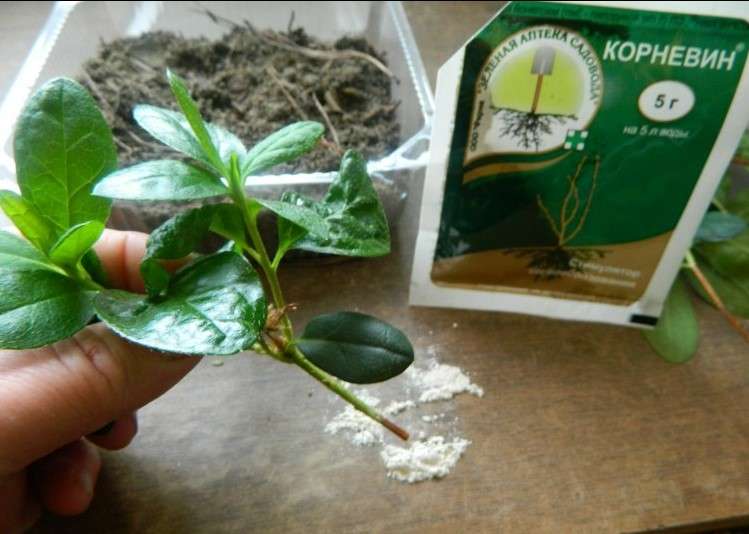
- The resulting seedling is treated with the selected growth stimulant.
The following drugs can be used to stimulate growth:
- Heteroauxin - a fifth of the tablet dissolves in half a liter of water. The cuttings of the plant are lowered into the resulting mixture and kept there for no longer than 6 hours.
- Zircon - released in liquid form, 10 drops dissolve in the same volume of water. Soaking takes longer - one day.
- Kornevin - in terms of use, it is fundamentally different from previous drugs. The powder of the preparation and activated carbon crushed to a dusty state are mixed in the same amount. Then the slices are sprinkled.
Landing
Cutting azaleas at the planting stage requires the following activities:
- Planting in the ground is not performed without first soaking in a root growth stimulator.
- Before the disembarkation procedure, additional processing of the sections is carried out with a weak solution of potassium permanganate.
- Planting is carried out in moist soil, with a 2-3 cm depth of the cutting.
- The final stage is covering the frame with a plastic bag and a dark cloth. This step should be performed if the rooting in the dark option was chosen.


How to root an azalea at home
To achieve successful growth of azalea roots, a makeshift greenhouse should be placed in a warm place out of direct sunlight.
In addition, certain conditions must be met:
- air temperature 22-25 degrees;
- humidity not lower than 80%;
- in the cold season, the soil is additionally heated using a battery or an incandescent lamp.
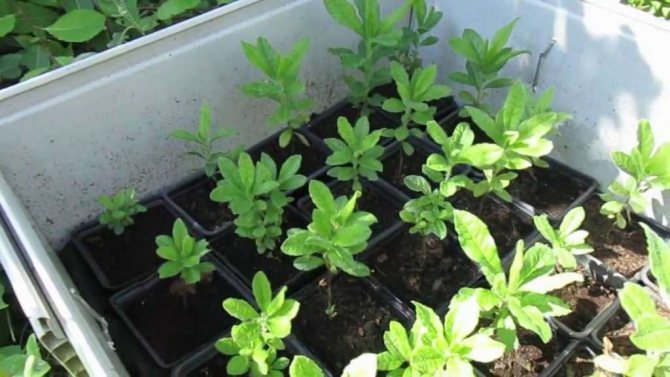
Further care consists in the daily airing of the plant. The film is removed from it for 30-40 minutes, it is better to do this before noon. Instead of watering, spraying is performed, the soil must be constantly wet. Once every 7 days, citric or oxalic acid may be added to the water at the rate of 2 g per liter.
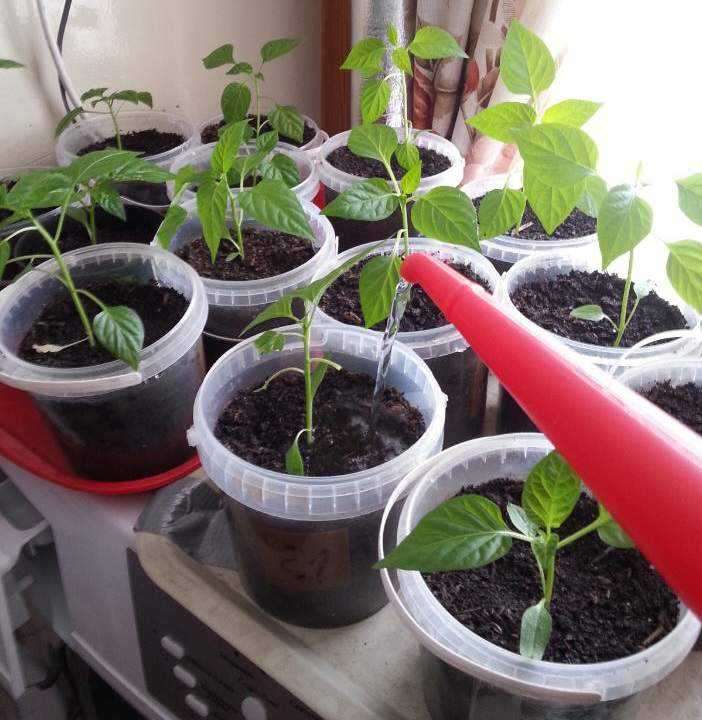
As many cuttings as possible should be rooted, since the chances of their further development are small. If 3-4 adult plants are obtained from 20 cuttings, this can be considered a success.
Conclusion
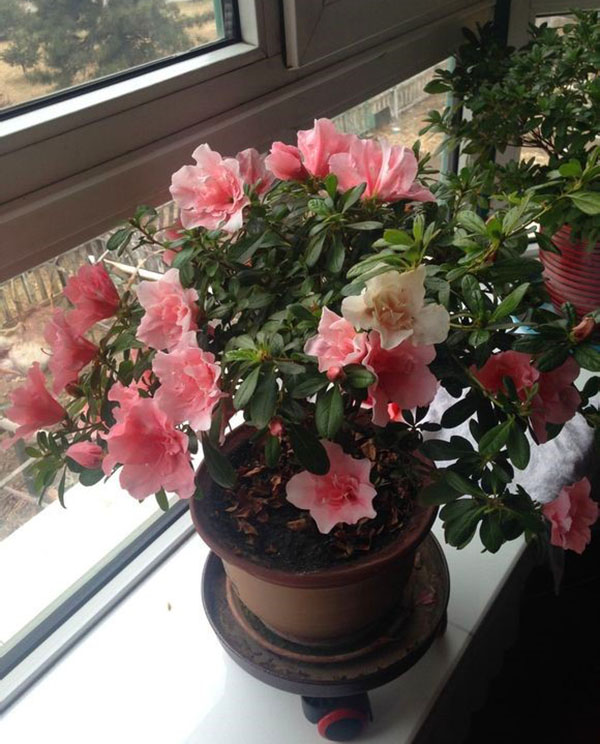
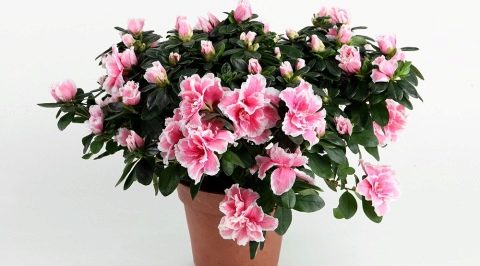
Passion for breeding azaleas and their reproduction is an interesting and useful activity for flower lovers.This beautiful indoor flower will decorate the winter interior of your home, create a home blooming island in the cold season.

