Clematis planting and care
Clematis - planting several seedlings (different
varieties) in one pit is practiced not for splendor and thickening, but in cases where
when you need to quickly get a wide base of the bush and a unique
decorative effect.
It is rarely used, because after 3 years "loner"
and “several” will look about the same. If there is simply nowhere
poke extra seedlings, then planting in one hole (of a suitable size) negative
will not have an effect on the development of the bushes.
Planting clematis in one hole with several seedlings
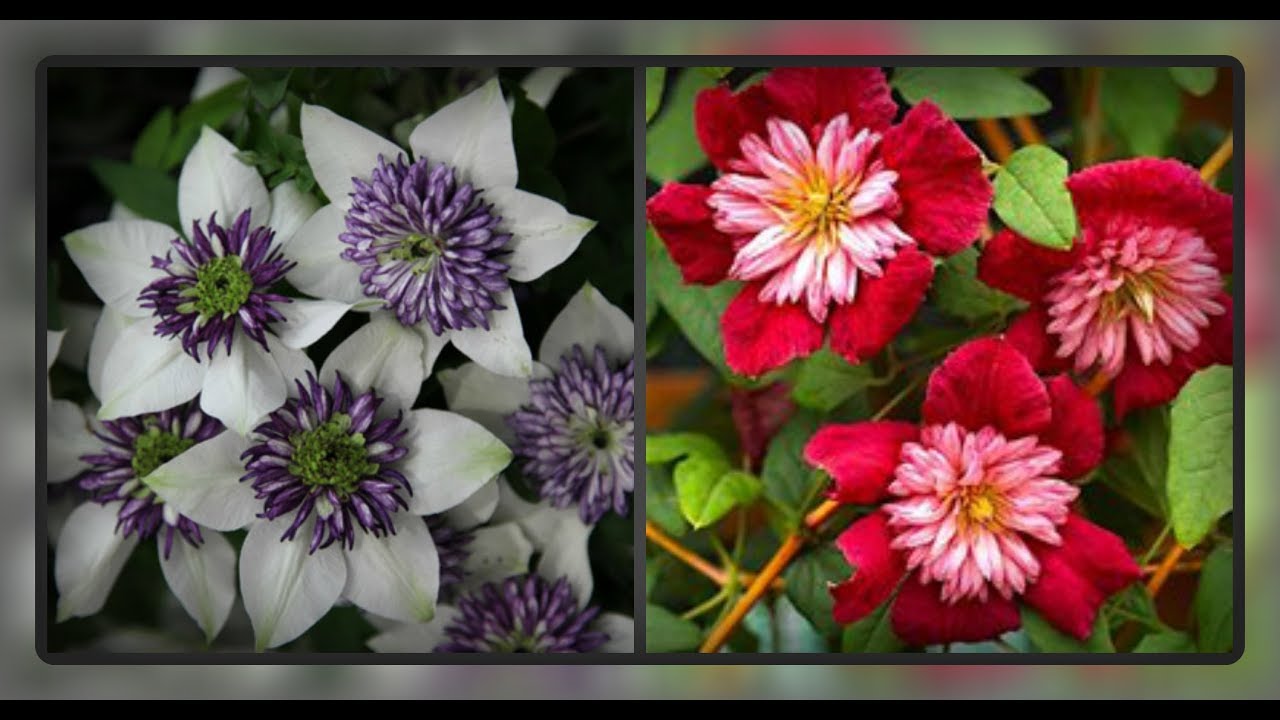
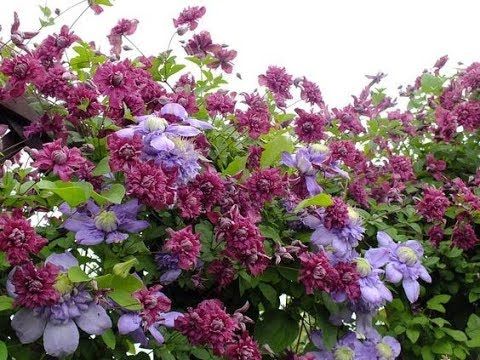
of the same species, but of different varieties, can give an interesting effect.
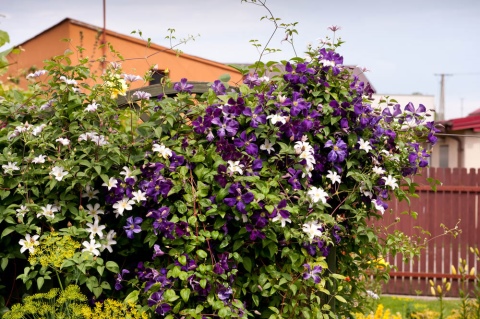
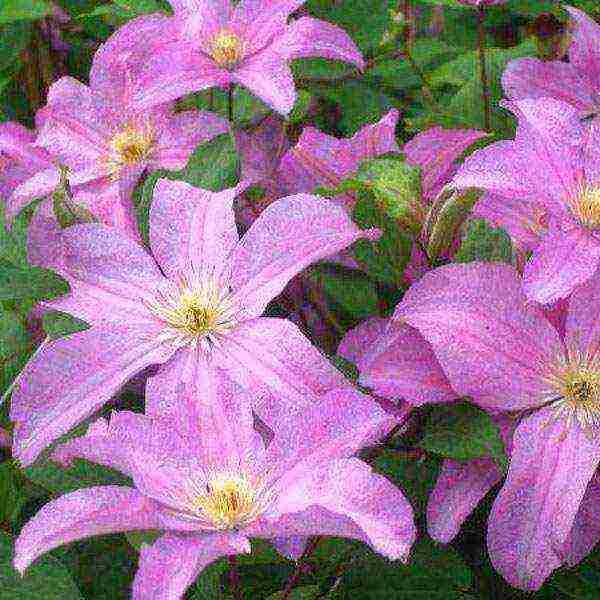
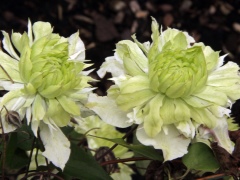
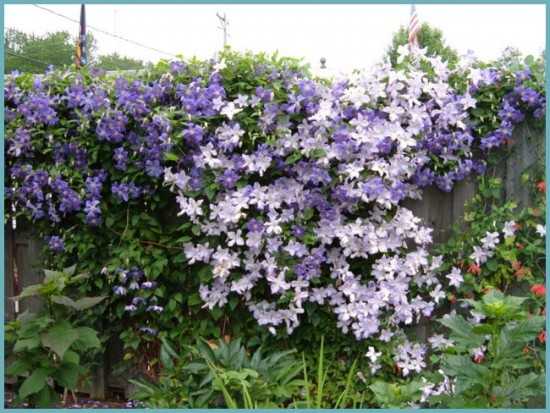
For example, combine in one bush of blue-white and pink-white varieties of clematis.
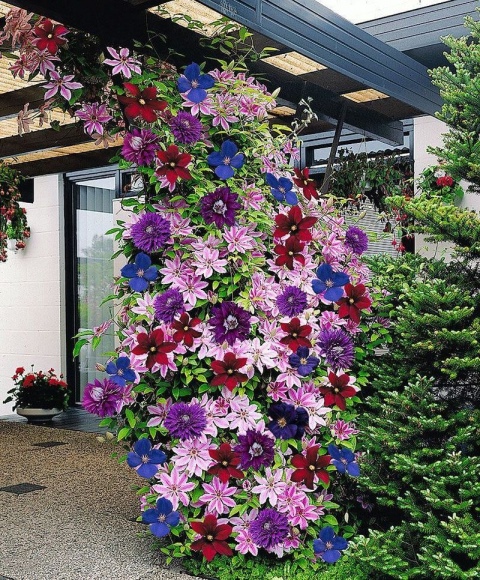
An interesting effect is also obtained when
joint planting of different varieties of clematis and lilies.
One requirement: all varieties must have
the same frost resistance and dimensional parameters, taking into account the cutting group.
Clematis is a beautifully blooming vine that
can turn any site into a piece of paradise
Clematis love light, in shady places
you will not get a good flowering. The worst enemy of these plants is the wind, it
breaks shoots and picks flowers. Therefore, choose an area that is well protected from
winds. The last condition: the soil should not be waterlogged, avoid lowlands,
areas with high stagnation of groundwater (less than 120 cm) or organize
a good gadfly of water from a bush (you can dig grooves with a slope).
Choosing clematis seedlings
The requirements are simple: take strong, without
damage to the plant, preferably with a closed root system. It's good if
escape is not one, but several.
If the roots are open - consider them, they
must be resilient, free from damage, bulging and thickening. The seedlings should
have at least 3 roots at least 10 cm long.
Do not take too many plants - when
there should be a distance of about a meter between them, otherwise the clematis will not
enough sun.
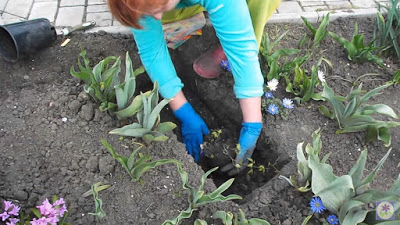 |
Clematis, with good care, grow on one
place for a long time - up to 25 years, so the pit must be prepared thoroughly. Under one
the plant is supposed to dig a seat of at least 60x60x60 cm, and for
group landings - a trench 60 cm deep and wide.Before landing on the bottom
holes put drainage - 10 - 15 cm. layer of gravel.
The earth taken out of the pit is cleaned of
weeds and mixed with humus or rotted manure, add 100 g
complex mineral fertilizer for flowers and 3 glasses of wood ash. If
acidic soil, add 50 - 100 g of slaked lime.
We put supports for clematis
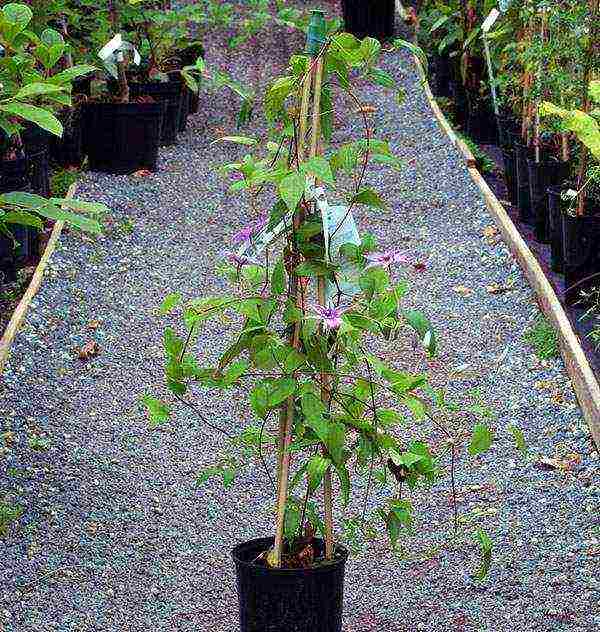
The support for the vine is installed in the center of the pit,
it must be tough and durable, otherwise the plant will grow poorly and break.
As a supporting structure, galvanized pipes with a diameter of 3/4 inch are used.
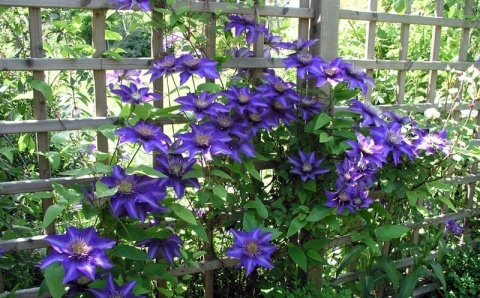
Well combined with clematis and wooden lattices, strong nylon mesh
with a large cell.
Clematis planting in one hole several
varieties
 |
After filling the hole with soil about half, they do
a mound on which the roots of clematis are spread to the sides and down. Holding on
plant by hand, pour the mixture to the roots. Please note that clematis are planted with
deepening, only then a powerful climbing bush will develop from the seedling, and
the plant will not suffer from frost or heat. The larger the seedling, the deeper
landing. Young one, biennial plants are buried by 8 - 12 cm and the lower
a couple of buds, more mature and divided bushes - 12 - 18 cm.
After planting, clematis is watered abundantly,
shade from the sun, and the surface of the earth around the plant is mulched with peat,
bark, dry grass.
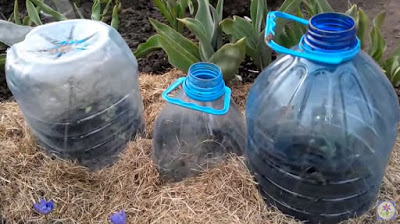 |
In dry weather, clematis are not watered often, but
abundantly, and try to keep the stream of water out of the center of the bush.
Plants are fed 4 times a season with full mineral fertilizer with
microelements at a rate of 40 g per 10 liters of water. Once a month you need clematis
spill with a slightly pink solution of potassium permanganate and spray the leaves with the drug
"Epin"
Pruning clematis
The beauty of the bush depends very much on
correct "haircut"
The first time the shoots are shortened when planting, this is important for
forming a lush bush. One or two shoots grow from the lower pair of buds,
which must be pinched in July
In the summer, there is a regulatory
pruning. To extend flowering, some of the shoots are cut in the spring.
ADVICE:
Clematis often die after planting, from wilt
- a disease caused by a fungus. Therefore, during planting, you can add
biological preparation "Trichodermin".
Rules for planting clematis in spring
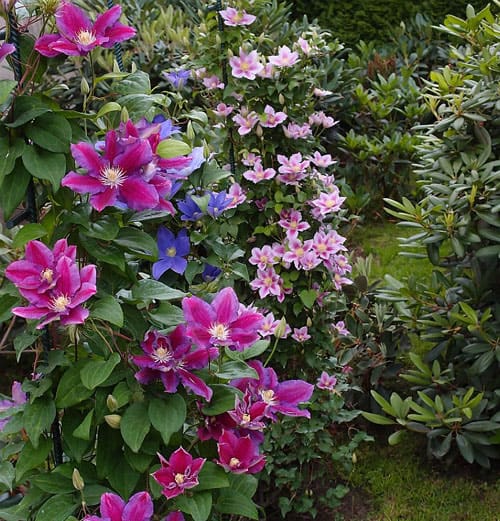
How to plant clematis correctly
The most important rule for planting clematis is to carry out such a planting with a strong deepening of the seedling.
The root system must be at least 10 cm in the ground. This is the main requirement that must be met when planting a seedling. If this is not done, then clematis will not grow and bloom the way you would like it, even if you plant it on the right place and you will water well.
Therefore, be sure to take this circumstance into account when planting a plant in open ground. It is clear that in order to comply with this requirement, you will need to dig a hole deep enough for planting. At the same time, pay attention to the soil of your site. Pour the nutrient mixture into this hole, about half
There should be soil, peat, humus, some sand, ash and mineral fertilizer. Clematis generally love ash very much. It is advisable to scatter it under the bush at any time during the entire summer season, and even water the plant with an ash solution
Pour the nutrient mixture into this hole, about halfway. There should be soil, peat, humus, some sand, ash and mineral fertilizer. Clematis generally love ash very much. It is advisable to scatter it under the bush at any time during the entire summer season, and even water the plant with an ash solution.
Stir this substance well, so that all the components are evenly mixed. After that, put the clematis seedling together with a lump of earth into this hole, deepening at least 10 cm.
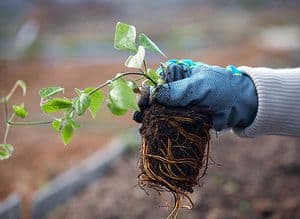
When planting clematis in spring, you need to cover the hole with earth so that the soil is level with the root collars of clematis. Note that during the autumn planting, the hole is completely filled up.
In the fall, if the hole has not been filled to the brim in a season. cover it with earth to the top just before. how you are going to cover your flower.
By the way, some gardeners recommend before planting clematis in the spring to first lower its roots together with the earth in water for 10 - 15 minutes. This is not necessary, but if you decide to follow such advice, it will not harm the plant.
In the first year after planting, the plant will not begin to actively develop and grow; it needs to get used to a new place. get comfortable. and the adaptation period will take the entire first season. At the same time, at first, the root system grows in clematis, and that part of the bush, which is located above the ground, will begin to develop later.
Clematis, which are planted in spring, must be shaded from the spring sun, and watered more often, avoiding overflow.
Water the plant with warm water. in the evening or in the morning, or on a cloudy day.

If buds appear on clematis in the first summer, be sure to remove them, since flowering in the first year will greatly weaken the flower, and it may not withstand the winter cold, even if you cover it well.
Loosening the soil
In addition to moisture, the roots of clematis are very fond of oxygen in the right amount, so after planting, be sure to carefully loosen the soil under the bush.
This should be done with every watering (about once a week) and also after heavy rainfall. However, this should be done very carefully so as not to damage the young roots. If you have no time to loosen, you can simply put manure under the roots of clematis, which has already been overheated.
From above, such manure is covered with a layer of peat, and then it will also serve as a shelter in the cold season.
How to help grow faster
Clematis, like any perennial plant, grows slowly in the early years, but its growth can be accelerated with the following manipulations.
In summer, be sure to make sure that the ground where the first shoots of clematis hatch is moist, and then next spring you can plant small clematis in your garden.
At the same time, you can not propagate a plant of the first year of life in this way immediately after planting. You can add shoots when the plant has already wintered in your garden once.
This is a very simple and effective way for clematis to grow, but you cannot get too carried away and abuse it, otherwise the bush may thicken too much.
To accelerate growth and give the bush splendor, you should slightly trim the top of the main shoot.
Subject to all these conditions, your clematis, correctly planted on the site in the spring, will delight you with lush flowering for many years.
How to grow
You can grow clematis by planting seeds or by purchasing and planting seedlings of a plant. Next, we will consider the features of each method.
From seed
Immediately it is worth making a reservation that only types of clematis make sense to propagate by seeds. The fact is that most varieties of clematis are hybrid, therefore they either do not set seeds at all, or in small quantities and these seeds are not viable.
Seeds can be divided into several groups by size - the characteristics of reproduction will depend on the size of the seeds:
- Large (0.6-10 mm in length). They are characterized by uneven and long-term germination (sometimes up to 8 months). These include Jacqueman's clematis, purple and others.
- Medium (0.5-0.6 mm in length). Germinate within 1.5-6 months
- Small (0.3-0.5 mm in length). Seedlings appear quite quickly and evenly within 1.5 months, less often up to 4 months.
Important! The quality of the seeds is highly dependent on their age, as well as the weather conditions at the time of flowering. So, it is best to use the seeds of the past year.
Seeds harvested in warm, dry summers have the best characteristics.
Clematis seeds.
You need to store clematis seeds in a paper bag, in a dark place, at a temperature of 18-23 C - in this case, they can be used for planting for 4 years.
So, you need to select the seeds of the desired type and prepare them for planting in order to increase germination. The preparation consists of two stages:
- Sparging. To prepare the solution, 1 tsp is required. soda in a glass of water. Pour the solution into a container, place the seeds and connect the aquarium compressor. After 6 hours, pour the solution and pour in plain water, continue the procedure for 3 days. At this time, you need to regularly change the water in the container with seeds, up to 3 times a day.
- Stimulant treatment. Any biostimulant can be used to enhance adaptation. Seeds should be soaked for half an hour.
Now you can start planting seeds. To do this, prepare the soil - in equal parts you need to mix peat with sand and garden soil. You can also add moss. You will need a container (for example, a wooden box) about 15 cm high. Fill the bottom of the container with drainage material 5 cm thick, put the soil mixture on top. The seeds, depending on the type of plant, must either be deepened by 1 cm, or simply spread on top of the soil. After that, the substrate must be moistened with a spray bottle.
Note! The distance between the seeds should be at least 5 cm, between the rows - 8 cm.
In the southern regions, seeds can be planted directly into the ground in March-April, depending on the temperature regime.
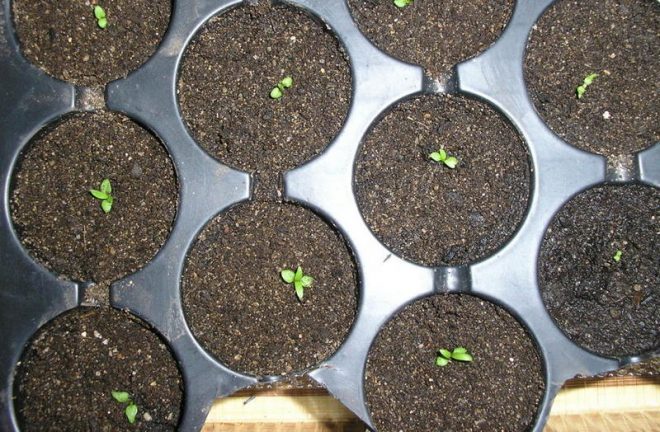
Shoots of clematis.
To accelerate seed germination, stratification can be carried out by alternating warm and cool temperatures. First, the seeds should be kept at a temperature of 18C for 2 weeks. Further, the temperature should be reduced to + 5C for 1-2 months. Then the seeds should be placed again in a room with a temperature of 18C.
After the appearance of 3-4 leaves, all seedlings must be dived - planted in separate pots. The soil for seedlings should be loose, breathable. Watering through the pallet. When warm weather finally settles outside, the seedlings can be planted in open ground in a permanent place.
Video: rotation of seed coematis.
Also do not miss: do-it-yourself flower beds and flower beds in the country.
Reproduction of the prince
Breeding clematis is just as important as planting and grooming outdoors. For beginners, a more convenient and accessible method is grafting.
It is also considered the lightest and most affordable. To do this, in the summer, shoots are cut off from the mother plant so that the cut line is 1 cm above the node or 3 cm below.
The middle and upper parts of the plant should contain well-developed buds. Then the planting material is planted in the soil, which is a mixture of sand and peat. After that, the cuttings are left in a warm room (approx. + 15 ° C) with high air humidity.
It is necessary to regularly ventilate the room. After a few weeks, the cuttings should take root, and the next month they can be transplanted directly into the ground. Planting clematis outdoors from seeds is also popular, but professionals usually prefer cuttings. For beginners, seed propagation may also be the best option.
Higher varieties of clematis can also propagate by cuttings. Choose a long, healthy shoot in early spring and press it to the ground, securing it with curved wire and covering it with soil. The planting material will be ready next spring - then it will need to be cut off and transplanted to a suitable place.
How to keep a rooted stalk?
The first and most important rule of caring for a rooted cuttings is the time of purchase. Unlike a seedling sold in a plastic bag, a cutting served in pots and boxes should not be purchased earlier than three to four weeks before planting.
However, this rule, like all subsequent ones, is very simple.
Below is everything you need to know to successfully preserve a seedling:
- The most destructive thing that can affect the seedling immediately after purchase is direct burning sunlight. The plant at this time will be very weakened, and the scorching sun may well cause very serious damage to it. Therefore, the best option would be to find some place for the seedling where only diffused light will fall. This, however, does not mean that you need to put it in the shade. A room with a window to the west is much better suited for these purposes. But after three weeks, when the seedling gets stronger, it will be possible to put it in the sun.
- If there were buds on the seedling when buying, you should get rid of them, no matter how beautiful they are. The buds are a very serious load for the flower, and if it spends extra energy and nutrients on them, then, quite possibly, the sprout will die after some time, simply not being able to withstand it. Therefore, when you get home, you will need to cut the buds with a sterile garden knife. This will make life much easier for the future king of your garden.
- Regular watering of clematis is equally important. However, remember that this plant is very picky about the moisture in which it has to grow. Therefore, the most important thing is not to overdo it with the amount of water with which you water your clematis.
Clematis planting - care for rooted cuttings
However, it is not recommended to use ordinary water as an irrigation liquid. During this period of life, the seedling is not very adapted to protection from all kinds of fungi and infections, and therefore, it is necessary to mix water with some kind of fungicide. This will significantly reduce the chances that something will happen to your seedling even before you have time to plant it.
Watering should be frequent - at least once a week. Also, exactly the same solution that you use for watering, you can spray the root zone of clematis, because it is through it that fungi most often enter the plant.
Often, the containers in which such seedlings are sold are not very voluminous, and therefore, if for some reason you could not take the first advice and bought a cutting too early, you can transplant it.
A bottle with drainage holes (the same one that we made for seedlings with an open root system) or a fairly tall pot is suitable as a new container. Such a transplant will help the plant to survive more comfortably for several weeks before planting.
Important! Fertile soil must be poured into the container. Otherwise, it will be more difficult for the seedling to hold out until the appointed time.
Also, during your cohabitation with the seedling, you can feed it a couple of times. However, this should not be an ordinary procedure, which will be carried out with and without reason. You should resort to feeding only if the seedling does not feel well: it wilted or looks lethargic. In this case, even a mixture of several complex preparations can be used.
Important! When buying a seedling, it is very important to read the instructions on the package, because it is vital for us to find out which pruning group it belongs to. This will become especially important when we start further caring for the plant, namely, pruning
Types of clematis for growing in the Urals
Evergreen Clematis, Petera and Mountain not always successfully winter in the 3rd and 4th climatic zones - they have too short a dormant period. Shoots of grape-leaved clematis, as well as eastern, burning and purple, can withstand up to -20 ° C, which is not enough. But seedlings of these types are still sold in large shopping centers, although growing them outdoors is impossible. Such vines will look good in greenhouses and conservatories, or as a pot culture. For the Urals, hybrids related to the second and third trimming groupswhose shoots are partially shortened or completely removed. Some species require shelter for the winter.
Based on the classification by the maternal line, the following groups of clematis are recommended for this region.
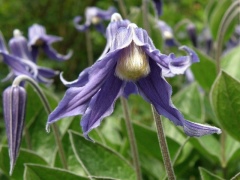
- Zhakman's hybrids are large-flowered bush-shaped vines, shoots up to 4 m, with beautiful feathery leaves and a developed root system. Growing and care is simple. Flowers up to 20 cm in diameter, usually lilac in color. These varieties bloom profusely and for a long time on the shoots of this year. The branches are cut off completely or left up to 30 cm.
- Hybrids of whole-leaved clematis (Integrifolia) - are allocated in a separate group of shrubby clematis, representatives are shrubs up to 2.5 m high. Flowers up to 12 cm in diameter, in the form of a bell. Flower buds appear on the shoots of this year, a strong pruning is needed after the first frost.
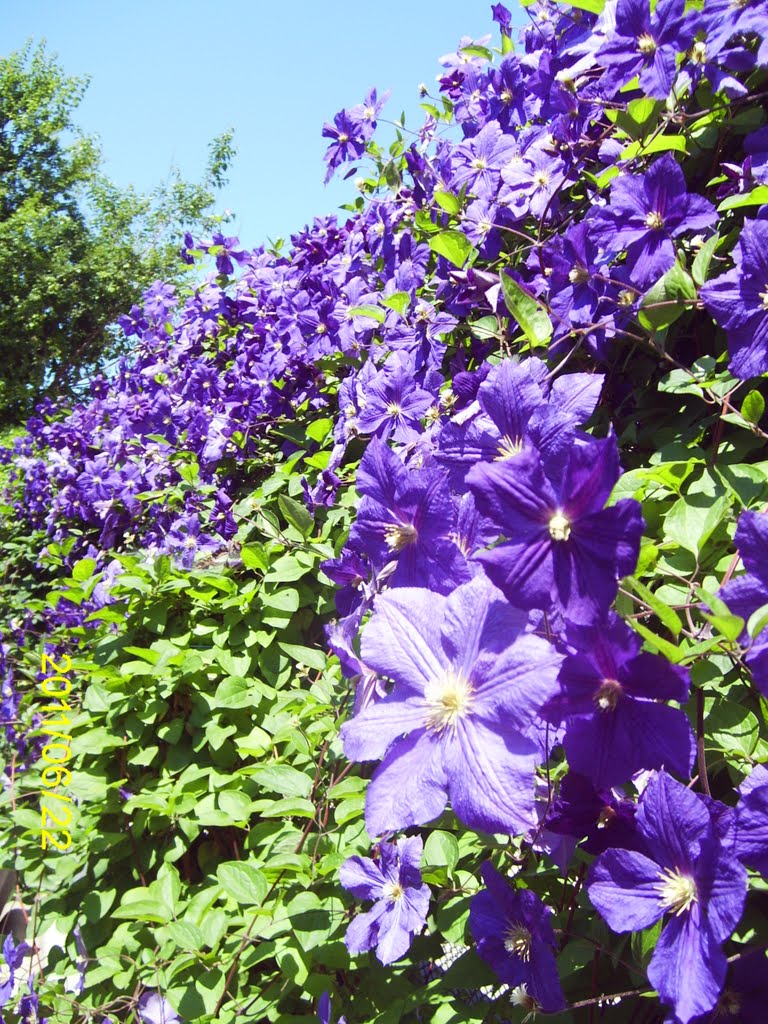
- Hybrids of lilac clematis (Vititsella) are bush-shaped vines, shoots up to 3.5 m with complex leaves and large flowers, up to 12 cm in diameter, with a predominance of pink, purple and red shades. They can form up to 100 colors. They bloom on this year's shoots, which are completely cut off by winter.
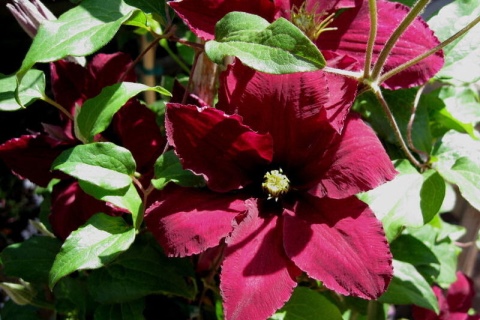
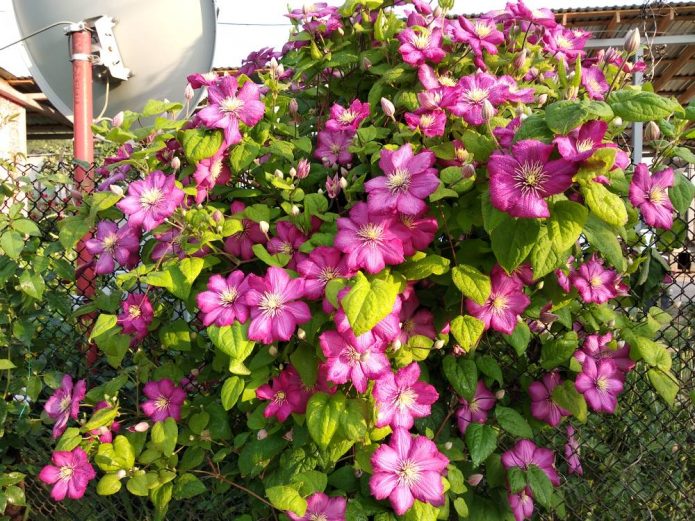
Clematis Vititsella, woolly, Jackman, Virginia, serrate-leaved, gray-gray, short-tailed, Tangut are able to withstand up to -27 ° C, their tissues are not damaged. These species are optimal for the 3rd and 4th climatic zones.The leader among the Ural varieties is considered to be Ville de Lyon (Ville de Lyon) - a magnificent, profusely flowering variety with carmine flowers and shoots up to 4 m long, belonging to the 3rd pruning group.

Clematis Rouge Cardinal

