Diseases and pests
Feeding hosts, planting and caring for specific requirements - that's not all. And although plants rarely get sick, they are often attacked by pests. How to grow a hosta healthy and protect from harmful insects and diseases?

Slugs do the most harm. It is not so easy to deal with them, but it is imperative. Otherwise, the plants will be all in holes. The best option is the "Thunderstorm" baits, which are sold in garden stores. Sprinkling the soil around the plant with crushed shells or eggshells also helps.
Some host species can be affected by the stem nematode. Ugly brown stripes appear on them. To get rid of this infection, you need to remove all infected leaves, process the roots in a solution of potassium permanganate and transplant the host to another place.
How to take care of a host who is sick? Root rot appears with excessive watering and is cured only by drying out the soil and treating the roots with a solution of potassium permanganate. It is usually characterized by wilting of the plant and yellowing of the leaves, while the soil will be wet.
Gray rot is manifested in the rotting of the tips of the leaves. As soon as this is noticed, immediately remove the rotten leaves and treat all plants with Bordeaux mixture. It is also better to treat healthy nearby growing hosts with such a solution for prevention.
Taking care of the host is not difficult. And experts assure that the main thing in this matter is to detect problems in time and immediately try to eliminate them. And for this it is necessary at least once a week to carefully examine your hosts for diseases and pests, so that later you will not be sad about the missing ornamental bushes. Proper care of the host in winter and in other seasons will certainly delight you with decorative leaves that will enliven the site, giving it life and brightness.
The most common types of hosts
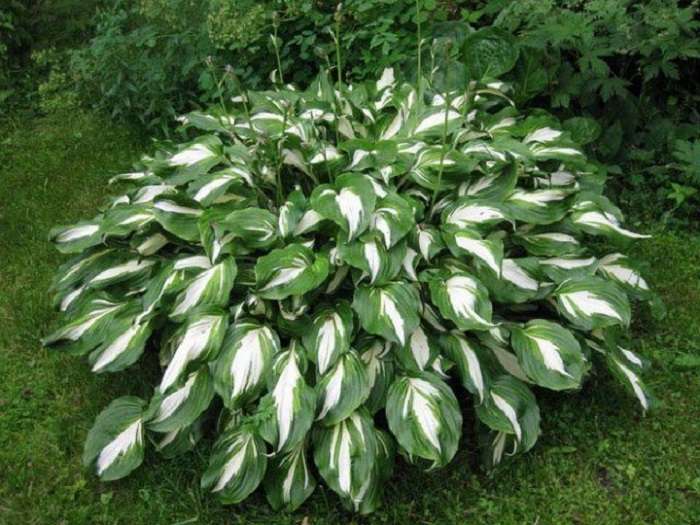
- wavy - by its appearance, this plant resembles a light green ball, which is covered with wavy leaves;
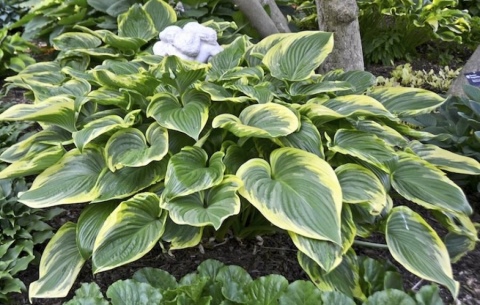
- swollen - one of the most popular types in landscape design, it is distinguished by leaves of a pale green color;
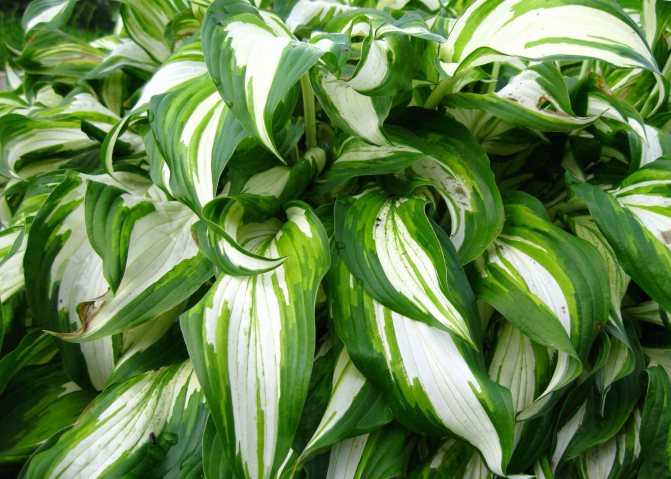
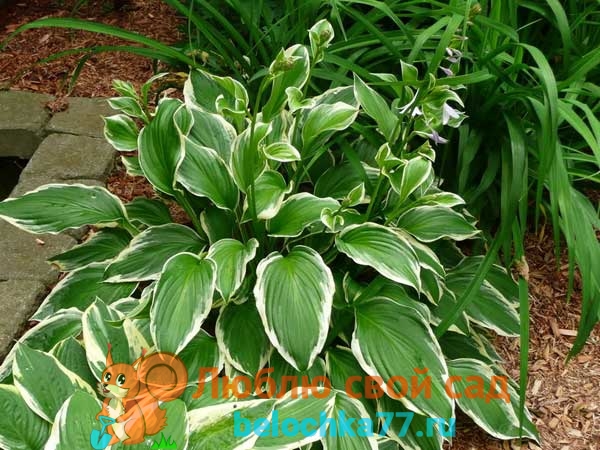
- curly - a distinctive feature of this species is that a white border stretches along the entire perimeter of wide leaves;
- plantain - grows no more than 50 cm and is similar to plantain leaves.
 You may be interested in:
Perennial Arabis - planting and leaving Arabis, or as it is also called, rezuha is a beautiful perennial plant, literally dotted with small flowers ... Read more ...

Please note that the hosta grows for at least 25 years and grows rather quickly, thereby displacing even annoying weeds.
How fast is the host growing
The growth of hosts in the country is noticeable by the formation of new outlets, an increase in the size of the bush. In the description of the variety, the average indicator of the growth rate of the host is most often indicated - 5 or 6 years, but there are deviations for each variety.
Growing speed 5-6 years
There are 3 host types in relation to growth rate:
- Fast. They are characterized by the rapid formation of bushes and reproduction, the formation of a large number of outlets, the need for more frequent division.
- Moderate. Most hosts are of this type.
- Slow. Several years pass before the bush becomes mature.
How fast is the host growing? The main factor affecting the rate of growth is hereditary. Small varieties grow faster than large varieties. Variegated leaf color, variegated, indicates slow growing plants. The completely green leaves are from fast growing hosts. Growing conditions have a slightly lesser effect. Growth is accelerated in good sunlight.
The slowed down growth rate is due to inappropriate growing conditions, improper agricultural technology. If the duration of the growing season is insufficient, then the bush begins to decrease in size, it may die. White-leaved hosta varieties are especially affected due to a lack of chlorophyll.
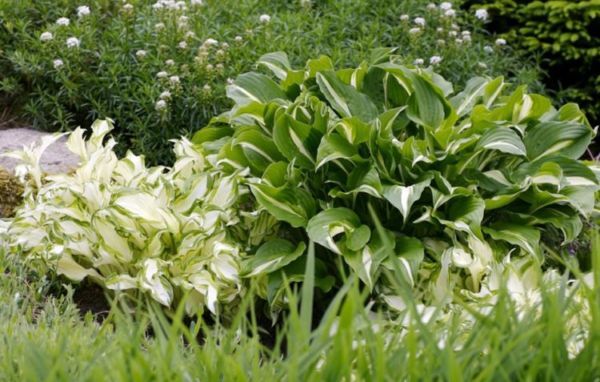
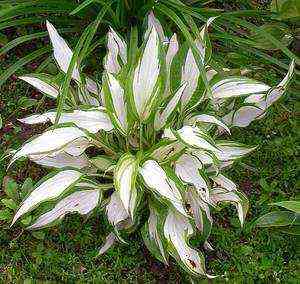
White-leaved hosta
The growing season of natural hosts is 185 days a year. Russian climatic conditions can provide only about 90 days of the warm period. Varieties with a low growth rate are more difficult to reproduce, so their cost is higher.
Growing hosts from seeds
Seed breeding is a rare method. Hosta seeds have poor germination (70-80%), therefore it is recommended to treat them with a growth stimulant: Kornevin, Zircon, Elin, Aloe juice. Gardeners also use stratification - the method of cooling seeds in the lower sector of the refrigerator for 1 month.
Important! The soil substrate must be sterile, so it is best to purchase it in specialized stores. It has a balanced composition containing vermiculite, peat, perlite
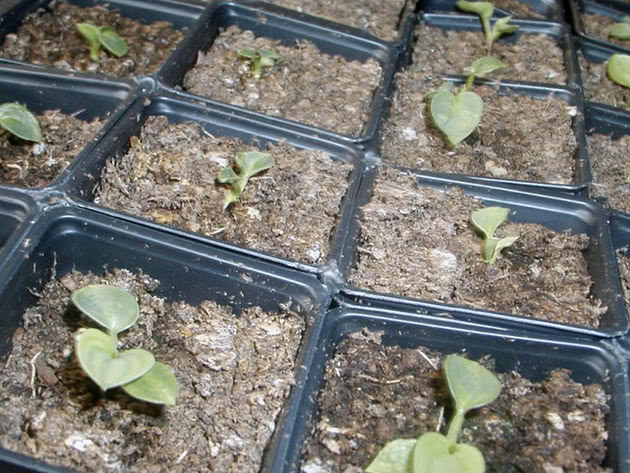
Sowing seeds begins from the last days of February, early March. The pots must be disinfected with a solution of potassium permanganate or ethyl alcohol. The bottom is filled with a layer of drainage, a substrate is poured on top, the temperature of which should be + 18-25 degrees. The host is sown in well-moistened soil. Sprinkle the seeds on top with a layer of substrate (5-7 mm). The containers are covered with foil or glass to prevent the soil from drying out and placed in partial shade.
The sprouts appear in 2-3 weeks. At this time, the seedlings should be provided with good lighting. As soon as the first pair of leaves appears, they begin to pick into separate containers. The soil is diluted by a quarter with sand. The pots should be in a pan with water. With the help of bottom irrigation, the water should reach the top layer of the soil. Then you need to harden the seedlings. Plants freed from the film are kept outdoors at temperatures above +18 degrees. Although the hosta is capable of propagating by seed, growing a plant with this method leads to slow growth and degeneration of the variety. The decorative effect occurs only in the 5th year of the plant's life.
Cuttings
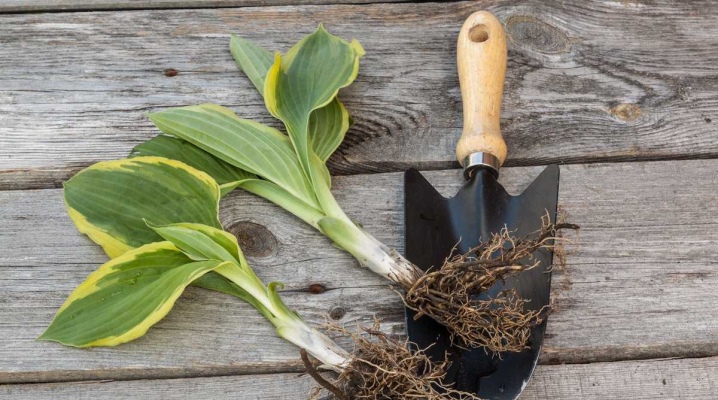
How to grow a host with cuttings? The grafting method is used on young hosts. It is carried out by separating cuttings from the main plant in the spring-summer period (from May to August). The stalk is a young shoot with a root particle, the so-called "heel", and leaves. Rosette shoots can be used for reproduction.
Rosette shoots
Sometimes this method is difficult, since the shoots can adhere very tightly to each other. It is advisable to cut the leaves by a third to reduce evaporation. The planting site should be slightly shaded; after planting, the seedling is covered with a plastic bottle. If after planting the plant looks a little wilted, you need to wait 3 days, the hosta can recover.
Division
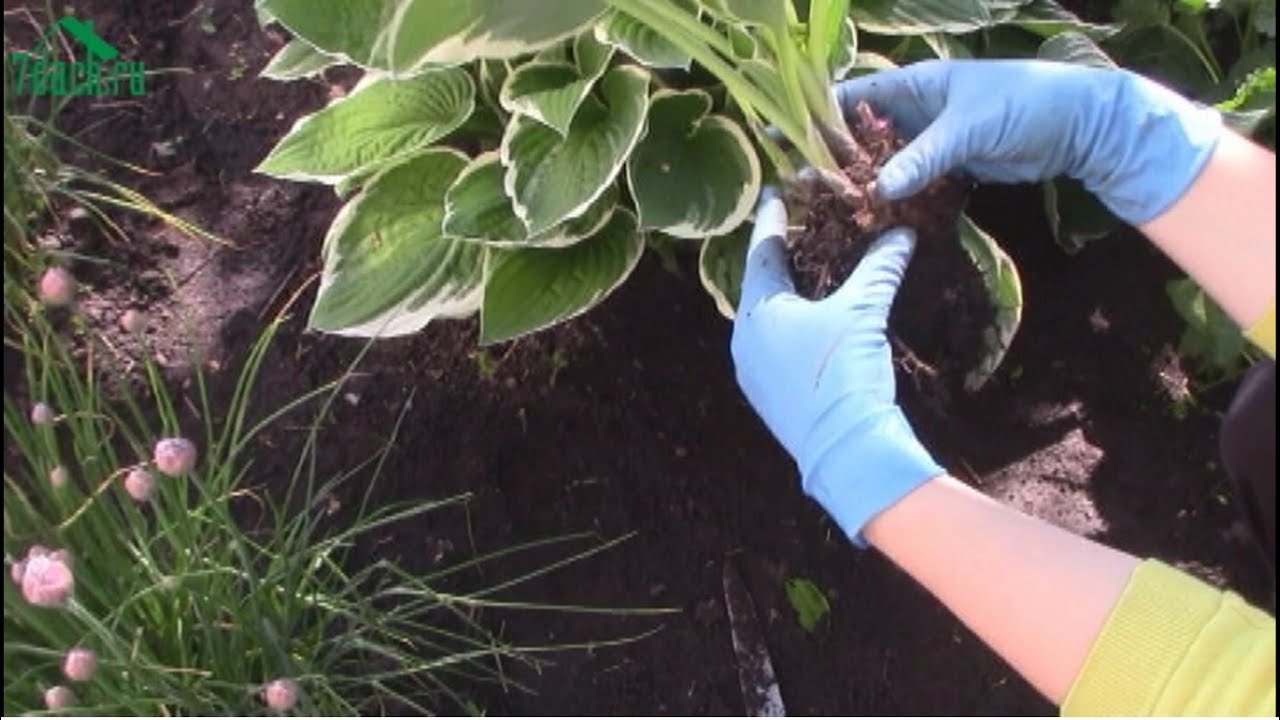
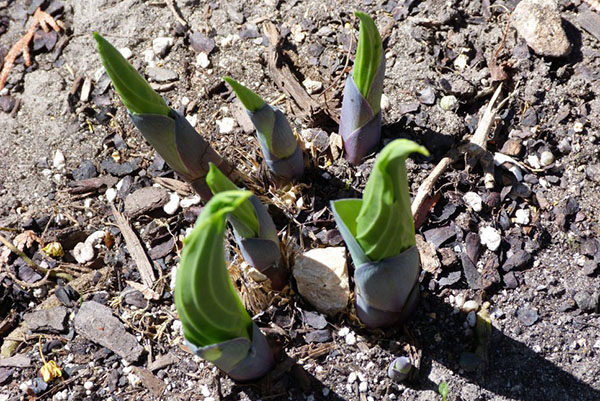
The division of the bush is carried out in the spring and at the end of summer. Do not use a young hostu for division, as its growth will slow down. After the emergence of young shoots, the dug hosta is divided with a pitchfork or a knife. Each of the parts should have 1-2 leaf rosettes. The plots are placed in pits, keeping a distance of 30-40 cm between them, covered with soil and watered. After 4 weeks, they take root. After 2-3 years, full-fledged hosts grow out of them.
How to fit the host correctly?
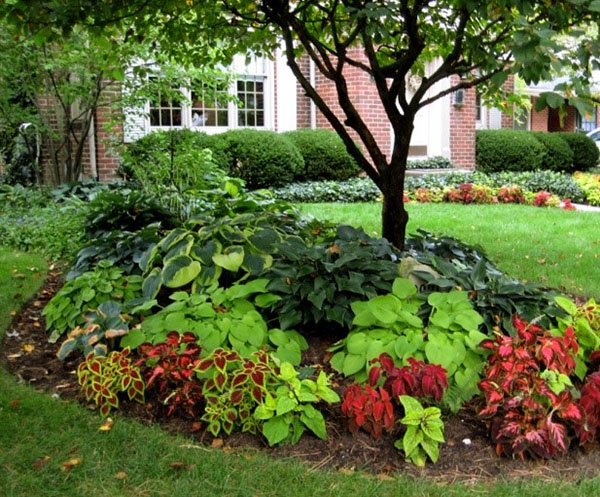 Correct planting plays a key role in the intensity of plant growth and development. In this case, several main factors must be taken into account:
- Location of the host.
- Soil composition.
- Landing rules.
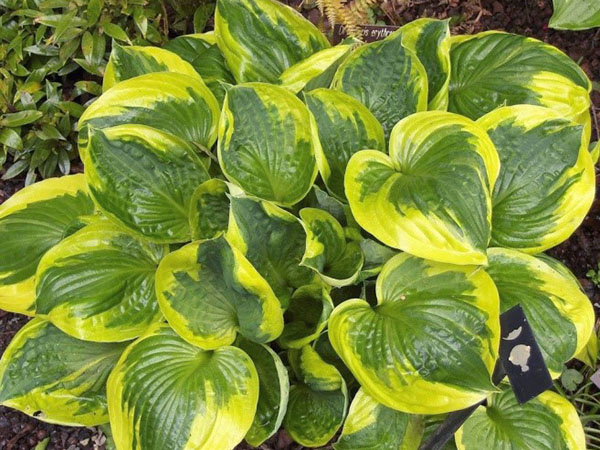 Only when all these aspects are taken into account will it be possible to plant the plant so that it will delight the owners for more than one year. To create a beautiful flower garden, it should be taken into account that different host varieties can grow in different ways.Therefore, before planting, be sure to familiarize yourself with the features of the variety you have chosen.
Choosing the best place
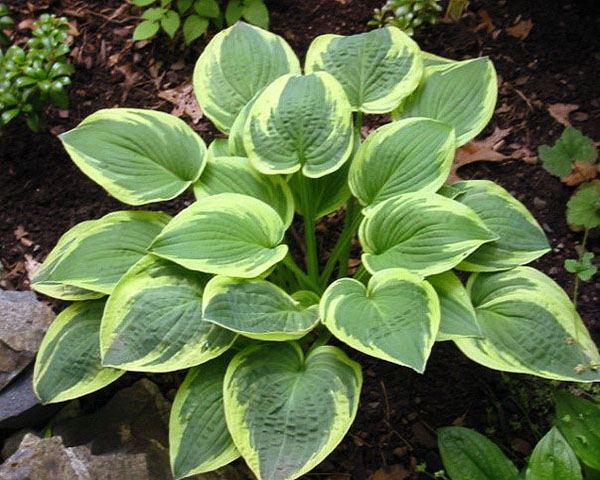 Planting hosts in the spring in the ground is allowed both in darkened and sunny places. This is largely determined by the plant variety. The main rule in this case is not to plant hosts in the shade of dense tree crowns. In such a place, they stop growing and lose the intensity of the color of the leaves. You can choose a site based on color:
- Plants with dark foliage are best planted near apples, pears, or other trees with a small crown.
- If golden or white streaks are present in the color of the leaf plate, then they should be placed on the east side under low plantings. With a lack of light, they can lose their decorative effect.
After you decide on the choice of a site for planting, it must be cleaned of dirt and dug up. Try to completely get rid of weeds that will take away nutrients.
Planting a host in open ground in Siberia should be carried out exclusively in the spring. In other regions, autumn planting is also allowed.
Soil preparation
Hosts are not demanding on the quality of the soil. For full development, they need a minimum of nutrients. If sand predominates in the soil, a small amount of peat will be required. It will help eliminate the leaching of salts and minerals.
When the soil is too poor, it is necessary to apply mineral fertilizers. Today, a wide range of specialized preparations is on sale. When using them, you must follow the instructions and do not exceed the dosage.
Basic landing rules
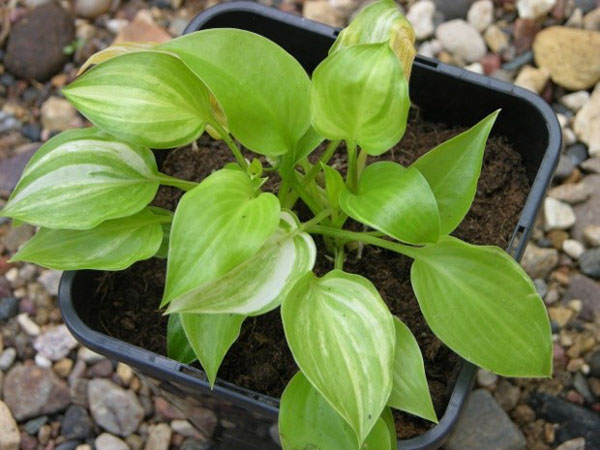 The method of planting and caring for hosts in the open field will also depend on the type of planting material. It is best to choose instances with a closed root system. It is enough to carefully remove them from the container without damaging the rhizome and plant them in a previously prepared hole.
Plants with an open root system take root less well. When choosing such a planting material, it is necessary to carefully examine the root system. It should be alive, with no signs of decay. After planting such a host in the hole, it is watered. In this case, the plant must be placed so that the bud is above the ground.
7 interesting facts about the plant
Hosta is attractive both during and after flowering.
- Origin. Hósta is a herbaceous perennial plant belonging to the asparagus family, parallel to the name Funkia. The homeland is the Far East, Japan and adjacent territories. In Asia, Khosta is considered sacred. The main purpose is landscape design.
- Age. In the wild, mature plants can develop up to 100 years of age. Ornamental varieties gain strength in 6 to 10 years.
- Chameleons. If, when buying, there was a yellow variety in the photo, and the young shoots turned out to be green, do not worry, in June-July, when the sun's rays regularly warm the crown, the color will change. Also, some varieties change color radically at the end of the growing period.
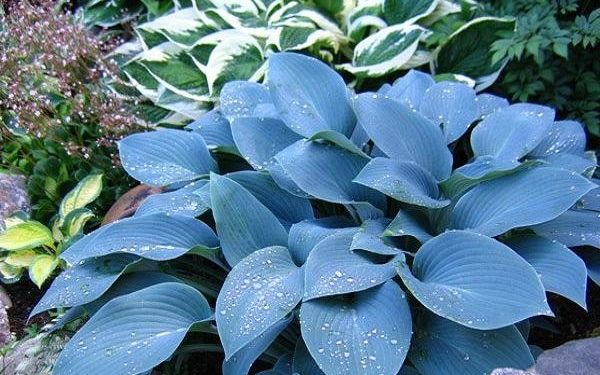
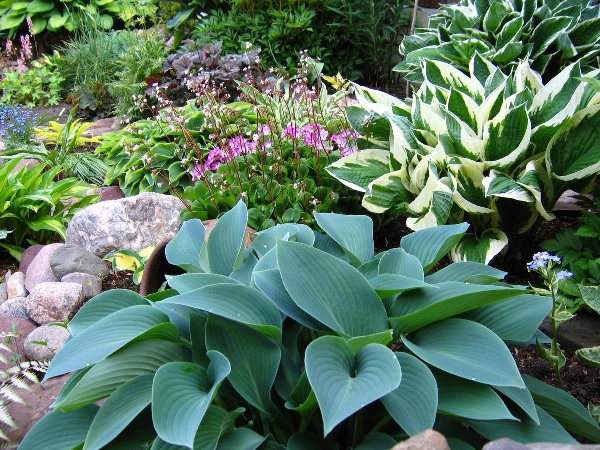
- Wax coating. The leaves of the blue varieties are actually blue-green, and the desired shade is given by a thin layer of wax on the leaf plate. By the way, if you sprinkle the plant too often, then the wax coating will wash off.
- Albinos. The white color of the leaf is very unstable, if the plant receives a lot of sun, then in June the crown will turn green in order to preserve the zest, blondes should grow in the shade, in a cool place.
- Dimensions. In the description of any variety, its size must be indicated, but keep in mind - these are approximate data, the final result directly depends on the amount of sun, moisture and fertilizer that the plant receives.
- Growth rate.Despite the presence of seeds and self-seeding, Hosts are not inclined to capture vast territories, the bushes grow slowly, especially for decorative, park varieties, if you planted a plant at a certain point, then after a few years it will not take up the entire flower bed.
Wintering
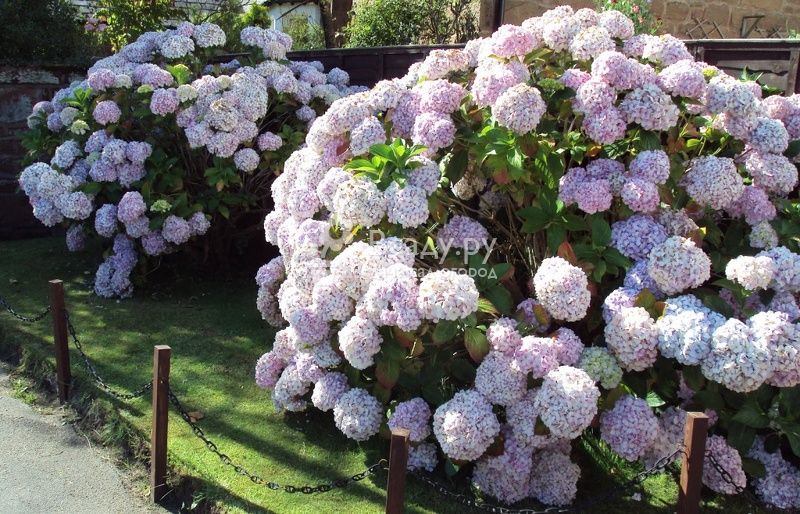
Since the hydrangea's root system is located quite close to the surface, the shrub is threatened with freezing.
Preparing for winter

The preparation for the winter of the plant will be different, depending on the winter hardiness of the variety.
Shelter
In severe frosts, flowering buds freeze, become incapable of flowering, all that remains is to cut them along with damaged stems. To avoid this, the plant is insulated in one of the following ways:
- If the bush is young, a board with nails stuffed on it is placed next to it. The branches are bent to the board and fixed with a rope. The top is completely covered with dry foliage and sawdust mixed with earth or spruce branches are laid out, and then covered with roofing material or plastic wrap. Coniferous branches will not only save bushes from freezing, but also increase the acidity of the soil, which hydrangea bushes love.
- Adult bushes are covered in a vertical way. First, all inflorescences and dry branches are cut off, and the remaining shoots are tied and wrapped in spunbond. Then a frame in the form of a cone or cylinder is constructed from a metal or plastic mesh at a distance of 20-25 cm from the bush, and the frame should be 10 cm higher than the plant. The space between the mesh and the shelter is filled with dry grass and leaves. In the spring, in April, the frame with foliage can be removed, and when a stable above-zero temperature is established, the spunbond is also removed.
- Another way: the trunk circle is covered with spruce branches, the hydrangea shoots are bent to the sides from the center of the bush and secured with staples made of wood or metal. The center of the bush is covered with peat, spruce branches are laid on top of the lying shoots, which is covered with lutrasil. The material is pressed with boards and bricks so as not to be blown away by the wind. With such a shelter, the culture can withstand temperatures up to -40 degrees.
- Bags with dry hay are placed under the branches of the bush, bend them, then covered with spruce branches and on top with any covering material.
Important! In the spring, you should not abruptly remove the shelter; you should gradually accustom the plant to fresh air.
Below you can see a video about the correct hydrangea shelter:
Cold season care for different types of flowers
When growing hydrangeas, you need to consider the type of flower.
- Treelike hydrangea is also not afraid of frost - buds are laid in spring on young shoots. If it freezes slightly, this will not significantly affect the flowering.
- The Himalayan variety has the best winter hardiness and requires shelter only in the most extreme cases.
- The petiolate variety is the type of plant that you do not need to cover for the winter at all, since cold temperatures will not do any harm to the culture.
- But the large-leaved hydrangea needs careful shelter. The buds are laid on the shoots of the previous year. Therefore, having overwintered, it may not give abundant flowering.
Although at first glance, growing hydrangeas may seem daunting, with proper planting and care, ornamental crops grow quite easily.
But before planting any kind of plant, it is important to determine the conditions in which it will grow.
Previous
Planting and transplanting Peculiarities of orchid transplantation: can a flowering plant be transplanted and when?
Next
Planting and Transplanting How to moisturize an orchid after transplanting? Watering methods and rules
Step-by-step instruction
A cedar can be planted not only by a specialist, but also by an ordinary lover of conifers.
It is important to remember that specimens that are at least 5 years old will take root best. Younger trees are highly susceptible to various diseases, and also attract pests
Please note that cedar grows slowly compared to other conifers.Strong shading, which can occur with the adjacent growth of other fast-growing seedlings, should not be allowed.

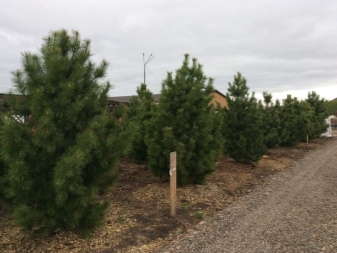
In order for the cedar to grow healthy and strong, you need to follow certain step-by-step instructions.
- Conduct quarantine measures at the site. Young cedar seedlings are often attacked by insects. To avoid such problems, it is necessary to treat all plants on the site with insecticides.
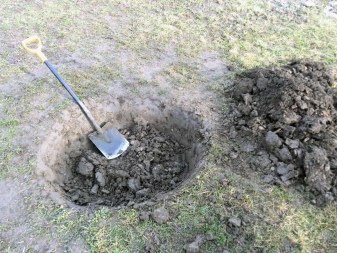
- Dig a planting hole at least 3 m from buildings and 8 m from other trees with a spreading crown. Its dimensions are approximately 1 meter deep by 1.8 meters in diameter. Such a large hole will serve to accommodate and further grow the entire root system of the seedling. Ideally, dig a hole in late autumn so that its surface has time to freeze well. In this case, the risk of root rot and other diseases in the future seedling will tend to zero. In areas where groundwater is close to the surface of the earth, cedar is planted in a bulk mound with a diameter of 1-3 m and a height of 0.5-1 m, depending on the size of the seedling.
- Lay drainage at the bottom of the pit. For it, you can use any familiar material, for example, gravel, expanded clay, shell rock. The drainage layer should not be less than 15 cm, based on the requirements of an adult tree.
- Fill the 0.8m pit with a mixture of fertile soil, sand, and compost. Clay soil requires additional sand. If the soil is sandy loam, then no sand should be added. Ideally, you should add two glasses of ash or compound fertilizer to the pit. It is also recommended to add a root growth stimulator "Kornevin" to the planting pit. The entire mixture should be carefully dug up. Put a small mound of earth in the center, where you will plant the future cedar. The ground will sag after watering, and the embankment will help level the ground.
- Remove the seedling from the container, being careful not to damage the roots and buds. If the apical bud is damaged, the seedling may die. Place a properly spread root system in water if it is closed, as drying out of the roots during transplantation is unacceptable. Seedlings with an open root system must be especially carefully protected from drying out. To do this, the roots are dipped in a clay mash or wrapped in moss and wet newspapers.
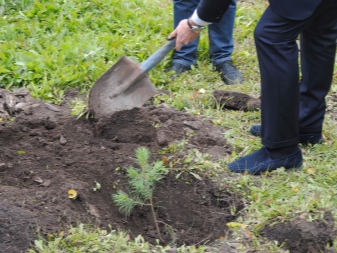
- At this time, form a tapered depression in the center of the planting mound. It should match the size of the root system. The advantage of planting in a mound is that over time, with regular watering of the seedling, the earth will begin to sink. It is impossible to allow a small cedar to end up in a hole - it must grow on a hill. Then the illumination and humidity will be optimal.
- If over time the cedar began to fall into the hole due to subsidence of the earth, it is necessary to make a discharge groove. Then stagnation of moisture, adversely affecting the root system of the seedling, can be avoided.
- Determine where the south side of the site is. The less developed part of the cedar seedling should face south. Then the crown will become more symmetrical.
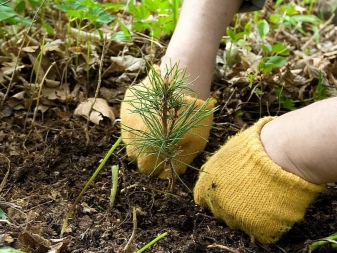
- Place the seedling in the cone and sprinkle with earth, crushing it with your hands from time to time. Before planting, small cedar seedlings should be fixed with a stick driven into the center of the planting pit.
- Form an earthen roller around the seedling and water abundantly (at least 10 liters of water for a 2 year old seedling and about 50 liters for a large size). Water is poured into the near-trunk circle in parts so as not to blur the top layer.
- Apply a layer of sawdust and compost mulch. It will protect the topsoil and, accordingly, the root system from drying out.
- To get rid of weeds in the trunk circle, it is recommended to sow it with white clover. This symbiosis has a positive effect on the development of the cedar.
- Try not to plant a single cedar on the site. He loves the neighborhood of his fellows, it is better to plant a tree in groups of 3-4 copies.
Popular park varieties
 |
White Bikini
|
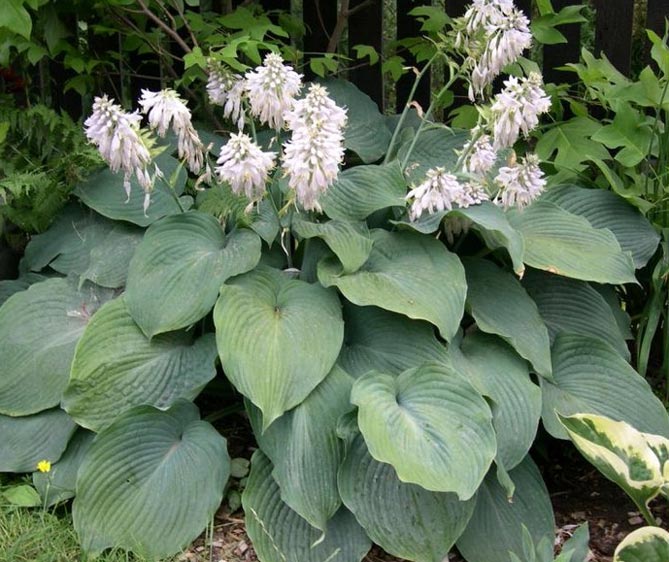 |
Deep Angel (Blue Angel)
‘));
|
 |
August Moon
|
 |
Gold Standard
|
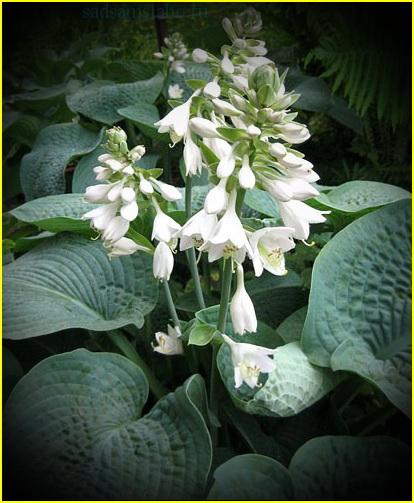 |
Sieboldiana Elegans
|
 |
Fragrant Bouquet
|
Popular varieties
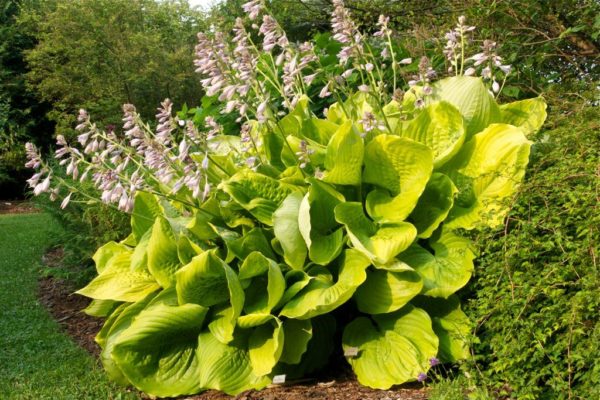
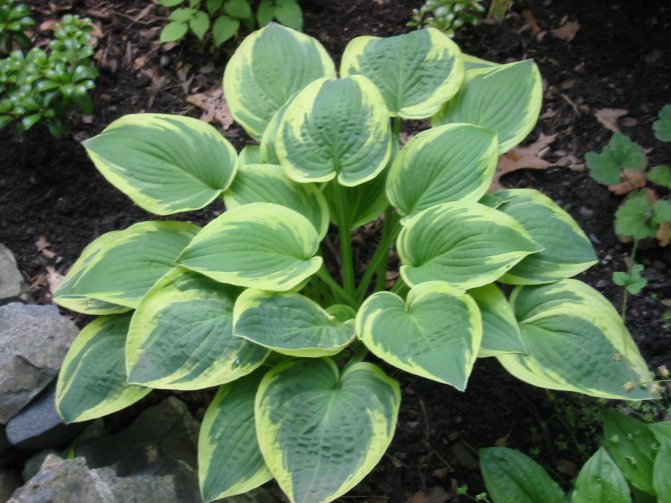
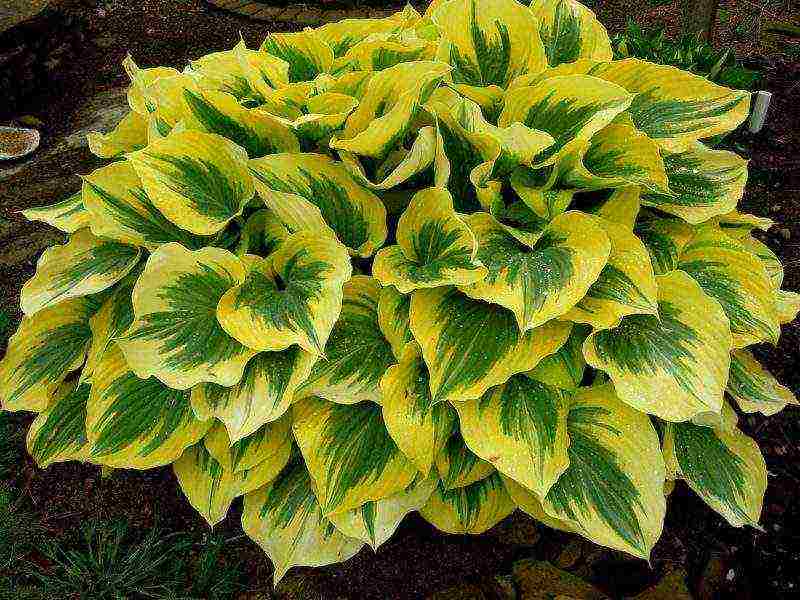
- A giant with very bright foliage (blue-green middle and bright yellow edge of the leaf) - Liberty - height 80 cm. The shape of the leaf is heart-shaped. During the season, the yellow edges of the leaves fade and turn white, but the decorative effect is not lost.
- On a sunny plot, the So Sweet variety thrives (up to 60 cm tall). Forms a beautiful and dense fountain of rich green leaves with a thin white edge.
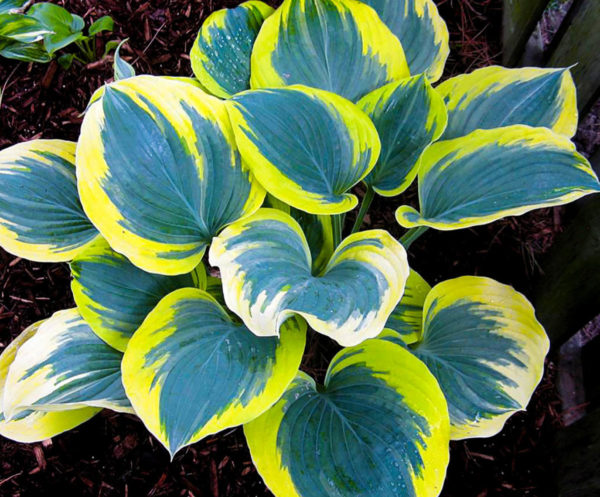
- One of the bright and common varieties of medium height (up to 50 cm) is Blue Ivory. The plant is shade-tolerant, but at the same time contrasting. In spring, bluish leaves are bordered by a wide milky edge. During the summer, the leaves take on lighter shades of blue and white.
- A worthy piece of the collection will be Lakeside Dragonfly. Elongated variegated leaves with a green center. Suitable for the lower tiers of the rock garden.
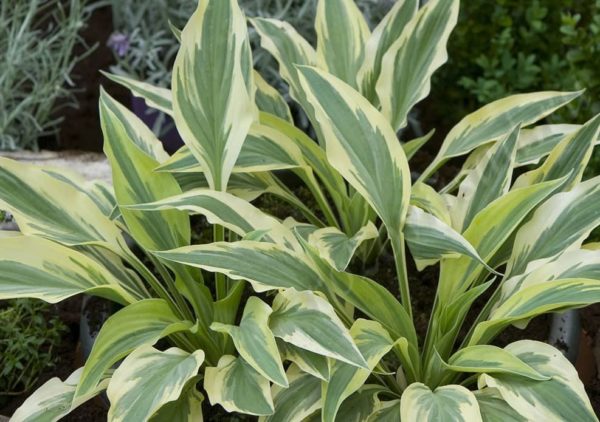
- Rare interesting cultivar Praying Hands (up to 60 cm). The narrow, wavy, dark green leaves are adorned with a thin white line along the edge.
- A bright yellow sun in a shady corner can be the Fire Island variety. Low bush, up to 35 cm. Compact and elegant.
- A very interesting miniature Pandora's Box variety. Growth does not exceed 10-12 cm. Rounded leaves with a white center. Perfect for alpine slides or decorating the edge of a mixborder, for disembarking along paths.
Advice! Most of the hosts are shade-tolerant, it is best to plant under trees.
In the Urals, the presented hosta varieties require appropriate conditions for planting and care. The function on the site is a unique solution, since it is very rare to find such beautiful plants.
Secret # 7: mulching
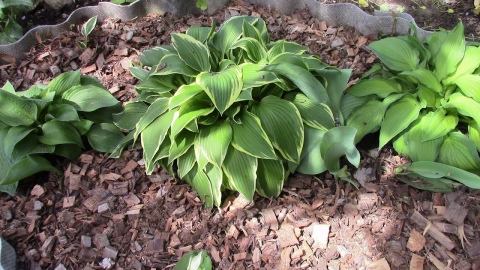
An agricultural technique such as mulching helps to preserve moisture in the soil and at the same time feed the hosts. In the spring, the mulch that protected the plants in the winter should be replaced with a new one.
So you will protect the perennial from fungal diseases, the causative agents of which may have multiplied in a humid environment. Peat, wood chips, compost, fresh grass or needles, which acidify the soil and protect against slugs, are well suited as mulch for the host.
These simple techniques, carried out in a timely manner and with high quality, are the secret of the excellent shape, health and beauty of the host loved by many gardeners and landscape designers. In their variety, you will definitely be able to choose the type and variety that is most suitable for creating unique compositions in a flower bed or in a garden.
Hosta (aka function) is a popular perennial, which even a beginner can grow. But for this you need to know some rules for caring for this plant.
The main advantage of the hosta is its large, elegant leaves, which amaze with a variety of colors and textures. And no less attractive are racemose inflorescences of small funnel-shaped flowers. However, these plants only look spectacular when grown under certain conditions.
In some host varieties, the flowers are not very attractive, so the emerging peduncles are immediately cut off so that they do not overshadow the beauty of the leaves.
Hosts love moisture and shade, but at the same time they can easily tolerate drought. In the wild, they grow mainly along the banks of rivers and streams, on mountain slopes and forest edges. This must be taken into account when landing a host at a summer cottage.
In Japan, the hosta is considered a sacred plant. The stalks of its leaves are used as food as a delicacy.
Planting rules
For planting in open ground, hosta seeds or already rooted planting material can be used. And although most gardeners prefer to use already large plants with roots, a lot depends on the host variety. But both options, if you follow simple rules during planting, are considered acceptable. How is the host planted? Let us now dwell on this issue in more detail.
- 1When to plant the host? As with rooted cuttings and seeds, it is best to do this in the spring. Then, by summer, the plant will have time to adapt to the conditions and will already be able to please with lush greenery. In the spring, planting begins after frost. Some host varieties are best planted in the fall, but then they should be allowed to overwinter painlessly, covered with foliage or straw during frosts.
- 2Hosts with a developed root system are planted in small pits, at the bottom of which drainage from expanded clay, sawdust or small twigs is laid. The depth of the pits should be such that, after planting, the growth bud remains above the ground, but at the same time the straightened roots are in the ground. The larger the plant, the larger the hole should be. The same applies to the distance between the holes: for large varieties, it should be at least half a meter.
- 3If we are talking about the reproduction of hosts by seeds, then instead of holes, shallow grooves are made, where seeds are planted and spilled with warm water with fertilizers. But the hosta from seeds will please the eye only after 3-4 years, so this method is rarely used by gardeners.
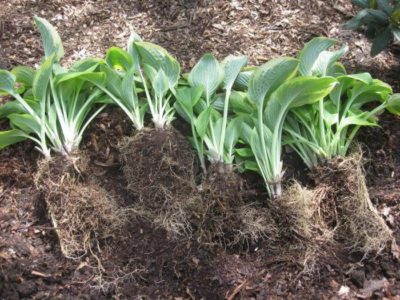
It should also be remembered that when purchasing planting material, it is important to store it correctly even before planting. It is best to keep the hosta in the refrigerator at freezing temperatures before planting in open ground.
The cold and dark will help preserve the plant and prepare it for permanent conditions.

