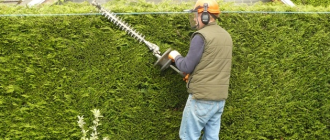
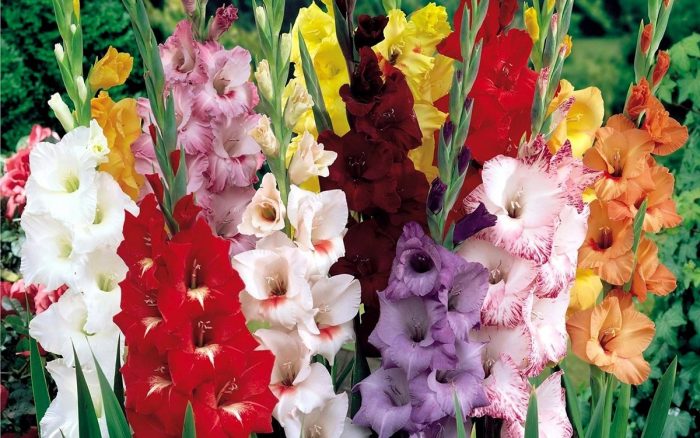
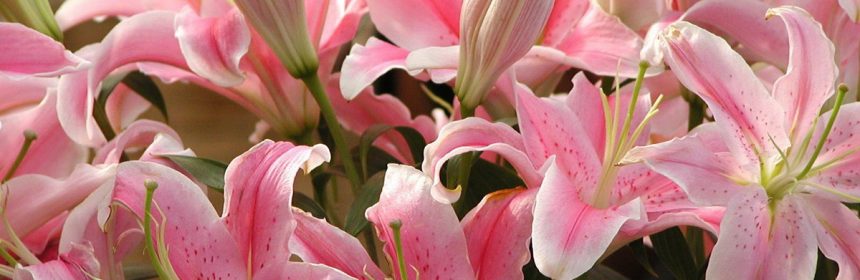
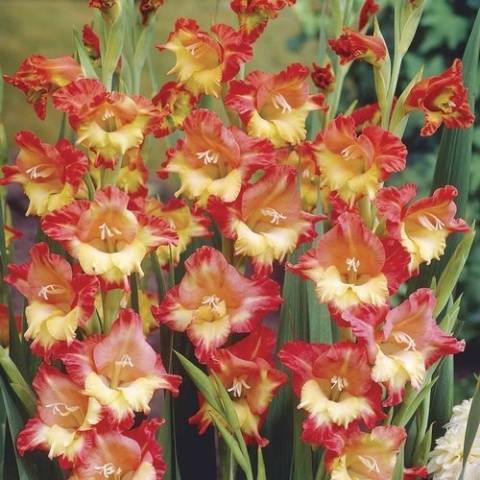
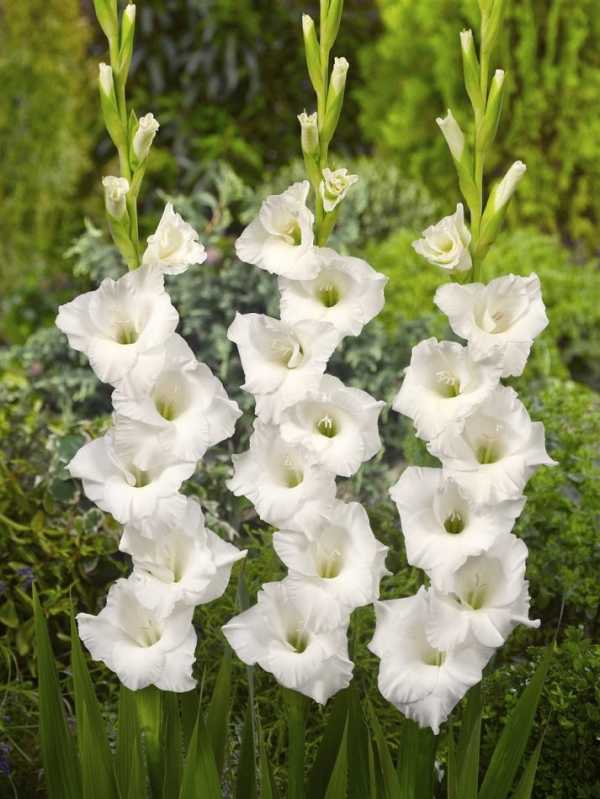
Planting Gladioli outdoors
In order for Gladiolus to grow well on the site, to please with the abundance of its flowers, their brightness, it is necessary to properly plant the bulbs in the ground.
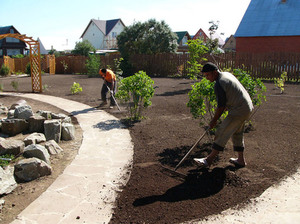
Boarding time
Gladioli bulbs are planted in the ground only after the soil warms up to + 10 ° C. Typically, this temperature is set in April-May, depending on the region.
Selection of corms
Planting material must be healthy
If it is purchased in a store, then you need to pay attention to the condition of the corms. If the bulb is large, has wormholes, and is flabby - this is a sign that it is already old, which means that you should not expect a beautiful plant. It is better to buy "babies" that will actively grow and bloom well over the next 4 years
It is better to buy "babies" that will actively grow and bloom well over the next 4 years.
Landing place
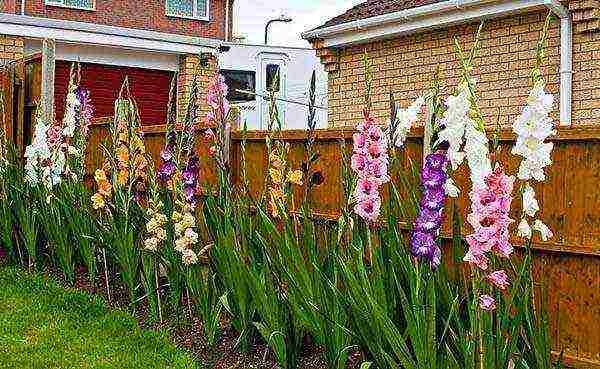
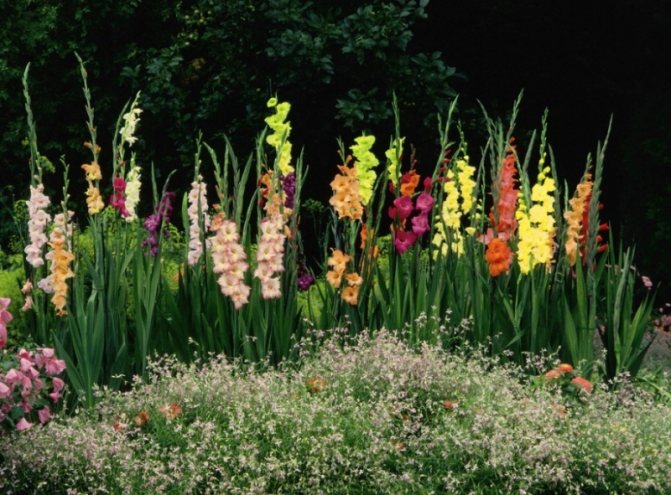
Gladiolus corms should not be planted in low-lying areas where water is stagnant. This can cause them to rot. Slopes with hummocks are also contraindicated. The best place is a flat, dry area, well lit, protected from wind and drafts.
Lighting
Gladioli are light-loving plants. Penumbra is only allowed for early Gladioli. With insufficient lighting, they simply will not have time to bloom.
Soil preparation
For growing Gladioli, sandy loam or loamy soil, slightly acidic with a pH environment in the range of 6.5-6.8, is quite suitable. With a high acidity of the soil, the plant can be affected by fusarium. Experienced gardeners recommend adding sand to the soil, especially if the soil is clayey.
Before planting the corms, the site is dug up. If the region is arid, then it is better to prepare the site in the fall, digging it 15 cm deeper than in spring. Together with the digging, potash and phosphate dry fertilizers are introduced.
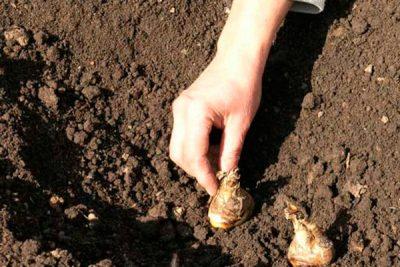
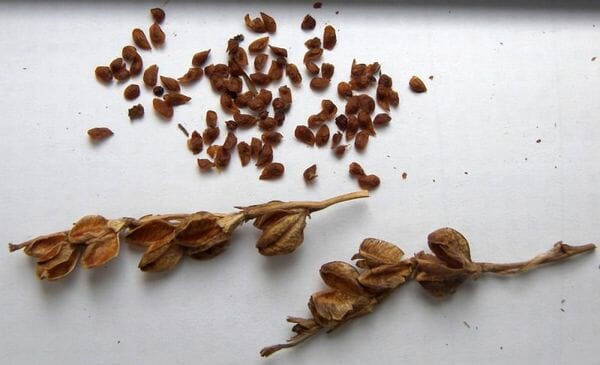
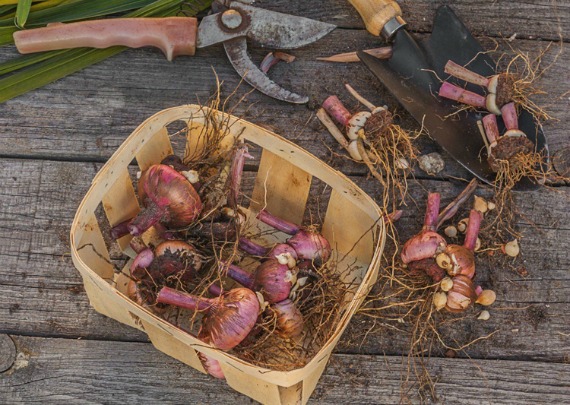
Inspection of corms, preparation for planting
Gladioli bulbs must be carefully examined before planting.
The scales that cover the corms are carefully peeled off so as not to accidentally touch the young sprouts. If the bulb is affected, for example, by scab or sclerotinia, the diseased area is carefully cut off and burned with brilliant green. So that in the future the plant does not undergo various diseases, it is recommended to carry out the following procedures before planting:
So that in the future the plant does not undergo various diseases, it is recommended to carry out the following procedures before planting:
How to care for a gladiolus after planting
All growers know about the importance of correct flower care after planting in the open field and thereafter. Gladiolus is certainly no exception. It is not difficult to take care of the skewers; it is enough to carry out the standard activities, which are described below:
It is not difficult to take care of the skewers; it is enough to carry out the standard activities, which are described below:
- Watering. Flowers need generous watering, so you need to do this once every 5-10 days, while the water should penetrate to a depth of 3 centimeters. The irrigation rate for gladioli is 10-15 liters of water per square meter of planting. Do not allow the soil to dry out in the flower garden. Watering is desirable with lukewarm water in the evening. It is necessary to carefully monitor the humidity during the formation of the peduncle (this moment occurs when the 3-4th leaf appears). Moisture should not get on the leaves of the plant.For watering, it is advisable to make special grooves and pour water into them.
- Loosening and hilling of the soil. The procedure is an important element of proper care, it improves air exchange in the soil, helps to retain moisture. You need to loosen the soil after watering.
- Elimination of weeds. Weeds should not be allowed to grow, regularly check the area in the garden where the skewer grows, and when weeds appear, immediately eliminate them along with the rhizome.
- Pest and disease control. The invasion of pests and diseases can have a very negative effect on the health and beauty of the plant. Therefore, the skewer should be treated as a preventive measure to prevent the harmful effects of unwanted garden guests. For diseases, it is enough to treat with a fungicidal preparation 2 or 3 times a summer, for example, the preparation "Hom", "Oxyhom", copper sulfate. If you find signs of the disease, then you need to urgently eliminate the sick specimen from the flower garden in order to avoid further infection. And from pests, it is also necessary to treat 2 or 3 times with an insecticidal preparation, for example, the drug "Actellik", "Karbofos". In addition to these drugs, you can protect gladioli from pests with the help of infusion of yarrow, tobacco, celandine.
- ... If your site has fertile soil, and if you regularly apply fertilizers, then you can not feed gladioli. In other cases, it is advisable to feed according to the following scheme: in May and June - potash and nitrogen fertilizers, in June - phosphorus, potash, nitrogen, and in August - potash and phosphorus. Fertilizers need to be applied along with watering.
- Garter to the support. Fixing to the supporting pegs will protect the flowers from strong winds and bad weather.
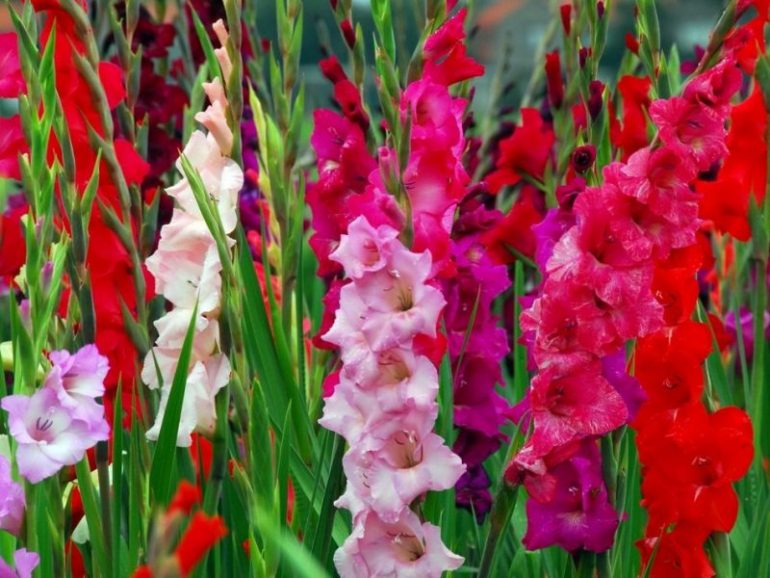
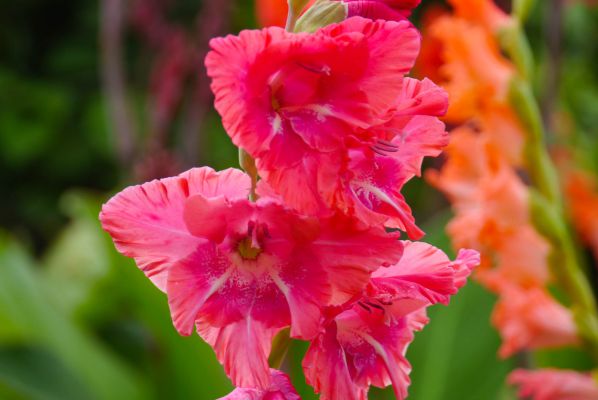
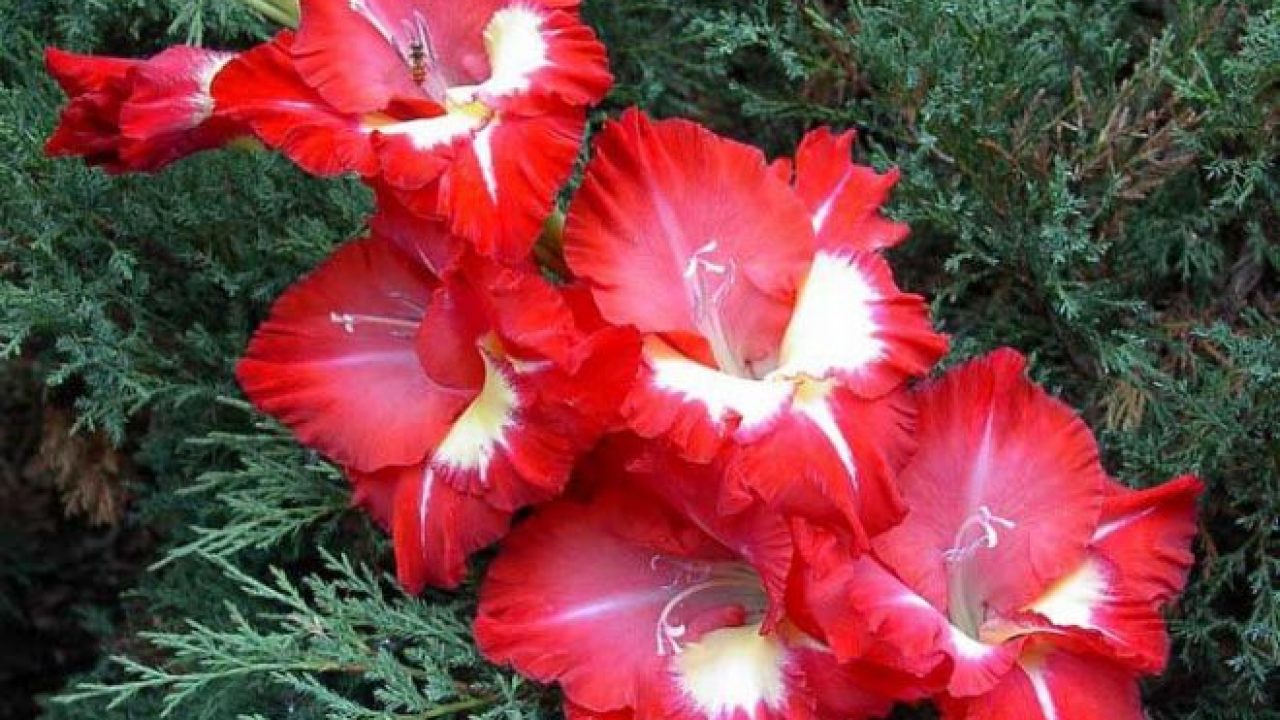
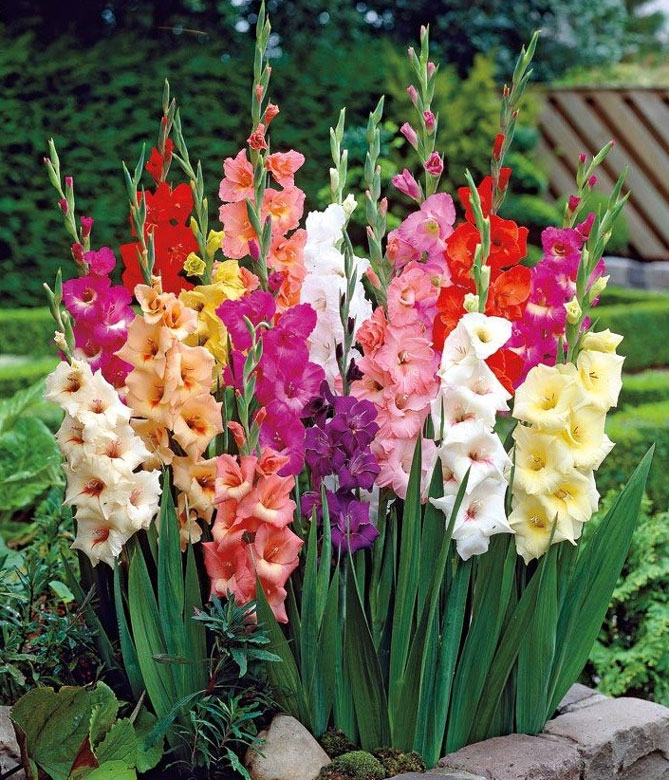
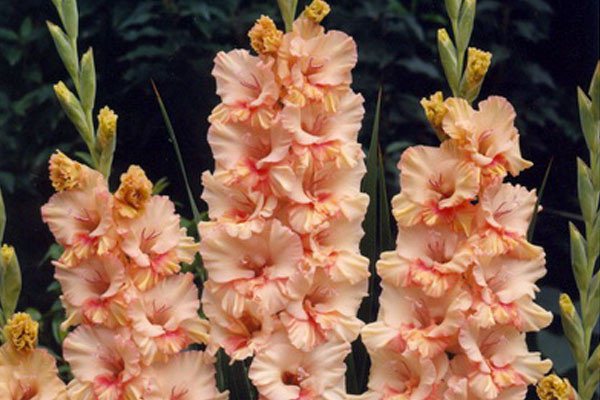
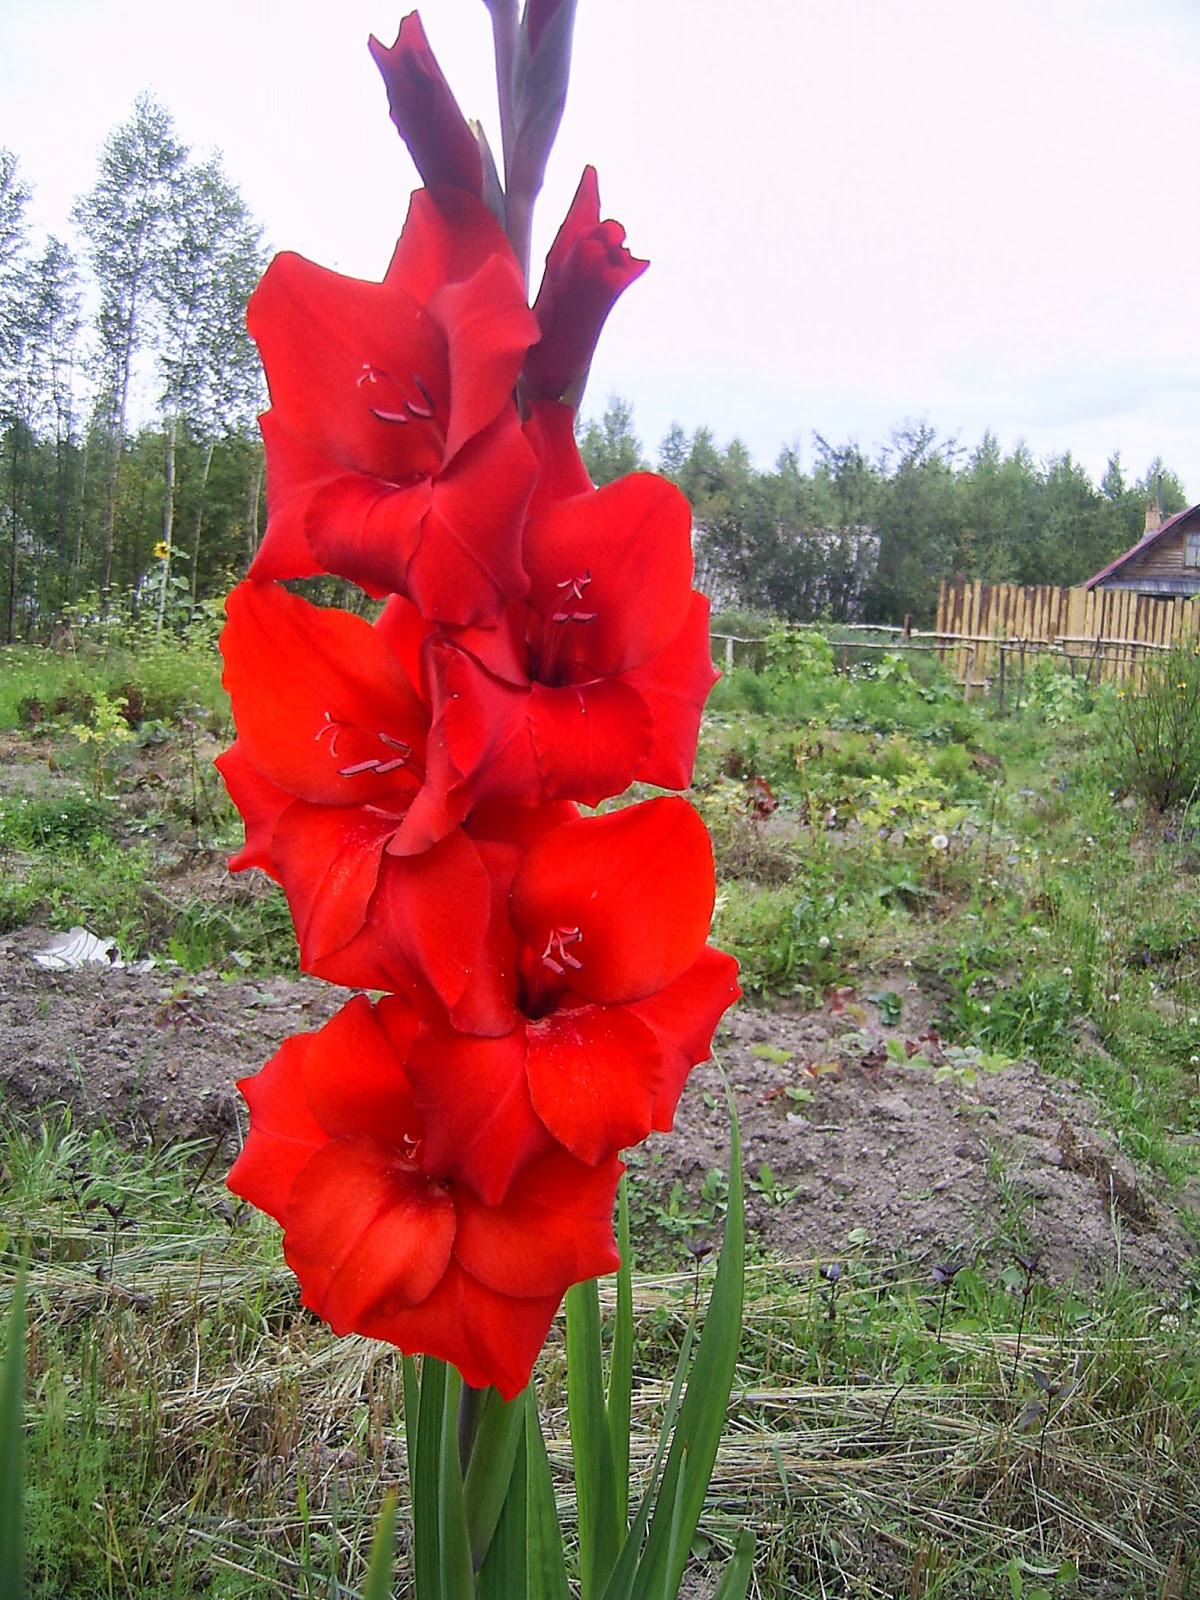
Gladioli are flowers that have a delicate and majestic beauty. There is no such area in the world where graceful plants looked bad. The flower growers, who at least once tried to plant the plant, are very fond of the skewer. Try it too!


Gladioli - preparing for planting a flower garden
 It depends on the site where you plant gladioli whether you can get healthy plants and whether they will delight you for a long time with their flowering.
If we compare gladioli with many other plants, then they stand out for their whimsicality. First of all, before landing, you need to choose the right place for them. They grow best in a well-lit area where there is no shadow.
It is advisable to take this place for gladioli also because in such conditions the flowers demonstrate greater resistance to disease, and this is a guarantee that the corms can ripen well.
Particular attention should be paid to the presence of a shadow: even if it is very small, it will lead to a delay in flowering. But this does not apply to the southern regions of our country, on the territory of which rather hot weather prevails in summer.
Therefore, a little shading will be good for them. Therefore, these plants do not require special care here.
But this does not apply to the southern regions of our country, where rather hot weather prevails in summer. Therefore, a little shading will be good for them. Therefore, these plants do not require special care here.
Stagnation of water in the growing area of gladioli can lead to rotting of the bulbs. Therefore, you need to choose a site so that it is well drained. If this cannot be done in the chosen place for planting flowers, then you will have to prepare a raised ridge.
This need usually arises in the middle zone of our country. If these flowers are grown in hot, southern regions, then there is no need to deal with the drainage device, because otherwise you can get the opposite effect in the form of drying out of the corms.
After 4 years, it is necessary to find a new place for gladioli. If they grow for too long in the same area, then this increases the likelihood of their being affected by various diseases.Moreover, even careful care will not save them from this.
The best predecessors for gladioli are tomatoes, cucumbers, garlic and legumes. If, when choosing a place for planting flowers, this moment is taken into account, then it will be possible to protect the flowers from the defeat of such a dangerous pest as a wireworm.
When preparing to grow gladioli, you need to learn about the rules for caring for them. Then you can be sure that the plants will bloom for many months.
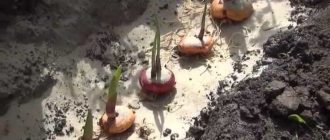
6 Landing in the ground
How to plant gladioli in the spring? The soil should be light and loose. Gladiolus planted in dense, heavy soil will grow poorly and slowly. Bulbs and babies need to be planted at different depths and distances. Adult bulbs need more space.
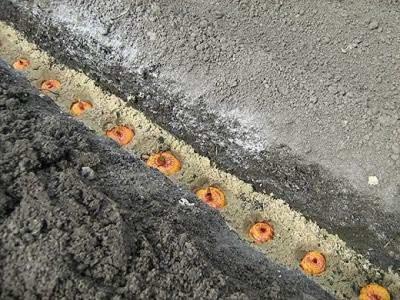
Trenches are made on the flowerbed using a garden tool, river sand should be poured into the bottom of the trenches with a layer of 2-2.5 cm.The distance between the trenches should be at least 30-40 cm, depending on the variety of gladioli.
To what depth should gladioli be planted? For large corms, a trench at least 15 cm deep is needed. Medium-sized bulbs are planted 7-10 cm deep.
Very large corms can be planted to a depth of 18-20 cm if the soil is loose and sags after watering. Tall flowers, kosmeya, dahlias and gladioli, it is better not to plant next to small flowers, as they will create shade for neighbors.


Children of gladiolus plant shallowly - by 5-6 cm. Small children can be planted to a depth of 1.5-2 cm, in this case they will ascend faster. But you will need to make sure that the bed with the "young" does not dry out.
The larger the bulb, the greater the distance between the tubers. A flower planted close to its neighbor will stretch upward, moisture will accumulate in its leaves and at the root, and the garden will be poorly ventilated.
How to plant gladioli so that white plants grow comfortably? Large corms are planted at a distance of 12-15 cm from each other, medium-sized bulbs - at a distance of 9-10 cm, very small bulbs and tubers can be placed at a distance of 3 to 7-8 cm.
Planting is done as follows: corms need to be planted at the bottom of the trench, carefully pressing them into the sand. Then the onions are lightly "powdered" with pre-sieved wood ash, and sand is sprinkled on top
On top of the sand, the planting can be watered with a weak solution of potassium permanganate. After that, the trenches are covered with earth using a shovel.
Not all growers pour sand to the bottom of the trench. If the soil is light and loose, this is not necessary. If the soil is heavy enough, then the sand helps filter the water, it is easier to extract the corms from such a bed in the fall without damaging the roots. Filtration of water will protect tubers from fungal infection.
The flowerbed is watered from a watering can, the first watering should be abundant. In order for the flowers to rise faster, the bed can be covered with plastic wrap at night. The film can be mounted on a low wire frame
The flowerbeds must be closed if night frosts are expected, this is especially important for children. If it is not possible to cover the flower bed with foil, the seedlings can be sprinkled with earth.
If the weather is hot, the beds should be mulched with grass. A layer of grass will prevent the rapid growth of weeds; in summer, rotted grass will serve as an additional fertilizer.
How to plant gladioli seeds?
You can sow gladiolus seeds for growing seedlings in late winter and early spring. It should be remembered that they will need additional lighting. Before sowing, the seeds must be processed. To do this, they need to be soaked in a solution of Epin or Heteroauxin. You can replace these products with a natural activator (honey water or aloe juice).
Small seeds are spread over a damp earth surface, which consists of equal parts of sand, garden soil, humus. There is no need to cover the planting material with earth.Before germination, containers with seedlings are placed in a warm and well-lit place.
Caring for seedlings involves not too abundant watering with warm water, loosening the earth. Seedlings do not need bright lighting. The lamp must be switched on for at least 14 hours. After the arrival of spring, the boxes with seedlings must be taken outside and placed in a place that is protected from sunlight. Young plants can be transplanted into soil or left in a pot until autumn.
Scheme of planting freesia bulbs for germination at home
It is recommended to first plant the bulbs for germination at home, and then plant the so-called seedlings in open ground in the spring. Pre-planting allows you to see earlier flowering - already in early June.
The age of seedlings for planting in a permanent place is 1.5-2 months. You need to plant in a pot at home in early mid-March, but no later than early April. For example:


- In the South (Krasnodar Territory (Kuban), North Caucasus) - in early March;
- in the Middle lane (Moscow region) - in mid-March;
- in the Leningrad region, in Siberia, in the Urals - at the end of March.
For planting the bulbs in the spring for germination at home, you can use a plastic cup or a 200 ml pot. They must have drainage holes.
It is necessary to germinate garden freesia bulbs in light, loose, nutritious soil. You can use soil for bulbous plants for planting or make a soil mixture with your own hands: leaf earth + sod earth + humus (in equal proportions). Or mix 2 parts of sod land, 1 part of peat, 1 part of river sand, 1 part of humus.
It is necessary to correctly plant freesia bulbs for germination at home according to the following scheme:
- Fill a pot or glass halfway with soil.
- Place the bulb on the ground with the bottom down, it should be level.
- Gently cover with earth, but the tip of the sprout should remain slightly on the surface.
- Water with clean, settled water at room temperature.
- If the soil has settled after watering, then add it to the previous level.
How to care for freesias during germination
Taking proper care of your freesia bulbs after planting at home helps them germinate safely. It is necessary to maintain the temperature within 18 degrees Celsius during the day and 15 degrees at night.
After spring planting for germination, it is worth rearranging the cup or pot on a light windowsill, but at the same time the plant should be protected from direct sunlight!
If the temperature in room conditions is higher, and the air is too dry, then the plants will stretch and thin, they will be weak, and the stem may even break off. Before planting in open ground, when the temperature is above 10 degrees Celsius, you can take out the plants during the day.
Watering is necessary as the top layer of the earth dries up, using clean, settled water at room temperature.
If the plants are overgrown or elongated, it is recommended to tie the stem to a support so that they do not break off.
How to care for gladioli in the north
Beautiful flowers require proper care. It is necessary to create acceptable growth conditions for them in order to see lush flowers in due time. You need to adhere to the following rules for caring for flowers:
timely weeding - it is worth regularly examining the plant, removing weeds;
watering is required every week
It is enough once - you need to water it carefully, without touching the leaves and flowers;
it is necessary to loosen the soil moist so that a crust does not appear;
because of its height, the plant must be tied to supports, otherwise it may break and fall in bad weather;
it is worth feeding with high-quality fertilizers purchased in specialized gardening stores;
dried flowers must be constantly removed, so they will not spoil the overall decorative appearance ..Siberia is also dominated by a sharply continental climate.
Temperature drops are frequent here. In summer, during the daytime, the thermometer can reach +30 ° С, and at night it can drop to +7 ° С
A sharply continental climate also prevails in Siberia. Temperature drops are frequent here. In summer, during the daytime, the thermometer can reach +30 ° С, and at night it can drop to +7 ° С.
Breeders from this region of Russia have also bred special Siberian species that will delight you with flowering even in a short summer period.
The main feature of growing these flowers in Siberia is taking into account the climate of these places. The soil here also has distinctive features that will differ in different regions of Siberia.
Weather plays a role in the southern and northern territories when growing gladioli.
The soil must be well drained before planting. Excessive moisture can damage the bulbs, while being an ideal environment for fungal attack. It is in Siberia that an increased level of humidity is noted.
Paying extra attention to the soil before planting, you will ensure success in growing these plants.
For a large amount of time, the flower has gone through multiple changes, improving its shape, colors, sizes. However, not enough attention has been paid to resistance to various lesions.
Any organic matter as fertilizer should be applied carefully, plants prefer non-acidic soil
For planting, it is better to choose a light grainy area. It is better to add lime before planting.

Fresh manure can cause infections for plants. Digging up flowers in the fall, humus must be applied in a rotted form as fertilizer. Chlorine is harmful to tubers, bulbs and flowers, so care must be taken not to contain it in the soil.
In the spring, the soil is loosened, making the hole deeper (3-5 cm). Deeply dug soil in a difficult Siberian climate makes it possible to accelerate soil heating. At this time, it is worth applying fertilizers. Before planting, the soil needs to be slightly moistened.
It is also better to treat the soil from pests, slugs, insects. When planting plants, it is worth observing the provided schemes - so the plants will be more resistant to attack by pests and diseases.
Stages of planting freesia bulbs open ground in spring
It is possible to plant freesia in open ground in spring both with bulbs and with seedlings previously grown at home. But in order to successfully grow freesia from a bulb in the first and second options, it is necessary to correctly complete the preparatory stages and the planting itself.
Seat selection
When choosing a place in the garden for planting freesia in spring, keep in mind that the flower grows well in areas with light partial shade, which are reliably protected from wind and draft. Although the plant needs good lighting, it is not recommended to plant corms in too open areas that stand under the scorching sun all day. But at the same time, the future flower bed should not be completely in the shade, otherwise the flowering will be weak and inconspicuous.
Preparing the soil for planting
The soil should be fertile, drained, loose. If the soil in your garden does not have suitable properties, then it is recommended to prepare it before planting:
- If you have poor soil or you have not applied fertilizer for a long time, it is recommended to dig up the soil with the addition of humus or compost (one bucket per square meter).
- Freesias do not like acidic soils, therefore, with low acidity of the soil in your garden area, you need to add wood ash (glass per square meter) or dolomite flour (200 g per square meter) to it.
- If the soil is too heavy, clayey and dense, it is recommended to dig it up with peat and sand to improve the structure (one bucket of each substance per square meter).
- In general, before planting, it is necessary to clear the future flower garden from debris, stones, eliminate the rhizomes of weeds.
Direct landing
Scheme of spring planting of freesia bulbs in open ground:
- Make planting holes, the distance between them is determined by the size of the planting material (the distance between small corms is 3 cm, and between large ones - 6 cm). If you want to plant many bulbs, the row spacing is about 15 centimeters.
- The depth of the pits is about 10-15 cm (but this is not the planting depth!).
- At the bottom of the hole, pour fertile soil from the top layer of the earth (the thickness of the layer should be such that the bulb itself is at a depth of 4-5 centimeters from the surface of the earth).
- Place the onion evenly, bottom side down.
- Cover the holes with fertile soil.
- Water and mulch with peat or compost (layer thickness - 5 cm).
And in order to properly plant freesia seedlings, pre-grown at home, it is recommended to follow these instructions:
- If you have not previously prepared the bed, then you need to make a trench to a depth of 15 centimeters and fill it with a fertile mixture.
- For example, you can put the following mixture: the top fertile soil layer - 1 part, peat - 1 part, humus or compost.
- Or mix the fertile layer and peat in the same ratio.
- And then, on the territory of the future hole, pour one teaspoon of superphosphate (one spoon - for one plant). Mix well with earth.
- Make the holes slightly larger than the cup or pot in which the bulb was germinated. The distance between the pits is 5-7 centimeters.
- Water the plants in an hour or two.
- Carefully take out the plant along with a lump of earth and plant it in the hole using the transshipment method. Freesia should remain at the same level as it was growing before, so there is no need to deepen the plant.
- Fill in the hole, slightly compact the soil around the plant.
- Water and mulch.
Lunar landing date
 When carrying out planting work, astrologers recommend taking into account the lunar calendar. Favorable landing days are the period of the waning moon. At this time, moisture is concentrated in the root system of plants, the bulbs will more easily tolerate planting. It is not recommended to carry out work on the Full Moon and New Moon - the flowers are vulnerable, if the bulbs are damaged, they will take longer to take root. The table shows unfavorable and favorable days for gladioli.
| Month | Allowed days | Prohibited dates | Full Moon, New Moon |
| April | 9-22 | 1-7, 24-30 | 8, 23 |
| May | 8-21 | 1-6, 23-31 | 7, 22 |
| June | 6-20 | 1-4, 22-30 | 5, 21 |
It is recommended to plant gladioli according to the lunar calendar on the waning moon, when the celestial body is in the constellations of Taurus, Libra, Scorpio, Capricorn. When carrying out work on the tables of the lunar calendar, flower growers note friendly seedlings of bulbs, simultaneous and abundant flowering. Plants are less susceptible to natural stress and fungal infections.
Important! According to popular beliefs, gladioli are planted in open ground, when sheets of the size of a coin are formed on a birch.
How to keep gladiolus bulbs until spring
 Before storage, the old bulb is separated from the replacement bulb. Planting material is folded into cardboard boxes or paper bags, marked with the variety name and put away in a cool place for storage. At home, this can be the bottom shelf of the refrigerator or some kind of drawer on the glassed-in balcony.
From autumn and for 2-3 months, gladioli are stored very well and no problems arise. However, closer to spring, the bulbs begin to wake up and the premature appearance of sprouts and the occurrence of putrefactive diseases are possible. To prevent this situation, it is necessary to establish control over the condition of the bulbs, starting in February.
For prevention purposes, it is recommended to put peeled cloves of garlic in a bag with bulbs. It will have a disinfecting effect on the ambient air, but good ventilation will be required at the storage area.
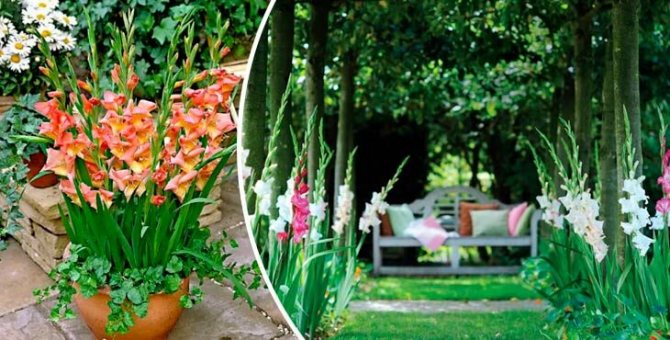
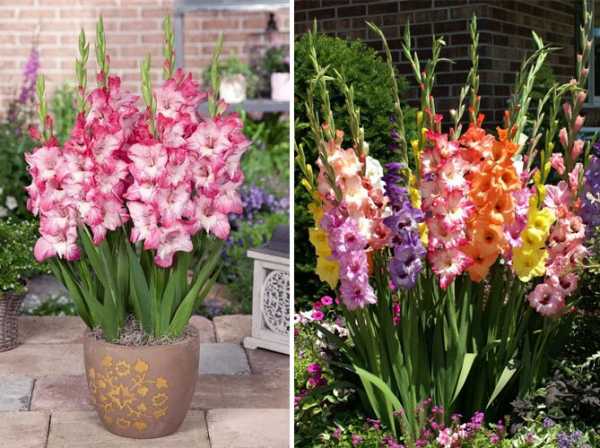
Gladioli in pots: planting and care
If you do not have the opportunity to grow gladioli in a flower bed, you can easily plant them in a regular flower pot.
Planting and caring for flowers in pots is carried out as follows (Figure 7):
- The planting container should be roomy, with a diameter of 20-30 cm and a depth of up to 40 cm.
- Excess moisture is the first enemy of the plant, so a drainage system in the pot is required.
- For planting, take whole healthy bulbs with a stem height of more than 50 cm.
- The time range for disembarkation is wide: from late March to mid-May.
Growing gladioli in pots is most suitable for dwarf, small and medium-flowering varieties. At home, gladiolus is watered at least 3 times a week. A layer of mulch spread on the surface of the soil will help to retain moisture.

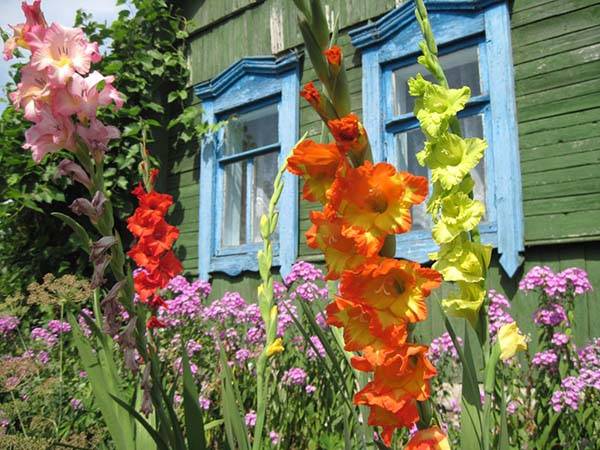

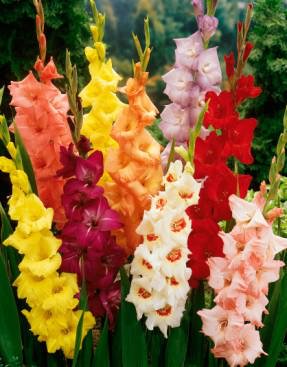
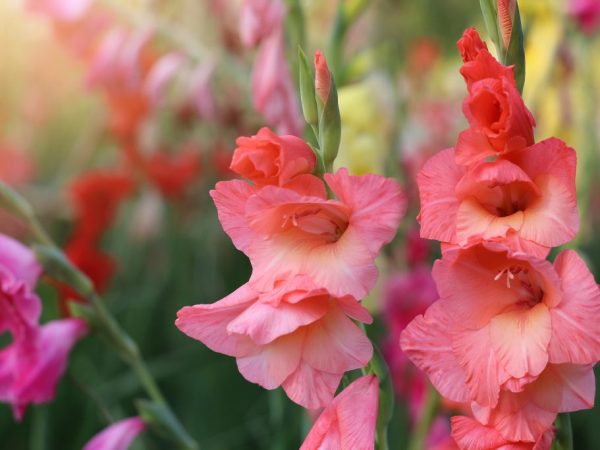

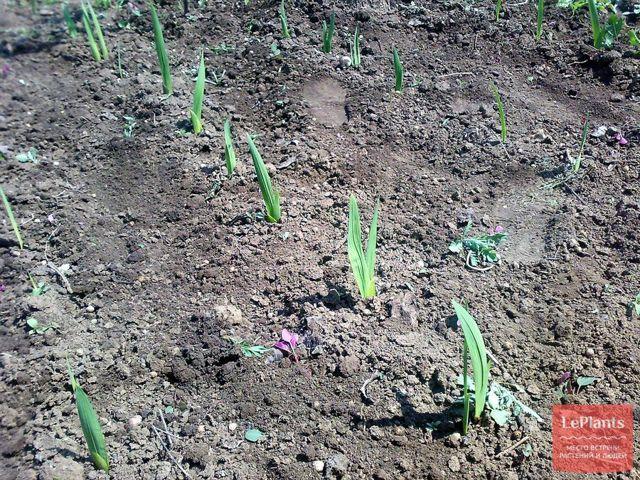
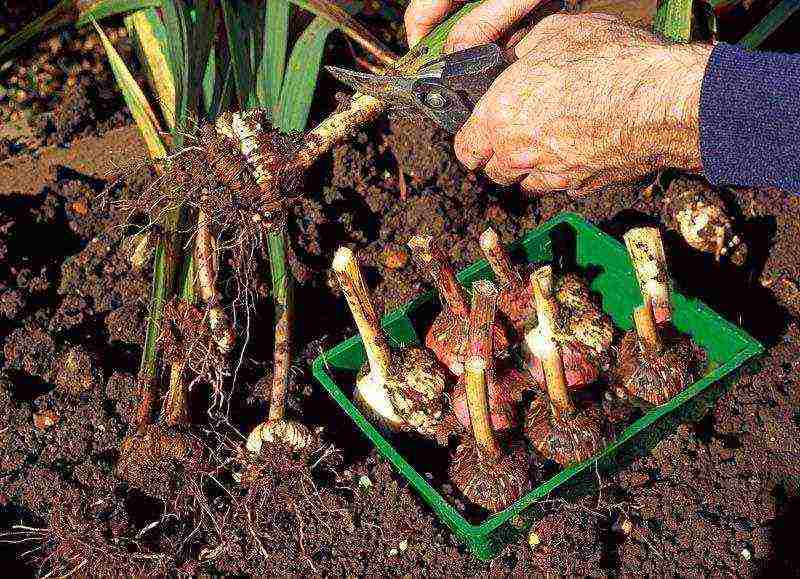
Figure 7. Planting and growing flowers in pots
Proper feeding is the key to a long and beautiful flowering of the plant. To do this, use mineral mixtures based on nitrogen, potassium and phosphorus, as well as organic fertilizers with substances to stimulate plant growth.
Planting gladioli in pots: video
If you are interested in how to properly plant gladioli in pots, we recommend watching a video that shows this process in detail.