Care
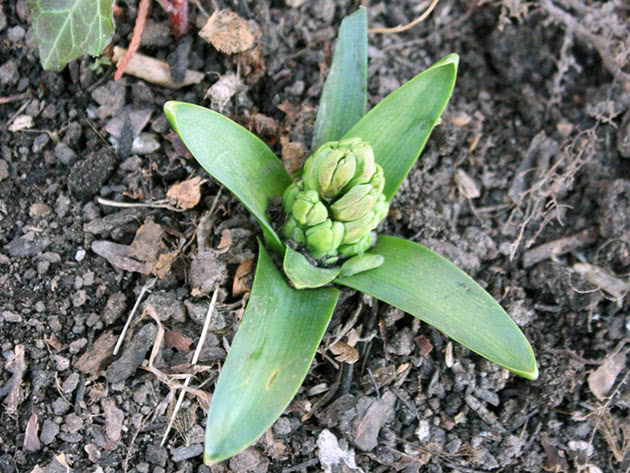
- In early spring, the bed is opened from the film.
- Watering is carried out as needed. You can water the flower garden once every 7-10 days. If it's hot outside, the event is organized more often.
- The soil is gently loosened several times a month.
- In the spring and early summer, fertilizers with nitrogen are applied to the crop. In summer, the land is fertilized with phosphorus and potassium. Before the bulbs are transferred for storage, the plant is again fertilized with preparations with potassium and phosphorus.
- After flowering is complete, the flowers remain in the garden until they dry. After 30-50 days, when the leaves are completely withered, the bulbs are dug out of the ground. They are transferred to the house for storage. So they recuperate.
- In the fall, planting material is planted in the garden.
- After flowering, homemade hyacinths are also taken out of the ground and left for storage. A pot of soil is not suitable for bulb storage purposes.
Important! Practically the most important condition for the good development of a flower is regular weeding of the soil in the flower garden. Hyacinths hate weeds
To avoid the constant work of removing weeds, the soil is mulched abundantly with grass, sawdust, peat or straw.
Hyacinth care after flowering
After flowering, the bulb should recuperate. During this period, she is in the ground. Watering hyacinths is gradually reduced, then completely stopped. It is advisable to feed the plant with minerals, which will replenish the supply of nutrients for future flowering.
When to dig up hyacinth?
The appearance of the plant will help determine the time to dig the bulb. Typically, the bulbs are harvested from the ground when the leaves have turned yellow and wilted.
Experienced flower growers advise to dig the bulbs every year, otherwise they will become ill over time, which leads to the degeneration of the beds. And also the annual transplant helps to control the state of the planting material, separate the children in time and update the planting.
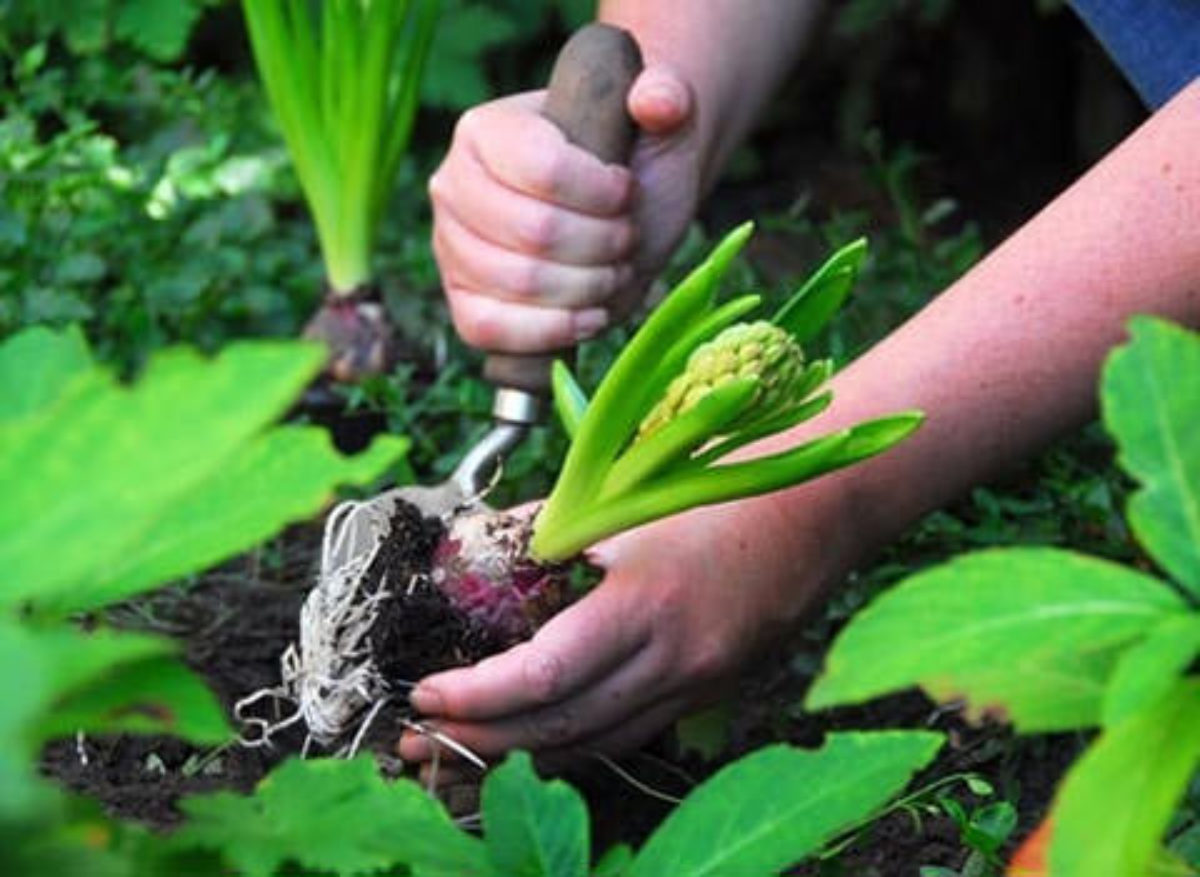
Dig the hyacinths with a shovel, as the bulbs go deep into the ground. Next, they are washed and disinfected. For this, the prepared bulbs are kept in a solution of karbofos or hot water. Then the planting material is sorted, dried and sent to storage.
Storage of hyacinth bulbs before planting
The dormant period of the bulbs is a very important stage in the cultivation of hyacinths.
He needs special attention. At this moment, a flower arrow forms in the bulb.
Dried and peeled bulbs are sent for storage. They are laid out in prepared boxes in one layer. Small bulbs are stored separately. If there is not enough planting material, then it can be wrapped in special paper bags.
An important point during the storage phase is the room temperature. At first, the bulbs are stored at about 25 degrees. This stage lasts two months, after which further storage takes place at a low temperature, close to 5-8 degrees. You can put the bulbs in the refrigerator or basement. There, the planting material is kept for 7 days. Next, the prepared bulbs are planted in the garden.
Important! During storage, hyacinths are able to form many small baby bulbs. They are grown at home
How to plant hyacinths in the fall
- Soil preparation.
The flowerbed is supposed to be dug up. If the soil is too dense, then it must be loosened by adding sand and peat to it. Apply mineral fertilizers: superphosphate, magnesium sulfate and potassium sulfate. Then cover the flower bed with plastic wrap and leave.
- The choice of planting material.
The size of a healthy hyacinth bulb, which is suitable for planting in the autumn months, fits within 4-6 cm.It should be strong, without visible damage. Small specimens will not have the strength to bloom abundantly in spring. The largest bulbs are used for breeding and forcing hyacinths for the spring holidays.
- Preparing hyacinth bulbs for planting
Soak them in a solution of potassium permanganate for 30 minutes. You can replace it with a fungicide, it is also suitable for disinfection.
- Planting hyacinths in the fall in the ground.
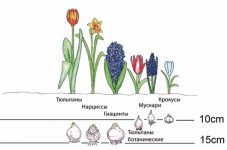
Mark rows 25 centimeters apart. The planting depth of hyacinths should be from 10 to 20 cm (for bulbs 4-6 cm, respectively), more precisely, you can determine yourself. Hyacinths are planted in autumn to a depth of 3 bulb sizes.
Lay drainage from sand and ash at the bottom of the holes. The second ingredient will help protect the flowers from various diseases. The drainage thickness should not be more than 5 cm.
Hyacinths are planted at a distance of 15 cm between the bulbs. Put hyacinth in the hole and sprinkle it with soil. In dry weather, plantings need to be watered.
How to plant?
To enjoy the beautiful flowering of hyacinths in the garden, you need to properly plant the plant, having previously selected a suitable planting site, bulb and soil. Since in their homeland they prefer to grow in dry and warm climates, it is recommended to plant them in areas well-lit by the sun, which are protected from drafts. They do not like these decorative flowers and soil, where water constantly stagnates, plants in such conditions, due to the thin skin, begin to quickly fester and die. You can also plant flowers under trees, as their flowering period usually ends before dense foliage appears. At the same time, do not forget that trees can suck out all useful substances from the soil, which will negatively affect the growth and formation of the plant.
These bulbs look good on flower beds lined with plastic bottles. To create an original landscape design on the site, it is recommended to plant hyacinths with primroses such as bulbous irises, crocuses, daffodils and hazel grouses. They can also be placed next to tulips.
After the planting site has been selected, it is necessary to proceed with the immediate preparation of the soil.
First, they dig up the earth to a depth of at least 40 cm and apply organic fertilizers in the form of peat, humus or compost. Additionally, potash fertilizers and superphosphate should also be added to the soil. In the case when the soil on the site is clayey (heavy), it must be mixed with sand, and if it is acidic, with lime flour. In no case should fresh manure be introduced for digging.
The next step is the choice and preparation for planting the bulb... It should be healthy, clean and dry in appearance. In the presence of visible damage, soft areas and dents, the planting material is discarded. Experienced gardeners recommend purchasing bulbs with a diameter of 4-5 cm.If you take 2-3 cm specimens for planting, they will give few flowers, while large 6-7 cm bulbs are considered too old, and they will have to be constantly updated.
Before planting in open ground, the bulbs should be treated in special solutions or potassium permanganate, this will disinfect them. For this, the planting material is placed in a container with a solution and kept for 20-30 minutes. After that, they should be well dried.
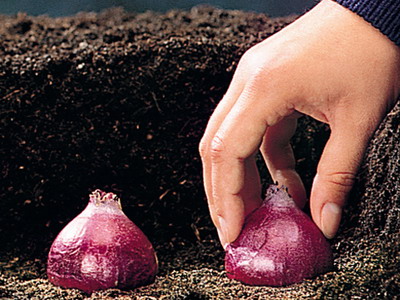
Next, proceed to the direct planting of the bulbs. The first step is to drain the sand from the sand (with a layer of 2-3 cm) at the bottom of the hole. The planting depth of bulbous plants should be one third of their height. For example, if the height of the bulb is 4 cm, then it is deepened by 12 cm, 5 cm - by 15 cm.In areas with light soil, the deepening can be made larger, and with heavy soil, on the contrary, it is less.
It is also important to keep the distance between the bulbs during planting, which usually corresponds to the planting depth. That is, a distance of 10-20 cm should be made between future flowers (it all depends on the size of the bulbs).
The planting ends with the fact that the bulbs are placed on the sand and covered with sand from above (so as not to rot), then with fertile soil. The planting site is watered abundantly with water. In the case when the plant is planted in moist soil immediately after rain, then watering is not necessary. To protect the flower from drying out the soil, mulching with sawdust or peat is carried out.
How to plant?
In pots
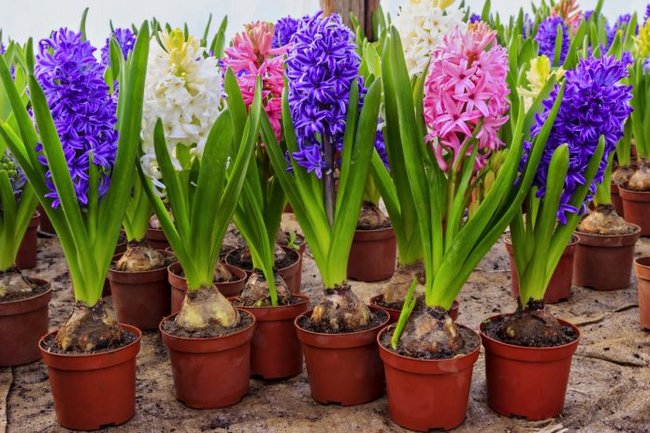
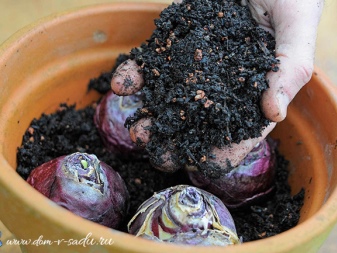
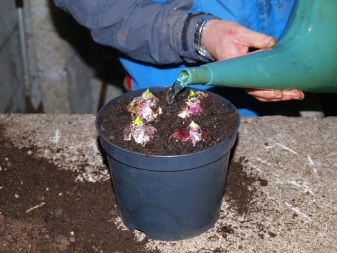
Planting 1-3 bulbs is allowed in one container. The container should be of such a shape that the specimens are located almost close to each other - no further than 2 cm. A drainage layer is arranged at the bottom, earth mixed with sand is poured on top, and onions are laid on top. The planting material needs to be pressed into the soil a little, but the upper part must certainly be above the surface.
Also, before planting, experienced gardeners are advised to stratify the bulbs. To do this, they are placed in a refrigerator, cellar or other cool place where a temperature of 6-9 degrees is maintained without sudden fluctuations. The purpose of this procedure is to harden the planting material, then it will quickly take root in a new place and will not be afraid of harsh conditions.
Also, for growing at home, flower growers are advised to prepare a more complex version of the substrate. Sand, vermiculite, soil, hydrogel, perlite, expanded clay, pebbles and plain water are added there. In fact, the tubers themselves contain all the nutritional components, and the goal of the substrate is to provide a uniform flow of moisture to the roots. Therefore, the soil must be loose and moisture-consuming.
After the bulbs are planted in a pot, the container is removed to a chilled place. The cooling period is determined by the varietal characteristics. On average, the first roots should appear in 1-1.5 months, the peduncle will appear in about 3.5 months.


In open ground
Planting bulbs in an open area does not differ much from planting other bulbous plants.
Before starting the procedure, it is important to go through all the planting material and make sure that all specimens are healthy and have not started to rot. The process itself is as follows
- Choose a ridge up to 15 cm high so that the water does not stagnate and is evenly distributed.
- Loosen the soil to a depth of 40 cm.
- Dilute the soil with nutrient mixture. It can be prepared by combining superphosphate, magnesium sulfate and potassium sulfate. Potassium may be substituted for wood ash. Top dressing with nitrogen in the composition is not needed at this stage - it is better to save them for the spring and summer.
- Make planting holes. The depth is determined by the dimensions of the bulb. If this is a standard specimen measuring 6 cm, then a hole of 16-20 cm is sufficient.With a smaller diameter, the depth of the hole should be up to 15 cm.The recommended distance between the planting holes is 25 cm.
- At the bottom of the holes, fill in sand with a layer of 5-6 cm and, if necessary, lay out drainage from broken bricks.
- Plant your bulbs. If the soil is dry, moisten it.
There is another way to plant bulbs. This is the so-called lazy method for those gardeners who are tired of digging out the bulbs every time, but at the same time they want to preserve the decorativeness of the flowers. For its implementation, several newspapers or cardboard are laid out at the bottom of plastic fruit boxes, a small layer of soil, a few centimeters of sand is poured on top, and the bulbs are placed on top at a distance of 15 cm from each other. Next, the planting is covered with fertile soil and buried in a box in a garden bed in autumn.
With the arrival of summer, at the end of flowering, the box can be excavated and left in the shade until autumn. It is recommended to cover it from precipitation, however, ventilation should be good. The bulbs are well preserved until autumn in this form - they will be hardened in the box, and will be protected from the heat. However, before planting, it will still be useful to check the box for damaged or diseased bulbs.
Sometimes the gardener wants to transplant a summer cottage specimen from open ground into the house, and then the dug tuber should be soaked in advance in a container of water. It is better to use an ordinary glass for this, in which the onion will not completely submerge, but to lower only the lower part, from where the germination of roots will begin. When the sprout hatches, you can transplant the plant into a pot with soil.
Hyacinths can be propagated in different ways. For example, an onion can be cut crosswise and planted back, after a while, small samples of the bulbs can be observed. Reproduction is possible by dividing, when the middle tuber is cut into 4 parts and planted. In this case, you will get 4 new bulbs, however, you should not wait for flowering for the next 2-3 years. The rarest method is seed propagation. With this technology, the plant blooms no earlier than 6 years later.


