Transfer
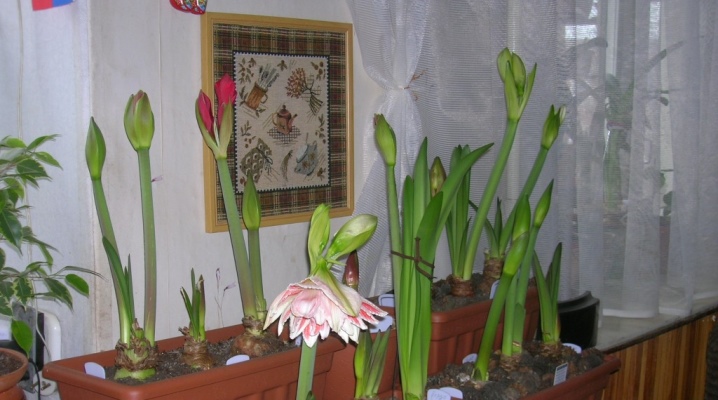
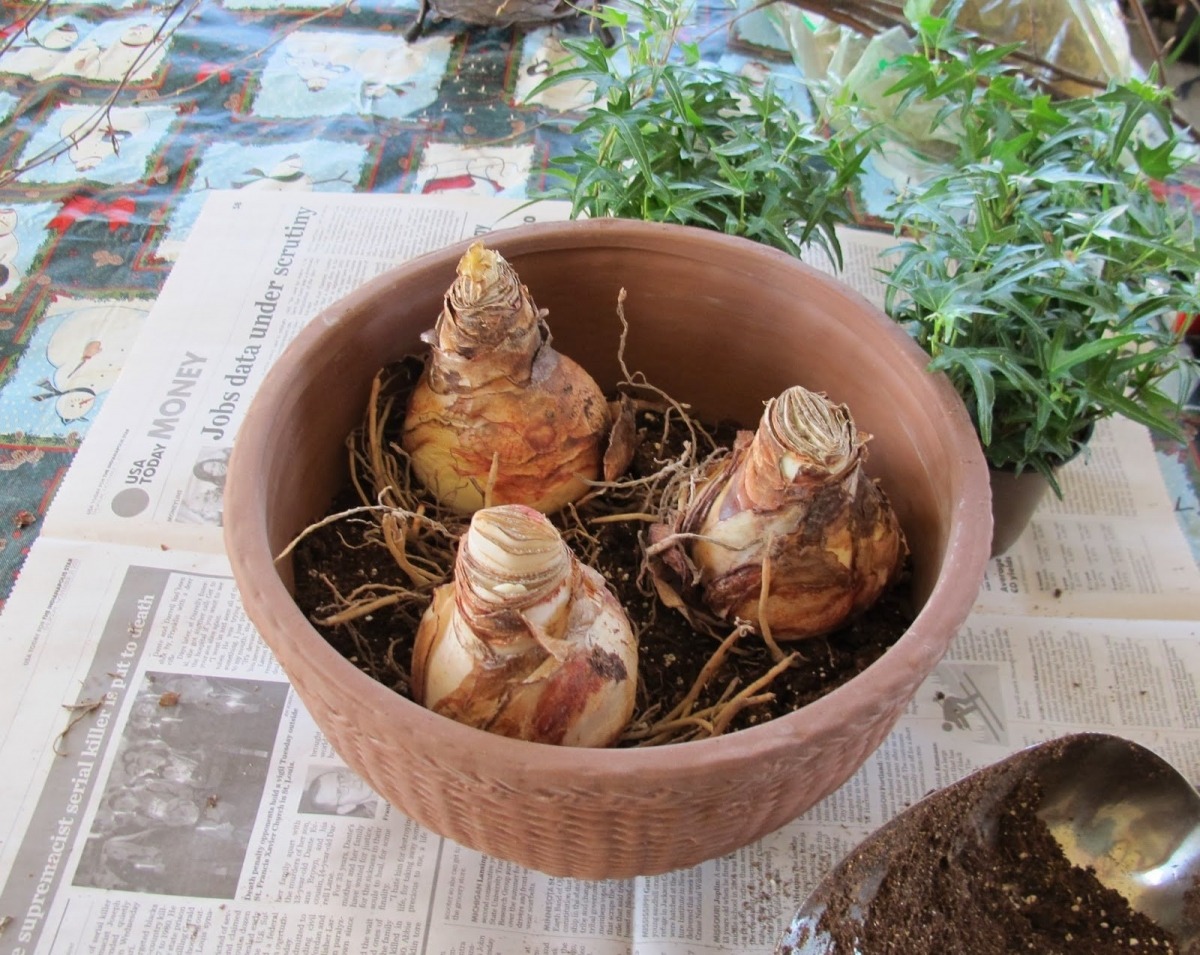
To transplant a plant, first select a container. Choose a pot that is a few centimeters larger in diameter than before. Do not take a container that is too spacious, since the plant in this case will spend energy on the formation of children, and not on flowering. There should be a maximum distance of 2 cm between the walls of the container and the bulb. The culture has a powerful and well-growing root system, and therefore it is better to choose a low, but wide container.
In addition, some specimens reach a lot of weight, and a container made of light materials may not support the mass of a flower. For group planting, a long container is suitable, in which case the gap between the bulbs should be 10 cm.
And you also need to prepare the ground. The most favorable soil structure for the culture is loose. To achieve a high-quality soil composition, combine in equal parts:
- sod land;
- leafy ground;
- humus;
- sand.
Prepare the onion.
- Get the planting material, clean the head from dry scales to clean white fabrics. The cleansing procedure will rid the bulb of bacteria and activate full-fledged development.
- Remove damaged and dry roots.
- Place the peeled onions in a potassium permanganate solution for half an hour, and then dry well.
- If there are small children, then they will be eliminated so that they do not take away the strength from the parent bulb. If the grower plans to multiply the culture, then the children should be kept, and then transplanted into a separate container, where they will begin to bloom in the third year.
When everything is ready, you can proceed directly to the transplant. It is performed step by step.
- Create drainage at the bottom of the pot, such as expanded clay or crushed bricks. You can also put one stick of complex fertilizer there.
- Pour soil into the container.
- Plant the bulb in the ground. This should be done in such a way that the onion protrudes 1/3 above the surface.
- Compact the soil around the plant and moisturize the soil.
- Place the pot in a well-lit, warm place.
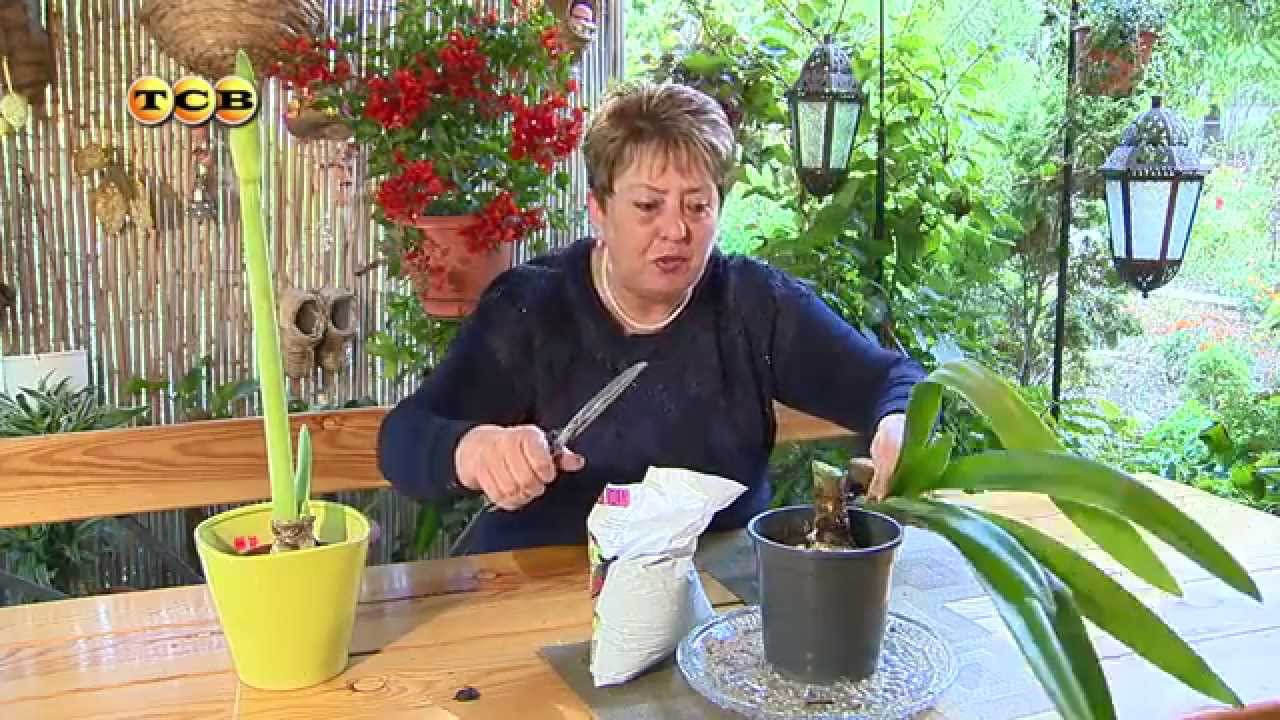
How to transplant hippeastrum, see below.
Hippeastrum, methods of reproduction
Hippeastrum reproduces by seed and vegetative methods.
Seed method of reproduction of hippeastrum
- Seed propagation is a laborious and time-consuming process used, as a rule, by breeders to develop new, hybrid varieties.
- As you know, reproduction by seeds does not give a 100% guarantee of the similarity of the parent and child forms.
- A plant grown from seed will bloom only in the 5-6th year.
- Given that some forms of hippeastrum are self-pollinating plants, artificial pollination of plants must be carried out for seeds to appear.
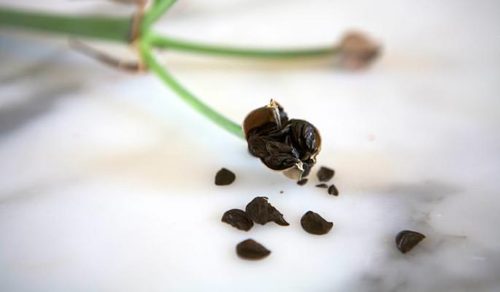
- When the seed pod begins to crack, you can harvest the seeds. After collection, the seeds are sorted out, selecting the largest and densest specimens. It is not worth storing seed for a long time, because it quickly loses its germination capacity.
- Seeds are planted in a light soil substrate or left in a humid environment for germination. When the root appears, the seeds are planted in a container.
- Seedling care includes providing the container with water, light and warmth (20-23C). It is best to moisten the soil with a spray bottle.
- As the seedlings grow, they dive and are seated in separate containers.
Vegetative reproduction of the hippeastrum
- This breeding method is considered to be simpler and more affordable. At the same time, the plant completely retains the characteristics of the parental form.
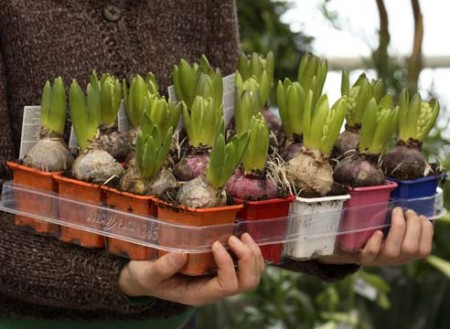
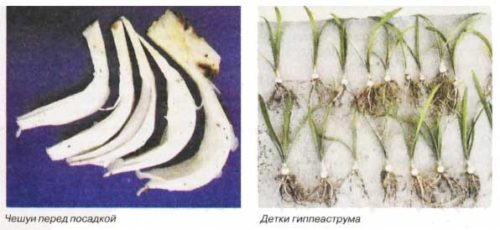
- If “babies” are formed on the bulb, they are separated (when the bulb is dug out) and planted separately in the spring. Every year "kids" grow, and already in the 4th year, hippeastrum can please with flowering. Caring for "kids" in the open field is no different from the conditions for growing adult plants.

Another breeding method is dividing the bulb, but this method is not very popular, because you have to cut a healthy onion, which after that can get sick and disappear. If it is decided to use this method, the high bottom of the uterine (thoroughly washed) bulb is first cut off, then the bulb is cut vertically into 8-10 parts
It is important that the resulting segment of the bulb is at least 1-2 cm.After that, each segment is again cut into several divisions, including 2 scales
Before planting, all delenki are treated in any fungicidal solution. Prepared delenki are planted in boxes with a light nutritious and moist substrate (perlite, sawdust, sand, peat) for further germination. The thickness of the substrate should be at least 10 cm. When planting, the delenki are not deepened, leaving 1/4 part on the surface. It is important to maintain the soil temperature within 22-230C and provide the plantings with regular but moderate watering. After about a month, daughter bulbs are formed on the parcels, and after 3 months, full-fledged daughter bulbs are ready for transplantation.

Hippeastrum in the open field, description of the plant
- The hippeastrum plant belongs to the Amaryllis family. This genus is represented by perennial bulbous crops.
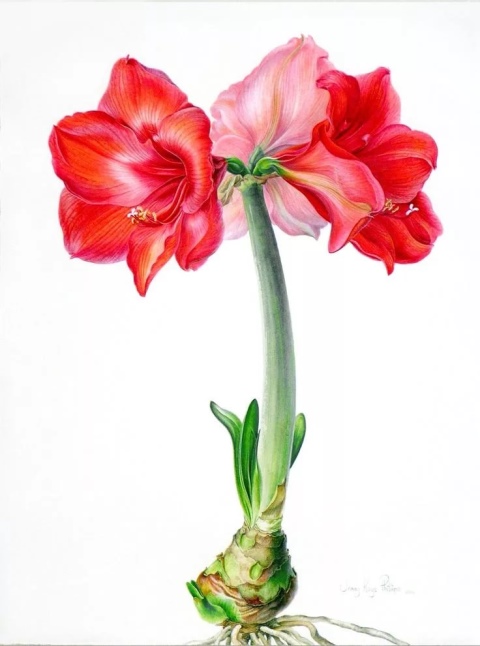
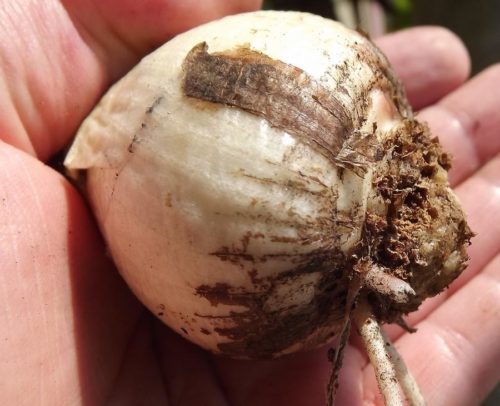
- The bulb of the hippeastrum is more often rounded and rather large in size, reaching from 5 to 10 cm in diameter. From the sides, the bulb forms daughter bulbs, which subsequently participate in the reproduction of perennials. Below, the bulb has a small base, the so-called. the bottom, from which a bunch of filamentous roots departs. It is noteworthy that the older the bulb, the larger its bottom. On the edge of the bottom, numerous adventitious roots are formed at the bulb.
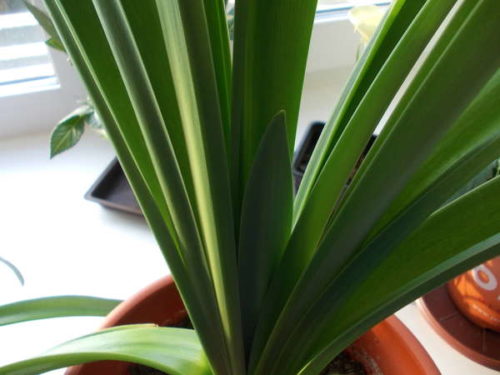
The leaves of the hippeastrum are long, flat and linear. On average, the length of such a belt of a prominent leaf reaches 60 cm, the width is no more than 5 cm. The leaves are arranged in two rows, opposite each other. The color of the leaf blade is most often the usual, green color, although there are varieties of hippeastrum with a reddish-brown tint. In an adult plant, you can see a clear alternation of leaves, consisting of 4 leaves and 1 peduncle: first there are 3 leaves with a closed base, then 1 - with an open sheath, from which the inflorescence begins to form. This alternation is called a cycle.
- Peduncles grow only after the leaves of their cycle have completely died off, that is, when the leaves of the next growing season appear. Thus, experienced growers, by the number of leaves, can accurately determine the number of laid inflorescences.
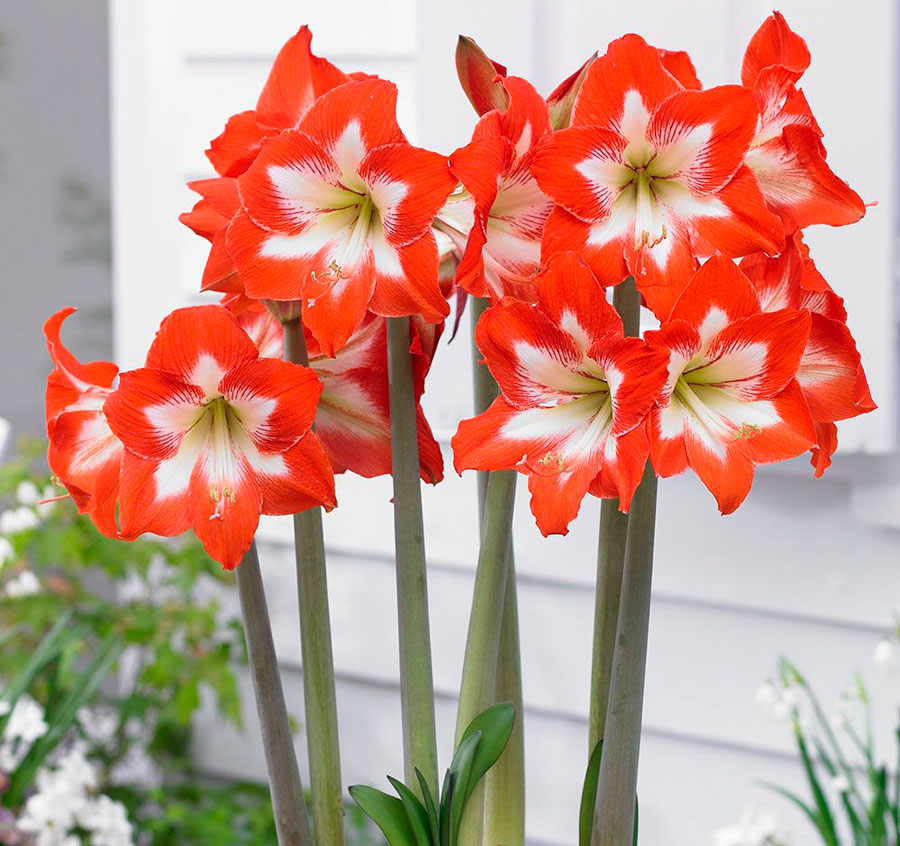
- Umbrella inflorescence is formed on a long (40-80 cm), hollow peduncle. The hippeastrum bush releases long leafless "arrows" with a lush umbrella at the end. The inflorescence consists of 4-5 large flowers resembling "gramophones" and reaching up to 20 cm in diameter. Flowering in the flowerbed begins approximately in the second half of summer. The plant looks especially luxurious when several peduncles are formed at once, seated with bright flowers. In the open field, in contrast to indoor conditions, hippeastrum blooms longer, about 3 weeks.
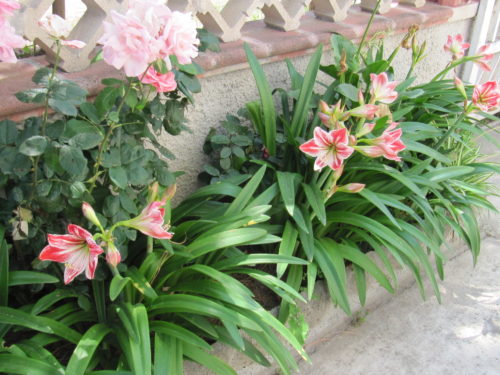
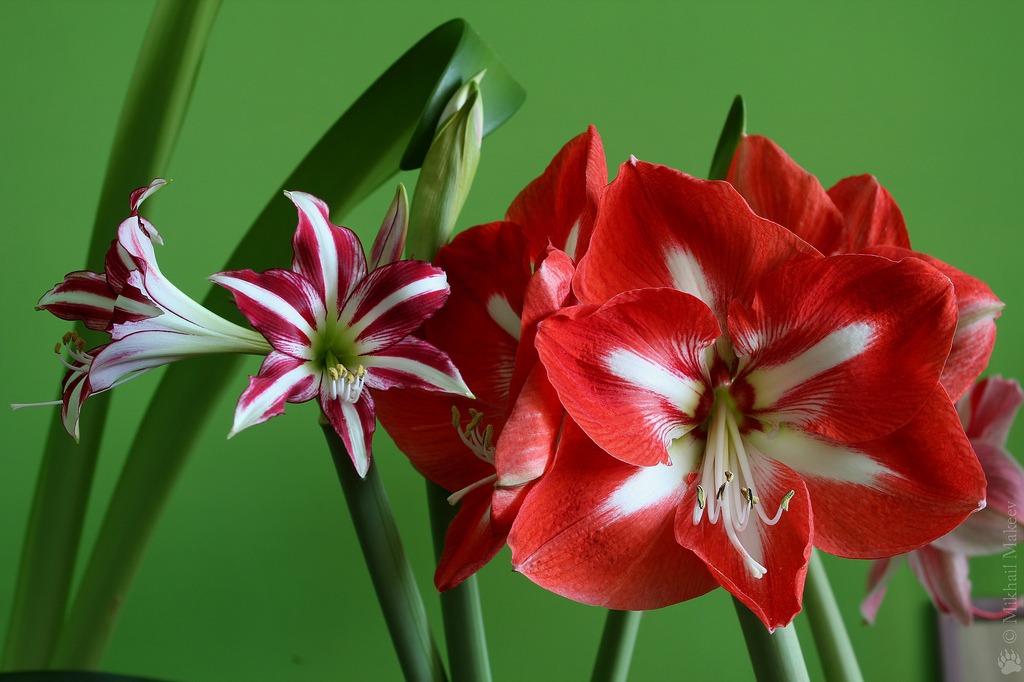
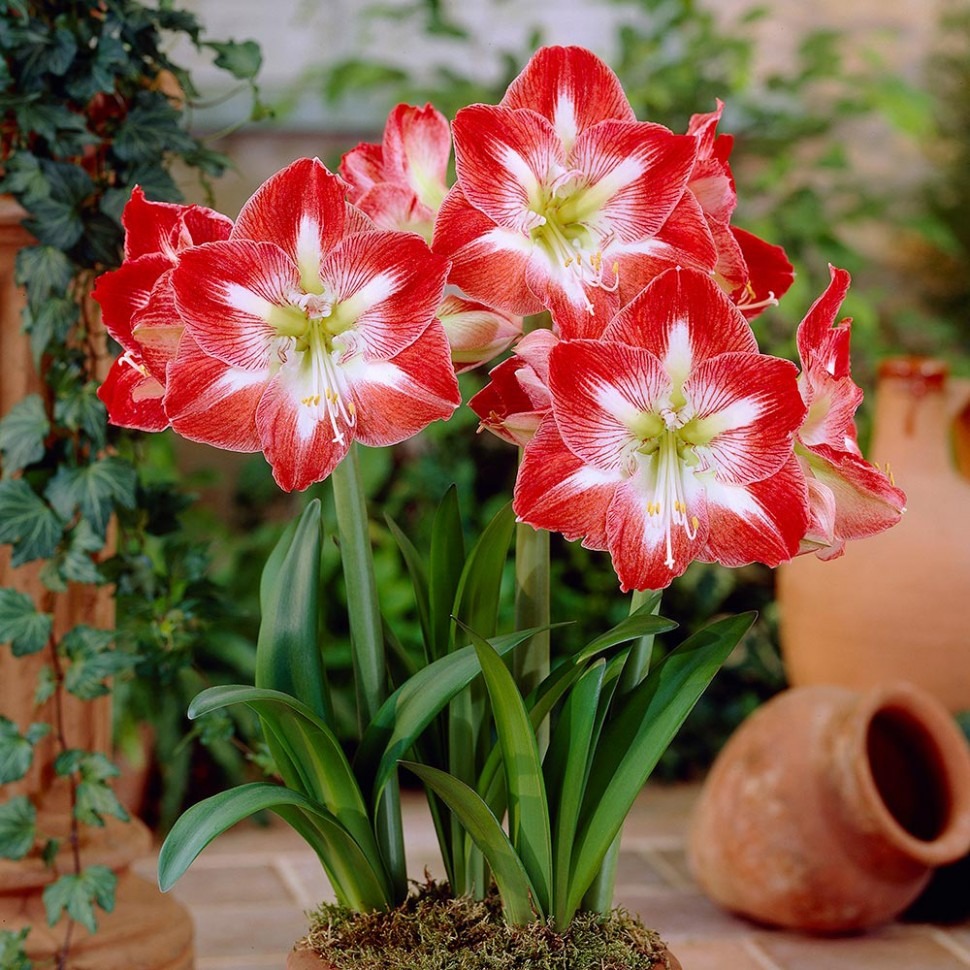
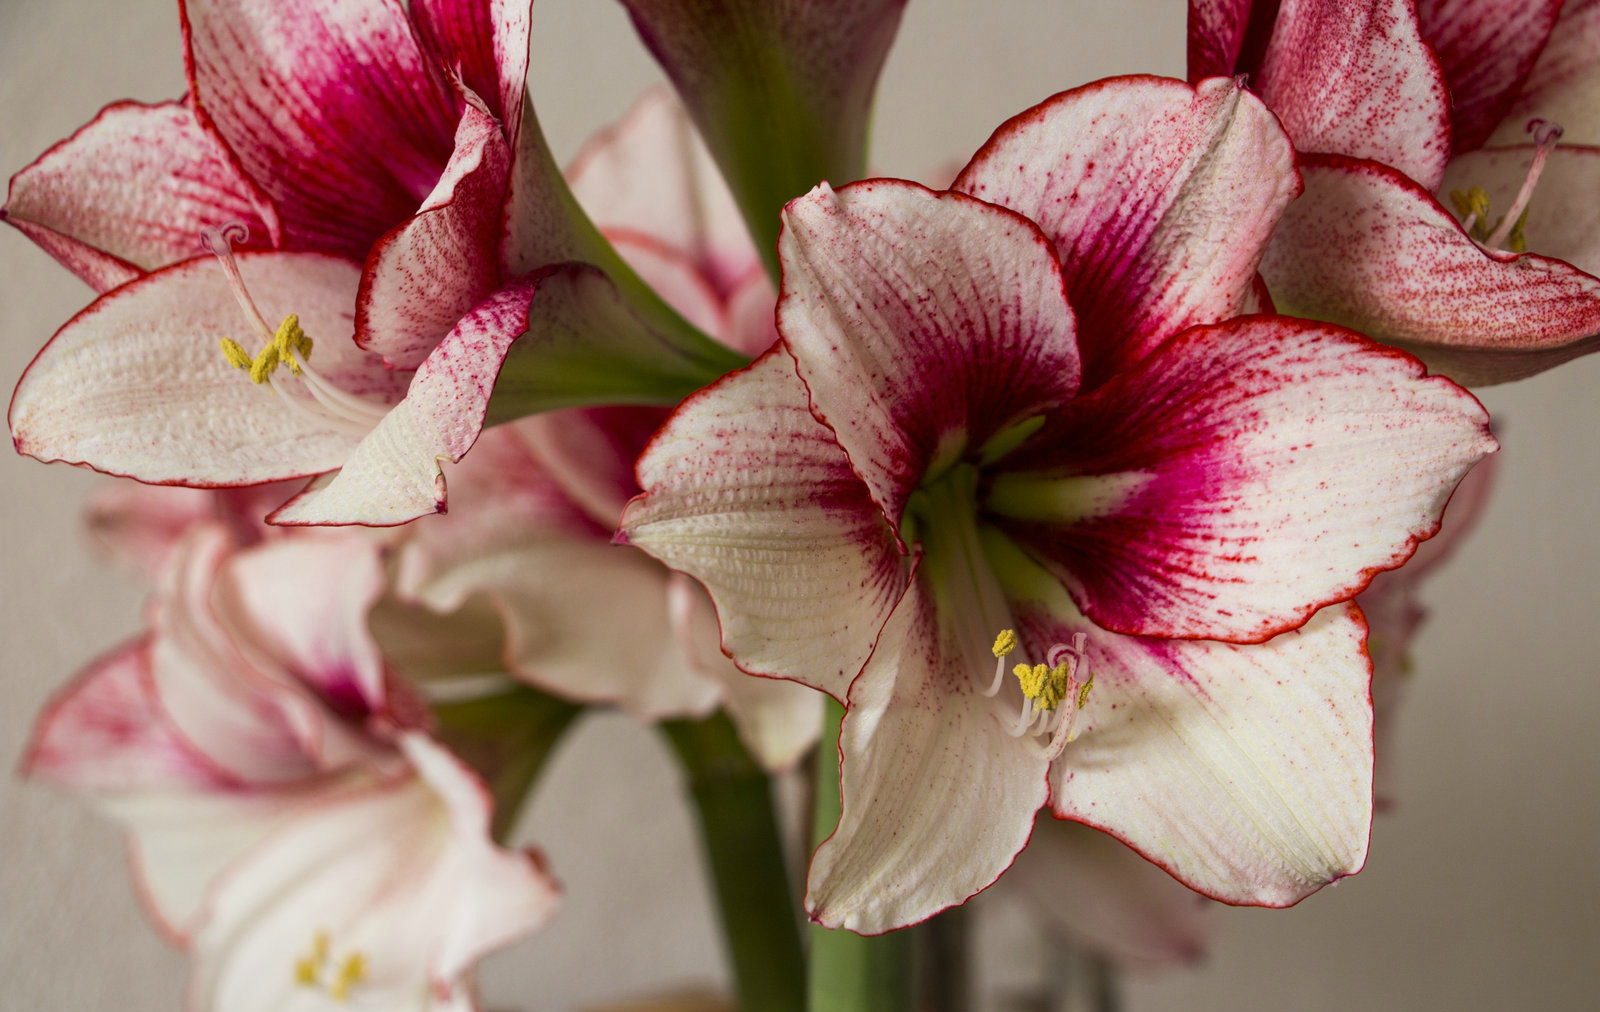
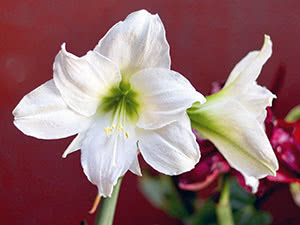
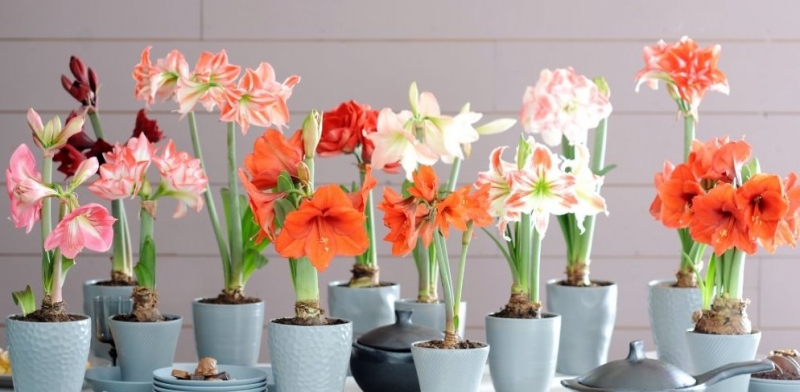
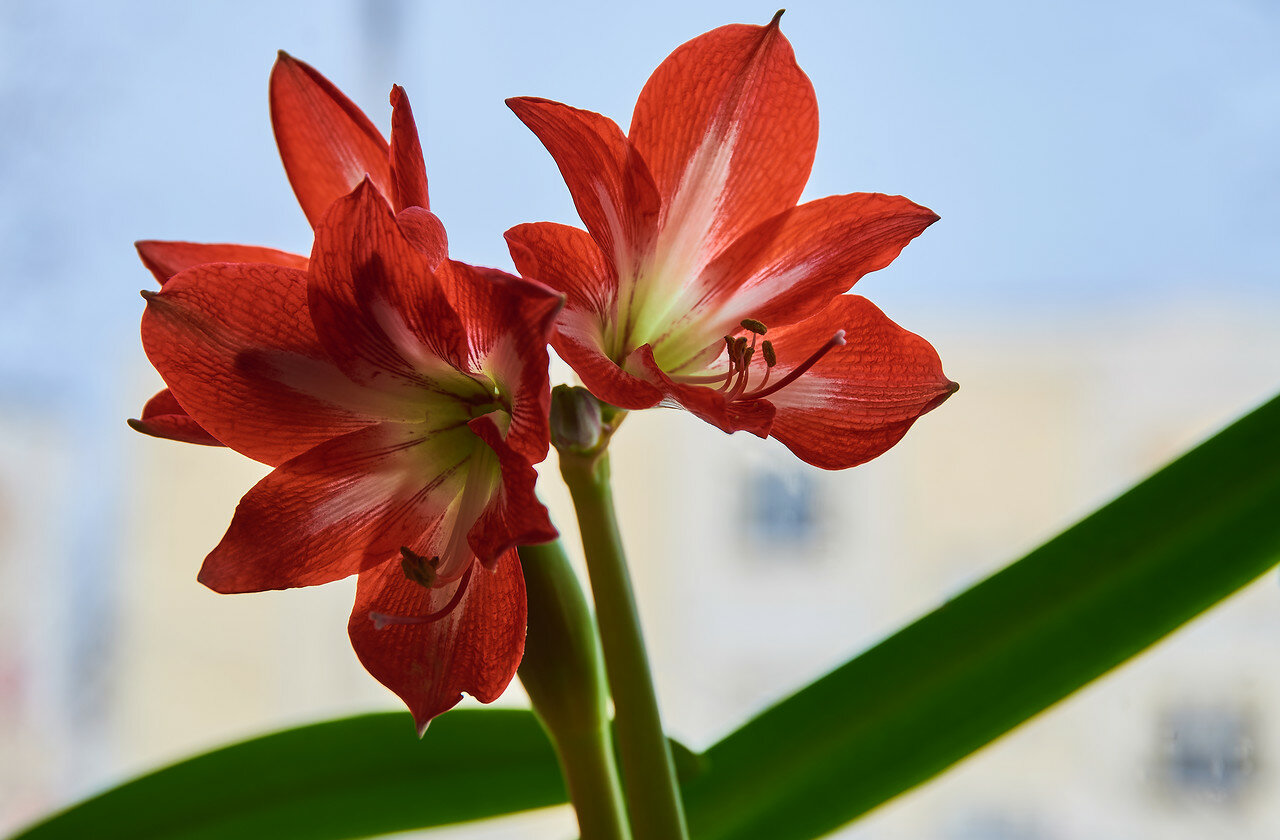
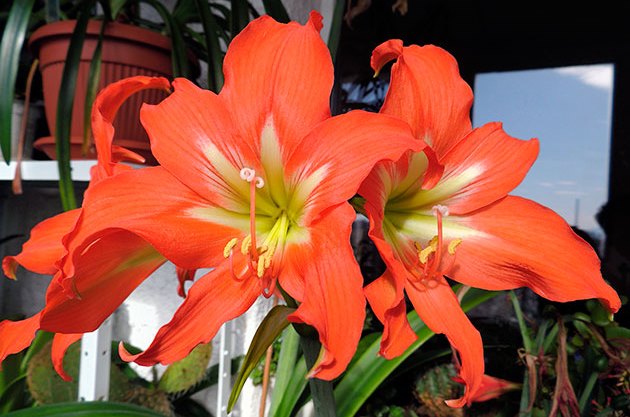
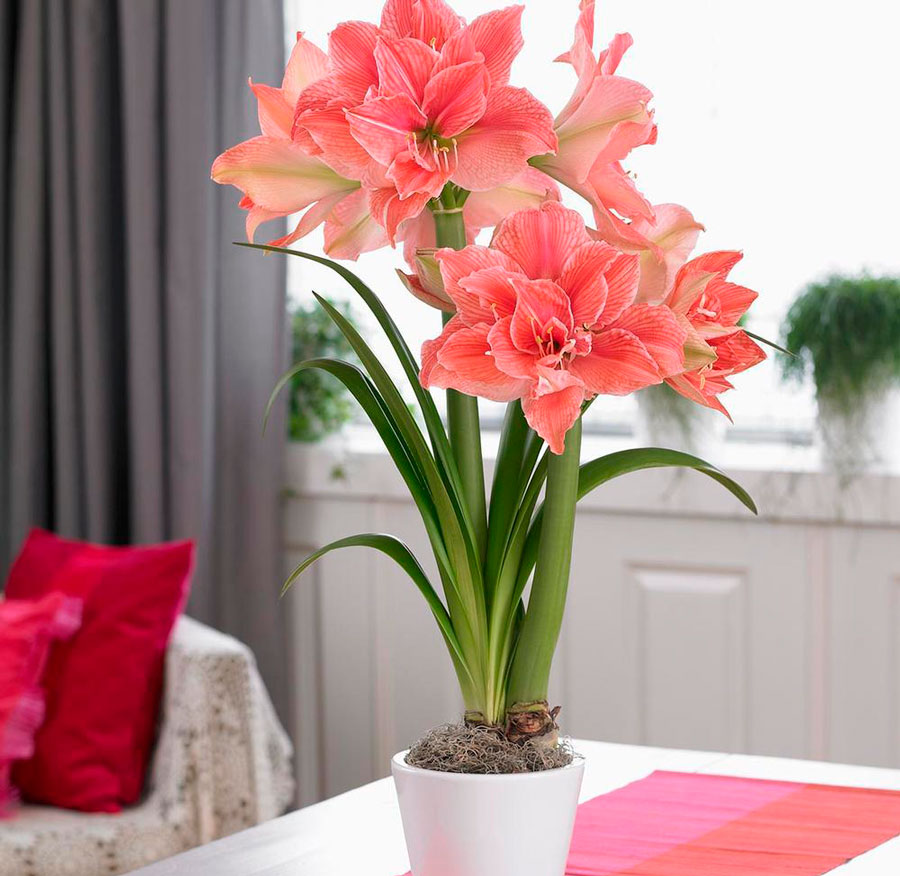
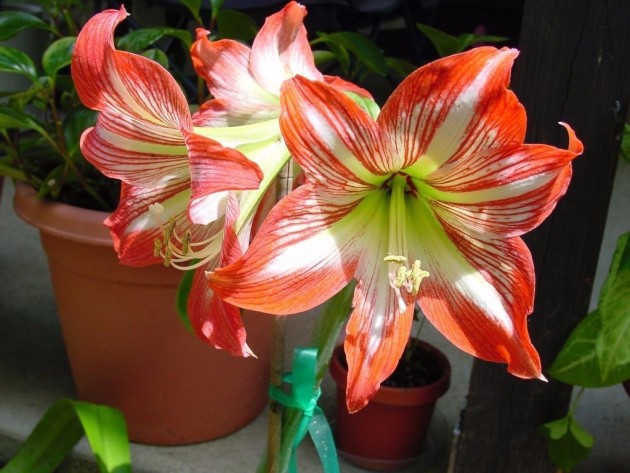
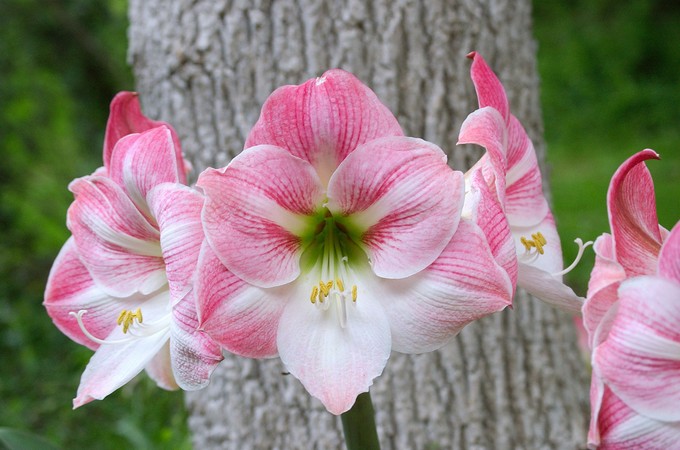
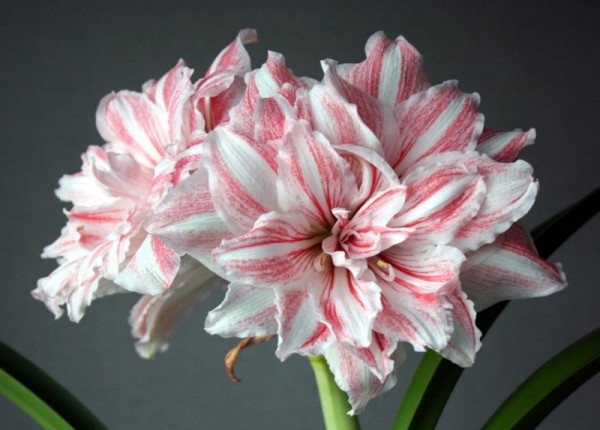
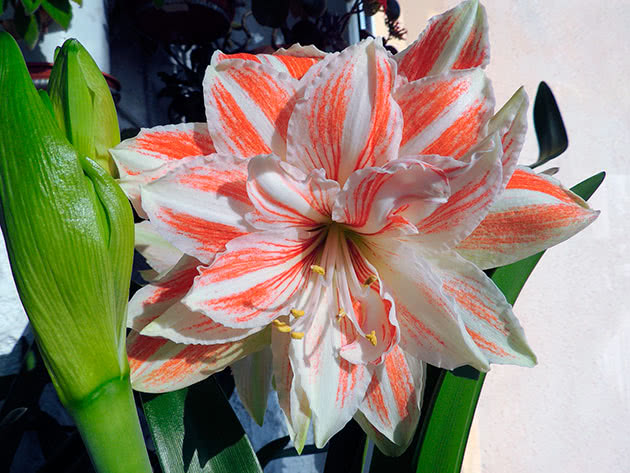
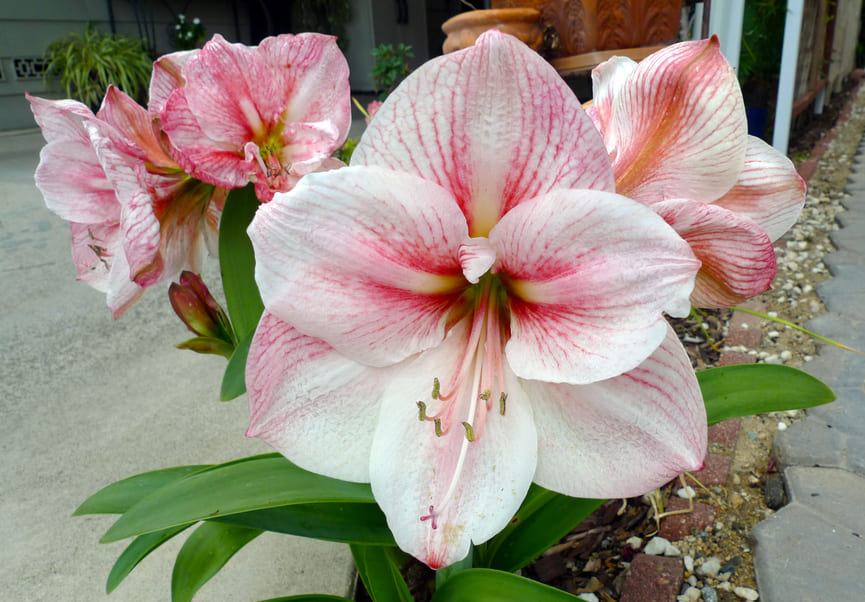
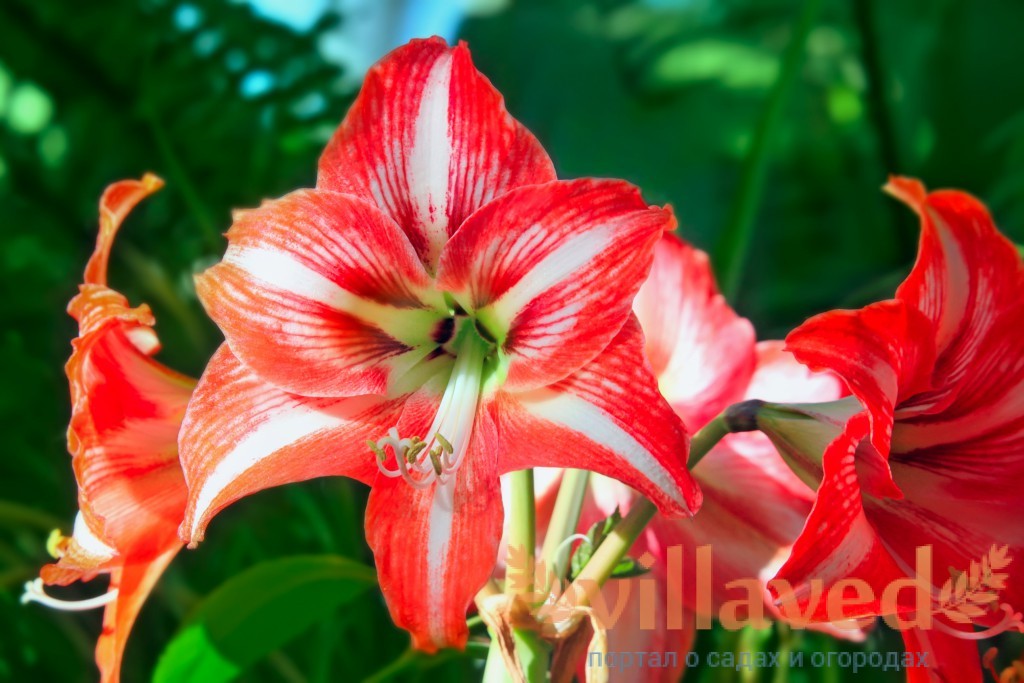
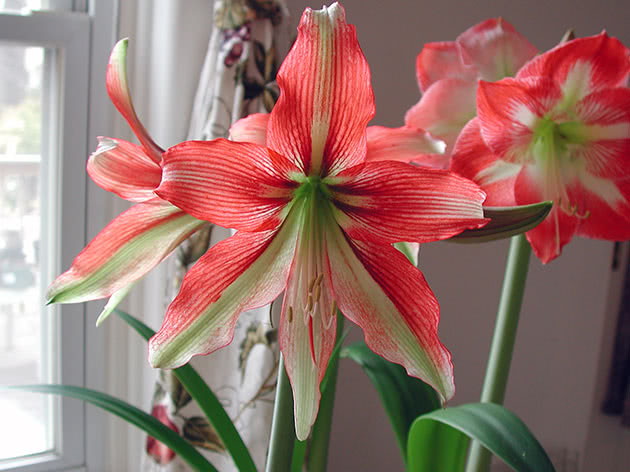
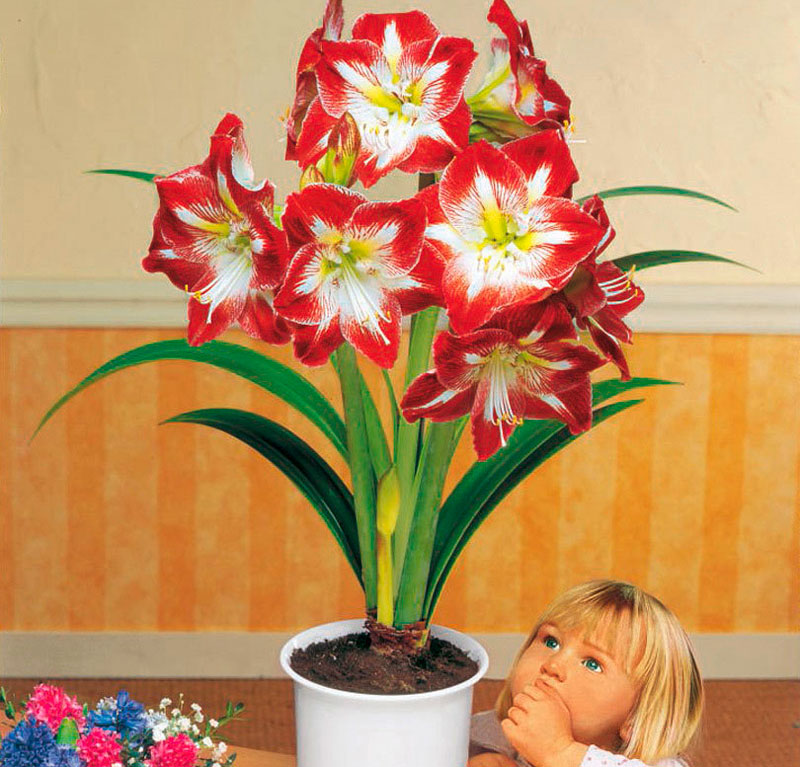
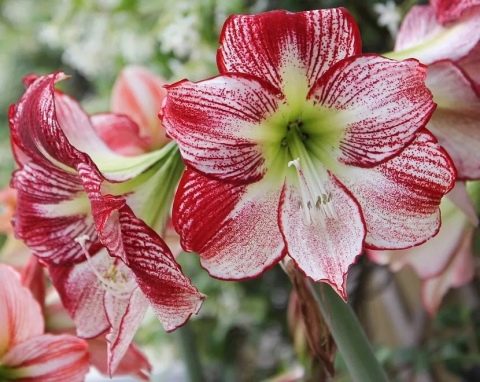
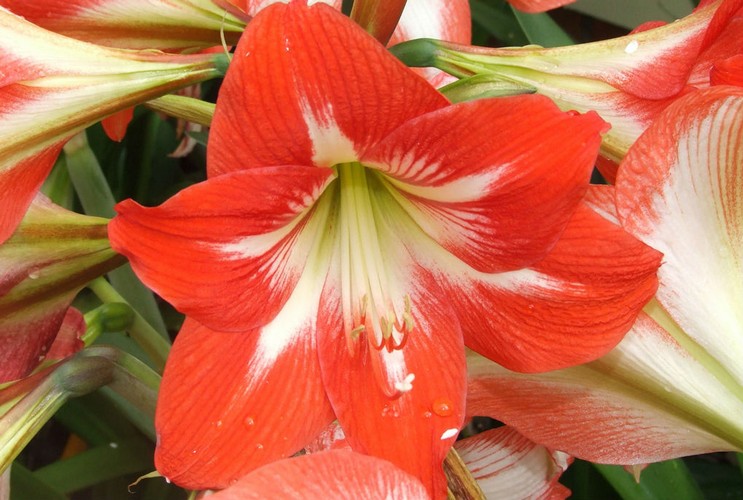
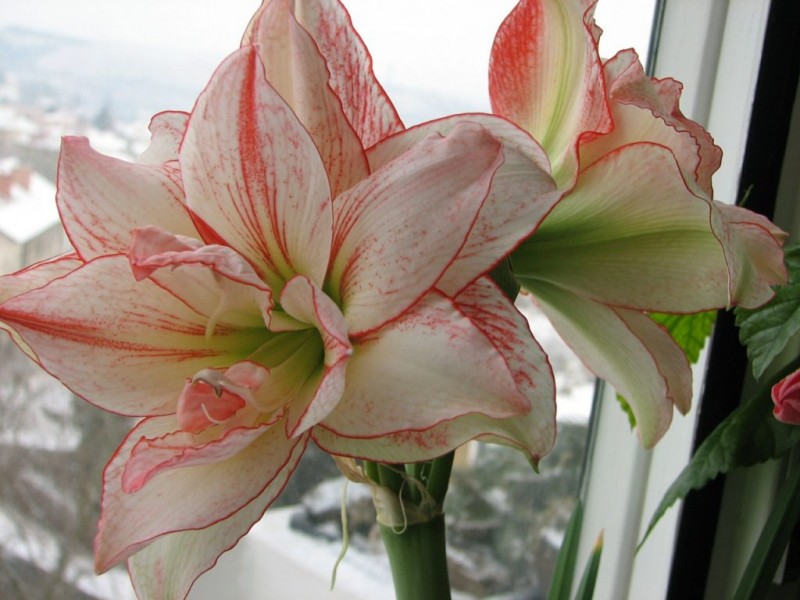
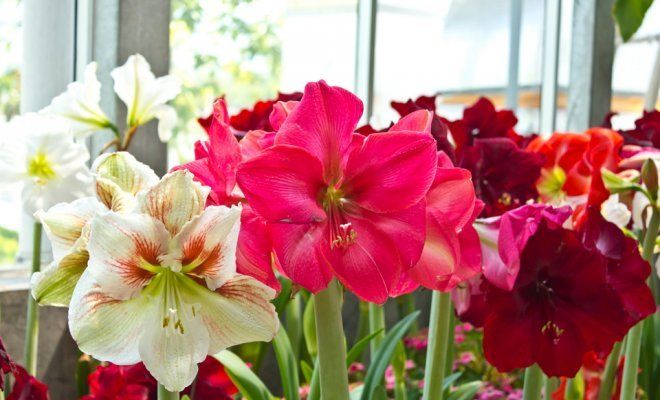
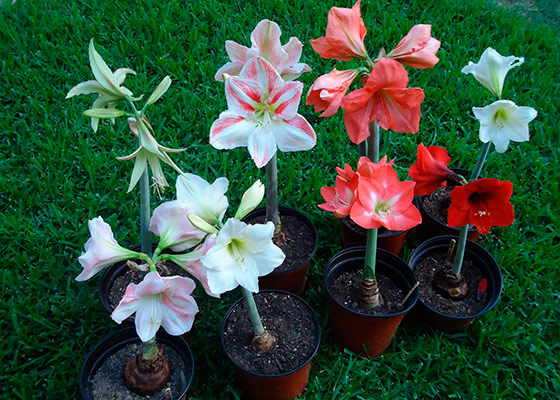
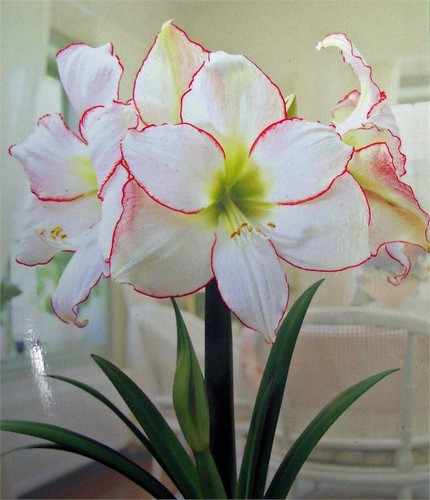
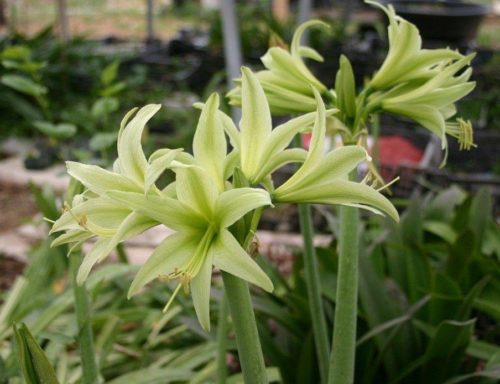
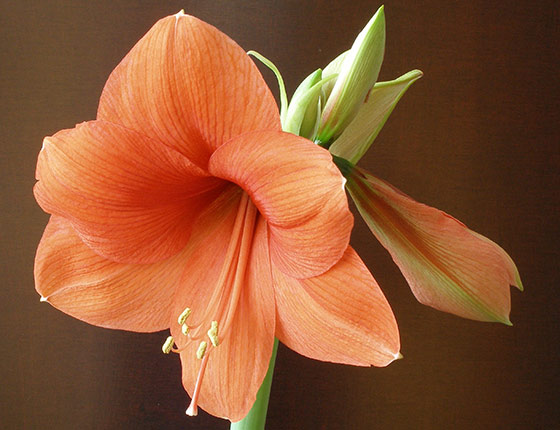
- The flowers of the hippeastrum have a funnel-shaped or tubular shape characteristic of the whole genus. The color of flowers, given the huge species and varietal diversity, can be very different: red, cherry, white, pink, orange and even greenish. At the same time, multi-colored blotches or strokes can be observed on the petals.
- The fruit looks like a tricuspid dry capsule filled with flat dark seeds "lionfish". The collected seeds have almost 100% germination rate.
- The average lifespan of one bulb is from 10 to 20 years, and the first time the bulb forms a peduncle with future flowers only in the 4th year of the plant's life.
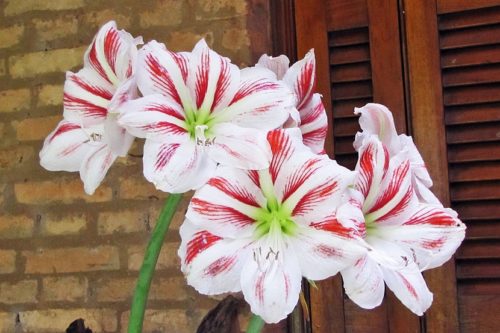
What is the difference between hippeastrum and amaryllis?
Often, hippeastrum is confused with a similar plant - amaryllis, from the same family. The confusion is due to the external similarity of these related cultures. But, in fact, these are two different plants, representing two genera from a common family.
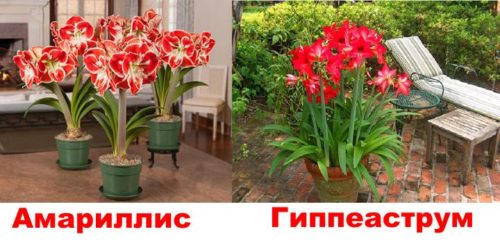
- The genus Amaryllis, a native of South Africa, is represented by only two plant species.
- Hippeastrum is an extensive genus that includes more than 90 plant species. The tropical and subtropical regions of America are considered the natural habitat of the culture.
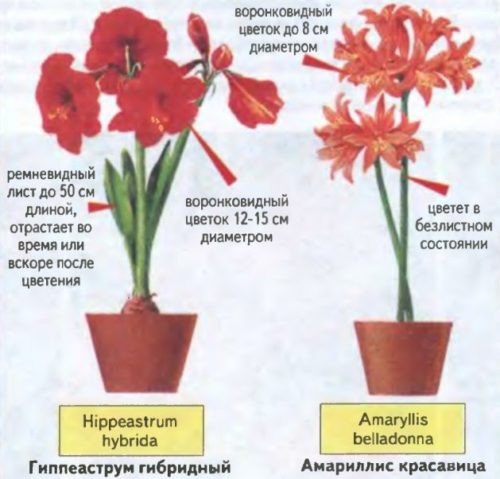
- The main morphological features by which these plants can be easily distinguished are:
- peduncles (in amaryllis it is higher, of a purple hue, in hippeastrum it is more often green);
- inflorescences (in amaryllis, the color of flowers is predominantly red-pink, in hippeastrum the palette of colors is much more varied);
- leaves (in amaryllis, they appear only after flowering, hippeastrum blooms in a deciduous state);
- bulbs (in amaryllis they are pear-shaped, in hippeastrum they are round).
Hippeastrum, interesting facts
- The unusual name "hippeastrum" is translated from Greek as: "cavalier" and "star", tk. blooming hippeastrum really looks like bright stars. In this regard, the flower is often called the "cavalry star".
- Hippeastrum came to Europe from South America in the 16th century. Since then, the perennial has enjoyed special love and popularity among flower growers.
- The first hybrid form of hippeastrum appeared in 1799, the plant was named after its breeder - discoverer - "Hippeastrum Johnson".
- Hippeastrum were brought to Russia in the middle of the 19th century. The first representatives of the genus took root in the St. Petersburg Botanical Garden.
- Hippeastrum is a well-known indoor flower, which, as it turned out, can be successfully cultivated in the open field. Often, perennials are grown as a distillation crop for a particular holiday.
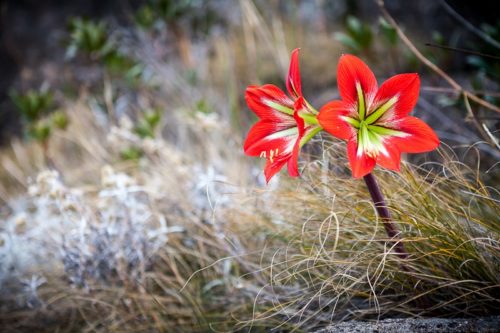
Conditions of detention
Hippeastrum is a thermophilic flower. In our climate, it is grown as a houseplant. True, in the warm season (summer), the bulb can be planted in a flower bed. The flower will bloom in 3 weeks. At the beginning of autumn, the onion is dug up and brought into a warm room for storage. Until next summer, she can remain at rest at a temperature of +10 degrees Celsius.
Temperature regime
The flower feels great at room temperature. The room where the hippeastrum grows should be 18-25 degrees Celsius. In late autumn and winter, during the dormant period, when the plant has faded, the flowerpot can be at a temperature of 10-11 degrees Celsius, no less. At zero marks, this tropical visitor dies.
Watering
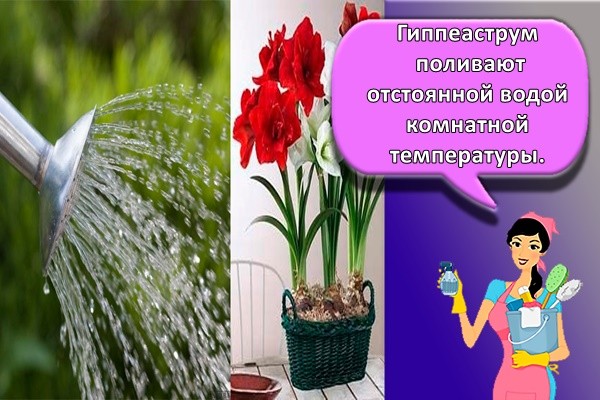
Hippeastrum is watered with settled water at room temperature. Watering is carried out only in spring and summer, when the plant is actively growing and blooming. Water the flower sparingly, every other day. During the rest period, the frequency of watering is reduced, and sometimes completely stopped. True, in winter it is advisable to water the bulbs that are in the ground from time to time so that they do not dry out.
Air humidity
The flower does not need high humidity. This figure should be 50 percent. In summer, in extreme heat, the flower can be sprayed with water.
Priming
This flower is undemanding to the ground. It is allowed to plant it in any store soil mixture of neutral or slightly acidic acidity. You can prepare the soil yourself from equal parts of peat, compost, turf or garden soil, sand.
Lighting
During the period of active growth (spring and summer), the flower can stand on the windowsill. Hippeastrum feels great being in the sun for a period of the day.At rest (in late autumn and winter), the bulbous root should be in a dark, cool pantry.
Seasonal care features
This flower must be constantly looked after so that it does not die. True, depending on the season, he needs different care.
Spring
In the spring, the bulb is planted in a pot or taken out of a dark pantry and placed on a windowsill. During this period, the plant is watered 1-2 times a week. When the leaves appear, watering is carried out every other day. The air temperature should be 18-22 degrees Celsius. When the flower throws out the peduncle, it can be fed every two weeks with universal store-bought fertilizers for flowering plants.
Summer
In the summer, the flower needs to be watered regularly, moderately. During watering, it is necessary to ensure that water does not get on the bulb, otherwise it will begin to rot. In hot weather, hippeastrum can be irrigated with water. It is advisable to feed it with minerals every two weeks.

Autumn
In the autumn months, the flower begins to prepare for the dormant period. His leaves gradually wither, turn yellow. During this period, the frequency of watering is reduced. The plant is watered once a week. Completely yellowed, dried leaves and peduncles are cut off.
Winter
From December to February, the plant is dormant. During this period, the pot with the bulb is taken out into a cool, dark pantry, where the air temperature does not drop below 10 degrees Celsius. Once every 2 weeks, the hippeastrum is watered, trying not to soak the bulb itself.
Most popular types
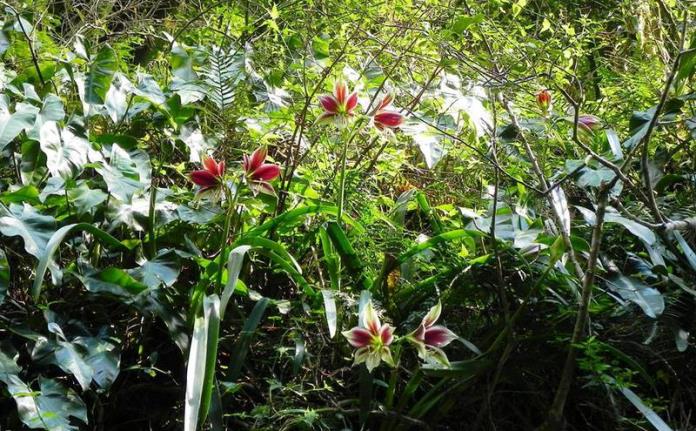
Hippeastrum Leopolda has a medium-sized bulb - 5-8 cm and leaves reaching a length of 60 cm. Flowers with red, white petals at the tips and a greenish-white pharynx.
 Hippeastrum Leopolda on a background of ferns
Hippeastrum Spotted differs in that the leaves appear after creamy flowers with a red speck with a green-yellow throat. This plant is short, only up to 50 cm in height.
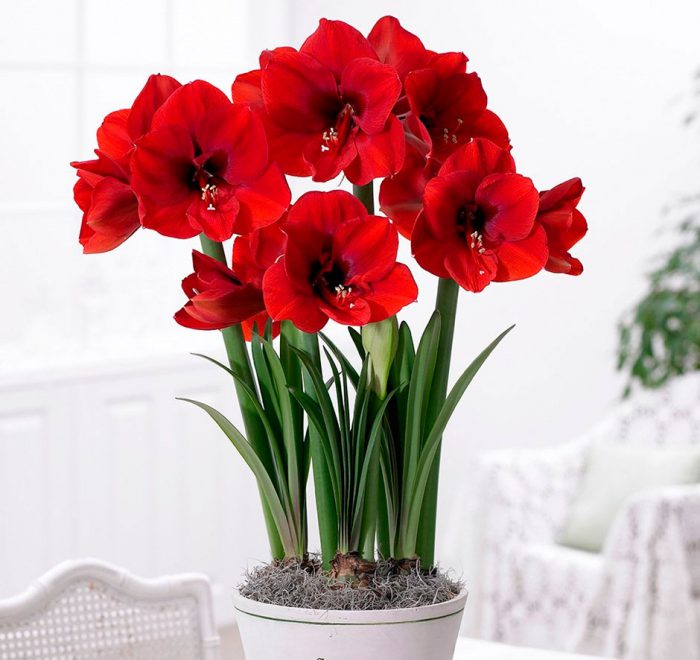
Hippeastrum Regina (Royal) - medium-sized bulb - 5-8 cm, peduncle 30-50 cm long with 2-4 buds appears before the leaves. The flower is bright red, funnel-shaped.
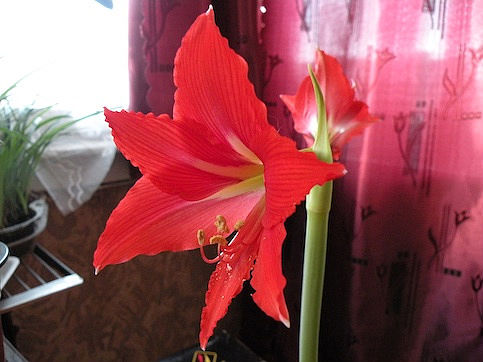 Hippeastrum Regina
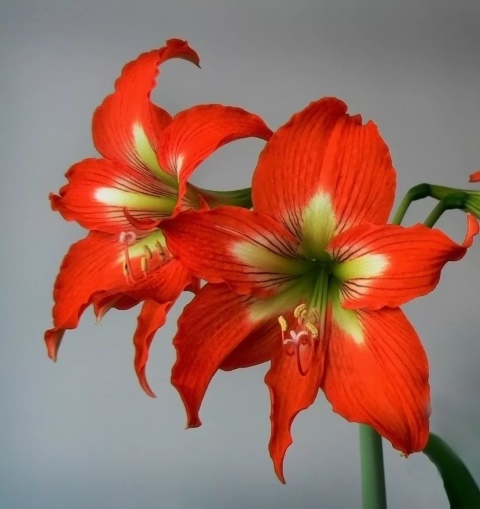
Hippeastrum Narrow-leaved with graceful curved petals of an unusual shape, orange-red in color. Peduncle with 5-9 buds.
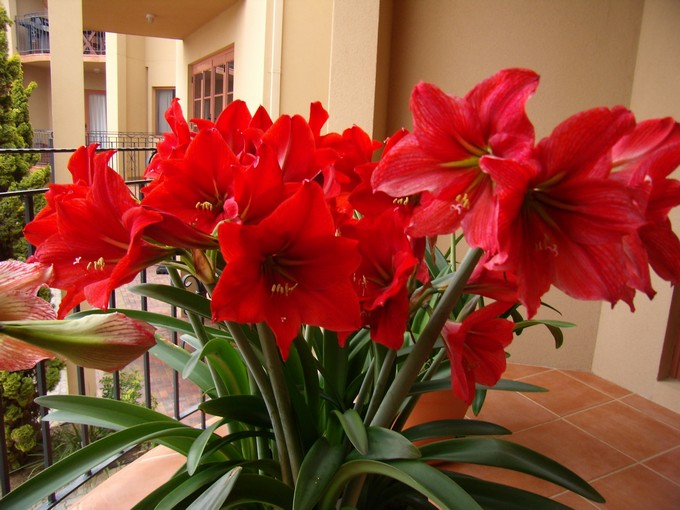
Hippeastrum Dvortsovy with large bright red flowers, the central vein is lighter, the pharynx is green.
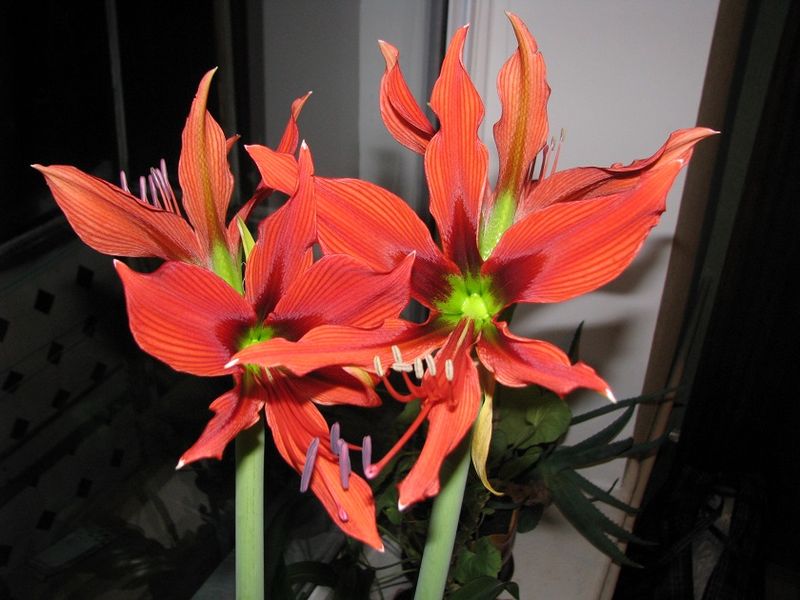 Hippeastrum Palace
Dorana's hippeastrum is a very showy, bright pink flower with a white longitudinal stripe in the center of the petal. It has a pleasant smell and blooms in April-May.
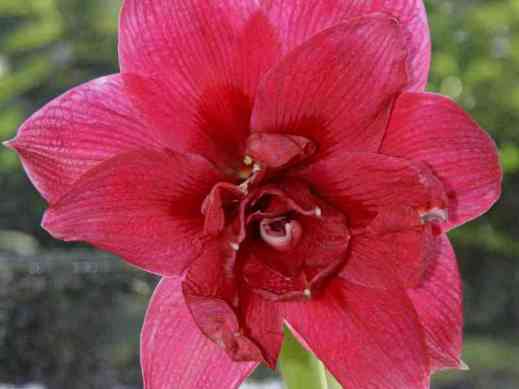 Doran's hippeastrum
Hippeastrum Argentinian with numerous white medium-sized flowers and a pleasant aroma.
Hippeastrum striped - white petals with a wide longitudinal red stripe and a yellow fauces.
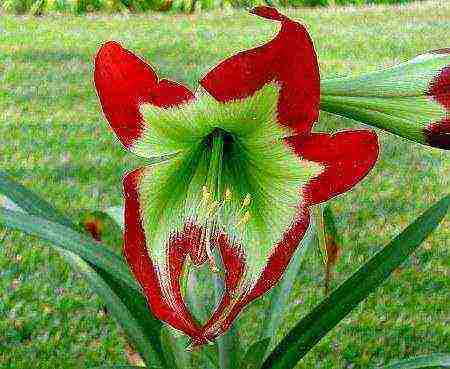
Hippeastrum A parrot-shaped flower of an original shape with a wide greenish stripe inside the petal, the tips of the petals and stripes of the outer edge of the flower are cherry-red. The peduncle is large, up to 90 cm with 2-4 buds.
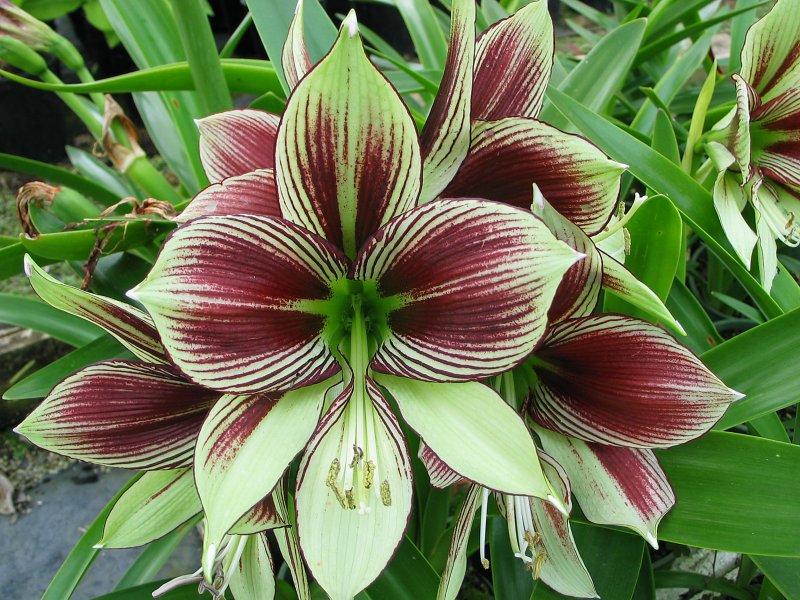 Hippeastrum Popuga
Hippeastrum Reticulated has a small bulb and 3 to 5 buds on a short, only 30-50 cm tall peduncle. The flowers are usually white with a dense pink mesh, rarely red. This hippeastrum blooms in autumn and has a pleasant scent.
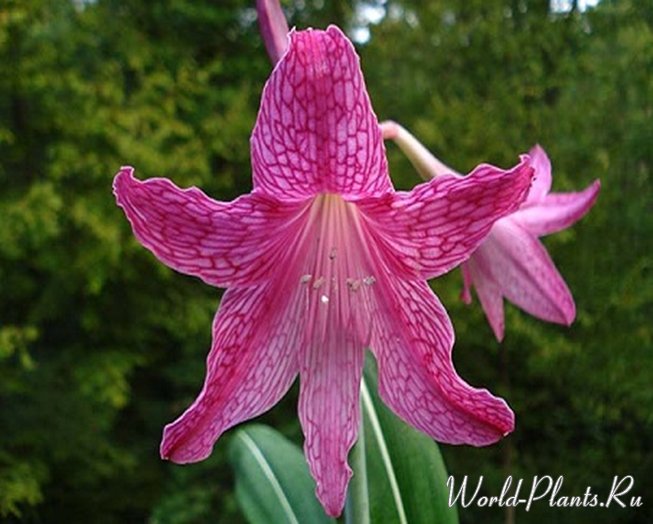 Hippeastrum Mesh
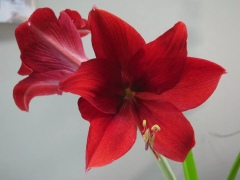
Hippeastrum reddish has a rounded bulb up to 9 cm in diameter and a peduncle of 30-60 cm with 2-6 flowers. The flowers are dark red with a green base.
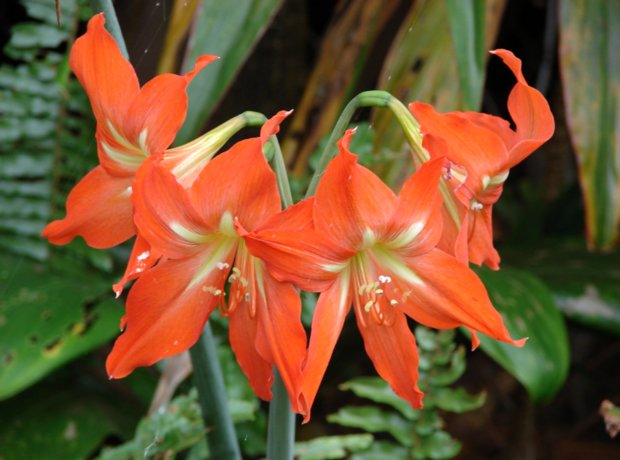 Hippeastrum reddish
There are more than 2000 varieties obtained by selection and hybridization of various species. Hybrids of hippeastrum and amaryllis are usually referred to as hippeastrum. Bred varieties with a double flower.
Hippeastrum, plant care in the open field
How to care for hippeastrum? What kind of care should be provided to a plant planted in an open field? In principle, the rules for caring for a garden hippeastrum are not much different from an indoor "pet", but there are still some features and differences.
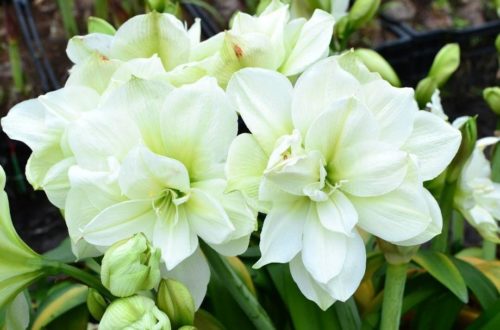
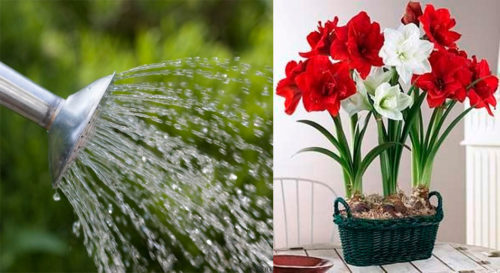
Watering hippeastrum
- Like any other bulbous plant, hippeastrum prefers regular but moderate watering.
- Watering is especially important during the period of active vegetative growth of the plant and the accumulation of nutrients.
- Drought and lack of moisture adversely affect the development and flowering of culture.
- At the same time, stagnant moisture and excessive moisture can be detrimental to the hippeastrum bulb. In such conditions, the rapid development of rot or other diseases is possible.
- In addition to watering, it is necessary to remove weeds around the plant and prevent the formation of a dense soil crust. Loosening the soil after irrigation will prevent crust formation and ensure optimum soil breathability.
- To maintain a humid microclimate, you can mulch the soil around the flower with sawdust or decorative tree bark.
Fertilizing and feeding hippeastrum
- During the active growing season, the plant needs additional feeding. Once every 1.5-2 weeks, the hippeastrum is alternately fed with mineral and organic fertilizers.
- As a mineral dressing, special complex fertilizers are used for bulbous crops. At the beginning of vegetative development, nitrogen-containing fertilizers are added to the soil; during flowering and active growing season, it is best to add potassium phosphorus complexes.
- From organic matter, the most preferable will be: wood ash, plant compost, rotted manure. If the soil was enriched with appropriate fertilizers before planting, you should not get carried away with the frequent introduction of organic additives.
- Fertilization is always correlated with irrigation, thus ensuring better and timely delivery of nutrients to the plant roots.
- Approximately 1 month before the planned extraction of the bulbs for the winter (for storage during the dormant period), all feeding is stopped.

Fight against diseases and pests of the hippeastrum
- Hippeastrum pests can be: mealybug, onion mite, amaryllis bug, aphid or false shield.
- When a plant is damaged by a false shield, brownish spots appear on the leaves. White spots indicate a mealybug infection of the hippeastrum. The cause of wilting of inflorescences, yellowing and softening of foliage can be thrips, amaryllis bug or bulb mite. For pest control, appropriate insecticides are used (Actellik, Karbofos).
- The most common diseases of the hippeastrum are fusarium, staganosporosis (red burn) and anthracnose.
- Signs of staganosporosis are the appearance of crimson spots and strokes on the leaves and peduncles. In this case, the aboveground part of the plant becomes flabby, growth slows down. The same signs appear when the culture is affected by gray rot. For the treatment of hippeastrum, all affected parts should be removed, and the plant itself should be treated with Fundazol.
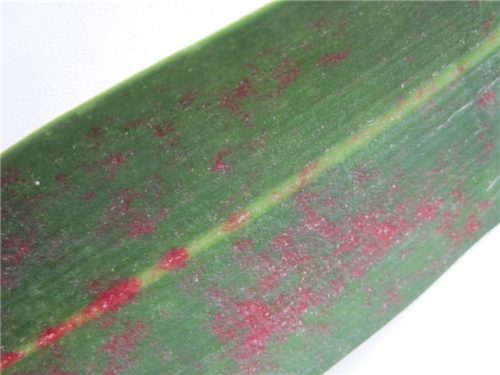
In order to prevent the plant from becoming infected with such diseases, you should follow the safety rules when planting a bulb culture: select and plant only healthy bulbs, treat the bulbs before planting with a fungicide or soak in potassium permanganate, do not deepen the bulbs when planting
In addition, it is important to provide a competent care regimen, to prevent waterlogging and stagnation of moisture, not to oversaturate the soil with nitrogen-containing fertilizers.

Preparing the hippeastrum for the rest period
- When the hippeastrum has bloomed, and the leaves have turned yellow and withered, it is time to prepare the hippeastrum bulbs for rest. This period falls in mid-autumn, when the first frosts have not yet come.
- The bulbs of the heat-loving plant are dug up and stored in a cool dry place until spring.
- It should be noted that after the flowering of the hippeastrum, the watering rate is gradually reduced, and in the fall it is stopped altogether. Top dressing is also suspended a month before "wintering". These activities are important to prepare the plant for the dormant period.
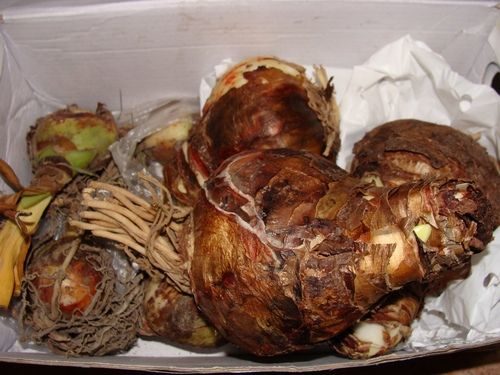
- The procedure for extracting the bulbs of the hippeastrum is not complicated: the bulbs are dug up, shaken off the soil, the remnants of the leaves are removed, after which they are left to dry in a dark, dry place.
- After drying, the children are separated from the bulbs, sorted by size and sent to storage at a temperature of about 12-15C.
Hippeastrum, planting in open ground
Growing hippeastrum begins with its correct planting
For this, it is important to choose the best and most comfortable place for planting the plant, as well as properly prepare the garden bed and bulbs.
Place and time of planting hippeastrum in open ground
- A light-loving culture, hippeastrum, needs a well-lit place. Therefore, the planting site in the flowerbed should be open and sunny. Light openwork partial shade is also allowed. With insufficient light, the leaves of the hippeastrum turn pale, and the peduncle begins to stretch upward. If you plant the bulb in full shade, the plant is unlikely to bloom at all.
- Bulbous crops should not be planted in areas where water may stagnate. Excessive moisture and moisture stagnation is fraught with rotting of the bulbs. If the soil is heavy and dense, sand or fine sawdust is added to it.
- Planting time, most often, falls on the month of May, when a positive temperature regime is finally established, and the threat of frost passes. If, after planting, the weather has changed, and it gets colder outside, the flower bed should be closed with any covering material.
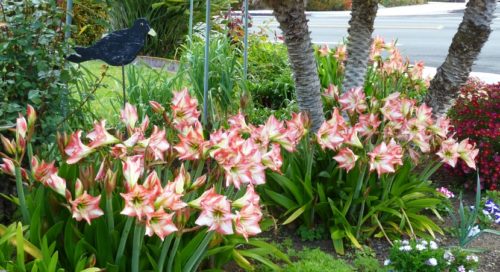
Preparatory work for planting in the ground of the hippeastrum
- Before planting a hippeastrum bulb in open ground, you should prepare a site for planting. The soil on the site is fertilized with compost, peat, rotted manure and wood ash. The bed is dug up and leveled.
- As for the soil for planting hippeastrum, nutritious, light, drained soil is the best option. The optimum acidity index of the soil should be about 6-7.5, so it is better to use neutralized peat. To reduce the acidity level, bone meal is added to the soil.
- Before planting, you should also check and prepare the planting material. If the roots of the bulb have dried up or damaged areas are observed, a series of "resuscitation" actions should be carried out. To do this, all dry, dead roots are removed, and the damaged areas are cut off. Places of cut near the bulb must be sprinkled with activated carbon powder or treated with a fungicidal solution.
- The bulbs are cleaned of dead scales (those that are easily separated), and disinfected in a solution of potassium permanganate (potassium permanganate) for 30 minutes. After the bulbs are dry, they can be planted in open ground.
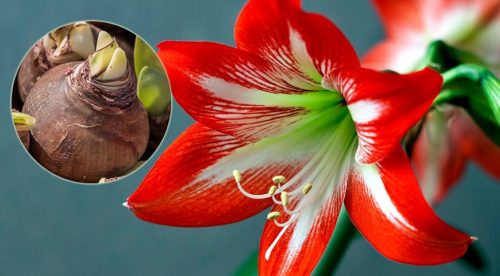
Agrotechnics of planting in the open ground of hippeastrum
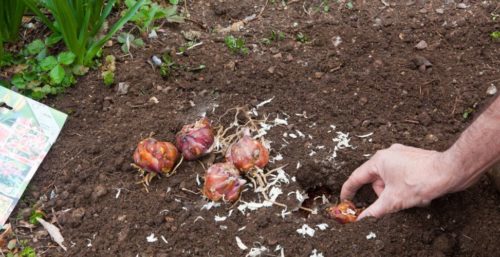
- For planting a garden plant, holes are prepared, which can be shed with a weak solution of potassium permanganate. The depth of the wells depends on the size of the bulb.
- When planting, the tops of the bulbs should remain slightly on the ground. At the same time, a mound of sawdust can be poured on top.
- Large adult bulbs of the hippeastrum are planted at intervals of 15-20 cm from each other. Small children of the hippeastrum are placed closer, every 3-5 cm.
- The planting scheme for hippeastrum bulbs can be different, depending on the desire and design intent. This can be a familiar row, located, for example, along a garden path or a group planted in a dense "heap".
- Often, flower growers transplant indoor hippeastrum (for the summer) into open ground. This procedure has a healing and rejuvenating effect on the plant. How to properly transplant hippeastrum? There is no difficulty in this. A hole is prepared, as described above, and the plant is planted in a new place.
Preparing for the transplant of a tropical handsome man
Before transplanting hippeastrum, you should focus on:
- the choice of the landing capacity;
- preparation of the planting substrate.
What should be a flower pot
To transplant hippeastrum, small pots in diameter are required.The width of the container should be only a couple of centimeters larger than the diameter of the bulb. But the depth can be different, the root system of a tropical representative is characteristically deepening. The deeper the pot, the freer the plant feels.
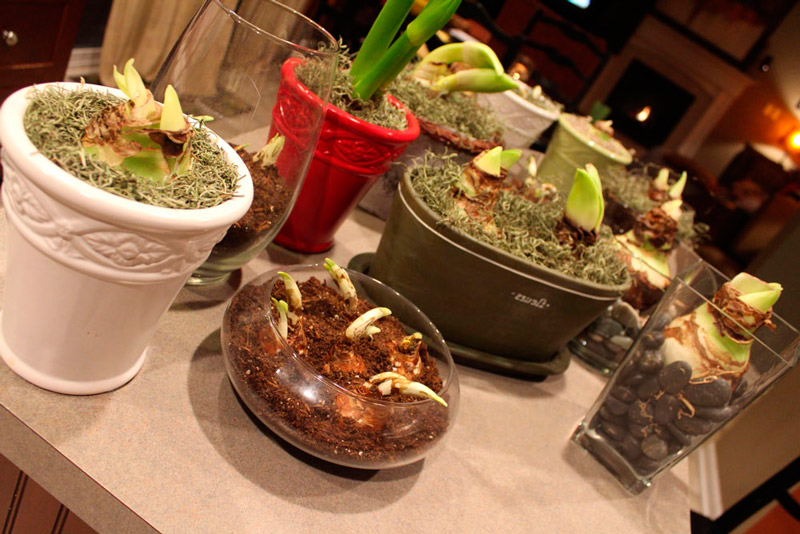
It is better to take an earthen pot for Hippeástrum with multiple drainage holes, it does not form stagnant water when watering an indoor flower. Since heavy buds can turn the planting container, it must be massive.
Soil characteristics
The soil for hippeastrum must have the following qualities:
- looseness, which ensures its high level of air and water permeability;
- lightness - the root system of the hippeastrum does not like pressure;
- neutral pH equal to 5.6-6.0;
- saturation with organic compounds.
If a purchased soil option is chosen for transplanting, then preference should be given to a universal composition. If the soil is used from the backyard, then the substrate should contain leafy soil, dolomite flour, sand, peat, humus in a ratio of 1 / 0.5 / 0.5 / 0.5 / 0.25.
A prerequisite for transplanting a hippeastrum is to provide a drainage layer. It can serve as expanded clay chips, and small crushed stone or pebbles.
Diseases and pests of the flower
Hippeastrum pests are thrips, scale insects, onion mites and daffodils. Treatment with insecticides helps to fight them. The hippeastrum is often damaged by rot and fungal infections. The best prevention is limited watering. Traces of rot, fungal diseases are usually found during transplantation. It is necessary to cut off the affected areas with a sharp knife and treat with fungicides. The planting of such bulbs will have to be postponed for 2 to 3 days for them to dry out. Staganosporosis or red burn is a red fungus. Most often appears when planting a purchased infected bulb. It is difficult to cure such a plant, so you need to carefully examine the planting material. If the bulb is covered with red spots, you should refrain from buying.
If roots are missing, the plant may have been flooded. In this case, it is necessary:
- cut off leaves and remnants of roots;
- treat with Fundazole and dry;
- send to rest for 2 - 3 months;
- process with Kornevin;
- plant in fresh soil mixed with sand or vermiculite;
- put in a lighted warm place.
Watering such an onion is rarely necessary. We'll have to be patient: the roots may appear only after a few months.
Video instruction for transplanting Hippeastrum:
Planting hippeastrum
The high decorative qualities of hippeastrum are the reason for the acquisition of this plant.
Planting method
If the hippeastrum is purchased in the form of a bulb, then it is planted no more than half the height. The top of the bulb must not be in the ground.
In the case of purchasing a flowering plant in a pot, transshipment after purchase is not required.
Optimal planting time
The good thing about buying a dormant bulb is that you can postpone planting indefinitely, adjusting the start of flowering. Before placing in a pot of earth, the bulb is stored in a dark, cool place.
Substrate
The soil must be nutritious. Use a ready-made mixture for bulbous, roses, universal. Or they mix compost with a small amount of sand, or better perlite or coconut fiber, for friability. Self-prepared soil must be disinfected in a microwave oven, because uncultivated land can become a source of bulb infestation.
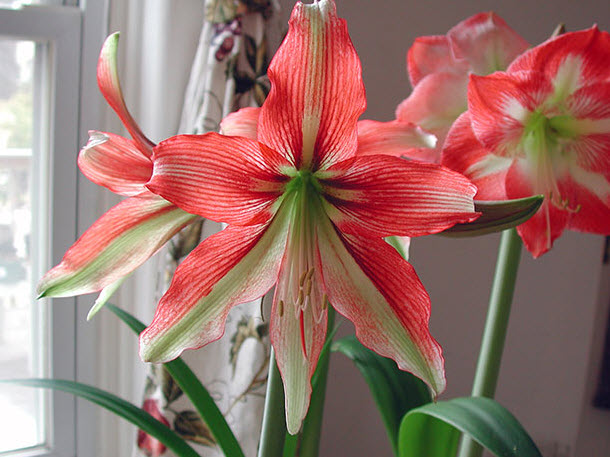
Caring for the hippeastrum is highly seasonal. The preservation of decorativeness and the general well-being of the plant depend on this.
Location and illumination
A lot of light is required during the growing season. Protected from the direct midday sun in the summer months.
During the dormant period, they are kept in the dark until the flower arrow emerges.
Air humidity
Hippeastrum does not need high or low humidity of the air around them. Dust from the leaves is removed by wiping with a damp cloth, and not by spraying, because the ingress of moisture on the bulb is undesirable.
Temperature
During the period of active growth, the air should be warm. A drop in temperature can be perceived by the plant as a signal to enter a dormant period. It develops well at 22 - 28 degrees. Resting at a temperature of 10 - 12 degrees.
Proper watering
During the growing season, you need to water the plant sufficiently, avoiding, however, waterlogging
When watering, water should not fall on the bulb, therefore, watered carefully around the perimeter of the pot, or water is poured into the pan
During the rest period, watering is contraindicated.
Top dressing
For good development and regular abundant flowering, hippeastrum needs a significant amount of nutrients. They are fed 2 times a month during the growing season with a universal fertilizer in a full dose, which is alternated with phosphorus-potassium (for example, ash).
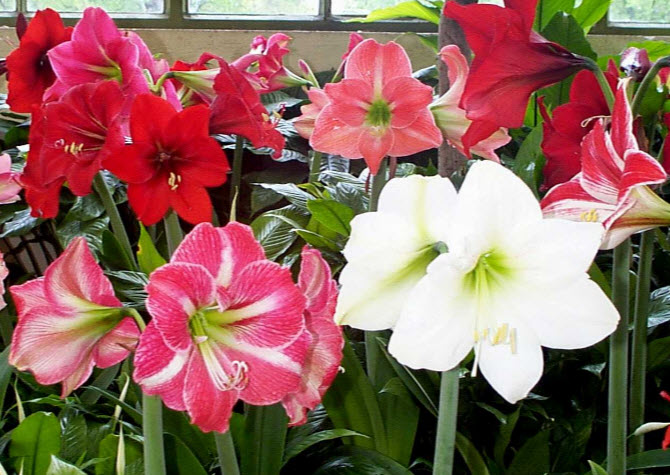
It does not need formative pruning, because has no trunk or branches.
Cutting method
At the end of flowering, the upper part of the peduncle is cut off, if pollination has not been done to obtain seeds. The remaining part is twisted out of the onion after drying. The damaged and diseased leaves are cut off.
How to properly transplant hippeastrum
Even a novice gardener can cope with a hippeastrum transplant - this plant is quite unpretentious and will successfully withstand all manipulations. The only nuances to consider are the selection of the pot and soil mixture.
Choosing a pot
The preferred pot is ceramic. You can choose a container from a different material, but it must be stable.
The diameter of the pot should not be too large - it is optimal if it is only 5-6 cm larger than the size of the bulb. However, the capacity is chosen high so that the roots of the flower can develop normally.
If the pot is chosen correctly (not too wide for the bulb), the hippeastrum will begin to bloom actively. Otherwise, he will direct all his strength to reproduction and begin to actively reproduce children, but you are unlikely to wait for arrows with buds.
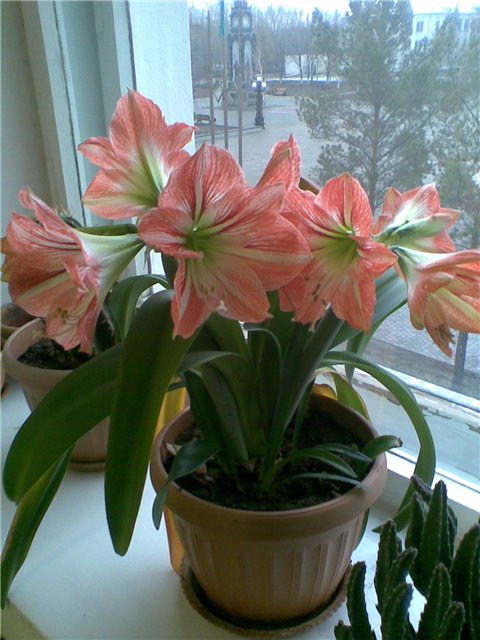
Soil composition
In order for the plant to develop normally, it needs to provide a sufficient amount of nutrients in the substrate. The soil should be constantly moderately moist, since the hippeastrum reacts negatively to stagnant water. Loose, air-permeable soil with an acidity level of about 6.0 is encouraged.
For transplantation, you can purchase a ready-made mixture for flowering indoor plants, or prepare it yourself from several components:
- 1 liter of turf soil;
- 0.5 liters of leafy earth;
- 0.5 l of humus;
- 0.5 liters of sand and peat.
It is imperative to put a drainage layer on the bottom of the pot - expanded clay or brick crushed into small pieces is suitable for this. It will prevent water from accumulating at the bottom of the container, preventing excessive moisture and subsequent rotting of the plant bulb.
How to transplant (step by step instructions)
You can correctly transplant hippeastrum according to the following instructions:
- The plant is removed from the old pot, the bulb is freed from the ground.
- The roots are carefully examined. All dry, diseased and damaged ones are removed.
- It is recommended to sprinkle the root cuts with crushed charcoal or activated carbon to prevent the development of diseases.
- All dried outer scales on the dark brown and black bulb must be removed to light tissues, thereby starting the growth processes and preventing rot infestation.
- If there are babies on the bulb, they can be left to breed or removed, thereby stimulating active flowering. It should be borne in mind here that children left on the plant can lead to a long absence of an arrow with buds.
- A slightly moistened soil mixture is poured into a prepared pot with drainage at the bottom.
- The bulb is buried in the ground by half or by a third, then the soil around it must be compacted.
- After the transplant is completed, the hippeastrum should be watered with settled water at room temperature and placed on a light warm windowsill, where there is no direct sunlight.

Damage to the bulb is not a reason to be upset
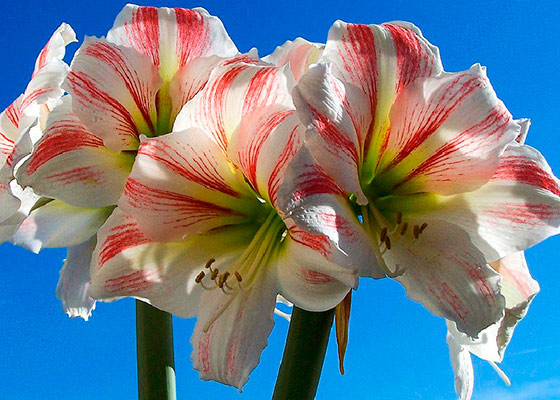
It happens that, through negligence, the bulb has been damaged or rot has formed on it. Do not rush to throw it away
As a rule, the bulb can be saved. To do this, the place of damage or decay must be cut evenly with a sharp knife. Then immerse the onion in a solution of fungicide, foundationol or maxim for half an hour. An alternative option is to immerse the bulb in a weak solution of brilliant green for a day. After that, dry it at room temperature for 24 hours.
In order to create a single multi-colored composition of several types of hippeastrum, you will need to purchase a narrow, long and deep pot. In it, you can plant several bulbs in a row. The distance between the edges of the bulbs, as well as between the bulbs and the sides of the pot, should be no more than 4 centimeters.
If you follow all these simple rules exactly, then your hippeastrum after transplantation will always be healthy and very beautiful.
You can read more about hippeastrum care here.
Olga Danilina

