How to plant undersized phlox in open ground
If seedlings were grown, with the onset of relative heat (not like for tomatoes: phloxes are not afraid of even small frosts), they are planted in a flower bed without deepening, at a distance of 20-25 cm between bushes. However, fewer and fewer gardeners are practicing this approach, preferring direct sowing of seeds in open ground.
When to plant annual phlox outdoors
Sowing phlox seeds in a flower bed can be done quite early: the soil should warm up to about 10 ° C. In the middle lane, this is the first half of May.
Many inexperienced growers get upset when the seeds do not germinate and think that they were sown at the wrong time. The fact is that the seeds of annual phlox are quite large, so they are often sown deeply "out of habit". However, in fact, the seeds, although large, but sprout hard: they are covered with a voluminous dense shell, which must be soaked in order to get seedlings. It is necessary to sow phloxes almost superficially, but ensuring good soil moisture.
Preparing for landing
Phlox can grow almost everywhere, but you need to take into account the need for frequent watering, especially before germination and at the beginning of plant development. The place should be flat, preferably sunny (slight partial shade is not a hindrance). It is better if the shade covers the flowers during the hottest part of the day. Protection from cold winds is required only in harsh climatic regions.
The soil can be of any composition, preferably with neutral acidity, breathable, water-absorbing. In autumn, it is dug up with the introduction of the usual doses of organic and mineral fertilizers (per 1 m2 - a bucket of humus, a handful of ash, 30–40 g of nitrophosphate). A few days before sowing, the flower bed is watered abundantly. Seeds can be sown dry, but you can pre-soak in water for several hours and dry slightly.
Outdoor Planting Instructions
Planting the finished seedlings is carried out in small holes, after spilling them well with water. Seedlings should be removed from containers with a clod of earth in order to locate the roots more easily: otherwise, survival will take longer. The planted bushes are well watered and shaded for several days.
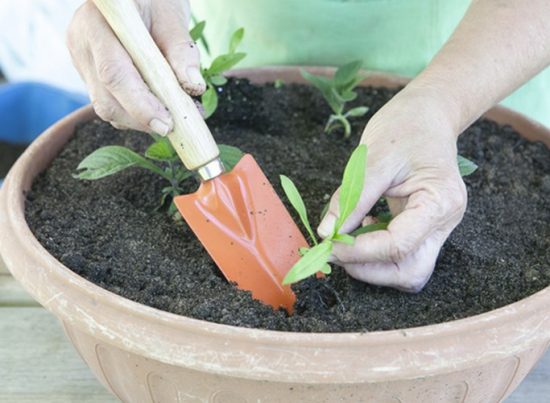
It is especially important to carefully remove the seedlings if they are still weak.
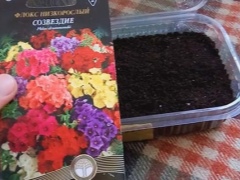
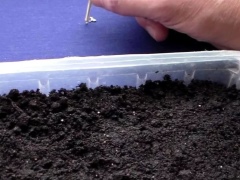
Sowing phlox seeds is usually carried out in the grooves. They should be very shallow: it is not recommended to bury the seeds deeper than 0.5 cm. The distance between the grooves is about 30 cm. 2-3 seeds are placed in them every 15–20 cm, lightly pressed into the soil, sprayed with water from a spray bottle or watered very carefully from a small watering can. You can mulch crops with a thin layer of straw, but still every 2-3 days you need to spray the flower bed with water. In about two weeks, seedlings will appear, after another week the most frail can be removed.
Care features
Caring for phlox at home should be thorough from the moment of planting.
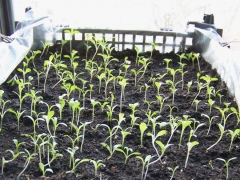
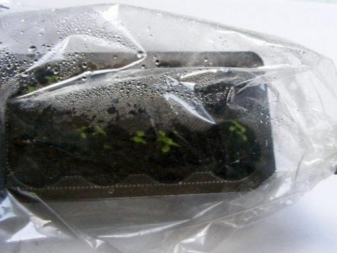
- As mentioned earlier, the first shoots appear after one and a half or two weeks. After this time, the polyethylene is removed.
- It is recommended to periodically unfold the containers in different directions so that the sprouts are directed not only towards the sun. The optimal night temperature is 17 degrees.
- Do not water the sprouts abundantly, otherwise there is a risk of getting a black leg.
- In no case should the top layer of the soil be allowed to dry.
- To avoid burns, it is necessary to shade the plant from direct sunlight.
- As soon as the first leaves appear on the sprouts, they can be distributed in different containers without damaging the thin roots.
- You can fertilize the transplanted seedlings after about a week.
- Before finally planting the plants in the flower bed, you must apply top dressing once every two weeks.
- Also, a week before transplanting, the plant must be systematically tempered - taken out in the daytime to the street or loggia.
- It is recommended to disembark at the chosen place at the end of spring, best of all in the evening.
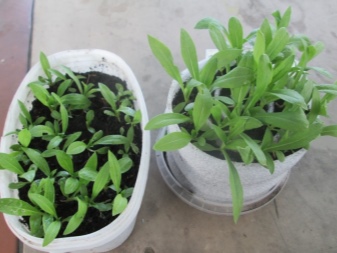
Now let's look at the rules for transplanting phlox to a permanent place.
These plants love partial shade with fertile soil. An excellent option would be a light, non-clay soil with a neutral reaction. If the soil is heavy, then compost or coarse sand should be added.
It is important to prepare the place in the fall by digging up the ground and adding rotted manure. Liming of acidic soil is also mandatory.
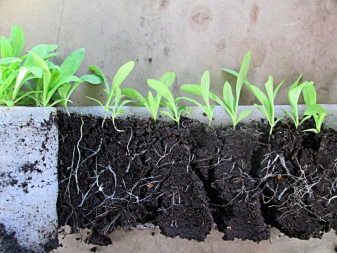
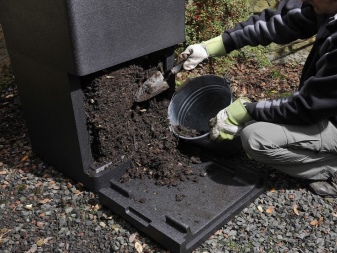
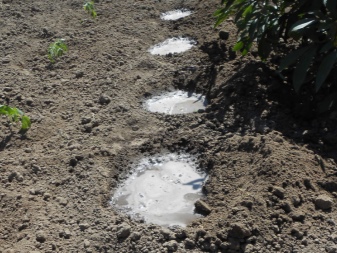
Before you start planting, the seedlings must be well watered. Holes are dug at a distance of 20 cm from each other. Pour water into the resulting holes and add 150 g of ash. The seedling is set in a hole, the roots are covered with earth and carefully trampled. The resulting plantings need to be watered with warm water, and the central part will need to be sprinkled with dry soil. During the first 14 days, it is necessary to ensure watering every two days, and in hot weather - every day. Experienced gardeners recommend pinching the main shoot on the 6th sheet.

Another important thing when growing phlox is caring for planted seedlings. You need to know that this plant is extremely difficult to tolerate drought, however, excessive moisture is contraindicated for it, since there is a risk of fungal diseases. For one square meter of planting, 10 liters of water are recommended. It is best to water after lunch, then loosen the soil and remove weeds.
To help the root system finally strengthen, the plant should be huddled at the beginning of summer. We must not forget about the support for tall varieties - this will protect the shoots from the wind. To reduce the evaporation of moisture, mulching with manure with a layer of 2-3 cm is capable.
For good flowering of phlox, you should take care of regular feeding, taking into account the growing season.
- At the very end of spring, when the first buds begin to appear, potash fertilizers are applied to the soil. To do this, add a glass of wood ash and one tablespoon of potassium sulfate to a bucket of water. This mixture significantly improves inflorescences and resistance to various diseases.
- Exactly two weeks later, phloxes must be fertilized with a solution of superphosphate, mixed in a ratio of 15 g per 10 liters of water. Watering must be strictly at the root.
- At the end of June, the best plant nutrition will be liquid manure, diluted in a proportion of 20 g per 10 liters of water. This procedure provides the plant with long and colorful flowering.
- As soon as the seed pods are finally formed, the phlox life cycle can be considered complete. In the fall, they can be fertilized with a phosphorus-potassium supplement. For this, 20 g of superphosphate, 10 g of potassium sulfate and 10 liters of ordinary water are taken. Phosphorus is also found in bone meal, which can be safely added to the soil during loosening. The quality of the seeds after such a procedure improves markedly.


Landing features
Phlox can be planted almost at any time of the year:
- Planted in late April-early May, the bush will quickly take root, but it will bloom two weeks later than usual.
- In summer, phlox are planted already blooming. The inflorescence must be cut off, the plant should be shaded and watered well.
- In autumn, planting should be done in September. Before the cold weather, they must take root and stock up on nutrients for the winter. Phlox will bloom next summer.
The plant should be planted in a well-lit place with a deep location of groundwater. Although the culture loves moisture, excessive moisture in the soil can lead to various fungal diseases and root rot.
The soil should be fertile, loose, permeable and light. The best option is loam with neutral or slightly acidic acidity.Wood ash and compost are added to the planting hole. If the acidity of the soil is increased, then lime is added.
When planting plants, the distance between them should be:
- 60–70 cm for tall bushes;
- 50 cm for medium-sized bushes;
- 35–40 cm for ground cover phlox.
In pre-prepared holes, the seedling is placed vertically. The roots are straightened and covered with earth, which is compacted. Each planted bush must be watered well. It is recommended to mulch the soil around the plant with humus or peat.
In one place, under favorable conditions, the culture grows and blooms well for 10 years. But experienced florists advise replanting phlox every seven years. This is done to enhance flowering and rejuvenation of the shrub.
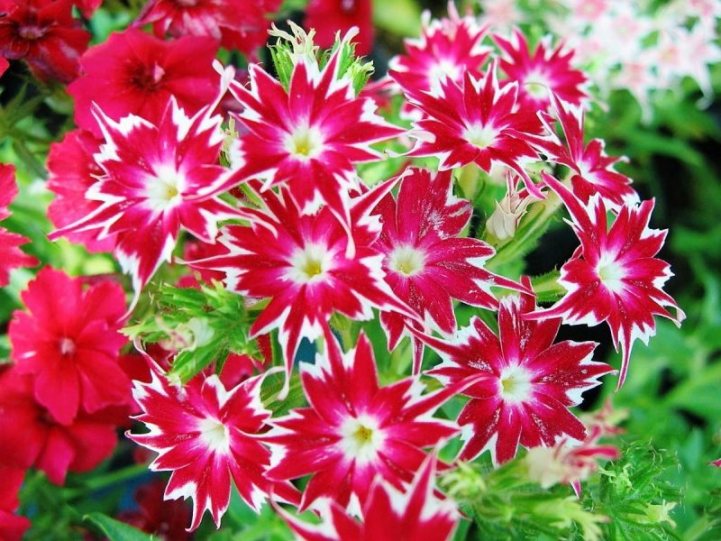
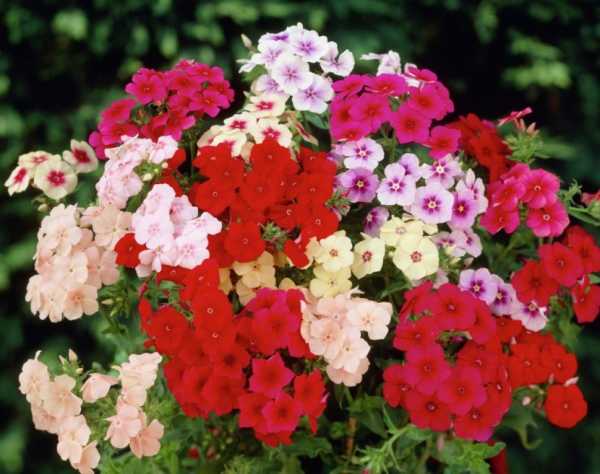
Phlox Drummond: planting and growing in the open field
Grown, matured and hardened seedlings are planted in well-lit areas, sheltered from the scorching sun. Plants will grow best in partial shade in tall beds. In the sun, phlox inflorescences fade, and in partial shade, color saturation remains for a long time.
Landing features
 Annual phloxes dislike acidified areas and poorly drained soils. The best earthen mixture for them is fertile sand without clay. Lime can be added if necessary. If there are heavy loams on the site, then they are diluted with peat, organic fertilizers and sand.
Seedlings are planted in shallow pits, on the bottom of which compost or vermicompost and a little ash are poured. The roots are gently spread horizontally and covered with earth. The plants are watered, the soil around them is mulched.
Watering and feeding
Caring for Drummond phloxes, after planting them in open ground, will not be difficult. For the entire season, it is required to loosen the soil twice a month and to huddle it in the second half of the growing season. In this case, the root system will form faster.
Phlox is watered moderately, but regularly. One square meter of planting consumes one and a half to two buckets of water. On hot days, watering is done in the morning and evening. The water is poured directly under the root. It should not be cold, otherwise the roots may crack in the heat.
Phlox Drummond is fed several times a season with organic and mineral fertilizers:
- At the end of May, the bushes are fed with liquid manure, at the rate of 25-30 grams per bucket of water.
- In early June, superphosphate and potassium salt are added to the liquid manure.
- In early July, only liquid manure is again used to fertilize phlox.
- At the end of July, plants are fertilized with potassium salt and phosphorus.
During the season, the tops of young plants are pinched. In this case, the bushes begin to branch better. Faded and wilted flowers are regularly removed to maintain the attractive appearance of the flower and prolong its flowering.
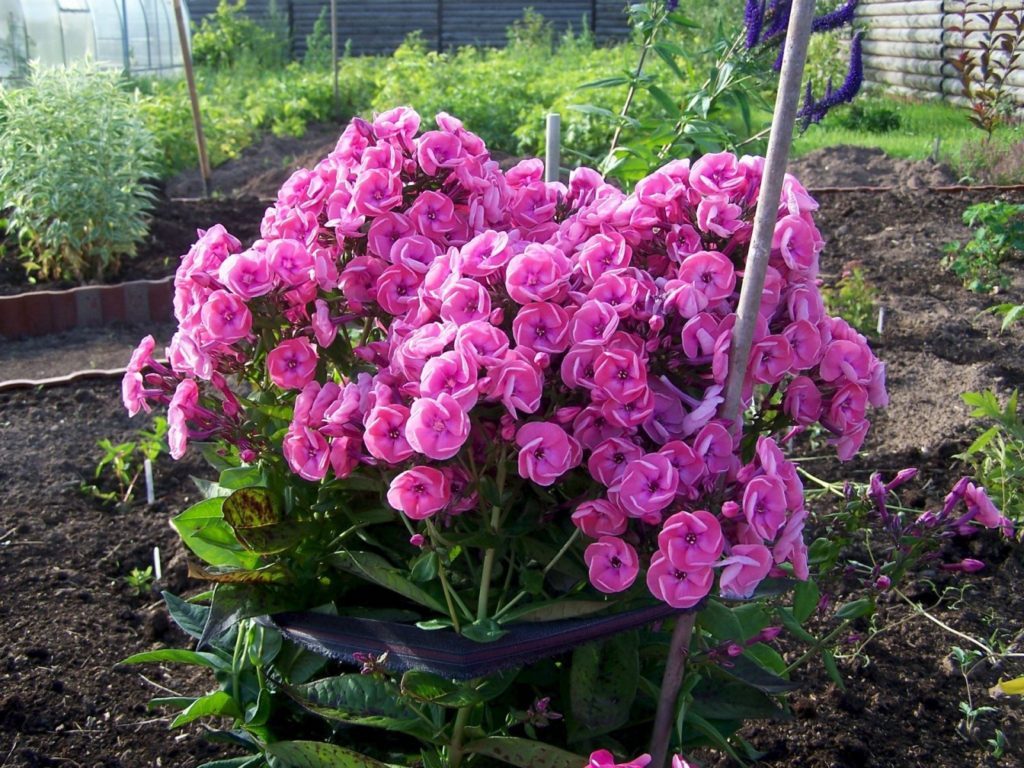
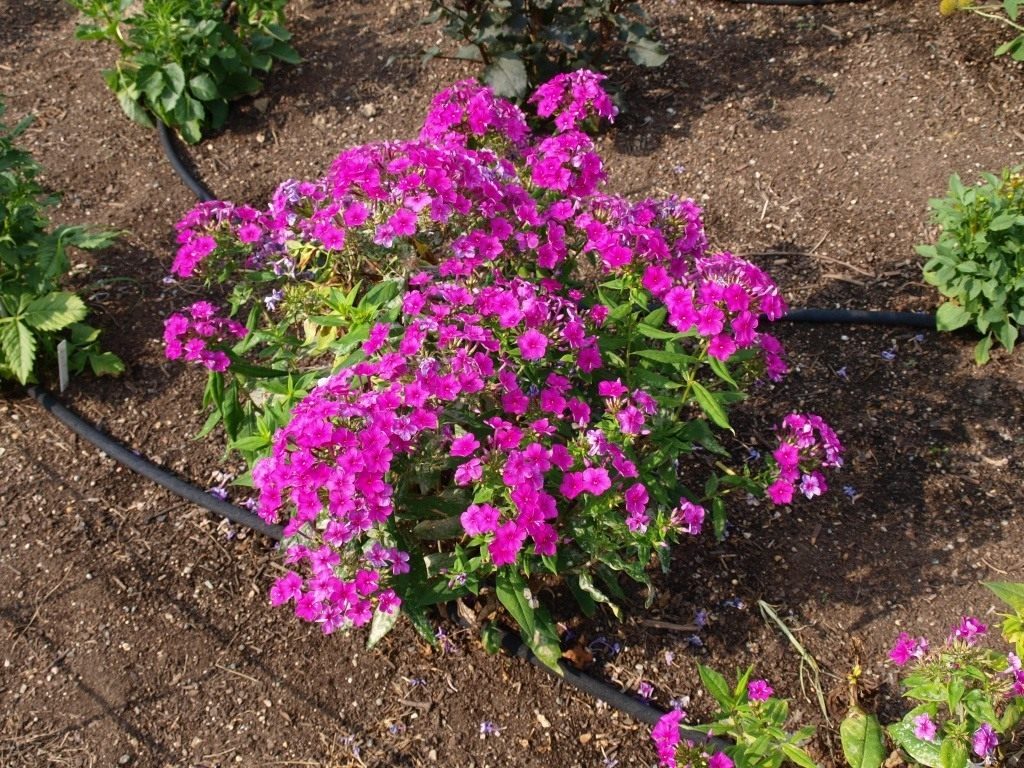
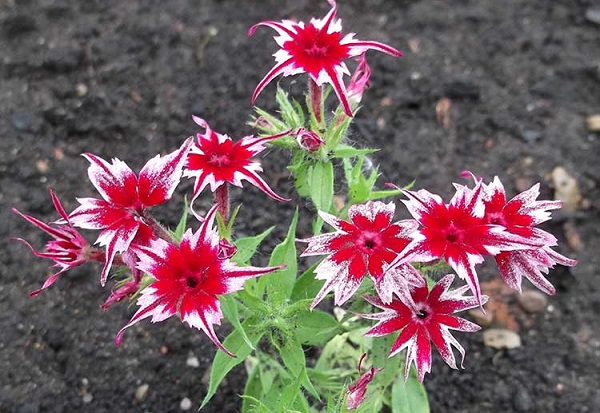
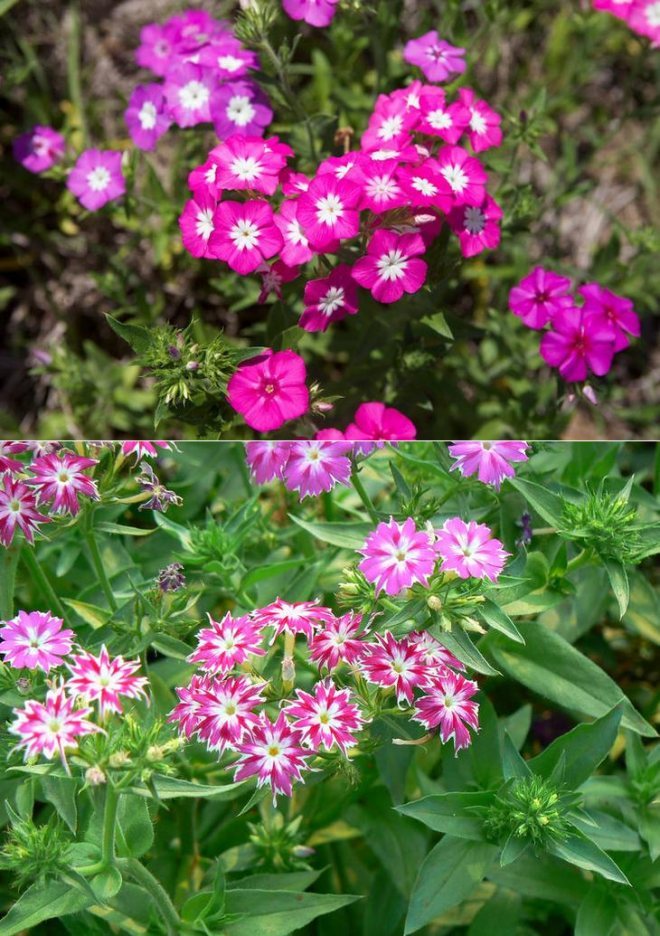
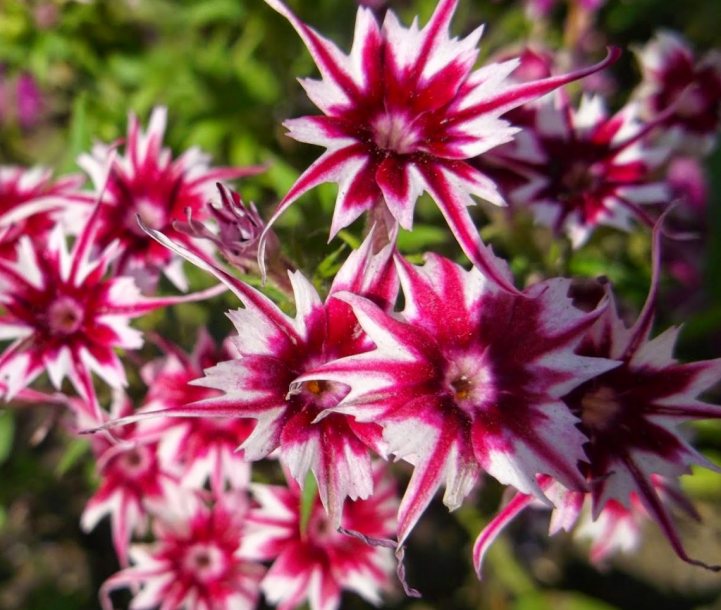
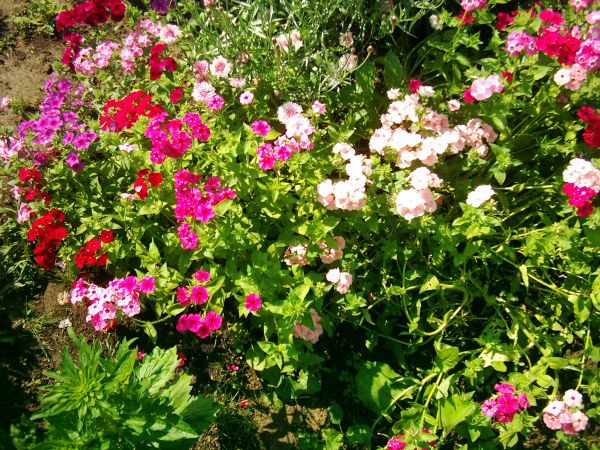
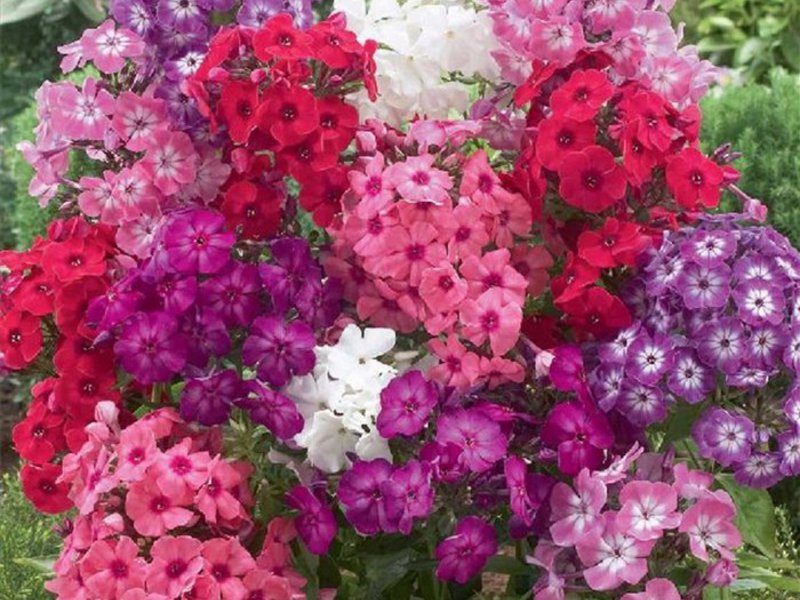
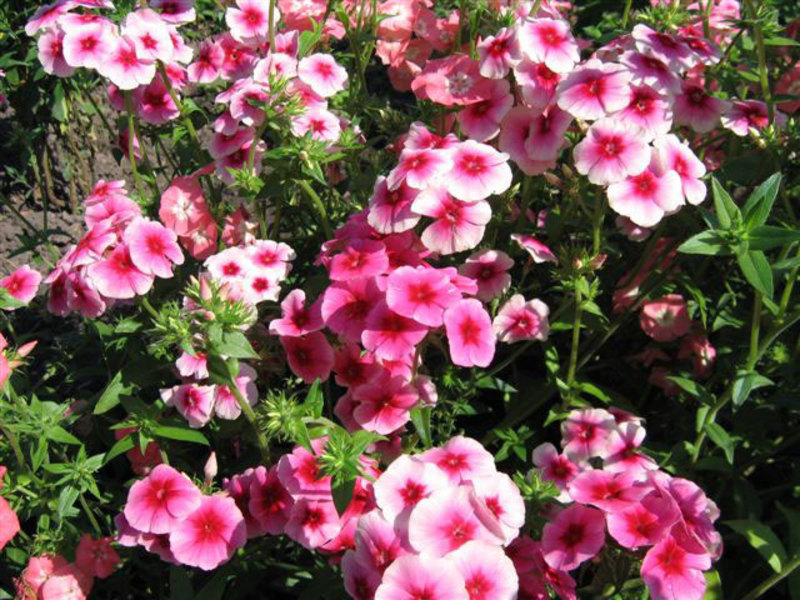
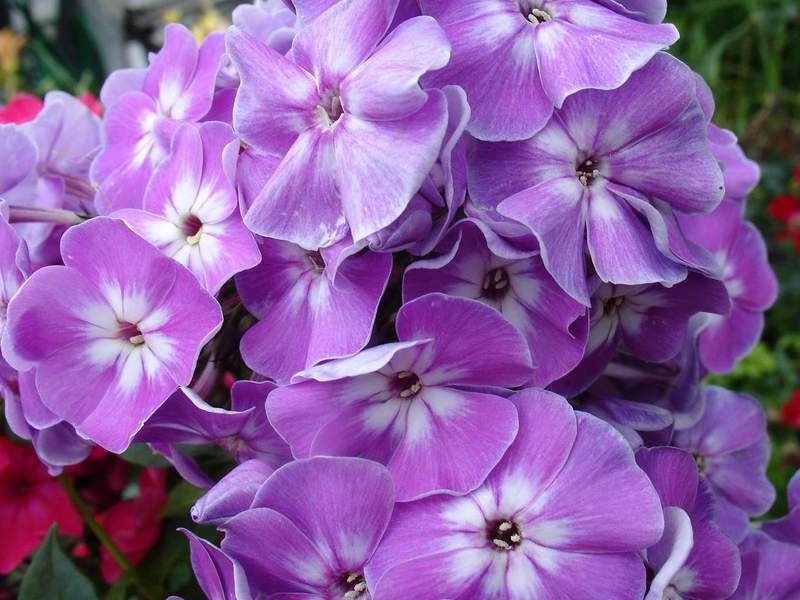
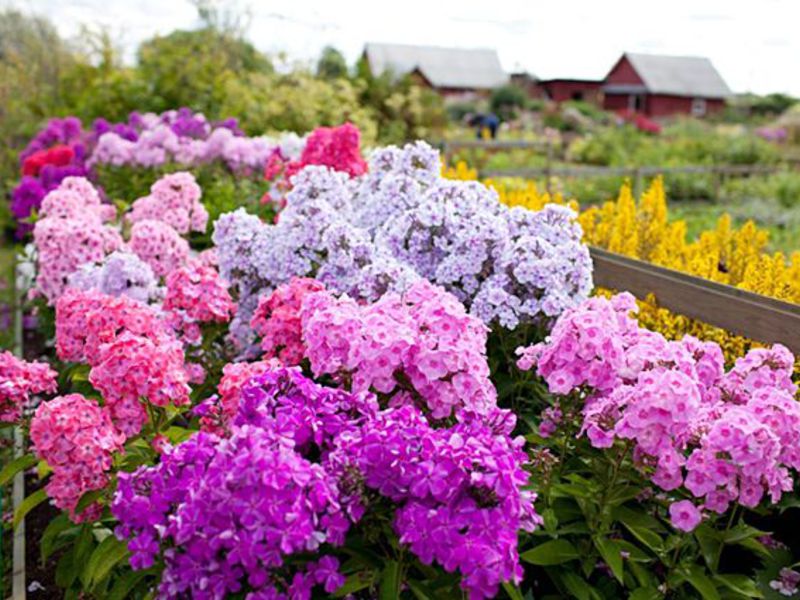
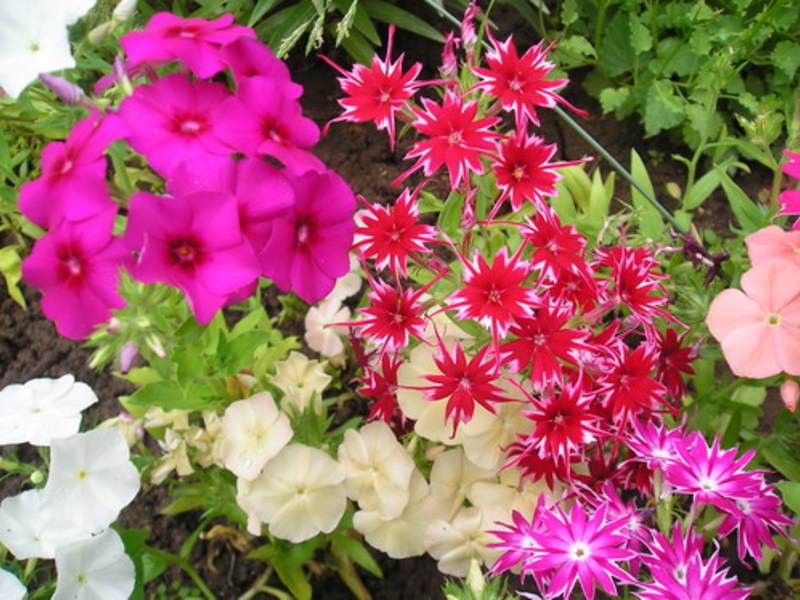
A flower bed of Drummond phlox of different shades and varieties looks beautiful and impressive. They can be used to decorate alpine slides and curbs. A large blooming ball decorating the courtyard can be obtained by planting annual phloxes in pots or buckets, and placing them side by side. With proper care and cultivation, it will be possible to admire its flowering throughout the warm season.
Phlox Drummond




Split phlox (Phlox divaricata)
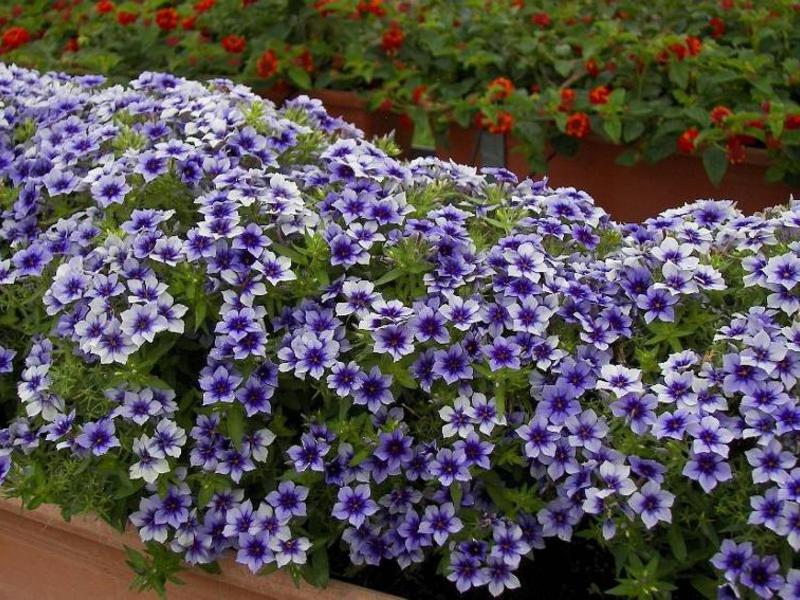
The splay phlox is native to North America and is often referred to as the canadensis phlox. Other names for this plant are forest phlox or wild blue phlox.
It is a medium-sized plant that is very different from the previous two types of phlox. The height of the splayed phlox is 20-50 cm. The color range of the petals is bluish-lilac, in gentle pastel colors.
This phlox loves well-fertilized soil, but at the same time is great for rockeries and rocky areas. It also has a strong sweet aroma and attracts many bees and butterflies.
Not so many varieties of this perennial are grown in culture, but they all justify the effort and time invested in caring for them by 100%.
Clouds of Perfume
Phlox Clouds of Perfume forms a sod up to 60 cm wide. In spring it is dotted with a scattering of charming lavender flowers that fill the flower garden with their aroma.
Please note that this phlox is not sufficiently resistant to powdery mildew and nematodes.
| Color of petals | Bush height (cm) | Bush width (cm) | Flowering time |
|
Lavender |
20-30 | 50-60 | April May |
Landen Grove (London Grove)
From afar, the Landen Grove phlox bushes can be mistaken for a sea of forget-me-nots. But if you come a little closer, you will be covered with a cloud of subtle aroma that cannot be confused with anything.
This perennial is quite resistant to powdery mildew, grows well and does not require special care.
| Color of petals | Bush height (cm) | Bush width (cm) | Flowering time |
|
Bluish lavender |
30-35 | 50-60 | April May |
Fuller's White
Fuller's White white bushes will be an excellent decoration for a spring mixborder.
This phlox is notable for its excellent winter hardiness - it can withstand frosts down to –40 ° C.
| Color of petals | Bush height (cm) | Bush width (cm) | Flowering time |
|
White with a slight lilac shade |
30-35 | 15-30 | April May |
Eco Texas Purple
Phlox Eco Texas Purple is notable for its spectacular dark lilac flowers. It differs from most cultivars of the splayed phlox in the later flowering period - from late spring to early summer.
| Color of petals | Bush height (cm) | Bush width (cm) | Flowering time |
|
Purple with pink eye |
30-35 | 15-30 | May June |
Phlox feeding
During the summer, you need to feed phlox three times. If the summer is rainy, then the top dressing is done dry, if the rains are not enough, liquid top dressing is carried out.
The first feeding is done when the stems grow back. Liquid top dressing consists of 10 liters of water and 2 tablespoons of urea diluted in it. The dry top dressing includes: one bucket of compost or humus and two tablespoons urea. The components are thoroughly mixed and scattered next to the plants. This amount can feed three phlox bushes.
The second feeding is done during the development of buds on phlox. To do this, dissolve 60 grams of nitrophoska and 30-35 grams of Rossa and Agricola for flowering plants fertilizers in a large bucket of water. This amount is enough to feed three phlox bushes.
The third, last, top dressing is done after the end of flowering. For liquid feeding, take a large bucket of water, 30 grams of superphosphate, 30 grams of potassium sulfate. Dry top dressing consists of a bucket of peat or compost 60 grams of phosphorus-potassium mixture or 60 grams of fertilizer "Autumn". All components are thoroughly mixed and scattered under the plants. With this amount of fertilizer, you can feed from 3 to 4 bushes.
These top dressings will ensure a lush bloom of phlox for the next season.
How to plant and grow perennial phlox in the garden
Growing perennial scented phlox in the garden is easy. They are hardy, winter-hardy (only in snowless frosty winters, some varieties can fall out), they are easy to divide or cut (in the spring by growing shoots or at the end of summer by semi-lignified cuttings).

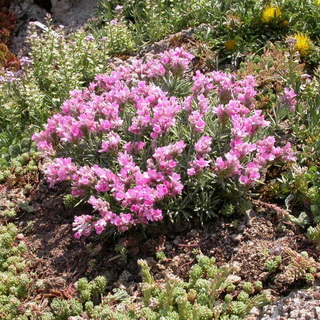
Low-growing, very lush perennial phloxes can grow both in full sun and in partial shade, and there are varieties, mainly of purple saturated color, which it is the shading that allows you to show all the advantages of the variety. Of course, phloxes need to be fed and watered (especially in the heat), but is it difficult?


Phlox breeding is carried out in different directions. The testers are trying to increase the flowering time, to bring out compact undersized and giant varieties, to increase the density of inflorescences, the original color (with stripes or other bizarre patterns).True terry phloxes, as well as plants with flowers of blue or some kind of warm (with the presence of yellow) color, remain a dream.

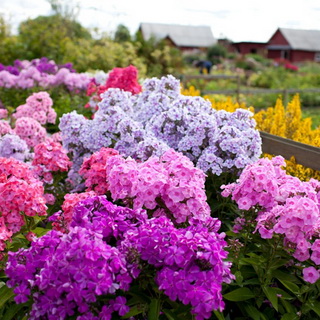
Perennial varieties of delicious phlox are very unpretentious: they only require regular watering and loosening of the soil. For the formation of large inflorescences, top dressing can be added to the soil.
Fertilizers for them are budgetary, experienced gardeners advise feeding seedlings with liquid manure in May or June. The scheme is as follows:
- 30 grams of organic fertilizer is diluted with ten liters of liquid;
- after a few weeks, this solution is used again, but with the addition of superphosphate and potassium salts. In total, 3-5 such procedures are needed per season.


