How to care for campanula at home
Care for the campanula bell at home is not too difficult, but it is also not easy. In order for the plant to grow, develop, and most importantly, to blossom and bloom as long as possible, it needs to create comfortable conditions. In the summer, you can transfer the flower to the garden and even transplant it into open ground.
Illumination and temperature conditions
The house bell is very fond of well-lit rooms, most varieties do not tolerate shade. And to such an extent that it can not only fail to bloom, but also completely stop in development and even die.
But the light should not be direct, the delicate leaves and flowers of the plant will instantly receive sunburn. Windows located on the east or west side are ideal. The north side is excluded, and the south windows require good shading in hot sunny weather.
The correct temperature regime is one of the main factors for the success of campanula care. In spring and summer, you need to maintain a temperature of about +25 ° С, in winter the flower is allowed to rest at a temperature of +15 ° С.
Important! In winter, it is important to maintain a long daylight hours for the plant; additional ultraviolet or LED lamps will be needed, which do not increase the temperature of the air and do not dry it out.
Watering rules and humidity
The flower is remarkable for its ability to withstand prolonged drought. In the summer, this period can last up to 2 weeks. At the same time, the plant continues to retain its decorative properties. However, do not experiment like this with the campanula located on the south side.
In the heat, regular watering and spraying is required. The spraying procedure should be carried out only in hot, sunny weather. At other times, the house bell does not need her.
Important! It is best to spray the flower in the evening, when the sun sets below the horizon, and there is no risk of getting burned.
Top dressing and soil quality
Top dressing is carried out from mid-March to the end of September - during the active growing season of the plant and during flowering. It is carried out 2-3 times a month with complex fertilizers for indoor flowering plants. In this case, the doses of the substance should be minimal. Better to dilute it with water. In winter, you do not need to feed the flower.
Important! Campanula top dressing is always combined with irrigation. The soil must be loose, good moisture and air permeability
An excellent option is a mixture of peat and leafy earth in equal proportions. Ready-made universal primer sold in stores is also suitable. The most important thing is that it should be loose.
The soil must be loose, moisture and air permeable. An excellent option is a mixture of peat and leafy earth in equal proportions. Ready-made universal primer sold in stores is also suitable. Most importantly, it should be loose.
Flower container size
Since the root system of the campanula develops very quickly, the flowerpot will need a fairly spacious one. The material from which it will be made is not important. The bride and groom will feel great in both clay and plastic pots.
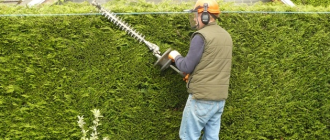
Pruning and replanting
Pruning is done at will at the beginning of the dormant period (October-December). The stems are shortened by 10 cm with sharp disinfected scissors. It is quite possible that after this procedure, the campanula will re-flowering.
The second and obligatory pruning takes place at the beginning of March. All dried branches are removed, and the rest are shortened so that no more than 5 cm remains.This is necessary in order to awaken the buds hidden at the very base of the shoots. They will produce many young, beautiful stems.


Important! Caring for a campanula indoor flower is quite simple, but all the rules are mandatory, otherwise certain problems may appear.
Planting and leaving
It is not so difficult to grow a bell with lanceolate leaves and graceful bells on your site. Instances are unpretentious in care, grow rapidly, becoming permanent residents of the garden. They grow in one place for a long time, from 3 to 10 years. They can reproduce by self-seeding, but you should not rely on this. Moreover, hybrids do not produce seeds at all.
Choosing a place and soil
The peach-leaved bell grows safely in well-lit places, light partial shade is allowed.
So that the roots do not rot from the increased moisture index, the site must be elevated - either a high bed, or a mound, a hill.
It is good if it is a drained area with sufficient sand content. If the soil does not allow water to pass through well, drainage is artificially laid.
Loamy soils with an acidic value are also not a problem for the bell, it will grow in such conditions.
Growing from seeds
Seeds are purchased in a specialized store, but you can collect them yourself. To do this, at the end of August-September, take a faded basket, dry it and remove the seeds. By this method, the former qualities of the mother bush can be lost.
Sow planting material directly into open ground at the end of May (cover with foil), or in October, until stable frosts. In this case, your bell will bloom only next year.
Seedling method
This preferred method will allow the bells to "ring" in the summer.
- Sowing is done in late April or early March;
- Pour 6 parts of earth into shallow boxes, 2 times less humus, and one part of sand. Or purchase a ready-made potting mix;
- Moisten the surface from a spray bottle, spread it over the seeds and sprinkle it with earth a little (1-2 mm.);
- Moisten again and put a plastic cover over the container. Ventilate periodically, check fit;
- At room temperature, shoots will appear in 15-20 days;
- As soon as the seedlings hatch evenly by 2-3 millimeters, remove the film cover and sometimes spray the seedlings;
- Are the shoots starting to shoot leaves? We wait until there will be 2-3 of them, and we begin to pick. It is advisable not to tighten with this procedure, because the roots of neighboring sprouts can intertwine with each other, and by separating them, they can be easily destroyed;
- For seating, we take individual cups or pots, or simply increase the number of containers (provided that there is enough space and the required amount of land);
- We place the seedlings in the boxes at a distance of at least 10 centimeters so that it fully develops;
Landing scheme
Peach-leaved varieties can have different heights, depending on this, a planting scheme is also prescribed.
For tall plants, a distance of 50 through 50 cm is taken, medium-sized - 40 * 40 cm, low - 25-30 cm between seedlings.
It turns out that 1 sq. meter is from 10 to 25 copies.
Reproduction by dividing the bush
Only an adult plant can be divided, after 3-5 years of age. The procedure is performed in May or autumn. As well as propagation by cuttings, this method is good for maintaining varietal traits.
- Cut off the stems, dig up the plant;
- Divide the root with a sharp knife into 2-3 parts so that there are buds everywhere;
- Powder with crushed charcoal or wood ash;
- Plant immediately so that the bud remains at ground level;
- Water, press the soil around the seedling.
Cuttings
In the spring or during the summer, cuttings are taken from the middle part of the stem. It can be both young and lignified shoots 10-15 centimeters long.
How to care
Basic rules of care
- Water in dry weather and loosen the soil thereafter, and remove weeds;
- For tall species, you will need a bush garter, otherwise it will fall apart;
- Feed a couple of times during the growing season, first with nitrogen fertilizer, during flowering - with a phosphorus-potassium composition;
- Remove outdated inflorescences, then new ones quickly grow;
- By winter, all stems must be cut to ground level, you can sprinkle with humus or fallen dry leaves, branches.
Campanula garden perennial reproduces easily
Plant replanting and planting can be carried out in the fall or spring. Caring for a perennial campanula at first depends on the type of reproduction and planting of the plant.


On this topic:
BACK
FORWARD
1 in 199
Breeding options:
- Division of the bush.
- Cuttings.
- Seeds.
Cutting: how and when to carry it out
For this method of reproduction, a stalk of an adult healthy plant is selected, which is cut with a knife. The cut is dipped into a vessel with water, and kept in it until roots are formed.
After the roots have appeared, the cutting is planted in a container with a sandy and peat mixture. In the future, the plant is sprayed with water, without watering. After the new seedling has begun, it can be transplanted to a place selected in the garden.
Dividing a bush is the easiest way to reproduce
You can divide the bush of perennial garden campanula in late summer or early autumn.
To do this, follow these steps:
- Dig up an adult bush.
- Divide it in half or in 3 parts like this. So that in each of them there is a place of renewal.
- Drop the separated parts to a new location.
- Drizzle.
Seed propagation
Planting campanula seeds can be carried out in one of the following ways:
On this topic:
BACK
FORWARD
1 in 101
- In the spring - in the greenhouse. The most suitable period for this is March.
- In autumn (in October) - in the ground.
Seeds are spread over the prepared area with a pre-moistened soil mixture. And on top, no more than 30 mm, sprinkle with earth. After that, the ground is watered again.
Seeds planted in the fall germinate in the spring, about a month after the snow has melted. Seeds planted in a greenhouse in March need to be covered with film or glass on top in order to maintain an optimal microclimate for germination. In May, young plants that have sprouted in the greenhouse can be transplanted outdoors into the garden.
Common diseases and pests: what to do to save a flower
Campanula, despite its general unpretentiousness, is quite often affected by pests that are not averse to feasting on delicate leaves. She also absolutely does not tolerate stagnation of moisture in the pot - rot quickly develops. Competent prevention will help reduce the risk of disease and the appearance of insects to a minimum:
- keeping all newly acquired plants in quarantine for a month;
- regular inspection of flowers and immediate isolation of all specimens showing suspicious symptoms;
- placing indoor plants and bouquets (especially roses and chrysanthemums) as far apart as possible, ideally in different rooms;
- daily airing of the room, spraying the leaves, wiping off dust from them;
- implementation of recommendations for plant care, especially in terms of watering;
- using only clean pots, disinfected soil and tools;
- periodic (every 10-12 days) replacement of water for irrigation with a pale pink solution of potassium permanganate.
Table: diseases and pests affecting campanula
| Disease or pest | External manifestations | Control measures |
| Root rot | Blackening petioles and leaves and stem bases, dark brown "weeping" rapidly spreading spots, a layer of mold on the ground, a distinct putrid smell. |
|
| Gray rot | "Wet" gray spots, quickly tightening with a fluffy "nap" with small black dots. |
For prophylaxis, once every 3-4 months, spray the plant with a solution of Fundazol (0.1%), Topsin-M (0.3%) or Bayleton (0.05%). |
| Spider mite | Thin translucent cobwebs, entwining the bases of shoots and petioles, vague pale spots on the wrong side of the leaf. |
|
| Shield | Dark brown or gray-beige rounded bulges on the plant, rapidly increasing in volume, tissues of a reddish-yellow hue around them. |
|
| Whitefly | Small whitish butterflies that pop up from the flower at the lightest touch. |
|
| Aphid | Many small insects of lime or black-brown color, clinging to young leaves, tops of shoots and buds. |
|
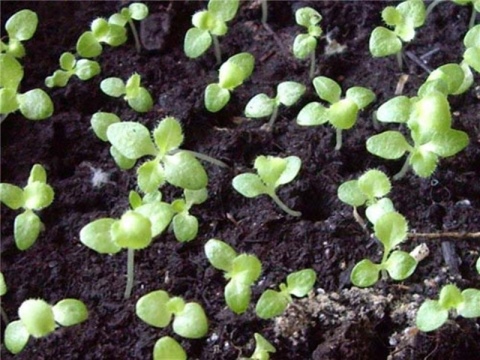
How to sow a bell for seedlings correctly: the main stages
Planting a bell for seedlings at home requires adherence to certain preparatory measures. Let's consider them in more detail.
Seed preparation
Bellflower seeds germinate normally without preparation. In addition, after soaking, they remain wet, which makes them very difficult to sow. If you still want to increase germination, you can process them in a solution of a growth stimulant drug, and then filter through a dense tissue and let dry before sowing.
Soil preparation
In nature, in open ground, bells grow well on stony, calcareous soils. However, when growing seedlings of this culture at home, light, loose, moderately nutritious, neutral or slightly alkaline soil is ideal.
Without any obstacles, you can plant the seeds in ordinary universal soil for flower seedlings. But before sowing, it is imperative to add a loosening element to the soil, which will improve the structure and air and water permeability. For example, sand, vermiculite, perlite (as in the photo). You need to mix in the ratio - 3 parts of earth and 1 part of baking powder.
Choice of capacity
The most suitable option for planting a bell on seedlings is a wide and shallow container, the optimal height of which is 7 centimeters.Choosing too deep bowls is not recommended. But as for individual cups, cassettes, pots, it is not very convenient to sow culture in them, since the seeds are very small.
The container must have drainage holes to remove excess moisture. If they are not there, then you need to do it yourself, for example, with a soldering iron, nail, scissors.


Before use, it is recommended to disinfect containers, for example, spill with a dark solution of potassium permanganate.
Landing workshop
As they say, it's easier to see once than hear a hundred times. Therefore, your attention is provided with a step-by-step photo-instruction for sowing bell seeds for seedlings:
1) Put the drainage material in the container.
For example, perlite, expanded clay, any small stones. A one and a half centimeter layer is enough.
2) Fill the container with soil, leaving a small distance to the edges (2-3 cm).
Thus, when the first shoots germinate, they will not immediately rest against the cover or film.
3) Moisten the soil with clean water.
4) Sow.
For this reason, it is convenient to sow them with sand. To do this, pour a small amount of clean, calcined river sand into a shallow bowl and mix well with the seeds.
Plant the bell by evenly distributing the seeds and sand over the surface of the soil.
5) Water the soil with seeds.
6) Cover the container with a lid or plastic wrap to create a mini greenhouse.
As noted above, the seeds of this culture need light for germination, so the covering material must be transparent.
7) Sign the container with future seedlings in any convenient way.
Description: varieties and varieties of bell
Campanula is a herbaceous perennial plant. It has the following characteristics:
- stem - erect or creeping, 0.4-1 m long;
- leaves - carved, heart-shaped, up to 7 cm in length, cuttings are long;
- inflorescences - pyramidal;
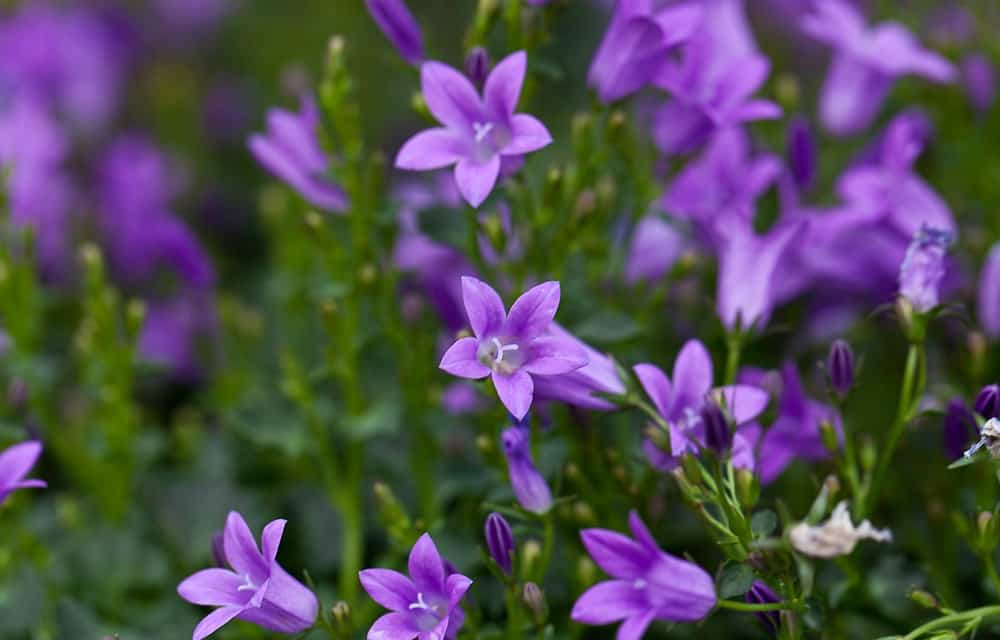
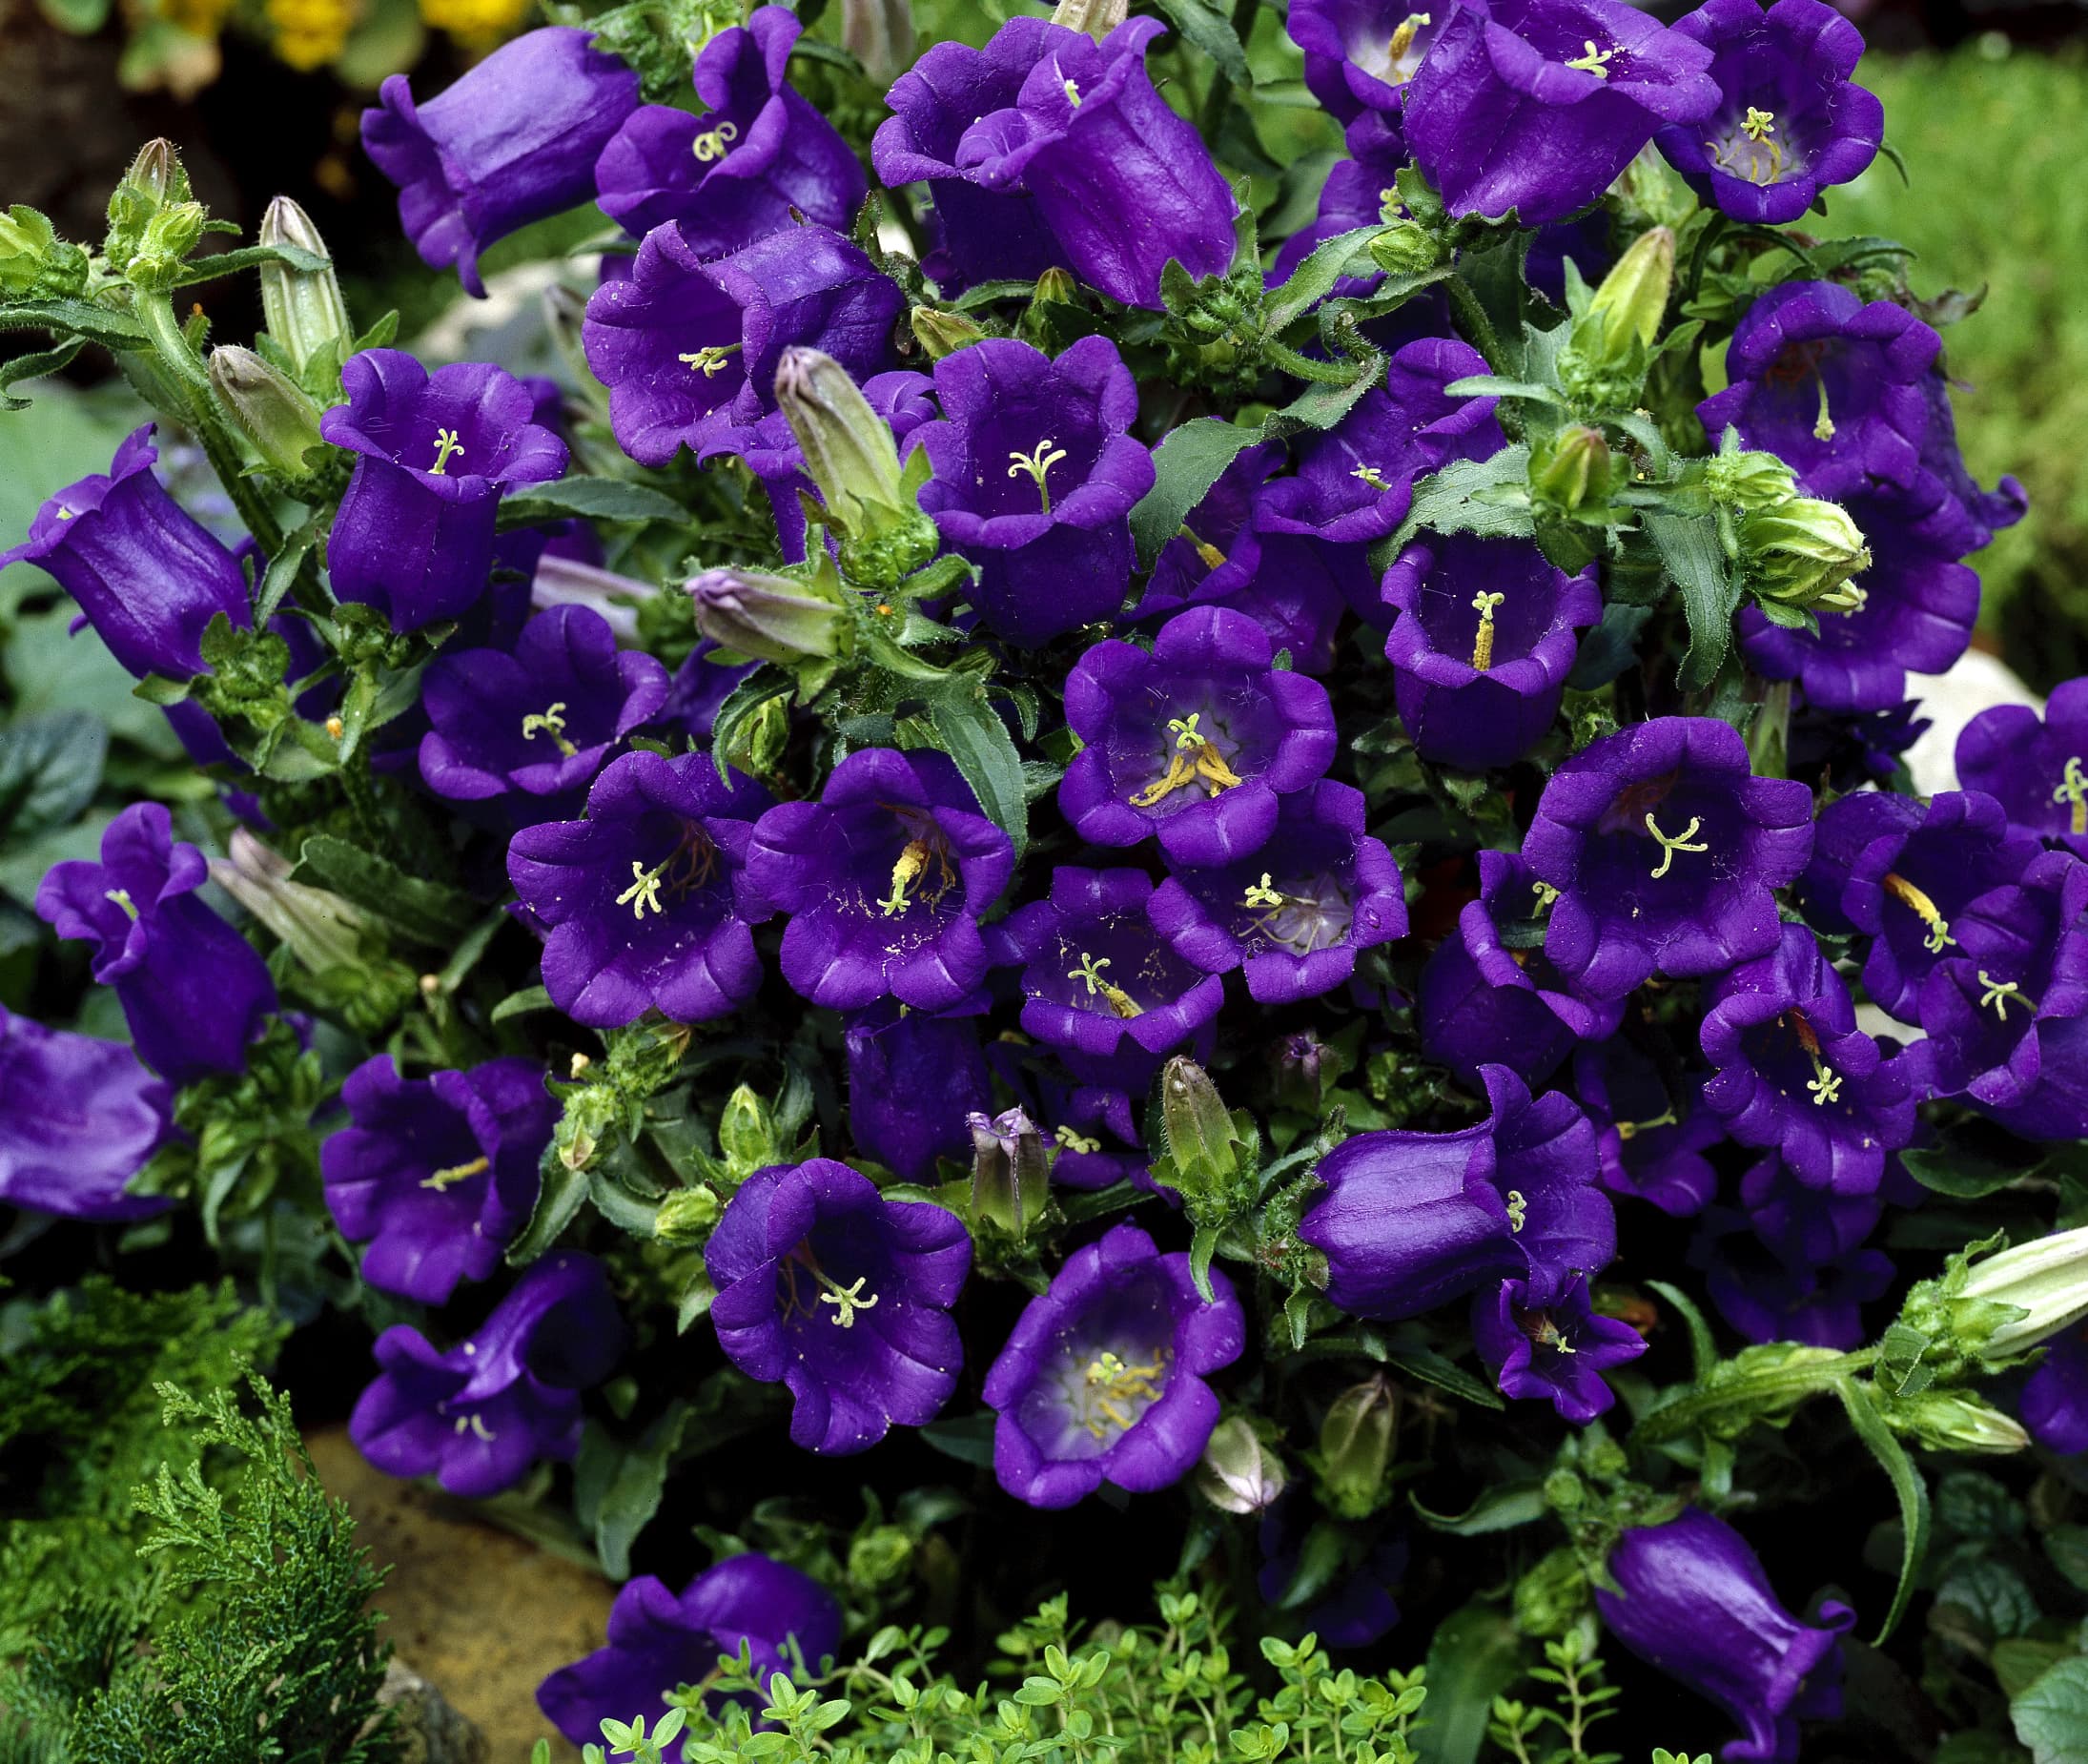
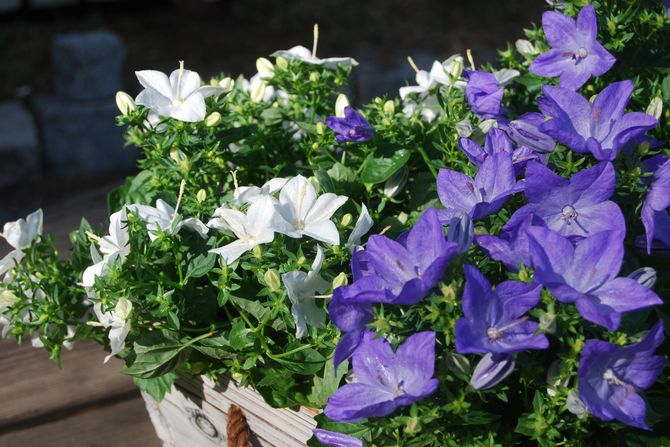
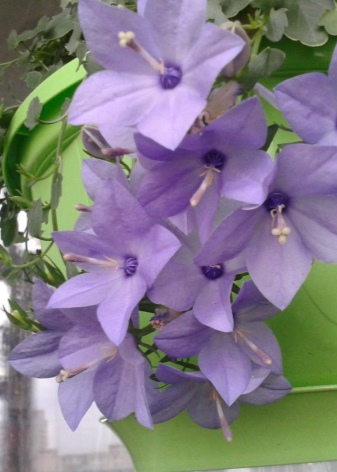
- color - from pale to rich lilac, pink, white, blue, etc.;
- flower size - 2-4 cm in diameter;
- flowering occurs from June to September.
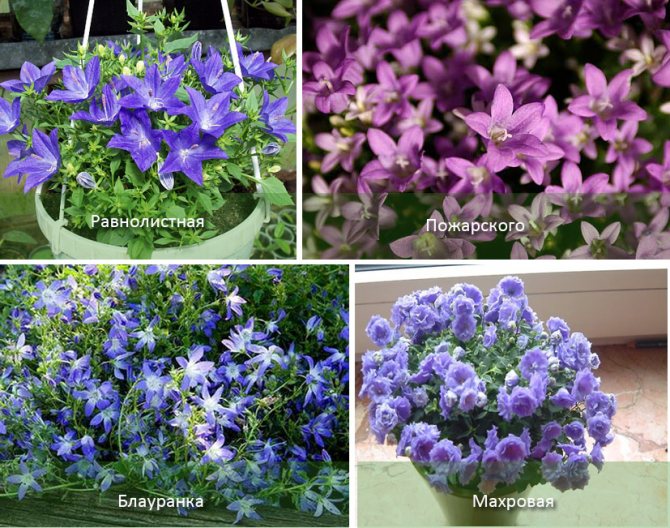
Campanula is undemanding to care and grows in many places: forest thickets, dry steppes and wastelands, even in rocky areas. The plant has about 300 varieties. Photos and descriptions of popular species will help you choose the best one:
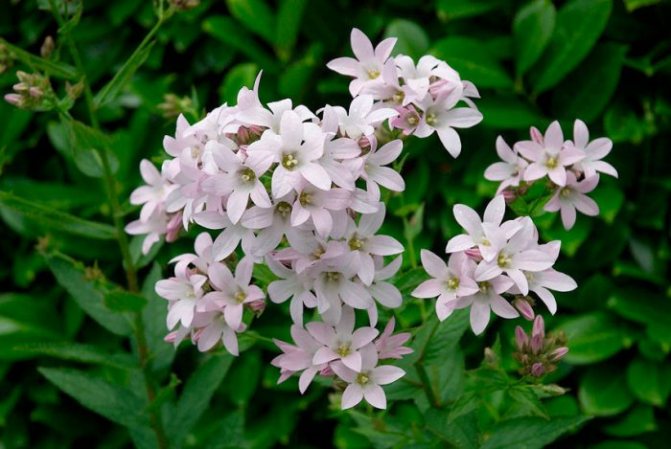
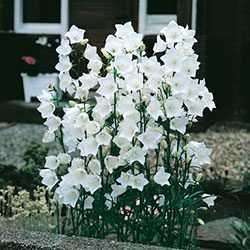
- The bell is milk-flowered. The plant is about 90 cm high and has a branched stem. The flowers are small, up to 3 cm in diameter, milky white or purple in color. Grows well only in abundant light.
Bellflower milky-flowered
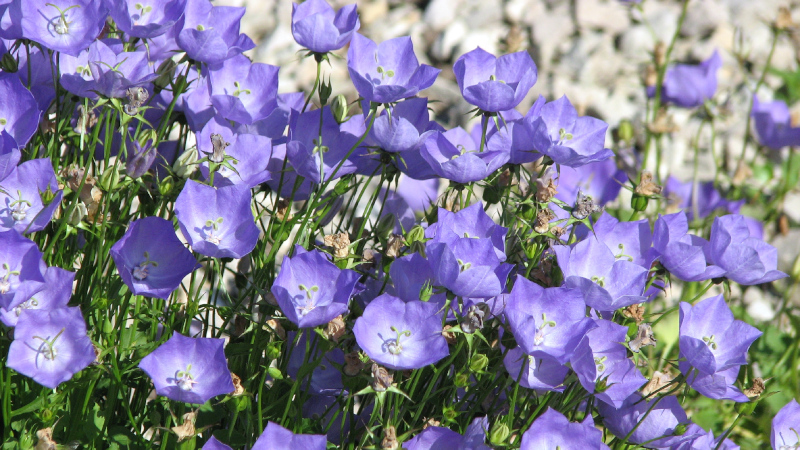
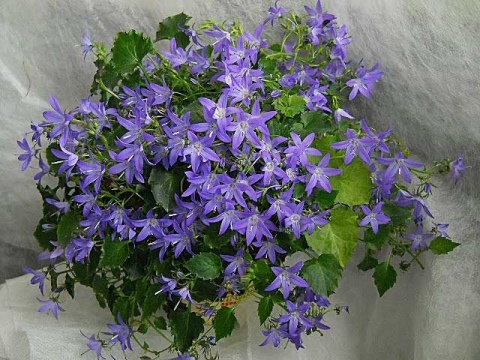
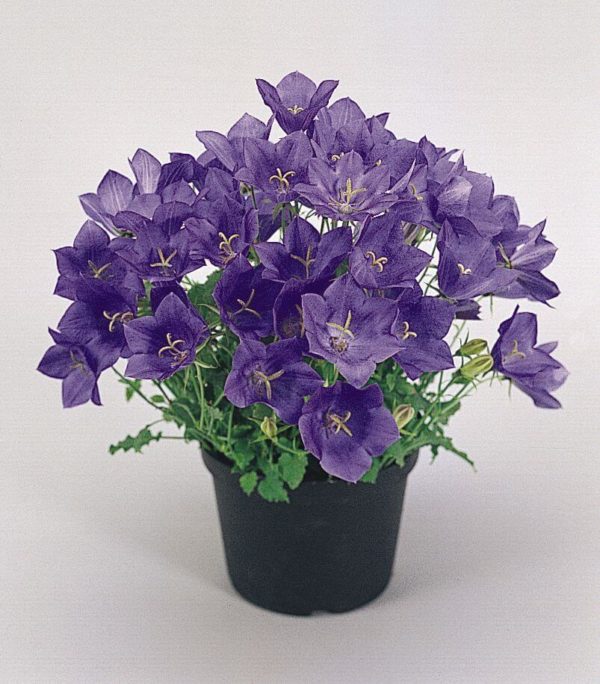
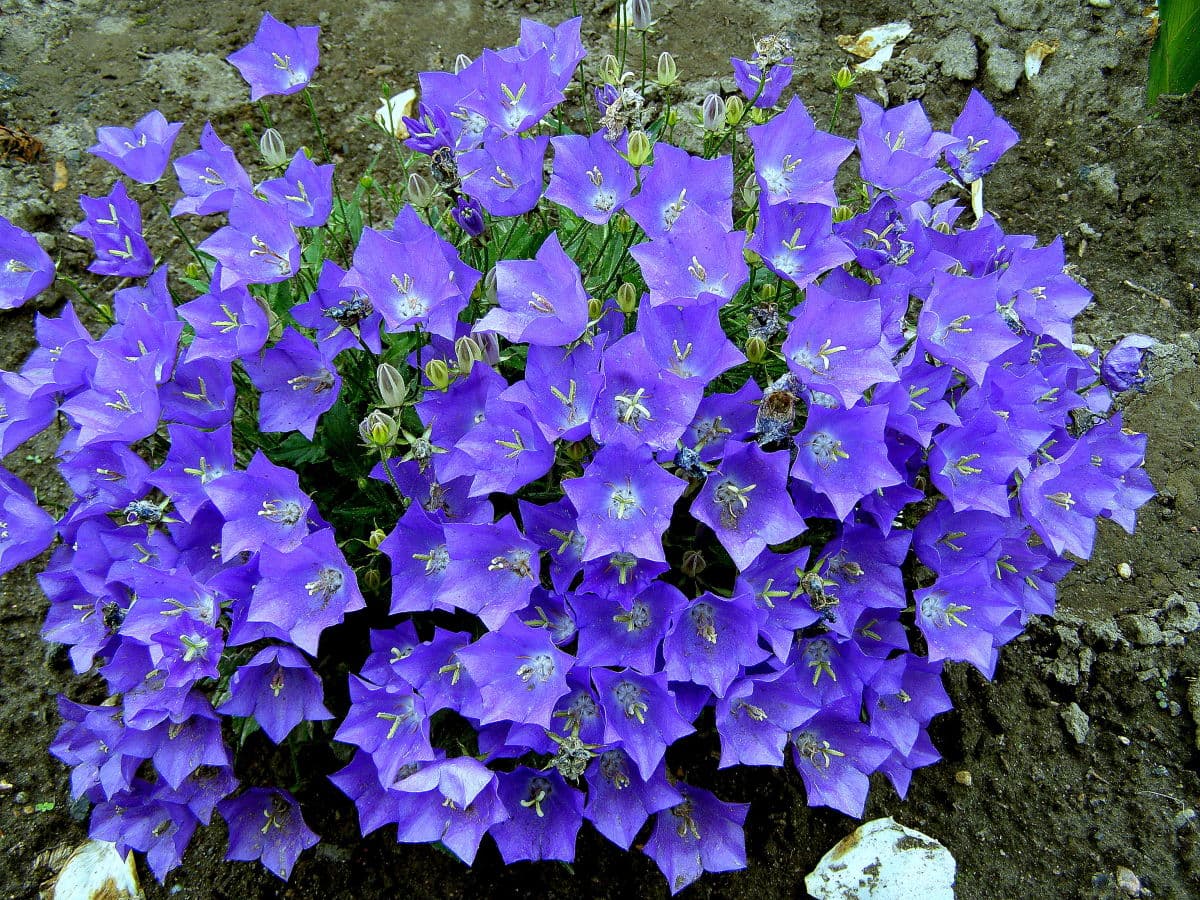
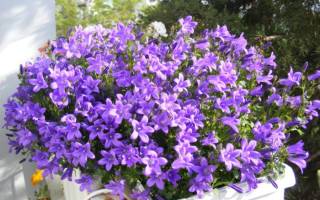
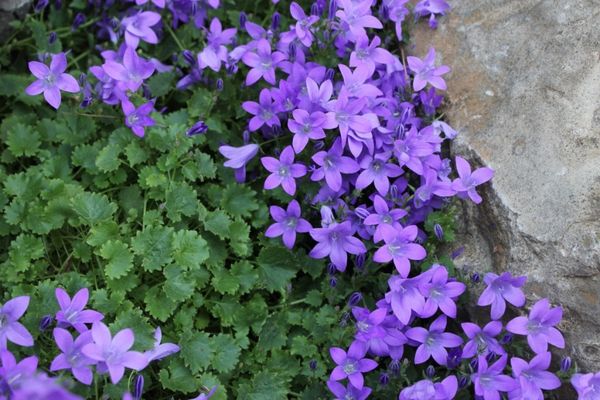
- Campanula Carpathian. A group of low-growing varieties with a stem no higher than 40 cm. It will grow as a bush in the form of a sphere 30 cm wide. Flowers up to 5 cm in diameter, blue, white or purple. Used to decorate balcony compositions or rock gardens.
Campanula Carpathian
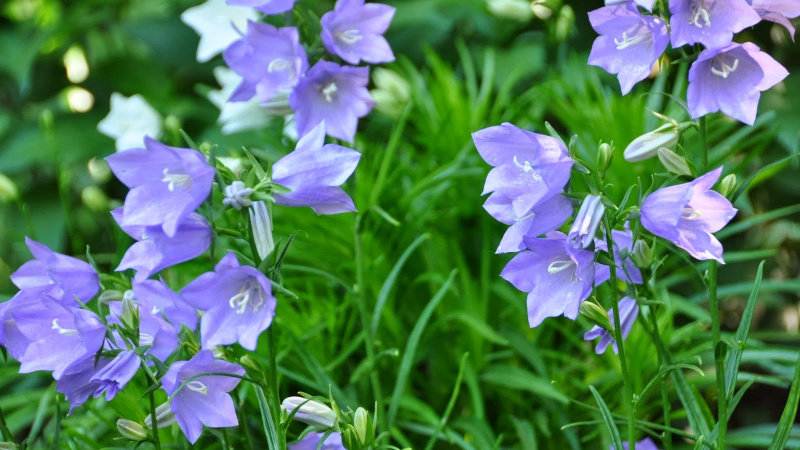
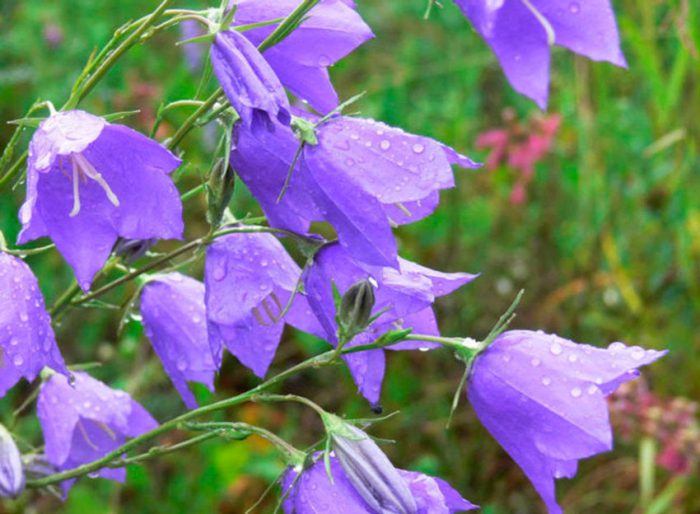
- Campanula peach-leaved. The bush reaches 90 cm. The leaves are peach-like. The flowers are about 3 cm in diameter, white or blue. The varieties are in the Red Book.
Campanula peach-leaved
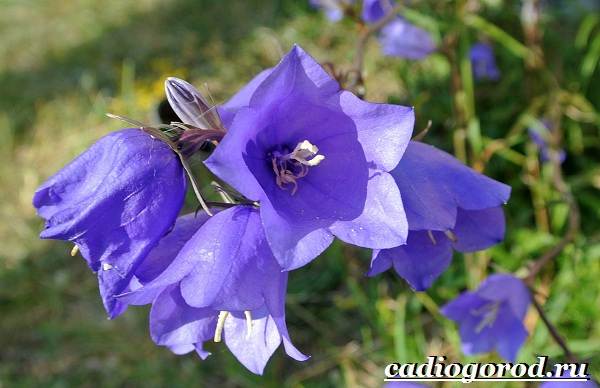
- Campanula nettle. A tall view with a meter stem. Flowers are collected in groups of 2-3 pieces. Color - white or blue (including shades). Some varieties have double inflorescences. Can develop normally in the shade.
Campanula nettle leaf
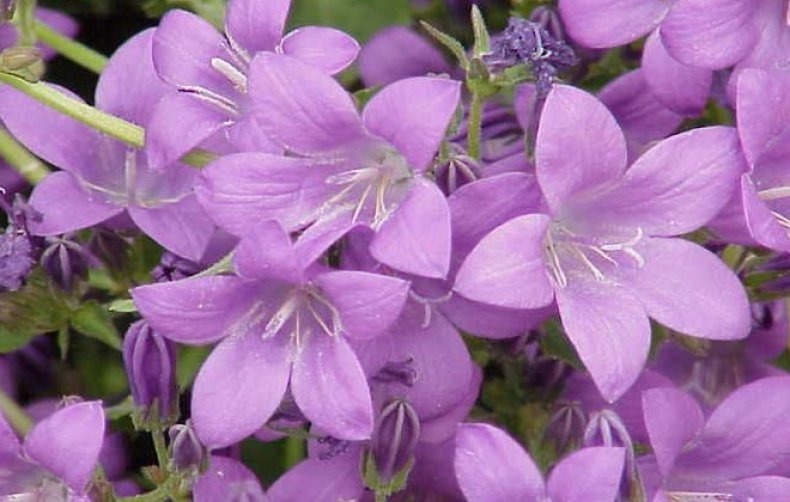
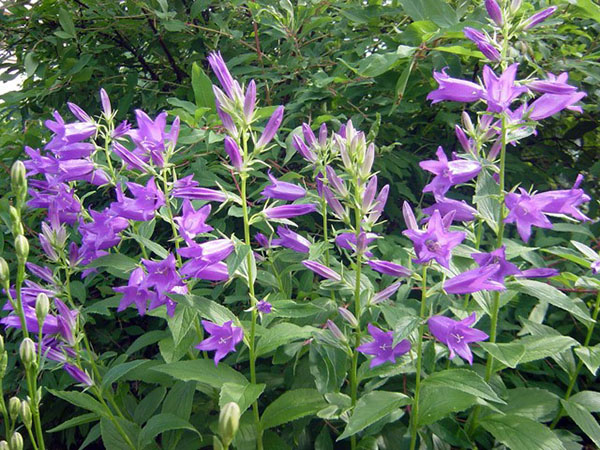
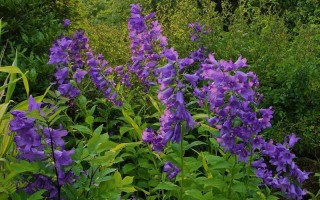
- The bell is broad-leaved. The stem is over a meter in height. White or blue flowers in the form of large funnels are arranged in the form of an ear. Suitable for growing in the shade.
Broadleaf bell
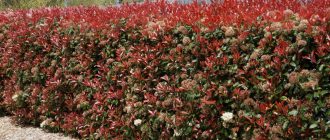
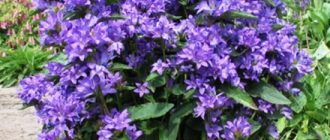
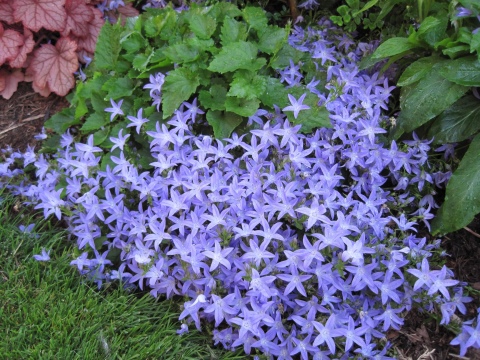
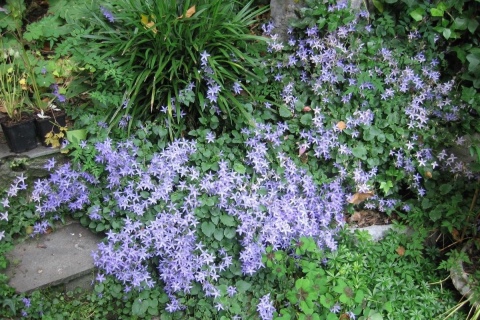
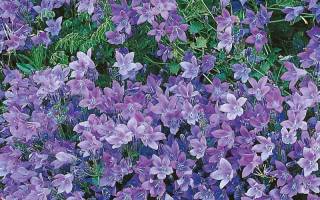
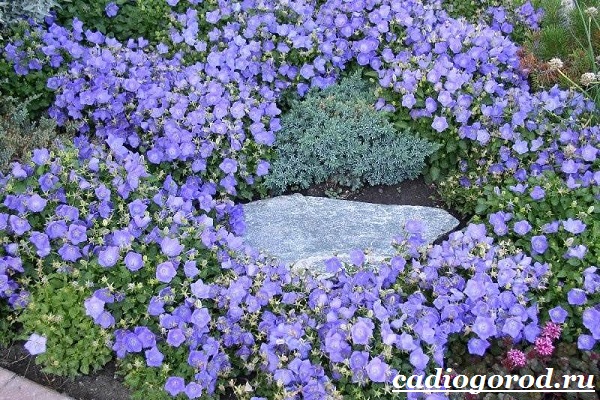
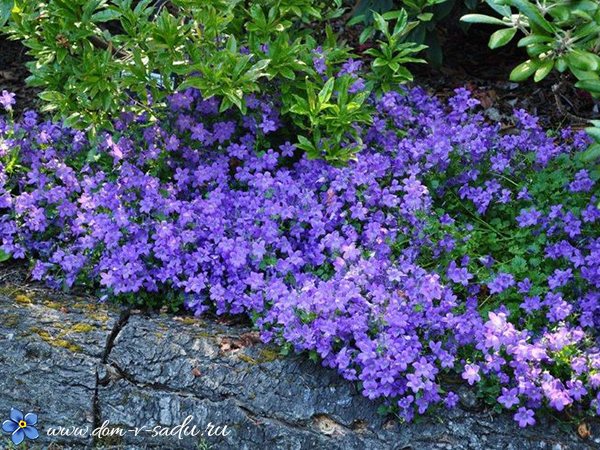
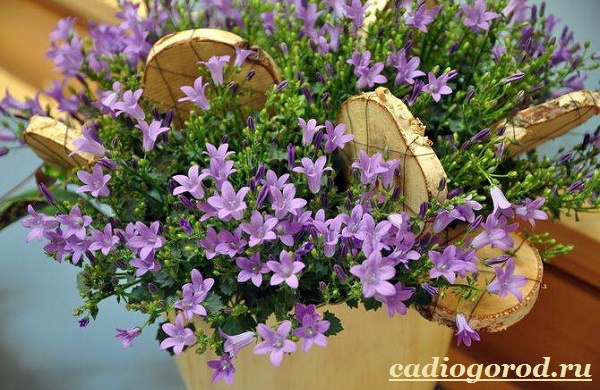
Use in landscape design
The crowded bell is often used in landscape design. The culture is beautiful, prominent, combined with various types of flowers. They are often planted on the lawn, in the ridges, used as a curb. High varieties are usually planted in the center of plantings or a bed, under the crown of trees.Medium and low species are often planted in the form of curbs, fences, in thickets of rose bushes and on rocky hills.


Interesting!
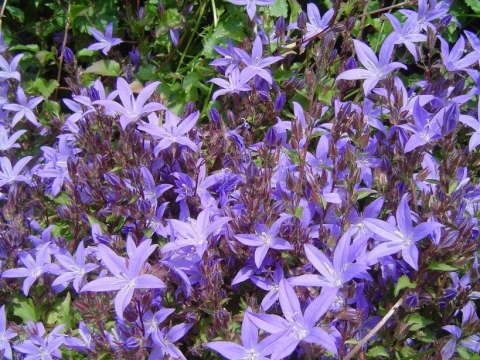
Bells of different varieties look favorably on flower beds, which give flowers of white, blue and purple colors.
Often, these flowers are also planted simply in flower beds and to decorate the backyard. Due to its unusual bluish color, this plant looks great among roses, green ornamental crops, tulips, dahlias and many other plants.
Among the famous cultivated flowers, the crowded bell stands out for its bright, pleasant color, delicate buds, green foliage. The plant is picky, can grow on its own, requires minimal care and, moreover, blooms from year to year. Perhaps it is these qualities that make the crowded bell one of the most popular cultivated plants for personal plots and flower gardens.
Diseases and pests
The crowded bell can be exposed to both diseases and pests. Fusarium disease most often occurs due to seed or soil contamination. First, the roots begin to rot, and then the whole plant, and it dies rather quickly. Treatment with fungicides, for example, "Fundazol", can help. Sclerotinosis can be identified by the whitish bloom that has arisen on the surface of the bush. Unfortunately, the diseased specimen will need to be immediately destroyed, after which it will be necessary to dig up the ground and use the crop rotation rule.
Botrythiasis is almost impossible to cure, so it's best to focus on preventive measures. Since the disease affects the leaf plates, they will need to be sprayed with 15% Bordeaux liquid or a mixture of green soap and copper sulfate.
Common questions
Ask an expert
Do I need to add sand to the soil for the bells? Sand is one of the essential components of the soil mixture for biennials.
Good air permeability of the soil is an important requirement when growing this plant both through seedlings and on the site. Due to the presence of sand, the soil becomes loose and allows enough oxygen to pass to the roots
Otherwise, wilting and drying of the leaves will be observed, as well as the formation of a small number of flowers on the stem.
Can annual species be planted in the same place for several years in a row? Annual varieties include: Dichotomous, Kashmir, Long Column, Mirror of Venus. They are usually short and self-sowing and can grow in the same area, however, for lush and healthy flowers, the soil should be fertilized.
When to expect the first flowers when growing in seedlings? If you plant seeds for seedlings in March, then by August you can get the first flowering. If you plant seedlings closer to the beginning of summer, then until September the flower will form a leaf rosette, which must then overwinter. In the second year, the plant blooms in June.
Is it worth collecting seeds from grown flowers for planting next year? If you collect your seed and use it next year, plants may lose their unique varietal characteristics, such as size and color of buds. Therefore, if a gardener breeds varietal plants and wants to preserve the color characteristics of the bell, he must use purchased material or cuttings.
In addition to beauty, bells are excellent honey plants, so if you have an apiary, they are a great helper for the beekeeper. This plant has been cultivated for more than three centuries, it grew in the count's courtyards, famous poets wrote poems about it. It is also great for creating delicate bouquets of the field.
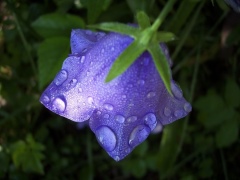
Bell Description
It is a biennial plant that is often grown perennial through natural renewal. Reaches a meter height, stem straight, hard
... Flowers are in the form of inverted goblets or bells with curved edges outward. They can be smooth or terry, up to 7 cm in length. The bell has a variety of colors: shades of white, blue, light blue, purple and pink.
Flowering is observed from early summer to September. When grown by seedlings, the bell will begin to bloom in the same year, if you sow directly into the ground, you will have to wait for the next year: a developed root and leaf rosette will form in the first mountain, and a flowering shoot will grow on the second. Cut flowers can last up to 7-10 days.
Seeds appear in August - September
... They are quite small and light: there are up to 4.5 thousand seeds per 1 gram. Many growers practice self-sowing: falling seeds take root in the soil and give growth to the next generation. Thus, there is no need to renew the flower bed annually.
There are several types of medium bell varieties that are successfully grown in Russia:
- Large-flowered;
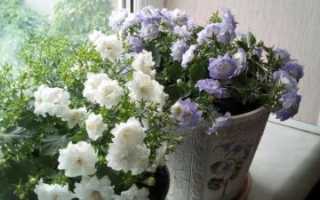
- Terry - the corolla is a series of interconnected rows;
- Crowned - the corolla and calyx are of the same color;
- Variegated - differs in a variety of shades: the leaves are red, yellow and green, the flowers are usually blue and blue.
The most popular varieties include "Droplet", "Cup and saucer", "Vanilla clouds", "Pink gramophone", "Raspberry ringing" and others.
Output
A bell is a capricious plant that can become a real decoration of a plot or a bouquet. It looks good in the same flowerbed with perennial plants or alone.
Observe in your garden flowering bell medium "Cup and saucer"
the dream of almost every grower. Only the trouble is, not everyone succeeds. Either the bag was caught with bad seeds, or the seeds did not sprout due to improper germination techniques.
Bell middle
(Campanula medium calycanthema) is a very beautiful biennial plant that can sometimes be grown as a perennial by natural renewal from seeds.
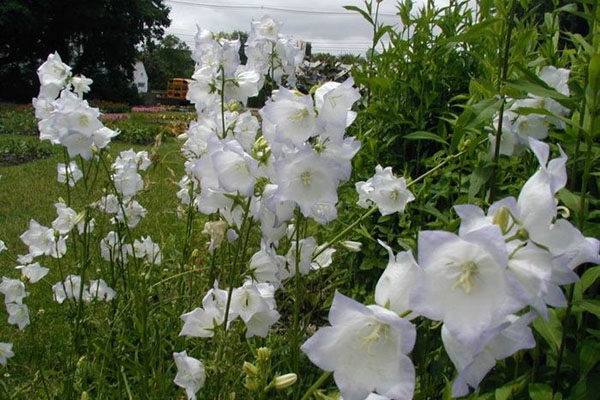
One of the most beautiful varieties of bells is the "Cup and saucer" terry mixture. The color of the bell flowers can be white, pink, blue. The corollas and cups of the flowers create a cup and saucer effect.
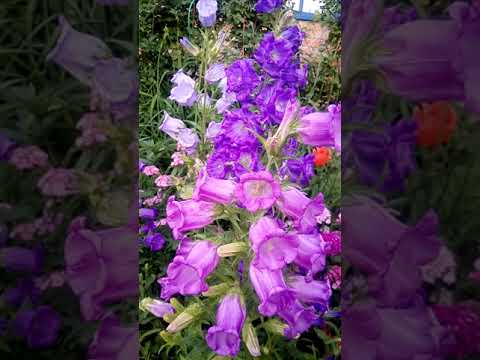


The stem at the bell is erect, harsh-haired, up to 80 cm high, the lower leaves are oblong-oval, the stem ones are sessile, ovate-lanceolate. Double flowers reach 7 cm in length and about 5 - 7 cm in diameter. Bell flowers are collected in large, spectacular pyramidal inflorescences.
Sowing bellflower seeds for seedlings
in March - early April, for flowering in the summer of the same year. Optimum soil temperature for seed germination: + 20 0 С.
The prepared soil in the seedling box is watered before sowing. The seeds of the bell are lightly sprinkled on top with fine river sand, then the container with the seeds must be put in a plastic bag to create a greenhouse, and be sure to shade the crops. This is the difficulty - the bell does not grow in the light. Bell crops are often sprayed and kept under a black film or covering material all the time. Seedlings appear in about two weeks. It will take another 15 - 20 days for the bell seedlings to get stronger. Then comes the picking phase. Bell seedlings dive in a 10 x 15 cm pattern. The transplanted plants are shaded again until they fully survive, for about a week. Seedling care is normal.
Bellflower seeds can be sown directly into open ground
late May - early June. The germination procedure is the same as for germination in seedling boxes. Creating a greenhouse effect and darkening the planting of the bell is a must.
Planting home seedlings of bells to a permanent place:
May June. If the seeds were germinated in the open field, the seedlings are planted in a permanent place in August.When planting seedlings of bells, you should adhere to the planting scheme, in which the optimal distance between plants is 30 x 40 cm.
The middle bell is unpretentious in care
Like other types of bells, it grows well in sunny, sheltered from the wind places, but it will perfectly tolerate the partial shade of spreading apple trees. The soil should be well fertilized, well-drained (no stagnant water), non-acidic (neutral and alkaline soils are good). The bell requires shelter for the winter. Rosettes of leaves that are formed by the fall of the first year need to be covered with dry peat or fallen dry leaves, and a covering material is also well suited for this.
The next year, the growing flowering shoots may require a garter to the support. In dry weather, the bells are provided with watering. It is necessary to loosen the soil.
When grown in seedlings in March, the bell will bloom in the same year.
... When sowing seeds in open ground, the bellflower will bloom in the second year in July - August. For long flowering in any summer, it is recommended to feed with preparations containing a full complex of NPK.
The middle bell can be propagated not only by seeds, but also by green cuttings, which are cut from the growing young shoots of the second year. Rooted cuttings at the end of summer are transplanted to a permanent place in a flower garden. With the help of this reproduction, the middle bell will bloom every year.
The bell is very beautiful in any composition, his
can be planted as a soloist or in group planting
against the background of the lawn, in prefabricated flower beds, rabat beds in the company with Turkish carnations, coreopsis, blood-red geraniums, godetia, gilia, allium. Cut bell flowers stand in water for up to two weeks.
Do you know where the bell's name comes from? You can find out about this in