Planting and leaving
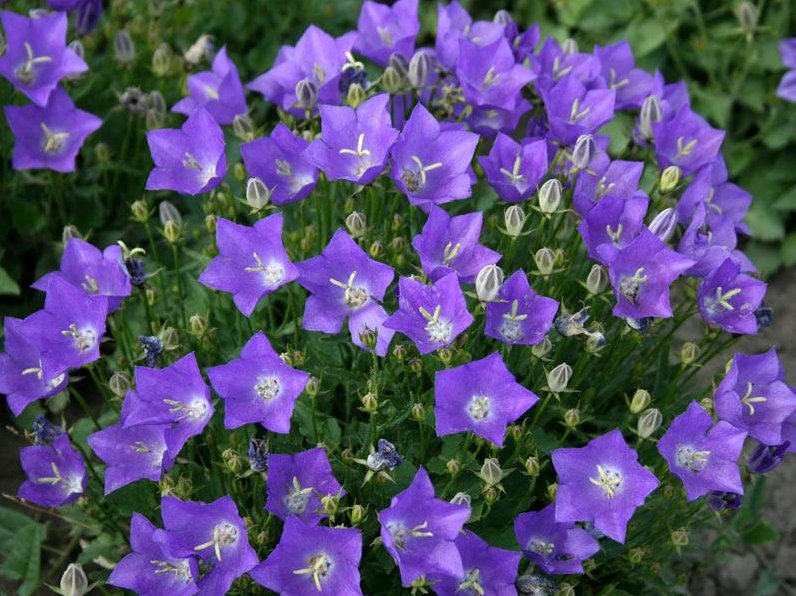
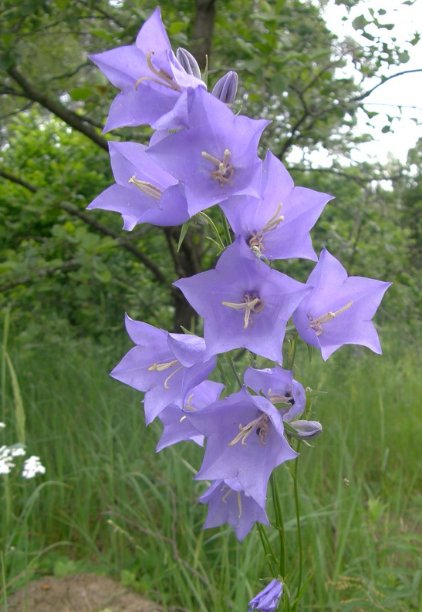
Before you start planting, you need to choose a place for planting and pre-prepare the soil. The main requirement for successful development is fertile, loose soil with a neutral pH. Loamy soil is not suitable for such a cute flower. Rotten humus and sand, as well as complex mineral fertilizers, should be applied to heavy and poor soil.
For spring planting, the planting pit should be prepared in the fall. The site must be cleared of weeds and fertilized in the form of peat, compost, wood ash, humus and sand. All this mixture is dug up so that the soil becomes homogeneous, at the end mineral fertilizers are added in the form of granules. In the spring, the site is once again cleared of weeds and debris, and a small weeding is performed.
The place where the bells will grow should be sunny or slightly darkened. Shady areas are not suitable, they are too stretched on them, the inflorescences become loose. Choose a plot for such a culture carefully. It is desirable to have a slight slope and good drainage so that excess moisture does not accumulate at the roots. Especially in springtime, due to excess water, the roots can rot and freeze.
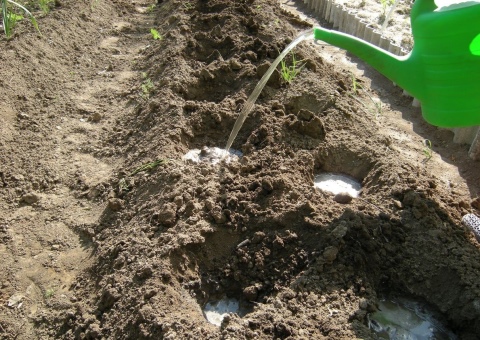
The distance between the holes should be 40-50 cm. The planting hole should be larger than the root system. Drainage in the form of crushed stone or broken brick is laid at the bottom. The seedling is placed in the hole, the roots are gently straightened, and covered with earth. After that, a hole is formed around the perennial, where water will be collected after watering.
Graceful bells are quite undemanding to care for, especially in watering and feeding. Watering should be moderate. Especially in summer, when long dry weather without rain is established. The procedure is performed directly under the bush after sunset.
The soil should be moderately moist, without stagnant water in the root layer. And loosening the soil allows you to enrich the soil with additional air and get rid of weeds on the site, which are capable of taking nutrients and moisture, as well as drowning out the plant. Loosening of the soil around the bush must be carried out regularly. Do not forget about mulching, which can not only protect the bell from excessive moisture evaporation, but also enrich the soil with additional nutrition. They use compost or manure topped with bark or dry grass.
Plant nutrition is of paramount importance at every stage of development. This is the only way to achieve lush growth and abundant flowering. The first "feeding" is done in the spring. At this stage, the bush develops intensively, requiring nitrogen fertilizers for this. The second is carried out in May or June during the period of bud formation and flowering. It requires phosphorus-potassium fertilizing and organic matter in the form of liquid manure with the addition of wood ash. Summer "food" should be rich in potassium, you can enrich it with urea and superphosphates.
Ordinary, yet amazing heather
There are more than a hundred plants in the Heather genus, but there is only one species called heather - this is ordinary heather, or, in the language of science, calluna vulgaris.
Due to the fact that breeders have already taken up the plant a long time ago, calluna can please with three hundred varieties that differ in different colors and shades of leaves and flowers.
The advantages of this shrub:
- it is decorative throughout the year - even when the flowers fade, they dry up and do not crumble from the branches, continuing to look beautiful all winter;
- in our latitudes, evergreen heather does not need shelter for the winter, and when light snow covers a heather garden or flower bed, it looks very beautiful;
- this creeping culture quickly overgrows the open courtyard.
The stem grows up to 25 cm.
Flowers resemble small bells, consisting of 4-5 fused petals. Sometimes there are varieties with double and even super-double flowers, reminiscent of small roses. They smell very nice anyway. Bees always swarm over the heather, it is a good honey plant.
You can admire the flowering of the shrub from June to August. But that is if it grows in a garden. Indoor calluna can bloom from October to March.
By the way, not everyone knows, but in the old days it was from this plant that brooms were made. Actually, that's why it is called calluna (“callunein” from Greek means “to cleanse”).
The use of heather in landscape design
The plant can be “made friends” with other crops (for example, by designing it in the form of a border), or you can rely only on the calloon, forming a heather garden on the site. In this case, heather can grow on the ground as a solid carpet, in which one variety passes into another, dividing into multi-colored areas.
Or callun in a heather garden can be slightly "diluted" with other plants, stones, creating the illusion of a "wild" landscape.
Also, this culture fits beautifully into the alpine hills, looks spectacular in combination with tall plants, especially conifers or flowering shrubs.
Planting and leaving
Successful cultivation Fortune's hosts albopicta depends on the creation of the necessary growing conditions:
- Soil selection. The plant does not require any special soil composition, however, it prefers light loams with a large amount of humus and sufficient moisture. If the plot is damp or swampy, then it is considered unsuitable for growing hosts. Lean soils are improved by the addition of humus, sand and mineral fertilizers. Sandy soils slow down plant growth, although they have a positive effect on the intensity of the color of the leaves.
- Watering. Timely and sufficient watering is important for the plant, especially in dry summers. It is recommended to water the hosta just under the bush, being careful not to get on the leaves. If the tips of the leaves of the plant have darkened, then this is a signal of a lack of water.
- First, planting holes are formed, with a depth of 20 to 25 cm. Since the roots form a surface system and grow in breadth, the planting hole should be spacious and deep.
- The well is filled with a fertile earthen mixture with the addition of mineral fertilizers: ammonium nitrate, superphosphate and potassium sulfate, taken in equal proportions.
- If the soil is clayey, and water stagnation is possible, then to solve this problem, it is necessary to lay a drainage layer of old broken brick or crushed stone on the bottom of the planting pit.
- The plant is planted in such a way that there are no voids around the root collar. The seedling is mulched with a layer of leaves or peat, such an organic mulch protects the plant roots well from the evaporation of life-giving moisture and serves as an additional feed with useful microelements.
Hosta Albopicta
The plant is transplanted at the end of spring, when the sharp tips of green shoots appear from the ground, or at the beginning of autumn. If a summer transplant of an adult bush is required, it is better to transplant the plant along with an earthen lump.
Plant care is not much different from standard rules: timely weeding, watering and feeding are the main components of successful plant growth. Hosta Fortchuna albopicta grows very slowly, the first two years the plant is still small, it looks like the original variety, the leaves do not have a specific color characteristic of an adult plant. Only in the third year after planting, the varietal texture and color of the leaves are formed, and the plant takes on a standard varietal appearance.
Bell reproduction
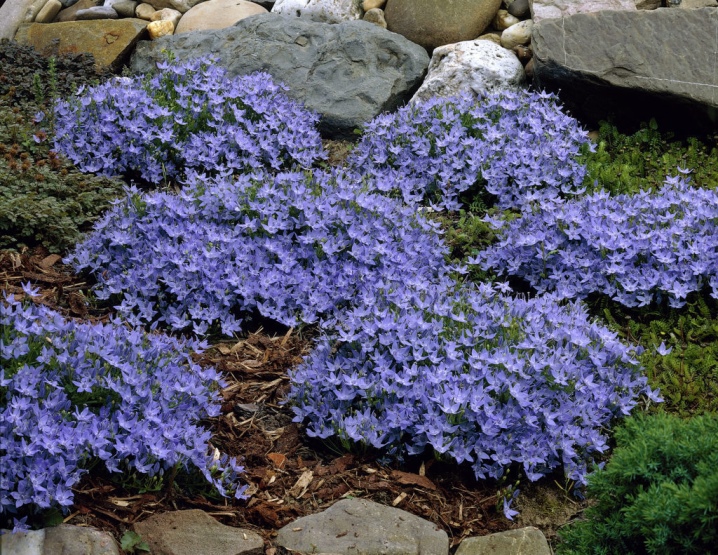
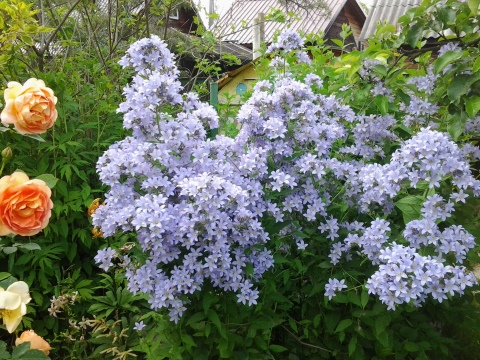
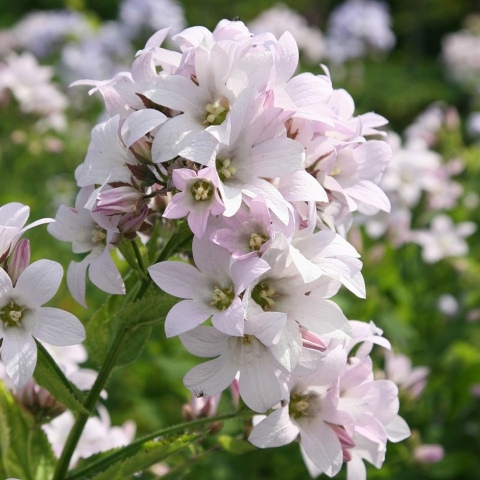
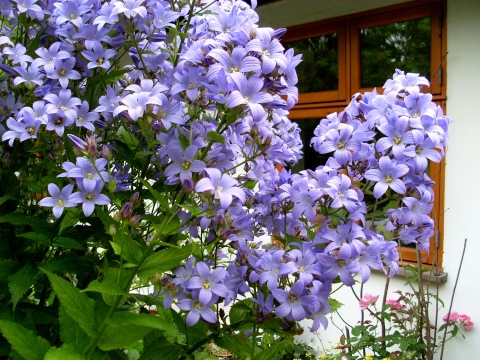
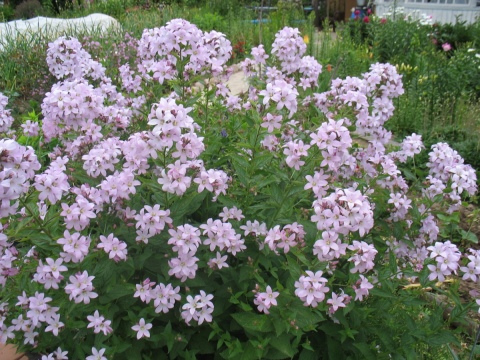
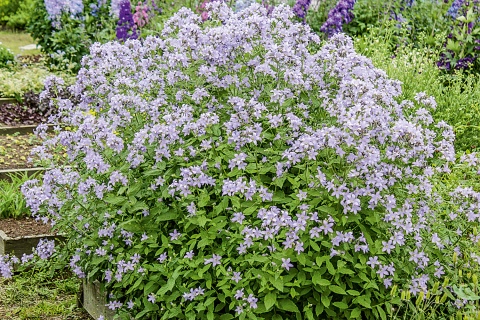
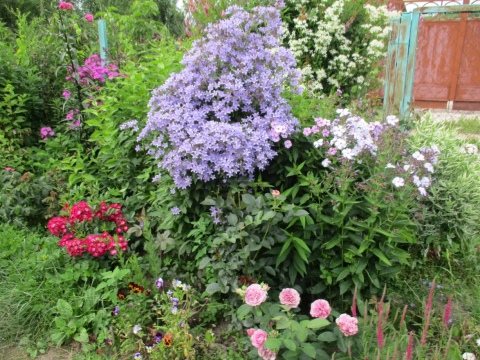
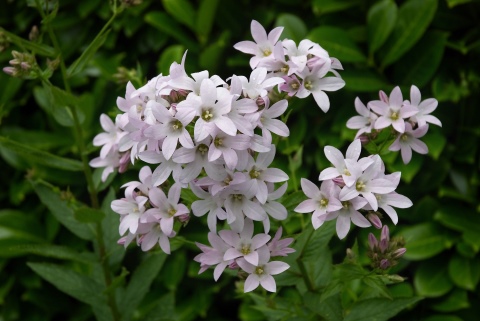
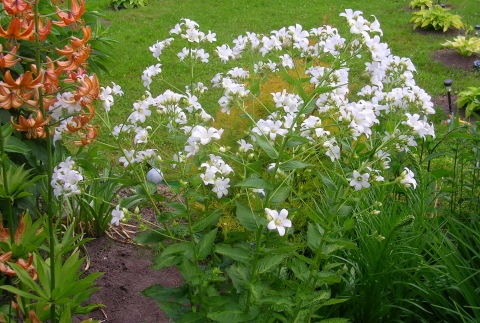
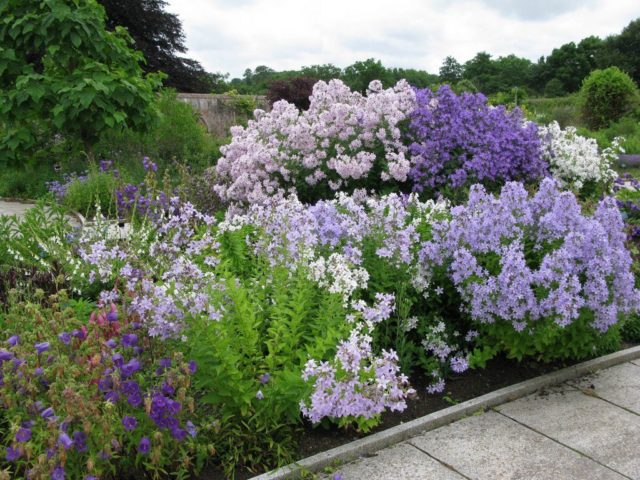
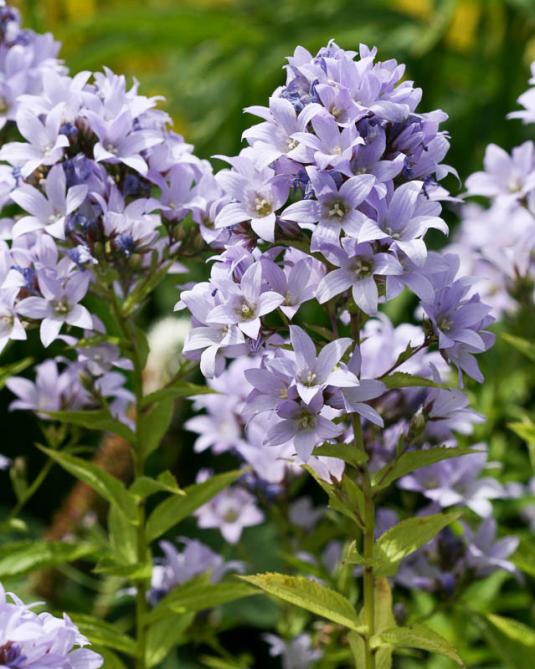
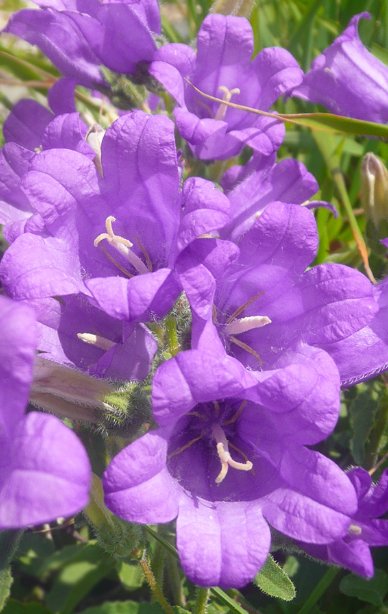
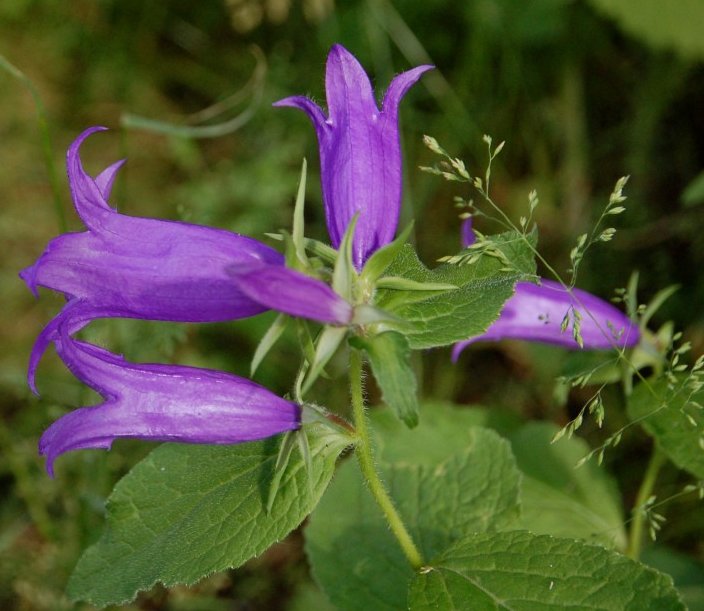
The site for growing crowded bells is chosen sunny, although some varieties can grow in partial shade. The soil should be neutral or slightly acidic, fertilized, loose. Lowlands are not the best choice and should be planted on hills, slopes or plains. You can, if you wish, plant a crowded bell in large containers with a volume of 1-3 liters.
You can propagate the crowded bell by seeds or vegetatively (dividing the bush and grafting). Each of these methods has its own nuances.
- Vegetative propagation is possible if there is a mother bush. It is dug up at the beginning of May or at the end of August, divided into several parts (each must have roots and stems) and planted. Before planting, you need to cut off the pagons near the bushes so that they take root faster.
- Cutting is practiced if the culture is already growing on the site or there is someone to take to cut the cuttings (familiar, for example, cultivating the plant). Cuttings are cut 3 cm long, each should have 1-2 buds. Places of cuts are dried for half an hour, then a mixture of sand and peat is poured into the container, cuttings are planted in it and watered. After about 20 days, the plant will take root and can be planted on the site.
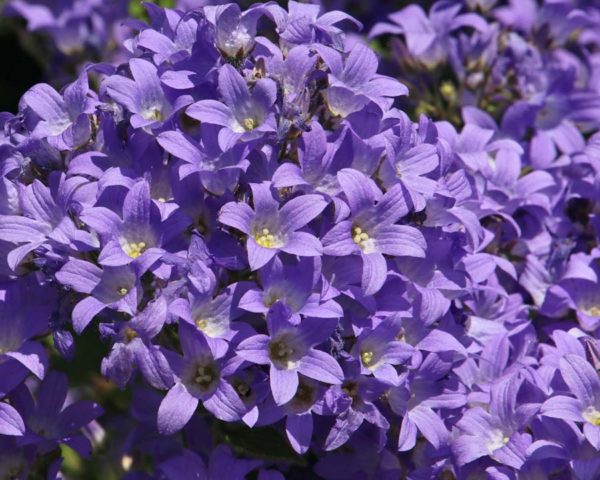
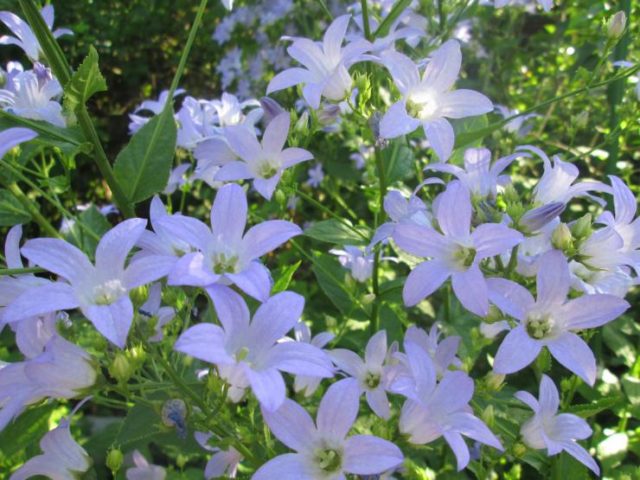
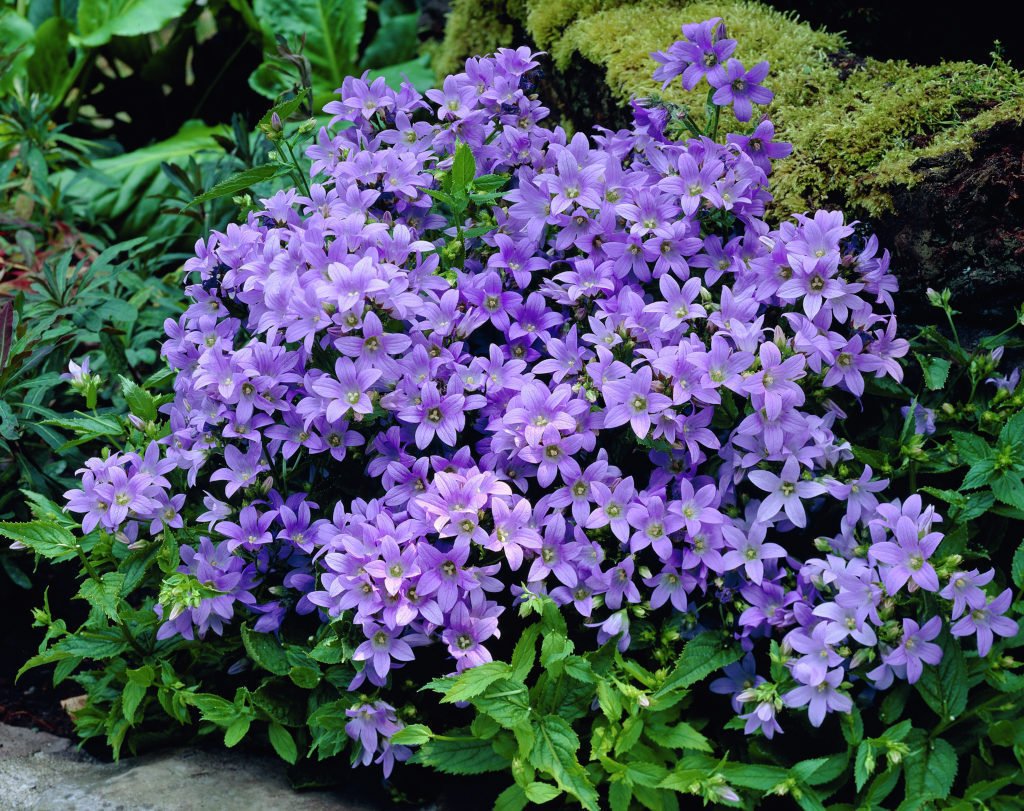
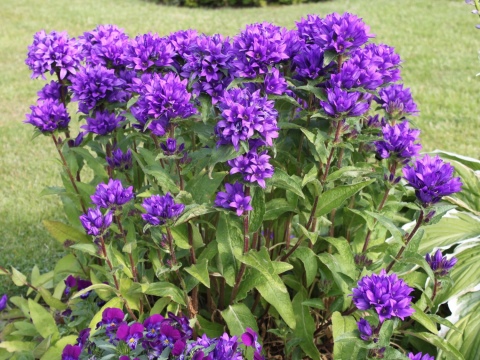
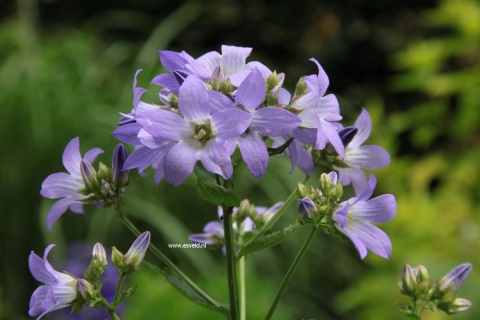
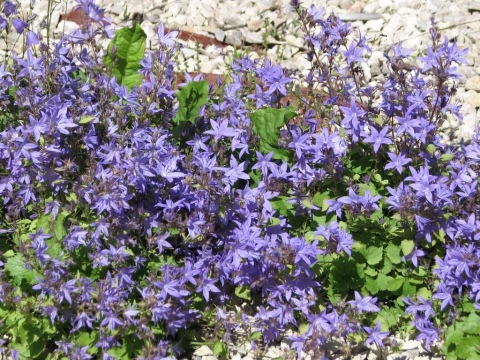
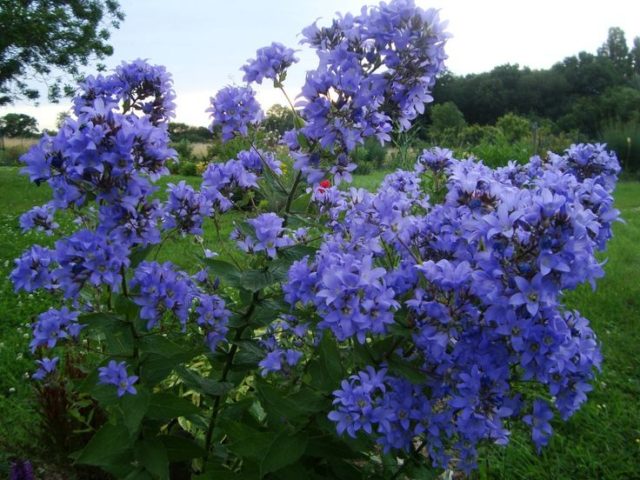
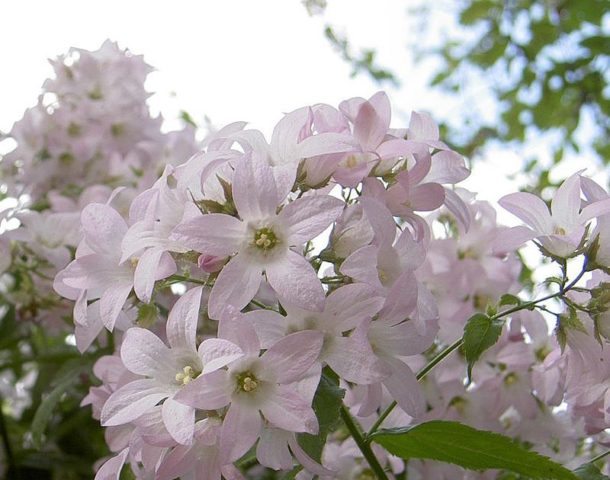
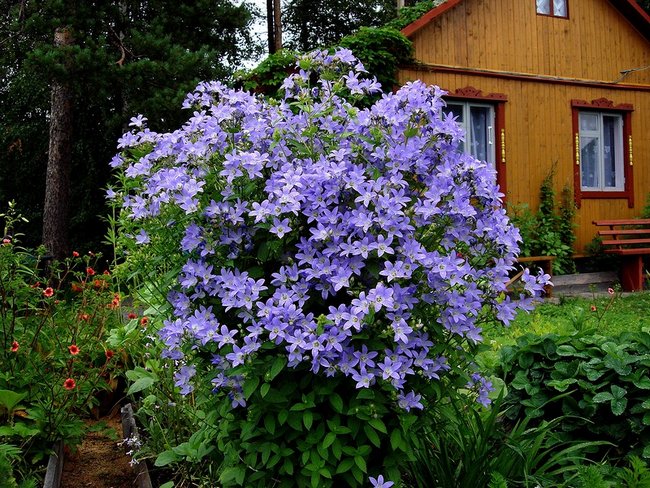
Photo of the crowded Carolina Bell
Important!
If desired, cuttings can be planted directly into the ground in a flower bed, but it is advisable to cover them with a film to create a greenhouse effect. In this way, rapid rooting can be stimulated. Growing from seeds
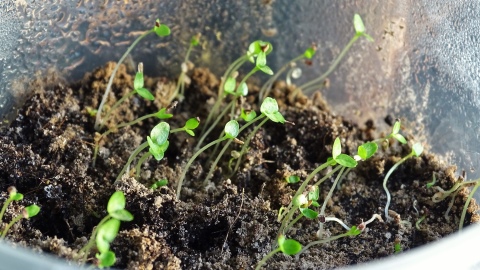
Seeds can be purchased or harvested from the plant. They are sown in early spring when it gets warm. For this, the site is dug up, loosened, holes are made and seeds are sown in them at a distance of 15-20 cm from each other. Sowing depth - 5 cm, no more. The seeds are sprinkled with earth and watered. After about 2 weeks, shoots can be expected in a sunny area, in partial shade the shoots will appear in 3 weeks
Growing from seeds. Seeds can be purchased or harvested from the plant. They are sown in early spring when it gets warm. For this, the site is dug up, loosened, holes are made and seeds are sown in them at a distance of 15-20 cm from each other. Sowing depth - 5 cm, no more. The seeds are sprinkled with earth and watered. After about 2 weeks, shoots can be expected in a sunny area, in partial shade the shoots will appear in 3 weeks.
It is not worth planting a crowded bell very close to each other on the site, because it develops quickly and strongly, filling all the free space nearby. Its growth must be controlled, only in this case it is possible to achieve neat landings.
Interesting!
A crowded bell, planted in partial shade, gives flowers later than those that grow in the sun, but at the same time, the buds will be much larger.
Blood red currant care
It is not for nothing that this type of currant is considered one of the easiest ornamental shrubs to grow. The beauty in the garden actually does not need any care, except for maintaining the moisture of the soil. She will gratefully respond to watering in drought, especially during the flowering period, but does not require systemic procedures. However, if you can provide them, then the moisture-loving currant will surprise you with its growth rate and the beauty of the crown.
Fertilizers for currants are not applied in the first few years. Starting from the third year (or if there are signs of soil depletion, deterioration of flowering), you can introduce a single top dressing per season into the care program: in early spring it is better for the shrub to add a portion of full mineral fertilizers or organic matter. In order to save yourself from the need for weeding and loosening, it is enough to maintain the mulch layer created during planting. If mulching is not used, blood red currants will need 1-2 weeding and loosening per year.
The most labor-intensive maintenance component is thinning, regulating pruning. It is carried out once every 3 years, removing all the weak and too thickening shoots inside the bush, as well as cutting off the oldest branches for rejuvenation (5-6 years old) on a stump.During such pruning, young shoots can be shortened by 1/3, which will stimulate active growth and branching. The optimal pruning time is late March or early April.

