SIMILAR MATERIALS

41
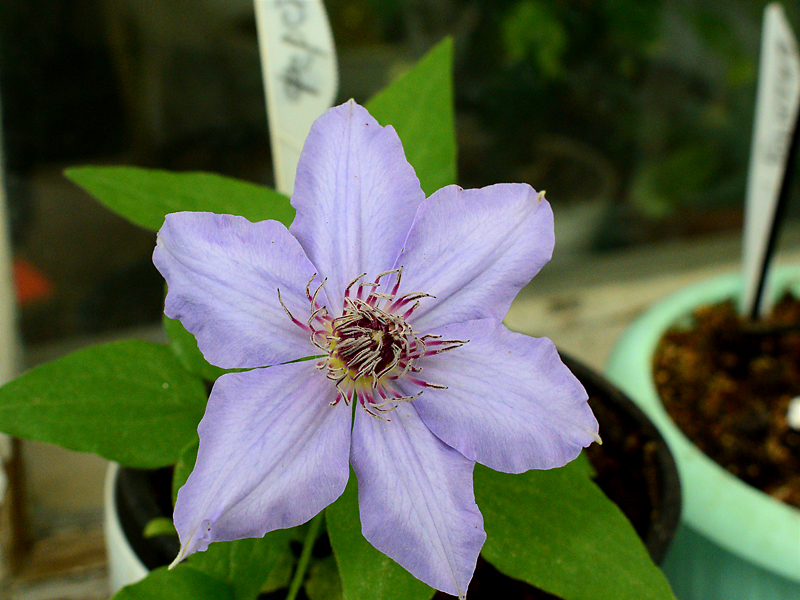
German clematis produced by F.M. Westphal is well known not only in Europe but also in Russia. ...
2
5
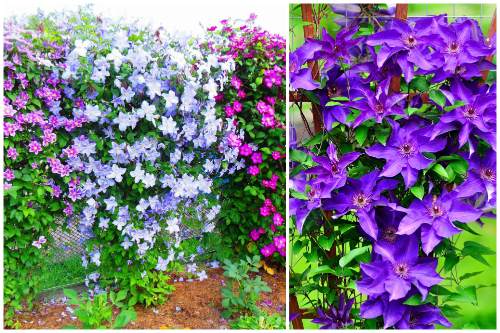
What vines can be used to cover an openwork fence made of a chain-link netting or to plant a large span from spring to ...

1
3
Vertical gardening is the cultivation of plants on the walls of houses, trellises, arches and others ...

Clematis have been used in ornamental gardening for a long time, but this wide popularity ...
1
5
Today, large-flowered varieties of clematis are especially popular with florists. They are very decorative, with ...
1
6
Types of clematis propagate by seeds and vegetatively, varieties and forms - only vegetatively.
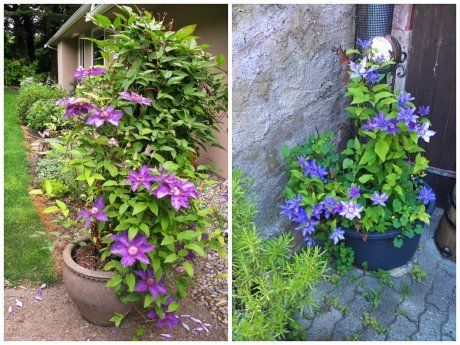
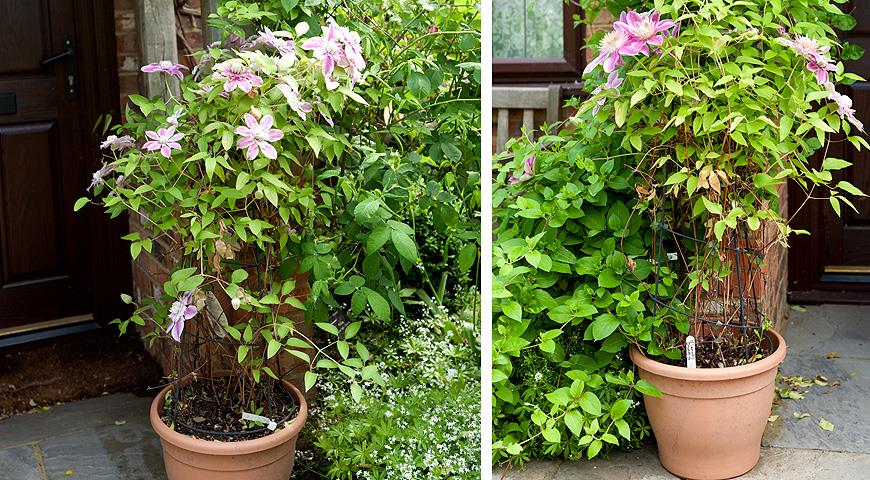
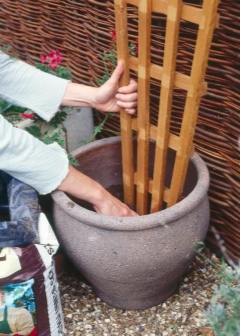
Where clematis is used in containers
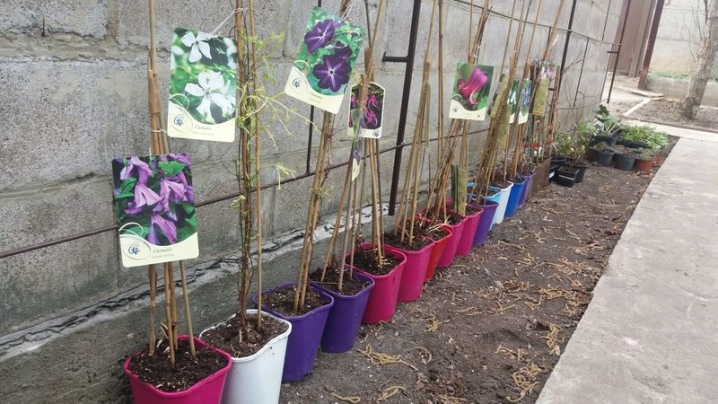
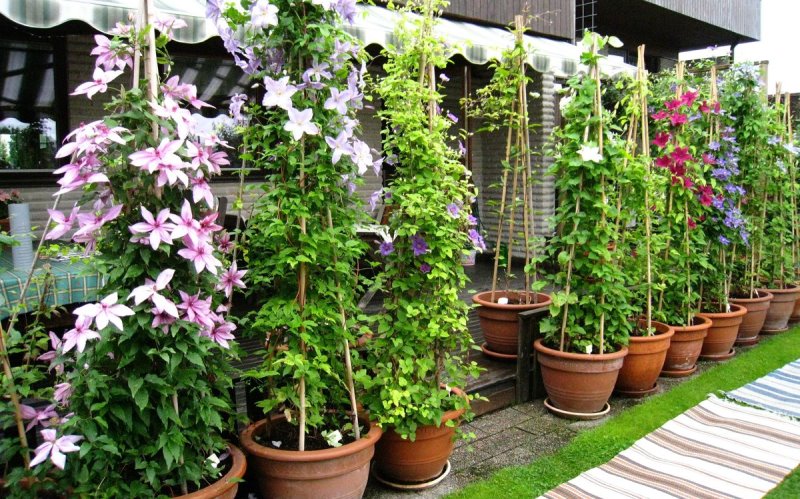
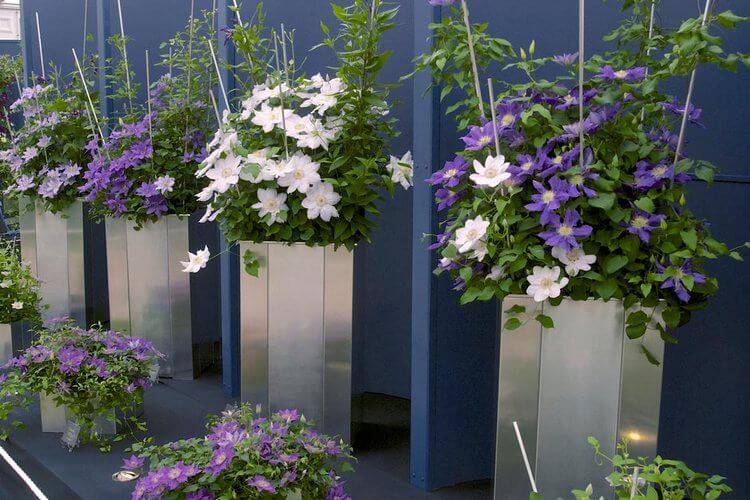
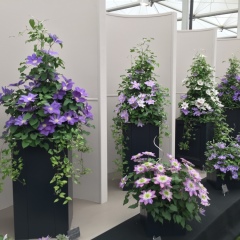
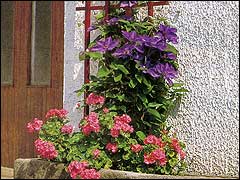
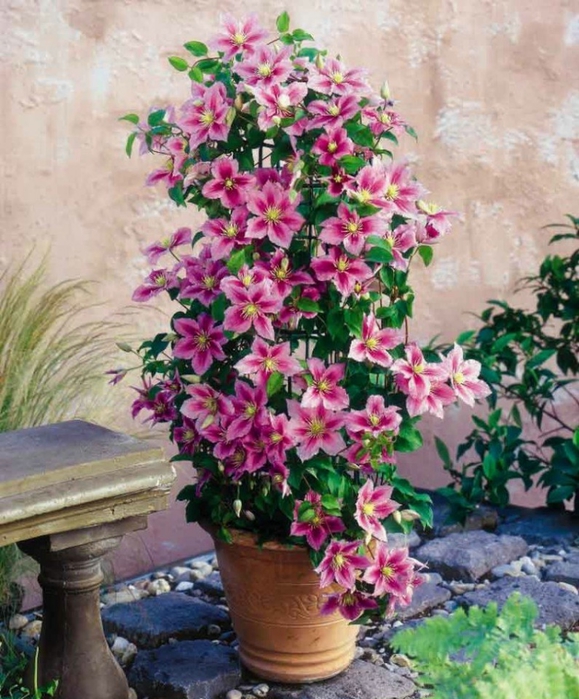
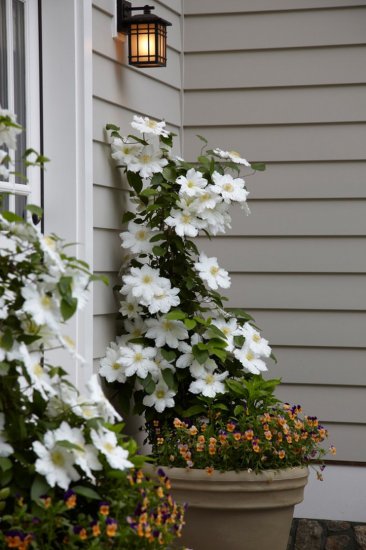
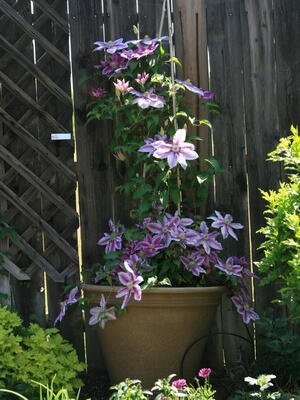
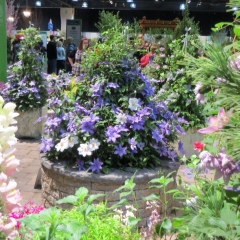
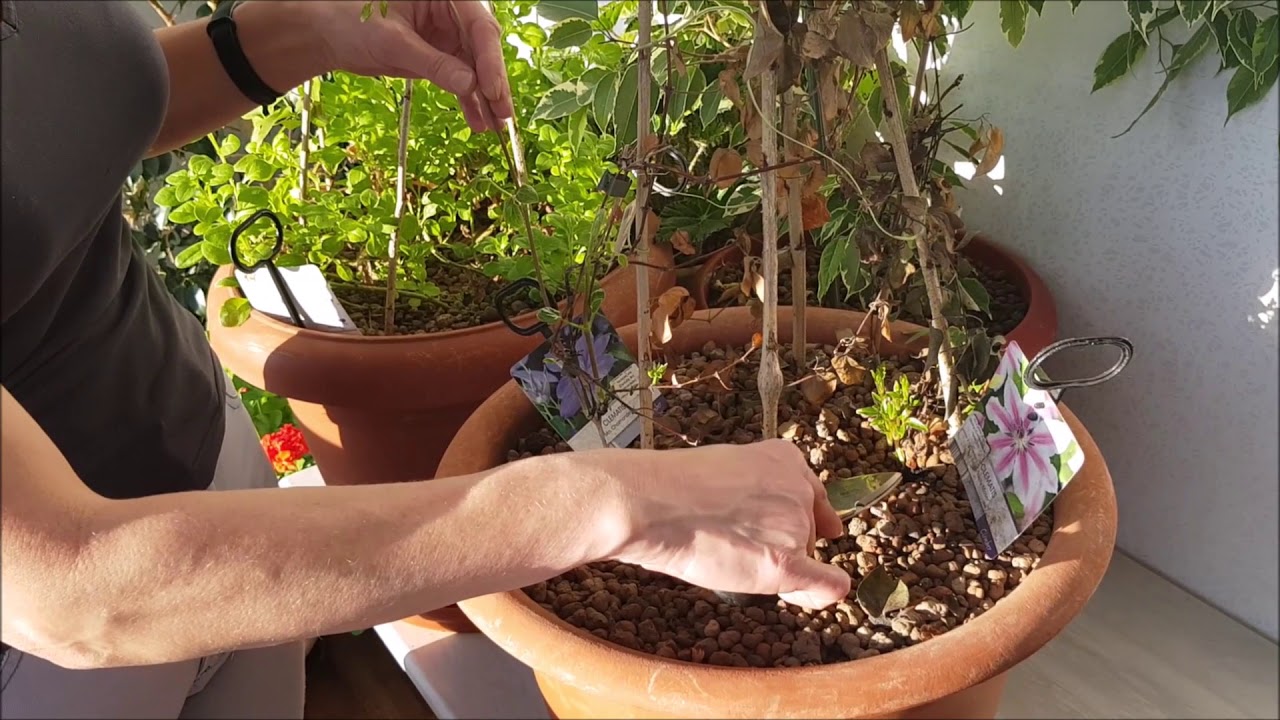
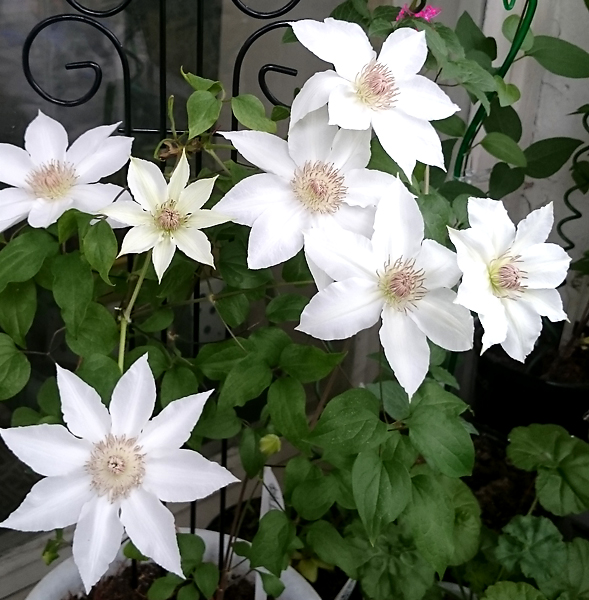
These bushes are so beautiful that they are suitable for both home and outdoor decor. Vertical gardening is now used both in residential premises and in offices, and it looks organic everywhere. In summer, clematis looks beautiful in long boxes on the sides of the terrace. It can be used in the decor of a restaurant, a coffee shop, and a country house. The variety of varieties and colors of clematis allows you to organically fit it into any interior, giving it the colors of the Mediterranean flavor, relaxation and freshness. This plant cleans the air from various harmful impurities by releasing phytoncides.
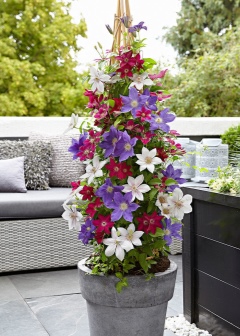
You can choose varieties of the same color, or you can create multi-colored compositions that form beautiful combinations.
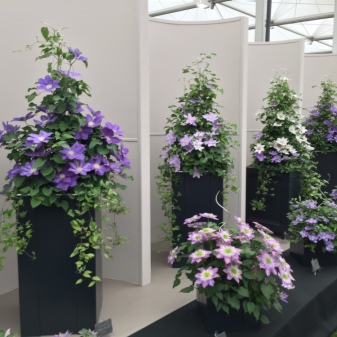
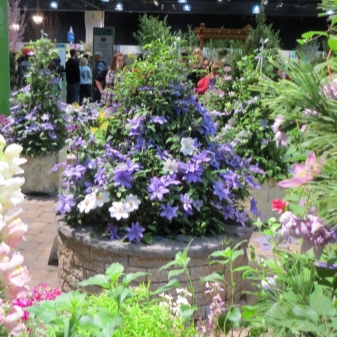
For information on how to grow clematis in pots, see the next video.
When clematis is planted
In regions with a warm climate, flowers are planted in open ground in autumn: from late September to early November. In areas with long and cold winters, spring planting is preferable: April, May.
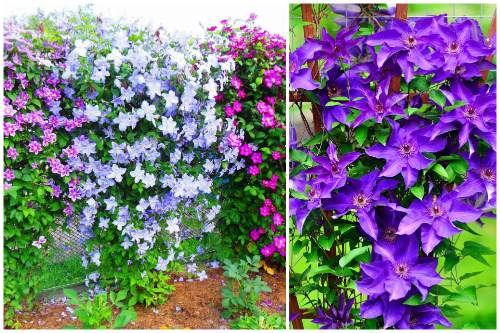
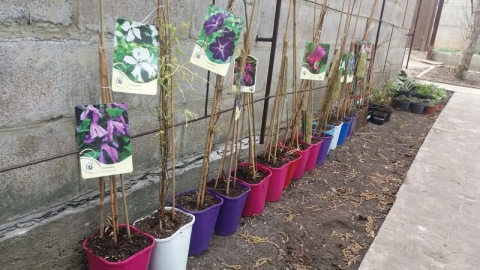
It is advisable to plant an adult plant purchased in a large container (container). It is easier for an adult clematis with a developed root system to adapt to a new place.
It is necessary to carefully examine the roots when buying so that they are firm, elastic, smooth. Blisters and growths on the roots indicate a plant disease (nematode). How clematis is planted: procedure.
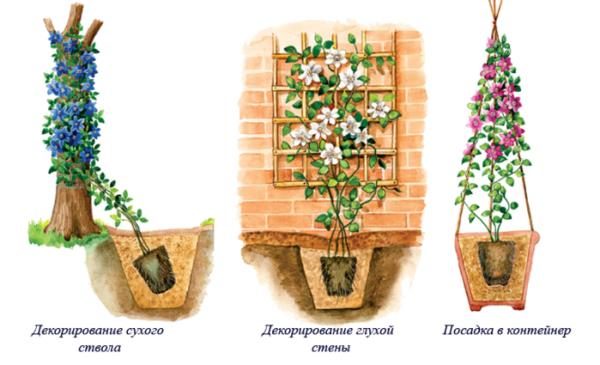
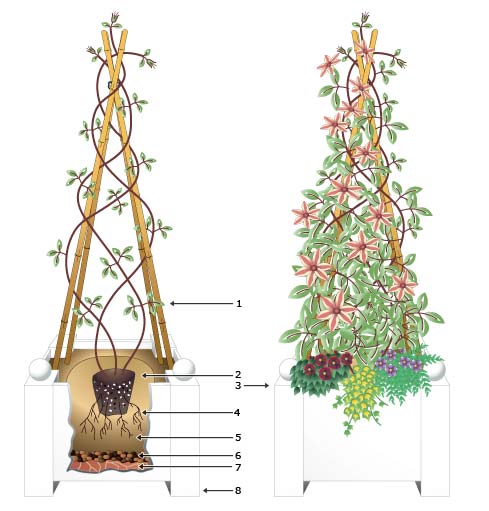
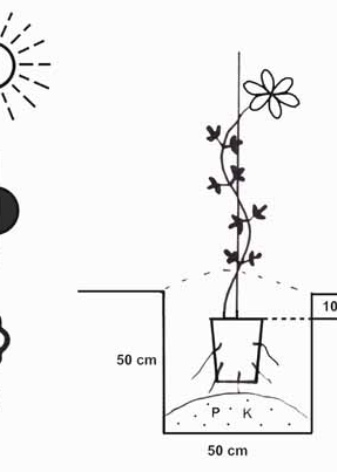
- Pre-dig a hole 50x50 with a depth of at least 80 cm. The bottom of the hole is covered with drainage: gravel, chipped brick. Sprinkle on top with a nutrient layer: peat, manure or humus. 500 g of wood ash is also introduced there.
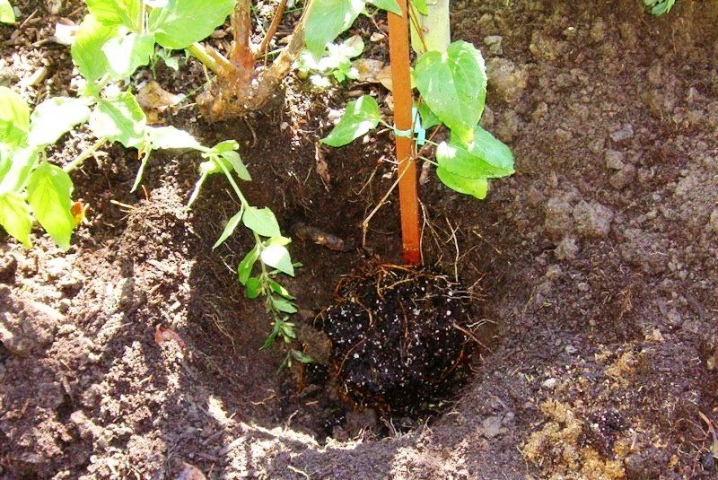
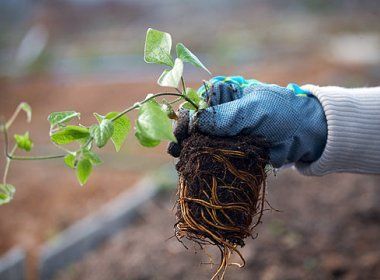
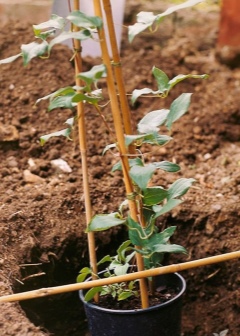
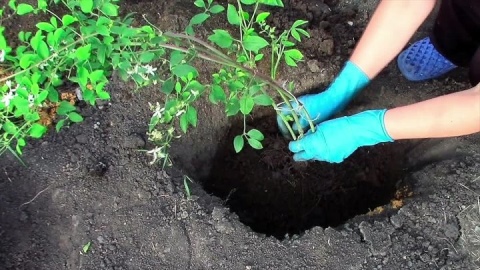
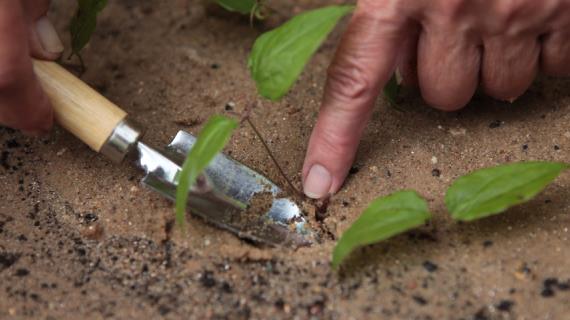
- For the convenience of transplanting from the container, it is first immersed in water. Then, carefully, without damaging the roots, they take out the plant along with a lump of earth, lower it into the prepared hole, straighten the roots and sprinkle it with earth.
- They do not fill up the hole to the top. A year later, when the shoots begin to grow stiff, the earth is added. It is necessary to leave an interval between the planting holes of at least one meter.
- Pruning shoots after planting is a must. Several buds are left (2-4). After a short pruning for 2 years, the root system develops and strengthens.
- The seedlings are watered with water, after which the mulch is laid out. It retains moisture and inhibits the growth of weeds.
- Over time, it is necessary to tie new shoots to the support so that they do not break from the wind.
How to choose a seat?
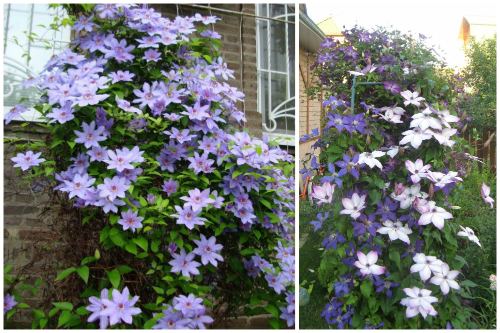
Before planting clematis in the ground, be sure to take care that the place is the most suitable. These plants are quite thermophilic, and they also like moderate watering. Therefore, it is best to plant them in those areas where there is both sun rays and a little shade. The latter is necessary, otherwise the flowers will fade very quickly in the sun. But if there is too much shade, then you may not wait for flowering.
In addition, the landing site should be well protected from strong winds or drafts. It should be located on a small elevation so that the water in the bush does not stagnate. If this is not possible, then it is necessary to make small grooves intended for water drainage. In addition, the earth should be looser, lighter and not too sour, otherwise the vines will simply wither and disappear.
Landing
Culture tends to grow in any kind of soil. However, the intensity of flowering and the development of culture depend on the correctly selected planting site.
Seat selection
The bush prefers plenty of sunlight. Therefore, it is planted in places where the sun's rays hit the bush for at least 6-7 hours a day. Also, the landing site should be protected from drafts and wind.
Important. The planting site should not be sultry, otherwise burns may form on the leaves.
Soil requirements
The plant grows in aerial soils that contain organic fertilizers. The soil should be moist, but in moderation, otherwise putrefactive processes may form in the roots, and the plant will die.
Timing
Planting clematis should be carried out in mid-September, before the first frosts, the plant will have time to get stronger and survive low temperatures. If necessary, clematis seedlings can be planted in mid-April under cover.
Landing scheme
Before planting, it is necessary to prepare a nutrient mixture for planting a seedling in open ground. To do this, mix 2 parts of humus, part of the soil and part of the sand. It is also necessary to add a pinch of lime to the composition to reduce acidity.
Planting clematis is done according to the following method:
- dig a hole 40 cm;
- drainage is placed at the bottom of the pit;
- the soil is laid in a hole in the shape of a hill;
- the seedling is placed in a hole and dug in to a depth of 15 cm;
- the seedling is watered and mulched on top with a layer of sawdust.
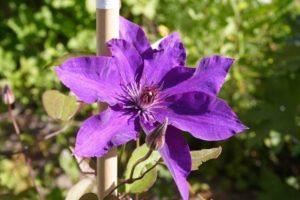
If there is a decrease in air temperature at night, the seedling must be covered.
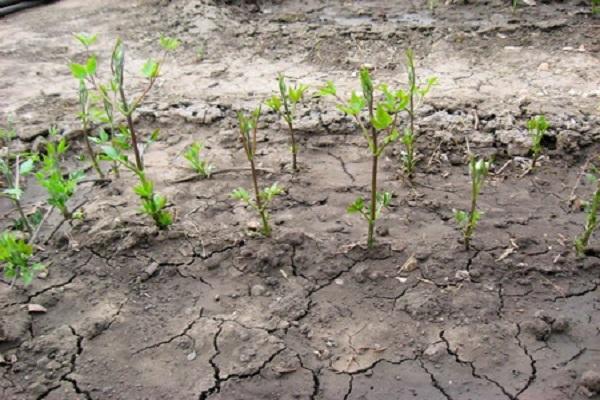
In order for the seedling to quickly begin to develop, it is necessary to observe regular care and timely fertilization.
Watering
Watering should be done every three days. One bush should take at least 1 bucket of water. In order for moisture to retain, it is necessary to use a layer of mulch.
Loosening and weeding
The soil is loosened to improve the penetration of oxygen into the soil, the procedure must be carried out regularly before watering. Weed removal is carried out as needed.
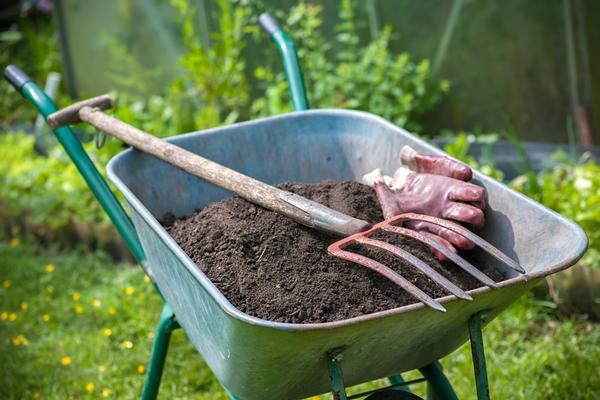
Top dressing
Fertilization must be carried out according to the following scheme:
- spring - nitrogen fertilizers and chicken droppings are applied;
- before the formation of buds, it is necessary to apply phosphorus and potash fertilizers to increase the formation of inflorescences;
- complex fertilizers are used twice during the summer;
- in the fall, mullein and humus are introduced.
Trimming group
Clematis belongs to the 3rd group of pruning. Vines are pruned twice a year, in autumn and early spring, before budding. Summer pruning can also be used to create the desired shape.

Protection against diseases and pests
The plant is resistant to diseases, but the following problems may arise:
- Rust - appears in the form of spots on the leaves. The infection spreads quickly and can infect a bush in a short time. For treatment, copper sulfate or special spray preparations are used. The damaged areas must be removed.
- Root rot - occurs as a result of excessive moisture levels in the soil. To eliminate the problem, it is necessary to regularly loosen the soil and follow the watering rules.
- Powdery mildew - appears in the form of a gray bloom on the leaves. For treatment, Bordeaux liquid or soap solution is used.
In addition to diseases, the plant can be attacked by pests:
- Aphid - affects young shoots and leaves.The insect feeds on sap and secretes a specific sticky liquid that provokes the development of the fungus. For removal, the vines are sprayed with soapy water.
- Spider mite - appears in the form of black dots on the leaves. The insect damages the bush and enmeshes the leaves and shoots with cobwebs. To eliminate the tick, the drug "Fitoverm" or "Actellik" is used.
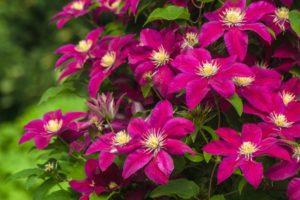
Timely treatment of diseases prevents the death of the bush.

Diseases of clematis and their treatment
The most dangerous pathology for clematis is wilting. This is a pathology that manifests itself in the drying out of branches. If the plant gets sick during the growing season, this leads to its death. To prevent the problem, it is necessary to ensure that the roots are properly nourished.
Flower diseases also include:
- Spotting is the formation of fungi carried by snails. Brown spots appear on the leaves, causing necrosis. Leaves begin to fall off. Treatment is carried out with copper sulfate.
- Powdery mildew is a pathology that affects the ground part. Growth and flowering cease, the branches are covered with bloom, the plant gradually dies. Salicylic acid is used for treatment.
Of the pests of clematis, nematodes, spider mites and scale insects are terrible.
Plant diseases
Why does clematis not bloom
The lack of flowering can be observed for various reasons. This can happen if:
- the bush is planted in the wrong place;
- too wet soil;
- a diseased seedling was used;
- there are not enough nutrients in the earth;
- there are a lot of weeds around the bush;
- when circumcision rules are violated.
The lack of flowering can be due to several reasons.
Important! In the first year, the plant does not bloom
Diseases and pests
Clematis is a rather unpretentious plant, but sometimes the culture is attacked by pests. The development of diseases in a plant is often associated with improper care.
The root system of the plant is damaged by bears and moles, gall and root nematodes; leaves and young shoots - snails and slugs. In addition, plants settle on the leaves: aphids, mealybugs, spider mites (especially in hot summers without rains), scale insects.
It is possible to destroy plant pests using special means of dealing with a certain type of pest.
Moles can often disrupt the root system of clematis
Clematis can be affected by the following diseases:
- Powdery mildew - a white coating that covers all parts of the plant. The leaves curl and wither. Treatment: all plants are treated with 0.05 - 0.2% systemic fungicide (caratan). The cut off infected parts of the plant must be burned.
- Withering is a fungal disease that causes the green parts of clematis to wilt quickly. Treatment: treatment with basezol, phytosporin-M, copper oxychloride.
- Rust - a rusty coating appears on the leaves, causing growth retardation and leaf fall. Treatment: spraying with Bordeaux liquid.
- Yellow mosaic is a viral disease characterized by massive yellowing of the leaves. There is no cure, the plants are destroyed.
Yellow mosaic on clematis leaves
Fruit container garden
On the site, you can literally set up a container garden! Apple trees and plums can be planted in pots on dwarf rootstocks. Young biennial plants are suitable for planting, while it is advisable to grow at least 2 different varieties at the same time to obtain a harvest. But this is only if there are no apple trees in your garden or nearby in your neighbor's. In principle, you can completely limit yourself to one variety with a high level of self-fertility (hybrid X-2).
Cultivation of columnar apple trees in containers is promising: a 4-7 year old specimen planted in a container with a volume of 10-20 liters can produce from 10 to 30 apples per year.
The apple tree is a light and heat-loving plant, so place a container with a tree on the south or west side of the house, protected from the wind.On hot sunny days, containers with apple trees should be stored in the shade.
In addition to apple trees, you can grow a small bush of plums or blueberries in containers. And if the care of a plum is about the same as for an apple tree, then blueberries have slightly different requirements. The main thing is the substrate: it should consist in half of garden soil and peat. Sphagnum or fallen needles should be used as mulch to maintain the acidity of the soil. In addition, once a month, water for irrigation needs to be acidified.
The wintering conditions for the "orchard" are the same as for any other container tree crops. Remove the containers with apple trees and plums in the basement, garage or on an unheated loggia, the main thing is that the temperature in the room does not drop below -10 ° C, or dig in the garden (15-20 cm below the top edge of the container) and cover with snow, ideally on the entire height of the crown.

Blueberries in a pot
Clematis: planting and care after planting
As you have probably already noticed, caring for clematis is a fairly simple task that any amateur gardener can easily handle. Nevertheless, the first year of caring for clematis should be the most difficult, because at this time you need to be as sensitive and attentive to the plant as possible. So you can provide him with a good future and the present title of king of your site.
As already mentioned, at first clematis will feel very uncomfortable in a new place. Therefore, for the first few weeks, it will have to be shaded so that, against the background of general stress, the plant does not receive several sunburns.
This should be done until clematis loses all signs of lethargy. The best way to shade is with arcs through which you can stretch a special agrofiber, which will perfectly protect clematis from the sun. It will also help the plant not to fall prey to strong winds.
However, the most delicate topic for clematis is watering. In the first year after planting, they need to be monitored especially closely so that there are not too many of them, but at the same time, not too few. This means that, along with the drying out of the soil, its excessive waterlogging should not be allowed. As they say, you need to stick to the golden mean.
On average, the plant is watered only once a week, however, if the weather is hot outside and, moreover, if you have not mulched, the number of waterings must be increased to two or three times a week. On the contrary, when autumn comes, you need to reduce watering.
As we have already mentioned more than once, mulching is no less important than watering. This easy process performs a lot of useful functions, and therefore it is highly recommended to carry it out.
The benefit of mulching is that on hot days it prevents moisture from leaving the soil around the plant too quickly. Also, let’s repeat, mulching is the best weed control currently available, so if you’re not mulching yet, it’s not clear what are you waiting for?
Also, in gardening, you need to pay great attention to the neighborhood of different plants, since neighbors can not only look very beautiful together with your plant, but may also help him cope with some difficulties. For example, flowers such as marigolds or marigolds are among the best neighbors for clematis, as they provide amazing protection against many insects.
Along with watering and mulching, it is necessary to regularly loosen the soil
For example, flowers such as marigolds or marigolds are among the best neighbors for clematis, as they provide amazing protection against many insects. Along with watering and mulching, it is necessary to regularly loosen the soil.
It is especially important to do this after watering or after heavy rain has passed. With this procedure, oxygen will flow much better to the roots and will accelerate the growth of your clematis.
Even if you have a layer of mulch, you shouldn't assume that the weeds will just pick up and disappear. Unfortunately, they will still appear, and your direct task is to exterminate them at the earliest opportunity.
And, of course, it is necessary to mention pruning, because this is, in principle, one of the most important procedures. It is she who directly decides how your clematis will grow in the future.
In the very first year after planting, pruning takes place according to a very simple scheme: you simply cut the shoots at the level of twenty to thirty centimeters above the ground. In all subsequent years, pruning is carried out according to a more complex scheme, which is determined by the pruning group of your clematis.
There are three of these groups, and it is incredibly important to know which of them your clematis belongs to. The last procedure is to cover clematis for the winter.
Clematis is not a plant that tolerates cold very well, and therefore it is simply necessary to take care of protection. This procedure is especially important in the northern regions. By the way, it is also much better for them to buy clematis of the third pruning group, because covering them for the winter is so simple that it is only a pleasure
The last procedure is to cover clematis for the winter. Clematis is not a plant that tolerates cold very well, and therefore it is simply necessary to take care of protection. This procedure is especially important in the northern regions. By the way, it is also much better for them to buy clematis of the third pruning group, because covering them for the winter is so simple that it’s just a pleasure.
Landing nuances
Most often, clematis is planted in open ground in mid-May. But if the seedling was purchased in the summer, planting should be done in September so that the plant has the opportunity to take root. Previously, this should not be done because of the high probability of increased growth (which is not necessary at all before winter) and freezing.
Planting clematis consists of several stages:
Choosing a place. The plant loves sunny, but slightly shaded areas, which allows it to maintain the brightness and saturation of the flowers. In addition, it needs reliable protection from wind and draft.
Soil selection. Clematis likes light, nutritious, quickly absorbing moisture, loose soils. It is categorically impossible to plant clematis in heavy soil with high acidity, which will inevitably lead to the impossibility of its full development and death.
It is important to take into account the level of soil moisture: the plant does not tolerate the abundance of groundwater poorly. To create the most comfortable conditions and protect the roots from decay, it is better to place the plant on an artificial small mound, made by hand
The presence of clay soil in the area selected for planting clematis requires the removal of moisture from the plant using a groove dug and covered with sand.
Pit preparation. Its depth should be no more than 70 cm. First, a layer of rubble is placed on the bottom, then a specially prepared soil substrate (a bucket of earth, half a bucket of humus, 100 g of slaked lime).
Planting a seedling. The roots of the plant are evenly distributed over the width of the pit, after which the substrate is poured on top. If planting occurs in spring, this is done in such a way that the recess is not completely filled up, while the rest of the soil is poured in small portions until autumn.
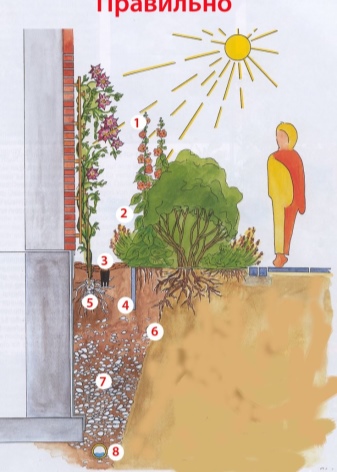
When planting clematis next to the walls of buildings, it is imperative to retreat 40 cm from them so that the roots cannot be damaged by rain streams from the roofs. If a composition of several bushes is planted, the gaps between them should be at least 25 cm.
Rules for planting clematis seedlings
The future state of the plant depends on the well-chosen place, the preparation of the pit for planting.
In order for clematis to please with lush inflorescences, it is important not only to choose varieties with different flowering periods, but also to plant seedlings correctly
Clematis need an area protected from the wind, without drafts.It is good when the roots are in a shaded place, and the leaves and flowers are sufficiently lit. They can be planted in the southern, western and eastern parts of the garden. On the north side of the garden plot, only frost-resistant and shade-tolerant varieties are placed.
Planting dates are May or August-early September. Planting material is used:
- cuttings with a well-developed root system;
- seedlings;
- inoculated specimens;
- layering;
- parts from dividing the bush.
Seedlings in containers are planted at any time. If you do not have time to plant it before frost, then store it in a cool place. The soil is moistened. Shoots are periodically cut off, do not allow them to develop intensively before planting in open ground.
The soil is required rich in organic matter - loamy or sandy loam with a slightly acidic, normal or slightly alkaline pH reaction. If the groundwater is close to the site, then work is first carried out on their layering. Then an artificial earthen hill is built for planting clematis.
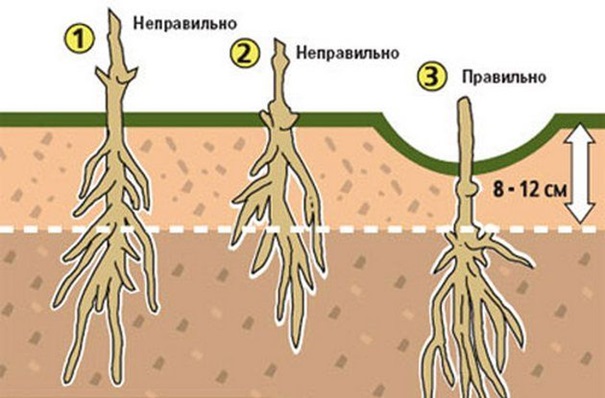
Work order:
Preparation of a planting pit measuring 70 * 70 * 70 (on clay soils) or 50 * 50 * 50 if the soil is sandy.
The distance between plants should not be less than 1 meter, and for tall species - not less than 2 m.
The bottom of the pit is filled with drainage, consisting of fine gravel, pieces of brick, pebbles, granite slag. The layer thickness is 10-15 cm.
To fill the hole, prepare soil from peat, humus or compost, garden soil, sand in a ratio of 1: 2: 2: 1. Mineral fertilizers (nitrophoska, superphosphate, azofoska or "Kemira") are added - 100-150 g, ash - 2-3 glasses, dolomite flour - 150-200 g
Fertilizing the soil with fresh manure or acidic peat leads to the death of the plant.
Carefully lower the seedling into the hole, having first straightened the roots. Sprinkle a little with soil mixture and moisten
A plant bought in a container does not destroy an earthen lump. In order to protect the roots from freezing in the winter or overheating on hot days, the seedlings are buried when planting. Make sure that the tillering angle is 5-8 cm lower from the edge of the pit. Sprinkle it with sand with the addition of wood ash. It helps prevent fungal infections
The pit is filled with prepared soil and watered. From above they mulch with peat, humus, mown grass. If the seedling is planted in the fall, then the mulch is covered with lutrasil or similar material.
In front of the bushes, stunted plants are planted - marigolds, calendula.
Deepening during planting contributes to the development of the tillering center with the further laying of new buds, the formation of shoots and roots. Plants are then more resistant to cold weather, they tolerate heat better.
In the spring, seedlings are planted with the presence of at least one shoot, in the fall - with developed vegetative buds. If the root system is poorly developed, then the plant is placed for growing. There should be no thickening or damage on the roots.
Growing clematis from seeds
Sowing seeds
Since there are a lot of species and varieties of clematis, some gardeners also decide to start breeding it. To do this, you just need to grow the given plant from the seed. All clematis are divided into 3 groups according to the size of the seeds and the duration of their germination:
- Clematis, which have large seeds that germinate unevenly and for a long time (from 1.5 to 8 months, and sometimes longer). For example: clematis of Durand, Jacqueman, purple, woolly and others.
- Clematis has medium-sized seeds that can take 1.5 to 6 months to germinate. For example: clematis whole-leafed, Manchurian, six-petal, Douglas, Chinese, etc.
- Clematis with small seeds, which are characterized by friendly and fast germination (from 2 to 16 weeks). For example: clematis Tangut, grape-leaved, etc.
Seeds harvested in the current season germinate the fastest and best. However, if the seeds are placed in paper bags for storage and removed to a place where the temperature is 18-23 degrees, they will retain their germination capacity for up to 4 years.
It should also be remembered that different seeds are sown at different times. Large seeds are sown immediately after harvest in the fall or in the first winter weeks; medium seeds should be sown after the New Year holidays are over; sowing of small seeds is carried out in March – April. For the seeds to appear faster, they need to be prepared. To do this, before sowing, they are soaked in water for 1.5 weeks, which should be replaced 4 or 5 times a day. The containers intended for sowing must be filled with a soil mixture consisting of sand, earth and peat (1: 1: 1). After the substrate is moistened, seeds are evenly distributed over its surface in 1 layer. From above it is necessary to cover them with sand, while the thickness of the layer should be equal to 2 or 3 diameters of the seed. Tamp the crops a little, and cover the container on top with glass or a small mesh. Seedlings will appear the fastest if the crops are removed in a very warm place (25 to 30 degrees). From time to time, crops need to be watered through a sump to prevent seeds from washing out. Also, if necessary, it is necessary to remove the emerging weeds.
Seedling care
After the seedlings appear, the containers must be rearranged in a well-lit place, but do not forget to provide them with protection from direct sunlight. After the first true leaf plates are formed in the plants, they must be cut into individual bowls or pots. Before planting in open ground, they need to be grown at home. You can start planting seedlings in the garden only when there is no threat of recurrent frosts.
For planting seedlings, you must choose a shaded area with light soil. When planting between plants, a distance of 15–20 centimeters should be observed. It is necessary to carry out a systematic pinching of clematis, which will allow the bushes to build up the root mass, and this also contributes to an increase in bushiness. For the winter, the plant will need to be covered. In spring, it is necessary to transplant clematis into a not very deep trench (from 5 to 7 centimeters), while the distance between the plants should be about 50 centimeters. Next, the stems should be shortened, several nodes should remain on them. After 2 or 3 years after the bushes have grown at least three elastic roots, the length of which should be equal to 10-15 centimeters, they can be planted in a permanent place.
GROWING CLEMATIS FROM SEEDS - clematis from seeds at home from the Clematis TV channel
Which varieties grow best in a container?
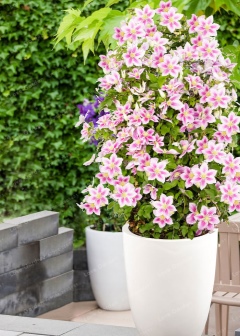
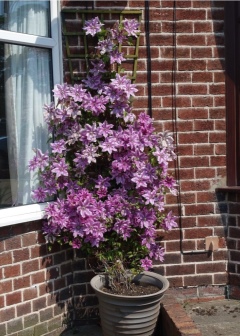
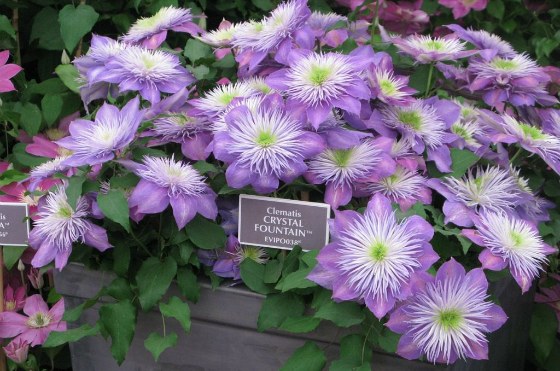
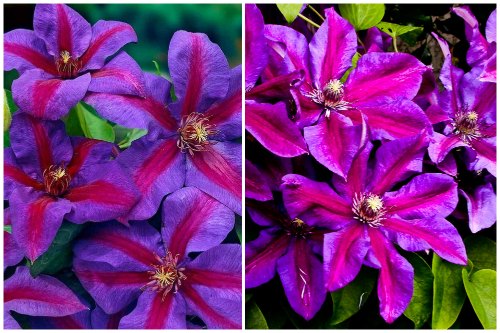
The most successful is the cultivation of miniature clematis, which have a compact shape, and their stems are no more than two meters long. We are talking about such varieties as "Jeanne d" Arc "," President "," Mrs. Cholmondeley "and others. They bloom for a long time and profusely, in addition, they have a large number of flowers, colors and textures of flowers. For example, the Angela cultivar blooms with striped, bright, catchy flowers, while the dwarf Piilu first produces abundant double flowers, and then begins to bloom with striped flowers.
You can also plant medium-sized varieties, but it is better to place them not in hanging pots, but in floor pots. Dwarf clematis will feel great in hanging pots or long boxes, lowering the shoots to the very ground.
