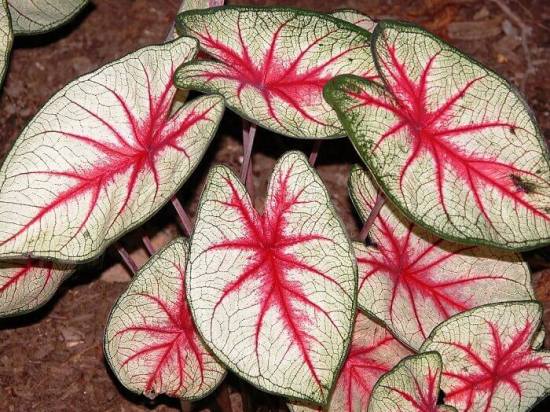
2 caring for caladium at home
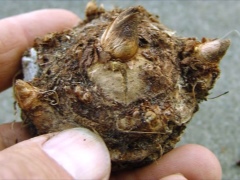
Daughter tubers when transplanting. Dividing large tubers into pieces with a sharp, sterile instrument.
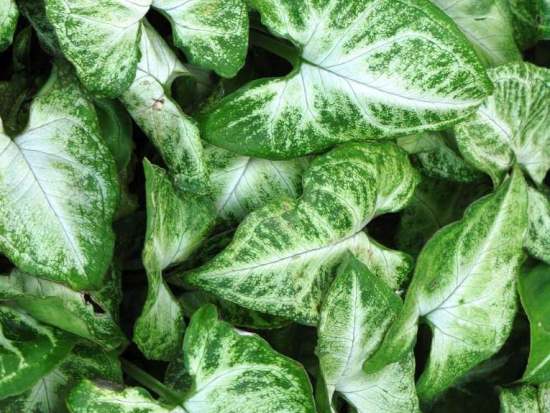
2.3 Planting and care
These beautiful plants love warmth and long daylight hours. In autumn, the leaves of the plant die off, and it goes into a dormant state in winter, which can last up to 5 months. However, you can keep the Caladium until next season. In the fall, reduce watering to dry out the soil, remove dried leaves, and place the tubers in a cool, dark place with a temperature of about 16 ° C.

2.4 Primer for Caladium
Nutritious, loose soil. A mixture of leaf humus, peat and coarse river sand is suitable to improve drainage.
2.5 Lighting
Very brightly lit area, but no direct sunlight. In partial shade, the color of the leaves fades, but when grown in the sun, burns may appear on the leaves. During the dormant period, when the leaves die off, the caladium tubers are kept in the dark.

2.6 Diseases and pests of Caladium
Leaves shrivel and dry out if the plant is exposed to cold drafts or the indoor air is too dry. When spraying in an unventilated area, the leaves can rot. Foliage becomes less colorful and attractive when there is a lack of light.
Aphids, spider mites, mealybugs can appear from insects - pests.
Insects are pests
| Insect name | Signs of infection | Control measures |
| Mealybug or felt insect | The surface of the leaves and shoots is covered with fluffy, cotton-like white bloom. Plants are lagging behind | Folk remedies: spraying with soap and alcohol solution. Infusion of tobacco, garlic, cyclamen tubers, alcohol treatments, pharmaceutical tincture of calendula proved to be good. Chemicals: green soap solution, Actellik, Fitoverm. |
| Spider mite | Subtle spider webs on the leaves, yellowing and foliage falling off with extensive lesions. The surface of the sheet plates becomes dead and covered with small cracks. Plant development slows down. | Folk ways. Plants can be rinsed in the shower and left in the bathroom in a humid atmosphere for half an hour. Irradiation with an ultraviolet lamp every week for 2 minutes. Chemical preparations based on pyrethrum, sulfur powders, Fitoverm, Actellik. |
| Aphid | Sticky droplets appear on the leaf plates, the leaf plates curl and deform, delicate buds and young leaves wither. Insect colonies can be seen on the tops of the shoots, buds or the underside of the leaf plates. The flowers of aphid-infested plants may become deformed. | Folk methods: infusion of nettle, decoction of rhubarb leaves, wormwood, soap solution, infusion of tobacco and dandelion, onions, marigolds, yarrow, tansy, dusting with dry ash. Chemical preparations: Sulfur powders, green mass treatment with green potash soap without getting into the ground, Decis, Aktellik, Fitoverm. |
-
Mealybug
-
Spider mite
-
Aphid
Transplant and reproduction
The favorable period for replacing the pot begins immediately after the plant comes out of dormancy. The procedure is performed once a year, in March or April. Only 1 tuber is planted in one container
It is important to take care of proper drainage. Its layer is at least 4 cm
Shards, small pebbles, expanded clay are suitable for him. A layer of substrate is poured on top of it, and then the tuber itself is installed. It, in turn, is completely covered with soil.With the appearance of greenery, it is better to add earth, thereby deepening the root system even more. This step ensures the beauty of the leaves. In the near future it will be possible to return to watering mode again.
The culture is bred by such methods:
- Children. This option is more suitable for transplanting. For this, the largest, most developed and healthy tuber is selected. It is cut off with a sharp secateurs, and the "wounds" are sprinkled with chopped charcoal. After receiving the daughter material, it will be dried in a warm place. Then you can plant following the recommendations for transplanting. After a week, you can return to your usual care. Watering immediately after transplanting is prohibited.
- By dividing the maternal tuber. This method has its own risks. Planting material can rot. Divide it with a well-sharpened tool at the bend point. It is best to do this in March, before the start of the growing season. The sections are disinfected with an insecticide. After planting, the pot is covered with polyethylene for 2-3 weeks. During this time, shoots usually appear and it can be removed. Allow the soil to breathe periodically.
All work is carried out with gloves, since Christ's heart (another name) is poisonous.
Growing caladium from seeds
How to collect seeds
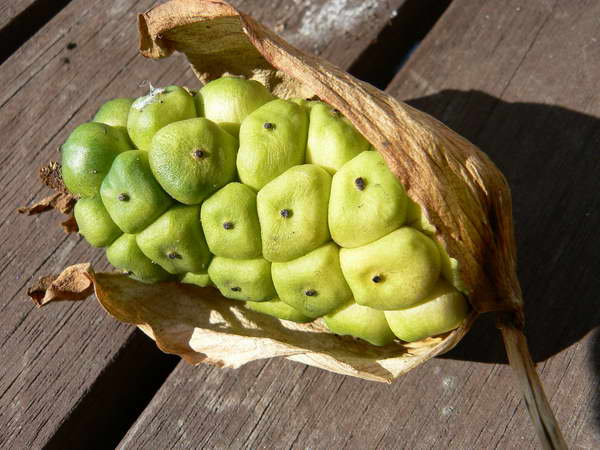
Caladium fruit with seeds photo
Seeds for propagation can be purchased at a flower shop, or you can collect them yourself.
To do this, cross-pollination should be carried out - carefully brush over the flowers of different plants with a soft brush, transferring their pollen to the flowers. Pollinated seeds will ripen after 2 months.
Caladium seeds photo
When the fruit is soft, you will need to crush it and squeeze out the seeds. Then the seeds need to be washed and dried on paper in the shade, stored until spring in a bag made of natural fabric in a cool dry place.
How to sow seeds
- Sow in the spring, in March-April.
- Fill the container with soil consisting of leafy earth and sand (proportions 4 to 1), deepen the seeds by half a centimeter.
- Remember to place a drainage layer at the bottom of the planting container.
- Cover the crops with foil or glass, maintain the air temperature at 25-30 ° C. Air the crops, moisten the soil from a spray gun or through a sump.
- Under favorable conditions, the seeds will sprout in 2-3 weeks.
- Water crops and young seedlings by spraying from a fine spray.
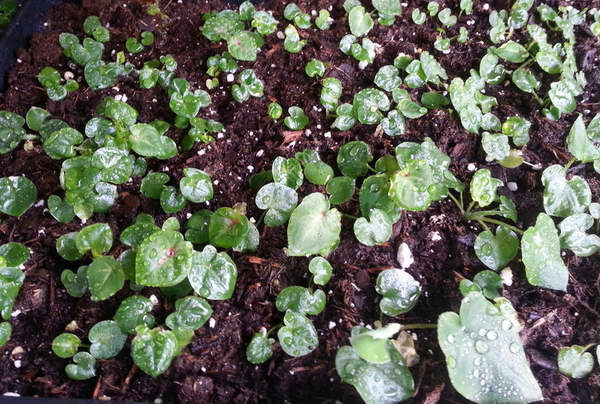
Caladium from seeds at home photo shoots
- For the first time, seedlings are recommended to be sprayed with foundation.
- It is not recommended to dive, so try to plant at once less often, at a distance of 5-7 cm.
- By autumn, full-fledged nodules will form, seedlings for the first time will begin to enter a dormant period. When the leaves begin to die off, you just need to reduce watering and lower the temperature of the content.
- Towards the end of February, check the condition of the tubers: if sprouts begin to appear, carefully plant the tubers in separate cups, provide moderate watering and good lighting. New plants can be fed when well-developed leaves appear.
- Further care is the same as for adult plants.
Diseases and pests
Pests

In the event that there is excessively dry air in the room where the calathea grows, then thrips, spider mites and scale insects can settle on it. Whichever of these pests attacks the plant, yellowing and death of foliage will begin.
How to save a flower affected by harmful insects? The first signs that pests have settled on the bush are a sticky bloom, a thin cobweb or dots of a pale color on the surface of the leaf plates. As soon as one of these signs is detected, action must be taken immediately. To get rid of thrips and scale insects, the foliage is washed with a soap solution. However, if after such treatment the pests remain, then it will be necessary to spray the bush with a solution of a special insecticidal preparation.Spider mites are fought with special chemicals
Possible problems
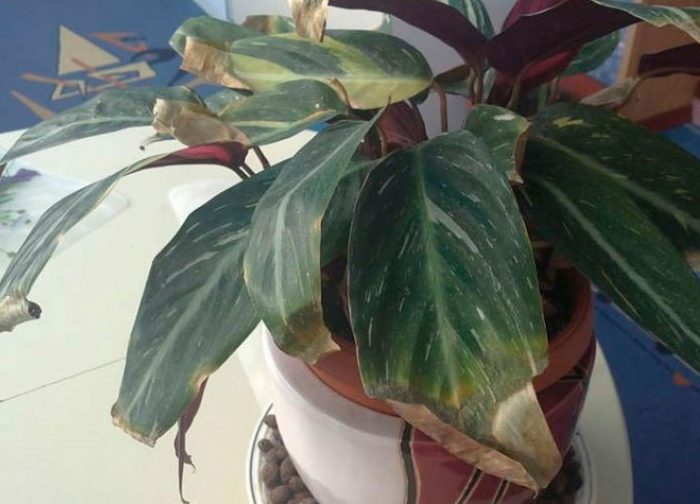
Improper care and inappropriate growing conditions can cause various problems with the flower:
Drying of the tips of the foliage. If only the tips of the leaf plates dry, then this is due to excessively dry air. In this case, they begin to moisten the bush from the spray bottle more often, while the pot with it is placed on a pallet filled with wet pebbles.
Dry spots on the leaves. Most often they appear when spraying a bush, when too large drops of water remain on the foliage. When the sun's rays hit these droplets, it causes sunburn.
Drying foliage. This can happen due to drafts, excessively poor watering, or when thrips settle on the flower.
Yellowing of foliage. If only the lower leaf plates of the calathea turn yellow, then there is no need to worry, because this is a completely natural process associated with the death of old leaves. If not only the lower leaves turn yellow, then this may be due to the fact that the bush is overfed with fertilizers or it is not watered correctly. Leaves can turn yellow both due to a lack of moisture and due to the fact that liquid stagnates regularly in the root system. It is necessary to moisten the substrate in the pot only when its top layer dries out to a depth of about 20 mm. Otherwise, the roots of the flower will not receive enough oxygen, and rot will appear on them, and the foliage will begin to actively yellow. You should also be careful about feeding calathea.
Please note that a nutrient solution prepared from half of the manufacturer's recommended fertilizer dose should be applied to the soil (see package instructions). Yellowing of the foliage may also be due to the fact that the room is too cold.
Twisting the foliage
Drying and curling of foliage occurs due to excessively low temperature or humidity, and also due to the influence of drafts.
Absolutely all the problems that can arise when growing calathea at home are associated either with violations of the rules of care, or with the failure to provide the plant with suitable conditions for growth. In this regard, in order for your flower to always be healthy and beautiful, you just need to take proper care of it and do not forget about the agrotechnical rules of this culture.
Description
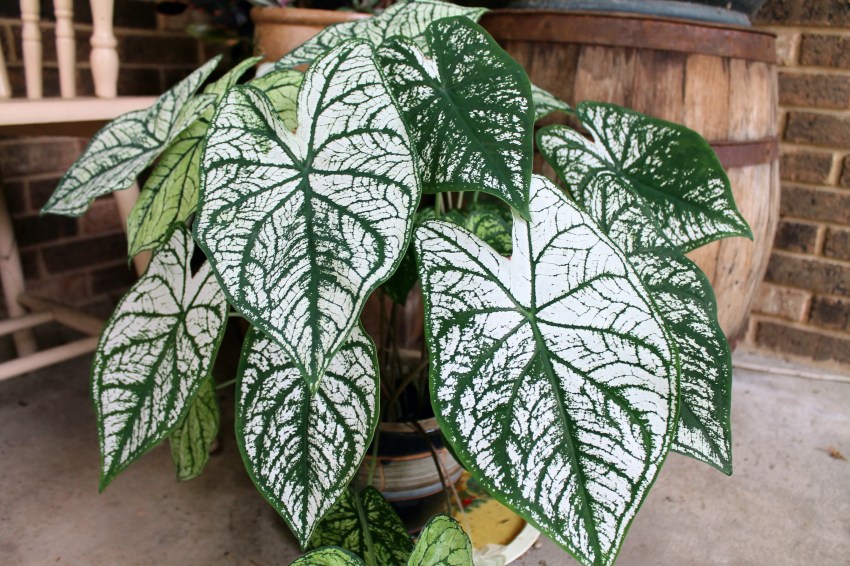
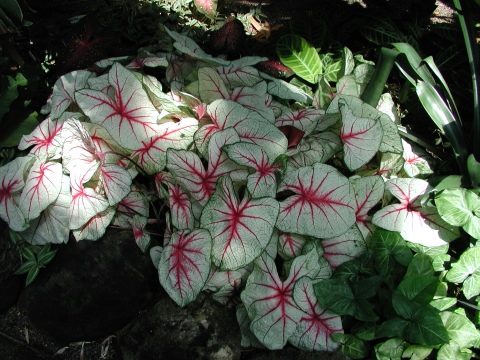
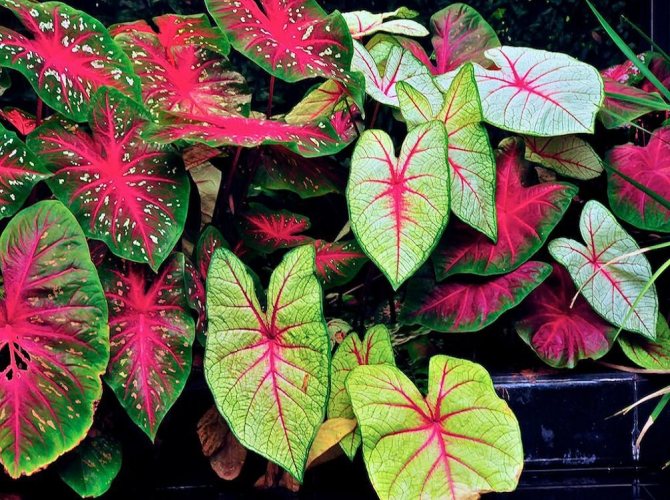
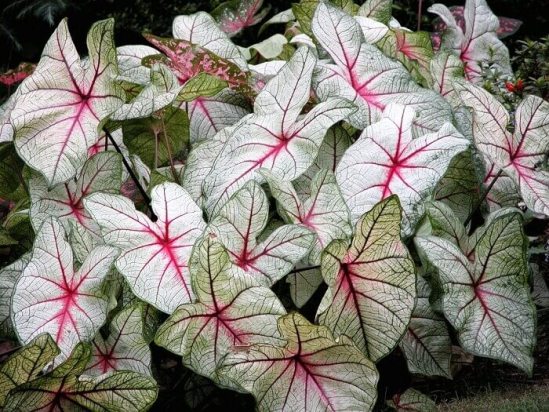
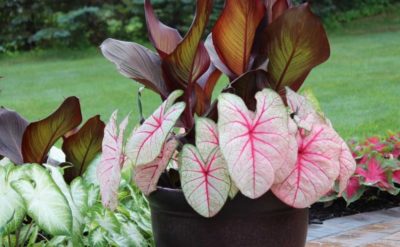
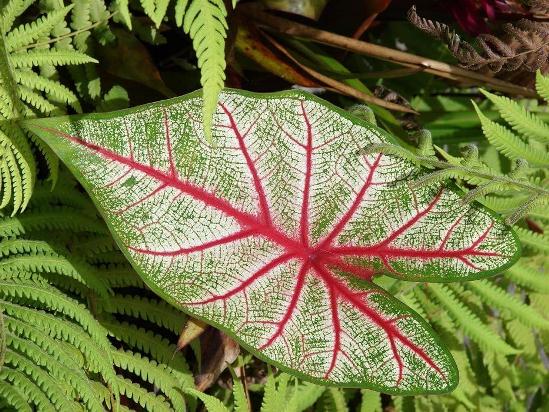
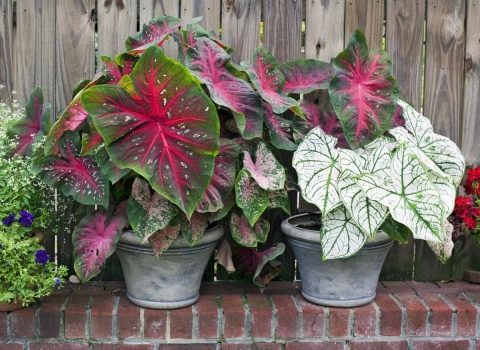
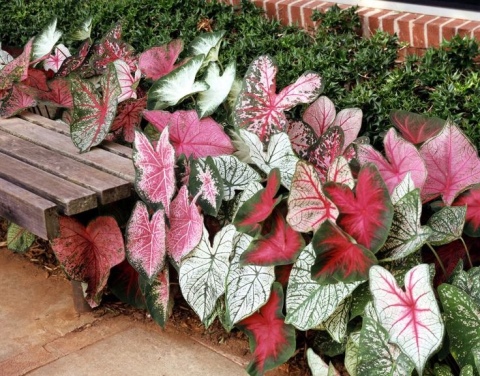
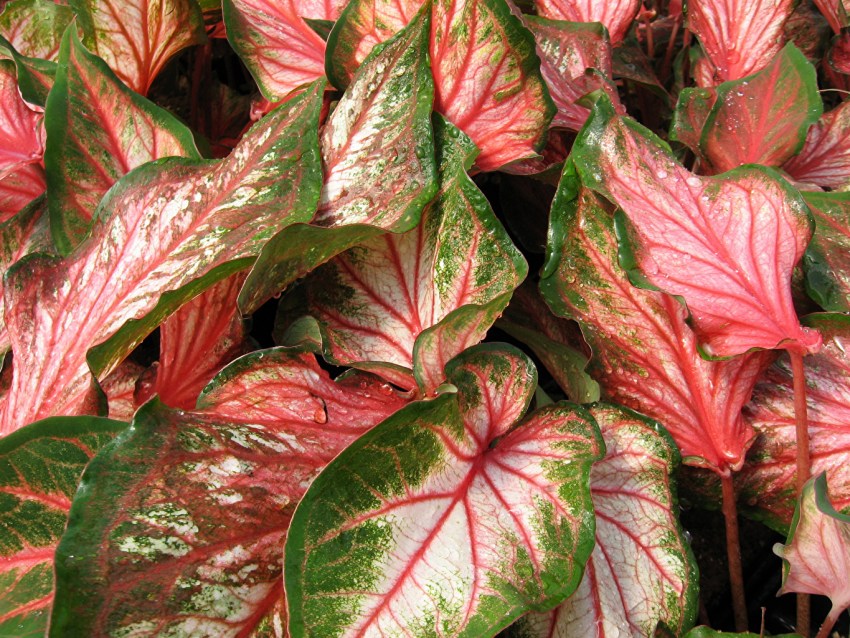
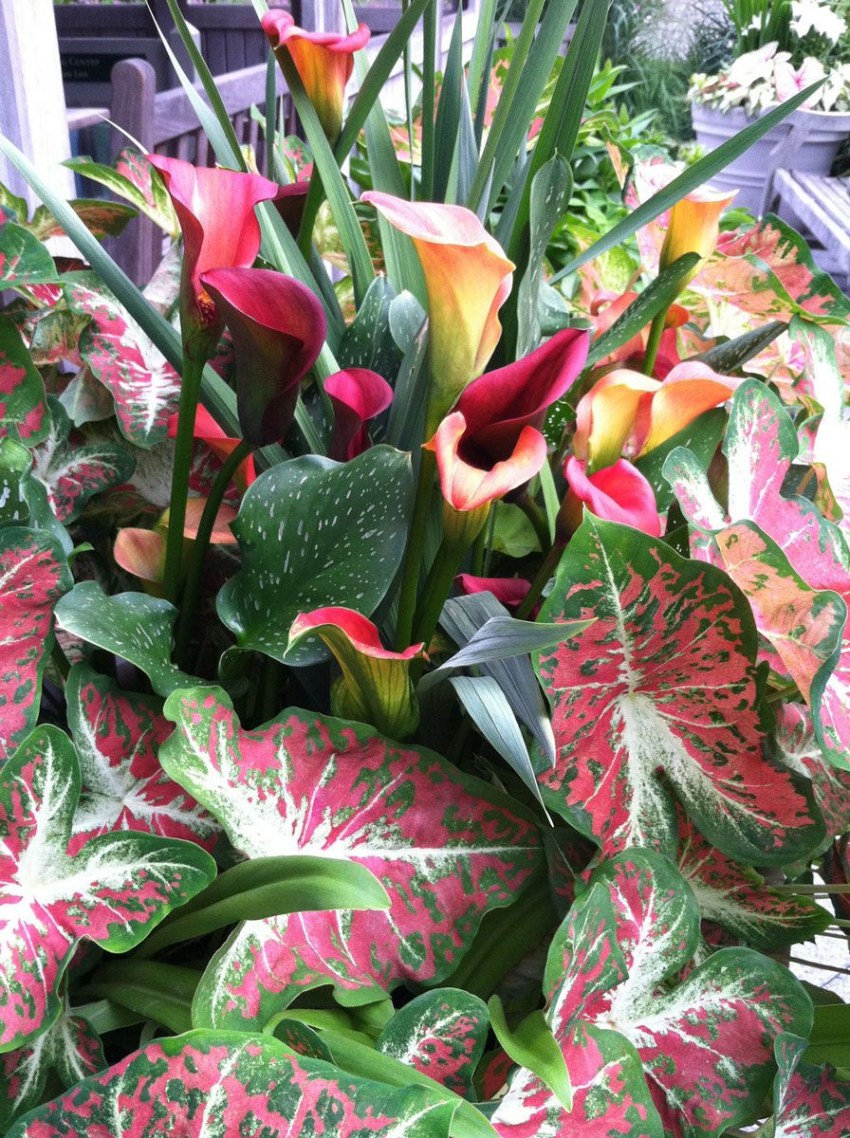
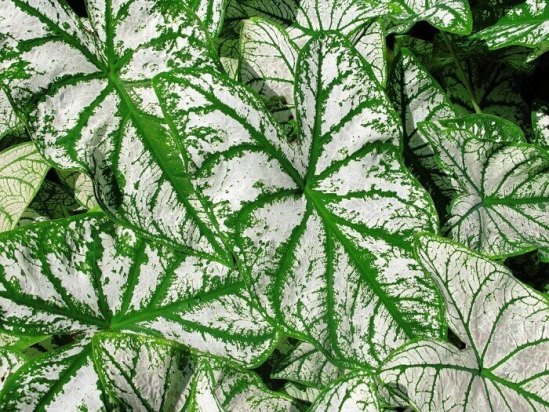
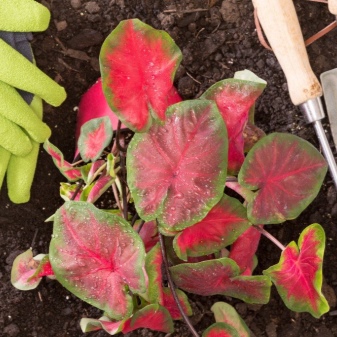
Caladium is a garden or indoor plant loved by many connoisseurs of exoticism with large, elegant leaves that have a variety of colors. Their shape is often compared to that of a spearhead or heart. The veined leaves are often endowed by nature or breeders with a contrasting color, consisting of two shades. The most common colors of caladium leaves are: purple, yellow, white, red, green. This liana does not have a stem, has a root growth of leaves, which grow over time and create dense rosettes with a diametrical size of up to half a meter.
At the base of the root system of the caladium there is a roundish-flattened tuber measuring 7-10 cm in diameter, at the top of which the rudiments of the future plant are clearly visible and a little to the side are lonely asleep buds.
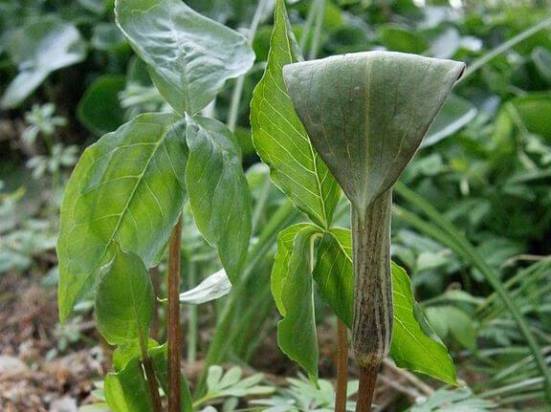
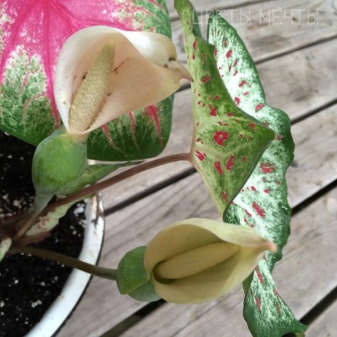
It is worth noting that its inflorescence is often mistaken for a caladium flower. It appears following the opening of the third or fourth leaf and looks like a solid ear of women and men wrapped in a pointed blanket. Very often the “blanket” takes on the same color as the deciduous part. The whole process of enjoying flowers usually lasts no more than a day, and after 4-5 weeks, roundish orange-red berries ripen in the place of the inflorescence.
Caladium is a poisonous plant. It is dangerous both when it enters the esophagus, and simply when working with it.
Diseases and pests
During the growth and life of the plant, you may encounter small problems (but in general, the plant is not particularly problematic):
Roots can rot: they can start to decay during storage or during the growing season. A similar phenomenon is associated with the appearance of bacteria and fungal microorganisms. To prevent this phenomenon, we recommend that you choose disease-free tubers for planting and, during storage, monitor the humidity level and temperature in the room (we remind you that the humidity should be at an average level, and the temperature should not exceed twenty degrees).
spots appear on the leaves: the appearance of the anthracnose fungus can contribute to the appearance of brown spots on the entire surface of the leaves. Here it is quite possible to do without the intervention of chemicals and simply remove diseased leaves.
leaf burning is the result of over-foliar feeding, lack of water, or excess sunlight. The older the leaves, the more they are susceptible to this disease.
How to choose a plant in the store

If you have decided on a variety and familiarized yourself with its care requirements, then give preference to the caladium in the form of a tuber. It is easy to judge the quality and health of the specimen by it. Discard the purchase if you notice damage, stains, soft areas. Those who decide to purchase a flower with leaves should examine not only the exotic itself, but also the soil. Boggy or dry is a signal of concern, as a clear non-compliance with the standards of care on the part of the store staff. Most likely, such a pet is already sick and in the future there will be problems with its growth and development. Read additional information to avoid problems when choosing a flower, as well as other house and garden plants.
Once you have brought a representative of the flora home, no transplant is required.
Growing caladium in the garden
Caladium at their summer cottage This tuberous plant comes from the tropical regions of tropical America and has arrow-shaped large long-peted leaves that die off in the winter.
Beethoven
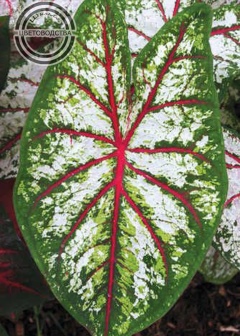
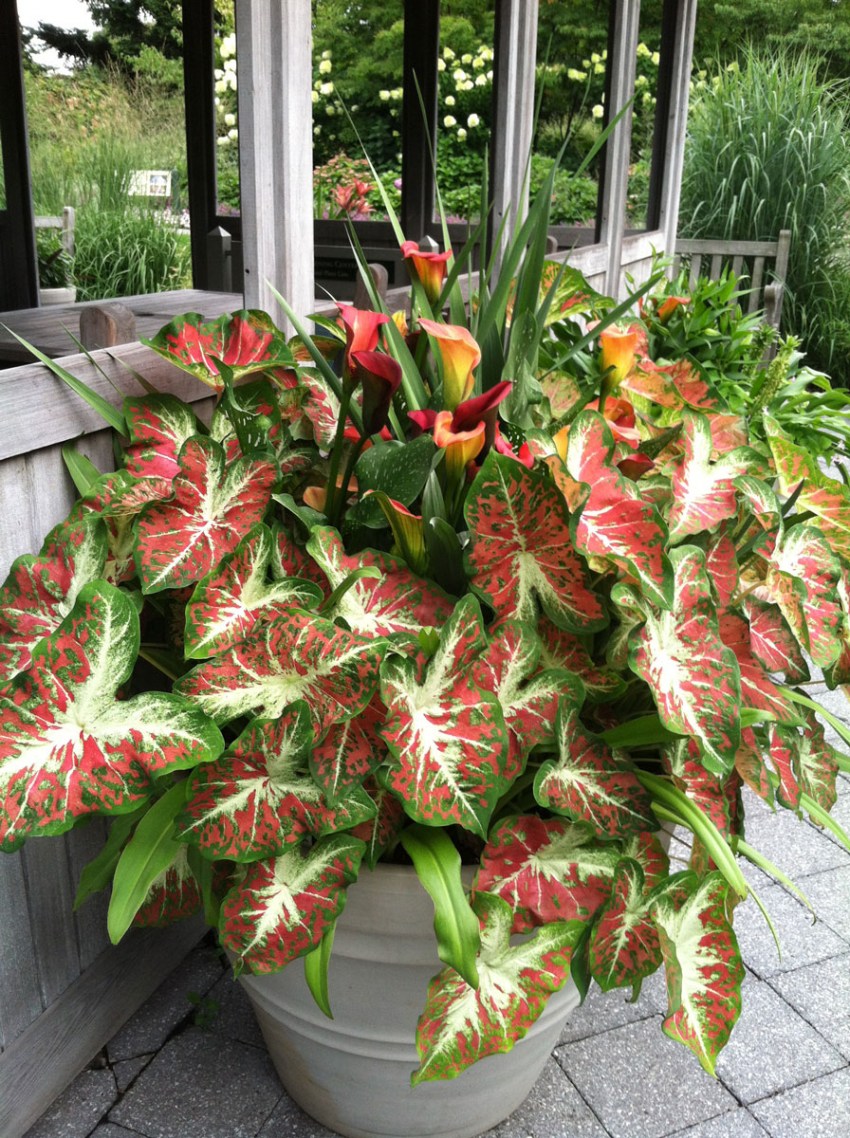
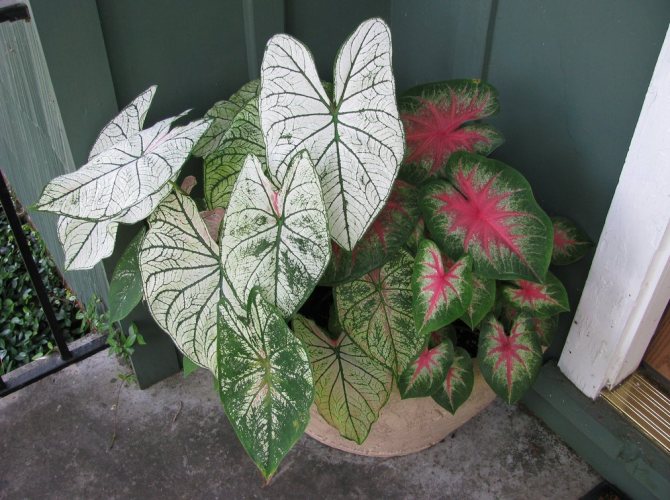
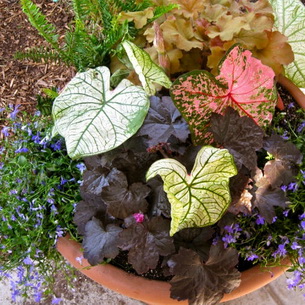
The colors of the Beethoven Caladium are interesting. On a light salad or white background of the leaf, it is as if a grid is painted, painted in green, and the central vein is painted in burgundy. One of the excellent decorative leafy crops is caladium
Emeline
The variety "Emelin" is called the "artist's palette" for a reason, since the bright green leaf blade is completely covered with silvery gray and pink spots of an interesting shape. Different varieties of this plant have not only different colors, but also the height. from compost, leaf soil, sand, turf soil with the addition of charcoal
Yuno
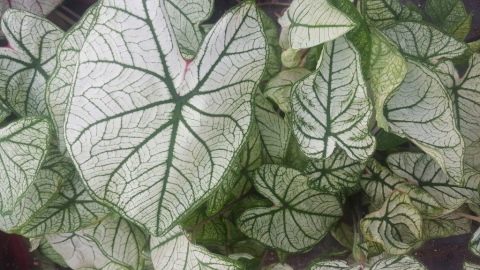
Caladium "Yuno" leaves are painted in a dark green color with retracted white strokes and spots, veins are brown or green. For planting, you must take fresh soil, and at the bottom of the pot there must be a drainage layer of at least 3-4 centimeters
Growing features
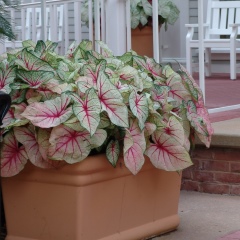
The plant is grown in fairly spacious containers with a mixture of compost, leafy soil, sand, turf with the addition of charcoal.
In late autumn, when the leaves dry up, the tubers are dug out of the ground, cleaned of residues, and then sprinkled with a mixture of sand and earth again and placed in a cool place. These plants are immersed in complete dormancy in the winter. In the summer, these plants are watered abundantly. They should be checked about once a month.
If the tuber shrivels a little, then it should be overlaid with sphagnum and moisten the sand.
Growing caladium (video)
Plant care at the end of winter
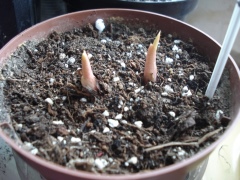
In late February - early March, buds wake up at the caladium at the top of the tuber, as soon as they reach a height of one to two centimeters, the tuber is removed and wrapped in wet moss, and also covered with a plastic bag and placed in a bright place.
After two weeks, the first roots begin to appear. Caladiums reproduce by dividing the tubers and baby Caladiums are best done in a bright, but not sunny place.
Landing
Tubers can also be germinated in containers, placing them so that they are only 1-2 centimeters covered with soil. For planting, it is imperative to take fresh soil, and at the bottom of the pot there should be a drainage layer of at least 3-4 centimeters.
Care and watering
In the summer, these plants are watered abundantly. Caladiums reproduce by dividing tubers and baby.
The cuts of the tuber are sprinkled with crushed coal and dried for several days. Caladium needs frequent spraying When sprouts appear, the cuttings are transplanted into small pots and, as they grow, are transplanted into larger ones. Caladiums work best in a bright, but not sunny place. They need frequent spraying.
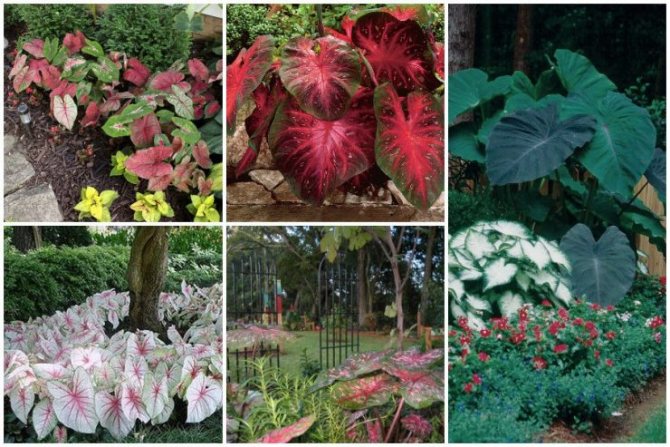
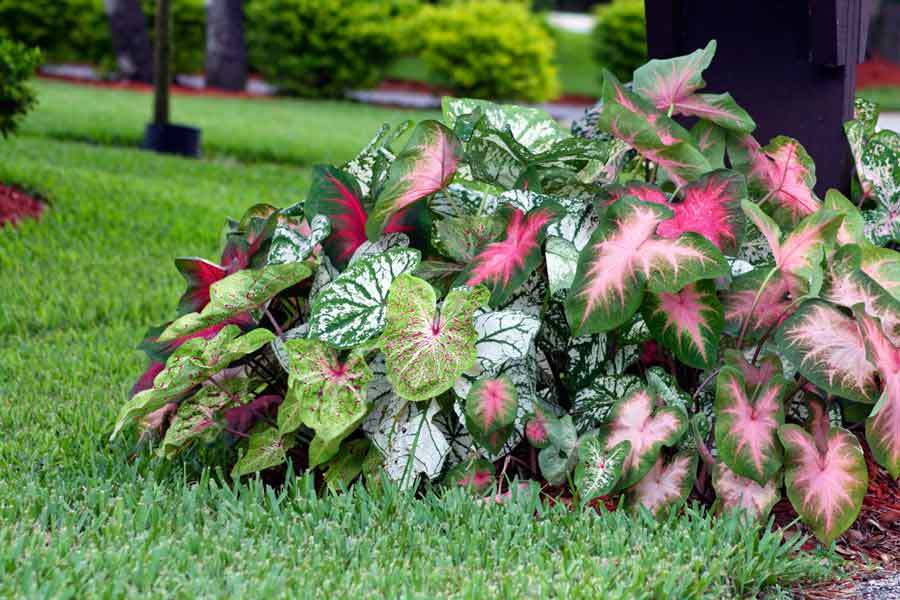
Caladium in the garden (photo)
Homeland of Caladium: Tropics of America.
Description of Caladium
Caladium is a perennial, herbaceous, stemless, succulent plant with beautiful large leaves that look like arrows or spears and have strong, bare petioles. The tuber of the plant is rounded knobby, brown in color.
Germinating buds are pink in color, and many hybrids of this plant have been bred, each differing in its own shape, pattern and color of the leaf. It blooms regularly in spring and summer. Growing fast.
Required conditions for growing caladium
During the year, the temperature is kept within 20-25 ° C, but not less than 18 ° C. The plant needs bright diffused light, the caladium must be protected from direct sunlight by creating a light shade. during the dormant period, watering is not needed. With the end of the development of shoots and until the beginning of August, mineral fertilizers are added to the soil once a week.
The dose is determined based on the instructions. Fertilization is stopped in August.
Caladium flower care at home
Difficulty growing: very high. The main difficulty in caring for caladium is maintaining the necessary humidity (during the growing season) and high temperature (constantly, including after the death of the aerial part of the plant). Also, this flower has gained a reputation as a capricious houseplant because it is sometimes very difficult to bring tubers out of the dormant period.
Optimal location: east and west exposure, ideal placement in floraria.
Temperature requirements: caring for caldium at home can only be carried out in a warm, well-lit room. During the growing season, it should not fall below 20 ° C, optimally - 22-25 ° C. Since the plant has a distinct dormancy period (when the caladium sheds all its leaves), in autumn and winter its tubers are stored in the same soil and in the same pot where it grew, at a temperature of at least 18 ° C, more expediently at 20 ° C ... It is not recommended to leave the plant in a room with an air temperature below 9 ° C.
Lighting Requirements: Caladiums are relatively shade-tolerant at home, but they need to be provided with intense diffused light to maintain a bright color of the leaves.

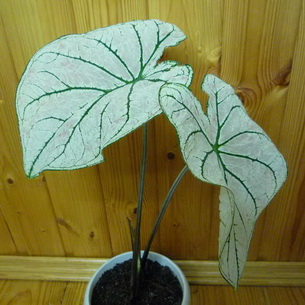
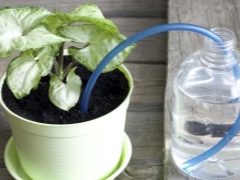
Watering, spraying: during the growing season, regularly watered with soft, settled water at room temperature as the upper layer of the substrate dries up, make sure that the earth does not dry out, since large leaves evaporate a lot of water. In late August - early September, watering is limited until the leaves dry up and fall off, after which the watering is practically stopped. During the dormant period, only occasionally it is allowed to moisten the substrate in order to avoid excessive shrinkage of the tubers.
After transplanting, the tubers are watered carefully, avoiding overflow. As the green mass increases, the plants increase watering
It is desirable to keep the air humidity high, not lower than 70%. Insufficient humidity of the air has a bad effect on the plant and even leads to its death. It is useful to spray moisture over the plant, but at the same time avoid getting water drops directly on the leaves, otherwise brown spots may appear on them and they will lose their decorative color. It is advisable to place pots with plants on pallets with a damp
peat or expanded clay.
Top dressing: after the end of the growth of the shoots, and until the beginning of August, 1 time per week, a complete mineral fertilizer is applied with an equal content of nitrogen, phosphorus and potassium in the concentration indicated in the manual. In August, feeding is stopped.
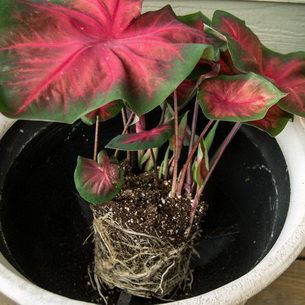
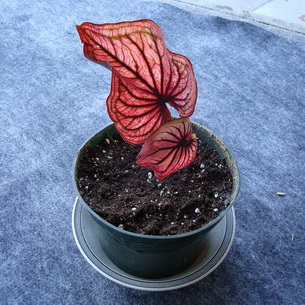
Transfer: annually after a dormant period. In February or spring, caladium tubers are removed from the soil, cleaned of old roots and leaf bases and planted in a fresh substrate.
Watered carefully with soft, settled water. After a few days, the formation of roots and the beginning of growth are observed
After the sprouts appear, watering is increased, and then, as the leaves develop, they are watered abundantly. Containers for growing Caladium should not be too large (maximum 2-3 tubers per 12 cm pot). If the caladium tuber is planted shallowly, it forms many children, but to the detriment of the size and decorativeness of the leaves. This feature can be used if you want to get as many caladium nodules as possible for reproduction.
Substrate: humus, leafy soil, peat, sand (1: 1: 1: 1/2), soil pH should be around 6.
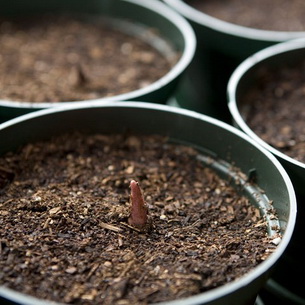
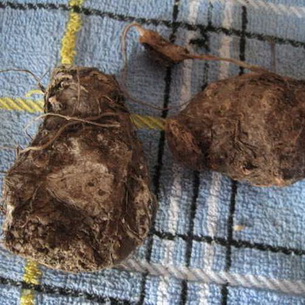
Reproduction: carried out by tubers and seeds. Tubers can be divided into parts, however, it is necessary that each of them has buds (at least one). The cut surfaces are powdered with crushed charcoal. Delenki are planted immediately in a permanent place in a pot.
Potential problems: it is absolutely impossible to use leaf varnish. During the active growing season, transplanting is contraindicated, but transshipment will be useful. Does not tolerate drafts. With a lack of light, the leaves fade, but direct sunlight causes burns. In case of heat, excessive sunlight (burns), overfeeding with fertilizers, the leaves dry out from the edges. The lower leaves dry out with insufficient watering.
In dry air, it suffers from red spider mites.
Advice. It is advisable to plant caladium tubers in spring in flower pots with a diameter of 7 - 15 cm, to a depth of 2 - 3 cm. If you want to grow caladium for several years, then do not water the plant in autumn, and when the leaves fade, remove them. Place the pot until spring in a dark place with a temperature of at least 13C.
The plant can be grown in a winter garden, green display case or aquarium.
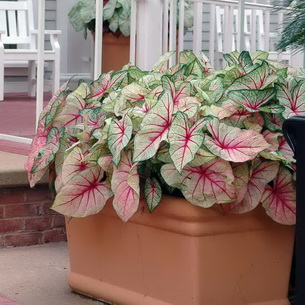
The photo "Caladium Care" shows how to grow this plant:
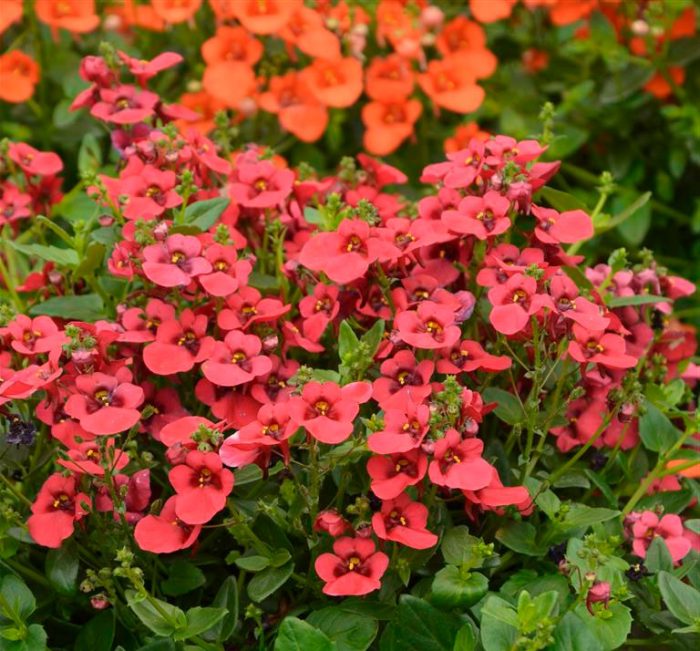
Diastia care in the garden
Watering
Often and abundantly watering the diastion is necessary when it is hot outside, and even during the flowering period. But remember that it is impossible to allow liquid stagnation in the root system of flowers, as they react to this extremely negatively. When the bushes are watered, loosen the surface of the soil near the plants, and also pull out all the weeds.
Fertilizer
The plant is fed relatively rarely, only once every 30 days. To do this, use a fertilizer solution for flowering garden plants, while its concentration should be rather weak. If there are too many nutrients in the soil, then the bushes may not bloom at all. In addition, in too fertile soil, stretching of the shoots of the diastia is observed, due to which it loses its decorative effect.
Bloom
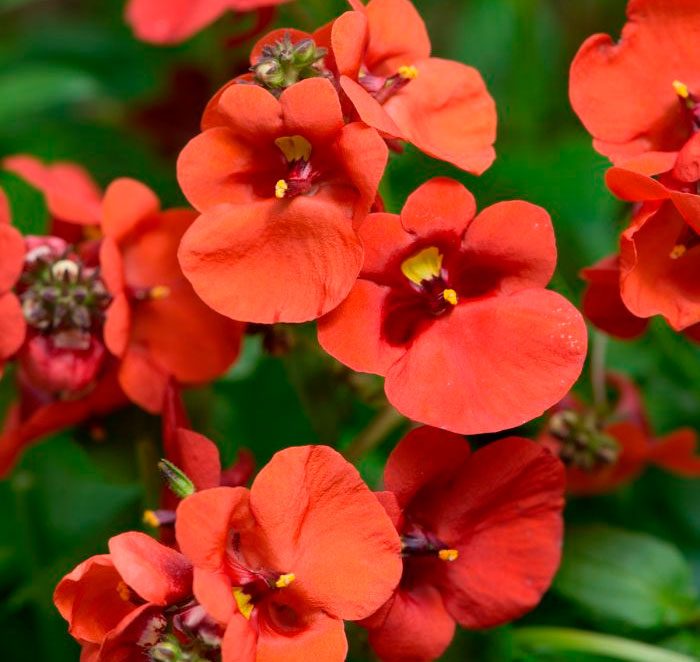
When the first wave of flowering is over, all the stems of the bushes should be shortened by ½ part. Then they need to be watered often and abundantly for 7 days in order for new shoots to grow.During one of the irrigations, it is recommended to use a complex fertilizer solution instead of water. After a very short time, the buds of the diastia will begin to appear again, and then the second wave of flowering will begin.
Diseases and pests
This plant is highly resistant to fungal diseases. However, if moisture stagnation is regularly observed in the soil, this can cause the development of stem and root rot. Creeping varieties suffer most from slugs and snails, in order to protect the stems of diastia from pests, they need to be lifted from the soil surface.
Types of plants with photos and descriptions
There are 15 known types of caladium, consider the popular ones.
Caladium Humboldt

This is the ancestor of potted hybrids with a characteristic dark green color of leaves with silvery stripes tapering towards the edge. Arrow-shaped leaves can be up to 10 centimeters long and up to 5 centimeters wide. Candle-like flowers that open in spring have no decorative value.
Caladium Schomburg

This variety of caladium is distinguished by oval leaf surfaces up to 15 centimeters in length and a variety of colors. A reddish-silver leaf pattern with green veins is common.
Caladium bicolor
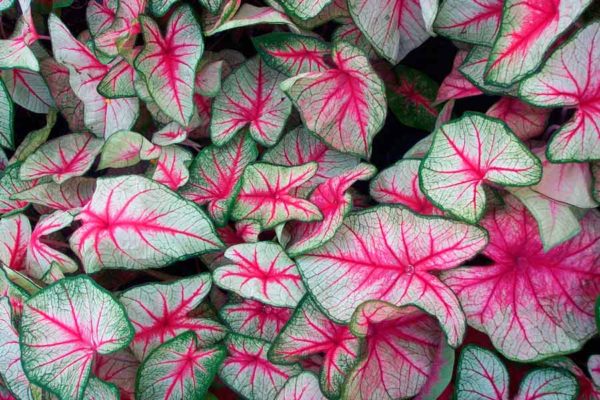
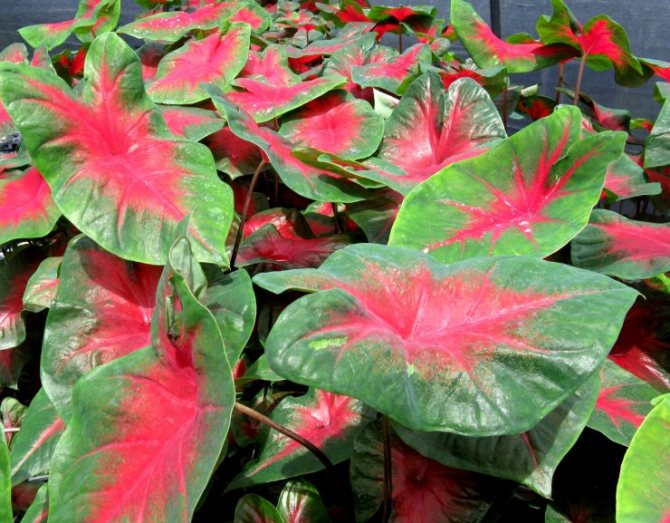
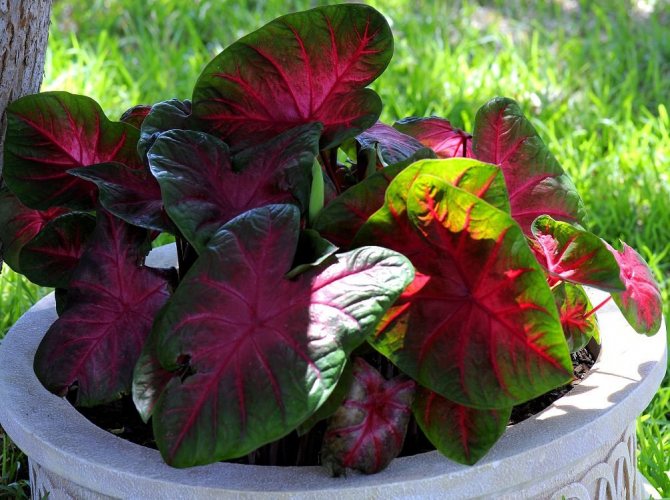
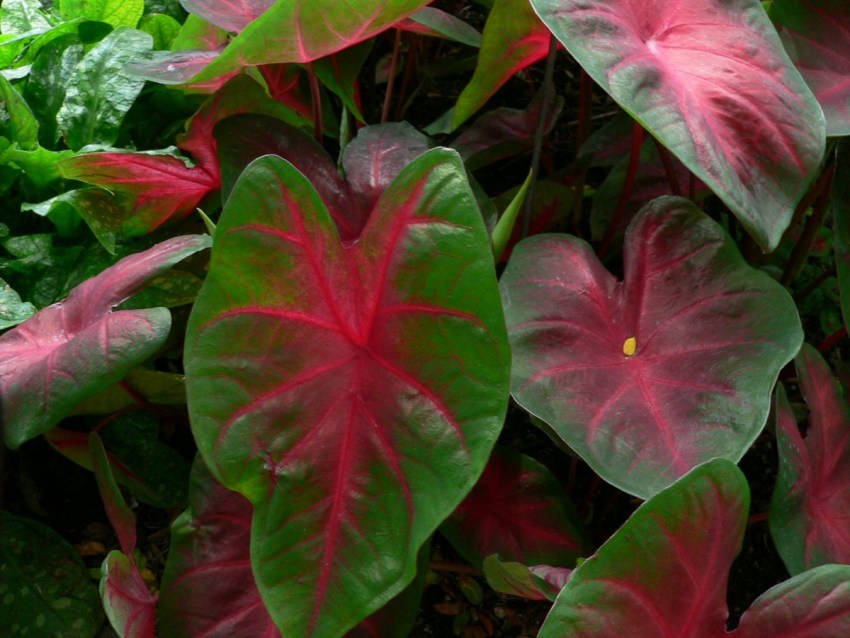
This variety has arrow-shaped leaves, reaching lengths of up to 30 centimeters. Drawing in the form of a red spot on a green background. Variants of various colors are possible.
Gardeners' favorite Caladium hybrids:
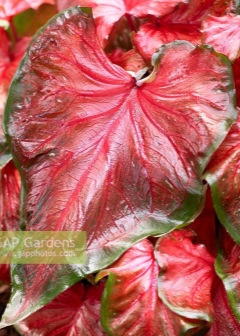
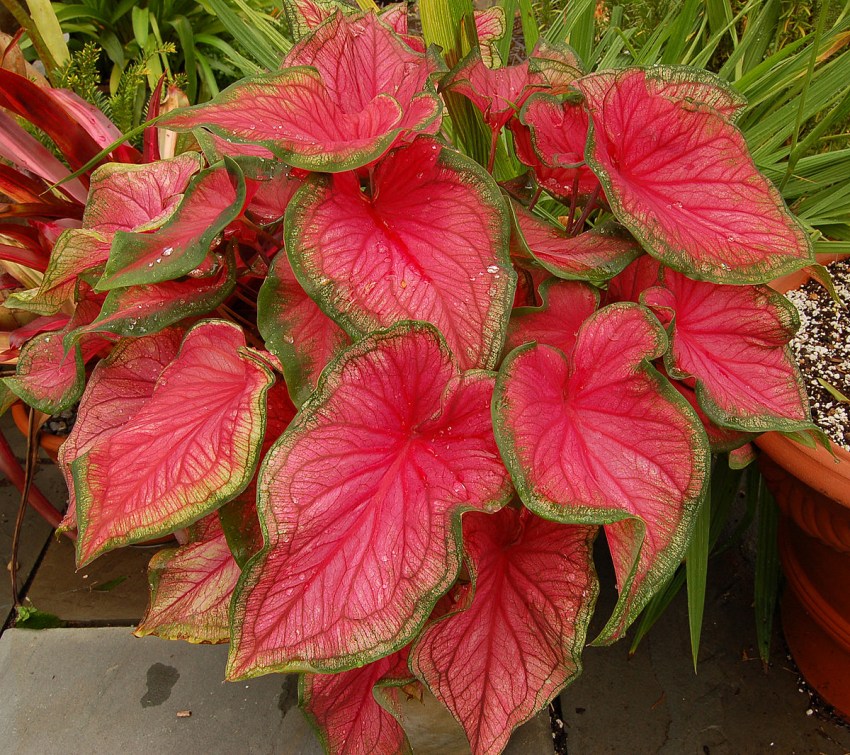
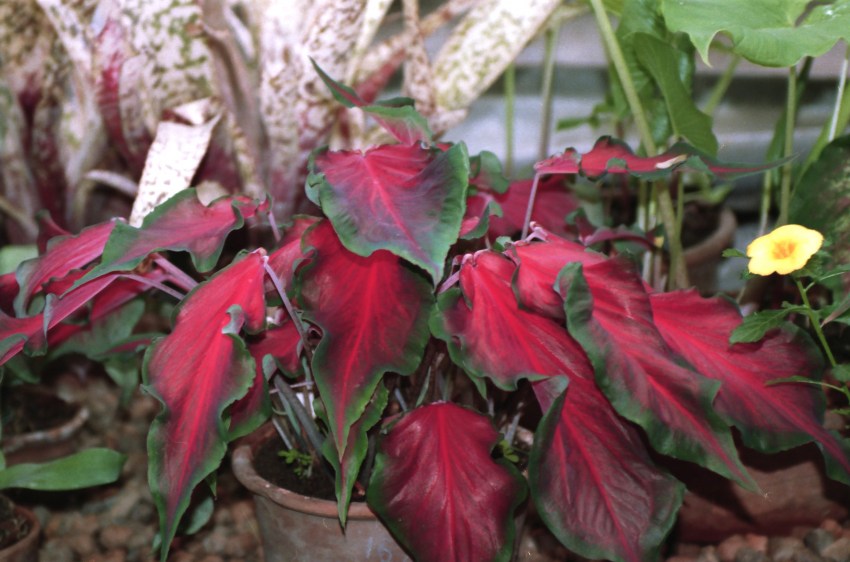
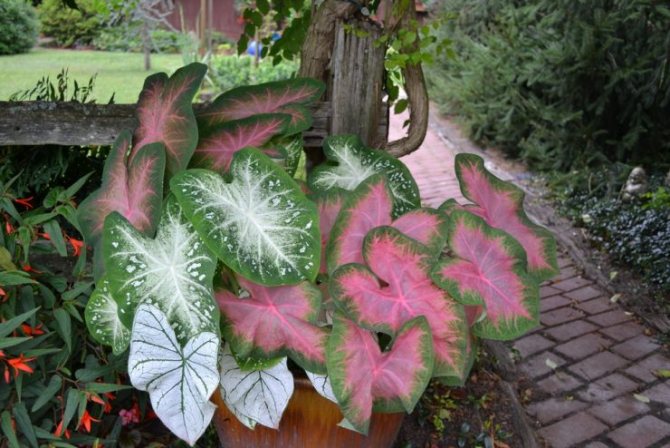
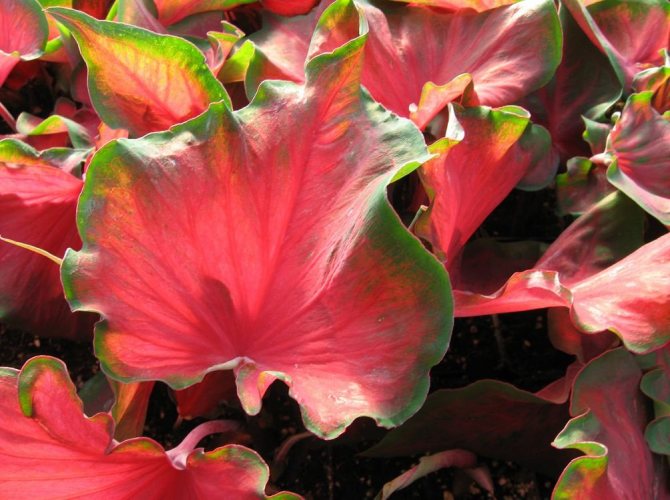
Rosalie - the plant is distinguished by reddish leaves with a green border.
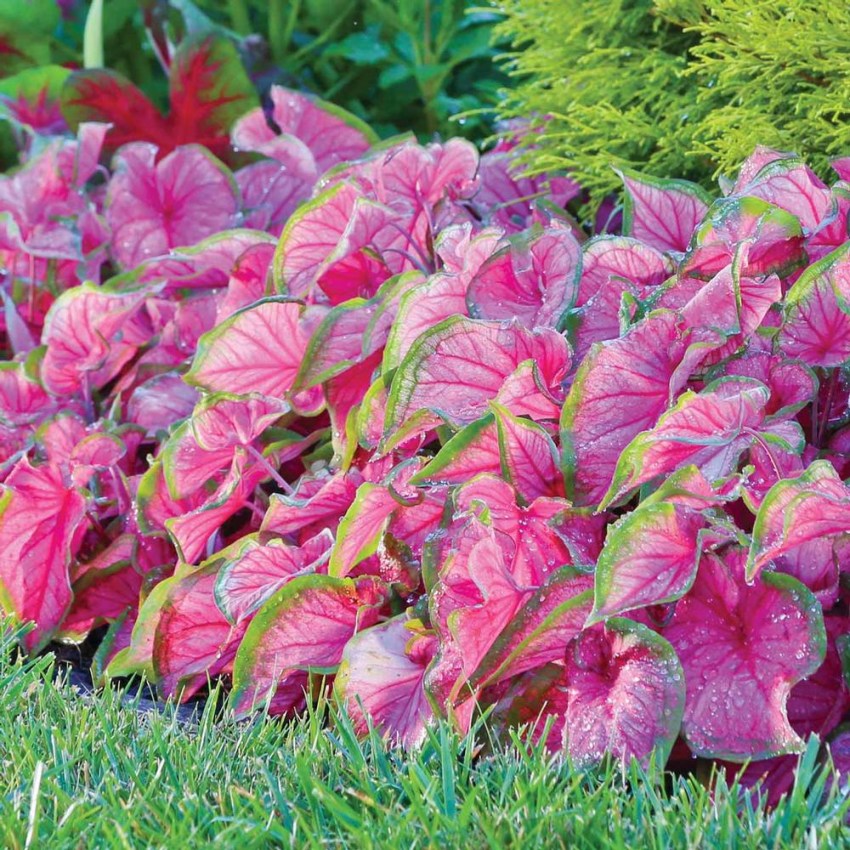
Pink beauty is a variety with red veins of the leaf surface, pink in the center with a green edging.
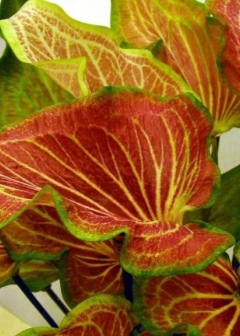
Florida Cardinal - leaves with a raspberry center and green border.
Growing conditions for indoor caladiums
Caladiums are not accidentally known as real sissies. They are so demanding on temperatures during the period of active growth, so cold-fearing that it is not always easy to provide them with a comfortable environment, even by lovers of other tropical exotic plants.
Caladiums pay the price for their extremely stringent temperature requirements with their ability to adapt to milder lighting conditions. But here, too, their unpretentiousness is very relative.
Lighting and placement
Caladiums are considered to be plants that adapt well to the place inside the interior. But they cannot be called shade-tolerant, let alone shade-loving. They do not lose patterns on leaves and growth rates only in partial shade or in diffused bright light, and in the depths of rooms they cannot develop normally.
Of course, it is not necessary to put them on the windowsills, but the lighting should still remain bright enough. When choosing lighting for Caladium, it is worth remembering that the more contrasting patterns and the more flowers appear on the leaves, the more light-loving the plant is.
The delicate, slender leaves of caladiums are hypersensitive to direct sun. They are instantly covered with burns and do not even tolerate midday rays.
Lighting for caladiums should be diffused, and special attention should be paid to protection from direct sunlight on hot days. They are comfortable on the western and eastern windowsills, but not on the southern ones.
For caladiums that have entered the dormant stage and are outside or in the soil in a completely dry and warm wintering state, lighting is irrelevant. Pots of tubers can be placed even in a dark room. If the tubers are removed from the soil for a dormant period, they must be protected from light and kept in slightly damp sawdust or peat, paper bags, preventing the tissues from drying out.
Caladiums are ideal candidates for landscaping those areas in which the natural environment is warm and high humidity. Bathroom and kitchen are great options for this culture. But only on condition of protection against temperature surges.
It is better to place caladiums separately in living rooms: their leaves are much inferior in density to the chosen favorites, and against the background of other decorative deciduous plants, caladiums may look slightly inconspicuous.
Caladiums work best with plants with very small leaves and beautiful flowering, crops that tend to look sloppy and sprawling.
Temperature control and ventilation
Caladiums are one of the most thermophilic plants. Only temperatures above 20 degrees Celsius are considered normal for this culture. Even when dropping leaves and hibernating outside the soil, the tubers should not be kept cool, the permissible minimum air temperature for wintering remains 18-20 degrees. At excessively high temperatures, tubers dry out quickly and it is difficult for them to find the right storage conditions.
During the period of active growth, it is better to keep caladiums in a stable heat, but without heat. The ideal range for plants to fully reveal their decorative effect is 22-25 degrees Celsius.
Caladiums love stability. They are extremely sensitive not only to temperature extremes, but also to any drafts. The plant should be placed in a secluded, cozy place with an almost unchanging atmosphere.
 Caladiums are extremely sensitive not only to temperature extremes, but also to any drafts. plantingman
Care secrets: from planting to hibernation
Home care of this kind must be carefully thought out and planned. It is always necessary to scrupulously monitor:
- the condition of the soil;
- temperature;
- lighting;
- humidity.
When caring for him, it must be borne in mind that the Amazon rainforest is the homeland of this plant. This understanding will help create decent conditions for him.
Content secrets
The main thing that needs to be done when caring for caladium at home (photos of all the subtleties are given below) is to protect it from cold and direct sunlight.
In order for a houseplant to grow violently, it is important to constantly maintain the following parameters in normal condition:
- Temperature. In summer, the thermometer should not fall below 21-25 ° С, and in winter - 16 ° С.
- Humidity. You need to keep it as high as possible.
- The soil. The land should contain the following elements: peat, perennial humus, deciduous waste, sand.
- Spraying with a spray bottle. This procedure must be carried out so that the dew settles smoothly on the leaves. Therefore, you need to spray around or over it, then there will be no brown pigmentation on the leaves.
- Watering. To do this, you need to use settled water and, preferably, it should be soft.
- Fertilizer. Caladium needs mineral dressing twice a month in spring and summer. During hibernation, it should be stopped.
The dormant season starts in August, so don't worry if the leaves start to fall. New shoots will appear in March. But in order for them to start growing, you need to periodically (1-2 times a month) moisten the tubers so that they do not shrivel. As a result, they will be ready for transplant by spring.
Reproduction
It can be done in two ways: with tubers and seeds. Of course, in the latter case, this process will take longer. To do this, you need to take a container with a peat-sandy substrate and sow seeds. The resulting mini-plantation must be covered with a glass lid. If you water it 2-3 times a week and ventilate it, sprouts will sprout in a month. By September, the tubers themselves are formed.
The most efficient breeding method is tubers. They should be transplanted in late winter or early spring. In this case, it is necessary to observe all the subtleties of the procedure:
Separate the tubers carefully
Large specimens should be cut in half or in 4 pieces, depending on the number of buds. Charcoal can be used as a powder for the cuts. The soil should contain sand and peat. They need to be transplanted into a pot larger than the previous one.
It is important to place seedlings in a warm and well-lit place. Watering should be carried out as the soil dries out.
All this will make the exotic plant feel at home.
However, it is important to remember that its main enemy is aphids. Having found this pest, it is important to thoroughly wash the leaves under running water.
When they dry, they should be treated with insecticides.
All this will make the exotic plant feel at home.
However, it is important to remember that its main enemy is aphids. Having found this pest, it is important to thoroughly wash the leaves under running water. When they dry, they should be treated with insecticides.
When they dry, they should be treated with insecticides.
With such care, this flower will delight its owners for many years. It will create coziness in the room, as well as a great view in the living room.

