Seeds
What they look like: description and photo
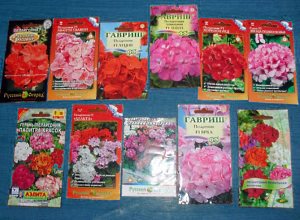
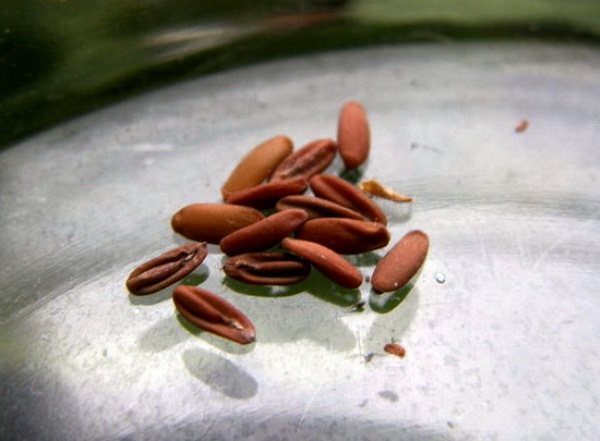
Pelargonium seeds have an oblong shape with small depressions on the sides, they are about 6-7 mm in size. Their color is brown with a slight matte sheen. Seeds are characterized by a dense leathery shell. They must be sorted before sowing.
Small, flattened, deformed or multi-colored seeds are rejected, which will not give good shoots.
Next, you can see what the seeds of the plant look like:
What does it take to appear?
The seeds can be purchased at the store or grown at home. To obtain seeds, it is necessary to pollinate the flowers.
The easiest way is to put the plant in an open area (balcony, terrace) where insects can pollinate it. If the insects did not like the flowers or it is impossible to keep the flower in an open place, the florist will have to carry out artificial pollination.
Pollen is carefully removed from one flower with a soft brush or needle and transferred to the stigma of the pistil of another. You can pollinate in this way several times.
How are they formed?
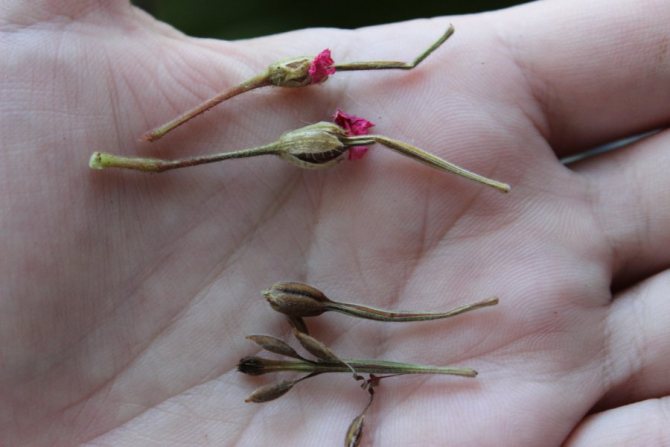
After pollination, on the third or fourth day, the column begins to slowly lengthen and a pointed fruit-box is formed. Gradually the capsule thickens and bursts when the seeds ripen. The brown elongated seeds, covered with white villi, remain hanging on thin elastic threads.
How and when to collect?
The seeds are harvested in summer or early autumn, when the seed pods are ripe, without waiting for them to open. Collect them only in sunny weather so that they do not deteriorate during storage. You must act very carefully so that the seeds do not shoot out. If garden geranium seeds are harvested, cover with a cloth or towel.
The collected seeds are left to ripen in a well-ventilated room at a temperature of +24 degrees, spreading them out on paper or a saucer. It is necessary to ensure that they are not exposed to the sun's rays. Ripe and dried seeds are stored in a dry warm place before planting. They remain suitable for planting for 2-3 years.
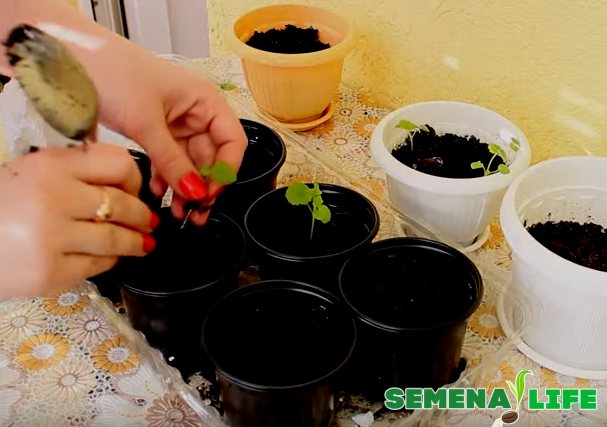
Move to the pot
At the end of May, geraniums can be transplanted into a pot for permanent growth.
Choosing the "right" pot
First you need to decide on the material of the container:
- Plastic. Such pots have a long service life, low weight, low price, and due to the peculiarities of production, you can get products of different shapes and colors. Thanks to this, they will look favorably against the background of the overall interior.
- Clay. This material perfectly meets the requirements of geranium. The moisture in clay pots evaporates faster, thus preventing root decay. In addition, the clay washes out salts harmful to the plant from the soil. But only from this the container begins to turn black. Clay products have a porous structure, which provides additional aeration, allowing the roots to breathe.
As for the size, a pot with a diameter of 12-14 cm is considered optimal, and a height of no more than 15 cm.
Soil selection
Geranium prefers to grow in loose, fertile and drained soil, with acidic, slightly acidic or neutral pH. You can purchase a ready-made substrate for indoor plants or universal soil by adding the following components to it:
- vermiculite;
- washed river sand;
- peat;
- perlite.
Instructions: how to plant at home?
Let's figure out how to plant young shoots at home.
Prepare the pot, soil and drainage, sterilize everything in the oven.
Lay 2-3 cm of drainage and part of the soil at the bottom of the container.
Carefully remove the pre-watered geranium from the old pot along with the earthen lump. If this does not work, then you can lay the plant on its side, and then knock on the walls of the container, turning it upside down, while holding the bush.
Examine the roots, if rotten and dried elements are found, then remove them, trying not to hurt healthy roots.
Place the geranium with an earthen ball in the center of the new pot.
Gradually add moistened earth between the tank wall and the earthen lump, lightly ramming it
Shake the pot from time to time so that the soil flows down and fills the voids.
At the end, the pelargonium must be watered and set in partial shade.
After 7 days, move the flower to a well-lit room.
Thus, we looked at how to grow indoor geranium from seeds at home on our own. This is a simple, but very responsible business.
It is important to prepare all the fixtures, choose a high-quality substrate and a pot. But the most important thing is to regularly care for young plants in order to get a beautiful and healthy plant afterwards.
In addition to the seed method of reproduction, there is also a vegetative one. How to grow geranium from a cutting or leaf - read on our website.
Step by step instructions: how to grow at home?
What is the time to sow?
When to sow? Sowing pelargonium at home can be done all year round, but only if additional lighting is provided. The most favorable time for sowing seeds is February or March. If you sow pelargonium later, the plant stretches strongly and blooms only after 9 months (why does not pelargonium bloom?).
Soil preparation
IMPORTANT: Pelargonium prefers light, nutritious soil that allows water and air to flow well to the roots of the plant. To germinate seeds, you can use ready-made storey soil or make it yourself
There are several options:
- mix in equal proportions peat, sand, humus and compost;
- combine two parts of garden land with one part of peat and sand;
- dilute peat with perlite in a 1: 1 ratio.
Before sowing seeds, the prepared substrate must be disinfected to avoid further contamination of pelargonium. To do this, it is calcined for several minutes in the oven.
For soil treatment, you can use high quality ready-made fungicides or manganese. Then the landing should be postponed for one day.
Selection
To grow pelargonium quickly and without problems, you need to select and prepare planting material
When selecting seeds, special attention should be paid to the following signs:
-
Colour. Quality pelargonium seeds have a pronounced brown color. Slight dullness and light shade are allowed.
- Form. The developed seeds are oblong, small depressions are visible on the sides.
- The size. The planting material is large enough.
- The shell. Pelargonium seeds are characterized by a dense leathery shell.
If the planting material has all these qualities, then it can be purchased. You should not choose seeds that have the following characteristics:
- small;
- flattened;
- deformed;
- covered with spots of different colors.
The seeds of some types of pelargonium, especially ivy, do not sprout for 2-3 months. It is necessary to remember this and not stop caring for the crops.
To maximize the shortening of the germination time, a scarification procedure is carried out. It consists in removing part of the seed coat to provide access to nutrients. This requires:
- Use a fine to medium grit sandpaper. It will help remove the surface layer without traumatic tears.
- Slowly rub the seed 2-3 times on the sandpaper with rotating movements.
How to prepare pelargonium seeds
 Pelargonium seeds
Red, white, fragrant or ampelous geraniums are suitable for growing at home. The seeds are harvested after the flowering period and allowed to ripen. A sign of seed readiness - brown color with a matte sheen. Choose large, oblong seeds, with small depressions on the sides, and a dense leathery shell.
Get rid of flattened, small, twisted, stained seeds. Healthy bushes are not made from such material. Planting material preparation rules:
- Store seeds where it is dry and dark, where insects and other pests cannot penetrate.
- Scarify the seeds: remove the shell from them to ensure unimpeded access of nutrients. Rub each seed with a fine to medium-grained sandpaper.
- Treat the seeds with phytohormones "Zircon" or "Epin".
- Soak the material for 20 minutes in a weak manganese solution to kill fungi and bacteria.
- Fill the seeds with warm water for 2-3 hours.
 Plant growth stimulants
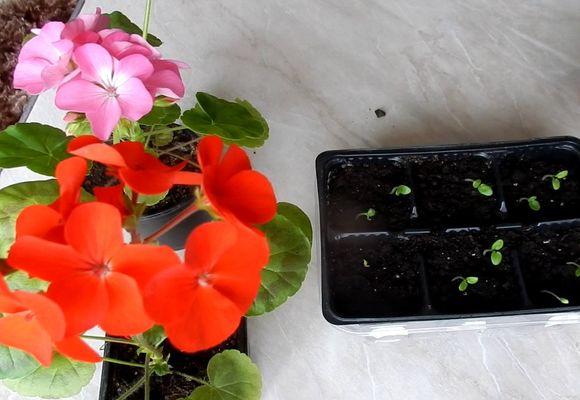
How to sow pelargonium at home with seeds for seedlings
Planting and caring for pelargonium seeds requires a little skill. The container is chosen depending on the amount of seed. If there is a lot of it, use a group container, if not enough, use individual containers.

Sow seeds in group containers or individual containers
Into containers
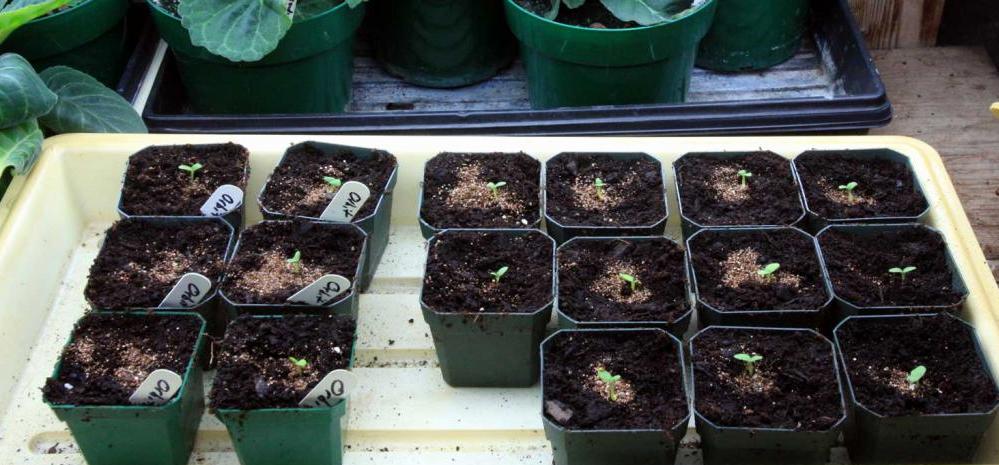
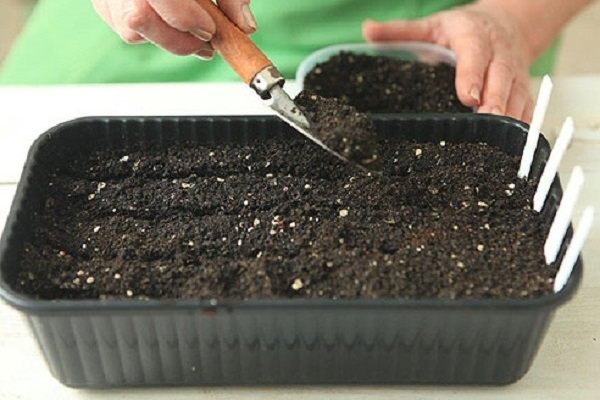
There must be drain holes in the container. When sowing, the following step-by-step actions are performed:
- The containers are filled with earth to a depth of 3-4 centimeters.
- Sprinkle with warm water.
- Seeds are placed on the surface at a distance of 2 centimeters from each other.
- They are covered with a small layer of substrate.
For quick germination of seeds, the container is covered with glass or foil. The mini-greenhouse is placed in a warm place. Covering material is removed, the container with crops is ventilated. This must be done to prevent the appearance of fungal diseases.
Note! Condensate must be wiped off the film and the walls of the container, otherwise pathogenic microorganisms may appear on them.
In peat tablets
If there is little seed, you can use individual containers made from natural materials. For example, it can be peat pots, which are filled with prepared substrate, and pelargonium seeds are planted in them.
Another option is peat tablets. They are sold compressed. To make them soak, they are placed in warm water for a few minutes. They are then squeezed slightly to remove excess fluid.
In each tablet you need to sow 1 seed, deepening it by no more than 1 centimeter. Planting material can be placed in a container and covered with glass or foil.
Using toilet paper
One of the simplest ways to get seedlings is to germinate seeds on toilet paper. The landing procedure is performed as follows:
- Cut a strip of polyethylene, on which toilet paper is laid.
- Spray with water from a spray bottle.
- Spread the seeds at a distance of 2-3 centimeters from each other.
- Cover them with a strip of toilet paper, which is then moistened.
- Lay out a strip of polyethylene.
The structure is rolled up. Water is poured into a bottle or a plastic glass to a level of 2-3 centimeters, then a snail with seeds is placed there. Cover the container. The first shoots will appear soon.
Propagation by cuttings
Even hybrid (F1) geraniums can be cuttings, they will bloom in the same way as the mother ones. But you won't be able to take seeds from them, the second generation hybrids (F2) will not bloom, like most plants, by the way.
The cuttings do not take root completely. For better rooting, I powdered the slice in Kornevin. Cutting should be done not in the warm season, but in late autumn. In the heat, the cuttings can simply rot, and in the spring there is a danger of cutting off all the buds, and it will turn out that the cuttings will bloom in the summer, and the main plant will only grow leaves.You can cut both lateral and apical cuttings about 8-12 cm long, less - it makes no sense - they will get sick with a black leg.
My grandmother, when she lived in the village, cut indoor geranium to the bottom leaves in the fall and took it to the cellar. In early spring, I took it out and put it on the windowsill. Many new leaves grew, and the bush took the form of a neat "hat".
25.11.15,
Nadia
Novosibirsk
beautifully flowering plants, summer cottages flowers for pots Others author's articles
- Poisonous indoor plants
- Budleya. Paradise for butterflies
- Lighting for flowers
(17/11/2017)
I tried to plant one geranium seed for testing not so long ago.
She rose so quickly and well, but after a few days she began to turn yellow. I put the roofing felts in a hot place (on the cupboard in the kitchen so that the sun does not shine on it too much), roofing felts I don’t know what. So my whole sprout turned yellow.
(27/11/2015)
It seems that I have not even seen them - terry. I had from white jo to dark, almost beetroot. But all are simple.
(27/11/2015)
Torero, I also want to try growing terry geraniums)
(26/11/2015)
I immediately wanted to force the whole window sill with blooming geraniums. I used to have it that way, and once we went on vacation for two weeks and the flowers left on the balcony with automatic watering were devoured by some aphid. It's on the seventh floor.
You just sparked a wave of nostalgia for geraniums 
Pros and cons of seed propagation of geraniums
Seed propagation of geraniums has many positive factors:
- the possibility of self-collection and preparation of seed material;
- method availability;
- seeds have a long shelf life;
- the possibility of obtaining flowering plants by early summer.
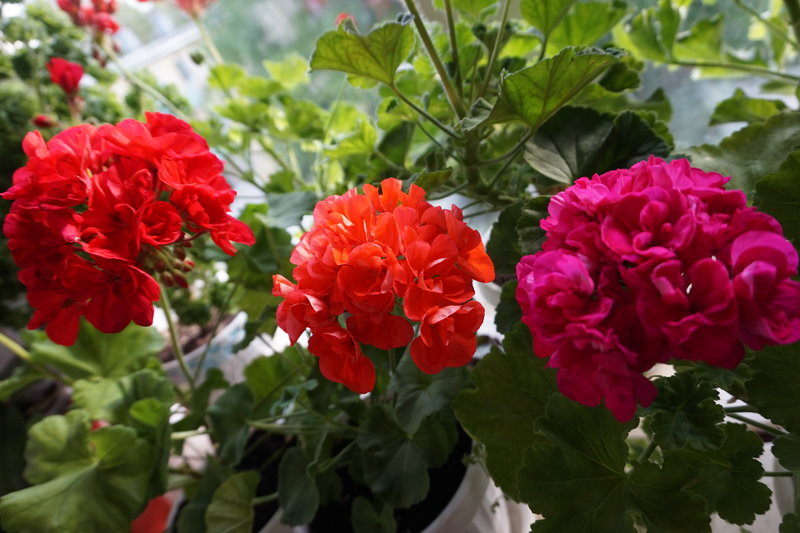
Geranium is a beautiful, unpretentious house plant
But there is one significant disadvantage of seed reproduction. With this method, the parental qualities declared in the variety description may not be transmitted. For example, the petals will not be double, the shape and size of the flowers will change.
Additional Information! Royal geranium, or Grandiflora, is one of the most beautiful varieties of pelargonium. It is distinguished by large flowers of various colors.


