Soil and container for cuttings
Many plants root well in water, you just need to put an activated charcoal tablet in the water so that the water does not spoil. It is advisable that the dishes with water are not transparent (dark glass, opaque plastic). It is necessary to monitor the purity of the water, change it if necessary. So you can achieve root growth in monstera, syngonium, scindapsus, epipremnum.
Other plants (ficuses, myrtles, hibiscus) can also give roots in water, but when cuttings are planted in the ground, the roots are replaced with new ones and the plants take a long time to get used to new conditions. In addition, the process of rooting in the ground is faster and less painless. Therefore, I prefer to root the cuttings in an earthen substrate. Successfully, with almost 90% yield, not only ficuses, hibiscus, but also myrtles, eugenias, metrosideros, callistemons, olives, plumbago, pomegranates and many others take root in it.
The soil should be taken depleted in organic matter - it is useless, an excess of organic matter will only cause decay. My substrate consists of 50% peat and 50% sand with the addition of crushed sphagnum. Sphagnum is added to lighten the soil, to increase the moisture capacity and to bind the substrate, so that when the rooted cuttings are transplanted to a permanent place, the clod of earth does not collapse
It is important that the substrate is sterilized. At home, you can steam the mixture in the microwave.
I steam in a large saucepan, on the bottom I put sifted and washed sand in a layer of several centimeters, on it peat, if necessary, on top of other substrate ingredients, steam a 10-liter pan on the stove for 40 minutes. During sterilization, all pathogenic micro- and macroorganisms are killed, weeds die.
However, it is possible to disinfect the sustrat without steaming, using the microbiological agents Shining or Vostok-EM1, using the technology for preparing the substrate for growing seedlings, described in the instructions for the preparations. For it needs a spare time more than 2 weeks, during which microorganisms multiply and suppress the pathogenic microflora present in the soil.
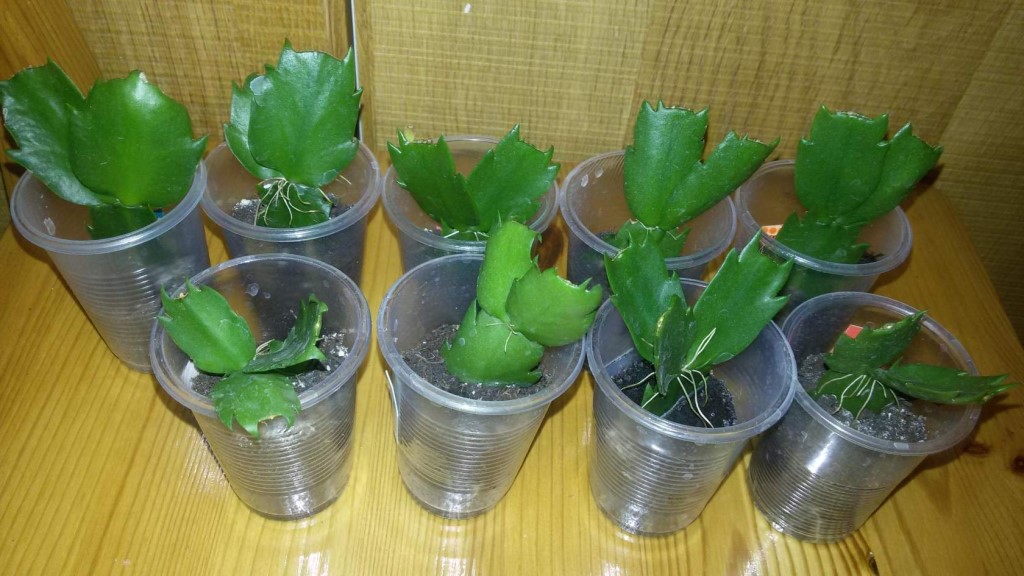
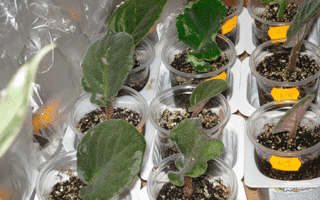
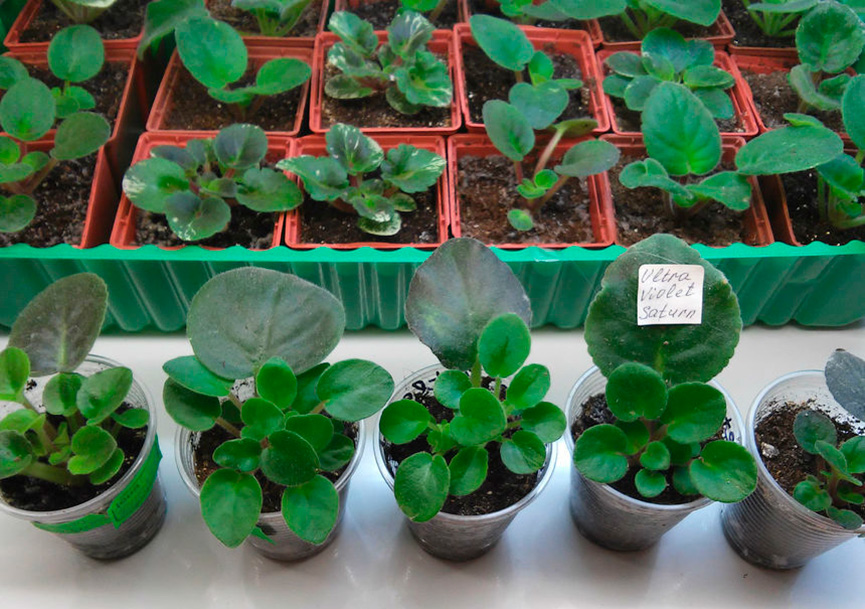
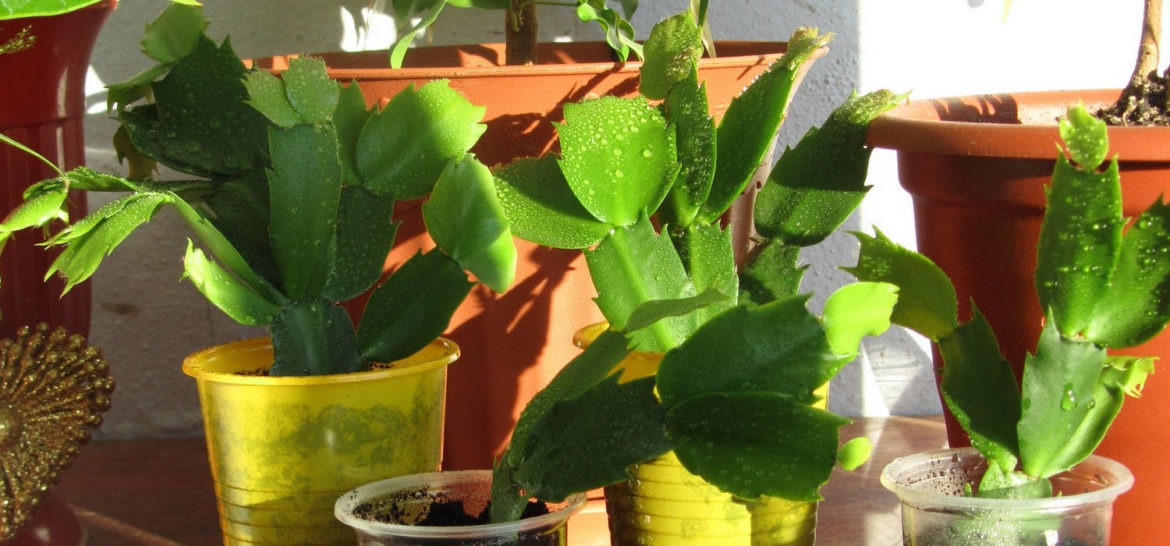
After that, I mix the sand, peat, add sphagnum, lay it out in transparent disposable cups, pre-cut off part of the bottom and walls with scissors to obtain drainage holes. Transparent dishes allow you to track the process of root formation - the roots are clearly visible, there is no need to disturb the plant. I take 200 ml cups for large-leaved cuttings and 100 ml for small-leaved ones. After the finished substrate is laid out in cups, I slightly soak it. The substrate should not be allowed to become too wet.
Possible breeding errors
Breeding orchids is not easy. Some irregularities during the breeding procedure can lead to unsatisfactory results.

Reproduction errors
The most common mistakes of inexperienced florists:
Introduction of infection. If you do not follow the rules for cutting cuttings, during the procedure, an infection can be introduced, which will lead to decay of the mother plant. To prevent this from happening, before cutting off the necessary parts of the flower, it is necessary to disinfect all cutting tools, and treat the branches with activated carbon powder.
Incorrect separation of children. It is necessary to separate the babies from the mother's flower very carefully. Otherwise, the risk of damage to the plant, and then death, increases. Before planting, you need to separate the children from the peduncles, otherwise, when the remaining part of the peduncle decays, they will also begin to rot.
Mistakes in the care of young flowers
It is especially important to comply with the norms of humidity, frequency of watering, temperature conditions and lighting. Orchid babies are less resistant to the external environment than adult plants
Improper care can destroy them.
Reproduction of orchids is a process that affects the development of a tropical flower, on which the future life and health of the plant depends. Proper care of young offspring will allow them to quickly go through the recovery period.
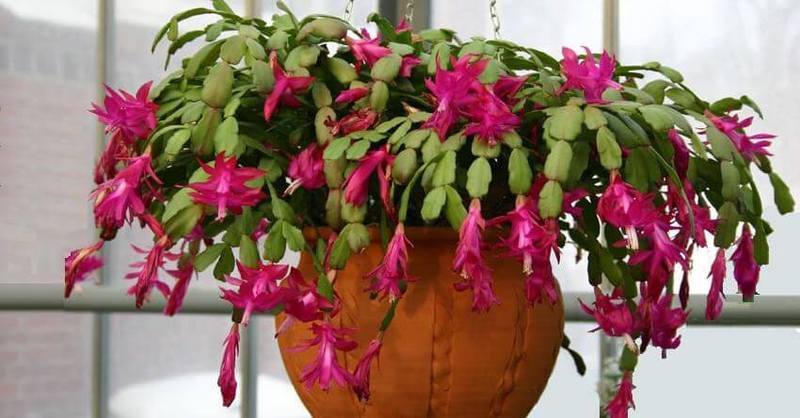
Propagating the Decembrist
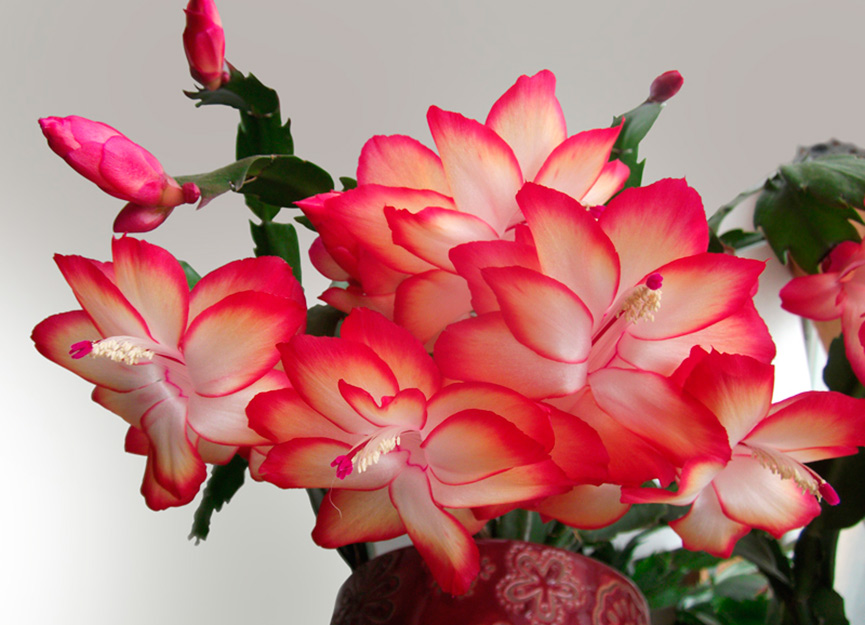
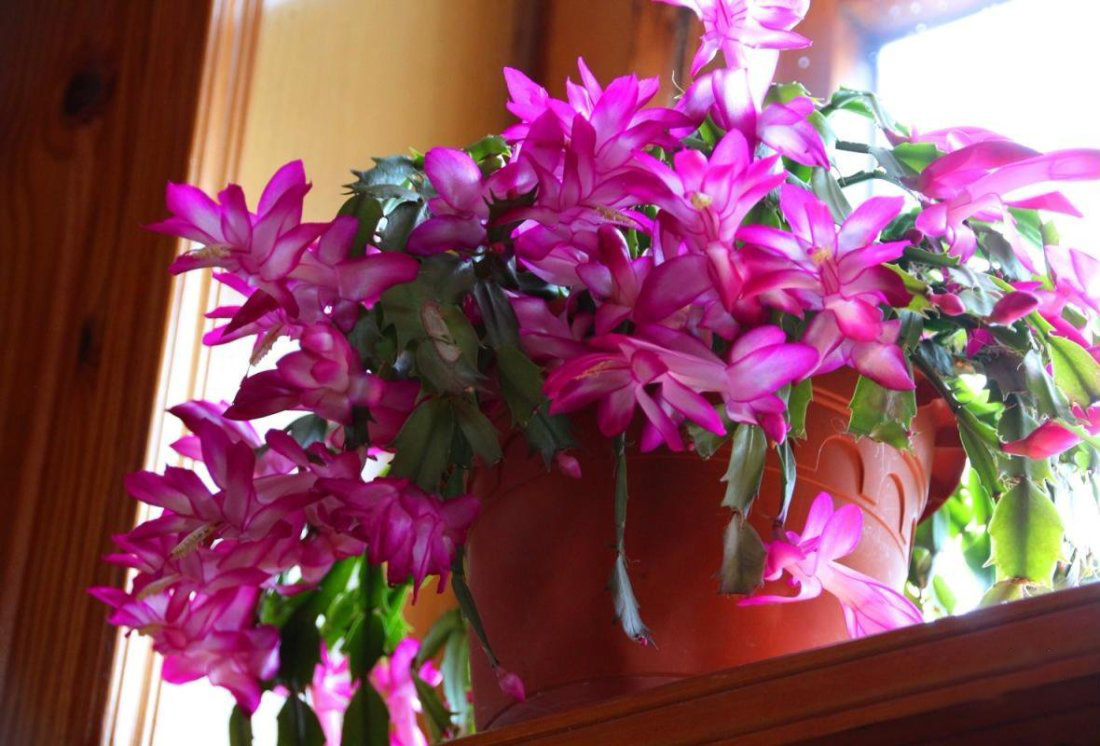
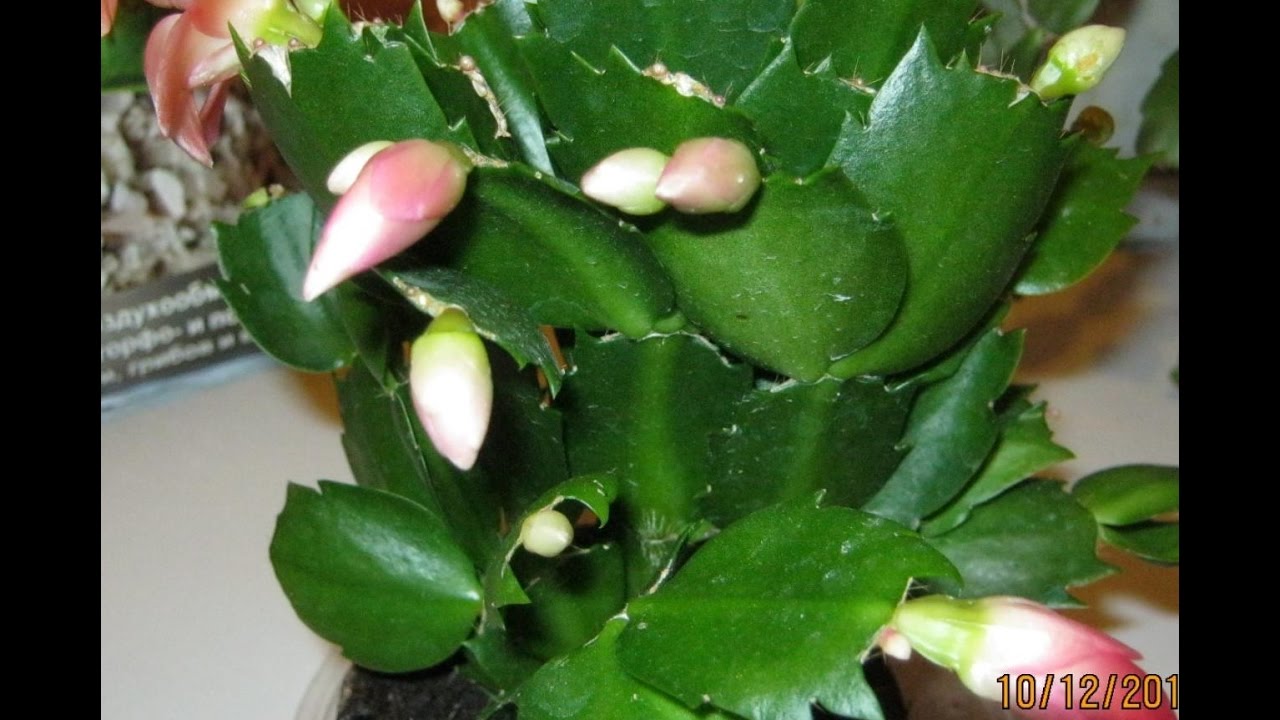
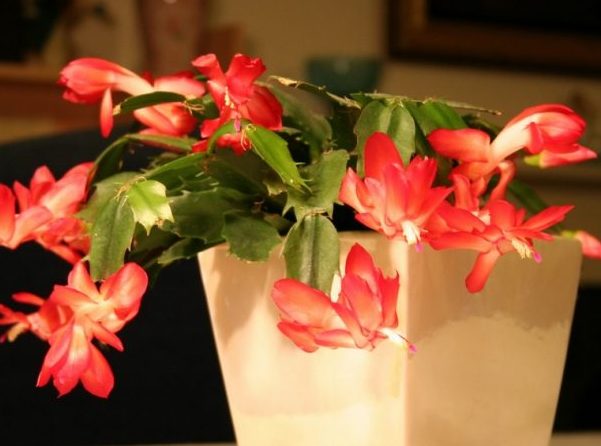
How does the Decembrist reproduce at home? Cuttings. Blooming Christmas tree in winter. By the spring, he begins a new growing season. This is the time for grafting.
It is best to separate the cuttings at the end of flowering. Schlumberger has air roots. For grafting, a stalk with a pair of shoots is found and unscrewed. Do not use a knife or scissors to separate the sprout.
The segment is taken with two fingers and slowly rotated. The escape will painlessly separate from the mother. After separation, the stalk needs to be dried. It is left in the air. The process lasts from two hours to two days.
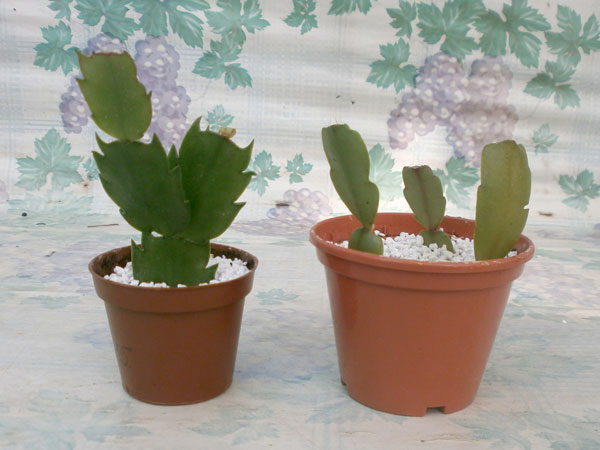
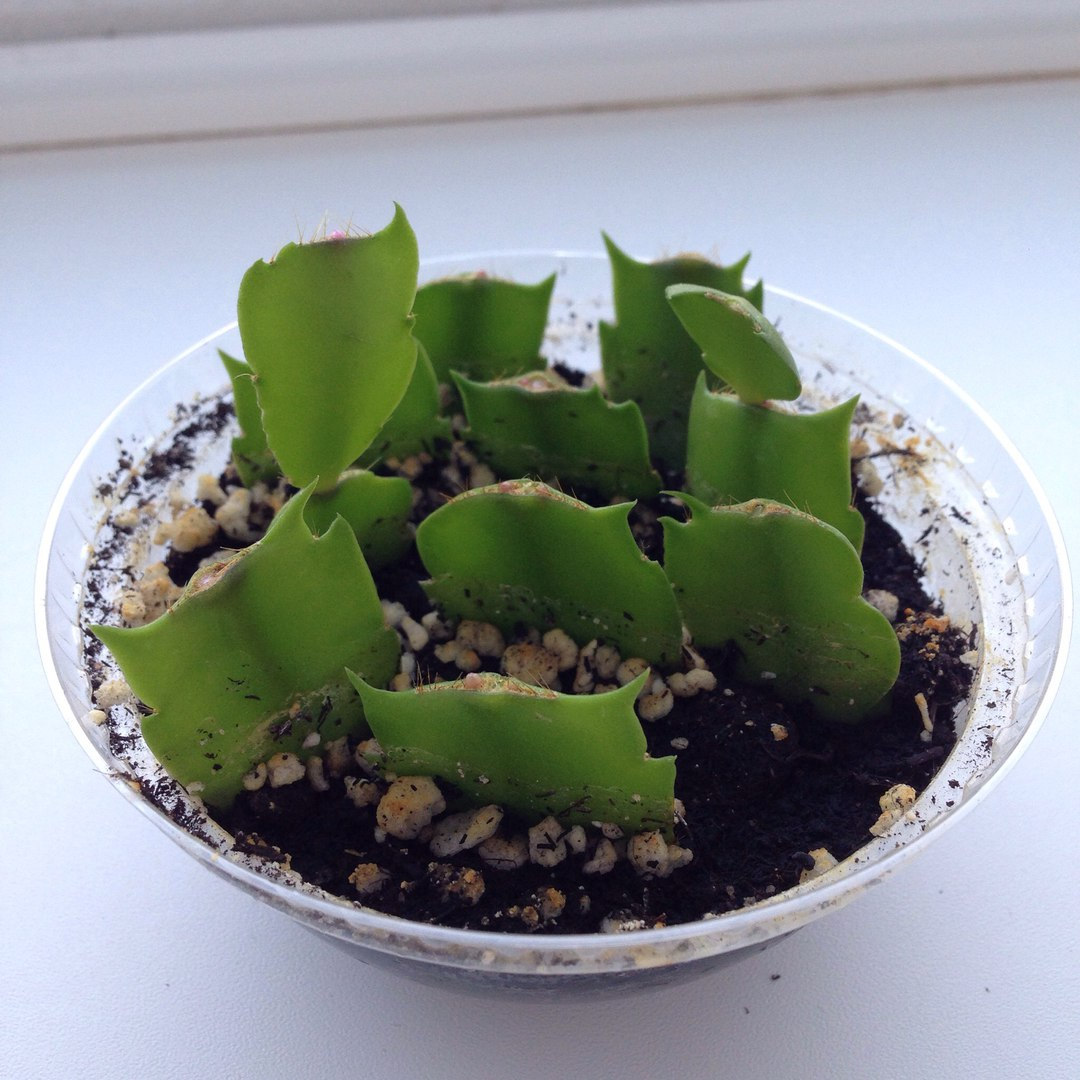
Attention should be paid how to root a stalk... The dried sprout should be planted in sand or its substitute, for example, in perlite. Having planted a shoot, they wait for the roots to appear
Having planted the shoot, they wait for the roots to appear.
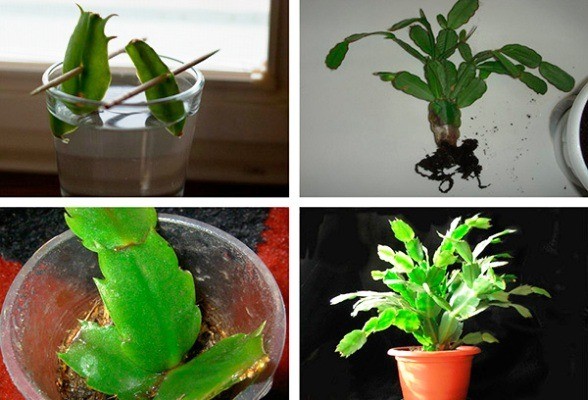
It is also permissible to stimulate root growth in water. Then you need to add root to the liquid - a means that accelerates the development of the root system. After about four weeks, a new segment will appear on the scion. The rooting went well, the cutting can be planted in the main soil.
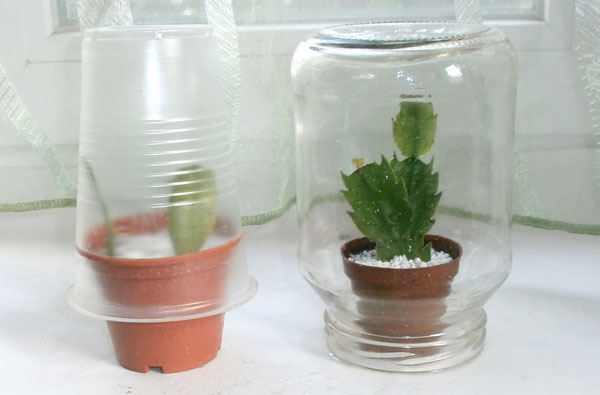
Reproduction of the Decembrist by cuttings is possible under banks. In this case, the shoots are immediately planted in the main soil, but covered with small transparent jars. A kind of greenhouse is formed on the windowsill. From the moment of planting to the emergence of the sprout from under the can, it takes about the same time as when planting in the sand. The signal of well-being will be the same new segment.
Reproduction by grafting
There are still ways how to propagate the Decembrist at home. This is a vaccination. Vaccination is rarely used. It is used mainly for the purpose of stamping - getting a new crown shape.
When propagating by grafting, the top of the flower, on which they are going to graft a new sprout, is cut off with a sharp knife. The remainder of the stem is split with the same knife. Get a small hole. A previously prepared Decembrist segment is inserted into the hole.
A segment should have several segments. The graft is tied with a thread or rewound with a strip of soft tissue. The bandage is left until new shoots appear on the grafted shoot.
After that, the dressing is no longer needed: it is removed, and the leaves growing close to the graft are removed from the mother's trunk. The grafted plant should be tied to a peg. This will help avoid breaking off.
How to propagate zygocactus by cuttings at home?
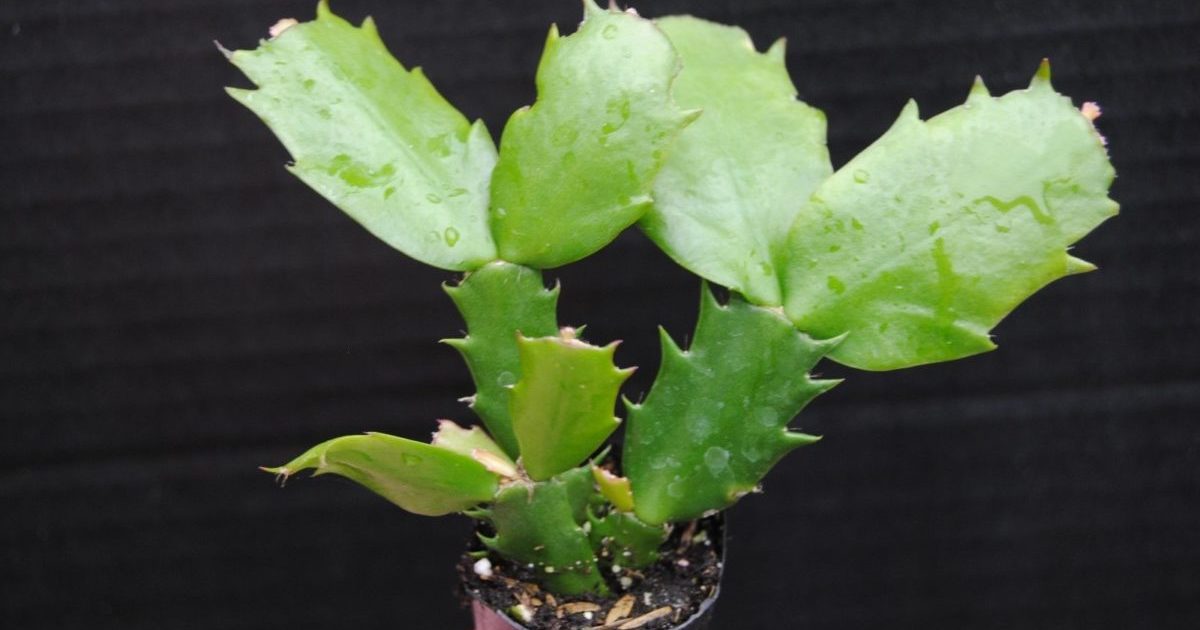
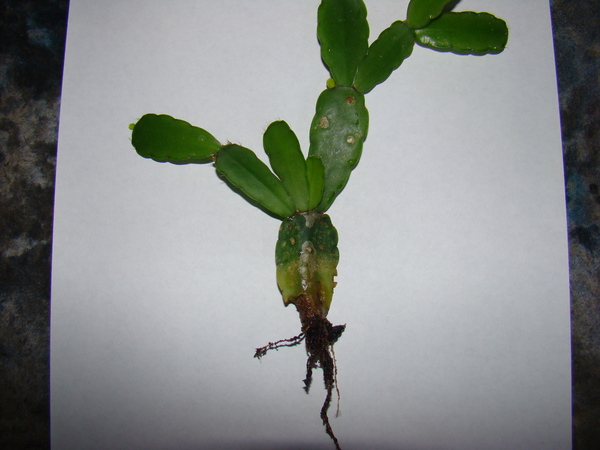
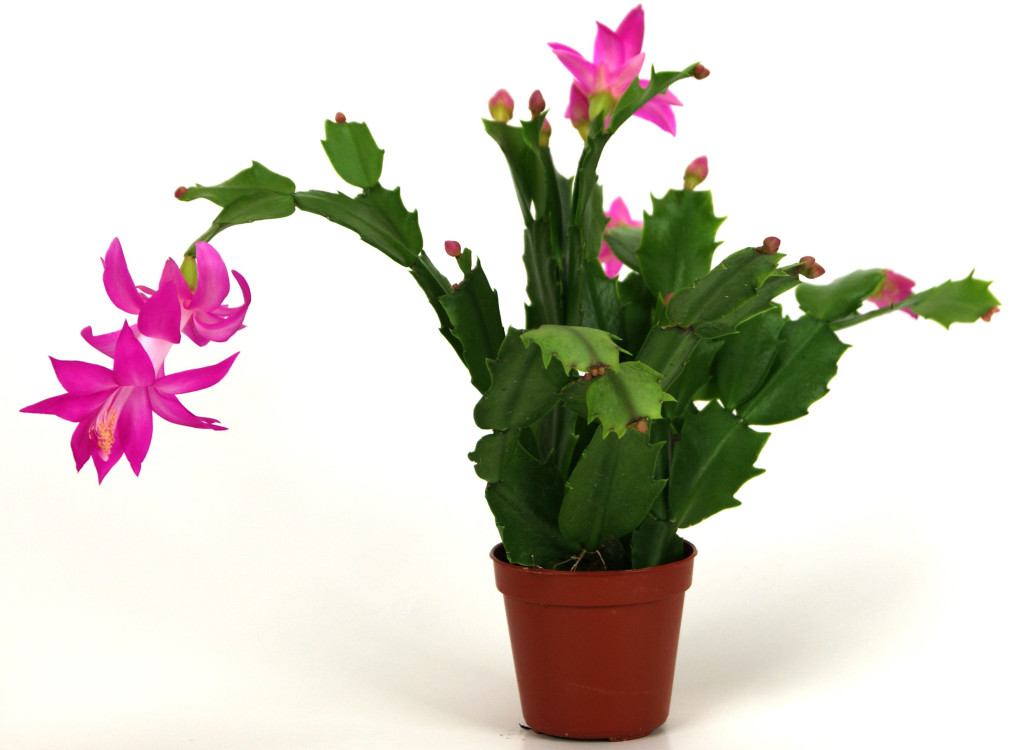
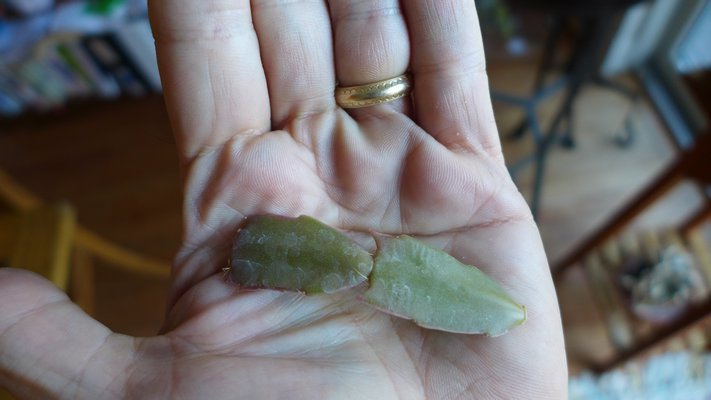
A feature of the zygocactus is its structure - the stems are alternately connected leaves (segments, segments). To get an intact stalk, gently pinch the adjacent segments with your fingers and rotate one of them slightly. It is allowed to use both the upper and middle parts of the shoot. It is best when the stalk consists of two or three segments, on which aerial roots have already formed.
How to root in the ground?
If a decision is made to carry out rooting in the soil, the sequence of actions is as follows:
- Preparing the cutting for planting. To do this, it is left in partial shade for two days to dry and form a film at the site of separation from the main plant.
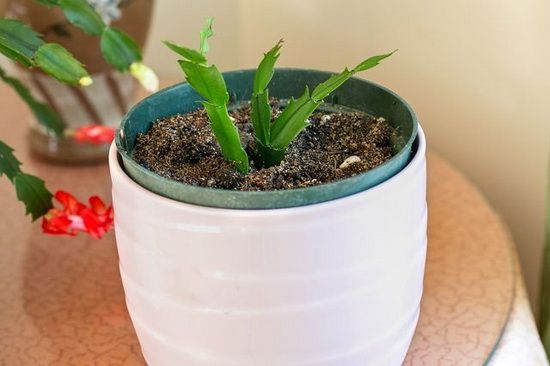
- The choice of capacity. A plastic cup is enough for one sprout, a small ceramic pot is better for several.
- Selection and preparation of the substrate.A layer providing drainage is laid out in the selected container (expanded clay, perlite, broken ceramics), a ready-made soil mixture for cacti is poured on top.
Reference! If you prepare the soil yourself, it should contain vermiculite, charcoal and leaf humus in a 1: 1: 2 ratio. The substrate should be moistened before planting the plant. - Processing the base of the cutting. The procedure is optional, but when applied, it speeds up the rooting process. It consists in treating the lower part of the sprout with a rooting agent.
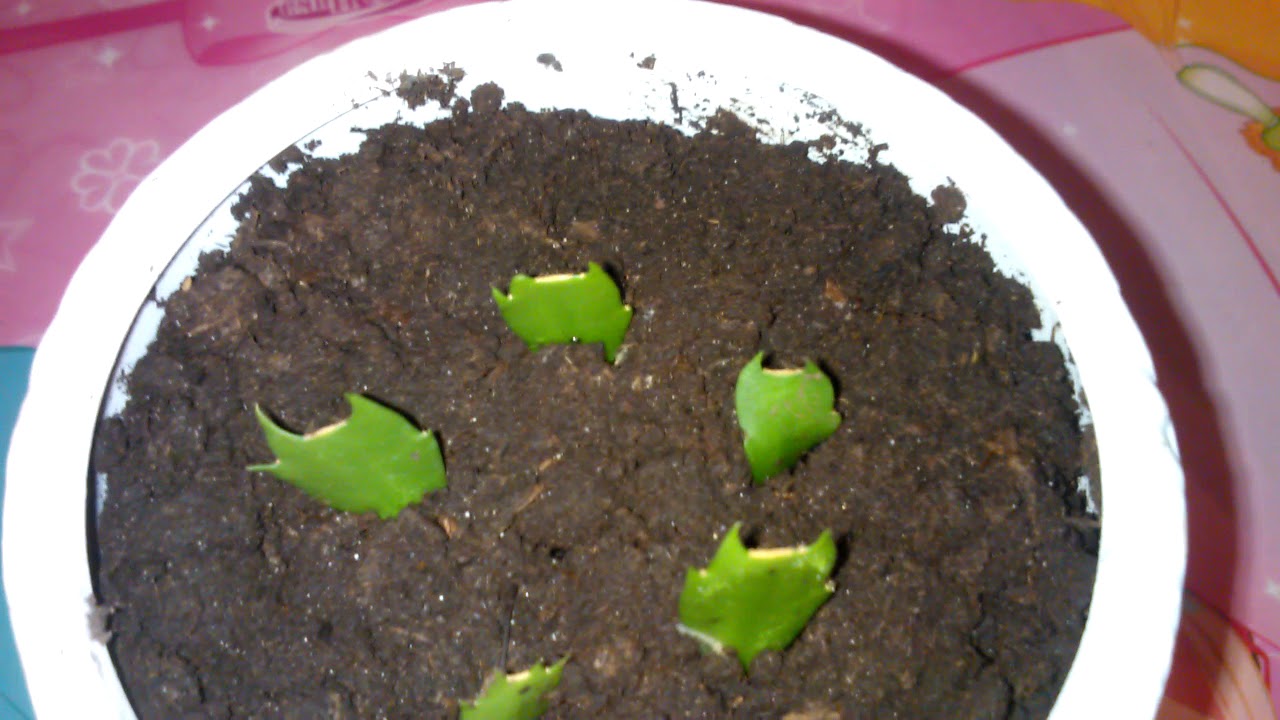
- Landing. The stalk is deepened into the prepared soil by 0.5-1 cm.
- Greenhouse creation and maintenance. The planted plant is covered with a film or glass jar to maintain greenhouse conditions and maintain the required humidity. Daily ventilation is required for 20-30 minutes.
- Location and temperature of the content. An area with diffused sunlight and a temperature of about 20⁰C is suitable.
If the procedure is followed, rooting takes place in 3-4 weeks, and its success is determined by the outlined points of growth on the cutting. From this point on, the greenhouse is removed and the plant is left alone for several months until the roots are visible in the drainage holes. Then the plant must be transplanted into a fresh substrate while preserving its own earthen coma in a slightly larger pot.
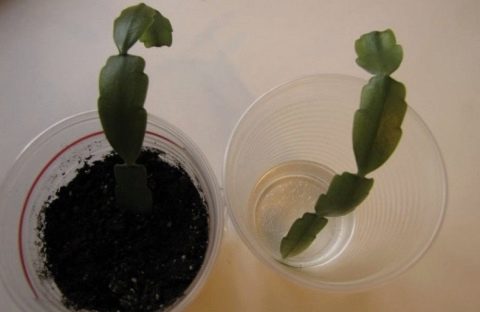
In water
The germination process in water is a little easier and consists of the following:
Leave tap water for about a day to settle and weather the chlorine. Make sure it is at room temperature before placing the scion in water.
Pour the prepared water into a glass or jar so that the liquid covers only one segment of the Schlumberger
As the water evaporates, add to the correct level.
Leave the zygocactus in a glass when temperature from 20 to 25 degrees Celsius in diffused sunlight.
Important! If the liquid becomes cloudy, acquires a yellowish tint or changes the structure to a viscous one, you should carefully rinse the cutting and put it in clean water.
When the roots have grown to a length of 15-20 mm, which will happen in about 2 weeks, transplant the Schlumberger into the prepared soil in a permanent place. The composition of the substrate is the same as when rooting in the ground or ready for cacti and succulents. It is better to take a ceramic pot itself.
For the superficial root system of a cactus, a small and low capacity is suitable for a third filled with expanded clay and on top with a layer of loose, slightly acidic soil.
When the first transplant is made after rooting, the plant needs gentle care.
For 1-1.5 weeks, it is removed to a slightly shaded place than usual, and watering is replaced by spraying. After this time, they return to the usual light and watering regime.
Schlumberger is a unique flower that does not fall into a dormant period during the cold season and delights with lush flowering when there is snow and frost outside the window. The combination of beauty and unpretentious care made it one of the favorite indoor plants for a large number of people.
If you are just going to start breeding it, carefully follow the recommendations of the article, and you can grow a beautiful healthy Christmas cactus on the first try.
Propagation of the Decembrist by cuttings
This is the most common way. The reason for this is the ease and almost 100% guarantee of the desired result. Although this method can be used to propagate a flower at any time of the year, the maximum effect is ensured precisely in the warm season.
The most suitable time for reproduction is considered to be the period from April to May, when the mother plant has already completely bloomed. It is necessary to find a process that is not very branched or with a small number of shoots. This will allow you to simultaneously take planting material and force the remaining branch to begin active growth.
For this procedure, you can choose any shoot that has two or three plot. Zygocactus should be carefully examined and healthy and strong parts with air roots should be selected. An excellent solution would be to select several cuttings at once, then the flower will turn out to be beautiful and lush.
It must be borne in mind that experienced florists do not advise taking shoots with piercing and cutting tools. You can spoil the planting material.
The branch, which it was decided to use for reproduction, must be taken directly at the base, slightly pressed and twisted around the axis until it comes off, remembering to hold the mother plant with your free hand. The procedure for removing the shoot should be performed carefully and carefully, otherwise the flower can be harmed. If suddenly on the mother plant nevertheless, significant damage has formed, they must be covered with soil in which the zygocactus grows. In addition to knowing how to choose the right stalk, you should study the information on how to plant the Decembrist's shoot.

There are two ways to prepare cuttings for growth. The essence of the first method is the mandatory drying of the appendage before planting. This option is more common and most effective. The stalk is placed in some container and attached to the place where:
- dry;
- dark;
- chilly.
Basically, the planting material is dried for three days. The fact that he is ready for planting is indicated by a thin film formed at the site of the break.
In the second version, the process is placed in water. It must be planted when the cutting has a very branched and strong root system. The rooting period can last up to two weeks. It must be borne in mind that the water into which the cutting is dipped must be taken:
- soft;
- clean;
- chlorine free.
Now we need to get acquainted with how to root the Decembrist. In order for the planting of the shoot to be successful, you should heed the following tips.
For the first time, small cups are suitable. They must be disinfected and washed well. Put a small layer of drainage material on the bottom, and fill the top with ordinary soil, which is based on peat with a small alkaline reaction. It needs to be watered before planting. Deepen the process vertically into the soil to half its length. It is necessary to organize greenhouse conditions, for which cover with cellophane or a jar. Put the newly planted plants in a darkened place where the temperature is 15-20 C, remembering to regularly ventilate and water. The soil should be neither dry nor too wet. As soon as young stems appear, the jar should be removed.
When the plant takes root, choose a small pot with more nutritious soil. You can buy it in a specialty store or make it yourself. The best soil consists of:
- six pieces of leafy land;
- four parts of humus;
- two parts of peat and sand;
- one part of the turf land.
This type of cactus grows best in peat-rich soil. Therefore, some growers prefer to grow a flower in pure peat. There are two conditions that apply to the substrate - breathability and lightness.
If you follow all the recommendations and carefully monitor the process, then flowers on the zygocactus may appear in the same year.
Suitable soil
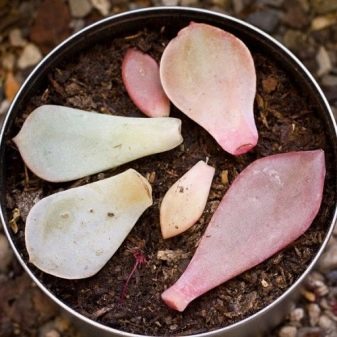
The easiest way is to purchase a ready-made soil mixture in the store, intended for indoor succulents or cactus. In addition to it, you will need river sand and material to form a drainage layer, most often expanded clay. Drainage is laid out in the first layer in the pot, followed by moistened soil and, finally, wet sand. Some growers add perlite to the existing ingredients.
Speaking about the soil, one cannot fail to mention the correctly selected container. It is more convenient to take a roomy and flat container where all the sprouts will fit.You do not need to choose a container that is too bulky, since in this case, succulents will begin to give all their strength to the formation of roots, and not to build up green mass. In this case, the development of the plant will slow down. The preferred materials for the pot are clay and plastic.

Possible problems and difficulties
Young spathiphyllums are extremely sensitive to the conditions in which they are found, in contrast to already mature plants.
- With a lack of lighting, the leaves of the plant will become dark green and elongated, and then it will stop developing altogether. Additional artificial lighting can be used.
- Young spathiphyllum in a draft can completely die, since low temperatures are not highly recommended for it.
- On newly formed leaves, dark spots may appear, signaling excess moisture or poorly prepared drainage layer.
- The lack of moisture will be followed by a very rapid wilting of the flower.
- Due to the low moisture level, the leaves of the plant may begin to dry out.
For a healthy adult plant, these assumptions will not do much harm, but for a newly propagated plant that is not adapted to a new environment, they can become destructive. Spathiphyllums obtained by propagation with the help of seeds are extremely sensitive to such errors.
Be that as it may, the reproduction of spathiphyllum is a laborious process that requires patience. For beginners, reproduction by dividing a bush or by cuttings is perfect, if you are especially careful, and for experienced flower growers who want to test their strength, seeds.
Before you buy spathiphyllum home, you need to familiarize yourself with it diseases and their treatment, it is advisable to learn about the species, as well as about the structure, benefits and harms, names and about the country of origin.
How does zygocactus reproduce?
Seeds
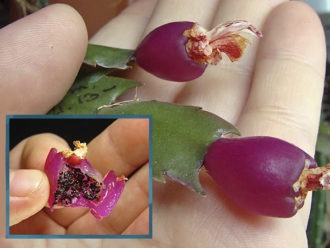
This method is not very popular and demanded. Some flower lovers are not even aware of this breeding method. The seeds can be purchased from the store or obtained from your plants yourself. But, this process requires a lot of time and effort, although the process is not technically difficult.
To get seeds, you need to pollinate two plants artificially:
- Using a soft brush, the pollen of one plant is transferred to the pistil of another.
- Then it remains to wait for fruiting.
- Once the seeds are received, they are washed in 3% peroxide or in a solution of potassium permanganate.
When buying in a store, you should know that the most viable seeds are those that are no more than a year old. The change is self-assembled, stored in a linen bag at room temperature and 50% humidity.
Before as sow seeds, they are heated at a temperature of 40-60 degrees for 2 days. Seed germination can be increased by soaking the planting material in a 1% sodium humate solution.
It is better to plant the planting in the spring on the surface of the soil, without sprinkling. The first shoots will appear in the third week. You need to water the seeds from a sprayer, with warm, settled water.
Sowing soil can be universal, to which sand is added, 50% of the volume. But you can put the seeds in clean, washed sand. To improve germination, you can build an impromptu greenhouse by covering the container with planting material with cling film. The main condition is to ventilate daily.
The dishes into which the seeds will be sown are preliminarily wiped with alcohol, and the sand or substrate is disinfected. The soil must be constantly moist, the air temperature is at least +25 degrees.
Cuttings
The first condition that should be observed when breeding a zygocactus is a healthy "mother" plant. The scion requirements are as follows:
- the plate to be deposited must not have any mechanical damage;
- there should be a high-quality turgor on the appendix;
- it is better to give preference to those segments on which air roots have already appeared.
After the stalk is selected, it should be prepared for planting as follows:
- The process should contain 2-3 segments. It must be carefully unscrewed from the mother branch, clockwise.
- As soon as the seedlings are ready, they are laid out on a napkin and left for 2 days in a dark place so that a thin protective film forms on the damaged area.
There are two ways of rooting, on the choice of which further actions depend.
In the ground
For this method, you should prepare:
- planter or disposable plastic cup;
- soil bought in a store or a substrate prepared on its own;
- material, in order to equip an impromptu greenhouse - it can be: cling film, plastic bag or glass jar.
- Pour one third of vermiculite or other drainage material into the bottom of the container.
- Then add the substrate until the pot is full.
- Moisten the ground well.
- Deepen the cutting by 5 cm.
If plastic cups are chosen as containers, then one cuttings are planted. You can plant several in a pot. To root the cuttings, you need to provide high humidity - cover the containers with cellophane or a jar.
The roots will appear faster if you dip the root cut in Kornevin before planting.
You need to air the plants every day for 40 minutes. Install a pot of seedlings in a warm, bright place. At first, it is necessary to water the cuttings only after the top layer of the earthen coma has dried, otherwise they can rot from high humidity without taking root.
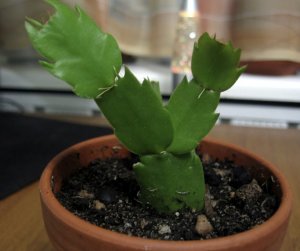
As soon as they begin to appear on the seedlings, new segments are - the plant has taken root and you can install the pots on the windowsill, and the film is removed.
In water
Before placing the cuttings for rooting in the water, it must stand for 24 hours to allow the chlorine to dissipate. They take long processes of the Decembrist, since 1 segment is lowered into the water. The water in the glass must be maintained exactly in this volume, and top up if necessary.
The water in the glass is changed as it becomes cloudy, after about 1-2 weeks roots will appear, which will immediately become wine through the transparent walls.
A few drops of "Kornevin" added to the water will help to get the roots faster. As soon as the roots grow 2 cm, you can start planting a young plant.
How spathiphyllum reproduces in vivo
How does the spathiphyllum flower reproduce? It is interesting to learn about this process in natural conditions. The native land of the plant is South America, it is also present in the tropics of Asia, the Philippines, and Central America. It is located in the shade of large trees and along swampy river banks. Wildlife reveals dozens of species, differing in size and color of the petal (sails). In home floriculture, only white specimens with endurance take root.
For successful reproduction with rosettes and seeds, the plant needs not so much light and temperature (from 15 to 32 degrees), but sufficient humidity of the environment, as well as the absence of drafts and cooling of the soil. Reproduction by seeds is practically possible only in nature, when they immediately fall into a favorable environment for germination. The vegetative method (cuttings, rosettes) is also possible indoors with significant root growth.

