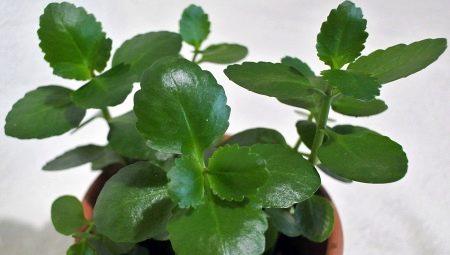
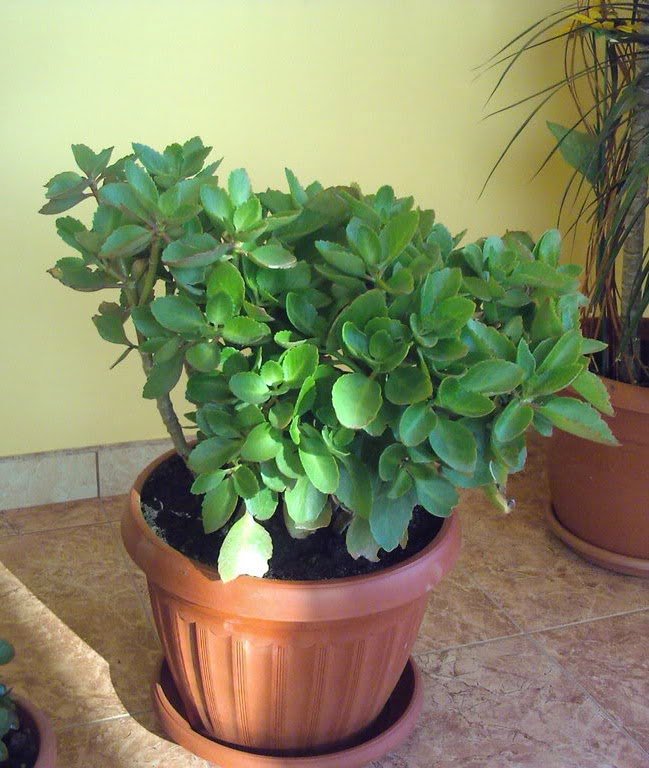
How to pick a good Kalanchoe flower in a store
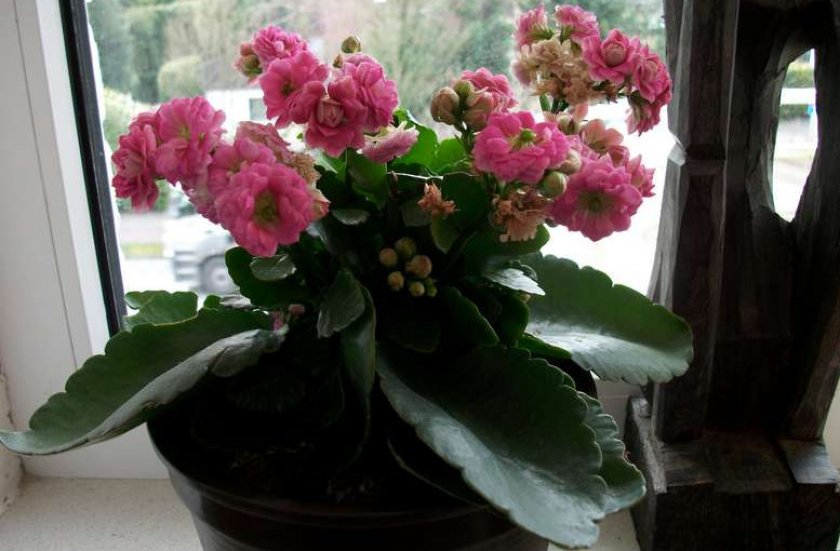
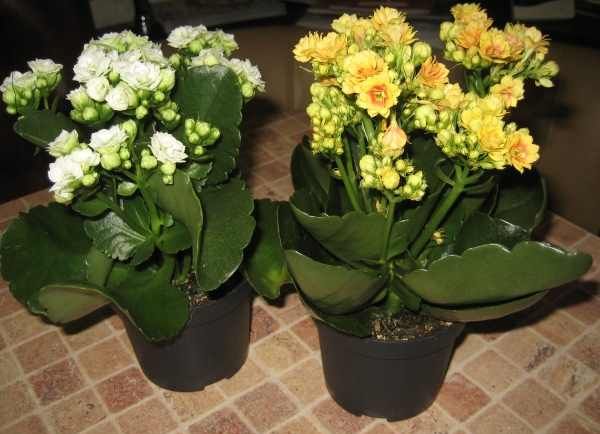
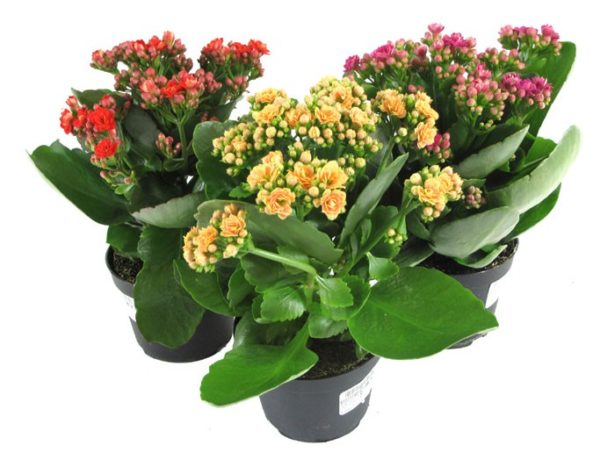
Most often, on store shelves, you can find Blossfeld's Kalanchoe of different shades (Mix or Kalandiva), as well as Degremona's Kalanchoe bryophyllum (known as viviparous). The second one does not bloom, but is valued for its decorative and medicinal properties.

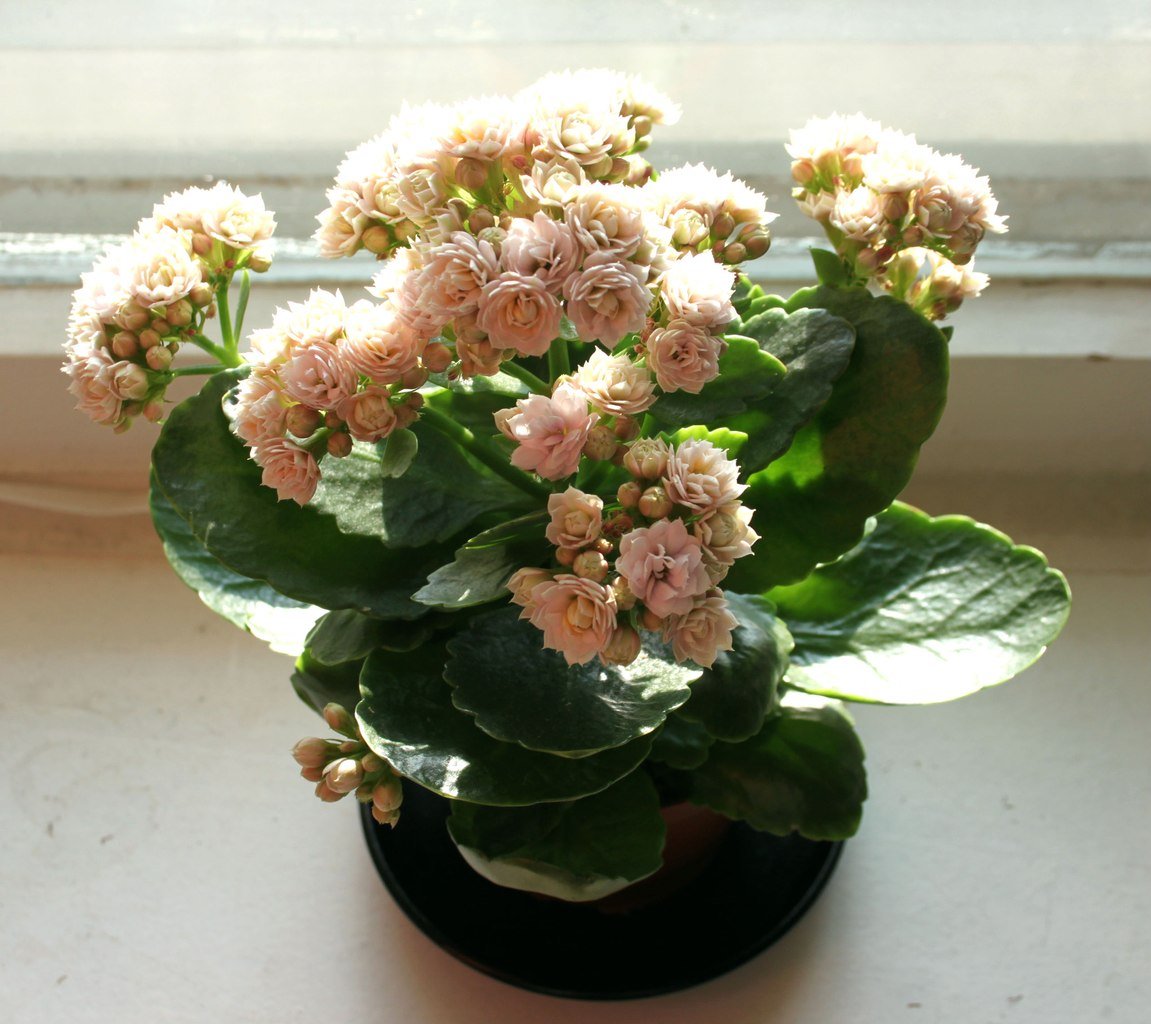
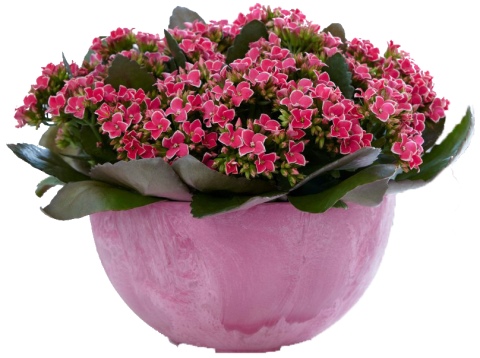
Kalanchoe Blossfeld
Note! The most successful time to purchase is December, when the season of mass flowering of Kalanchoe begins.

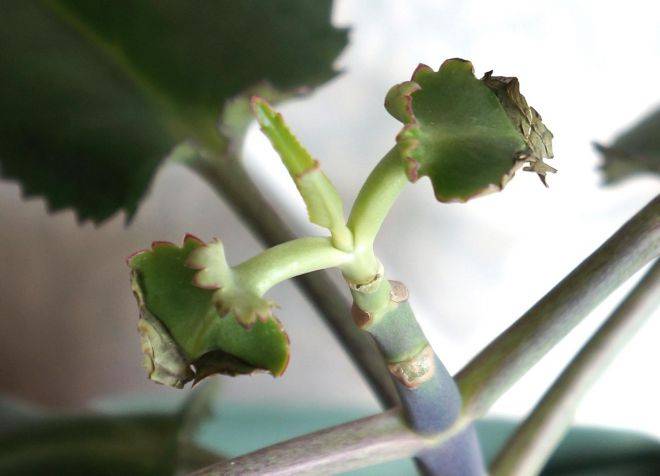
Kalanchoe bryophyllum Degremona
When choosing a plant in a garden store, you should pay attention to its condition. You should refuse to buy a sick copy right away.
The health of a plant can be judged by its appearance:
- Leaves. To the touch, each leaf should be elastic, juicy, without signs of wilting. Warning signs: yellow or brown spots, gray bloom, as well as a large distance between the leaves (this happens due to lack of light).
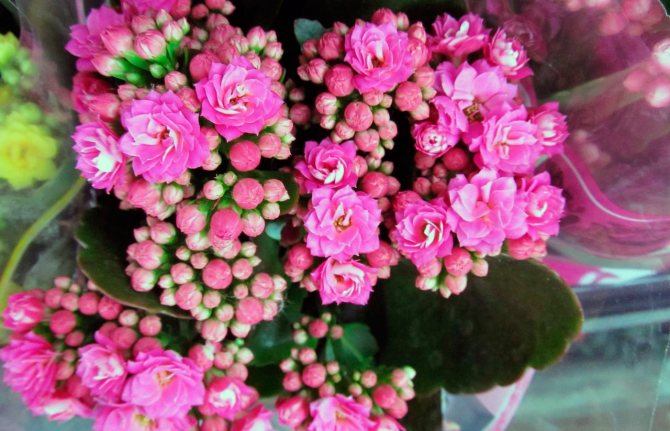
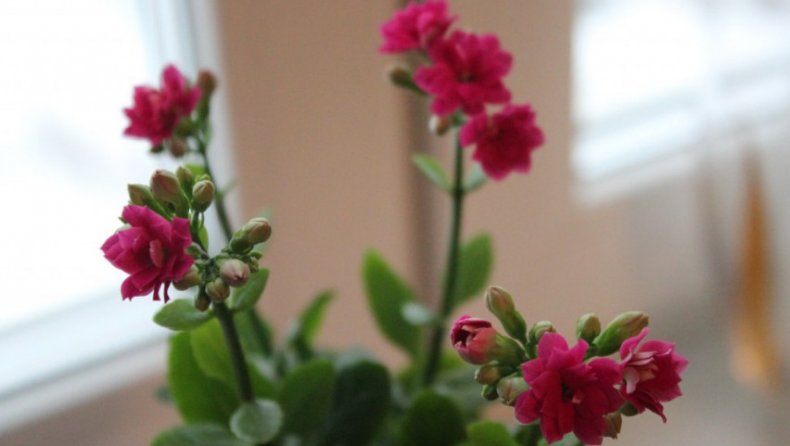
- Buds and flowers. It is best to buy Kalanchoe in the stage of unblown buds. In this case, you can enjoy the beauty of gradually blooming flowers for at least a month. If all the buds have already opened, then soon the plant will go into a dormant state.
- Diseases. Their presence can be judged by weeping spots on the leaves, as well as by an unpleasant putrid smell.
- Pests. It is worth carefully examining the leaves from all sides. Often scabbards, aphids and spider mites hide on the reverse side, but they are easy to detect by damage: scratches, growths, bloom, spots.
When a flower needs a transplant
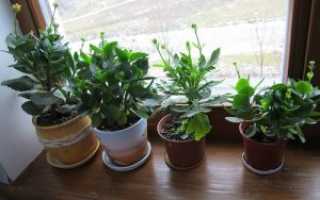
In order for a healthy and strong Kalanchoe to grow, home care after purchase should begin with choosing a suitable place for it (light, but not on the south window). But you can put it in a permanent place only after compulsory aging for two weeks in quarantine, away from other domestic plants.
Usually flowers in stores are sold in shipping containers filled with nutrient-poor soil or peat. This is the main reason why plants need to be transplanted into a new sturdy pot and nutritious soil.

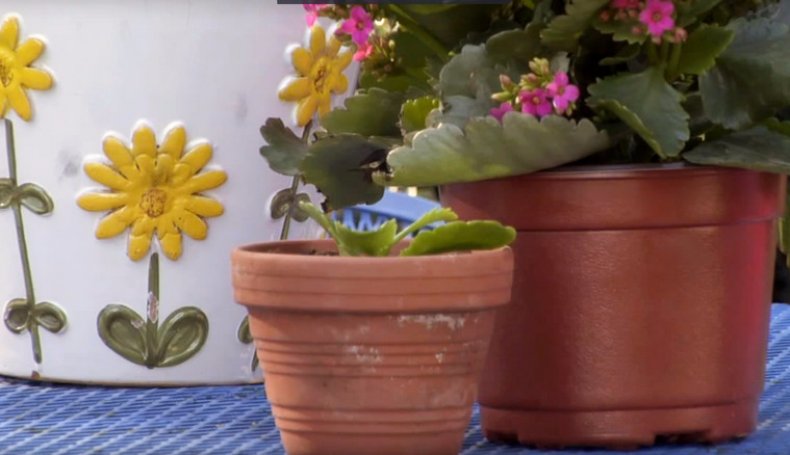
Often, store containers do not match the size of the flower itself
Can I transplant during flowering
The transplant can be carried out a week after the plant is delivered to the house. During this period, the succulent is acclimatized to changed lighting, temperature conditions, and air humidity. If the Kalanchoe is already blooming and the soil in its pot is not bad, then you can wait until all the buds wither.
Note! Faded inflorescences must be cut off along with the first lower pair of leaves. This is done so that the Kalanchoe, which has bloomed, does not waste its energy trying to set seeds.
How to plant at home?
Kalanchoe flowers are large and beautiful, they can become a worthy decoration of the interior, as well as benefit in the treatment of certain diseases in humans and animals. They come in white, pink and red.
The stem is as thick as the leaves. The plant does not require special care and belongs to the succulent family. It must be transplanted periodically, as this improves nutrition, increases the amount of air supplied to the roots and, if painful processes have started, saves the plant from death.
Landing Kalanchoe at home should be done in this order
- Prepare the pot.
- The plant, if you take it out of an old pot, must be pre-watered.
- Tilt the pot on its side and knock on the sides, and then with a quick movement pull the pot and release the roots of the flower.
- If there is rot or any sore spots on the root system, carefully trim it off.
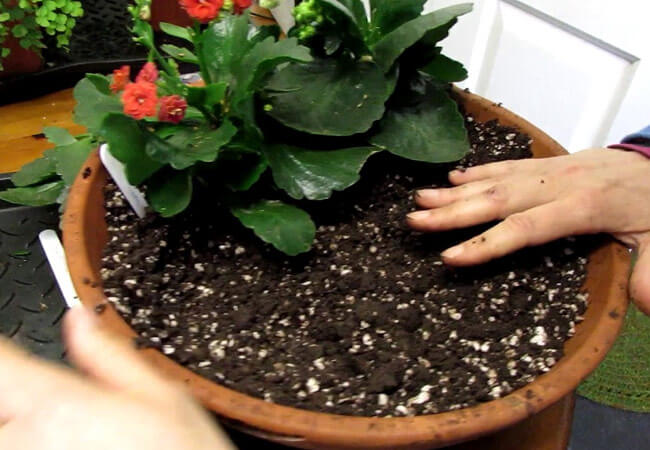
- Place the plant in a pot. The root collar should be at the same level as the soil. The edge of the pot should be 2-3 cm above it.
- Additionally sprinkle everything with soil, tamp and fill with water.
- At the last stage, it is worth sprinkling everything with a small layer of pebbles.
If you want to plant a Kalanchoe shoot, then use the following instructions:
- Place the scion in water and wait for the roots to appear.
- Plant it in the same way as a purchased plant.
- Water liberally.
- Cover the shoot with a glass jar to speed up the growth of the shoot to the size of an adult plant.
Pot selection
The pot in which they are going to grow is better to choose a deep and wide diameter.
The material for the manufacture must be natural so that the plant can breathe. Place a drainage layer at the bottom, consisting of expanded clay, clay. Moreover, the materials of this layer should not be toxic. The drainage layer should be about one quarter of the height of the pot in height.
Selection and preparation of soil
Before planting a plant, you need to choose the right soil. When buying, consult the seller about what kind of soil you need to choose. However, it is worth remembering some of the features of this plant.
Important! Kalanchoe develops poorly in an acidic environment, it may even die, so add a little lime to the soil mixture.
If you don't want to bother, just buy a ready-made succulent soil mix. If possible, make the mixture yourself: mix humus, coarse sand and earth in equal proportions.
Plant foliage
Moisten the soil and cut off the Kalanchoe leaf, then place it in the ground. To ensure high humidity, cover the plant with a glass cover on top. Within a few days, the leaf will begin to strengthen and will be ready for a full-fledged transplant.
Video about the reproduction of Kalanchoe foliage:
Cuts of doom
This look is similar to the previous one, but remember that already dried leaves are not suitable. Take a fallen leaf, place it in a glass of water and wait until small roots appear on the leaf. Then repeat the same steps as with the regular detached leaflet. If you see drying leaves, cut them yourself and repeat the propagation process as for a fresh leaf.
Plant a scion
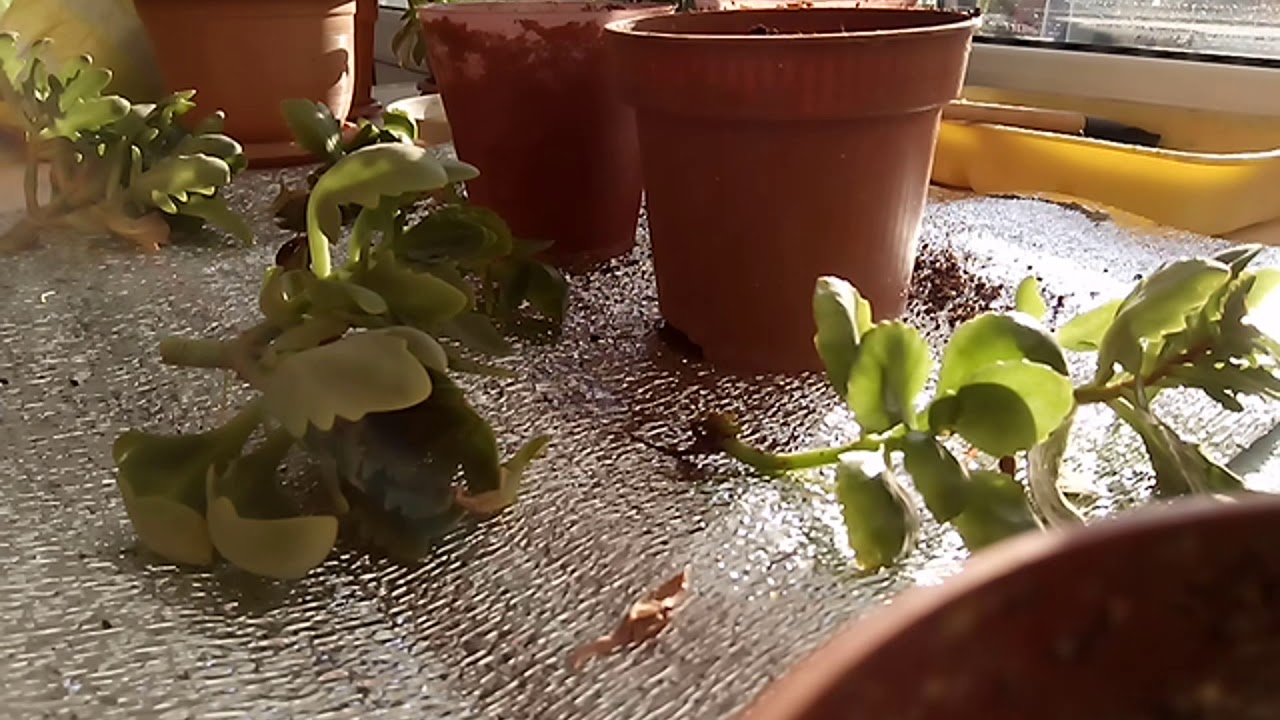
Cuttings are small shoots that a plant gives. Their length should be about 12 cm. Use the shoots from the top, as they are more developed. There are 2 ways to reproduce them:
- Priming. Dry the cutting within 24 hours. Remove various leaf blades from the bottom of the shoot, then place the shoot in a hole, the depth of which should be at least 5 cm. Moisten the soil beforehand. Wait for rooting week 3.
- In water, the process occurs in the same way as for soil. However, when placing the cuttings in the water, do not allow too much water. Do not place the stalk in water on a windowsill: sunlight can harm the shoot. After 3 weeks, plant the cuttings in the ground.
Video about planting Kalanchoe cuttings:
Seed propagation
With the help of seeds, it is possible to grow those types of Kalanchoe that are considered rare and are not found on the market as often as the traditional types of this plant. To begin with, prepare the soil, which should be peat-sandy. Then seeds are scattered on the surface of the earth, after which everything is covered with glass.
When is the best time to replant plants
In order to find out when to transplant indoor flowers and whether there is a need for this, you should look at a couple of external factors that can manifest themselves if the plant already needs a transplant.

Indoor plant transplant process
It is worth paying attention to:
- The soil dries out too quickly after watering.This indicates that the root system has grown very much and a larger capacity is needed.
- Drainage holes - If roots are poking out through them, this is a sign that a larger pot is needed.
- Lack of growth or its strong deceleration.
- The appearance of diseases in a plant.
- Deterioration of the soil quality in the pot.
- Depressive condition of the root system.
It is important to remember that plants are best transplanted at certain times, otherwise there is a risk of damaging the flower. For example, it is worthwhile to change the soil for recently purchased plants, but not immediately after purchase, but after a couple of weeks or a month
Because the plant has already experienced a lot of stress and climate change.
For example, it is worth changing the soil for recently purchased plants, but not immediately after purchase, but after a couple of weeks or a month. Because the plant has already experienced a lot of stress and climate change.
Attention! When buying a plant, it is necessary to allow the representative of the flora to adapt a little to the conditions surrounding him and only after that carry out the transplant
When can you transplant indoor flowers by the seasons
As for the right time of year for transplanting, representatives of botanical sciences recommend replanting plants in mid-spring, that is, at the end of March, in April, or at the beginning of May. Winter is the most unfavorable time of the year for soil renewal. In no case should you transplant flowers in January or December; in February, the procedure is carried out in exceptional cases.
Also, you should not engage in soil renewal if the plant begins to bloom (as a rule, this happens in the summer, in June or July), it is better to postpone this matter for later.
Experts advise adhering to a specific plant transplant cycle, as follows:
- Long-lived flowers should be transplanted at least 1 time over 2 years.
- Indoor plants are quite unpretentious and require transplanting every 3 years.
- Well, cacti and their cousins can be in the same container for more than 5 years.
For full compliance with all the nuances, you can also resort to the lunar calendar. After all, plants are very whimsical creatures and perceive any external influences.

The lunar calendar for May 2020 will tell you favorable days for transplants
Frequent mistakes
When transplanting Kalanchoe, you can make some mistakes that will complicate the further care of the plant.
In this case, it is important to correct them in time so as not to harm the flower. One common mistake is using an oversized pot.
As a result of the wrong choice of capacity, the Kalanchoe will grow strongly in different directions and stop blooming. To solve this problem, you can plant several Kalanchoe shoots in the pot. However, with further transplanting, it is recommended to distribute the flowers in different pots.
The lack of flowering may indicate improper care after transplantation. First of all, this may be due to excessive feeding of the Kalanchoe, so the amount of fertilizer will need to be reduced.
Often during transplantation, the root system of the Kalanchoe is damaged. You can understand this by the appearance of the flower - the leaves begin to fade and turn yellow. In this case, it is necessary to follow all the rules for caring for the plant and give the roots some time to adapt and grow.

For information on how and when to transplant Kalanchoe, see the next video.

Kalanchoe is distinguished by its rapid growth, bright color of flowers and rather high resistance to diseases
When purchasing this plant, it is very important to know what kind of care you need after purchase. Competent content is the basis for healthy development and lush flowering of Kalanchoe
In our article, we will talk in detail about how to choose the right healthy flower in the store. We will also consider what kind of care this beautiful plant needs at home.We also recommend watching a useful and interesting video on this topic.
Transplant features
An unpretentious flower to care for, the kolanchoe needs an annual transplant. This is due to the rapid growth of the plant. When buying a flower from a market or flower shop, be sure to inspect the plant. Yellow, delicate leaves are evidence of some kind of disease or pest infestation.
At home, if there are other indoor flowers, keep the newly purchased plant in sanitary isolation for 5-7 days.
Check again for pests and diseases, and only then proceed with the transplant. A transplant after purchase is necessary to change the unsuitable soil and create more comfortable conditions for the flower for growth and development.

Photo: Kalanchoe
Preparatory work
Before proceeding with a flower transplant, it is necessary to carry out preparatory work, including:
- wash thoroughly with soap (not washing powder) and disinfect the old dishes, just keep the new one in boiling water for 1-2 hours. The disinfector is a dark pink solution of potassium permanganate or a 1-2% solution of copper sulfate;
- choose the size of the pot. A new pot is correctly selected if the old one fits tightly into it or its diameter is 1.5-2.0 cm larger than the previous one;
- prepare and lay on the bottom of the pot drainage from clay shards, expanded clay and coarse sand. The drainage layer should be 1/4 of the height of the container, since the roots of the Kalanchoe do not tolerate flooding after watering;
- prepare potting mix or buy ready-made at a flower shop. For self-preparation, mix 4 parts peat, 2 parts turf with 1 part sand. For 1 kg of the mixture, add 10-15 g of superphosphate;
- put drainage on the bottom of the pot, on top of a layer of soil mixture and slightly compact it, then form a tubercle in the center, along which you place the plant's root system.
Kalanchoe care after transplant
Care for a succulent plant before and after transplanting should be the same. The most suitable air temperature for him in the summer is within +23 .. + 25 ° С. In winter, the temperature is lowered, but not much. The admissible minimum temperature is +10 .. + 12 ° С.

Kalanchoe fit the same conditions as violets, catharanthus, cyclamen, so they can be placed next to
The Kalanchoe needs a lot of light all year round. The best place for it is on the eastern or western windows, but in the northern regions it is also displayed on the southern window sills. Optimal is to create bright and diffused lighting, preventing direct sunlight from falling on the leaves.
During the entire period between flowering, the duration of daylight hours should be 12 hours. If necessary, arrange artificial lighting.
Advice! When a succulent begins to prepare for flowering, this usually happens in November, the daylight hours for it are artificially reduced to 4-5 hours a day.
To shorten daylight hours, lightproof caps are used, which cover the pot from 3 pm to 9 am. When performing this technique, the buds will appear in exactly 30 days.
The first time the transplanted plant should be fed only after 3-4 weeks. Fresh soil has enough nutrients for active growth. It is more dangerous for injured roots to get an excess of fertilizers than to be left without them. Flowering varieties have a greater need for feeding than decorative leafy ones.
Complex mineral preparations have proven themselves well:
- Agricola for Cacti and Succulents. Liquid detergent in a canister. Formula nitrogen-phosphorus-potassium (NPK) 3: 6: 5.
- Bona Forte for cacti and succulents. Liquid concentrate enriched with succinic acid and magnesium, which is ideal for feeding flowering Kalanchoe species.
Note! It is impossible to feed varieties with variegated (colored) leaves with organic fertilizers, since because of this the spots disappear and the leaf becomes an even green color.The rest can be given organic matter, for example, the infusion of bird droppings is diluted in a proportion of 1 hour
l. means for 1 liter of water.
In the warm season, fertilizing is combined with watering, adding fertilizer to the water every 2 weeks. It is imperative to follow the manufacturer's recommendation on the fertilizer packaging for diluting the product in order to avoid overdose and chemical burns of the plant.
They are guided by the principle: less is better. An excess of nutrients stimulates leaf growth, at the expense of flower formation. In winter, decorative leafy Kalanchoe species are usually not fed, and flowering ones - once a month.
How to properly water a transplanted plant
Only after transplanting, the first watering is carried out after 4 days. The rest of the time, the Kalanchoe must be watered regularly.
At the same time, it is important to do this so that the soil is wetted evenly, and the excess flows into the pan (this water is immediately drained)
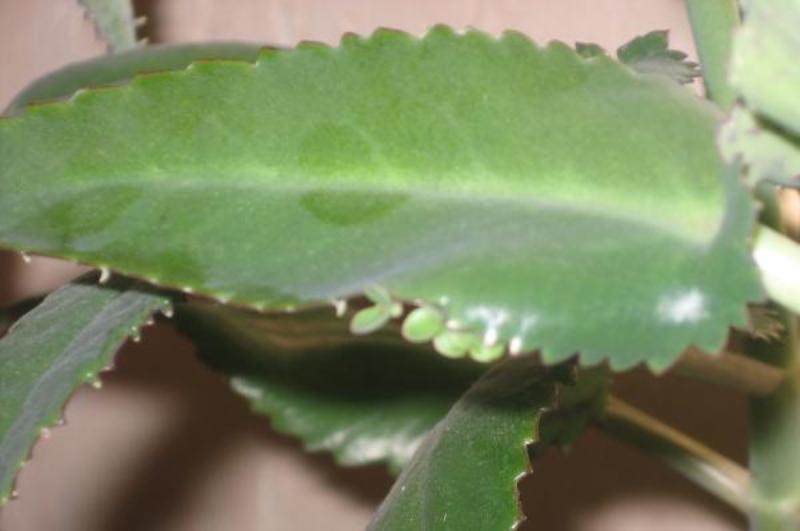
Dust easily accumulates on smooth leaves
- In the warm season, one watering per week is enough.
- In winter, watering is reduced to 1-2 times a month for non-flowering ones, and flowering ones are watered as the soil dries in the pot.
In the hot months, it is useful to carry out a hygienic shower: the foliage is sprayed from a fine spray bottle, and then immediately wipe the water droplets with dust with a paper napkin. It is not necessary to wipe after spraying only those Kalanchoe species in which the leaves are down, and species with a fringe do not need to be sprayed at all.

Kalanchoe schizophyllan with fleecy foliage - it is never sprayed
With your own hands, transplant the Kalanchoe into a new pot after purchase or planned not at all difficult. You can perform this procedure at any convenient time, but best of all - in the second half of spring.
Transplant and reproduction
Kalanchoe requires not only regular pruning, but also transplantation, since the flower grows very quickly. A transplant is done every year in April - May. The main condition is to keep the same soil composition. For Kalanchoe, the ideal soil is a mixture in equal parts of turf, sand and leafy earth. Some gardeners add humus.
The plant is pulled out of the old pot by the stem along with a lump of soil and transplanted into a new container
This must be done carefully, as the leaves and stem are fragile. For each transplant, a pot should be selected 3-4 cm higher and wider than the previous one.
A flower usually takes a week to get used to a new place. If the Kalanchoe grows poorly after transplantation and looks weak, then it is worth resorting to the help of dressings. Very rarely Kalanchoe is transplanted in winter. If necessary, then the flower must be provided with the most comfortable conditions.
Kalanchoe is bred in several ways:
- 1For cuttings, strong upper shoots are selected, which are shortened to 8-10 cm. Cuttings can be either put in water to form roots, or planted immediately in soft, moist soil. The stalk usually takes 2 weeks to take root.
- 2If the plant is regularly pinched, then additional shoots are formed on the stems - offspring. They are also used for breeding. When the offspring reaches the growth of a third of the stem, it is carefully broken off and transplanted into sandy peat soil.
- 3Leaf can be planted with Kalanchoe at any time of the year. To do this, an adult leaf is cut off and planted in fertile moist soil, covered with a plastic cup on top. A full-fledged sprout is formed from the leaf very quickly.
- 4Some varieties have brood buds. They are also called babies. They can also be used as planting material. Often the flower itself discards buds that take root next to the mother plant. They only need to be planted in a separate pot. Or the ripe bud is simply broken off from the flower.
- 5Kalanchoe can also be grown from seeds. Fertile soil with good drainage is prepared for seeds. Planting material is sown in early spring. The room temperature must be at least + 20 ° C.The seeds are simply scattered onto the surface and pressed into the soil. Then the container is covered with a plastic lid or glass. Periodically, the container with seeds must be ventilated and watered with warm water from a spray bottle. Do not allow the soil to dry out. Remove the glass after the first shoots appear. After a while, weak seedlings are removed, and strong ones are transplanted into separate pots.
The main decoration of the Kalanchoe is lush bright flowers. Different varieties bloom in different months. Typically, flowering time is from January to early summer. If good conditions are created for the plant, then the Kalanchoe often blooms again in early summer and blooms until the end of autumn.
If the Kalanchoe does not bloom by the end of March, then this is a reason to be wary. Most often, flowers are absent due to plant disease or excessive fertilization in the soil. Inspect the flower for mold, fungi and parasites. If it is a matter of fertilization, then the amount of dressings should be reduced gradually, keeping their amount to a minimum. In addition, for good flowering and stimulation of new shoots, dried inflorescences must be removed in a timely manner.
Basic transplant rules
The problem of how to properly transplant Anthurium arises immediately after an overseas guest crosses the threshold of a new home. The fact is that flower shops rarely sell goods in high-quality flowerpots, more often they are cheap plastic. Anthurium in polymers will not just be capricious and sick, for him it is a quick death. You can only transplant a flower correctly into a pot made of good clay. The size of the new vessel is determined by the width and length of the root system. Both values should correspond to 3 cm of free space on all sides of the pot.
The next stage is drainage
This important reminder to Anthurium of a past life in the wild should fill 1/3 of the vessel prepared for relocation. Home transplant begins 24 hours before the plant is moved.
For this, the object is well filled with water and only after a day Anthurium is considered ready for this procedure.
The choice of soil must be taken seriously. The ideal option would be a substrate for Orchids, which in the wild are also classified as Epiphytes. The ingredients of this composition are usually: sphagnum moss, tree bark and coal, expanded clay. However, many florists advise the following recipes:
- 1Light turf, marsh moss and coniferous soil in equal parts.
- 2 Peat, land from coniferous and deciduous forests - the first half of the mixture, and the second is charcoal and coniferous bark mixed with river sand.
How to transplant Anthurium at home, which soil is most suitable - a florist can answer all these questions by trial and error, relying on the experience of florists from all over the world. But a fairly frequent transplant will always be an integral part of care. The flower grows quickly under favorable conditions and sucks out all useful trace elements from the ground, making it unsuitable for further development. The necessary feeding can only postpone this process for a short time. With constant supervision and over the flower, each owner decides on his own when to transplant Anthurium due to the depletion of the soil.
Let's go back to the process technology. Anthurium, impudent and tenacious in its natural habitat, very painfully, and sometimes fatally transfers interference to its root, therefore, the transshipment method is definitely the safest for this flower
How to properly transplant such a vulnerable creature? Very neat, gentle and with extreme care. In general, this procedure should more closely resemble a surgical operation.
A pot with a pre-soaked plant is laid with its side on a horizontal surface. After that, the container is gently tapped along the entire plane of the pot so that the soil better moves away from the walls.Further, through the drainage holes, the earthen lump is squeezed out.
The root system is freed from the old soil with the help of water, the temperature of which should be 25 ° C.
Diagnostics of the roots for a healthy state. If there are rotten areas, then they must be removed. It also happens the other way around: the rhizome is very dry. With such a problem, it must be soaked in a solution of succinic acid (1 tablet per liter of water).
After the root system is washed and cleaned, it is treated with one of the drugs that can inhibit the vital activity of organisms that are aggressive to Anthurium. For these purposes, experts recommend Fitoverm and Agrovertin. Immediately before planting, the rhizome is powdered with wood ash to protect it from rot.
Drainage is laid at the bottom of the new vessel, and a small layer of prepared soil is placed on top of it. In no case should a plant be planted without this earthen cushion, since the moisture accumulated in the drainage in direct contact with the roots will quickly provoke their decay.
The prepared flower is installed strictly in an upright position and slowly covered with soil evenly from all sides. In the case of Anthurium, it is strongly discouraged to tamp the ground during powdering, only slight shaking is allowed.
The first watering after transplanting is allowed no earlier than 3 days later, but objectively the earth should dry out 3 cm deep. Use warm water, settled for 3 days. The moisture remaining in the pallet must be completely removed.
Planting and breeding gloxinia
Gloxinia is easy to propagate in different ways. The choice depends on the type of plant. When buying a flower, take an interest in this in order to understand which method is suitable for reproduction of the flower you like.
Tuber planting
In January - February, gloxinia tubers (correctly synningia) are rearranged to a warmer place and begin to water regularly.
When sprouts are formed, gloxinia bulbs are transplanted into a fresh earthen mixture consisting of leafy soil of peat and sand (3: 1.5: 1). If the tuber is large enough and has a large number of stems, it is more reasonable to divide it into several lobes so that each individual lobe includes at least one or preferably two shoots.
When planting, it is not necessary to completely bury the tuber: it is either lightly sprinkled with a layer of earth (no more than 0.5 - 1 centimeter), or the top is not covered at all. Otherwise, with a deeper planting, at best, only one shoot can grow, and the rest will never break through.
Leaf propagation
This method is the most common because it is considered the simplest. First you need to take a good, strong leaf with a stem up to 4 centimeters.
A torn leaf can be installed directly into the water, or directly into the ground. The rooting process is almost the same. The difference is that a leaf attached to the water first has roots, and then it is transplanted into a glass.
However, in both cases, after the plant is placed in the ground, it must be covered with oilcloth, which is removed when the first leaves are formed.
Seed propagation
So, you need to prepare a small and not very deep container, as well as a nutritious soil. Everything must be thoroughly disinfected. You can use purchased soil for violets, or you can make a mixture yourself.
You need to take two parts of sod land and peat, add one part of sand and mix all the components well. The substrate should be light and loose.
The seeds are placed on the surface of the soil. they are very small, it is desirable to mix them with a small amount of sand. This will distribute them more evenly. Sowing gloxinia seeds is shallow - this means that they are not covered with soil. Then spraying from a spray bottle is carried out and covered with glass. You can put a container with crops in a plastic bag and attach it to a warm and bright place.The required temperature for germination is 23-25C.
Tuber propagation
Gloxinia tubers are propagated very rarely, this is due to the fact that this is a painful process for a flower. The tuber should be strong. If there is rot, it is cut off. The tubers are separated with a sharp, disinfected knife. Sections are processed with crushed coal.
Each piece must have at least one outgrowth of at least 2 centimeters. the fragments are planted in pots, and in order for them to take root, the ground must always be well moist, but not excessively, so that the tubers do not rot.
Reproduction by peduncles
At the end of flowering, the peduncle is carefully cut off with a sharp knife and placed in water for rooting. Next, you should proceed in the same way as for leaf propagation.
Reproduction by stepchildren
In the spring or at the end of flowering, a mass of shoots appears on the tubers. Of these, 2-3 of the strongest are kept, and the rest are removed. The shoots are arranged in water for rooting, and then planted in pots.
Propagation by cuttings
This is the easiest way to breed gloxinia. The petiole, which is taken at the budding stage, should not be longer than 3-4 centimeters. If the leaf is lethargic, then it should be lowered into the water. He will swim a little and restore turgor. The stalk quickly grows roots in boiled water at a temperature of 20-25 degrees.


