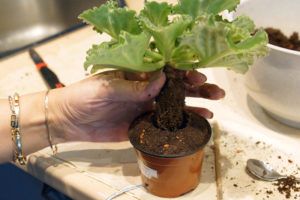
We transplant children
As mentioned earlier, babies are ready to transplant if their growing point is visible and they have outgrown their old pot.

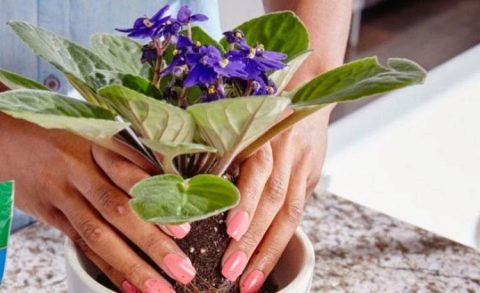
Now read the instructions: how to transplant a violet at home step by step.
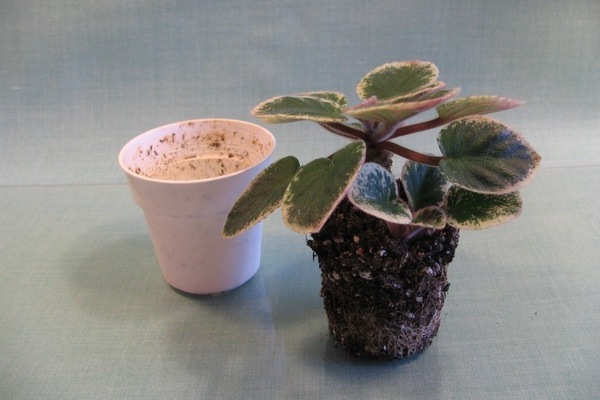
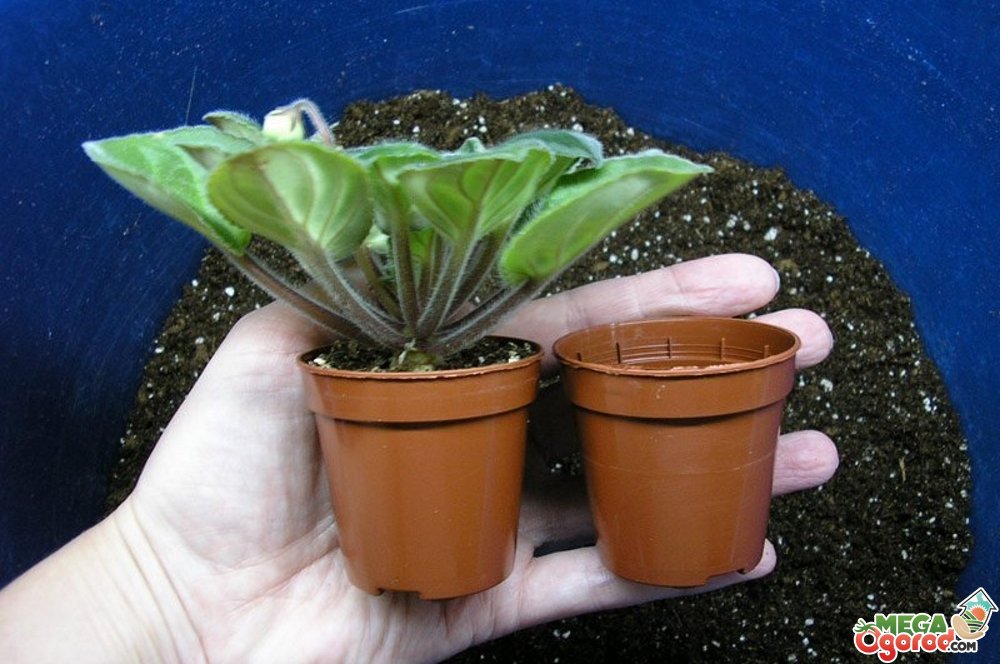
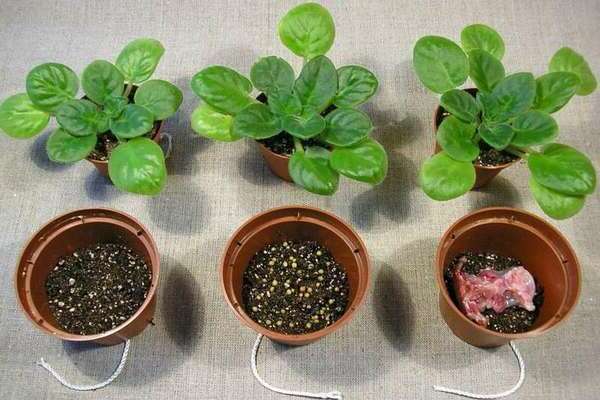
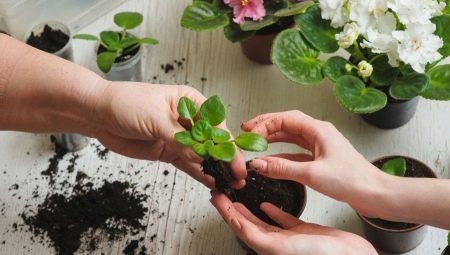
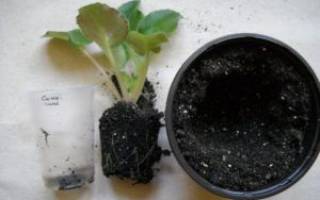
Examine the plant: if the leaves of the children have grown to 3-4 cm, and you can clearly see the growth point, start transplanting. Prepare small plastic cups (100 ml) in advance, fill with soil. Its composition is described above. Stock up on small plastic bags
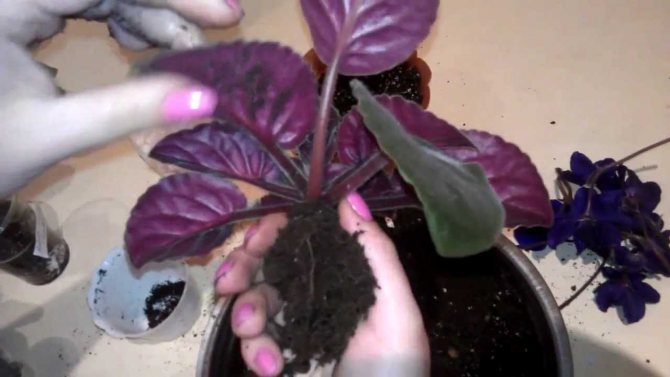
Remove the plant carefully from the old pot. Free the roots from the ground, being careful not to damage them
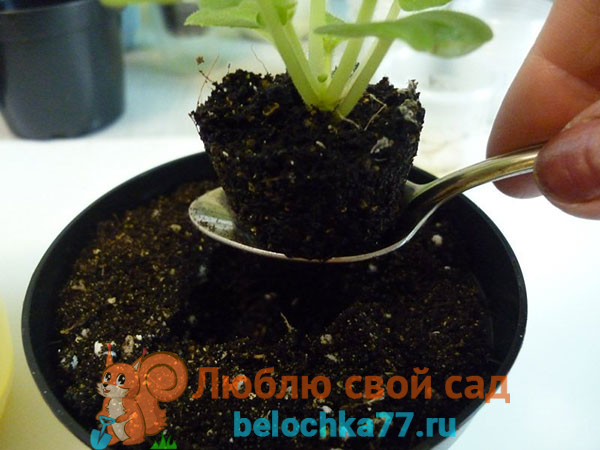
Separate the formed processes from the mother plant in such a way as not to damage their parts: root, stem and leaves. Do not touch children who have not reached "maturity". Make a depression in the soil so that the young plant can enter freely. Carefully place the scion into the groove, with the point of its initial development on the surface of the earth. If the soil is wet, then watering can be carried out in a day, if the humidity is insufficient, then water the plant so that the soil is only slightly moistened. Place the cups with sprouts in the prepared bags and tie them neatly. Punch a few holes in the bag for ventilation. These will be greenhouses. Leave them indoors with comfortable humidity and light. Monitor the condition of the soil, slightly moistening it as needed. In 3 or 4 months your babies will be fully grown and you can transplant them into more suitable pots.
Fertilizers for Saintpaulias
Each plant for full growth and development requires not only light, water and heat, but also fertilizers. The plant receives them from the soil, but the nutrients in it are eventually washed out and "eaten" by the roots. Therefore, violets need periodic feeding.
There are two types of fertilizers:
- Mineral;
- Organic;
Fertilizers are: liquid, in sticks, granules, etc. You yourself choose the forms that are convenient for you.
Remember! You should not use fertilizer without reading the instructions for it, and also increase its recommended amount.
N nitrogen - necessary for young plants, enhances the growth of green mass
P phosphorus - needed for buds and flowering
K potassium - prolongs flowering
Vitamins and Amino Acids - Roots absorb nutrients better.
The basic rules of feeding should be observed:
- Top dressing is applied from above;
- It is better to underfeed the violet than to overfeed;
- Be sure to read the instructions before using;
- Apply fertilizer on time;
- Fertilizer does not replace fresh soil;
- It is necessary to periodically change the power supply;
- Fertilizers must be applied to slightly damp soil;
- The diseased plant is not fertilized.
If you follow these simple rules, then a healthy plant will grow from a leaf or a baby, which will delight you with beautiful flowers for a long time.
Are you doing everything right, but Saintpaulia does not bloom? We have collected all possible reasons for you in the material on our link. Especially "capricious" to growing conditions are spectacular varietal plants, for example "Raisin" and "Chimera".
Violet is a beautiful and not whimsical plant. However, if you do not provide her with proper care, she will die. To prevent this from happening, create a comfortable environment for her. By planting Saintpaulia in high-quality soil, you will get large and healthy flowers, and your plant care will be minimized.
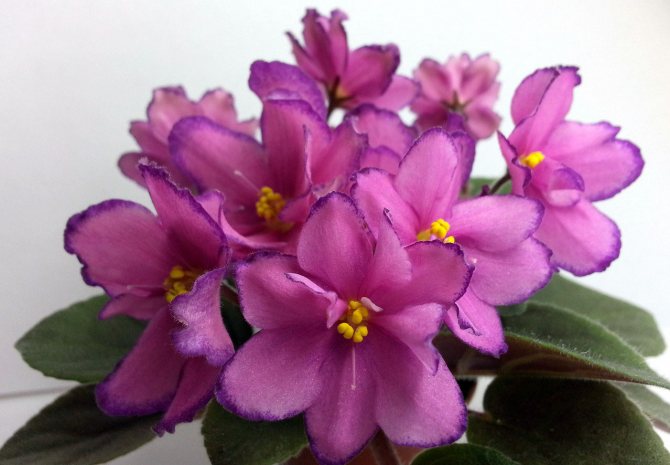
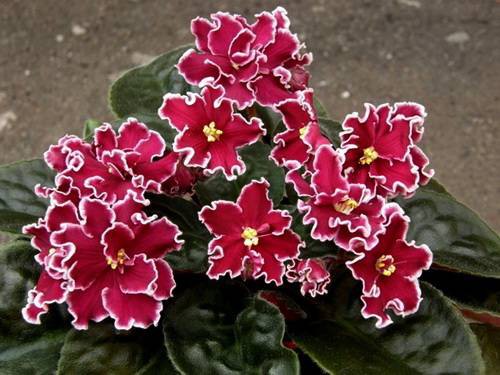
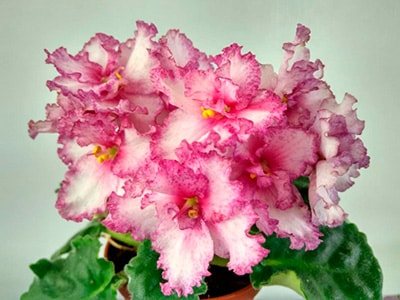
We recommend all collectors of Saintpaulias to pay attention to such popular varieties of violets as "Frosty Cherry", "Wind Rose" and "Royal Lace". They bloom very effectively and do not require complex maintenance.
Step-by-step instructions for transplant with photo
There are several ways to transplant violets at home:
With complete replacement of soil. If the flower is sick or if it is necessary to replace the depleted substrate.
With partial soil replacement
After buying from the store and when replanting mature plants, gently shaking off some of the old soil from the roots.
Transshipment during flowering, so as not to disturb the roots, and the violet bloomed well even after transplanting.
Whichever method is chosen, you must first select a suitable container, soil mixture and properly prepare the flower.
Pot selection
Which pot to transplant into depends on the age, size of the violet and the reason for the transplant:
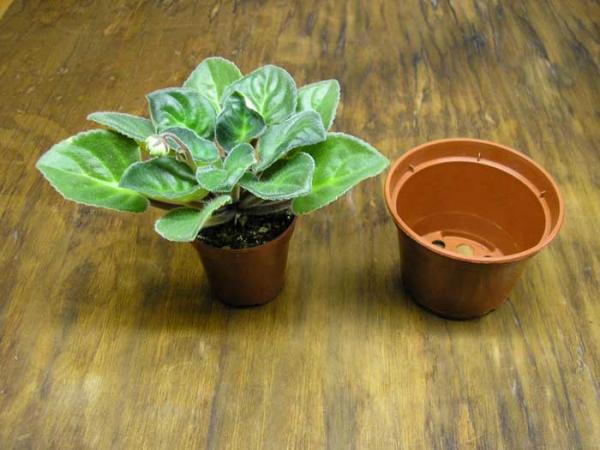
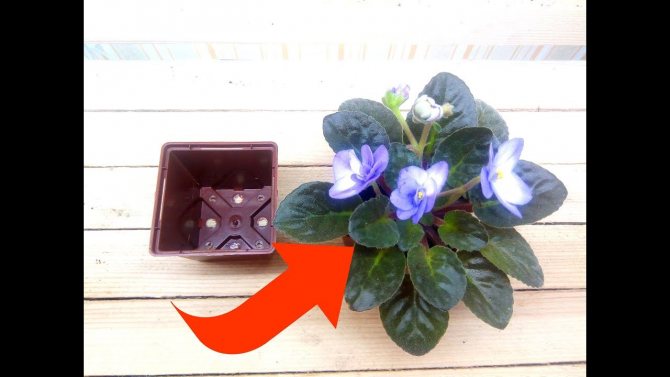
- Healthy adult plants choose containers 10 cm high. The width of the new pot should be 2-3 cm larger than the old one, so that the roots have a place to develop.
- Transplanting violets with a long stem is carried out into a higher planter. Its height is selected taking into account the fact that the stem should be covered with earth to the very leaves.
- A diameter of 6 cm is enough for young rosettes. If you plant them immediately in a large pots, they will not bloom for a long time. Flowering will come only after the roots grow and fill the entire pot.
- Sick specimens, in which rotten roots were cut off, should be planted in the same container or in a smaller pots.
Violets look very nice in ceramic pots. However, the soil dries out quickly in them. Therefore, plastic planters with drainage holes are preferable.
Please note that the height of the pots does not include drainage. It is necessary to add about 2 cm more to the drainage layer
Containers that will be reused are pre-washed with soap and rinsed with a solution of potassium permanganate.
Soil selection and preparation
The substrate for Saintpaulias from the store does not need to be prepared in advance. It is nutritious and completely ready to use.
Independently, the soil for the violets is prepared by black soil and peat (5: 3), to which one part of coarse river sand is added. A prerequisite for a self-prepared substrate is preliminary disinfection in any way (for example, warm it up in the oven, spill with a solution of potassium permanganate).
You need to stock up on not very large drainage (perlite or expanded clay).
Preparation and transplant
At least two hours before transplanting, indoor plants are watered. The earthen lump must be completely moistened so that it does not crumble from the roots and the flower can be easily removed from the planter.
Immediately before the procedure, the violets are carefully taken out of the pot and examined:
- cut the lower old, damaged, yellow or diseased-looking leaves;
- easily crumbling soil is removed from the roots;
- very long roots shorten by a maximum of a third of the length;
- in diseased plants, the substrate is completely removed, the rotten roots are cut off and sprinkled with coal;
blooming violets do not need to shake off the soil so as not to disturb the roots.
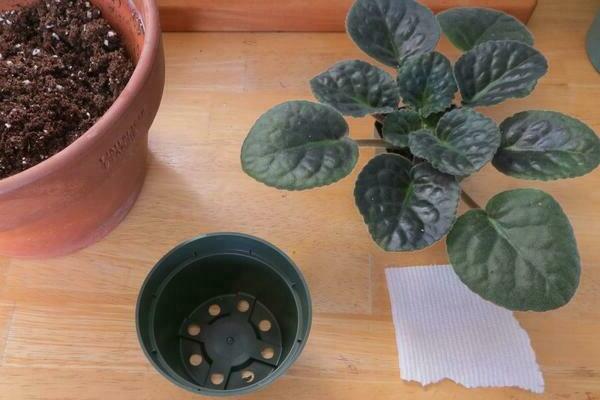
How to transplant a violet at home step by step:
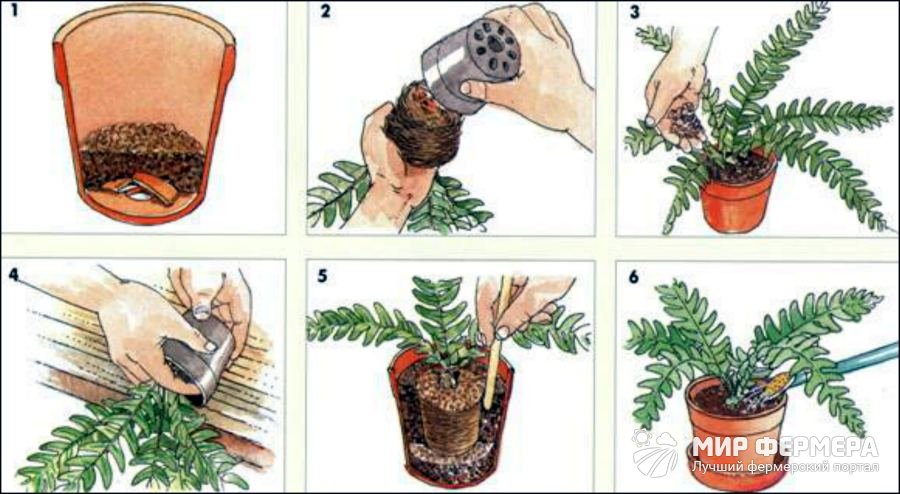
- Place a 2 cm layer of drainage on the bottom of the bowl for large plants and 1 cm for small ones.
- Cover the drainage on top with a layer of 2-3 cm of earth. In small pots a little more than 1 cm.
Place the flower on top along with a lump of earth.
- If the soil has been removed from the root system, then the roots must be carefully spread out on the soil in a pot.
- Sprinkle earth around the roots and stem under the leaves up to the lower leaves.
Water the soil little by little. If it settles, add more sleep.
Check if the transplanted violet is loose
If necessary, tamp the substrate a little very carefully, add some more soil and sprinkle it with vermiculite on top. You can use sphagnum moss as mulch.
Make sure that the violet core is not covered.
After transplanting, hold the flowers in the back of the room for 2-3 days, and then you can put them in their place. For better survival, put on bags on top.
It is best to grow violets in a well-lit place without direct sunlight and away from radiators.
When you need to water the flowers after transplanting, you can find out by the dried top layer of soil
Check carefully with your hand, and if the soil near the roots is still wet, it is too early to moisten it. In large pots, 2-3 cm of the top layer of the substrate should dry out, after which you can start watering
Preparing violets for transplant
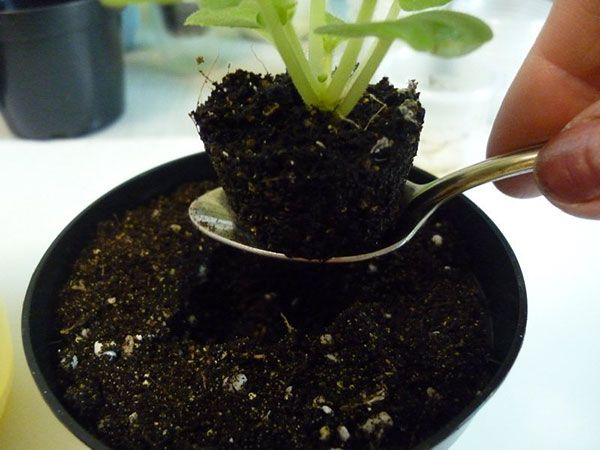
The first sign that the plant should be transplanted is the appearance of a white bloom on the surface of the soil in the pot. This plaque signals that oxygen has begun to poorly enter the soil, and too many macro and microelements have accumulated in the soil itself. Another sign of the need to transplant Saintpaulia is the complete braiding of the earthen coma by the root system.
But before replanting this flower, you should prepare a new potting mix and a larger pot.
Priming
For ordinary violets, you do not need to prepare a special substrate, they are undemanding to the composition of the soil. But varietal varieties of Saintpaulia require a special mixture, which should be purchased at a specialized store. However, such a substrate can be made independently. To do this, you need to mix:
- two parts of sod land;
- one part of sand;
- one part of humus;
- ½ part of the turf.
In addition, 30 g of phosphate fertilizer and a teaspoon of bone meal should be added to this mixture.
The resulting mixture should be loose enough and pH slightly acidic.
Before transplanting, water the soil with a weak solution of potassium permanganate for disinfection.
Preparing the pot
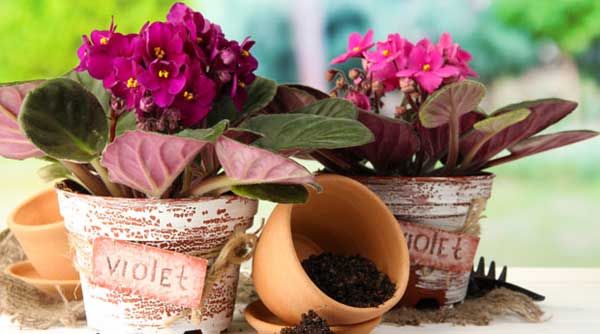
The pot for transplanting this flower should be 2-3 cm larger than the previous one. In an oversized flowerpot, the violet will not bloom until the root system braids almost the entire earthy clod.
If the container for transplanting a flower is new, then it should be washed first. Pots that have already been used before must be cleaned of salt deposits, and also rinsed with a weak solution of potassium permanganate (for disinfection).
It is better to choose a plastic pot for violets - ceramic containers release moisture too quickly.
The pot must have drainage holes, and any drainage material (best of all, expanded clay) should be laid on the bottom. If young violets are planted in plastic containers (or cups), then the thickness of expanded clay (or other drainage) should be such as to compensate for its height.
It is drainage that will more actively remove excess moisture from the pots, because the root system of violets does not tolerate excessive soil moisture and can begin to rot.
Signs of the need for a transplant and methods
When the owner decides to take a crucial step, he needs to study the basic rules and stages of how to transplant a violet at home step by step. Below are 3 options, and it is also described in what situations they are recommended. A partial change of land is sufficient in most cases. To make sure of this, you need to water the violet well beforehand. If at the same time the earth does not stick to the hands, but freely moves away from the walls of the container, then you need to fill up the earth. To do this, you need to get the flower and shake off the soil without affecting the main lump. A violet is placed in a larger container, and the free space is filled with new soil.
Note! This method allows you to carry out the transplant as carefully as possible without damaging the root system. Partial soil replacement
Partial soil replacement
This option is chosen in case of root rot, with significant exposure of the stems, as well as acidification of the soil. After the violet was taken out of the pot, the earth is shaken off it as much as possible.If the roots are damaged, they are carefully cut off, and the cut points are powdered with crushed coal. Depending on the volume of the roots after the completion of the procedure, they are determined with the size of the pot.
The main advantage of this method is that it is possible to inspect the roots, remove damaged areas and replace the soil.
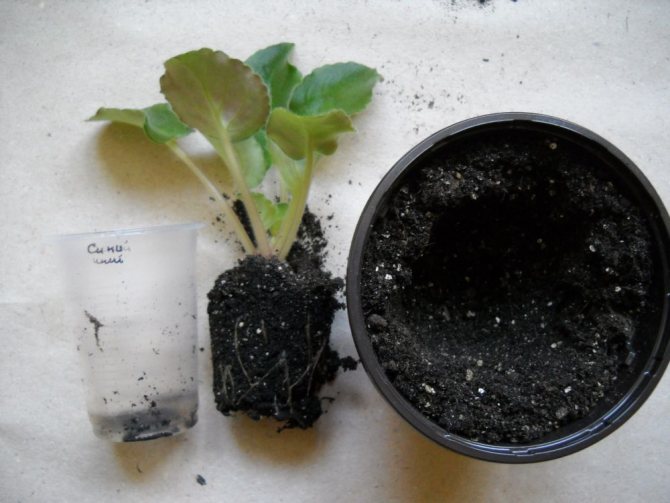
Complete earth replacement
Transshipment
This method is mainly used when a flower transplant is urgently required, namely:
- for children with a poorly developed root system;
- for a flowering plant;
- if the rosette is 3 times the diameter of the pot.
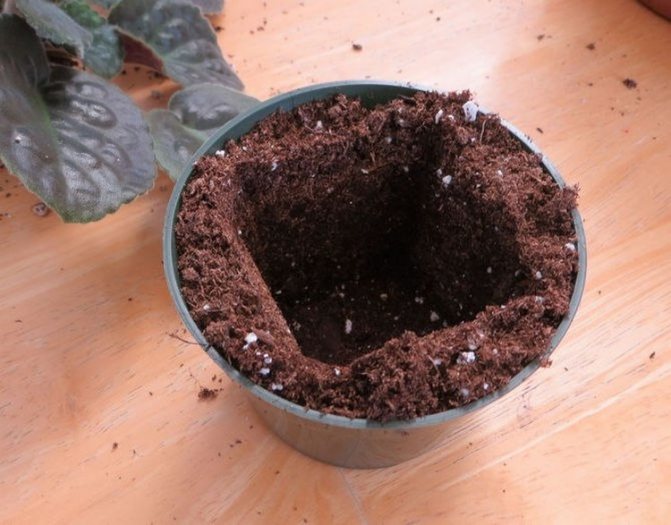
Preparing the pot
Important! Do not tamp the ground with your hands. This will break water and air permeability.
In order for the soil to lie denser, as it fills, it is necessary to periodically knock on the walls.
There are certain reasons why replacing the soil in the flowerpot is necessary. A home transplant of violets is required if:
- buying a young copy. The acquired beauty should be transplanted after quarantine measures;
- the appearance of a white bloom on the surface of the soil, which signals its salinity;
- "Germination" of roots through the drainage hole of the flowerpot;
- the appearance of an oppressed state, a suspension in growth, the withering away of leaf plates;
- breeding young shoots that need to be transplanted.
Many beginners are interested in how to properly transplant a violet at home so that it receives all the necessary nutrients and feels great.
Professionals use several transplant methods. The most affordable is to transfer the individual to a larger pot. The procedure is as follows: the plant is carefully removed from the flowerpot and, without destroying the earthen coma, is transferred to another container. The sides and top are poured with prepared disinfected soil. This method is suitable only for young animals, which are characterized by intensive growth and have not had time to deplete the soil.
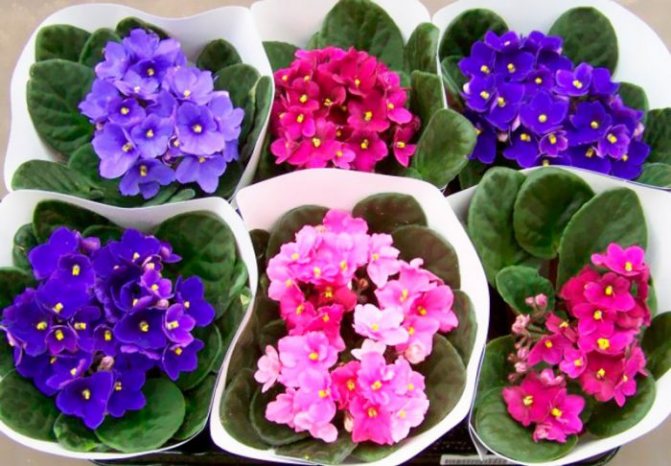
There are several ways to transplant a plant.
- Replacement of old soil. This can be during acidification of the soil or wilting of the bush, when the soil is completely removed from the roots, washed under running water and planted in new soil. In this method, you can examine the root system and remove rotten roots to a living area. If in the process of work a lot of roots are removed, then the pot can be left the same or take less.
- Partial soil replacement.
- Transfer. When a clod of earth remains completely on the bush.
Before planting violets, you should ask how and when you will need to start transplanting the plant. There are 2 main ways. The first one implies a complete replacement of the soil, and the second one - a partial one. Indicators of soil condition, the appearance of the flower and its development will help determine when and what transplantation of violets is required.

Violet planted in a flowerpot
Capacity requirements
One of the main rules for a successful transplant of violets is the pot in which the flower will be located. Here are some of the requirements:
The size. Bigger doesn't mean better in this case. The main rule is that the size of the pot should be 2 - 3 times smaller in volume than the plant.
Material. Ceramic, clay and metal pots are not suitable for growing violets. Again, you can place a plant pot in them. The best material in this case is plastic. It is he who is most suitable for this somewhat demanding plant.
Drainage
It is important that there are holes in the selected pot, which are necessary for the correct distribution of moisture in the soil. Excess water will come out through them
Also, thanks to them, you can make a special wick and not bother with watering. This is very convenient and practical, because the flower will always receive the amount of water it needs.
Violet transplant after purchase
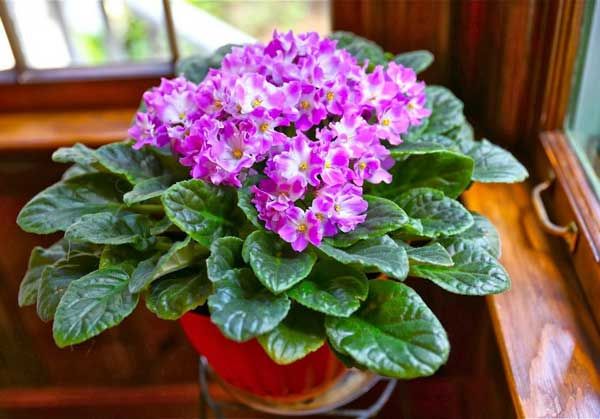
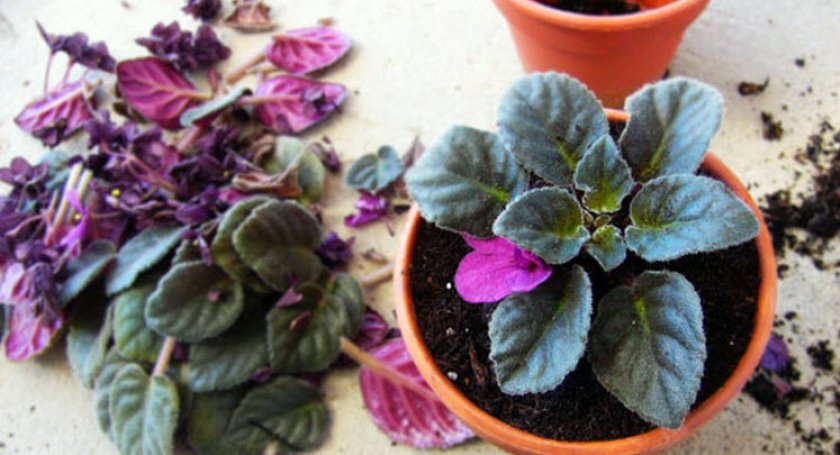
After this flowering perennial has been brought home, you should carefully examine it, remove all drying and rotting foliage, all fading buds and drying flower stalks. It is also better to remove all the buds so that the plant can calmly endure the process of transplanting and further acclimatization.
In the first days after the plant is brought into the apartment, it is usually not watered - you need to wait for the soil in the pot to dry out enough.
Specialty stores sell Saintpaulias grown in the Netherlands, Germany and several other European countries. These plants are exported in pots filled with a peat mixture, which is watered with a nutrient solution, since there is no large amount of mineral substances in such a soil itself. Therefore, after the violets are brought from the store, these perennials need an urgent transplant, otherwise they will simply die without nutrients.
Greenhouse-grown Saintpaulia is best transplanted as soon as it is brought into the house. Usually, in the soil in which these perennials grew in a greenhouse, they were intensively fed with fertilizers so that they began to bloom as soon as possible.
At home, it is better to prepare another nutrient mixture in which this adorable perennial will grow: you should mix high peat and any baking powder such as vermiculite. Such soil will be quite loose, and also moderately acidic - this is the type of soil that is suitable for growing Saintpaulias.
After transplanting, the flower is covered with polyethylene for several days to create the effect of a greenhouse. After 1-1.5 weeks, it is removed.
And if Saintpaulia was bought from friends or those who are engaged in their breeding, then immediate transplantation is not required. A young plant should also not be in a hurry to replant, let its roots practically braid the ground in a glass.
It is recommended to transplant these flowers every 6-7 months.
Transplanting indoor violets. Preparing for the process
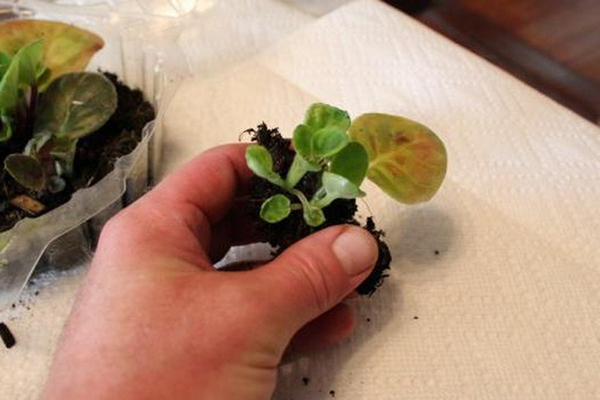
If you plan to transplant in the afternoon, then water the plant in the morning - this will make it easier to slip out of the pot, pre-watering reduces the risk of mechanical damage.
Examine the root system carefully, cleaning it off the ground as gently as possible.
If you find damaged roots with traces of rot, then they should be removed and the sections should be sprinkled with crushed charcoal or activated carbon.
If all the roots are healthy, but have grown very much, then at least half can be cut off without damage to the plant (the cuts can also be treated with charcoal)
In either case, it is important to use very sharp and pre-disinfected scissors.
If rot has affected the entire root system, then after removing the affected part, the flower can be rooted in water by dissolving a tablet of activated carbon in it, and after the roots appear, plant it in the soil according to all the rules.
Preparation
The preparatory stage is the most important in the transplant process, as it takes a lot of time. Preparation is completed in a few days, starting with watering the flower and preparing the container and soil.
Capacity
Violet pots should be well washed and disinfected. For small developing synpoli, shallow containers with a diameter of about 5-7 cm are suitable.For adults, larger containers are used: a diameter of 15-20 cm (always measure at the widest point of the pot, i.e. the top).
The pot should be no more than 10 cm high. As a rule, the violet will bloom not immediately, but after a few months. The plant begins to release flowers only after the roots fill the dishes.
Sometimes ordinary disposable plastic cups are used for transplanting babies. They are, as a rule, tall for this plant, therefore, the cavity is filled with drainage at the bottom. These can be pebbles or pieces of styrofoam.
It is not worth picking up a clay or ceramic pot for a violet. Such containers do not retain moisture well, and the earth dries out quickly.
Substrate
Violets grow well in a substrate containing black soil, peat and river sand. Chernozem should be about half the capacity, peat occupies 2/3 of the remaining space, everything else is sand. Peat and sand perfectly permeate moisture and air, creating a favorable microclimate for the plant.
Sometimes sphagnum (moss, which perfectly retains moisture), brick chips, vermiculite, perlite or coconut fiber (retains moisture and prevents the soil from drying out) are added to the substrate.
It is imperative that all components, except for drainage and moisture-retaining ones, are thoroughly mixed before transplanting the plant.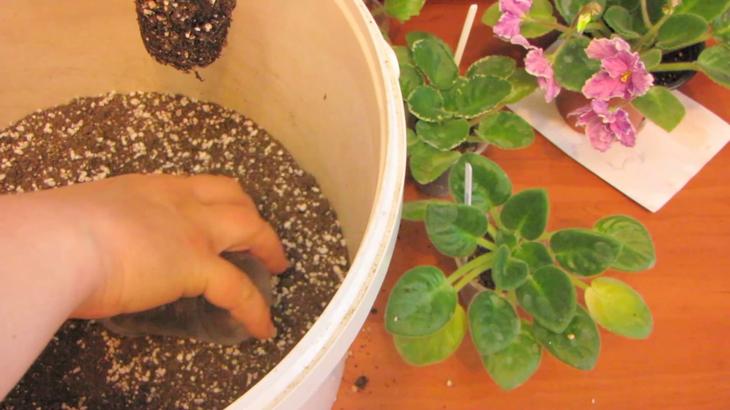
Expanded clay, small broken earthenware or pieces of styrofoam can be used as drainage. Drainage creates favorable conditions for soil drying. Without drainage, the soil in the pot is not saturated with oxygen, stagnates, and the plant decays quickly.
The components of the future soil are mixed and disinfected with potassium permanganate. Before transplanting, wet, but loose earth is necessarily taken. You can add vermicompost to the soil.
Also in specialized stores you can buy ready-made substrate for violets. Its purchase will save you from searching for all the components of the required soil, disinfection and other things. In this case, the owner of the violet will be 100% sure that the soil is not contaminated and the violet will accept it.
Plant preparation
Before you get the violet out of the ground, it is watered for 3-4 hours with a little water. So that the soil is moderately moist, but does not stick to your hands. The roots of the flower are cleaned of old soil (if it is a complete transplant) and the damaged ones are removed.
In case of decay, the damaged area is cleaned to a healthy stalk and sprinkled with fine charcoal. And if the roots of the plant have completely died, these leaves are placed in water until a new root system is formed. Then they are planted in new soil.

Varieties of pots
When choosing pots for violets, you need to take into account that you will have to transplant the flower several times. This is an important point in flower care that cannot be ignored. If you plant a young flower in a pot that is too large, then it can simply rot and disappear. Therefore, you will have to buy flowerpots several times.
In addition, it must be noted that the pots for violets will have to be classified, both in size and material.

Types of pots
The size
By size, it is necessary to evaluate not only the diameter of the pot, but also its height.
A low pot in the form of a bowl is best for violets. Its proportions should be approximately in the following ratios - 2: 1 or 2.5: 1. That is, the diameter should be 2 or 2.5 times the height of the pot.
Inexperienced breeders of Saintpaulias (as these indoor plants are also called) often have a question about what size of a pot is needed for a violet. As for the diameters, then:
- for children, take products up to 5 cm in diameter. The same pots are needed for mini violets;
- for a flower before and after 1 flowering, those that are 10 cm in diameter are suitable;
- for adult standard and ampelous varieties, a diameter of 12 cm is suitable;
- for giant varieties and large overgrown bushes, you can take a diameter of up to 15-16 cm, but no more.
For your information! If you take a pot that is too large, then the plant will produce an intensely green mass, and the flowering will be rare, weak, or even completely absent.
Material
On stores, depending on the material, there are pots of the following types:
- clay. They pass water and air well enough, therefore, do not allow the root system to experience discomfort. But pots are not suitable for violets;
- ceramic. This is still the same clay, but fired with the application of glaze. Such products have a more attractive appearance and colors provide proper conditions of detention. Although, in comparison with the previous ones, they do not allow the soil in the pot to be intensively saturated with oxygen.In addition, the root system can grow to them during growth, which contributes to greater injury to the plant during transshipment;
- plastic products. They are inexpensive and have a wide range of colors, shapes and sizes. The quality and smoothness of the surface does not allow the root system to grow to the walls, which facilitates the process of transplanting violets. Of the disadvantages of plastic products, low aesthetics are noted.

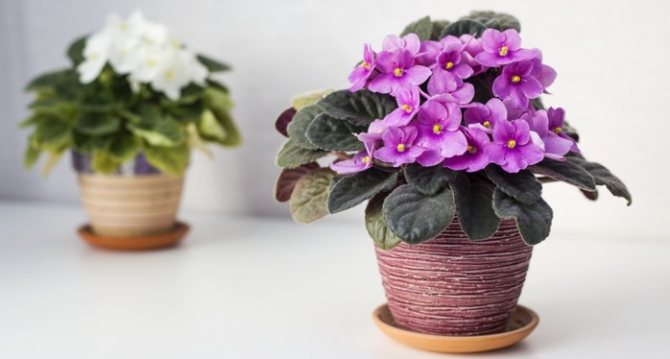
An example of a suitable flowerpot
Price
The price of a pot primarily depends on how well it is made, what materials were used for this and how much it differs from standard stamped ones. That is, the design component also plays an important role.
Note! The shape of the violet is such that in the vast majority of cases its green mass does not cover the pot. The only exceptions to this are ampel varieties.
Therefore, when choosing a container for planting a plant, you need to take into account the shape of the flower that will be formed, since a rough product can significantly reduce the aesthetics of the flower itself
The only exceptions to this are ampel varieties. Therefore, when choosing a container for planting a plant, you need to take into account the shape of the flower that will be formed, since a rough product can significantly reduce the aesthetics of the flower itself.
Designer pots
Florists often prefer to choose designer pots. Basically, these are those who follow their interior and try to give the room an original style. But do not be too zealous here with the original forms, since the violet is quite sensitive to the selection of containers.
Therefore, if there is a desire to buy a non-standard handmade pot, then it is better to focus on the original colors and methods of decorating the outer surface.

Designer flowerpots
Specialized
In addition to the above options, there are also specialized pots. Most often they are presented in the form of a technotara with a large number of holes at the bottom of the product. But this option is only suitable for temporary use.

