Is it possible to grow the hosta indoors
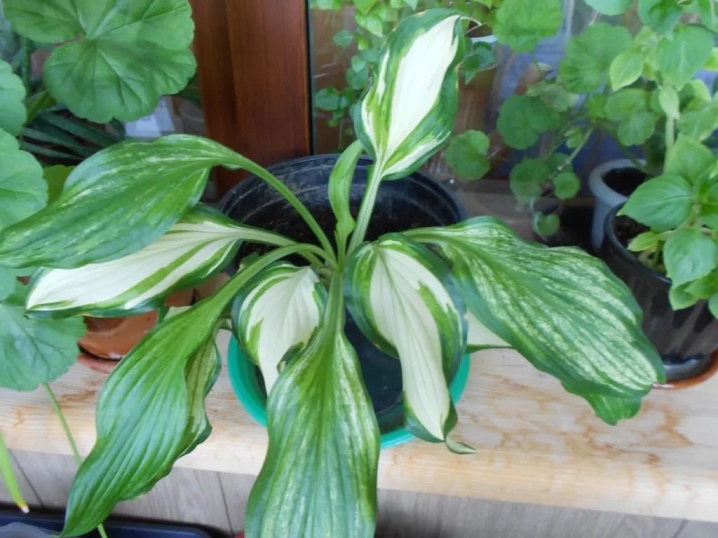
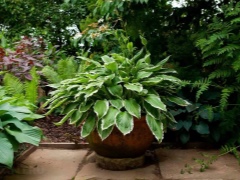
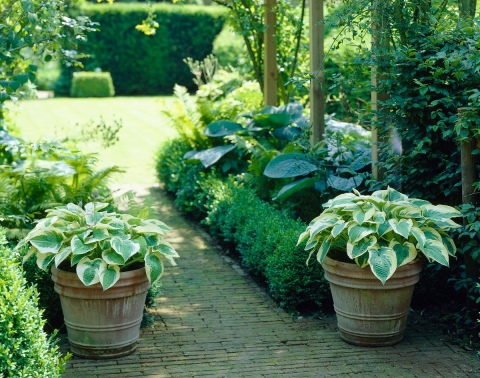
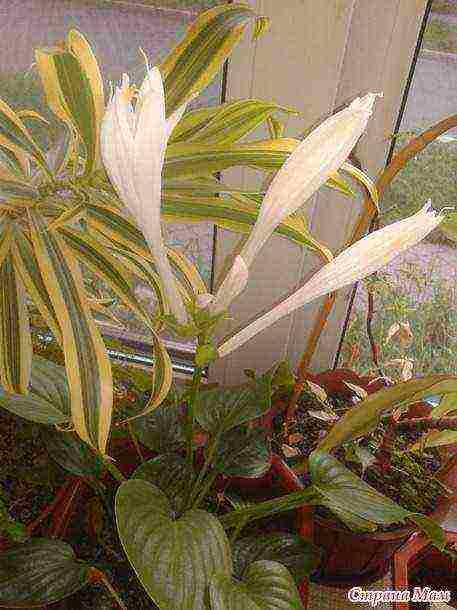
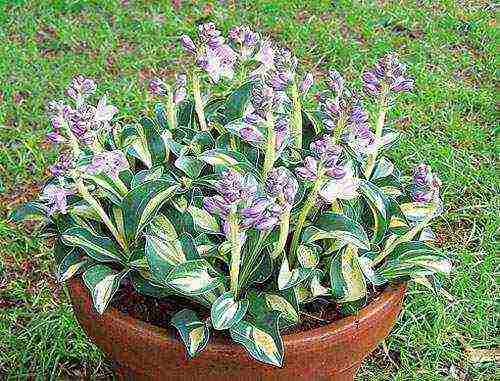
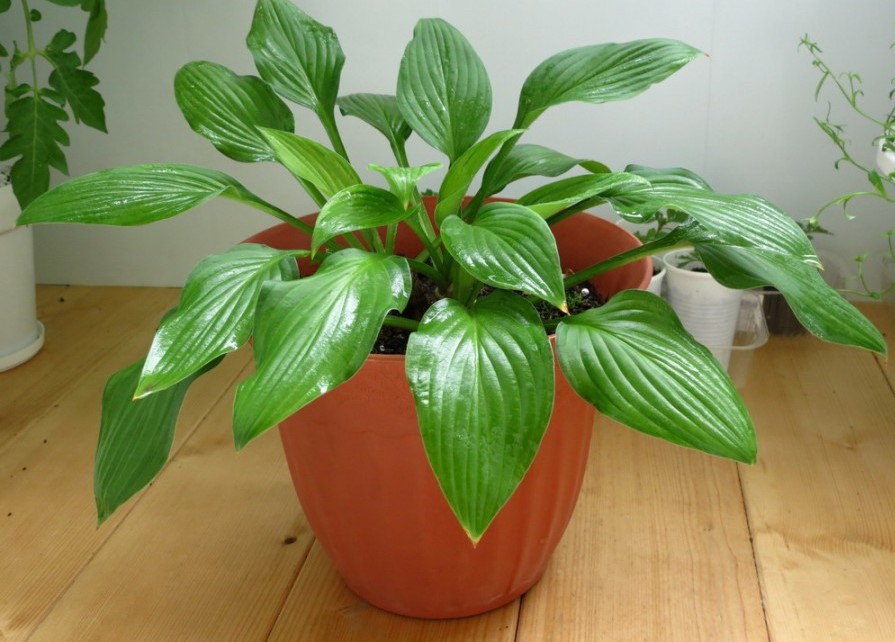
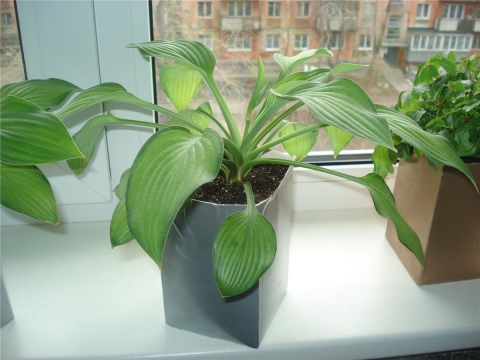
The host will grow well in a pot on the balcony, in the garden, on the terrace. Any container will fit her root system. Unfortunately, this is not a houseplant. For a normal life, the host needs a period of rest. In winter, its leaves wither and dry up, obeying the natural light and temperature conditions. Of course, if you bring the pot into the house and leave the host to winter in the warmth of the living space, the plant will continue its active period. Recently I saw such an example: a plantain hosta has been living in an apartment for 2 years and has even bloomed with luxurious fragrant flowers.
But what's next? The leaves will shrink with each one, the green pet will begin to suffer without winter rest. Perhaps, on top dressing and stimulants, the plant will retain its decorative effect, but is it worth the candle? There are many tropical flora representatives that look like the host and feel comfortable in indoor conditions all year round. For example, cordilina, orange chlorophytum, hemigraphis, white-veined arrowroot, Kalathea Makoya are plants of incredible beauty.
It is better to grow other plants indoors, such as calathea.
Diseases of hosts
Americans associate the occurrence of diseases in hosts with a large number of varieties in one area. In frostbitten bushes, a fungal disease phyllosticosis often occurs, which looks like brown-yellow spots on the leaf blade.
Peduncles are threatened with fungal infection Phyllosticta aspidistrae Oud. To combat it, one method is used: complete removal of the bush, followed by its burning and disinfection of the soil.
Among the diseases, there are gray rot - Botrys cinerea, which affects the leaves, and sclerotinia - Sclerotinia, which envelops the root collar, like cotton white mold, and destroys it. Fungicides are used against gray rot, and Dichloran is used against sclerotinia. The main pests of the flower.
Slug is one of the main host pests. Traces of its vital activity, and these are holes in the leaves, become visible immediately and reduce the visual attractiveness of the plant. To combat this pest, small flat containers are used, into which beer is poured. Slugs love these places, where they are collected and then destroyed.
The host can be infected by stem nematodes. If spreading yellow necrotic spots, which are the product of the vital activity of these parasites, are visible through the veins of the leaf, then a simple test will help to detect them. The crushed leaves of the affected hosta are placed in a glass of water and they look, if after 1/2 hour floating worms appear in the water, then the disease is obvious. They remove not only the affected plant, but also all the bushes in the area of two meters, because it is possible to fight against a nematode with chemicals, but it is very difficult to deal with laid eggs.
With the advent of a new vegetative period, larvae will hatch from the eggs and the radius of damage to plants will increase. The invasion of insects such as caterpillars and grasshoppers cannot be avoided, for which one night is enough to turn a healthy plant into an unsightly bush. Only treatment with pesticides can help to cope with this scourge.
Root rot: one of the hosta diseases
Root Rot or "Root Rot" can have two sources: the first is a prolonged and abundant effect on the plant of nutrients (fertilizers), as a result of which the roots begin to die off. When they die, decay and further rotting of the rest of the tuber begins. Rot can quickly spread to healthier roots, even if containment conditions are improved.

Another source is fungus in the soil.The fungus can remain dormant in the soil indefinitely and then suddenly activate when the leaves are in the active growth phase. This fungus initially attacks the roots, causing them to die off and rot. For hosts in a pot in a room, this is a rather big problem that occurs very often.
Therefore, when planting a plant, pay special attention to soil preparation.
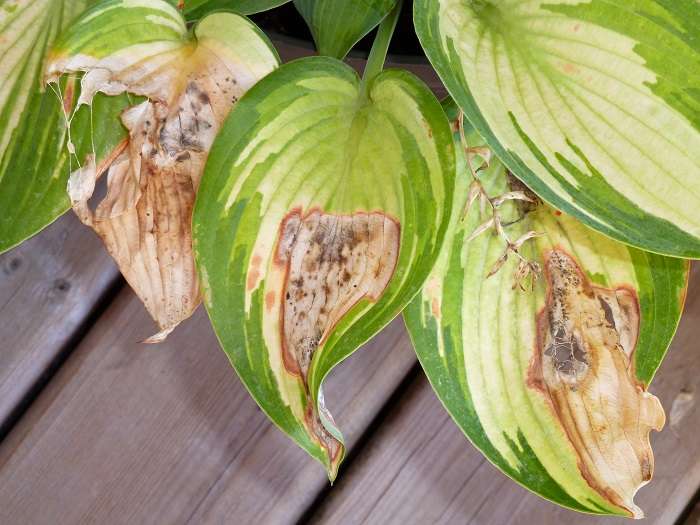
If the plant is slowly withering and the leaves turn yellow for unknown reasons, you will need to check the roots first. Remove the plant from the pot and test them. The rhizome of the affected plant will appear black and soft to the touch. Healthy roots may be black or pale, but remain firm and firm.
Illness care
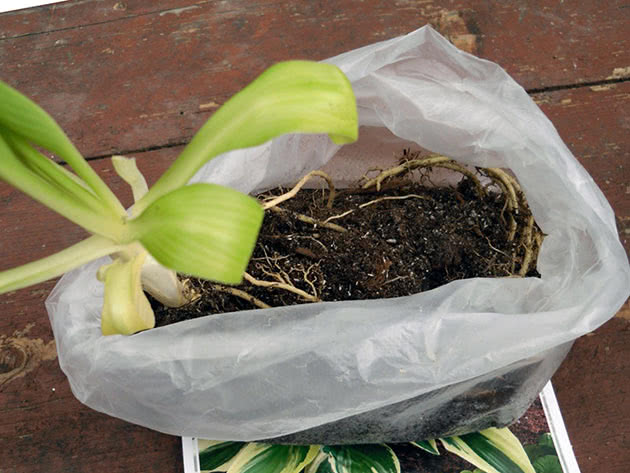
To treat this ailment at home, an ASAP-type fungicide is used. Spraying periodically will give the plant a good chance of survival. Start treating root rot by removing the plant from the pot and washing it under running water. Rinse off as much soil as possible from the roots and remove rotten roots. The pot is also well washed and treated with the same solution. A weak bleach solution or potassium permanganate is often used.

When dealing with root rot, it will often be necessary to remove most of the plant's root system. In this case, a new transplant will be needed after growing fresh rhizomes, as described at the beginning of the article. After trimming the roots, clean the scissors or knife with rubbing alcohol and trim off 1/3 or even half of the leaves on the plant additionally. This will give the potted hosta the best chance to regrow roots as it does not have to feed a large amount of leaves.
Before planting again, dip the remaining healthy roots in the fungicide solution to 100% kill any future fungi. After all the described procedures, the plant will quickly recover in 2-3 months, continuing to decorate your home.
Pot selection
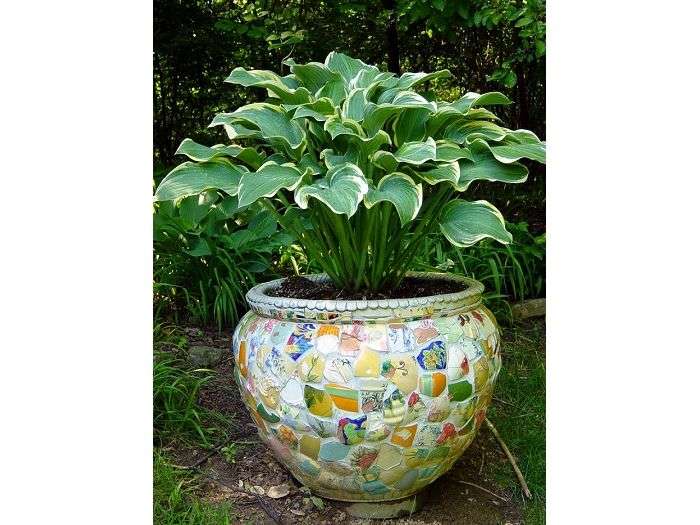
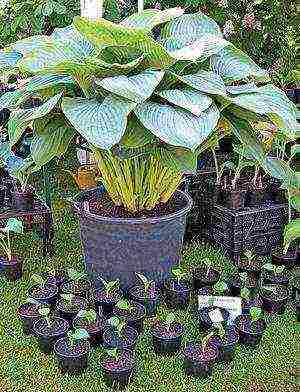
The pot needs to be chosen a little wider than the earthen ball, and the depth depends on your design ideas. If the container itself is light, then the bottom needs to be heavier. Large hosta is a rather tall and sprawling plant that can be easily knocked over by the wind. If the pot is deep, then, in addition to making it heavier, fill it with expanded clay or pebbles, so that there is not much soil under the roots of the hosta.
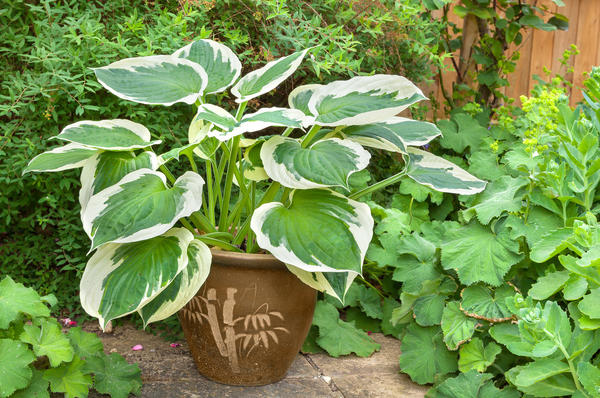
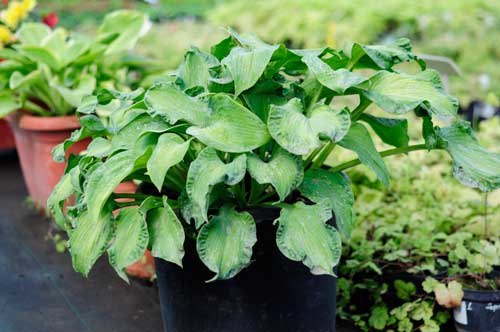
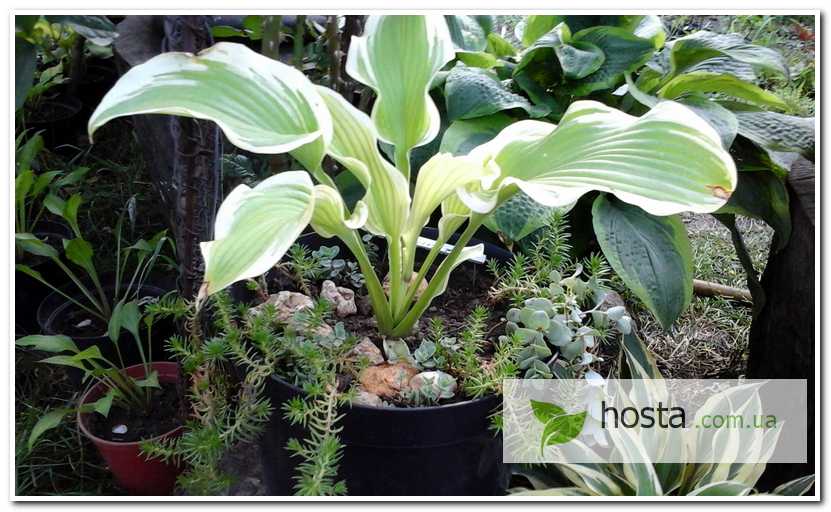
Any host can live in the container
My first host, having lived on my balcony for 5 years, unfortunately, died. Usually this plant can develop in one place for a very long time - up to 25 years. It grows in breadth. In my case, the host has slightly filled the second free part of the container in 5 years.
Deciding to plant my plant and get 2 instead of one, I just took the hosta out of the pot and cut it in half. Unfortunately, I planted the halves in containers of a larger diameter and deeper than the old one. As a result, my hosts just rotted away. I went to the garden center, chose a healthy, strong and equally variegated bush and planted it again in a large container. The bush has rotted again. Then I turned to the garden center for help. They explained to me: the pot should be quite a bit larger than the hosta root system, almost the same size, and then even a novice gardener will find it difficult to destroy it.
The pot should be quite a bit larger than the root system of the hosts
We used to think that the hosta is hygrophilous and grows well near water bodies. This is perfectly true for a plant outdoors. In a spacious pot, water stagnates in free, unused land, and the roots rot. And in a small cramped pot, the earth, so to speak, is all in work, and there is practically no stagnation. I put my next purchase in a rather cramped pot, and now I have a hosta again.
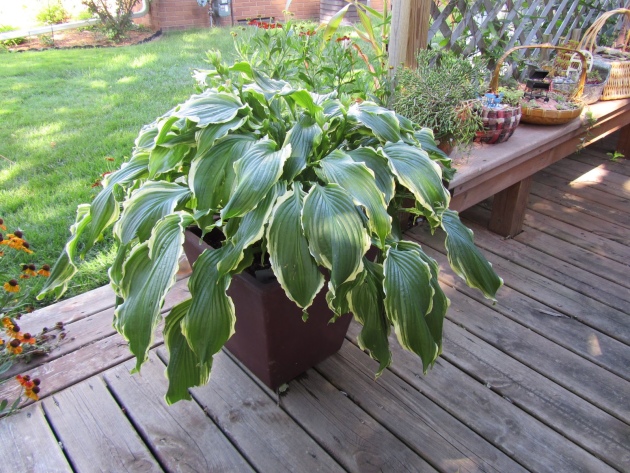
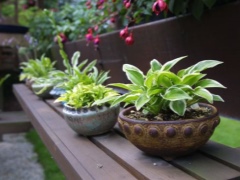
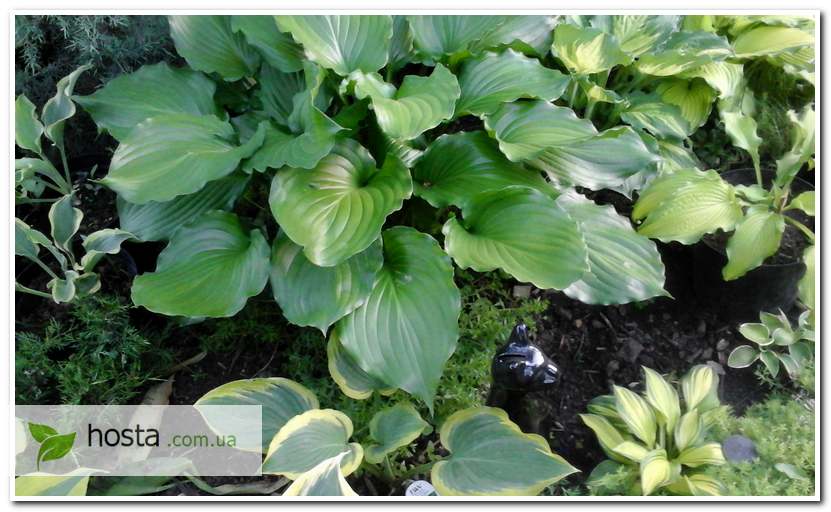
My new host is in a pot on the balcony. Photo by the author
Growing from seeds at home and caring for seedlings
Hosta seeds have a very poor germination rate - 70-80%.The sowing time is calculated taking into account the number of days required for pre-treatment and germination of seeds at home and the time when you will plant the plant in open ground.
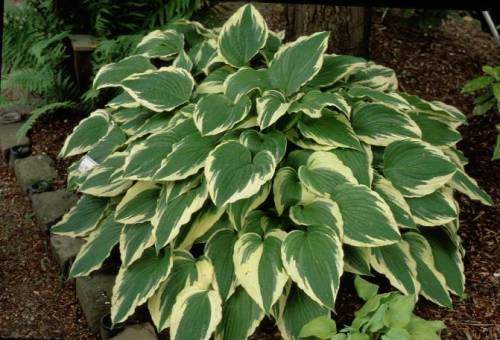
Before sowing, for better seed germination, they must be treated with growth stimulants.
To improve germination, you can resort to stratification. The process consists of 2 stages: swelling and cooling of seeds.
- Prepare the substrate: sift dry sphagnum or peat moss through a sieve with cells of 0.5 cm. Warm up in a water bath for 1.5 - 2 hours, you can add part of the sand, also preheated.
- Add water to the substrate - 4: 1.
- Mix the substrate with the seeds in the same ratio.
- Put the mixture in a plastic bag and keep warm for no more than 2 - 3 days for the seeds to swell.
- Place the package in the refrigerator, taking into account that the temperature will be from + 1 ° to + 5 °. Shake and turn the bag periodically to improve air exchange.
- It takes 1 month to stratify seeds.
Prepare containers and soil for sowing:
- It is better to take a shallow and wide container. The container must have holes for water drainage.
- The soil for sowing must be loose, without lumps. If there is no ready-made substrate, prepare a mixture: turf and leafy soil, sand in a ratio of 1: 2: 1.
- To prevent diseases, be sure to warm up the soil in a water bath or spill it with boiling water.
- Sow seeds at the rate of 1 cm - one seed. Sprinkle lightly with earth, gently compact and spill with water.
- After watering, cover the crops with paper, and on top of it with plastic wrap. Paper is needed to absorb excess moisture.
- Remove the film daily for airing.
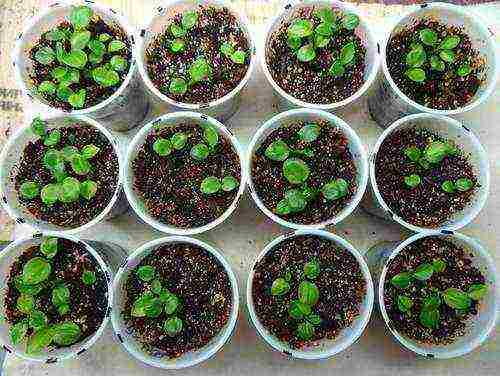
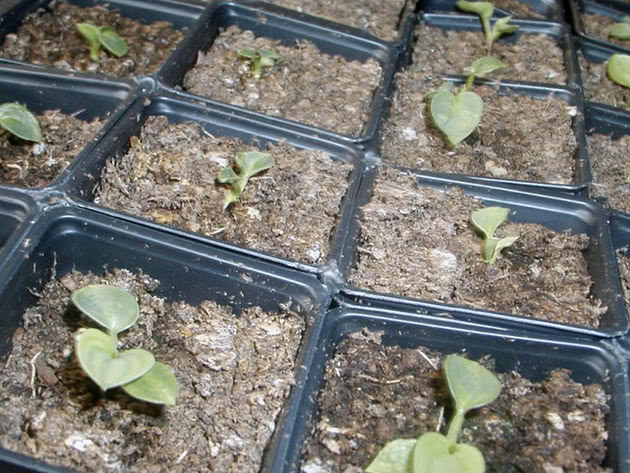
After 20-30 days, the first shoots will appear, for which special care is needed. Dive the seedlings, when 2-3 leaves appear, into the soil, which is one third of sand and, preferably, into a container with high sides.
Moisten plants through bottom watering. Within 10 days, remove the cover from the crops for several hours so that the seedlings adapt to the new conditions.
Water the seedlings in a timely manner. Monitor the temperature, optimal from + 18 ° to + 20 °. Carry out for hardening in fresh air when the temperature reaches + 20 °. Start with 30-40 minutes, gradually increasing the exposure to air.
Despite the careful care of the host from seeds, it grows very slowly and will become a full-fledged bush in 3-5 years. A plant grown from seed often loses its varietal characteristics.
How to plant hosta from the root in spring?
Before planting a flower in the soil, they dig up the earth to the depth of a shovel bayonet and plant a plant in the following sequence:
- Digging a hole. For a large root, the width of the hole is 80-150 cm, and the depth is 40-50 cm.Plants with medium and small rhizomes are planted in a depression 30-60 cm wide, 25-35 cm deep.For dwarf and miniature hosts, make a hole 15-20 wide cm and a depth of 10-15 cm.
- The rhizome is covered with earth with peat, rotted manure, compost. Organic fertilizer should account for 1/3 of the soil volume.
- The hole, before placing the root in it, is watered abundantly.
- The roots of the plant, without deepening much, are placed in a hole and covered with prepared earth.
- Water the seedlings again. If the surface of the soil settles, then the substrate is poured on top.
- The soil is mulched with sawdust or bark.
It is important, when planting hosts, to properly deepen the neck of the plant:
- if the rhizome is large, then the neck is placed at a depth of 4-7 cm;
- the medium-sized root system is buried 3-5 cm;
- the roots of small hosts are located from the surface of the earth at a distance of 2-4 cm;
- the rhizome of the dwarf hosta and the miniature one are planted 1-2 cm deep.
Deep planting of hosts will delay the development of young shoots. Will promote the development of fungal infection and root rot. When planted shallowly, the roots stick out.
Landing requirements
Hosta is undemanding to the place of growth, but it does not tolerate direct rays, those areas where the sun is from 12.00 to 17.00.
Planting a plant should be guided by the variety:
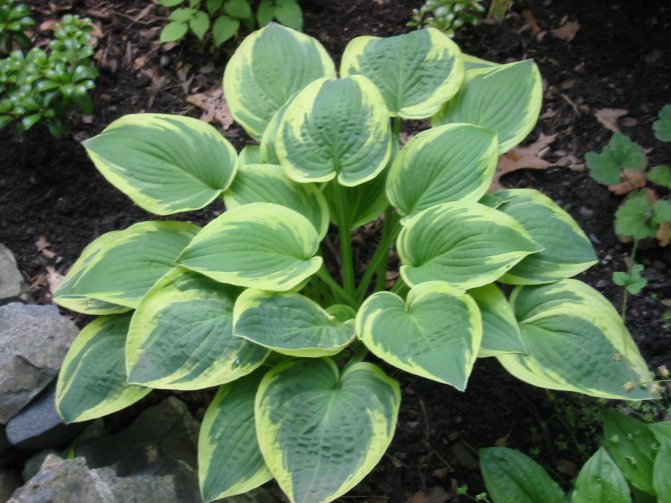
- Hostu with white or yellow veined leaves, located in sunny areas, but not in the sun. In the shade, the leaves may lose their decorative effect.
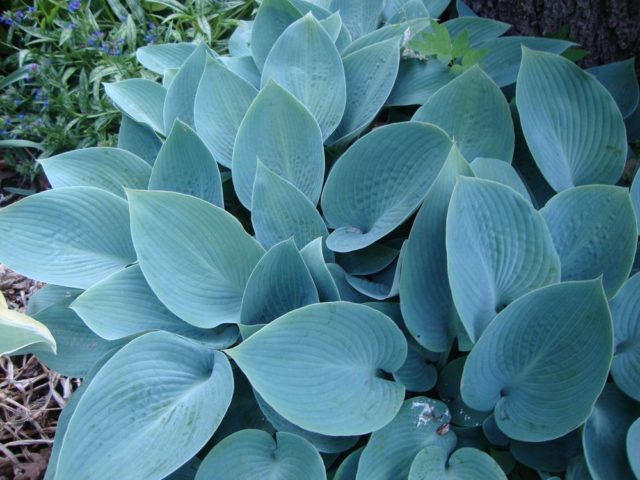
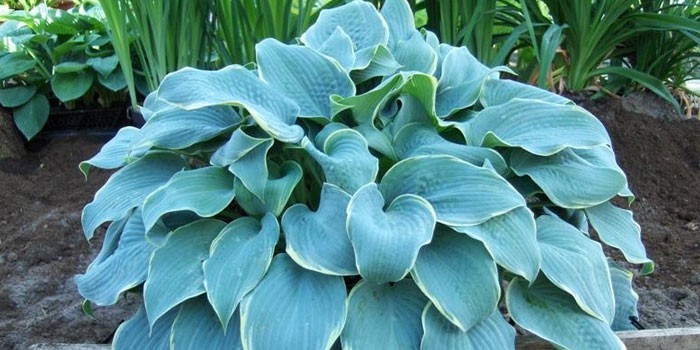
- Crops with green and blue foliage thrive best in shade or partial shade. The bush in such conditions turns out to be large and spreading. Although it grows more slowly than in sunny areas.
Khosta can grow on any soil, but it is preferable to plant the plant on loam with a neutral pH. Sandy soil will slow down crop growth but improve flowering. In damp areas, the roots of the hosta rot, so they are categorically unsuitable for planting it. The groundwater in the flower garden should be at a sufficient level so that the root system does not rot.
If the purchased hosta is small, then it is better not to plant it in a permanent place, but temporarily place it in the shade of tall plants. As soon as the flower takes root and begins to grow actively, they are transplanted to a permanent place using the transshipment method.
When to plant hosta in spring?
The plant is planted in the ground when the danger of frost has passed. In different regions, these are different springs:
- in the Moscow region and Central Russia - the end of May;
- in Siberia and the northern part of the Urals - early June;
- in the south of Russia - the second half of April.
How to plant the host correctly?
Before planting the hosta root, it must be disinfected in a pink solution of potassium permanganate or in Fitosporin.
If the hosta was bought in a pot or was planted in a container and grew for some time at home, then such a plant cannot be immediately planted in the ground. The flower needs to be hardened and gradually accustomed to Easter weather conditions.
When planting a plant directly into the garden, the host is first shaded from the sun. There are varieties that bloom in the year of planting. In the first year, it is better to pick flowers so that the culture can direct all its forces to the development of the root system.
If the hosta has grown a lot, then in the spring it is divided into several small plants by dividing the root.
For:
- the host is dug up;
- shake the soil from the root;
- large filament-like rhizomes are pruned;
- small bushes are disconnected into separate parts, each should have about 2-3 leaf buds.
If the root system has grown strongly and cannot be separated by hand, then cut it with a knife. The cut site is treated with wood ash.
The seedlings are planted 3 cm lower than the adult plant was planted before transplanting. Before planting, the flower is cleaned of dry, damaged and rotten roots. After planting, the hosta is watered with water, and the soil around it is mulched. A distance of 30-80 cm is maintained between young bushes. Adult plants are planted at a distance of 100 cm from each other.
Features of the care of a potted host
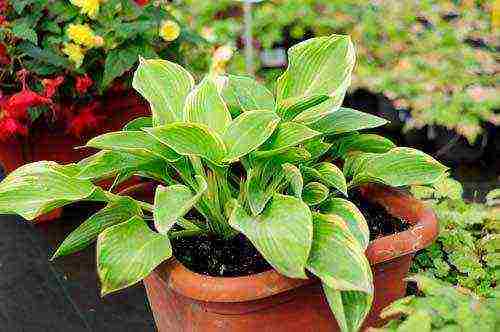
Container gardening is not an easy hobby. It would seem that here she is - the host, all in sight: unpretentious, shade-loving, moisture-loving, winter-hardy, "unkillable". But in fact, in the open field, this plant has much more comfortable conditions.
Host: unpretentious, shade-loving, moisture-loving, winter-hardy
- The rain has passed - the excess water in the garden has soaked deep into the depths, flowed down in streams, and it is worth a host in evenly damp earth. And in a pot? Some of the excess water flowed out through the drainage hole at the bottom, and accumulated in the sump. And some more moisture remained in the ground.
- The wind blew in the garden - dried the top layer of the soil, in the depths it is still wet, everything is in balance. And in a pot? A small volume of soil dries up immediately, collects in a lump, leaving an empty space between the walls of the pot and the ground.
- A plant lives in the garden, from above it is so beautiful, healthy, and below the workaholic worms loosen the soil, trying to ensure that the roots receive enough oxygen and water. And in a pot? It is clear that there are no worms in the pot.
It turns out that container gardening is different from gardening in the usual sense of the word.
Container gardening is different from gardening in the usual sense of the word
My rules for growing hosts in a pot
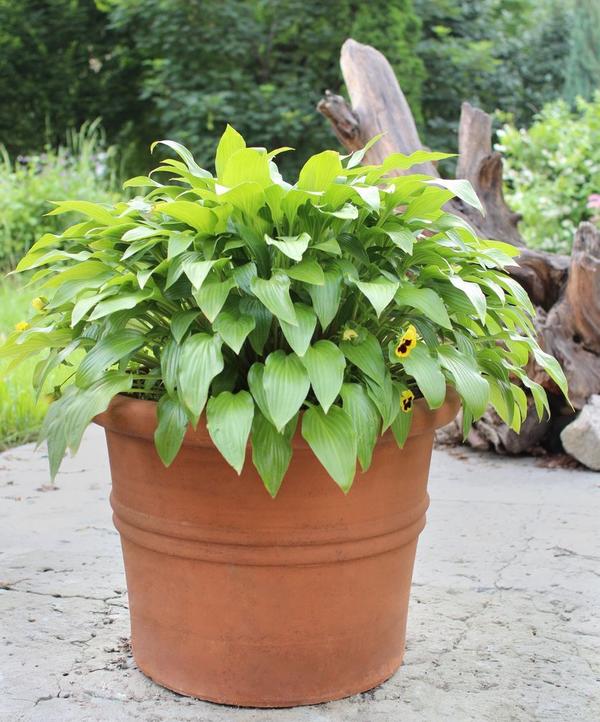
- You need to grow the host in a pot outdoors - on a balcony or terrace.
- Choose a container that is 1-2 cm wider than an earthen lump.
- Use special soil for containers - with perlite, and not the usual garden.
- Loosen the soil regularly, do not allow a dense crust to form on the surface.
- Do not use mulching, although I know that there are such recommendations. I have there all the time strive to get some pests. And birds and beneficial insects on the balcony are unlikely to be attracted.
- Water as the soil dries up (I check with my finger at a depth of 2-3 cm). If wet, do not water. There are no clear guidelines. On the balcony, the situation is changing all the time: either a light breeze, then the sun came out, or you are at work, and then there is a downpour. And all this for one small pot. So check - and that's it!
- If there is water in the glass pan after watering or rain, drain the water and loosen the soil.
- In the summer, feed adults with fertilizer for variegated host.
You need to grow hosta in a pot outdoors.
Friends, a variety of annual plants grow on my balcony, however, like many. But I love to plant and perennials. I have stonecrop (eminent sedum), cymbalaria, loosestrife and, of course, hosts. Read about growing them. After all, it is so nice and cozy to admire in winter from a warm room through a frozen window at beautifully sheltered plants, in early spring to see a rapid awakening, and in summer to enjoy their company, sitting on a balcony in warm weather.
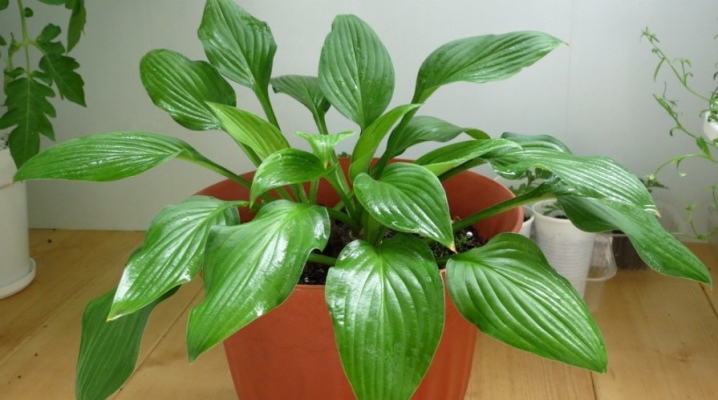
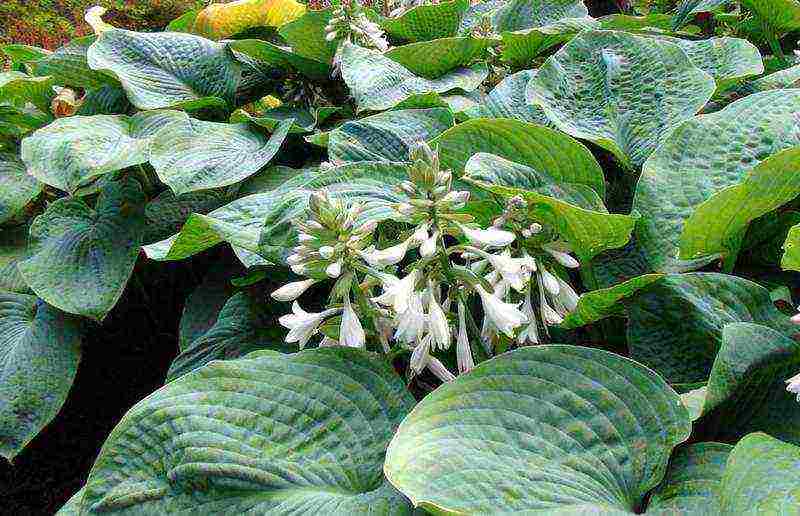
Hosta is one of the most popular plants today, which can be grown both outdoors and indoors. Thanks to its incredibly beautiful appearance and large, wide leaves, it is she who becomes an adornment of home flower beds and adjoining territories, an excellent addition to the room interior.
In this article, we will talk about how a hosta grows at home in a pot, and we will also describe all the rules for caring for a plant.

