Hosta care
How to care for a host in the garden
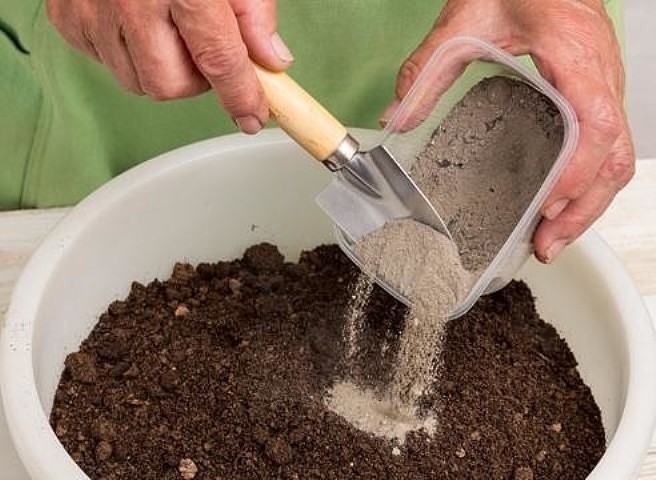
If the hosta grows in fertile soil, then it may not be fed for three to four years. The main top dressing for the host is humus and compost, which are applied in the fall in the form of mulch. It is undesirable to get carried away with mineral fertilizers, but if you decide that they are needed, sprinkle granular fertilizers around the host after rain or abundant watering. Plants are fed with liquid fertilizers (root and foliar) once every two weeks until mid-July, and then they stop, otherwise the host will continue to grow new leaves and will not have time to prepare for winter.
How to grow hyacinths - when to plant and how to care
The soil around the plants should be moist all the time, especially around young hosts, so it is very important to water the plants on time, and watering should be done in the early morning and at the root, and not along the leaves, which deteriorate from getting water on them. In addition, the stream of water should not be strong so that the soil does not compact, but, on the contrary, can be saturated with water as deeply as possible.
The darkening of the tips of the leaves of the hosta serves as a signal that the plants do not have enough water.
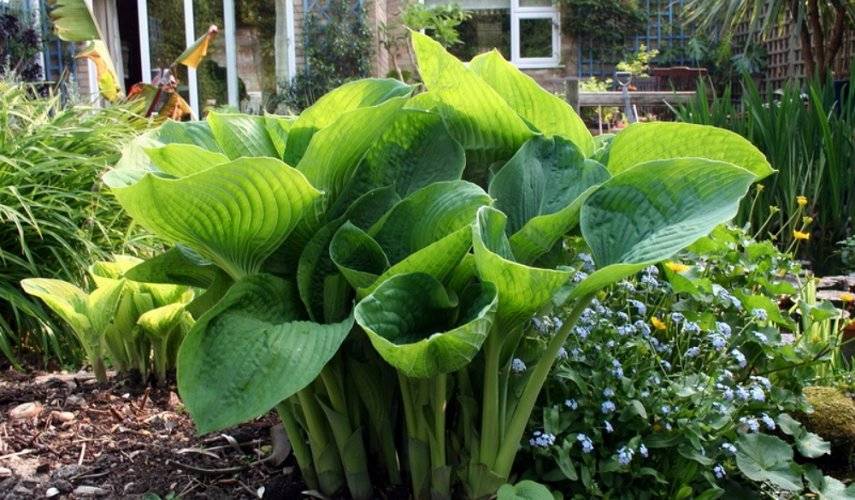
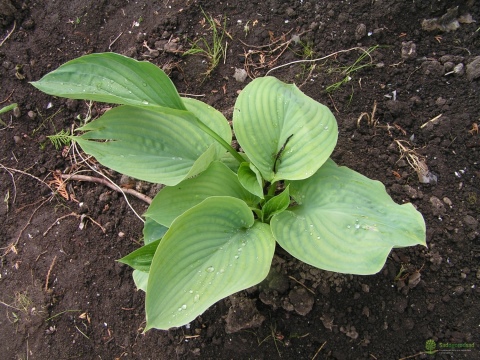
In the photo: Growing a host in the open field
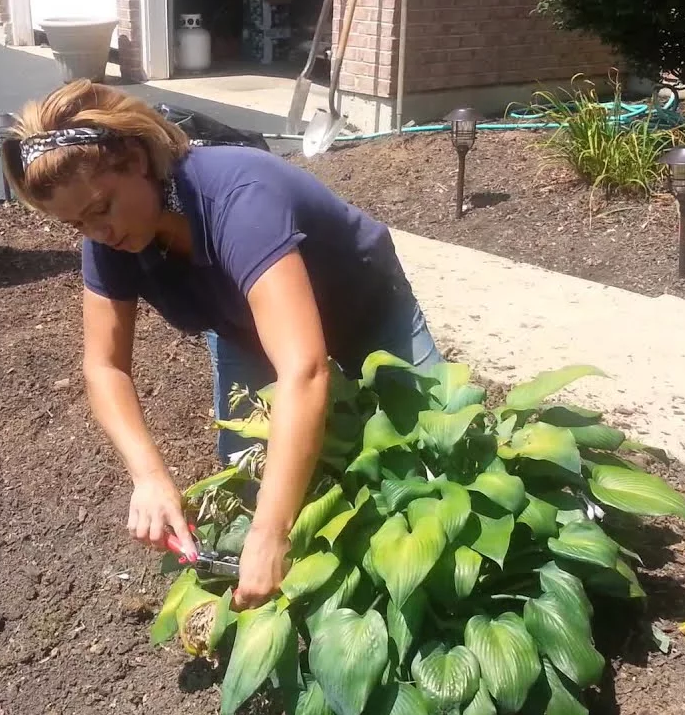
If you are interested in making the hosta bush look neat, you will have to break out the young flower stalks, otherwise the host will "fall apart" after flowering. The host needs to loosen and weed only at first, when it grows, the weeds will no longer be afraid of it. After three to four years, the host needs to split up as it will grow a lot. Dig up the hosta and separate the young cuttings from the main root. This will not harm a healthy plant.
Diseases of hosts
Hosts are unpretentious plants, but Americans claim that the more host varieties in your collection, the higher the risk of getting an infected specimen. Sometimes hosts, weak or frostbitten by spring frosts, are affected by phyllosticosis, a fungal disease that manifests itself in the form of yellow-brown merging spots on the leaves. Sometimes the peduncles are affected by the fungus Phyllosticta aspidistrae Oud. Infected plants are removed and burned, and the soil in this place is disinfected.
In the photo: Hosta leaves turn yellow
Hosta suffers from gray rot (Botrys cinerea) and from sclerotinia (Sclerotinia). Rot affects the leaves of the hosta, fighting it with fungicides, which are based on folpet. Sclerotinia is a fungus, white cotton mold, detrimental to the root neck of the hosta. It is eliminated with dichlorane.
Pest hosts
The main plant pest is slugs. A sign that the hosta has attracted these garden pests is large holes in the leaves. Fighting them is simple: place bowls of beer around the host, and a day later go and collect the slugs that have slipped down to drink beer.
In the photo: Slugs on the leaves of the hosta
In addition to slugs, stem nematodes are not indifferent to the host. Signs of their vital activity look like necrotic yellow spots spreading between leaf veins. A simple test will help to detect the appearance of nematodes: put finely chopped hosta leaves in a thin-walled glass, fill them with water for half an hour, and then look at the contents in the light. If there are nematodes, you will see the worms swimming in the water. It is impossible to fight nematodes, because chemicals will not destroy the eggs they have laid, and they will give new nematodes the next year. Plants will have to be exterminated within a radius of two meters from the affected specimen.
In the photo: Collecting hosta seeds after flowering
The danger for the hosta is represented by caterpillars, which, having appeared unexpectedly, can destroy the entire plant in just one night, as well as beetles and grasshoppers, after the invasion of which the leaves look like Swiss cheese. Only insecticides can save the hosta from insects.
Hosta preparing for winter
The preparation of a garden beauty for winter is determined by some of the previously indicated actions, namely, by cutting the peduncles at the end of the flowering period, observing the feeding regime (fertilization should not be applied after July), autumn mulching (it does not hurt to add tobacco dust to the mulch layer, which snails are afraid of and slugs), as well as treatment with fungicides (phytosporin protects well against fungi and bacteria). In addition, you can provide a shelter from dry branches.
The use of polyethylene film, roofing felt and other materials impervious to water / air for these purposes is not permissible! Immediately after the end of winter, you should not count on the emergence of seedlings - the host will not rush to appear from the ground, waiting for the constancy of heat. This can lead to some confusion for a novice gardener, who may decide that the plant did not survive the cold times, but hosts often emerge late, after which they pleasantly surprise with rapid and rapid growth.
Host species and varieties: photo, name and description of plants
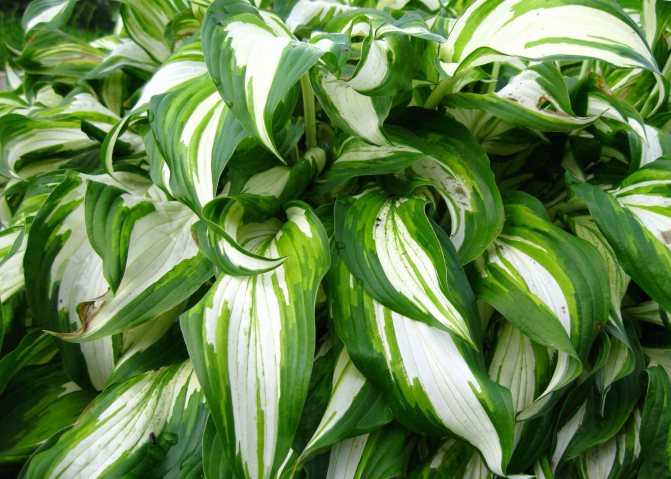
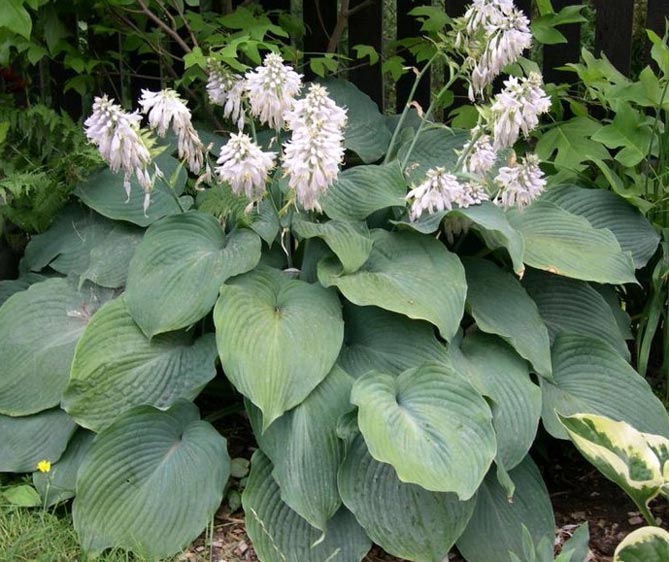
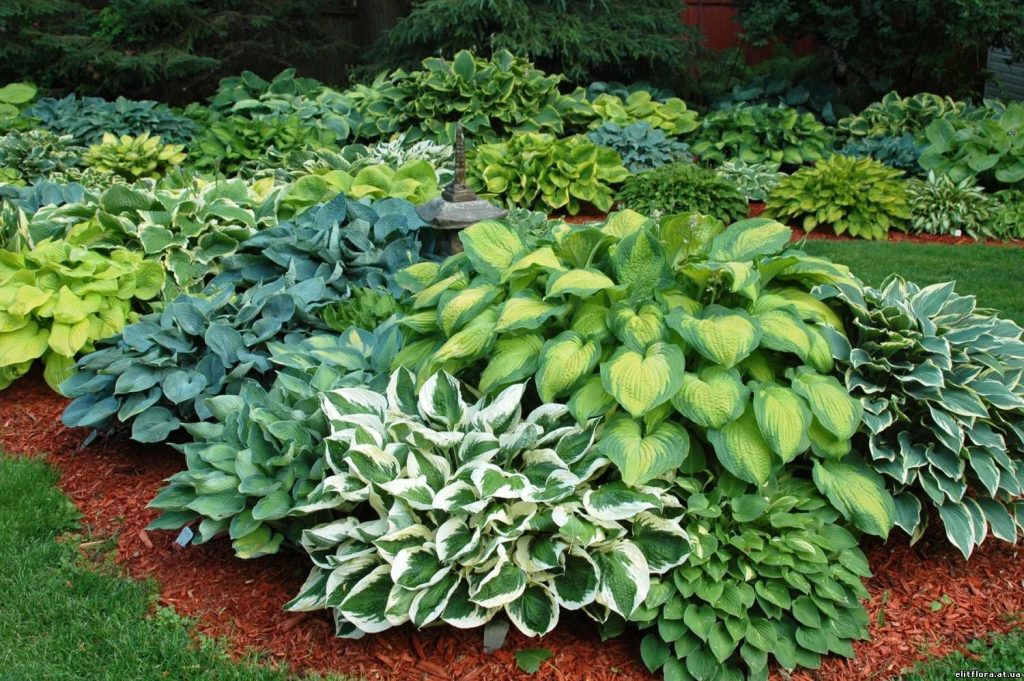
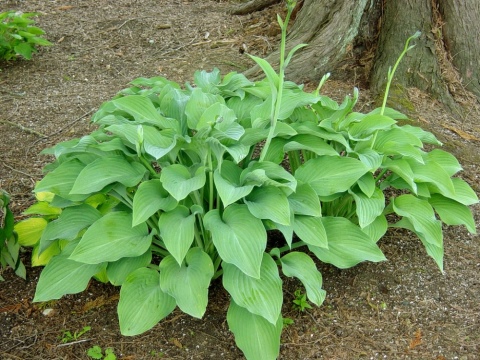
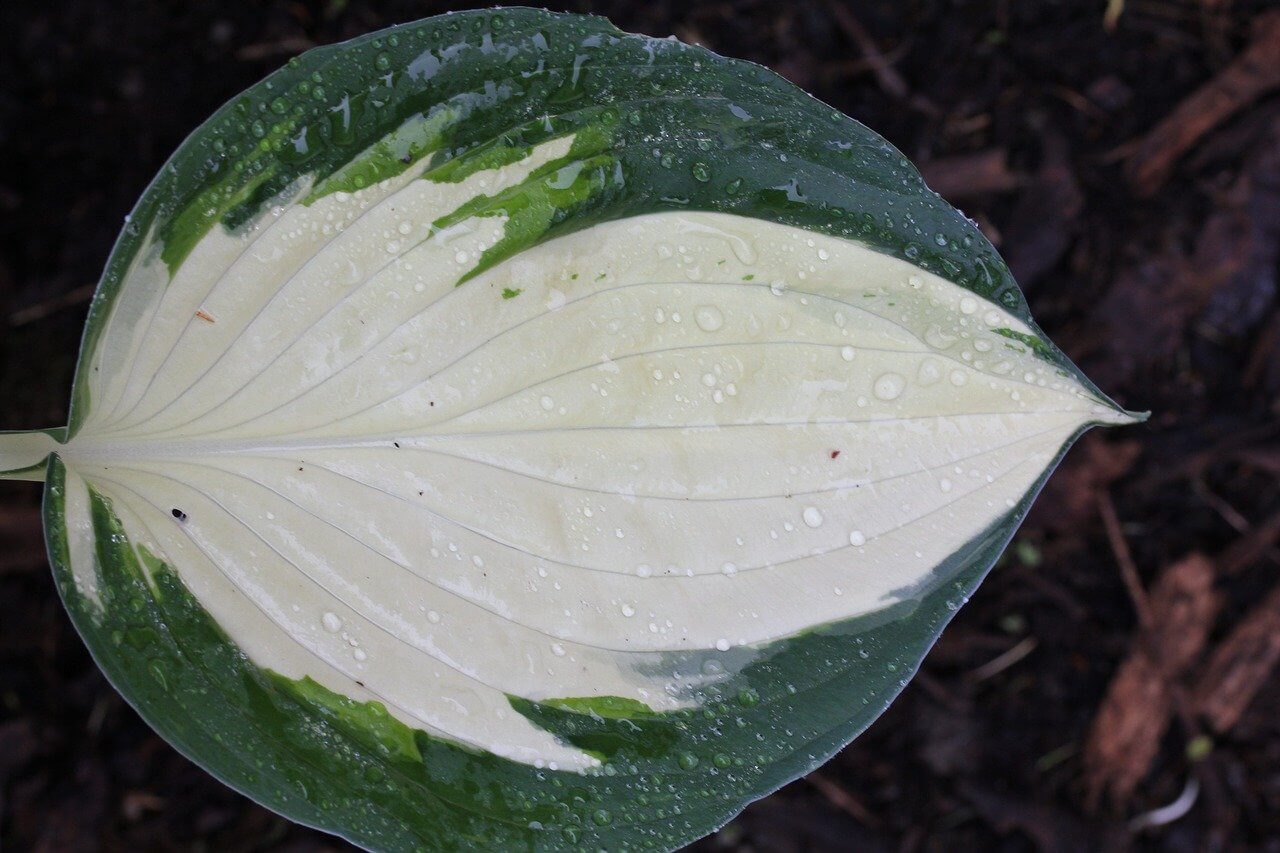
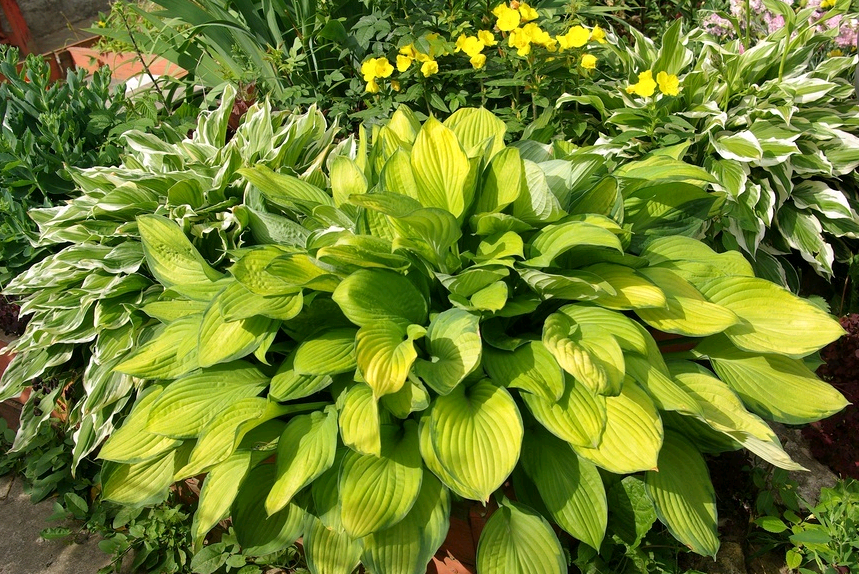
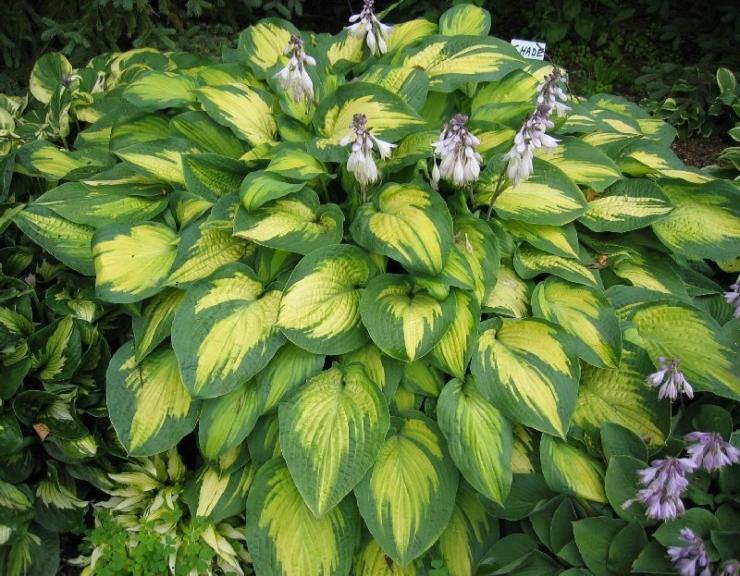
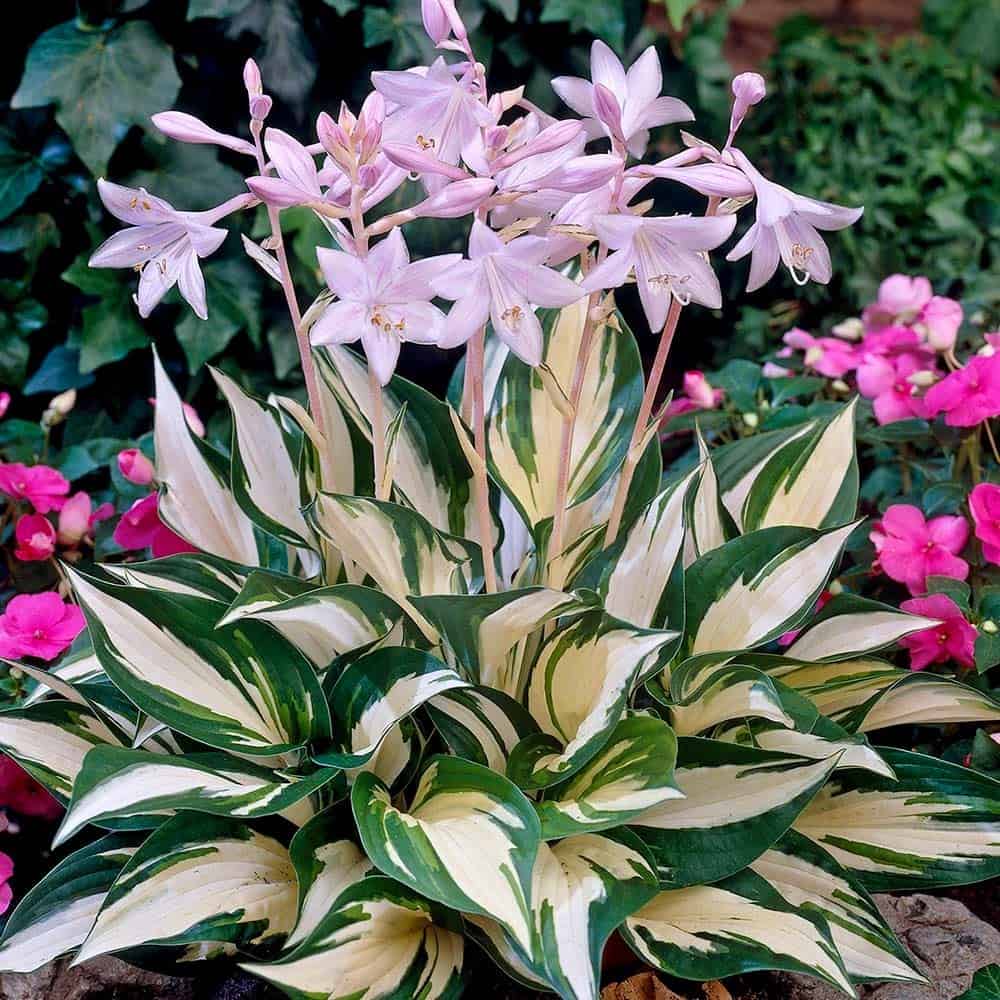
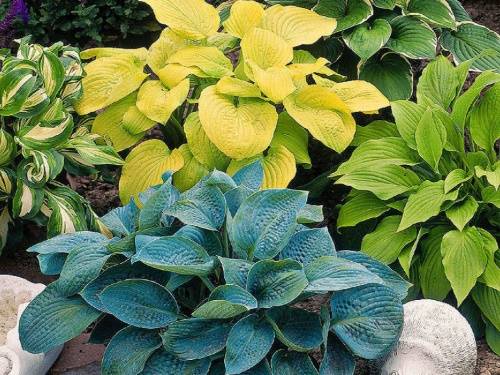
Despite the beautiful flowers, the leaves are the main decoration of the plant. The leaves are distinguished by a variety of colors: with white, yellow, blue and purple stripes and blotches. The leaves are glossy and matte, smooth and textured, but still it is difficult to confuse the plant with any other. The height of the bushes can also vary significantly - from 30 to 125 centimeters.
Popular types of plants that can be found in the design of flower beds:
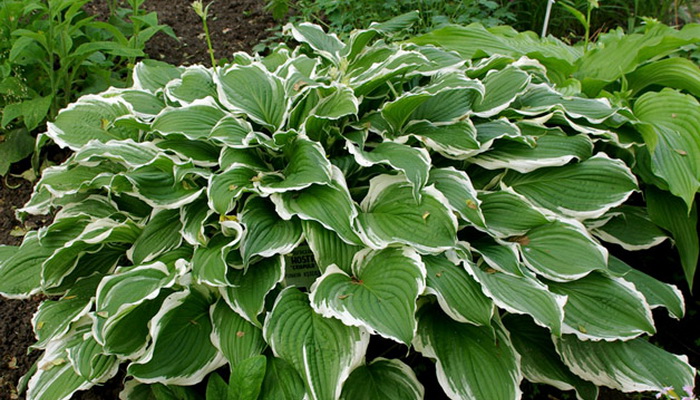
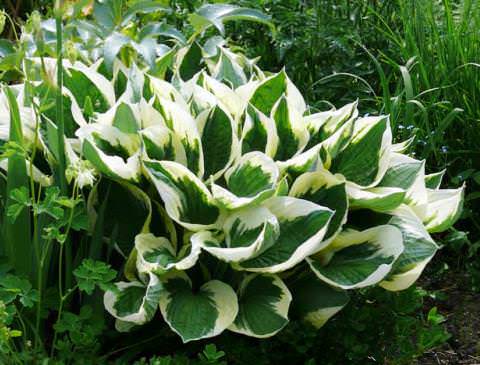
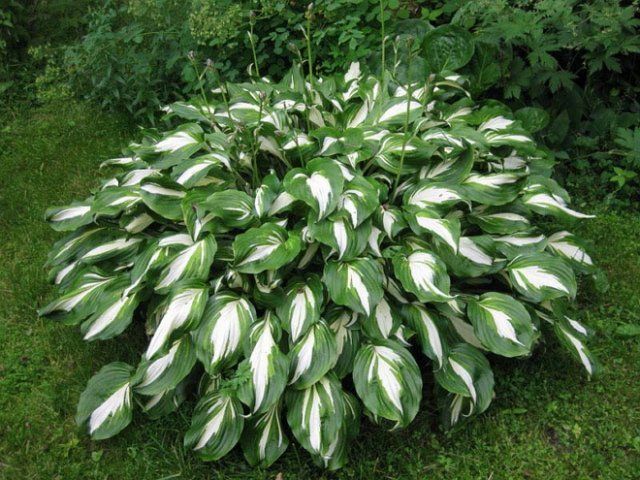
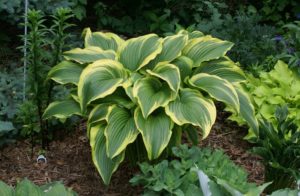
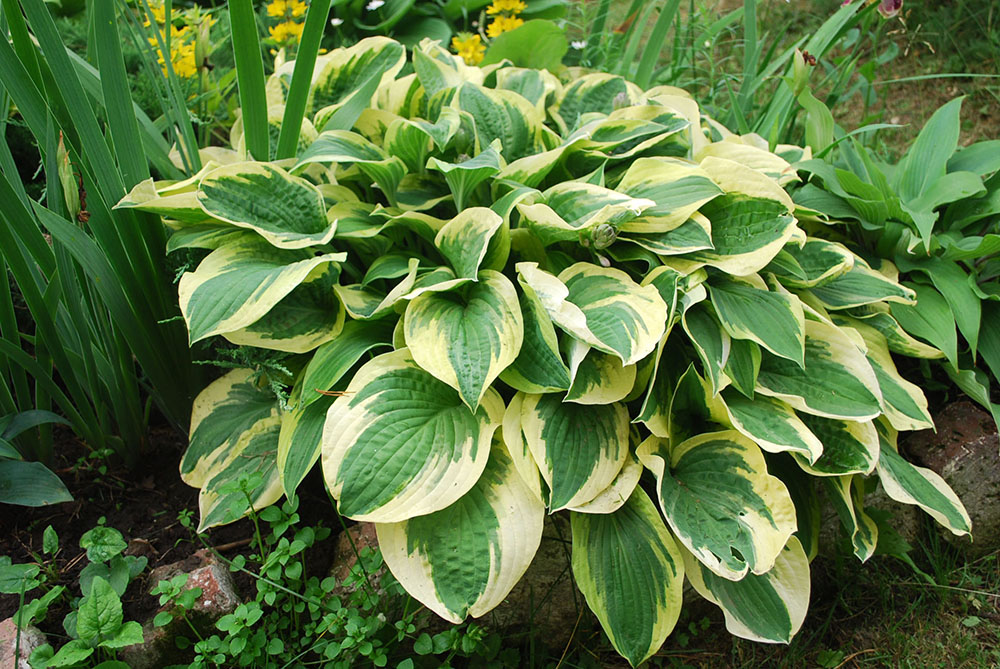
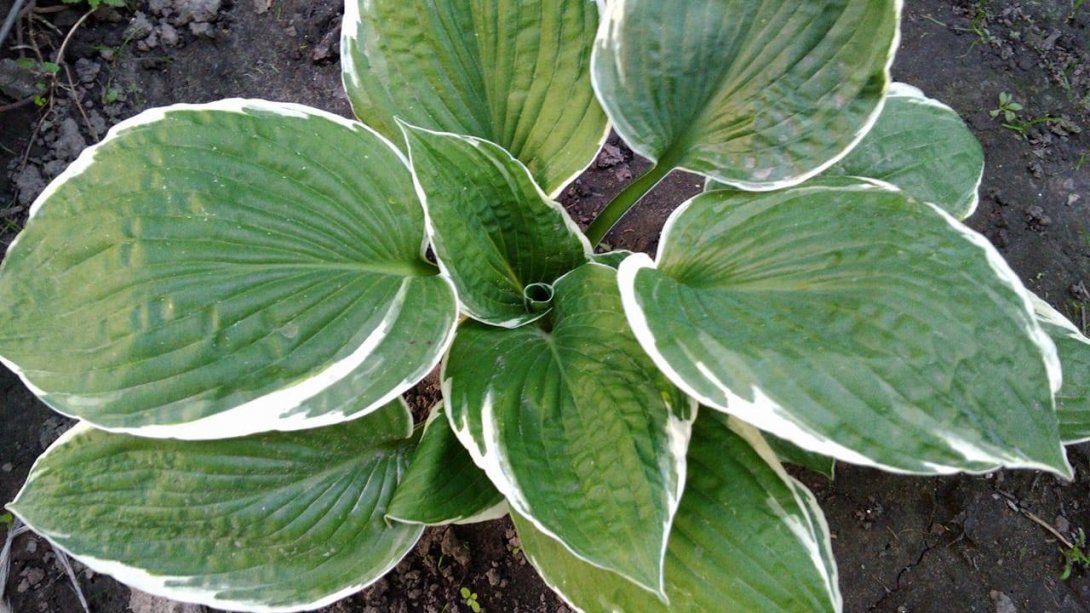
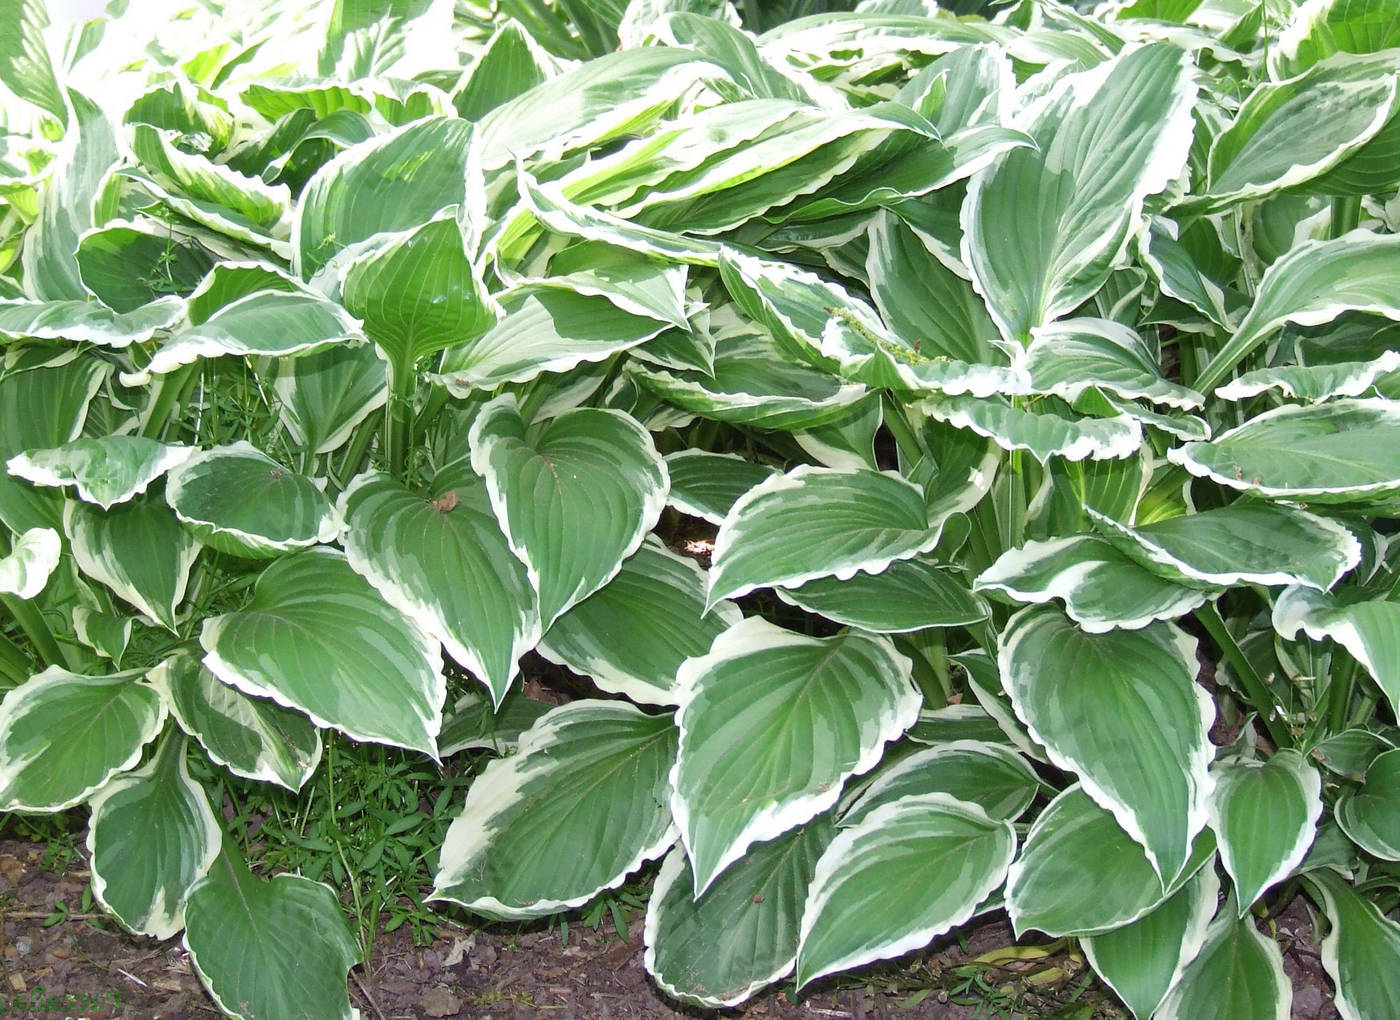
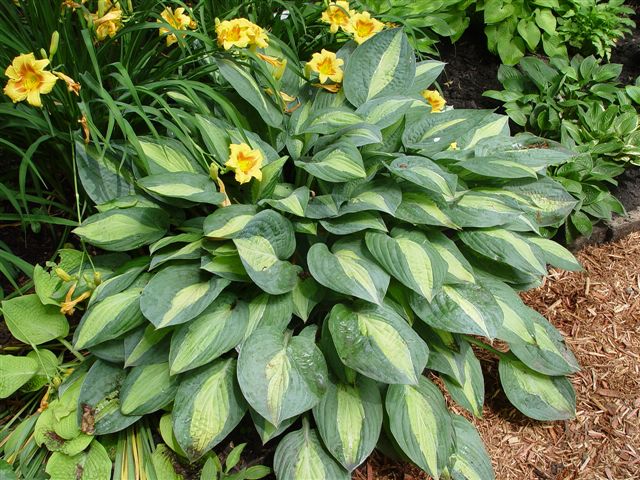
Pay attention to the photo of the hosta species Curly, it has rather wide leaves of rich green color framed by a white border. The height of the shrubs reaches more than half a meter
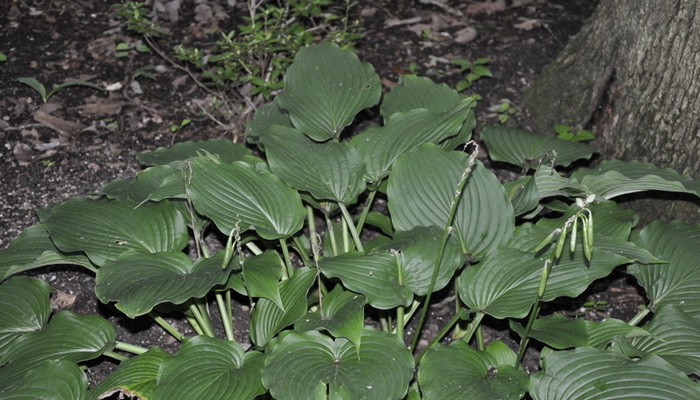
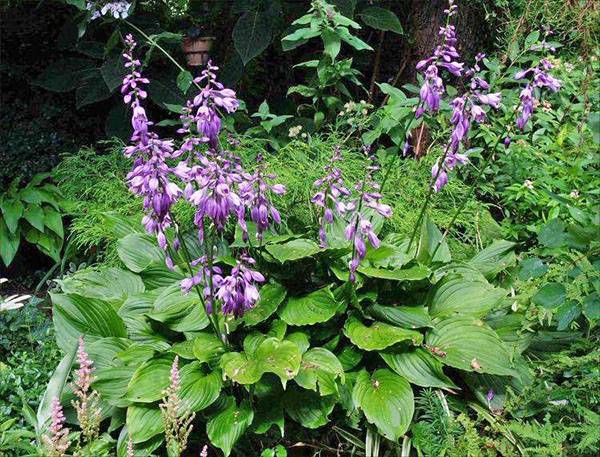
Hosta elata (high) - this type of hosta got its name because of tall bushes and long leaves, all varieties with long-petiolized leaves with depressed veins, light purple in color. It blooms in early summer, bears fruit regularly.
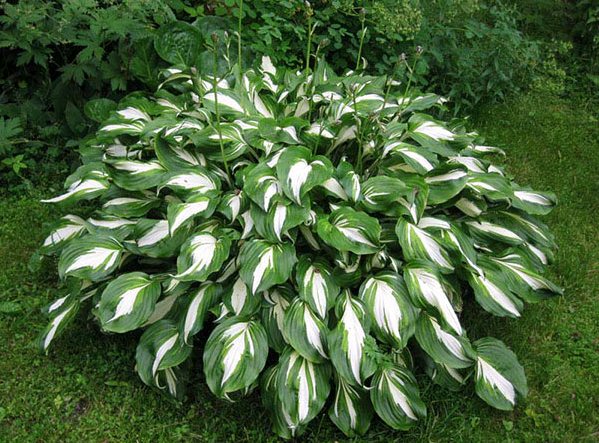
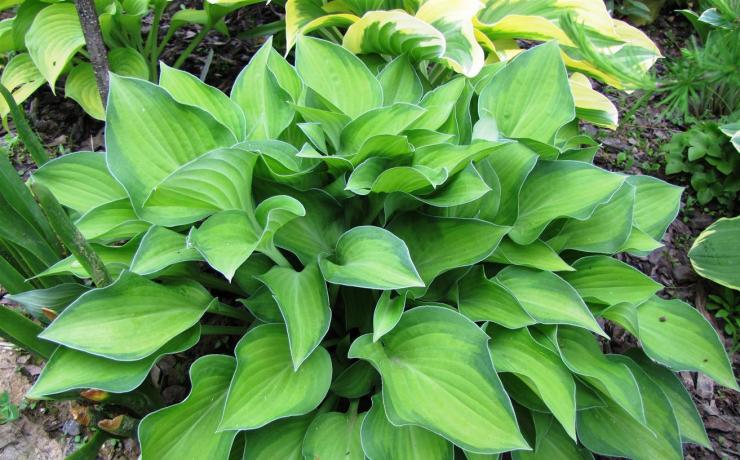
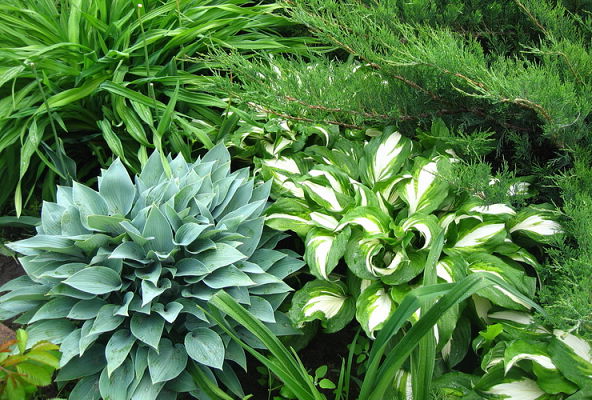
Hybrid hosts are varieties and types of plants that are often found in gardens. Look at the photos of these species with names, their unusual color will certainly decorate any front garden:
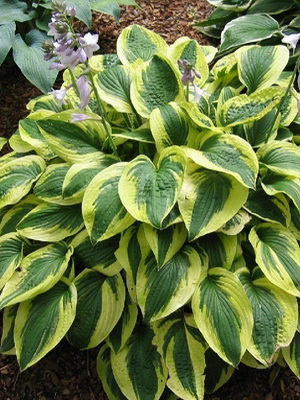
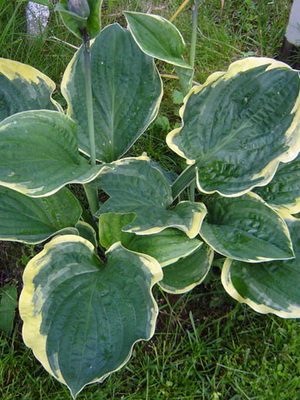
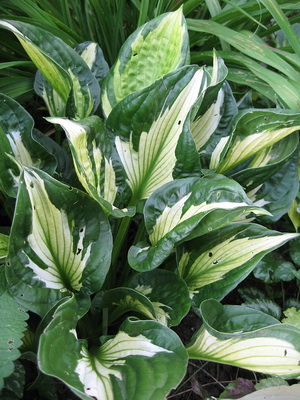
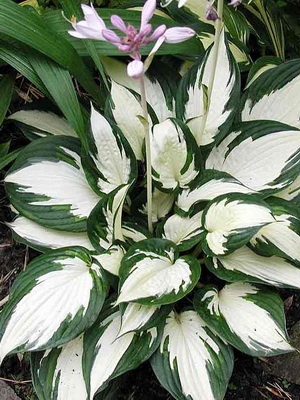
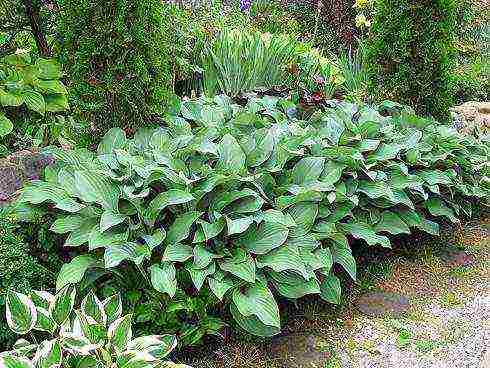
Due to the variety of host species and varieties, the plant is widely used in landscape design, to decorate parks and gardens.
Thanks to the work of breeders, more than 4 thousand host varieties have now been bred. It is worth considering the description of the most popular varieties in more detail:
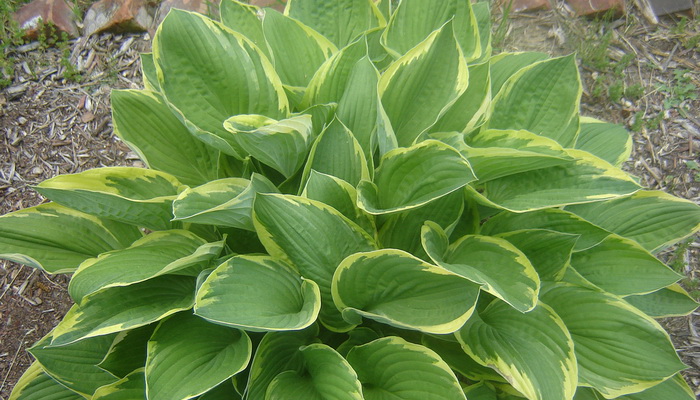
Variety - hosta Fortune, look at it in the photo, a description of its features are leaves with a beige border and tall stems.
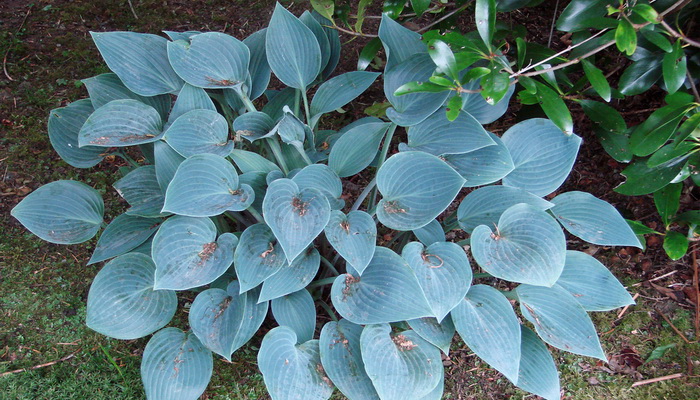
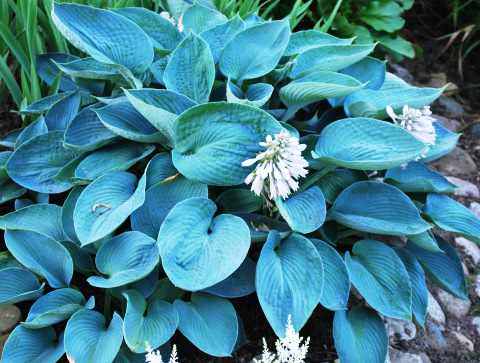
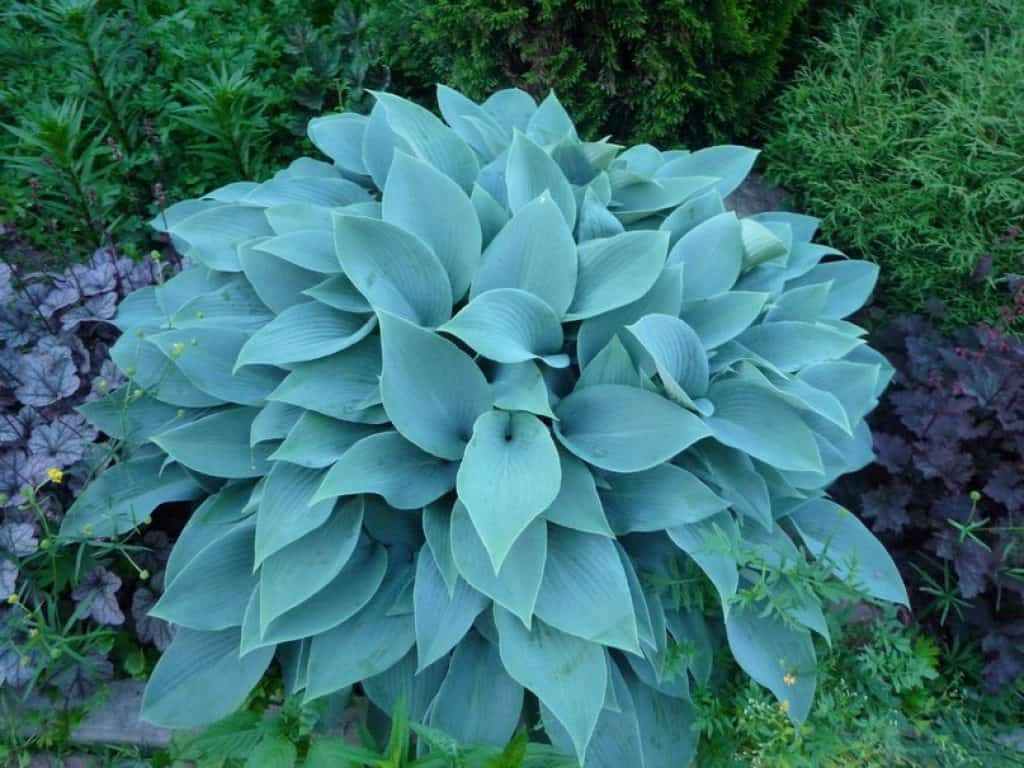
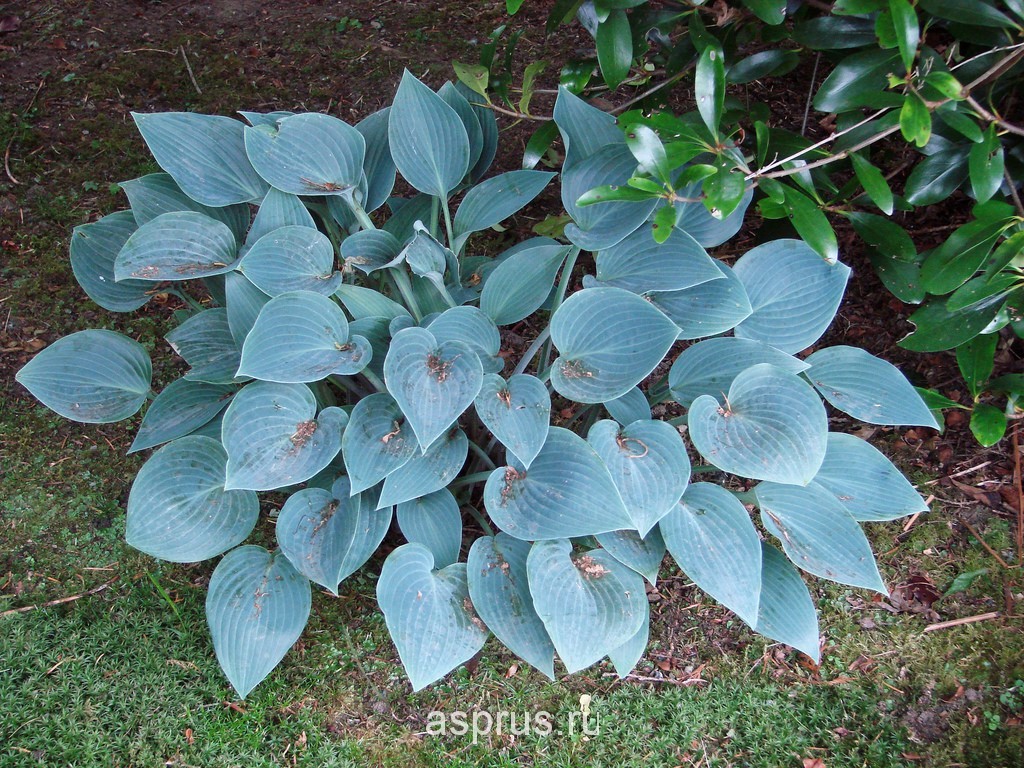
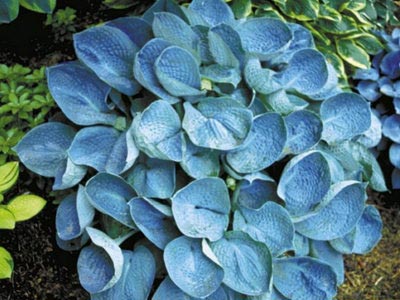
Blue Cadet is a fast growing hosta variety, shown in the photo, and the name speaks for itself - it has rounded leaves of blue-green color.
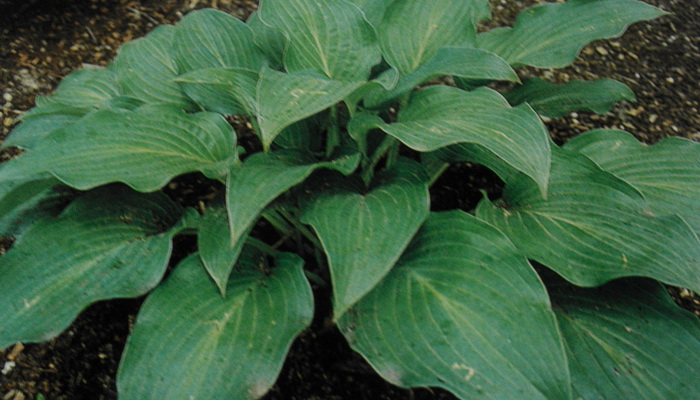
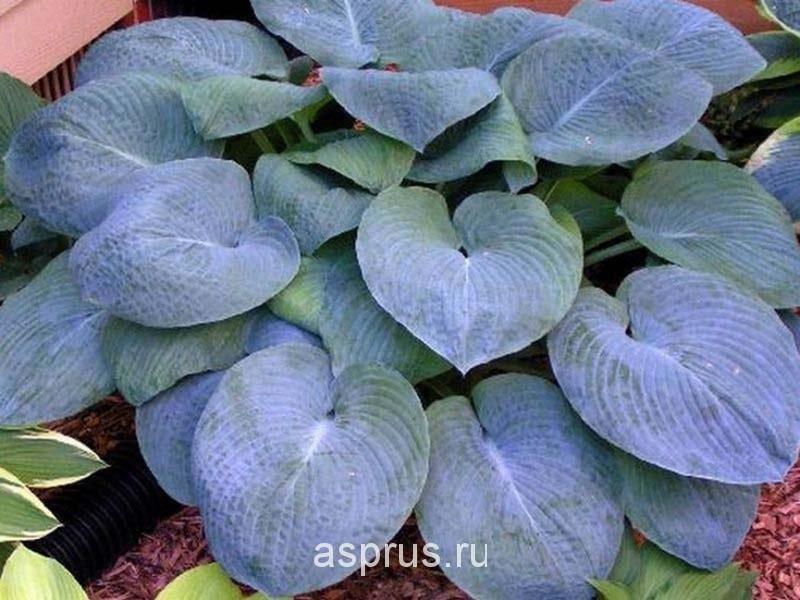
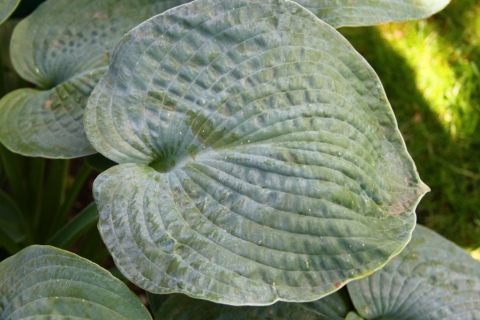
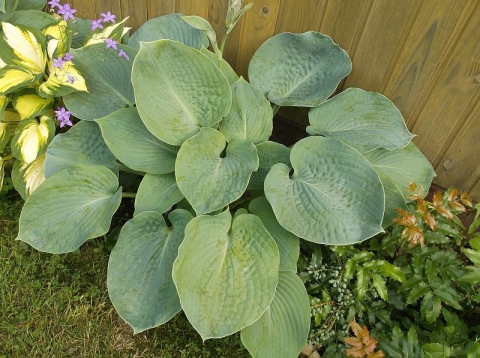
Blue Lady - this is the name of this hosta variety with medium-sized blue-green leaves, received due to the heart-shaped leaf of fragile size and elegant ribbed texture.
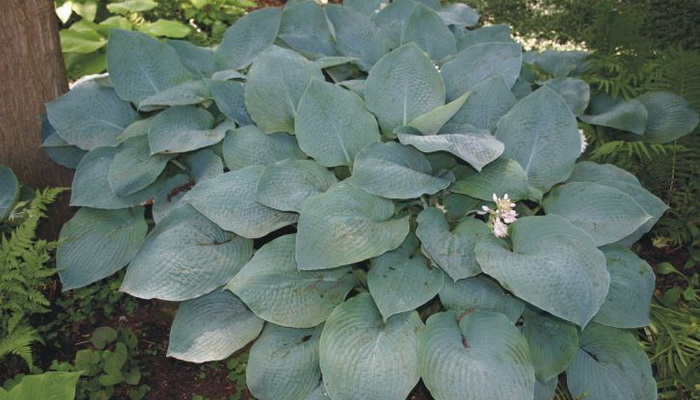
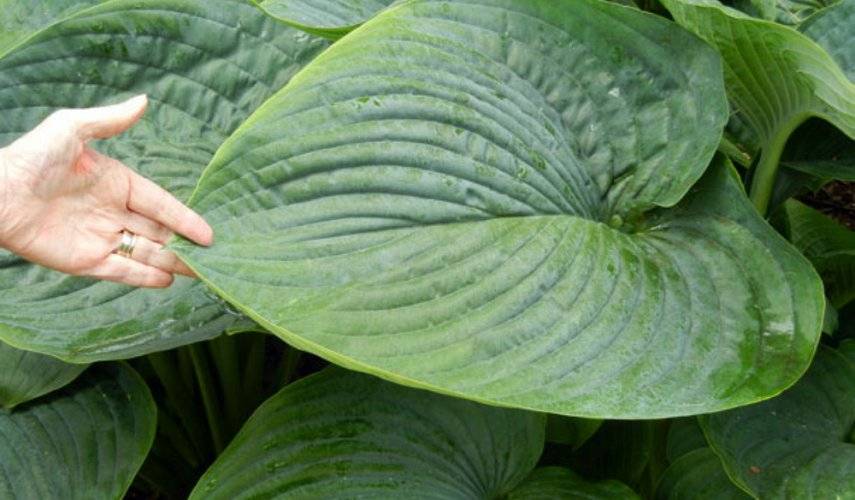
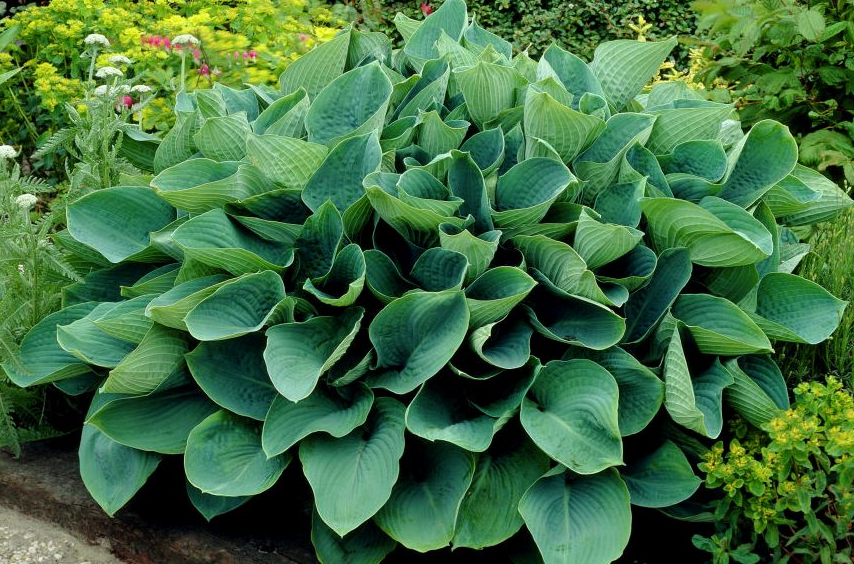
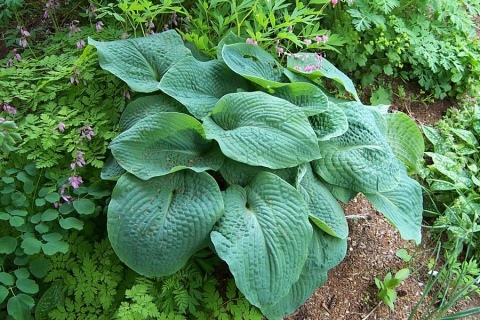
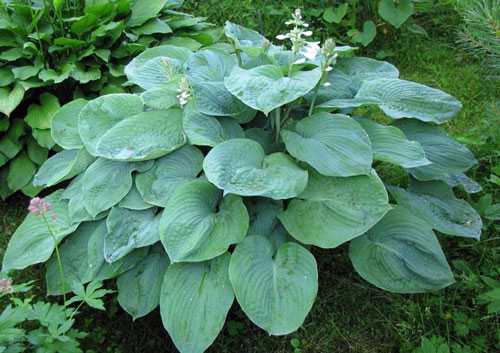
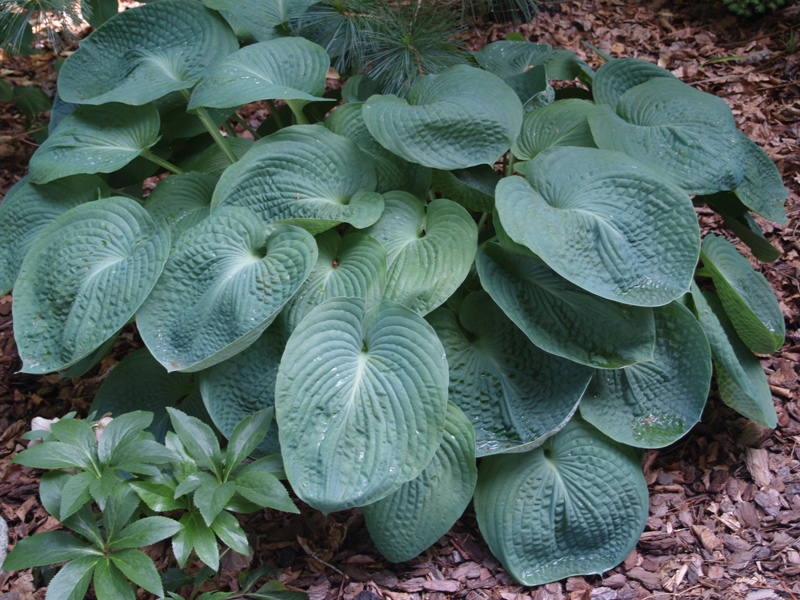
Big Mama is a plant from the giant host species, the characteristic of the variety is the large round blue leaves. Likes to grow in shady places.
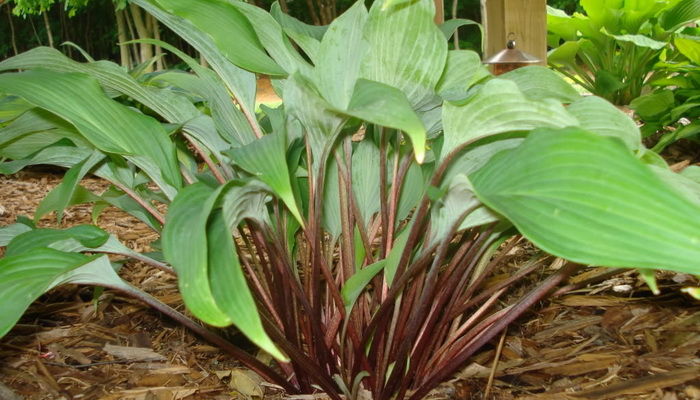
Red October - look at the photo with this hosta variety, its leaf stalks look very impressive - they are reddish in color.
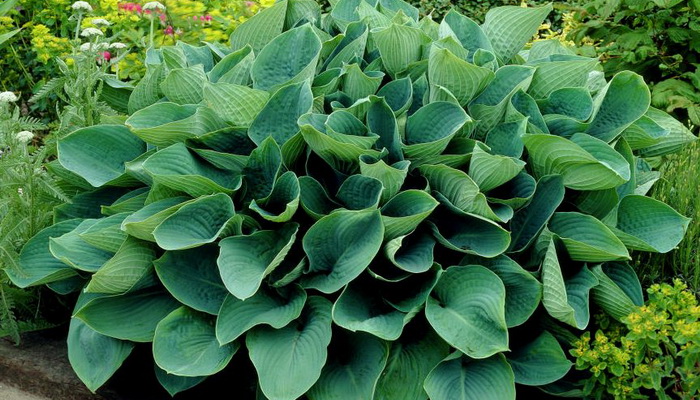
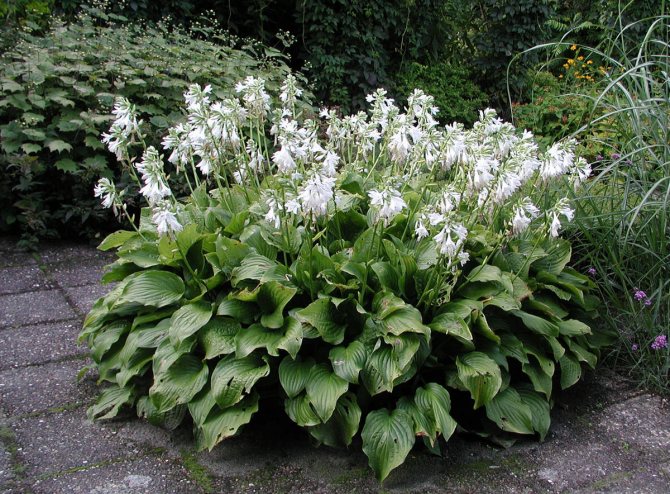
The hosta of the Elegance variety of the Hosta Siebold species is shown in the photo, it is characterized by pointed wide leaves of a gray-blue color, has multi-flowered inflorescences, flowers - from white to purple.
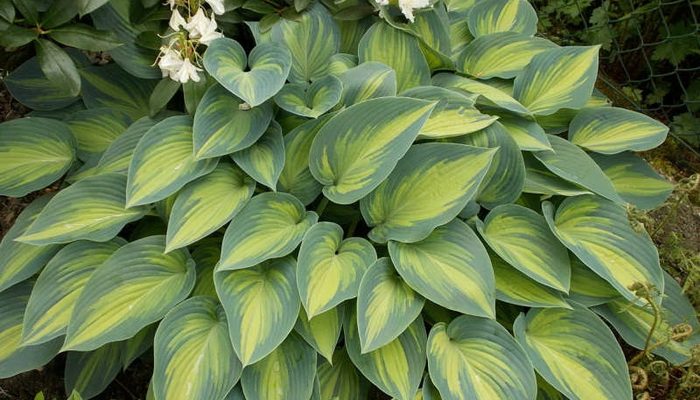
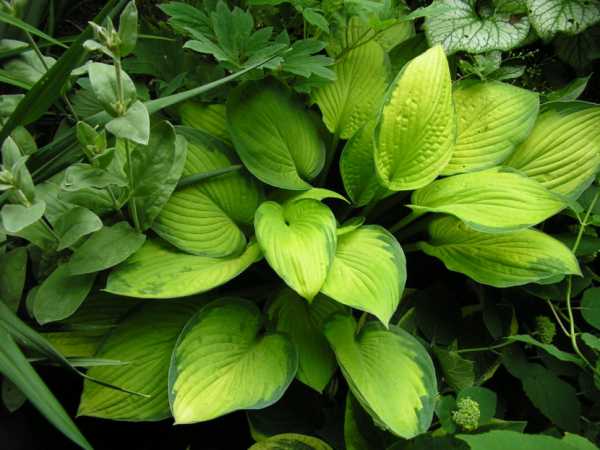
June is the name of a rather interesting hosta variety, and just look at the photo with a plant, the color of the leaves of which can change several times per season from yellow-green to blue-light green.
Hosts are divided into groups according to different characteristics, for example, by size, bush shape, color and shape of leaves, flowering time. But the determining factor is still information on a specific variety, since belonging to one of the groups does not say anything about other characteristics.
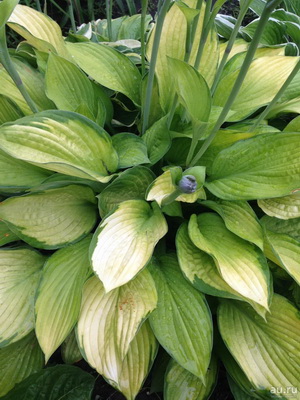
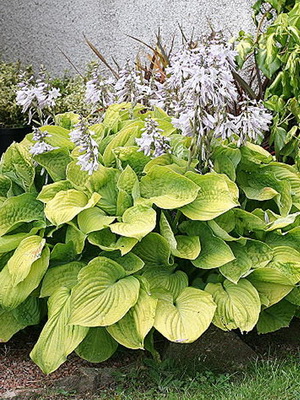
So, there are yellow-leaved varieties for both shade and sunny places, and miniature hosts can be both spreading and with leaves directed upward.
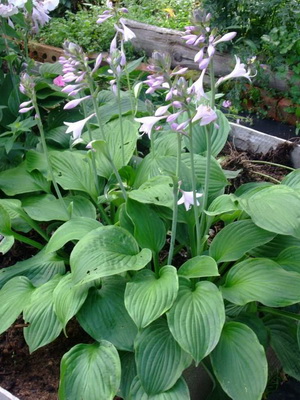
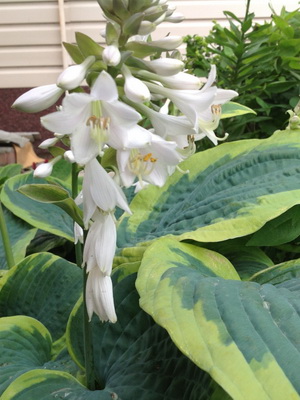
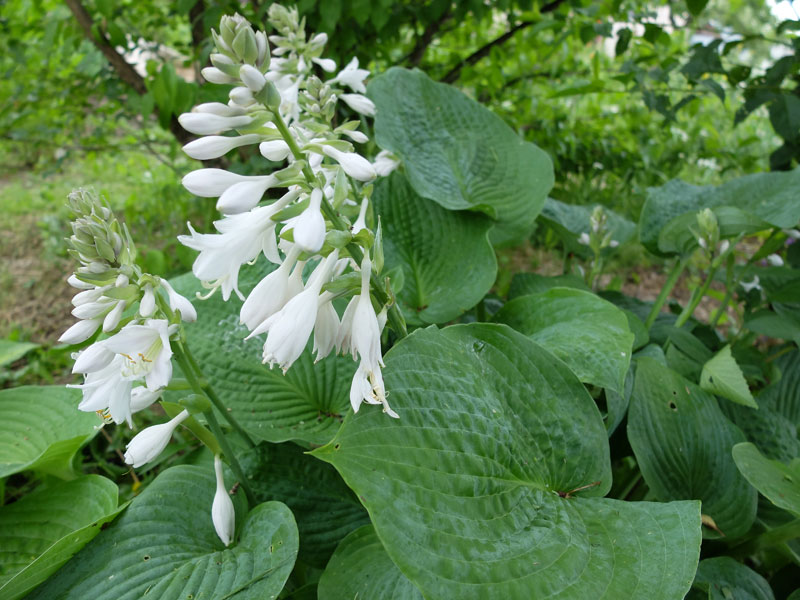
The host breeders did not pay attention to flowering for a long time, the leaves are so attractive and good. Although foliage is considered the main advantage, extraordinary inflorescences are also a wonderful decoration.
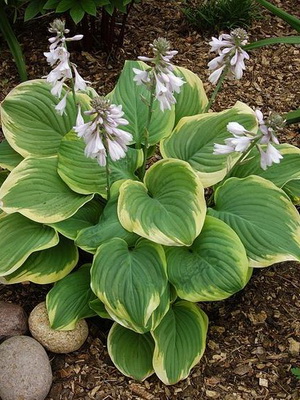
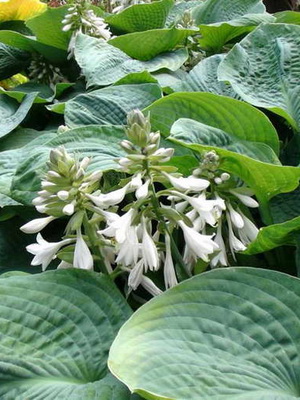
Now everything has changed: double, bright, large and fragrant flowers have become the goal of hybridization. Flowers come in a variety of colors - from flawless white and cold blue to rich lilac color. Unfortunately, new fashion items do not always show their best qualities.
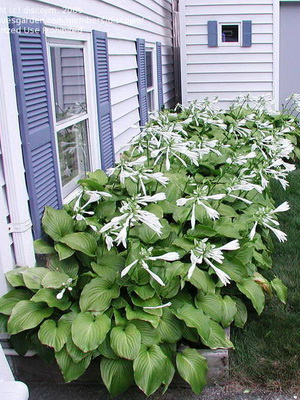
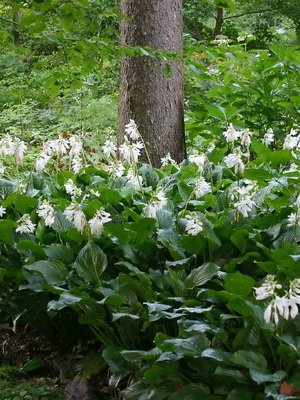
For example, the terry variety 'Aphrodite' in our climate does not manage to bloom - not enough warm days.
Outdoor planting in spring
In a suitable area with proper care, the hosta grows up to 20 years old, gaining strength, turning into a beautiful spreading bush.
1. How to choose the time of boarding
It is better for the host to plant in the spring so that it has time to take root. Transplant - as soon as young shoots appear. Planting in open ground is possible throughout the summer.
When planted in autumn - until mid-September. Plant the host out of the pot in June, when the threat of spring frosts has passed.
2. Choosing a site for planting and preparing the soil
An ideal site for a hosta is partial shade and no strong winds:
- A host with bright foliage and colored splashes requires more light, but not direct sunlight. This will help maintain varietal characteristics.
- Blue varieties need thick shade. 2 hours of sunlight is enough for them. In the shade, they grow slowly and turn into sprawling bushes with richly colored leaves. In the sun, these varieties become smaller and change color.
Plants are undemanding to soil. The best is loamy soil with neutral acidity. On sandy soil, plant growth will slow down, but color qualities will improve significantly.
Prepare a place for planting in the fall: choose a suitable site and spread a thick layer of 8-10 cm of organic fertilizer over the soil. Dig up the area with fertilizer to a depth of 30 cm. Everything is ready for the spring planting.
3. The process of transplanting into open ground
Plant the plant in open ground only after the threat of spring frosts.
Water seedlings or plants in a pot before planting:
Prepare the holes, taking into account the plant variety, leave the gap for large plants - 80-100 cm, for small ones - 30-60 cm.
Before planting, pour water into the hole.
Carefully spread the roots of the seedling and place in the hole.
Cover with soil, leaving 2-3 cm from the edge of the soil, slightly crush and water abundantly.
Cover the soil around the seedling with mulch. Tree bark, sawdust or needles work well.
Landing in open ground
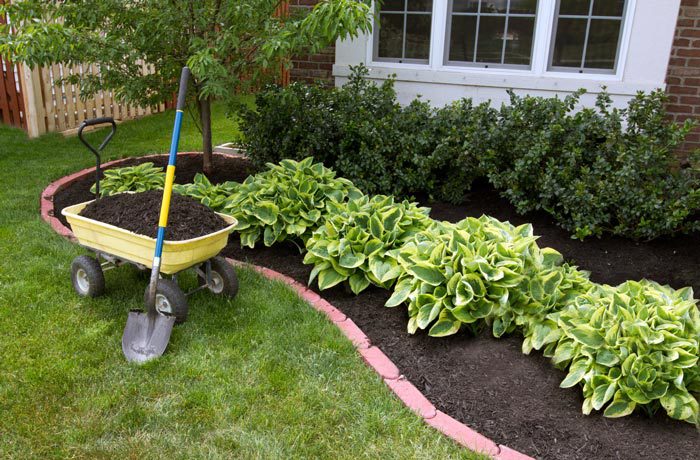
What time to plant
First of all, you need to find a site that is best suited for growing these flowers. It should be remembered that such a plant is grown for a long time (about 20 years) in the same place without transplanting, while from year to year it becomes more and more beautiful. It is recommended for the host to choose a slightly shaded area that will be completely free of drafts. However, it should be remembered that the richer the color of the foliage, the more light such a plant needs, the same applies to the presence of yellow as well as white areas on the surface of the leaf plate. For variegated varieties, it is recommended to choose a place that will be in the shade at noon, and the rest of the time it will be illuminated by the sun. For varieties with blue leaves, you should choose a shaded place, while they need very little sunlight (about 2 hours a day will be enough). It is noticed that in a strong shade, hosts do not grow so quickly, but their leaf plates are large, and the bush is slightly higher.
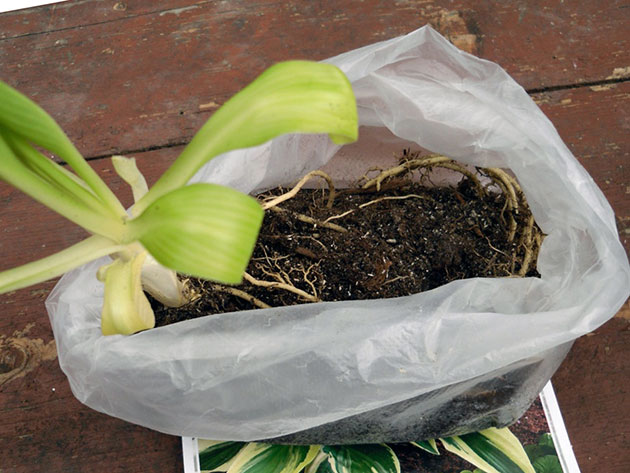
Suitable soil should be moist, rich in humus, well-drained, slightly acidic or neutral.Such plants do not like sandy soil, as well as heavy loam. If you are going to transplant seedlings into open ground in the spring, then you should start preparing the site in the fall. For this, the surface of the site must be covered with a ten-centimeter layer of organic fertilizers. After that, the soil must be dug to the depth of the bayonet shovel. In the spring, hosts can be safely planted on the site. Planting such plants in open soil can only be done if frosts are no longer expected. In mid-latitudes, this time, as a rule, falls on the last April and early May days.
How to drop off the host
Host: planting, care, reproduction - 7dach
Between the holes, you need to leave from 30 to 60 centimeters of free space, while the size of the gaps is affected by the variety of the plant. If hosts of giant varieties, then between them should be left at least 0.8-1 meters. Hosts in pots should be watered abundantly a few hours before disembarkation. In the event that you transplant hosts and at the same time divide the bush, then it is necessary to remove the roots from the parcels that have dried up, have damage or rot. A seedling with a lump of earth is poured into the hole, or the cut is lowered 2-3 centimeters below the surface of the soil
Then you need to carefully straighten the roots and fill the hole with soil, which should be tamped (not very hard). The host is watered abundantly
After that, the soil surface near the root should be sprinkled with mulch (a layer of small bark).
How to grow hosta from seeds
How does the hosta reproduce by seeds? The plant is difficult to propagate by seeds, as they have a low germination rate. Slow-growing varieties are propagated in this way, and some do not bloom at all and, accordingly, cannot produce seeds. Also, a lot depends on weather conditions. Varietal characteristics of seed grown hosts appear in 4-5 years.
Hosta seeds can be purchased or harvested from an existing bush. They mature within 6-8 weeks after pollination. Ripe bolls turn brown and crack, usually at the end of summer or autumn.
Note! Most varieties are difficult to grow from seeds. Grow well e.g. Revolution, Sharmon, Allegan Fog
For maximum evaporation of moisture, seeds are dried at a high temperature and stored at 20-40 ° C. Some gardeners believe that seeds will grow much better if kept in a cold environment for two months (leave in the refrigerator from February until sowing).
The soil can be bought or kneaded independently from peat, periculite and vermite, taken in equal proportions.
Important! The soil and containers for planting are subject to disinfection. Suitable containers are pots, boxes, cups or cassettes with cells that are sold in a flower shop.
They are treated with medical alcohol. A drainage layer is required at the bottom
Suitable containers are pots, boxes, cups or cassettes with cells that are sold at a flower shop. They are treated with medical alcohol. A drainage layer is required at the bottom.
The soil for sowing must be loose, without hard lumps. The container is filled with a ready-made mixture (peat and perlite must be included in the composition) and poured with a solution of potassium permanganate and evaporated in a water bath for half an hour. Then the soil is allowed to cool.
It is advisable to sow seeds by seedlings in containers, and not in greenhouses, hotbeds or open ground.
The seeds are planted in January. Before planting, they are soaked in a growth stimulator (epine, root, zircon) or they are stratified for a month at a temperature of 5 ° C, since the seeds germinate very poorly.
They are planted to a depth of 5-7 mm. Correct landing technology:
- Compact the earth.
- Sow seeds.
- Sprinkle with perlite.
- Seal.
This will ensure good seed-to-soil contact. It is not worth tamping the ground, it should be loose. It is leveled and slightly compacted. The finished plantings are covered with foil.
At a temperature of about 20 ° C, the first shoots will appear in two weeks.
Seedling hosts
Small shoots must be protected from the sun, watered moderately and remove condensation from the film.
Seedling
When the first leaves appear, the seedlings are transplanted into other, previously sterilized containers with nutrient soil. They are watered by lowering the containers in a container with water (bottom-up method) and left in this form until the ground is completely saturated with water.
Important! Seedlings need to be gradually hardened and accustomed to sunlight, lowering the temperature and regularly leaving the sprouts in the sun. It is also necessary to periodically remove the film.
You can completely remove it a week after the transplant.
The sprouts are now ready to survive on their own.
It is important to choose a good place for them, the hosta does not tolerate drafts, likes partial shade, some varieties, prefer to grow in groups. The soil needs slightly acidic, moderately moist, permeable to moisture and air
They have been preparing it since the fall: the necessary organic fertilizers are distributed over the beds at a depth of 10 cm. In the spring, planting begins.
Landing
Note! The brighter the leaves, the more light the flower needs. Varieties with dark green or blue colors should be planted in the shade, as with an excess of light, burns may appear on the leaves.
Before planting, the seedlings are watered abundantly, then they are carefully removed from the container, if necessary, the wide roots are straightened and lowered into a previously dug hole. The topsoil with the sprout should be slightly below ground level. The hole is covered with earth, slightly compacted, watered abundantly and mulched with sawdust or dry grass.
The approximate distance between the holes should be 50-60 cm, and if the variety is capable of growing to gigantic sizes, it is better to leave up to a meter.
At first, the planted host can be fertilized (once every two weeks until July). In the fall, the soil is fertilized with humus or compost. Water the plant under the roots. The ground should almost always remain moist.
For the prevention of diseases and pests, the plant is treated with special substances.
Also, hosta sprouts can be grown in containers for two years, when the leaves are formed, and on the third, plant seedlings in open ground.
If the hosta begins to bloom in the year of planting, it is better to remove the peduncles, since the plant has not yet matured.
Important! If the tips of the leaves darken, this is a sign that the plant is lacking moisture.
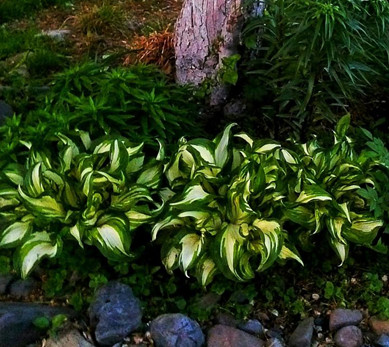
Plant in the shade
 |
Where to plant
|
 |
When to plant
|
 |
Soil requirements
|
 |
How to plant
|
 |
Care
|
The video shows in detail for beginners where and when to plant the host in the open field, what kind of soil the plant loves, when it blooms and what top dressing is better.

