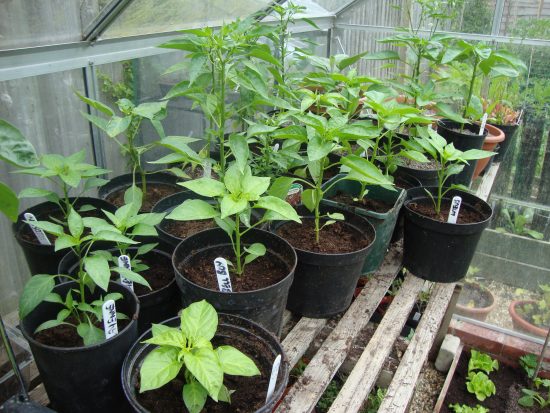
Growing seedlings from seeds using the seedling method
Thanks to this method, it is possible to obtain an earlier and more abundant flowering. However, the method is laborious, since several picks are required and the maintenance of seedlings in room conditions for 2 years. To obtain friendly seedlings, it is necessary to germinate the planting material. It is immersed in a container of warm water and absorbent material.
 Germination collection
You can place the seeds between two layers of cotton wool or gauze, pour boiled water, leave for 2 days. If mucus with an unpleasant odor appears, you need to urgently rinse the contents and soak again. When the hydrangea seeds swell, roots appear, you can plant them on seedlings in a container.
Read more: Derain white Elegantissima
Can be planted with seeds at home and without first germination. In this case, soaking in a weak solution of potassium permanganate or Epin is recommended. This will significantly reduce the likelihood of illness. Planting is carried out in a loose nutritious substrate, which consists of humus, peat, sand, leaf and sod land. The seedling capacity is taken in accordance with the number of seeds. For mass reproduction, you will need a wide wooden box, for one bush, for example, for a dwarf lilac, the varieties of which are so diverse, a flower pot is enough.
When to sow seeds and how?
If the planting is carried out in February or March, then in the third year in the spring it will be possible to transplant the strengthened bushes to the site.
How to organize the correct sowing? The sequence is as follows:
-
Earth is poured into a box (with drainage holes) 15-20 cm high, leaving 2-3 cm to the edge.
- Dry seeds are laid out on the surface; they do not need to be buried. You can lightly sprinkle with sand on top, then pour over the substrate.
- Next, a greenhouse is created: the box must be covered with transparent film or glass.
- If planting was carried out in flower pots, then they can be covered with a glass jar.
- Periodically, the shelter is removed for watering and ventilation.
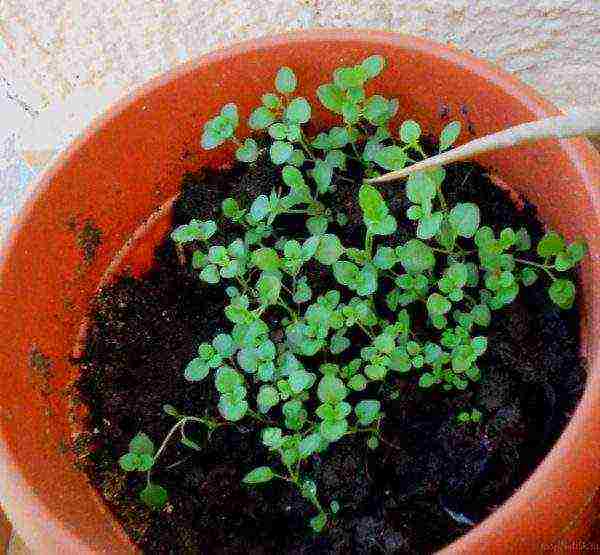
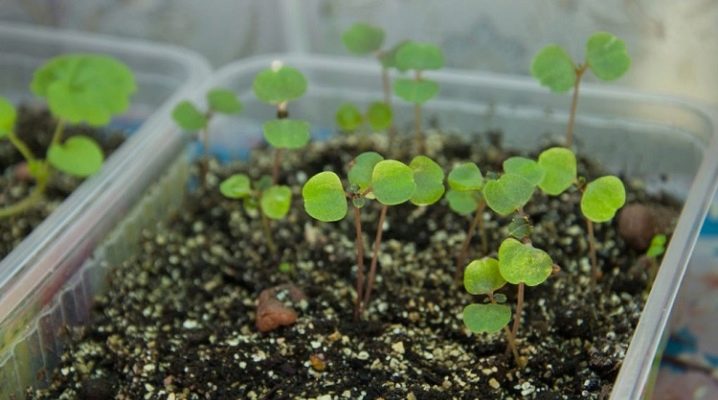
- As soon as shoots appear, the greenhouse is removed. It takes 2 weeks for germination.
Hydrangea seedling care
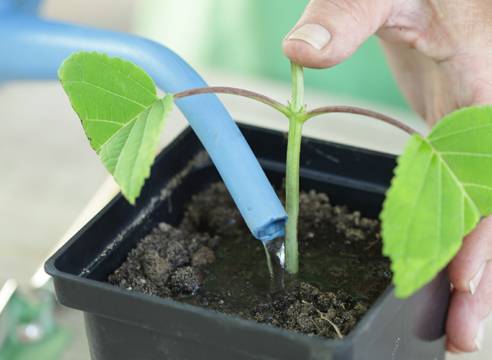
Potting soil should always be moderately moist. Each subsequent watering is carried out as the top layer of the soil dries out. For humidification, settled soft water is required. Periodically, the soil needs to be loosened. Young shoots need regular spraying.
The light should be bright but diffused. Boxes with sprouts are placed at some distance from the window. There should be enough light, otherwise the sprouts will fade and stop developing. Direct light will burn the leaves. The optimum temperature in the room where the seedlings are standing should be kept at around +14 or +20 ° C. Young shoots should not be exposed to drafts.
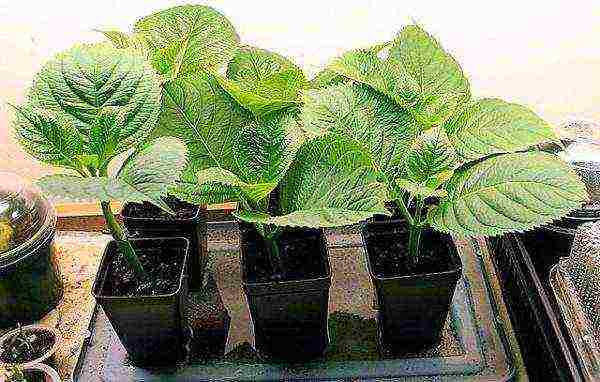
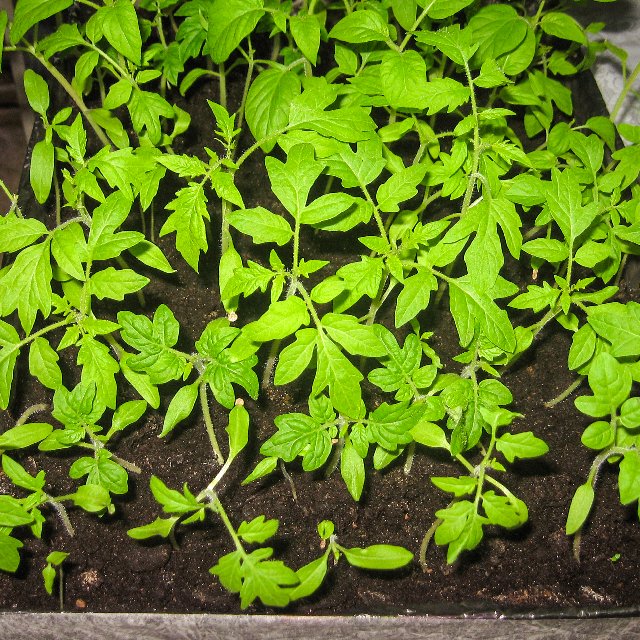
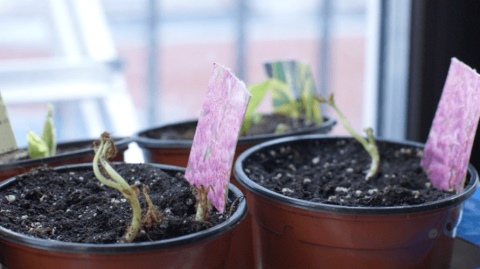
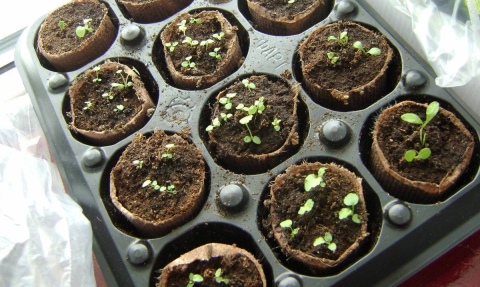
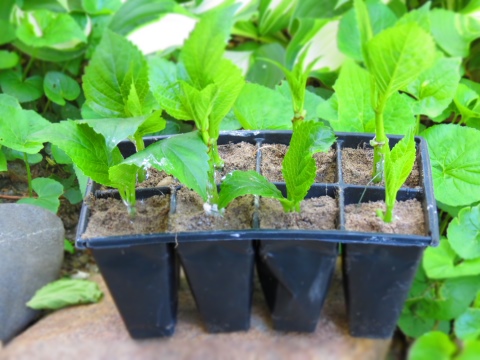
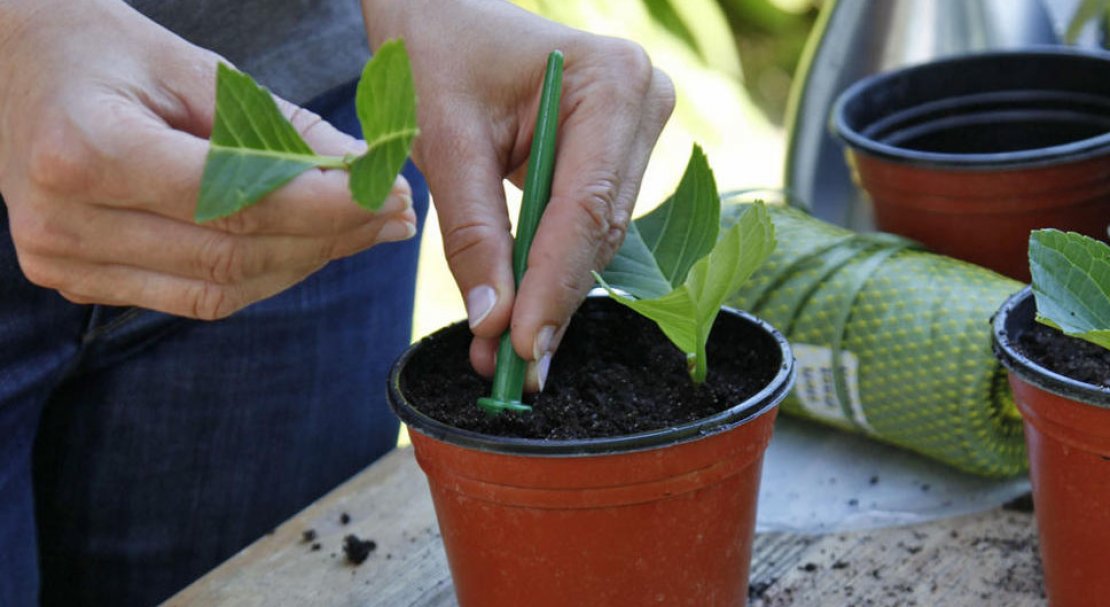
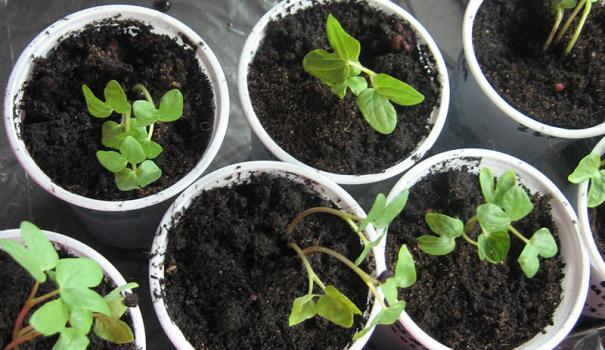
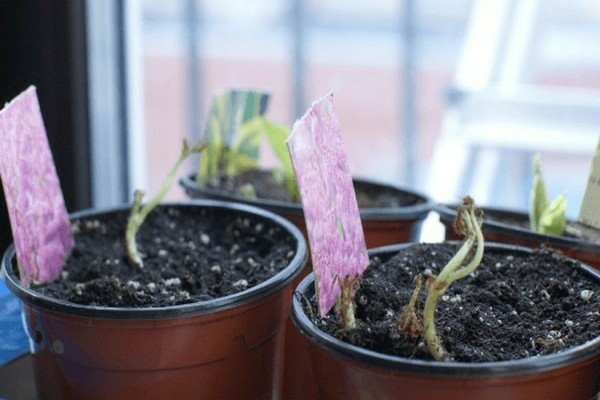
With the appearance of 2-3 leaves, the seedlings are thinned out, dived in separate pots. Re-picking is carried out in May, when the sprouts will stretch 7-8 cm.
 Growing sprouts
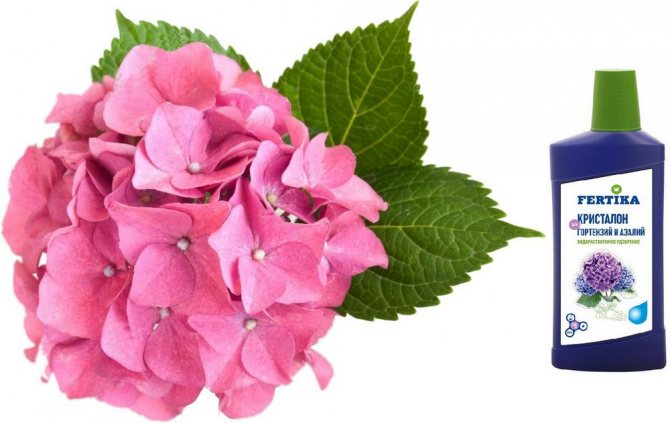
Top dressing is carried out during the growing season twice a month with complex fertilizer for hydrangeas, rhododendrons or azaleas. In warm weather, the pots are taken outside for hardening. They must be returned to the premises at night.
By the end of the season, young seedlings are moved to a larger pot. Wide and low containers are suitable due to the structural features of the hydrangea root system. Seedlings overwinter in a cool dark place. Fertilizers are not applied, watering is rarely carried out.
Transplanting mature seedlings to the site
The next stage of growing is moving the seedlings into open ground. By the time of a two-year stay at home, the bushes will stretch 30-35 cm.The place for further growth of hydrangeas needs to be illuminated, but excess light affects the number of inflorescences. The best place for the growth of bushes will be the west or east side of the buildings. The soil for hydrangeas is selected loose, permeable and always acidic or slightly acidic.
There are several ways to increase acidity:
- by introducing a layer of high-moor peat into the planting pit;
- citric acid solution (1 tsp per 10 liters of water);
-
fertilizers: ammonium sulfate, potassium sulfate, iron vitriol.
The sequence of transplanting seedlings into open ground:
- A planting hole is prepared, its size should be 2-3 times the volume of the root system of the seedling. The distance between plantings is 1-1.5 m.
- Crushed stone or broken brick is poured into the bottom with a layer of 15 cm.
- Sand, peat, black soil are introduced into the planting pit in equal proportions. You can add humus and superphosphate.
- The seedlings are moved from the boxes to the center of the groove, sprinkled with prepared soil, lightly tamped.
- After planting, the soil is watered and mulched abundantly.
Video how to transplant.
Hydrangea seeds
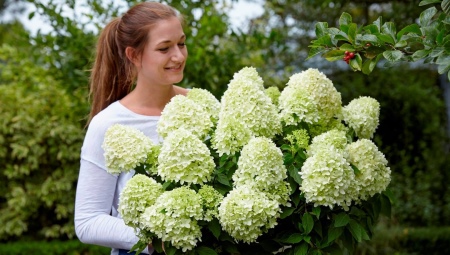
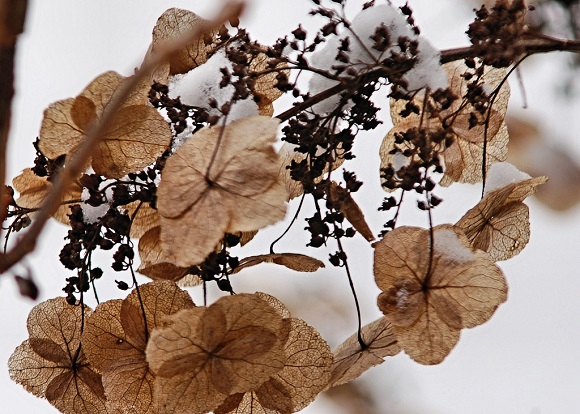
Hydrangea seeds are small, oval, brown grains. Looking at them, it is difficult to imagine that in a few years from such seeds lush flowering shrubs can grow.
To get quality seeds, you need to collect them in dry weather, before the first frost - the seeds should not get wet or freeze. Also, make sure the seed surface is smooth and free of damage, mold or rot. The collected seeds should be dried for a couple of days, then folded into a paper bag, signing the name of the hydrangea variety, and stored at room temperature in a dry room until planting.
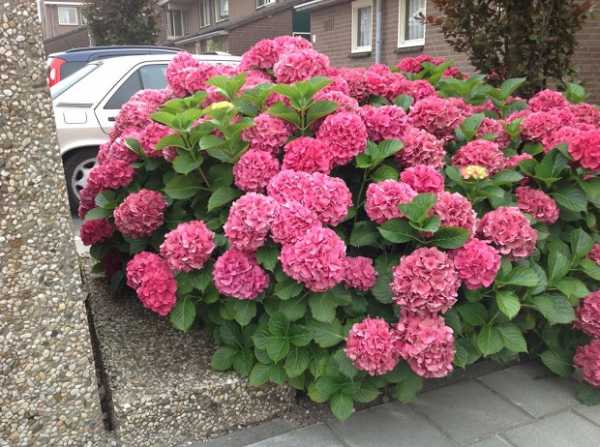
If it is not possible to buy seeds, then you can buy them in the store - the company "Aelita" is constantly expanding its assortment, you can buy seeds of treelike hydrangeas, paniculate and serrate, as well as various large-leaved varieties. It is possible to grow both indoor dwarf varieties and spreading shrubs. The most popular when grown from seeds is the large-leaved hydrangea and globular inflorescences of different colors. It can be grown both by seedlings and by sowing directly into open ground (you can sow from mid-April to the end of June, focusing on the climatic conditions of your region).
The homeland of hydrangea is China and Japan, where these plants can be found in their natural environment, and it was from there that she began to conquer the world. Therefore, if you wish, you can order seeds from these countries and receive them by mail.
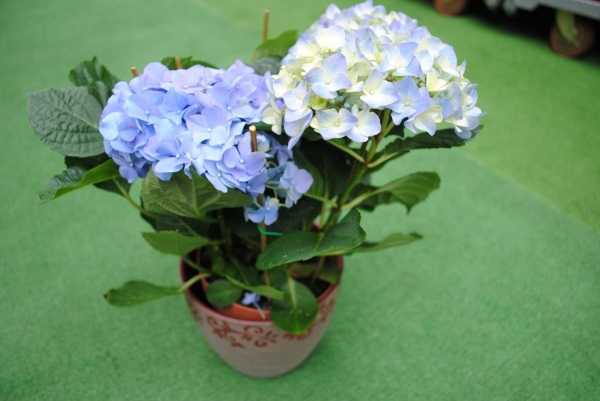
Seed propagation and growing hydrangeas in indoor conditions is especially suitable for flower growers in cold regions of our country. Hydrangea is thermophilic and requires shelter for the winter, and even a shelter may not save the plant in very harsh winters. Growing hydrangea in containers, you can mix it into the garden for the summer period, decorating it, and in the winter bring the plants into the room, thereby protecting it from frost.
Planting hydrangeas in open ground in spring from a pot
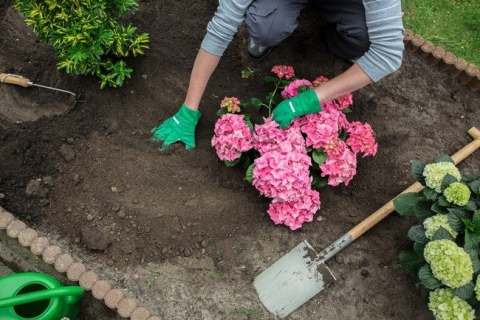
From a pot, a flowering plant is also allowed to be planted in open ground. This is done in the spring, when the earth warms up enough. When planting a plant from a pot, especially if it is homemade, there are nuances that need to be considered.
Disembarkation recommendations:
- The planting hole is prepared several weeks before the expected date.
- The pit should be voluminous so that the roots are free: at least 50 cm in length, width and height.
- A drainage layer is laid out on the bottom. Pebbles, branches will do.
- A substrate is prepared from the soil that has been removed from the pit. It includes high-moor peat, sand, humus, garden soil, leafy soil. All in equal amounts.
- 24 hours before planting, the soil mixture is laid in a hole, watered abundantly.
- 2 hours before planting, the pot with the plant is placed in a bowl of water. This is done so that the earth lump is saturated.Another reason is for air to come out of the soil.
- Immediately before planting, the plant is released from the pot. The roots are slightly shaken off.
The method of transshipment during spring planting of a plant from a pot to open ground is not used. Experienced gardeners recommend using the method for summer planting or planting a flowering bush.
- The root system is placed in a hole and buried in loose earth. The root collar should be at the level of the trunk circle.
- It is allowed to add a little ammonium sulfate to the soil.
- The trunk circle is moderately spilled and mulched. It is not recommended to open the mulch when watering.
Three types of cuttings of this plant
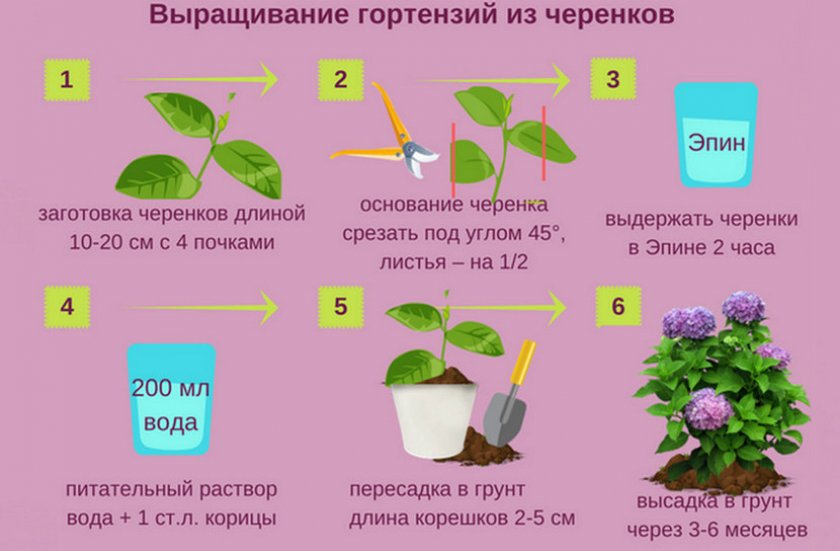
Green cuttings
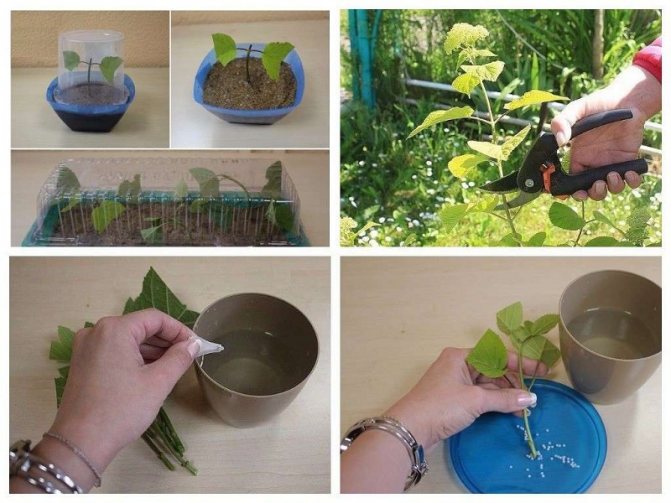
They are cut at the beginning of June (after the end of flowering). You can take not only green, but also semi-lignified branches.
Your actions:
Place the cut twigs in a glass of water, where a growth stimulator has been added (you can use both products from the "bio" series, and the more familiar to flower growers "Kornevin" and similar chemistry). Instead of purchased ones, natural remedies can also be used: honey, aloe juice, yeast dissolved in water.
When the first roots come out, transfer the cuttings to open ground. To begin with, you can choose a secluded corner (say, near the house itself). Grow them in a "greenhouse", covering them with a transparent jar, a cut plastic bottle or a regular bag (so that the bag does not get blown away by the wind, dig it around the edges or cover it with pebbles). In order for these twigs to form into full-fledged bushes by autumn, they need to be provided with moisture (watering, but without fanaticism) and warmth.
In the fall, seeing that the bushes are actively growing to the sides (which means that their root system is already well formed), they can be dug up and transferred to a permanent place of "residence"
When choosing it, pay attention to the sunniest parts of your yard or garden. For a beautiful bloom of forsythia, you need a lot of light.
With the appearance of the first cold weather, wrap the bushes with opal foliage or straw to a height of at least 20 cm.

Lignified cuttings
And such branches are cut in the fall. You can also harvest them from November to January (this is the dormant period of the bush).
Quite large branches are selected. The length of the cutting should be between 15 and 20 cm.
They are immediately planted in open ground, but deep - 10 cm. In this case, several buds must necessarily look out.
To prevent winter frosts from destroying the stalk that did not have time to take root, cover it with the same foliage (straw, sawdust, spruce).

When the snow melts from the site in spring, the leafy "blanket" is removed. Do not be alarmed if you see that the cuttings have practically not changed over the winter. The main thing is that they do not dry out and begin to rot.
In the fresh air, the cuttings will begin to actively root and release twigs, and by autumn they will turn into small bushes. And then, in early autumn, they can be transplanted to a permanent place.
For the winter, she brings it to the veranda (the house is heated, but the veranda in it is cold - but still it is stable above zero in winter), or she drops it into the sand in the cellar. In such conditions, cuttings germinate faster.
Bouquet, and after a bush
Two in one: decorate the house and grow a bush!
In the first week of February, pick a few of last year's forsythia twigs. Bring them into the house and put them in a vase of water (you can take plain water, but the plant will like it if you add succinic acid or the aforementioned honey there). Keep the vase on a sunny windowsill.
To prevent the water from "suffocating", change it every 2 days. At the same time, soak the branches in a bowl of plain water for half an hour (yes, every 2 days, this is a must).
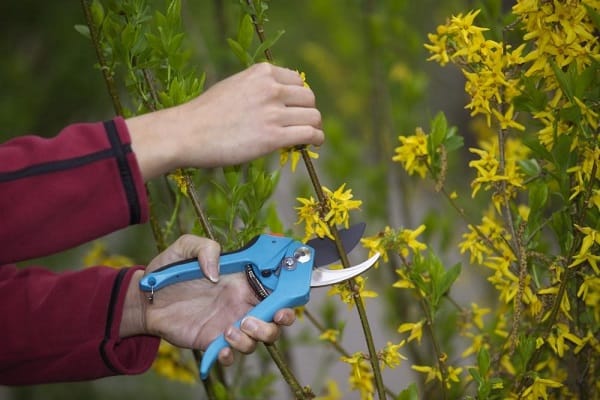
In a few weeks, just in time for March 8, your bouquet will bloom beautifully. Moreover, the flowering will be not only abundant, but also stable, the flowers will not wither and crumble (if, of course, you soaked the cuttings as described above).
And when you see the roots, and it gets warmer outside, you can move the cuttings into open ground.
6 Top dressing and pruning
Hydrangea begins to fertilize in the spring, with the onset of the growing season. Liquid complex dressings (potassium sulfate, superphosphate) are applied at the root, and after 1.5 weeks the flower is fertilized with organic matter. The next time the procedure is carried out during the development of the buds. For this, potassium-phosphorus dressings are used. During the period of active growth, hydrangea is fertilized with formulations intended for flowering plants. In winter, there is no need for top dressing.
Both garden and indoor hydrangeas need to be pruned to form a lush bush. This is done in spring and autumn. After flowering from a home plant, weak shoots are removed at the root, and strong shoots are shortened by half. Pruning of garden hydrangeas is carried out in the spring, before the buds bloom and sap flow begins. Shoots are shortened at a height of 3-4 buds.
Hydrangea seeds
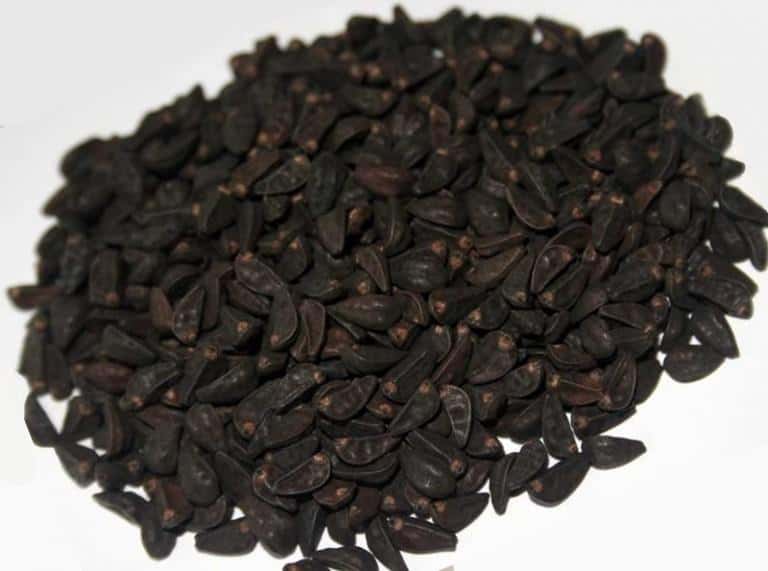
The first question you need to ask yourself before purchasing planting material is - what do hydrangea seeds look like? And if in the store you can still be sure that the seller is offering you exactly what you ask for, then when purchasing hydrangea seeds on the market, you can buy anything you want. Therefore, you need to know what the planting material that you intend to purchase looks like.
The seeds are oblong and dark brown in color. They must be intact and free from any white spots, dents or other damage. In addition, the hydrangea seeds must be dry.
Collection, storage and selection of seed
When growing hydrangeas in this way, gardeners use both store planting material and self-collected seeds. The collection of seeds is carried out at the end of the season before the onset of frost. Collect planting material in dry weather. Prior to sowing, seeds are stored in a dry, well-ventilated, dark and cool room. Throughout the entire storage period, the room maintains a stable temperature at the level of + 10 ... + 15 ° C with an air humidity of no more than 50%. For storage of planting material, bags made of thick paper or bags made of natural fabrics are used.
Ripe hydrangea seeds, suitable for germination, are small in size, embossed surface, dark brown or brown-black in color. Light color of seeds indicates insufficient maturity. For germination, it is not recommended to use too old, moldy, frozen, rotten or damaged seeds.
The germination rate of such planting material, as well as the probability of obtaining healthy viable seedlings from it, is extremely low.
Many gardeners for growing hydrangeas in the described way use store planting material brought from China and Japan. Observations show that the use of such seeds often gives very good results. In these countries, hydrangeas grow in natural, most favorable conditions, so their seeds have time to fully ripen by the time of harvest and accumulate a maximum of nutrients necessary for germination.
When choosing seeds of hydrangeas for further germination, it is necessary to study in detail the description of the variety you like.
Attention should be paid to such important characteristics of the plant as winter hardiness and frost resistance. In many respects, the survival rate and success of adaptation of young seedlings in a new place after transplanting into open ground will depend on these qualities.
Experienced gardeners, when choosing hydrangea seeds, recommend giving preference to the products of reputable agricultural companies. When buying planting material from sellers with a dubious reputation, the risk of failure increases significantly.
How to plant hydrangea seeds at home
After high-quality seed material is selected, it is necessary to understand the technology of planting this culture at home. How to plant hydrangea seeds? This is detailed below.
Optimal planting time
The second half of winter is the time for planting seed.By the time summer comes, the seedlings will already have a few leaves, and they will be fully prepared for transplanting into open ground.
To grow seedlings, you need a pot of the right size and light, loose soil. Proper preparation can speed up the seed germination process. However, first things first.
Seed preparation
Before engaging in planting work, the seeds of large-leaved hydrangea are prepared according to the following scheme:
Choose quality seeds.
Prepare a manganese disinfectant solution (it should be pink). Soak seeds for 30-40 minutes.
Prepare a damp cloth where the seeds will be transferred after disinfection.
In a few days, the grains should swell and give small sprouts.
This takes 2 to 5 days.
It is important to remember that the fabric should not dry out, that is, it should be periodically moistened.
Preparation of containers and land
Hydrangeas require a special soil that will have good moisture and air conductivity. In addition, it must contain a sufficient amount of useful elements so that the sprouts can develop normally. The soil is prepared from the following components:
- leaf land - 1 part;
- sand - 1 part;
- peat - 1 part.
This mixture is filled in a container for planting and spilled with hot potassium permanganate for disinfection purposes. After the soil has cooled, a small amount of warm water is added.

Leaf land
Landing procedure
Difficulties in planting seeds should not arise. Everything is done according to the following instructions:
- Place the seed on damp ground and press in a little.
- Use a small amount of sand to powder.
- Spray the planting site with a spray bottle.
- To create a greenhouse effect, cover the pot with foil or glass.
- Place in a warm, sunny place (+20 ° С).
- Covering material is removed every day for ventilation. The soil is sprayed as needed.
- After the sprouts appear, the glass or film is removed completely.
When is it better to plant hydrangea in spring
So, you firmly decided that you want to grow this wonderful shrub on your site. But you do not know exactly when it is better to plant a garden hydrangea in open ground in the spring, in what month? The optimal dates for spring planting of a seedling are in April and early May.
The appropriate time in different regions may differ due to different climatic conditions:
- In the middle lane (including the Moscow region) - you can plant in mid-April.
- In Siberia, in the Urals, in the Leningrad region - at the end of April or at the beginning of May.
- In the South (Krasnodar Territory (Kuban), North Caucasus) - early April.
An excellent assistant in determining a favorable and not very good time for the procedure is the cycles of the moon. Thus, the timing of planting a hydrangea seedling according to the Lunar Calendar 2020:
-
Auspicious days:
- in March - 4, 5, 6, 12, 13, 14, 26, 27, 28, 29, 30, 31;
- in April - 1, 2, 5, 6, 7, 9, 13, 14, 24, 25;
- in May - 2, 3, 4, 5, 6, 15, 16, 17, 20, 21, 25, 26, 27, 28, 29, 30, 31;
- in June - 2, 3, 4, 6, 7, 8, 9, 12, 13, 14, 23, 24, 25.
-
Unfavorable days:
- in March - 9, 19, 20, 21, 24;
- in April - 8, 15, 16, 17, 23;
- in May - 7, 13, 14, 22;
- in June - 5, 9, 10, 11, 21.
Planting hydrangea seedlings in open ground
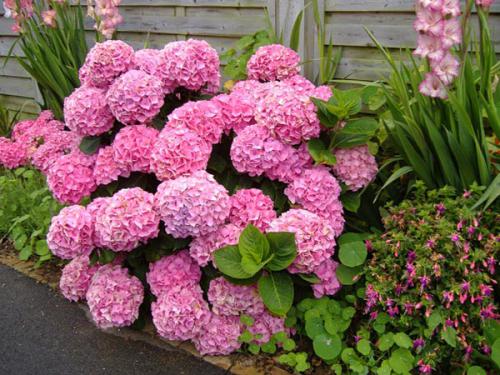
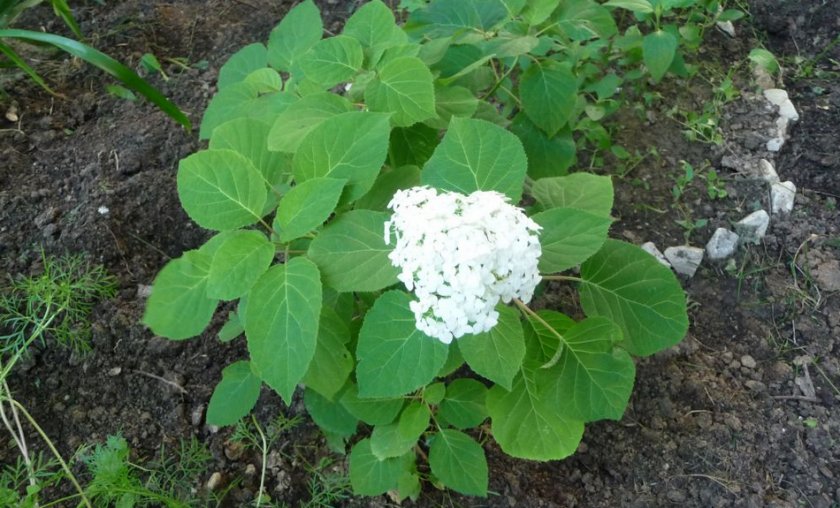
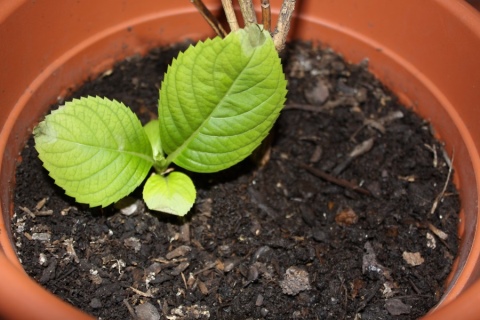
Once the potted plants you have transplanted into nutrient soil. Reach 7-10 cm in size, send them to the garden under the open sky. Of course, this advice will come in handy if it is spring outside, the soil in the garden has warmed up enough, and the bushes will have time to adapt before autumn.
Generally, the best time to plant seed-grown seedlings is in May. However, seedlings, if necessary, are planted in the summer, at the beginning of autumn. If it's a different time of the year outside, then just transplant the seedlings in a larger container, about 10 cm deep, until spring.
In the spring, in the garden, you need to choose a place where direct sunlight will not fall, and where there will be no drafts.
The main components of such care:
- moisturizing;
- loosening;
- watering.
In addition, the bushes must be weeded, and preventive measures against infections and numerous pests should be carried out. In the winter, the soil from which the seedlings grow should be covered with peat.
After a few years, when your seedlings become full-fledged hydrangea bushes, it is imperative to prune. But this is a matter for the future.


