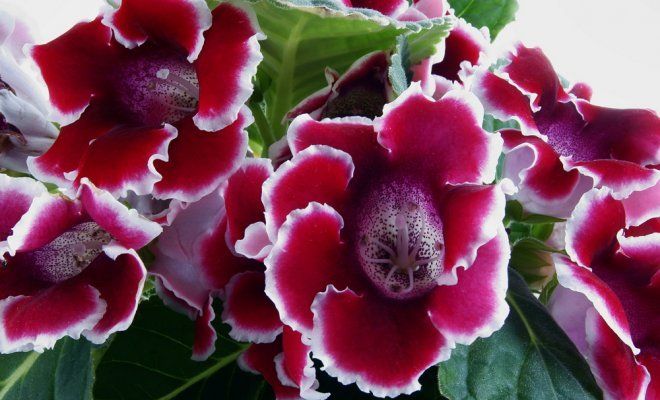
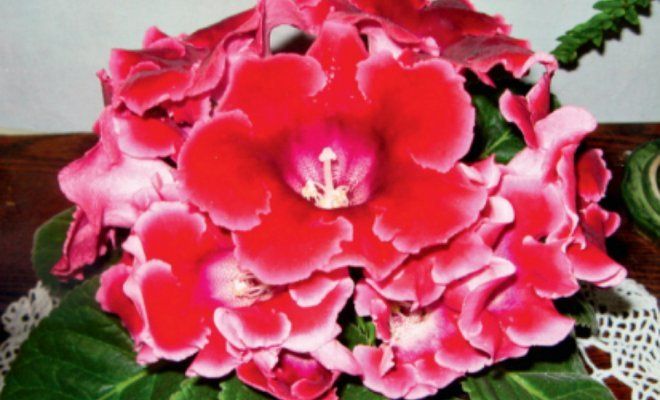
Step-by-step instructions for growing gloxinia from seeds
Gloxinia from seeds at home grows no worse than adult plants that are sold in florist shops. But one of the main problems is that not all seeds usually germinate.
How to prepare the soil for planting
The first thing to do is to pick up the soil. The seeds can be sown into the finished soil mixture, or you can prepare it yourself.
The correct primer for gloxinia:
- land (best if it is collected from a site under a birch or pine);
- peat soil;
- shallow drainage (expanded clay or small pebbles are suitable)
Mix all ingredients to get a homogeneous mass. Fill the drainage to the bottom of the container, and then backfill with soil. Before planting planting material, the soil is calcined in a microwave or oven for 1 hour. Thanks to this measure, all harmful microorganisms will be destroyed. Instead of the usual substrate, seedlings can be grown in peat tablets.
Advice! In order for the soil to be more nutritious, a little wood ash must be added to the soil mixture.
Planting procedure step by step
The most critical part of breeding gloxinia at home is sowing seeds. Before the gloxinia is planted with seeds, the soil is sprayed with a spray bottle. It should be slightly damp.

Sowing seeds
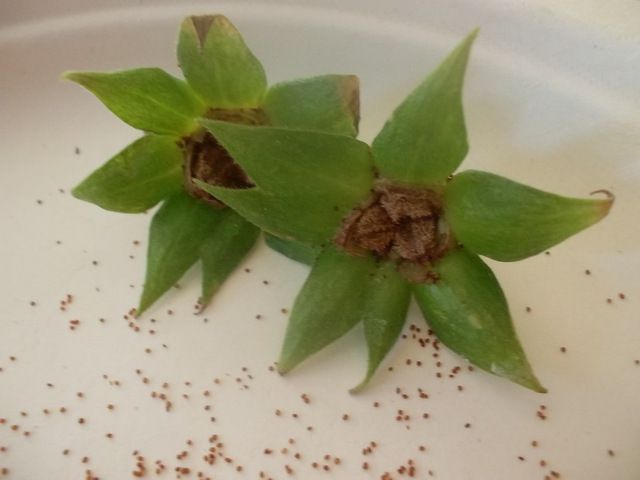
Then seeds are scattered on the surface. You can sprinkle them with a thin layer of soil. The main condition is that the planting material must not be buried.
Important! The containers are covered with cling film or glass and placed in a warm, sunny place. The glass must be removed regularly to allow the soil to breathe.
If this is not done, the soil will begin to mold, and then nothing will surely come up. As it dries, the soil is watered with warm, settled water. When the first sprouts appear, the glass is immediately removed. If you do not remove it and leave the container in the sun, the sprouts will burn and die immediately.
The glass should be removed regularly to allow the soil to breathe. If this is not done, the soil will begin to mold, and then nothing will surely come up. As it dries, the soil is watered with warm, settled water. When the first sprouts appear, the glass is immediately removed. If it is not removed and the container is left in the sun, the sprouts will burn and die immediately.
Sprouts should appear 14-90 days after sowing. If more than three months have passed, and the seeds have not hatched yet, then the planting material has been spoiled, and nothing will sprout.
Watering rules and humidity
When growing gloxinia at home, special attention should be paid to moisture and watering. Frequent overdrying of the soil, as well as its constant waterlogging, negatively affects the seedlings
She either may not rise at all, or will quickly perish.
In order to properly grow seedlings, you must always monitor the soil. As soon as it has dried, you need to water it again, but at the same time do not allow waterlogging. It is enough that the top layer of the substrate is moistened.
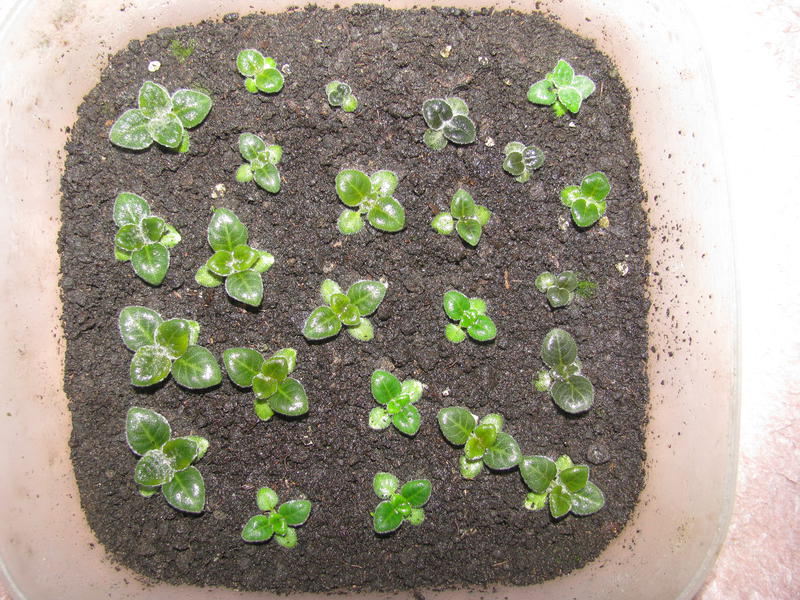
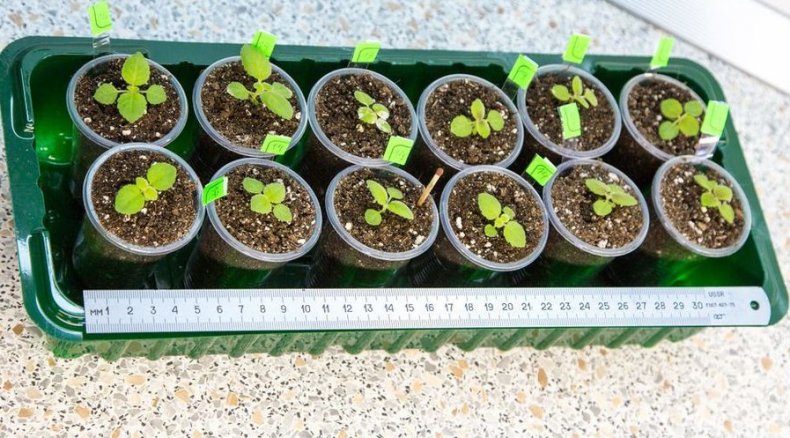
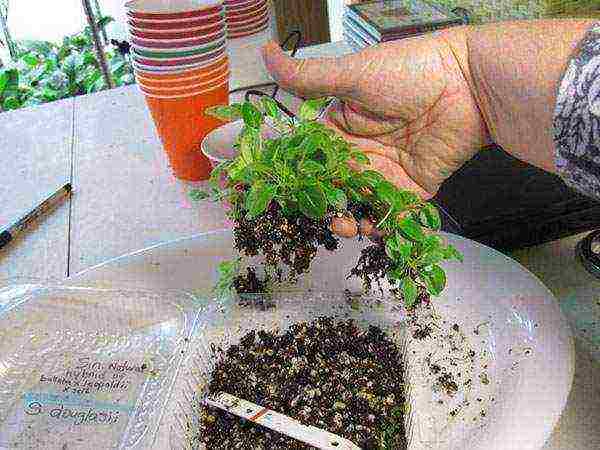
What seedlings look like
Top dressing and soil quality
In order for the flower to bloom, gloxinia seedlings are regularly fed. The first time feeding is applied after the third pick. You can fertilize with Kemira Lux. 1 tbsp. l. Dissolve fertilizers in 2 liters of warm water. Baikal-1M, Stimovit, Energen preparations can also be used as top dressing.
It is not necessary to feed the seedlings until the last pick, since fresh nutrient soil is used for transplanting.
Important! Seedlings should be watered every 10 days.Gloxinia is picky about the composition and quality of the soil
For planting, loose, oxygenated soil is best suited. It should also be sufficiently breathable. The plant prefers nutrient-rich soils
Gloxinia is picky about the composition and quality of the soil. For planting, loose, oxygenated soil is best suited. It should also be sufficiently breathable. The plant prefers nutrient-rich soils.
Particular attention should be paid to acidity. Optimal values - 5.5 - 6.5 pH
If the acidity level is higher, the plant will die.
How to plant correctly?
Now consider the question of how to properly plant the tuber of such an indoor flower as gloxinia
As mentioned above, it is important not to miss the tuber awakening period, which begins at the end of February. Its sign is the appearance of new shoots
Step by step instructions will help you understand how to plant tubers.
Step-by-step instruction
- Remove old dried roots from the tuber as much as possible, leaving the largest threads. Then new ones will grow out of them.
- Determine where the bottom and top of the tuber are, so as not to plant it upside down (a small depression is located at the place where future sprouts appear - this is the top, on the opposite side there is a bulge - the bottom, this side should be planted in the soil).
- Check the tuber for damage, rot, for this you can rinse it. If lesions are present, carefully cut them out and treat these places with charcoal or treat with a mixture of fungicide and "Kornevin", leaving the tuber to dry for 24 hours. This surgery will help heal the damage.
- Preparing the place. At the bottom of the pot we lay a foam drainage of 1-3 cm and pour the prepared soil on top.
- We make a depression in the soil and place the tuber there.
- We fill it up 2/3, leaving the top of the tuber on the surface so that the soil does not fall on the sprouts.
- Water the soil around the tuber. Make sure that water does not get to the top of the tuber, where there is a concavity.
- After a while, when the tuber sprouts grow, it can be sprinkled with fresh substrate.
If you plant a dormant tuber, there is a high probability of death of the plant due to the inability to absorb moisture and nutrients before the start of growth of shoots and roots.
The normal resting period of gloxinia is 3-4 months (you can find out about the features of wintering gloxinia here). However, some plants take longer to start a new growing season.
How to wake up a tuber if it does not show signs of activity for a long time?
The washed, inspected and dried tuber is placed in a tight-fitting bag and a slightly damp peat substrate is added.
The closed bag is left warm (under diffused sunlight or phytolamp)
It is important to remember about the light and temperature required for the normal development of the plant (see above).
After about 14 days, drops appear on the inner surface of the film, and the tubers have buds ready for growth.
This indicates that it is ready to land.
We offer you to watch a video about planting gloxinia tubers:
How to plant seeds?
- Seeds are planted on the surface of moist and loose soil. They do not need to be deepened into the ground. There is no need to choose any particular substrate. You can use peat tablets.
- The soil must be sterilized.
- The capacity is preferable to be shallow, and the soil layer is up to 3 cm, since the seedlings dive several times during the growth process.
- After the seeds are evenly distributed over the ground, they are sprayed from a spray bottle and the container is tightly covered with a film so that moisture does not evaporate and placed in a warm, bright place.
Already after 7-10 days, small sprouts begin to be seen on the surface of the soil. Further actions are regular watering and, if necessary, picking.
Read more about how to grow gloxinia at home from seeds here.
We offer you to watch a video about growing a flower with seeds:
Step-by-step instruction
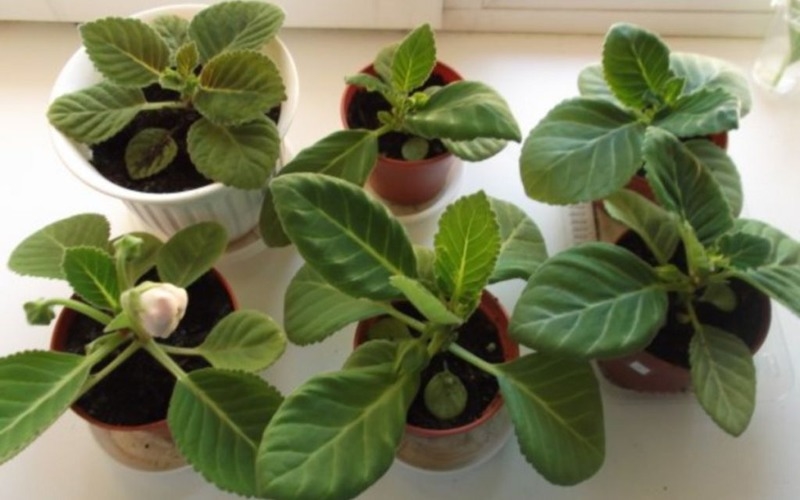
For planting, you need to prepare:
- shallow and wide container for seedlings with drainage holes;
- translucent sealed cover or film;
- soil from one part of coniferous land and deciduous soil containing peat, which will provide the root system with the necessary elements;
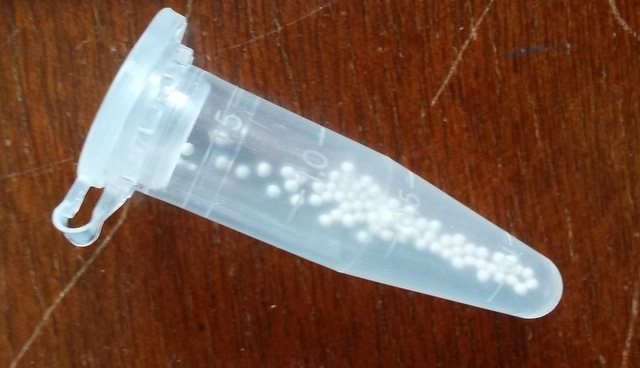
- plain or granular seeds;
- expanded clay gravel for drainage;
- spray;
- paper;
- a needle.

Algorithm of actions:
Fill the bottom of the container with drainage so that a layer 1 cm high is formed. Smooth it out.
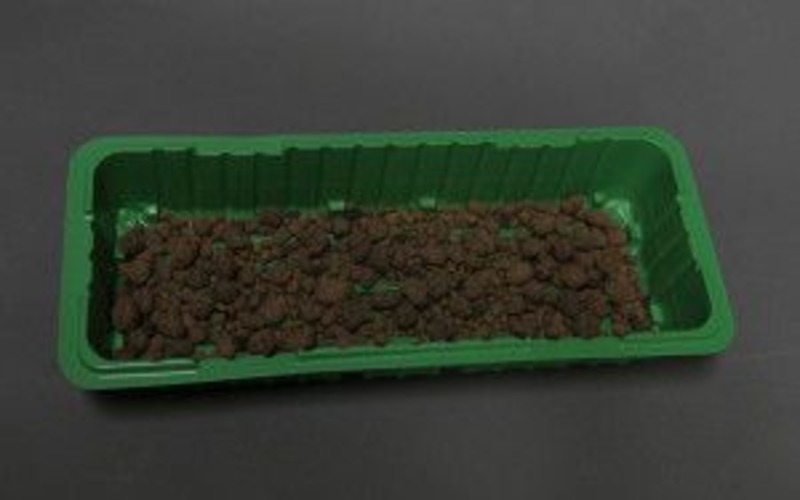
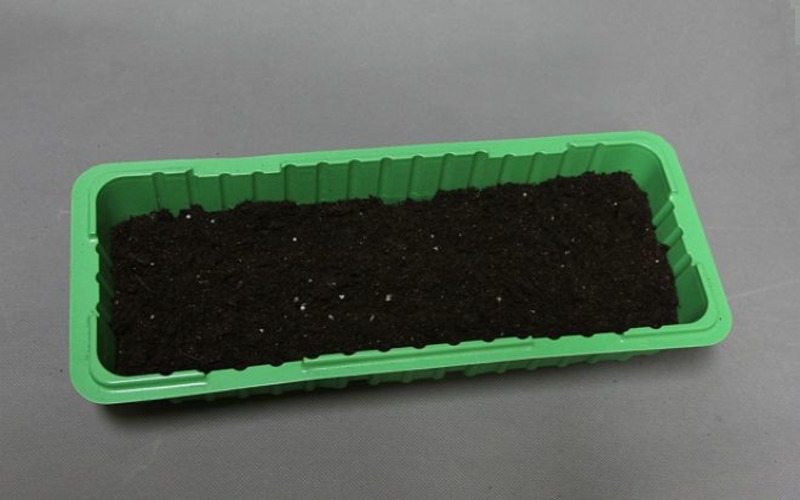
Pour soil over the expanded clay gravel with a layer of 3 cm, lightly tamp. Previously, it can be disinfected in the oven at a temperature of 150 degrees and allowed to cool.
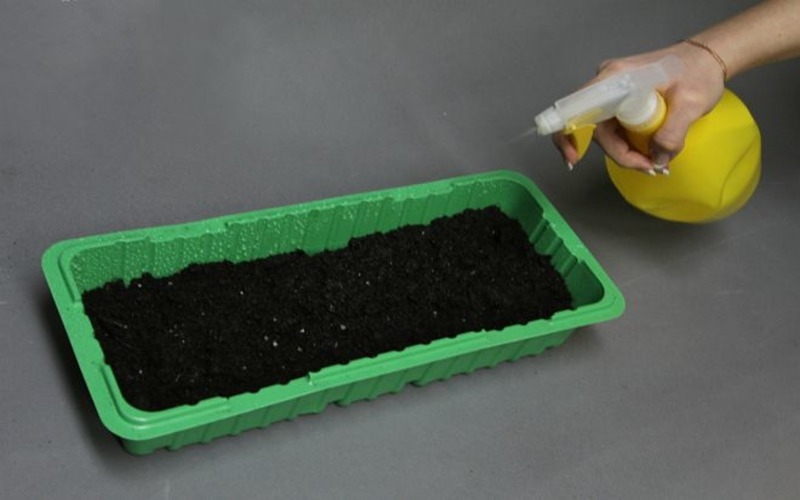
Spray the soil abundantly with water from a spray bottle.
Bend a sheet of paper in the middle, sprinkle seeds on the fold.

Distribute them over the top layer of the soil, throwing off the seed one at a time with a needle.
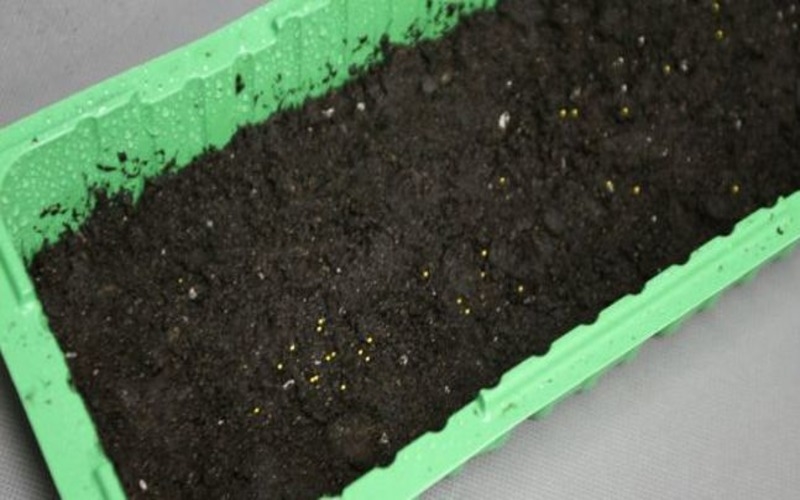
Slightly deepen the seeds by spraying them from a spray bottle at a distance of at least 40 cm.
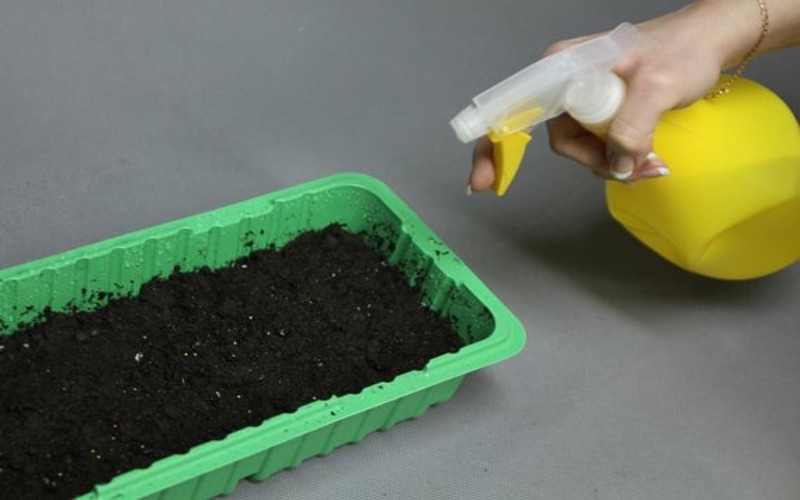
Cover the container with a lid or transparent film with small ventilation holes.
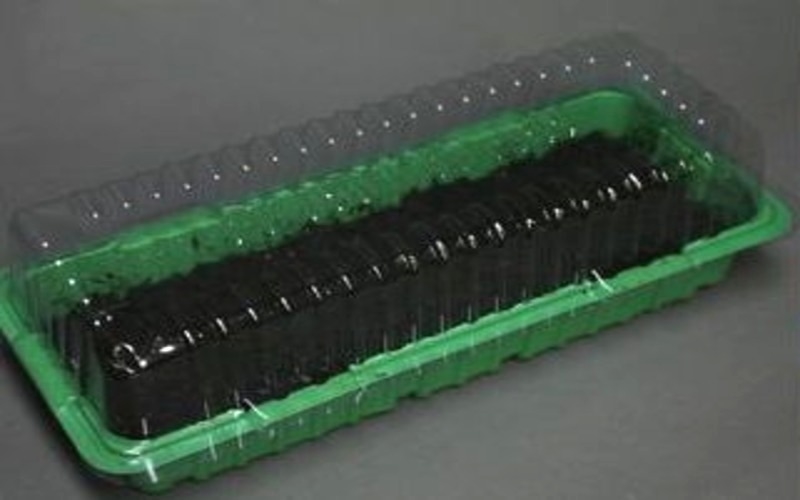

When and how to plant?
So, it is better to plant the collected or acquired material in the first half of February. But in addition to the seeds themselves, you also need to take care of the following.
- Correct dishes. The container should be shallow, rather wide, and must have a tight-fitting lid, which, if necessary, can be replaced with cling film or a piece of clean transparent glass. You can also use special peat tablets. In that case, a container with a pallet is prepared for them, in which they are installed, and the germination of seeds itself is carried out in this case without land.
- Now about the ground. You can sow seeds either in ready-made mixtures of the substrate, or you can make it yourself. Land harvested under a pine or birch tree and, of course, as far from the road as possible is best suited. But only such a substrate should be disinfected in an oven at a temperature of 150 degrees for 1 hour, and only after it has completely cooled down can it be used in the future.
- Drainage. For sowing gloxinia at home, its presence is not necessary. But if you wish, you can use clean and fine pebbles.
Now let's take a closer look at a step-by-step guide on how to properly sow the seeds of this beautiful flower at home.
- A drainage layer is first poured onto the bottom of the container and leveled.
- Next, lay the ground heated for 1-2 minutes and spray it from a spray bottle. The substrate should be moist, but not too wet.
- Now the seeds are laid out on the surface. The easiest way is to pour them into an album sheet folded in half and then gently lay them out on the surface of the ground using an ordinary needle. Sowing seeds should only be done without deepening.
- Now the top of the container is covered tightly with a lid or glass and left at room temperature.
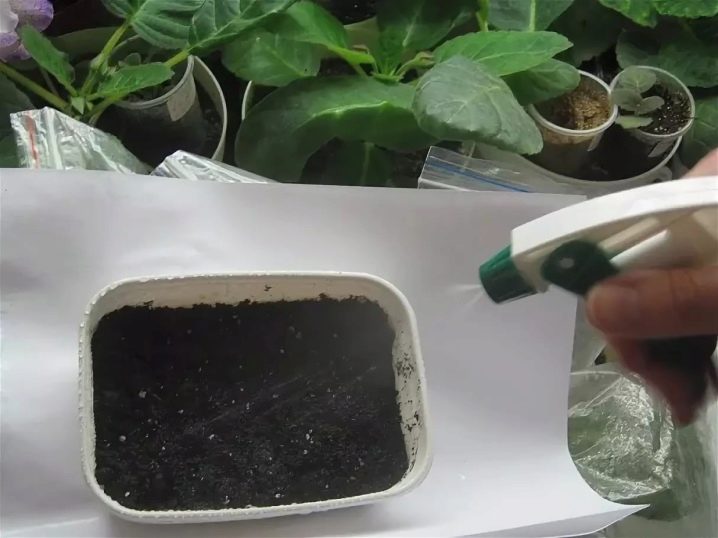
It is very important that before the first shoots appear, the container with the crops is in a warm room and with good lighting. Watering the seeds is necessary regularly so that the surface of the substrate does not dry out
Gloxinia seeds need high humidity and good lighting. You can use both wick irrigation and irrigation using a spray bottle.
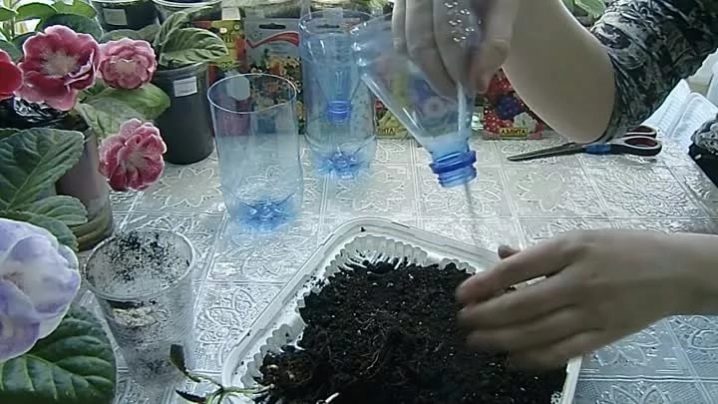
If sowing is carried out in peat tablets, then they are soaked in warm water and set quite tightly to each other in prepared containers with pallets. Further, 3 seeds are planted in each capsule and the planting is tightly covered. Here watering is carried out through the pallet.
For information on how to grow gloxinia, see the next video.
Care from seedlings to an adult flower
For the plant, it is necessary to provide the correct conditions for keeping:
- The temperature is within 20-25 degrees. No drafts, and sudden changes in temperature.
- Air humidity should be above average. The plant at all stages of development does not tolerate spraying. Therefore, you need to protect it from dry air during the heating season by placing the pot in a wide pan with water. Place the pot on a stand so that the bottom does not come into contact with water.
- Lighting should be diffused and continuous, for 12-14 hours a day. Therefore, gloxinia requires additional artificial lighting.
Next, you must follow the rules for care:
- Watering. We have already talked about watering seedlings. An adult plant is watered so that the topsoil dries out between waterings. For irrigation, it is imperative to use settled soft water at room temperature, or 2-3 degrees higher. The safest method of watering is through the sump.
- Top dressing. They begin to fertilize gloxinia as soon as peduncles and buds have appeared. This is done 2-3 times a month at regular intervals. The plant needs complex fertilizing with mineral fertilizers. Formulations for flowering plants are suitable. You can learn more about the rules for watering and feeding gloxinia from this article.
- Rest period. For gloxinia, it is necessary to change the conditions during the rest period. It comes in the fall, after the end of flowering. The plant needs watering less and less, the flowers wither, the aerial part of the plant begins to die off. For the winter, the upper part of the plant is removed, the tuber is either removed in a pot in a dark, cool 10-15 degrees place, or dug up and stored in a bag with sand and peat on the refrigerator door. The tuber in the pot continues to be watered 1-2 times a month so that it does not dry out.
- Spring awakening. In the last days of February, the tubers are taken out of storage and planted again in the ground. Before this, you need to hold the tuber moistened with water in a warm, bright place until sprouts appear. Then it is planted in the ground at 2/3 of the height. After the sprouts get stronger and grow up, the earth is poured to the root collar.
-
Prevention of diseases and pests. Compliance with all care and maintenance measures is the most important preventive measure. Most diseases appear due to improper watering, high humidity and inappropriate temperature. Insect pests attack plants that are in dry and hot air.
Pests are destroyed with insecticides, and diseases are treated based on the situation.
- Pruning. Gloxinia does not require formation, but many species bloom in two stages per season. Between them, it is required to cut off all peduncles and most of the leaves. After, when the stepsons appear, remove the extra ones, leave only 2-3 strong shoots.
Learn more about home care for gloxinia here.
Family landing conditions
If you need to grow several varieties, then each variety must be sown separately.
- Seeds must be poured into a pre-prepared lid or matchbox in order to make them convenient to take.
- A toothpick or a thin stick needs to be moistened with water. Thus, it is very easy to pick up each gloxinia granule.
- Next, you need to lower the seed to the surface of the soil without embedding. Do the same with the remaining seeds. So plant all the granules in a row.
- After sowing the seeds, the patch must be covered with either a foil or a lid.
- It is necessary to water the soil before planting so that the seeds do not fall into the ground, as deepening even at least 0.5 cm can drastically reduce the possibility of germination. If tablets were used, it is no longer worth watering, the moisture absorbed by the peat-distilled tablets should be enough for growing.
- Put the patch on the window to create greenhouse conditions for the plant. Additionally, you can use table lamps.
- Seedlings should germinate in 2-3 weeks.Do not open the lid before the first shoots appear, so as not to disrupt the normal conditions for growing seeds.
It is necessary to control:
- Humidity of soil and air in the container. If necessary, it is worth sprinkling lightly with clean boiled water. The water temperature should be slightly above room temperature.
- Lighting. The degree of illumination cannot be changed. If necessary, to reduce the temperature from the lamps, you can raise the lamps higher. This will not dim the lighting.
As soon as the second leaf appears, it is necessary to gradually accustom the seedlings to room conditions: humidity, temperature. Namely, to begin to ventilate the greenhouse, thereby tempering gloxinia.
Planting gloxinia seeds
When sowing gloxinia with seeds, the plant sprouts without any problems. But for this you need to meet some conditions:
- prepare the correct substrate;
- prepare seeds;
- properly lay the planting material;
- create conditions for the growth and development of sprouts.
If everything is done correctly, the seedlings will be ready for planting at the right time.
How to prepare the soil for planting
It is possible to grow high-quality seedlings from seeds, subject to the availability of a suitable substrate. Features of container preparation:
- Take a box 5-8 cm high and a piece of glass that will cover the entire area of the container.
- Fill the bottom of the box with a layer of expanded clay. It is enough to fill the container with this material by 1 cm.
- Peat mixture should be poured over the expanded clay. Its layer should be about 2 cm.
- Then the soil is well moistened with a spray bottle.
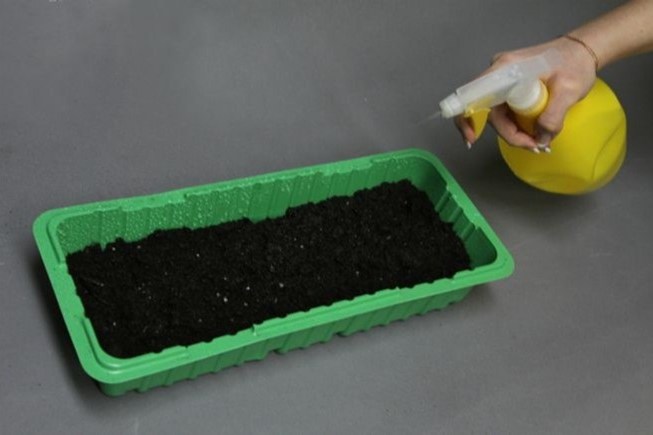
Soil preparation
Planting procedure step by step
Correct seed placement guarantees good germination. Step by step seeding algorithm:
- Seeds must be soaked in a special solution to accelerate growth.
- Transfer the material to a paper towel and wait until it dries completely.
- Place the seed on a piece of paper. Bend the canvas in half lengthwise and distribute the seeds evenly over the surface of the substrate.
- You do not need to sprinkle them with soil. It is enough to spray the surface well again with water. Each seed will fall into the ground by itself to the required depth.
- From above, the container must be covered with glass and provide round-the-clock illumination. Cultivation is carried out without airing, so it is not worth lifting the glass.
Note! If the purchased seeds are sown in the shell, then they can be laid out manually

Seed placement
Watering rules and humidity
After about 1 week, the first shoots of gloxinia will begin to appear. You can remove the glass and remove the phytolamp. Now the main task is to constantly spray the sprouts with a spray bottle. For normal cultivation, it is enough to do this irrigation every 3 days. This will maintain the moisture suitable for the plant.
Top dressing and soil quality
Initially, you need to sow seeds in a peat mixture that is rich in nutrients. Then they make 3-4 picks of the plant (and the container changes the same number of times). Each time a new substrate is used, so there is no need to feed the plants. The first feeding is done 40 days after the last transplant. To do this, you can use complex fertilizers in the amount specified in the instructions.
Cold period
Considering the features of gloxinia and how to care for this plant, it is worth noting that it needs full rest during the cold period. This allows you to build up strength before the exhausting flowering period. It is worth being prepared for the fact that the ground part of the flower completely dies off with the onset of cold weather. If you are not aware of this feature of gloxinia, it may scare you. But this is a normal process for this plant.
It is important to maintain the correct conditions during the dormant period so that the roots do not die during wintering. In the spring, when the temperature starts to rise, the gloxinia will release its shoots again, preparing for the flowering period.
Make sure the temperature drops gradually.Do not allow sudden changes, as this will negatively affect the state of the gloxinia root system. The first thing you need to do when the ground part of the plant dies off completely is to stop watering the soil. During this period, gloxinia needs a minimum amount of moisture. Also exclude fertilization.
The dried stems are carefully cut with a clean and sharp instrument. You only need to leave small cuttings that will protrude above the surface of the soil in the pot. After that, you need to keep the soil dry. It must be air permeable. Therefore, in August-September, you need to loosen it a little. This must be done carefully so as not to damage the root system.
Next, the pot is transferred to a cool place. It should be dark enough here so that the plant does not wake up at the wrong time. A place under the bathroom is suitable if your apartment is not very hot in winter. The pot is taken out to the balcony if it is insulated. Even in severe frost, the temperature should not be lower than 11 ° C.

To prevent the soil from becoming completely dry and lifeless, gloxinia is watered once a month in winter. But much moisture is not required. Therefore, do not flood the plant. It is enough just to slightly moisten the soil. At this stage, this is quite enough for dormant gloxinia. It can be transplanted in this state into a larger pot. This is best done in the first month of the year. You can also renew the substrate by making the soil more nutritious.
It happens that in winter gloxinia releases a small shoot. This is due to the rather high temperature in the room where you left the dormant pot. If the root is strong, this is not a problem. Remove the shoot so it doesn't take away the strength of the Gloxinia.
What is this plant?
Plant of the Herseniaceae family is native to America. Gloxinia was named in honor of the botanist and doctor B.P. Gloxin. However, it has another name - sinningia, in honor of the breeder who was engaged in her breeding, V. Sinning. It is grown only as a houseplant or a greenhouse plant.
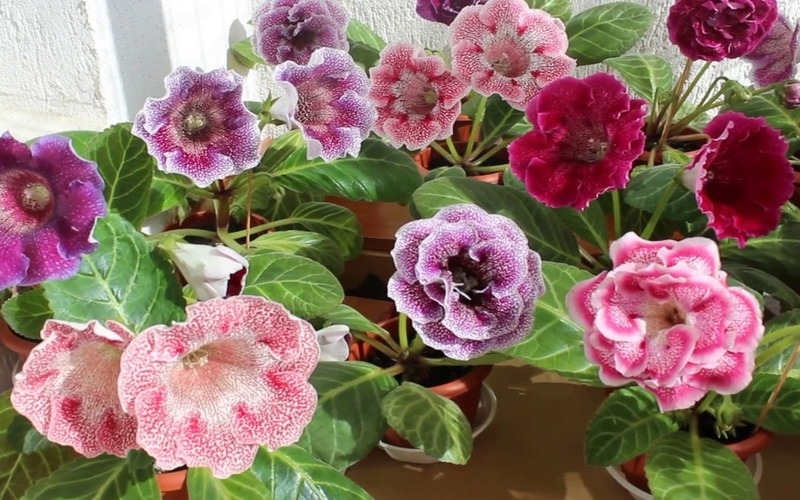
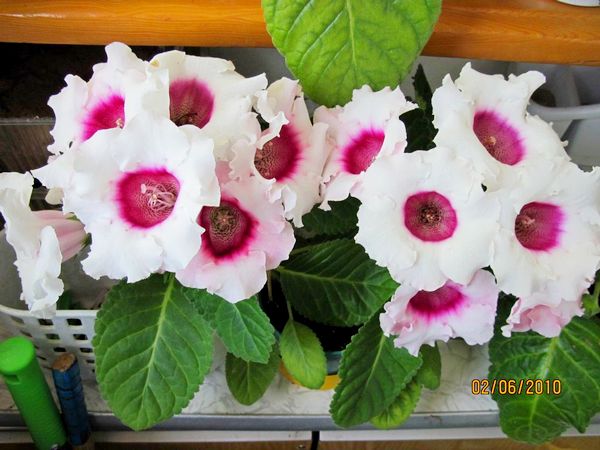
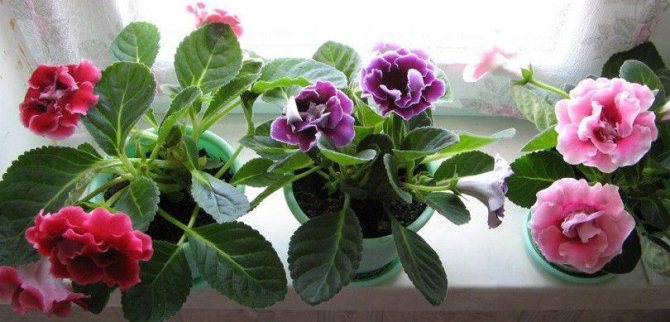
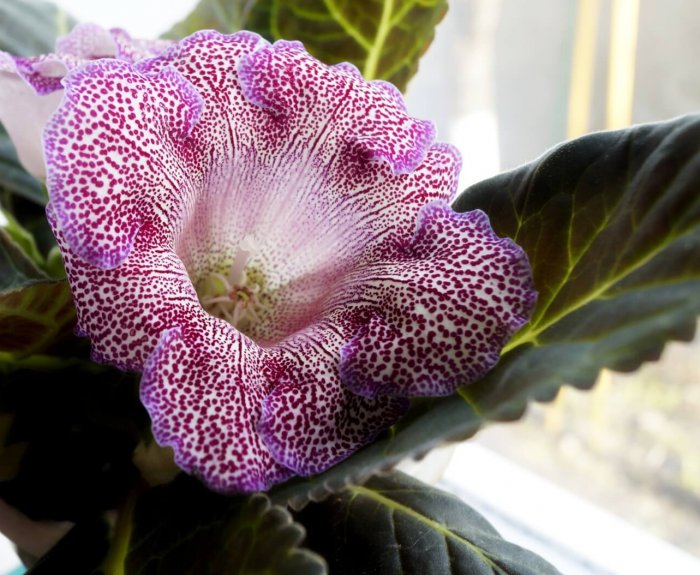
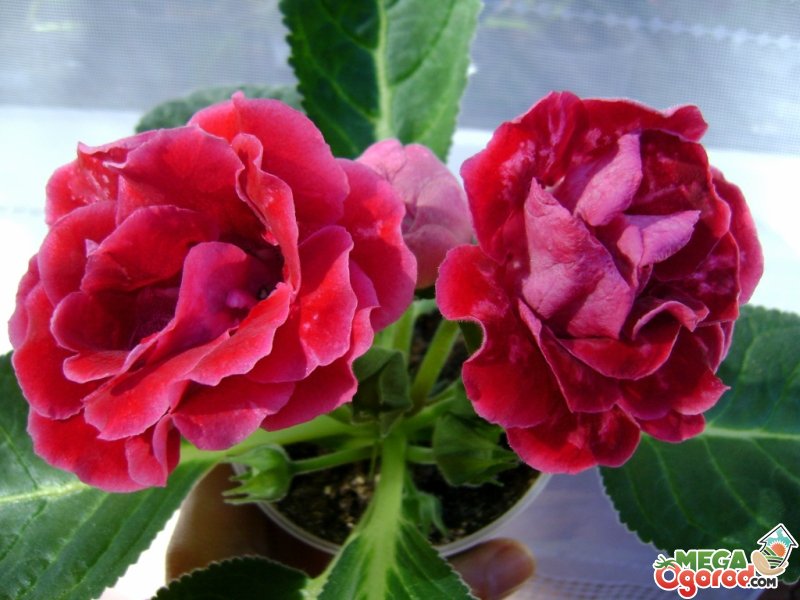
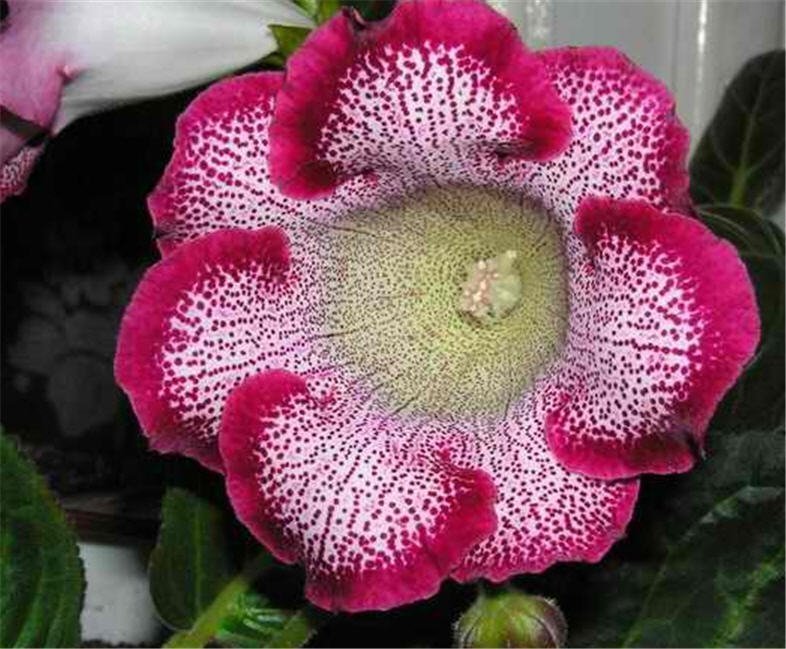
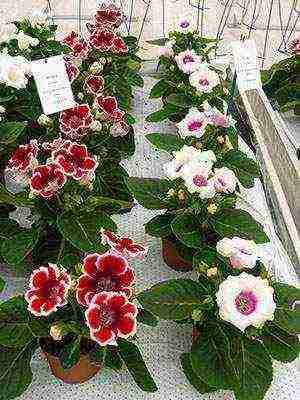
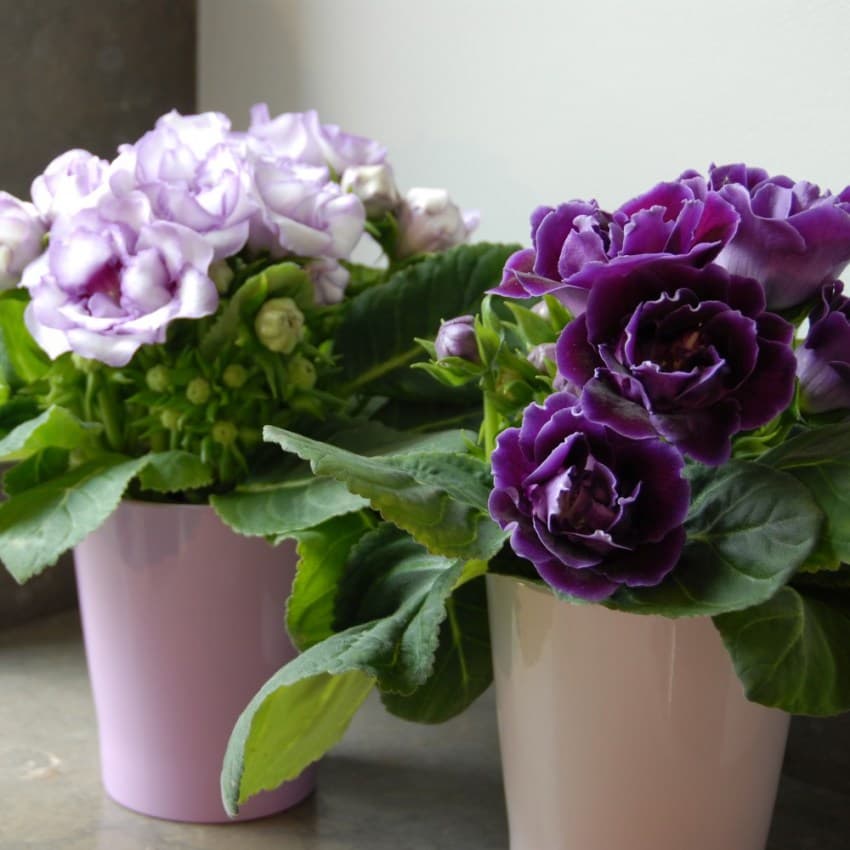
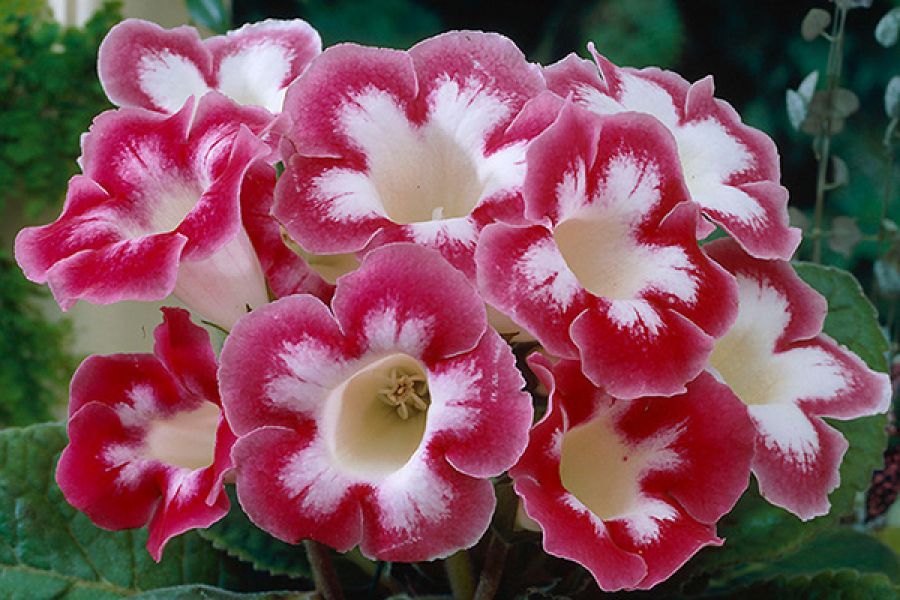
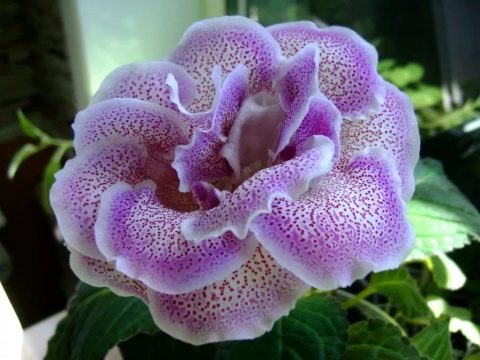
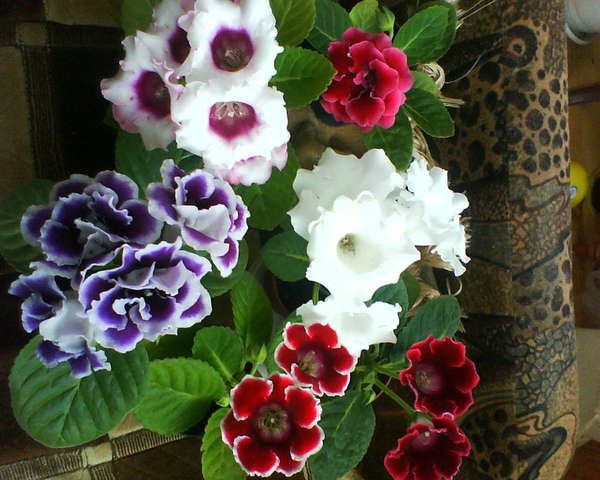
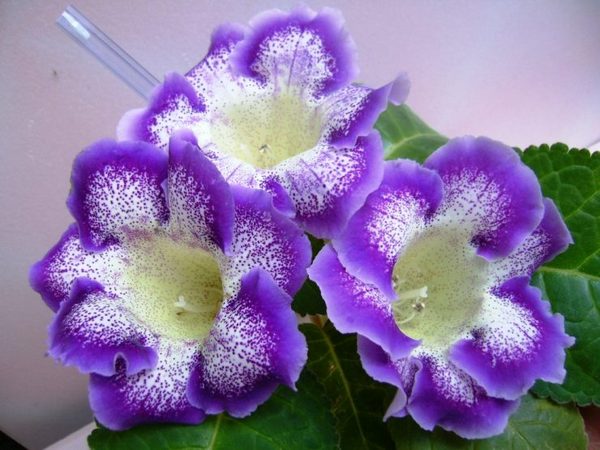
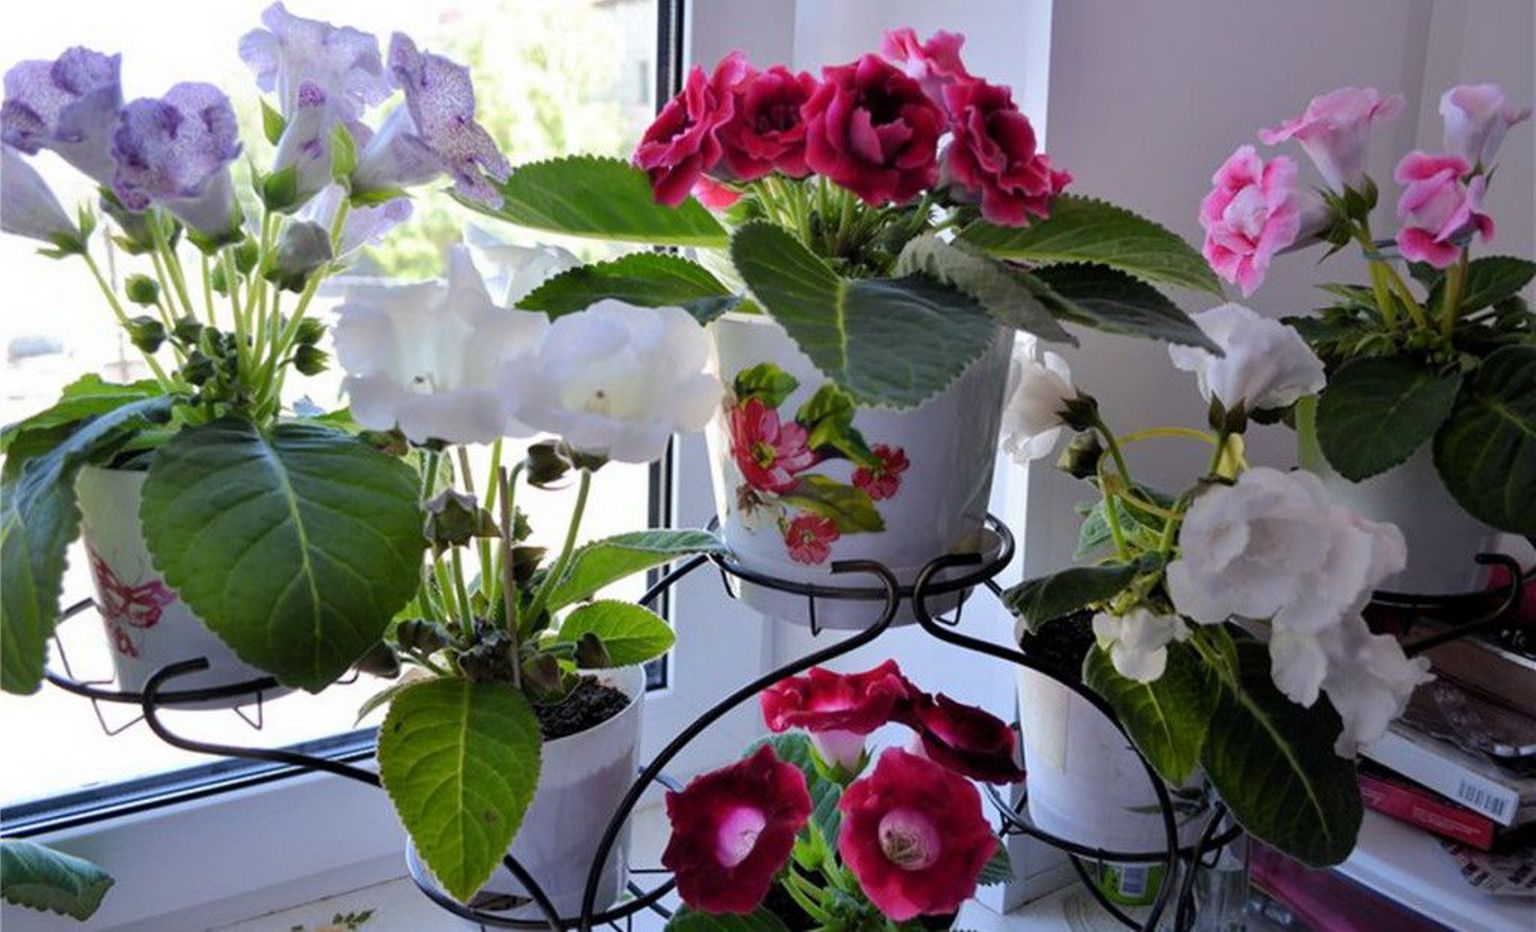
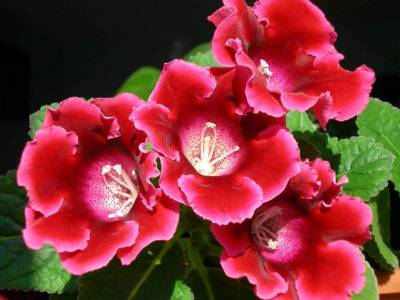
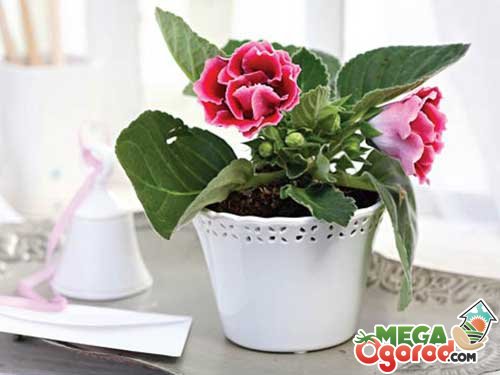
Small compact bush with large bell-shaped flowers. The leaves are large enough, oval in shape, with a velvety surface, various shades of greenery. Flowers are simply striking in their color. There are not only colors: white, yellow, pink, red, purple, brown, but also their various combinations. But there is also a pattern on the petals: specks, an ornament resembling lace, a wide edging of a petal of a different color. The root system is in the form of a tuber.

