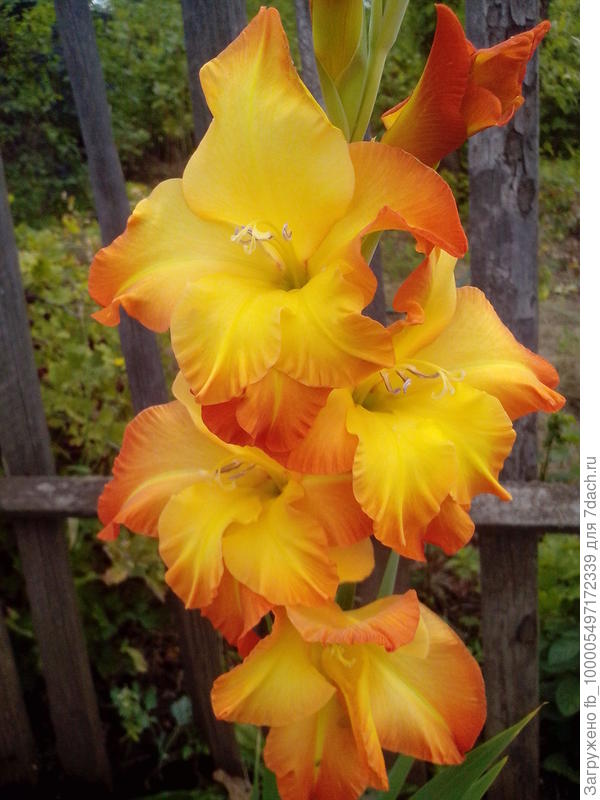
What to do with gladioli after flowering
Regardless of the flowering period of gladioli, the care for them after flowering does not differ. The same thing must be done both with plants grown for cut flowers, and with gladioli, designed to decorate a flower bed.
Activities before harvesting the bulbs
The main care activities are as follows.
-
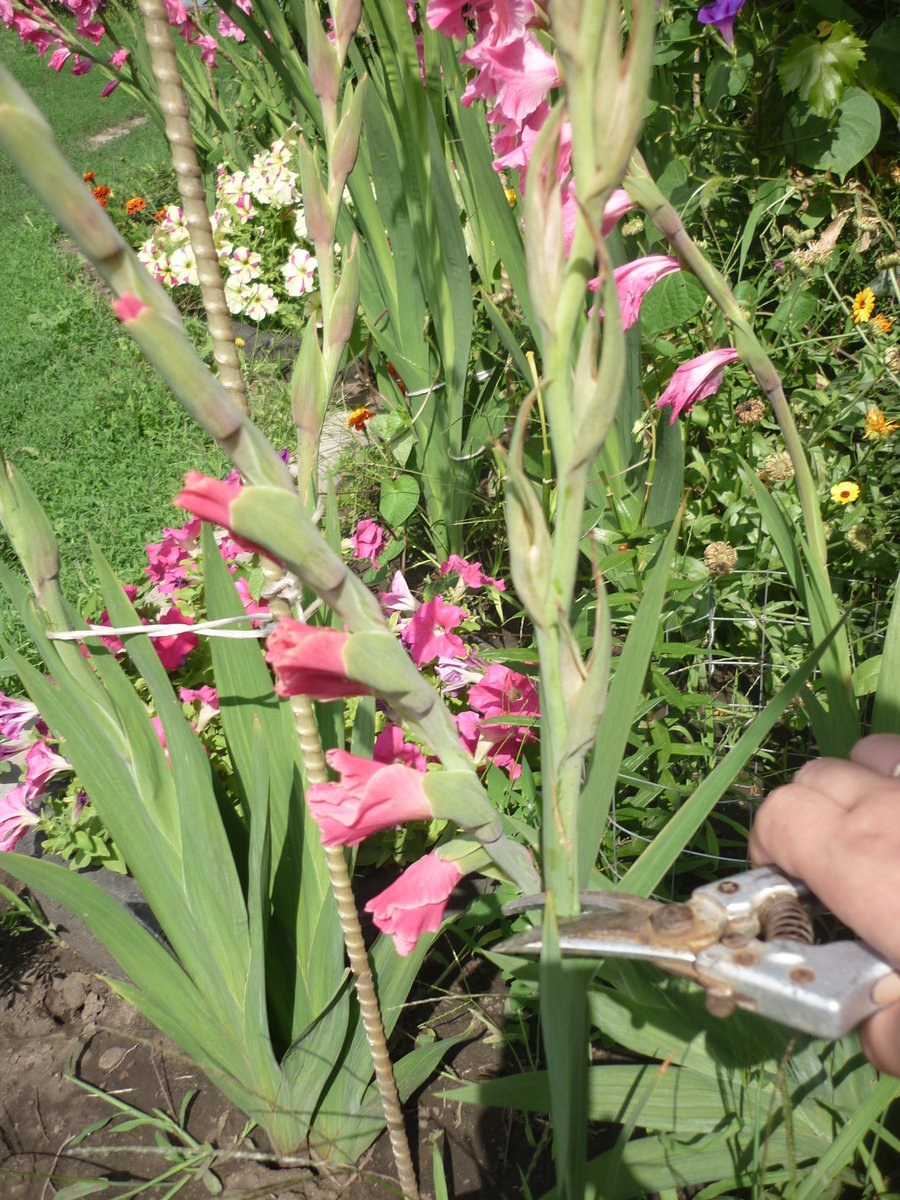
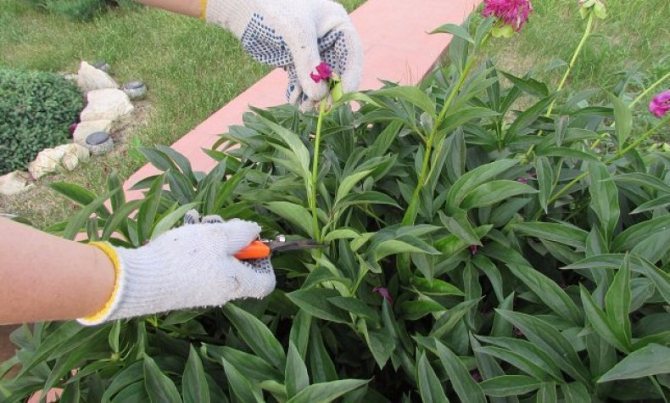
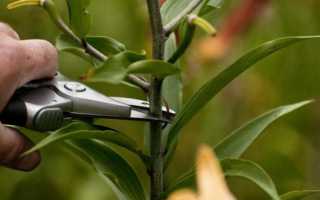
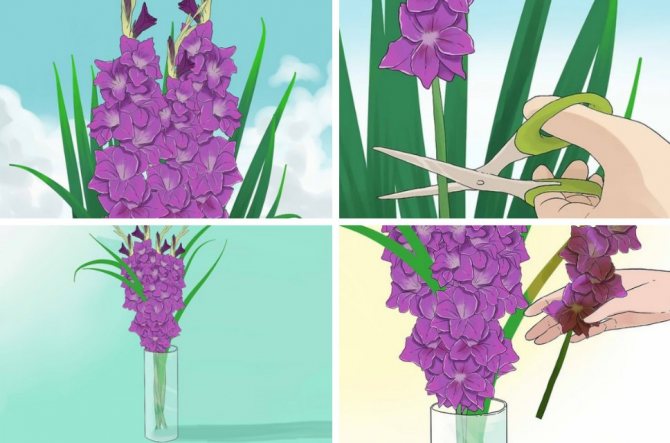
Immediately after the end of flowering (or earlier, if flowers are needed for the bouquet), carefully cut the peduncle with a sharp knife or clean pruning shears, leaving no more than 3-5 cm. It is better to do this in the evening. You can also prune the leaves, leaving the plants about 30 cm high.
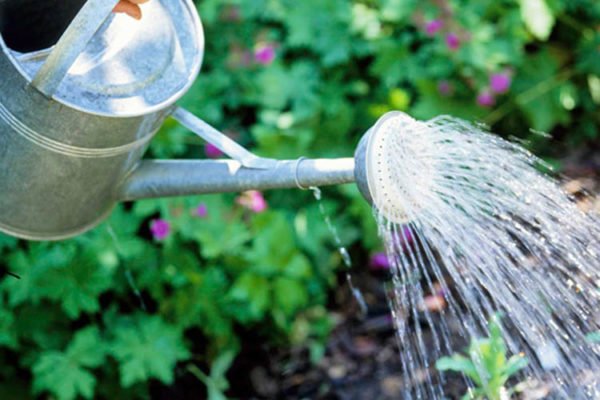
- Reduces the amount of watering. In normal weather, it is enough to water once every one and a half weeks.
-
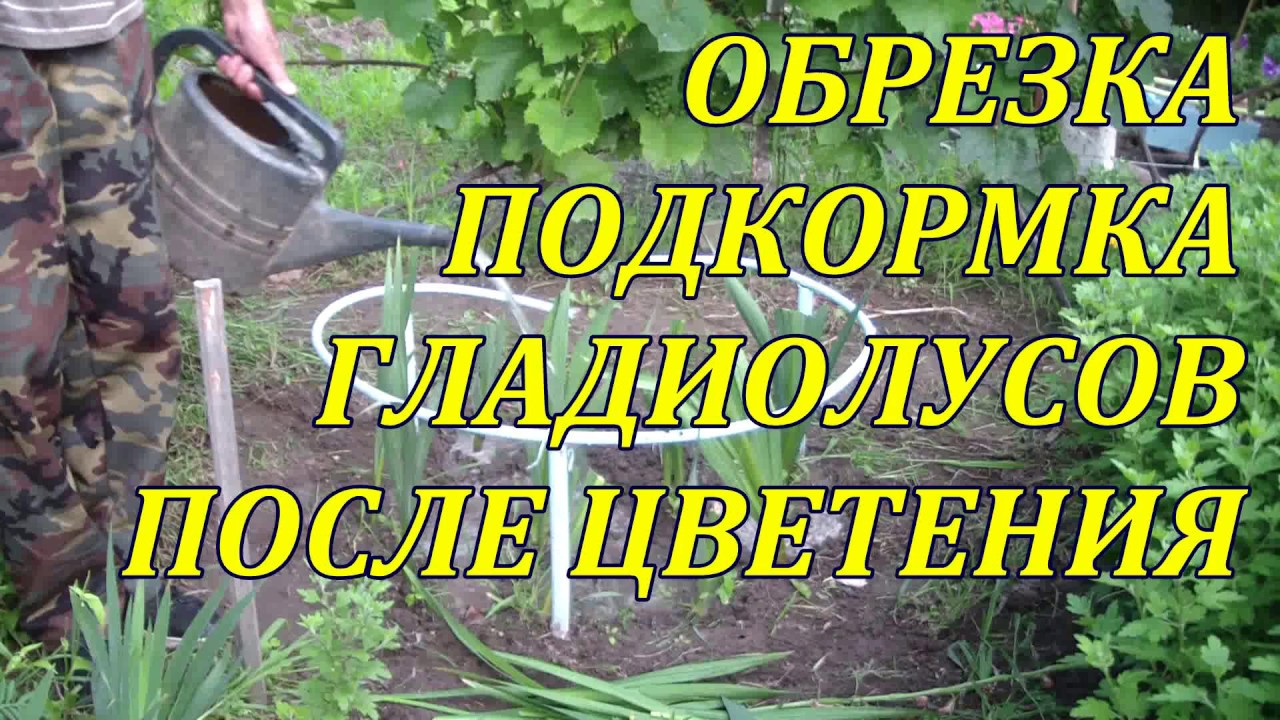
Feeding is carried out. At this time, for the ripening of the bulbs, they need phosphorus and potash fertilizers. Can be diluted in a bucket of water 1 tbsp. a spoonful of superphosphate and a glass of ash and immediately after cutting the peduncles, pour this infusion over 1 m2 of the garden. After 2-3 weeks, repeat feeding by adding 1-2 g of potassium permanganate to the solution.
-
For preventive purposes (especially in hot weather), you can treat the plants with any insecticide against thrips.
- Until the bulbs are excavated, the soil must be periodically loosened to provide air access to them.
After these events, you can hope that the bulbs will ripen properly.
Digging the bulbs
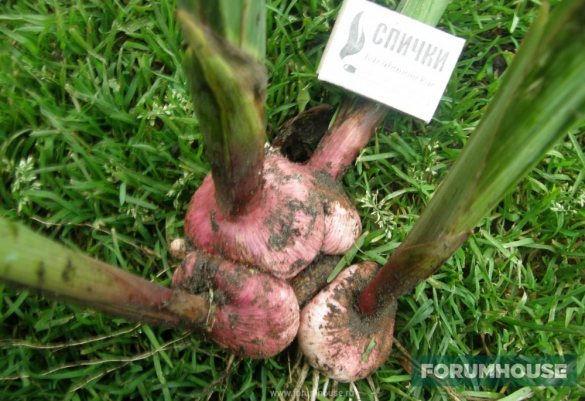
Gladioli bulbs can be dug up about 3 weeks after flowering, but it is better to let them ripen for at least a month. During this time, a new bulb and full-fledged children are finally formed. Digging time in most regions is the second half of September. The procedure should be carried out in dry weather, armed with a pitchfork.
For the convenience of digging, it is worth cutting off the stems and leaves almost at the ground so as not to break them during work, although you will still have to trim them later.
It is necessary to dig up the bulbs very carefully: the point is not only that you can damage the bulb, this almost never happens. Children are very fragilely attached to it, and we must try so that they do not crumble
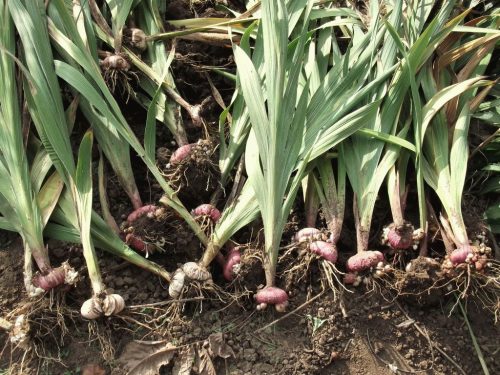
Digging gladioli without losing the baby is easy only from sandy soil
Even if children are not needed, there is no point in leaving them in the ground. Children winter well in the ground, and next year in the garden in which you plant, for example, carrots, young gladioli will grow with a brush
Therefore, you must try to get the bulb together with the soil, carefully transfer it to the place where the litter is laid or a large basin is placed, and only there get rid of the earth and carefully collect the baby
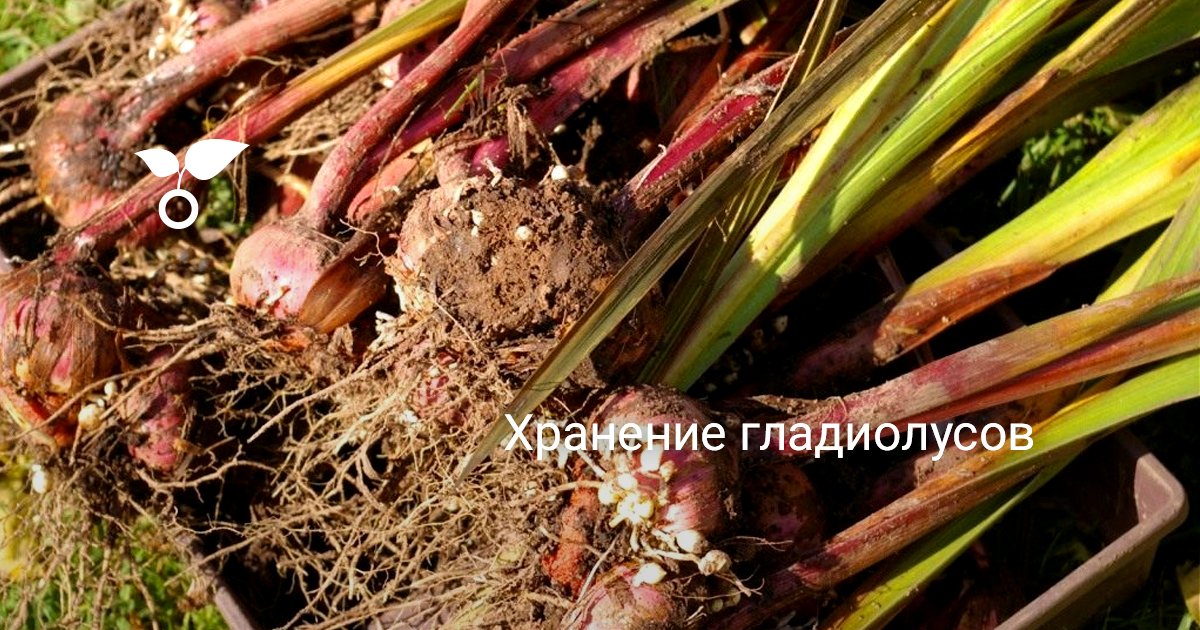
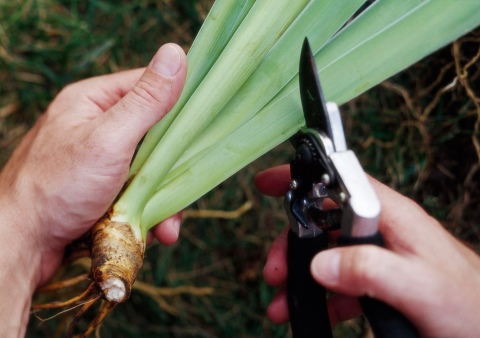
The remainder of the stem is immediately cut off with a pruner: you can leave a stump of about 1 cm. Breaking the stem is strongly discouraged: this way you can easily damage the bulb. If the old bulb, along with the roots, separates relatively easily, this can be done right away. If not, it will be much easier in a week.
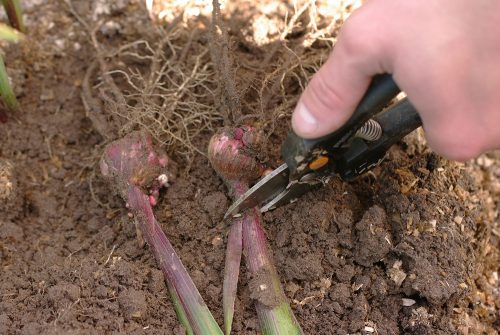
Although gladiolus is a relative of garlic, its stems, unlike an edible plant, are cut off immediately after digging.
In dry weather and sandy soil, it is easy to remove dirt from the bulb by hand. If the soil is clayey and it has been raining recently, the bulbs can be washed with water and then spread out to dry. They are dried not in the sun (so they wilt), but in a ventilated room at room temperature. Usually 2-3 weeks are enough, after which the bulbs in cardboard boxes or paper (maybe fabric) bags are sent to winter in a dry cellar with a temperature of + 2… + 5 ° C. The baby is kept separately under the same conditions.
After the blooming of gladioli, the bulbs must be allowed to ripen for at least a month, creating the right conditions for this.At the end of September, the bulbs are carefully dug up and prepared for winter storage.
What to do before harvesting the bulbs?
Gladioli are most often grown outdoors in a garden or country house. After they have faded, the grower needs to decide what to do next. The plants will have to be tended before the bulbs are harvested. After the flowers themselves fall, the peduncles do not look too neat and tidy. Cutting off the stems is the right solution. Their height should be a maximum of 30 centimeters from ground level. After the procedure, the area will look more well-groomed. It will also help prepare the bulbs themselves for winter.
For the onion to ripen, it needs nutrients. After the stems are cut, minerals will begin to accumulate directly in the tubers themselves. In addition to trimming the trunk and leaves, gladioli will also need feeding with useful compounds and treatment with special preparations, which will help protect them from various diseases.
Peduncle pruning
It is not difficult to cut the peduncle correctly for the winter. However, a certain scheme should still be followed. First of all, you need to cut off the flowering shoot. A sharp knife or pruner should be used. This is done in the evening, because at night, when it is cool outside, the cut will tighten better. The stump from the peduncle should be about 4 centimeters. Leaves are cut to one level. If we are talking about large-flowered varieties, it should be at least 20 centimeters. In the case of miniature varieties, it is enough to leave 10 centimeters.
Watering
With the onset of autumn, watering is required only for late-flowering varieties of gladioli. It is held when the weather is warm and sunny. Water must be warmed up and defended in advance. For 1 square meter, 2 buckets are enough, perhaps a little less. You need to saturate the ground by a quarter of a meter. In addition to watering, you will need to loosen the ground at the same time. Weeds are also removed, and gladioli are earthed. However, after mid-September, watering stops, and the plants begin to prepare for winter.
Top dressing
After the flower stalks and foliage are cut, the plant throws all its strength into the formation of the bulb. In order for it to receive the maximum amount of nutrients, the stem height must be more than 20 centimeters. Top dressing is carried out at the very beginning of September. At the same time, it serves as a disinfection. Gardeners recommend using potassium permanganate. For 1 square meter of land, 5 grams of the composition dissolved in a bucket of water will be enough.
In addition, in the autumn, it is necessary to prepare the site itself, where the flower garden will be located in the spring. To begin with, weeds are removed, after which the soil is dug up. It will need to be deoxidized, for this it is enough to add peat with sand or lime or dolomite flour. If the soil is sandy, the sand is replaced with humus. Fresh manure should be discarded, as it can cause the spread of the fungus. In the fall, fertilizers based on potassium and phosphorus should be applied to the soil.
Tillage
An important point is tillage. It becomes the prevention of various diseases.
You need to pay attention to the timely removal of weeds and digging. Loosening improves air access to the roots. In order to disinfect the soil in the fall, during digging, it should be watered with a 2% solution of copper sulfate
You can replace it with Tiazon. Before planting flowers, the soil should be watered with Fitosporin solution. Potassium permanganate does not hurt either. After that, sand is added to the grooves, and tubers are already planted on it. They should also be sprinkled with sand first and only after that with soil.
In order to disinfect the soil in the fall, during digging, it should be watered with a 2% solution of copper sulfate. You can replace it with Tiazon.Before planting flowers, the soil should be watered with Fitosporin solution. Potassium permanganate does not hurt either. After that, sand is added to the grooves, and tubers are already planted on it. They should also be sprinkled with sand first and only after that with soil.
Iris care after flowering
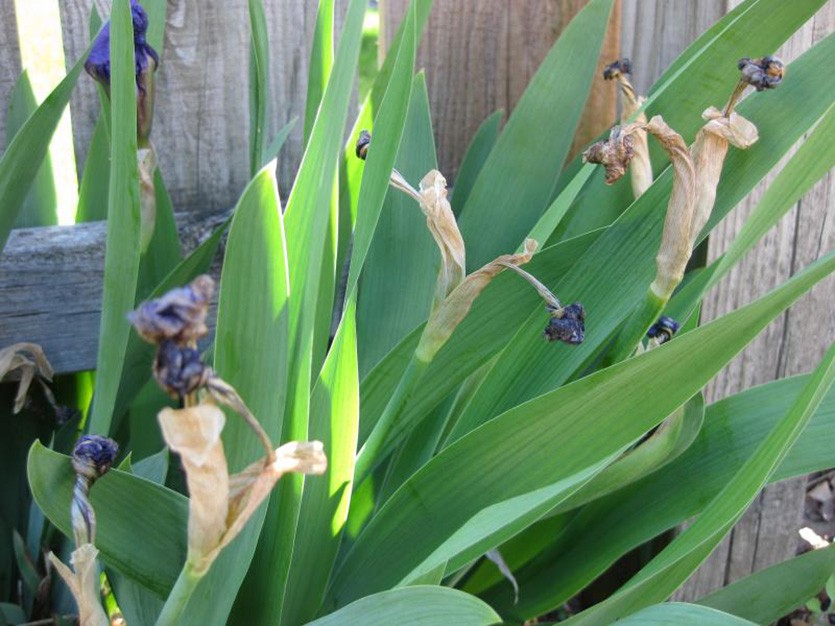
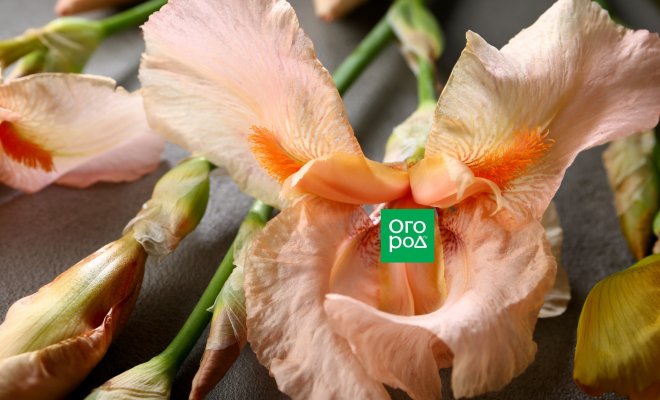
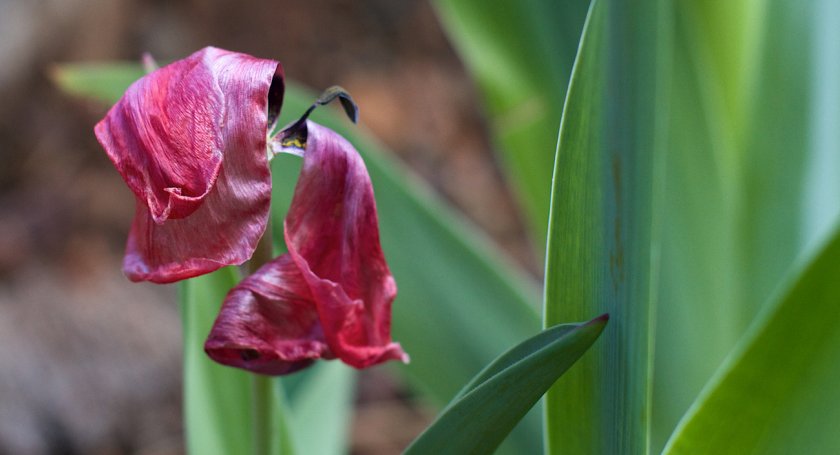
Irises are incredibly beautiful flowers. They decorate flower beds, but at the same time, after flowering, they require care. For example, flowers and stems should be removed. However, you should be more careful when pruning foliage so as not to harm the roots.
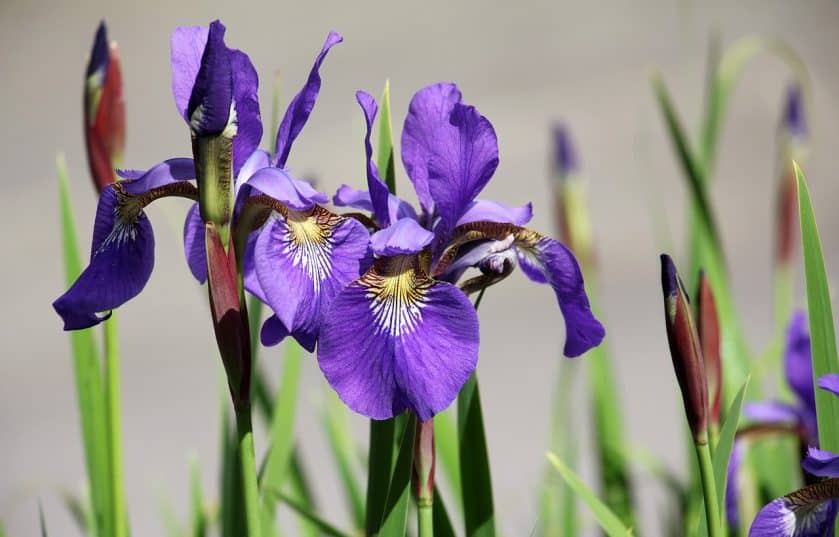
Irises
Removing individual flowers, stems and foliage
During spring and summer, irises should be pruned. It is recommended to use special garden tools to remove dried plant parts. For example, pruning shears or scissors with sharp blades. Poor pruning can severely damage the plant.
So, to remove wilted flowers, you need to prune along the peduncles. More specifically: cut off the receptacle and the bud. At the same time, departing 2 cm from the selected bud. When the stem has completely bloomed, you should cut it two centimeters above the ground. Bushes should be checked for dried flowers once a week. This is quite enough.
Important! Unbroken buds cannot be cut off
How to trim properly
Pruning daylilies is a selective process that depends on the condition and development of the plants. After the last buds have opened and disappeared, they are used to cut through the lower pedicels. The delay in this case is unacceptable. How to trim a daylily if it rains?
Attention! It is necessary to manually remove or cut a wet flower that is unable to fall off on its own. In spring, old leaves are trimmed at the edges of the plant in order to clean the lower part of the curtain and stimulate its rejuvenation.
Throughout the summer, they take care not only of the inflorescence and pedicel, but also cut the yellow leaves at the base of the flower
In the spring, old leaves are trimmed around the edges to cleanse the bottom of the curtain and stimulate its rejuvenation. Throughout the summer, they take care not only of the inflorescence and pedicel, but also cut the yellow leaves at the base of the flower.
Spring plant pruning
Winter pruning is a moot point: if the leaves turn yellow and dry naturally, they can be used as an additional measure of protection. In the central part of Russia, the daylily has faded, what to do? Plants often fall off before completing the growing season. After frost, the leaves die off. In this case, the entire aerial part of the plant is treated before frost due to the fact that it is difficult to carry out a uniform pruning of wet leaves.
Young leaves have time to grow and bloom before the onset of winter, but they are never removed or cut off. They are left on plants to prevent yellowing in milder climates.

Pruning before wintering
Pruning a daylily in the fall is usually straightforward:
- Use a sharp pruner or scissors to cut off all the leaves 10-15 cm above the ground.
- Do not prune too much, as this will stimulate the plant to regrow.
- The entire leaf is cut or composted on the site and burned after discovering the flower.
Favorable time to dig up the bulbs for storage
When the hazel grouses fade, what to do next is described in the previous part of the article. Now it is worth dwelling in more detail on the timing of cleaning. Some advise: "I chose a day without rain - and get to work!" Light rain is not a hindrance if the ground is dry. Better when, three days before the digging, there was no precipitation and dense fogs.
It is good when the earth does not stick to the plant heads. Small young bulbs are better visible in the soil, the risk of damage to large heads is reduced.
Yellowing foliage is not always a sign that the hazel grouse is retiring. Leaves turn yellow, wither:
- with the defeat of fusarium;
- leaf nematode infection (small sucking insects).
The hazel grouses must be harvested at the same time as the tulips. This is roughly mid-July. Those who constantly grow hazel grouses know by flower when to dig up a plant. Beginners are advised to dig up the extreme flower, see if the roots dry out. If they die off, become brittle, it's time to dig up the bulbs.
Important! By the way, there is no need to wait until the stem is completely dry. If chlorophyll does not form in the leaf plates, a yellow pigment appears, the plant prepares for rest
You should not hesitate in digging, especially if it rains or there is a sharp contrast between night and day temperatures. Under such weather conditions, the bulbs dormant in the soil are most vulnerable; rot quickly develops on the scales. The deadline for extracting flower heads from the ground is mid-August.

A bulb dug in dry weather is easy to clean. Films and scales are clearly visible on it. Sandy soil is brushed off with a brush.
What else should you do with peonies in the fall?
In addition to the types of work listed above, necessary for a peony in the fall, a transplant can also be called. If you have a large bush (at least 4-5 years old) or if it grows in an inconvenient place, it is better to transplant it. The best time for this is autumn.
Peonies in the fall: all about the correct preparation of plants for winter
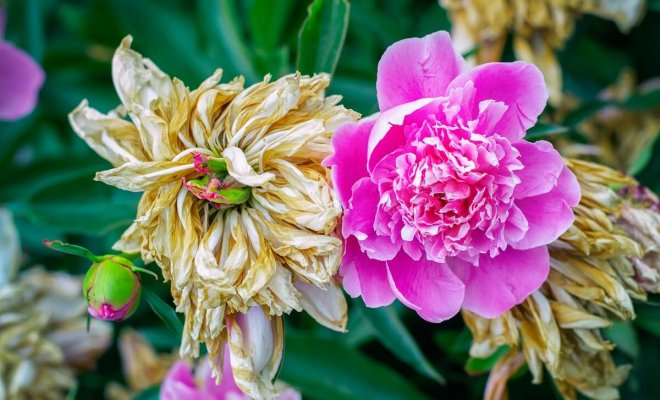
In order for the flower garden to wake up amicably in the spring, in the fall, you should competently prepare it for wintering.
And, of course, you shouldn't forget about protecting your pets before winter. We recommend covering the ground around the bushes, for example, with a layer of peat or humus. The thickness of the layer varies depending on the weather conditions in your area - from 8-10 cm in temperate regions to 20-25 cm in places with more severe winters.
If you give your pet at least a minimum of attention, your unpretentious handsome peony will thank you next year with a gorgeous flowering.
Is it possible to cut unblown gladioli
First you need to familiarize yourself with the rules and the time period for cutting the skewer for bouquets:
- If the flowers have begun to bloom a little, you can already place the peduncle in a vase.
- Cut for bouquets in the morning.
- Carry out the event only with a well-sharpened knife so as not to damage the plant.
- Immerse the stems in a container of water immediately.
- Remember that the flowers are massive - set them in wide-bottomed vases.
- Store cut flowers in water in a cool place.
- Change the water after 2-3 days.
- Remove wilted flowers gradually.
The time will come when the skewer will fade - first early, then late. While flowering lasts, watering should be carried out. It can be everyday (in dry weather), and rare - from once a week or even two weeks. The bulb is located at a depth of 30–35 cm, and the soil must be moistened at such a distance.
Important: If you add half an aspirin to the water, the flowers will receive additional nutrients and the bouquet will retain its attractive appearance longer. b, and so that the soil moisture is constant and moderate, the weed does not grow abundantly, mulching is carried out. b, and so that the soil moisture is constant and moderate, the weed does not grow abundantly, mulching is carried out
b, and so that the soil moisture is constant and moderate, the weed does not grow abundantly, mulching is carried out.
Did you know? In ancient Greece, gladiolus was considered a weed that grows in wheat fields. It was pulled out and burned along with the onions.
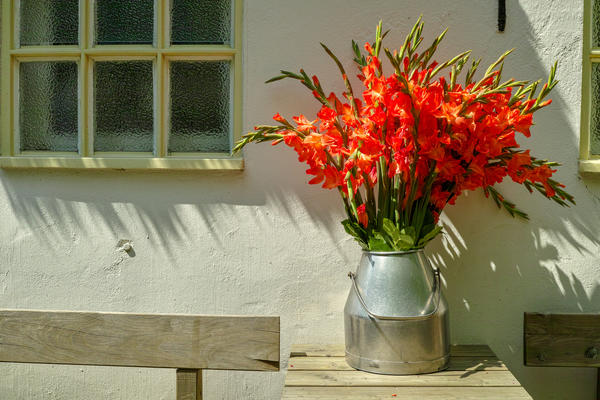
Usually, flower stalks are cut for bouquets, on which one or two lower flowers have blossomed. Gardeners, as a rule, have a separate skewer designed for bouquets and one that will directly decorate the garden space. If flowering has already continued, and it occurs from the bottom up, then cutting will not harm the plant.
Flowers in a vase can have negative effects. After all, now you have to pick off the withering inflorescences one after another every day.To help preserve the appearance of the bouquet, you can pinch the upper buds (1-2 pcs.). Then more energy for flowering will go to the rest, lower and middle, flowers. It is worth cutting off gladioli, planted specifically to decorate the site, only after flowering is complete.
If you observe that the buds will soon be ready to bloom, you can safely cut the stems. The main thing is to keep as many leaves on the plant as possible. Do not cut flowers in the heat to avoid damaging the skewer. As a rule, if one bud has opened on each plant, therefore, it is time to collect the bouquets. And this contributes to the correct development of gladiolus, especially its corms.
Do not rush to cut only those varieties for which the time of flowering will not come soon. There is no point in pruning too early - the buds have not yet had time to form and prepare for blooming.
Transplanting and dividing old irises
Irises in one place feel good for 4–5 years, and then they grow old and stop blooming. In addition, over the years, the land under them is depleted, diseases accumulate, it is necessary to replant. The best time for this is 2–4 weeks after flowering, but no later than late August - early September. The seedlings should have time to take root before the cold weather, then they will bloom next spring.
Stages of dividing the bush and planting:
- Dig up an old bush.
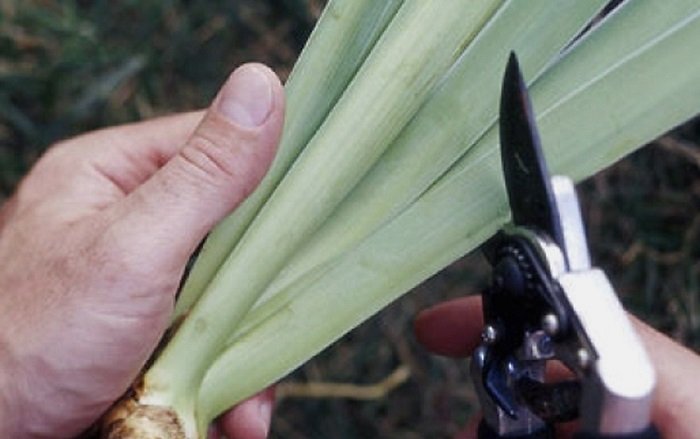
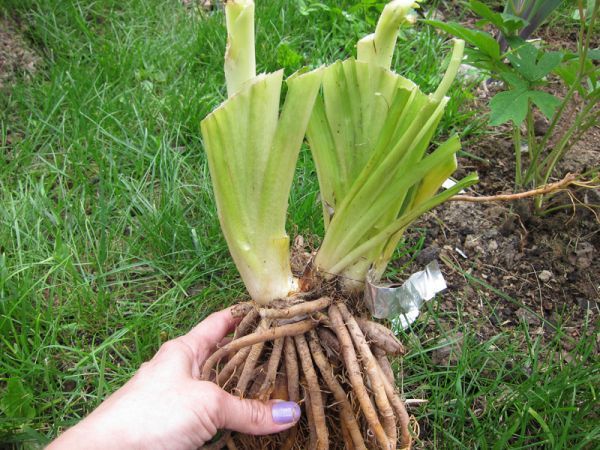
- Shorten the leaves one third of their height. This will reduce evaporation, it will be easier for the injured root to recover, it will begin to feed the aerial part faster.
-
Divide (cut, break) the bush into divisions, each should have a piece of root and 1-3 rosettes (shoots).
- Plant the cuttings 25-50 cm apart, depending on their size. The embedment depth is the same as in the previous location. The soil should be filled with humus (6 kg / m2) and wood ash (200 g / m2).
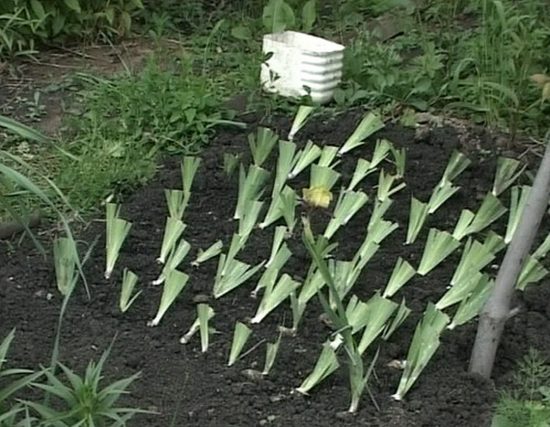
We did everything right: the bush was divided, the leaves were shortened, planted according to the scheme
This planting method is suitable for irises with dense bushes (Siberian, bristly, cereal, etc.), and varieties from the bearded group (garden, hybrid, dwarf) are not immediately planted in the ground. After dividing, their slices are first dried in the sun for at least 2 hours, and then planted.
Winter preparation and storage
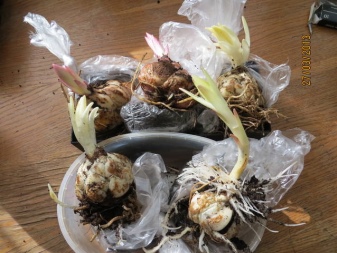
You can save the bulbs at home until spring planting by properly preparing and placing them. After complete drying, they are rolled in wood ash, but processing with dry antifungal powder and wrapping each bulb in paper or 2 layers of newspaper is also allowed. Then the material is placed in a wooden box with ventilation perforation, sprinkled on top of wood shavings or overlaid with moss.
There are other storage methods as well.
- Lilies can be placed in a polyethylene bag with peat, the layer of which is at least 15 cm. The bulbs are placed at a distance of 10 cm from each other, they should not touch. The bag is tied, making several holes in it for ventilation, and placed in a cardboard box.
- Plants are planted in peat containers or flowerpots. This method is practical: in spring, in warm weather, you need to take the container out to a lighted place and water the ground so that the bulbs grow.
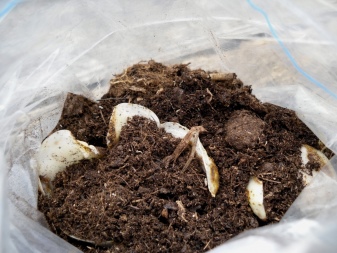
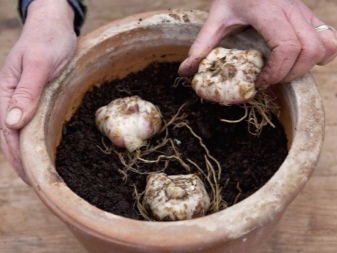
During storage, it is important to adhere to the optimal temperature regime, make sure that the air is not too humid - because of this, the bulbs can rot. But the indoor climate should not be dry either - this causes dehydration and shrinkage of plants.
Regular airing is a guarantee that the lilies will not get sick and mold will not appear on them. Therefore, it is not recommended to store the bulbs in the refrigerator, as part of the planting material may be irretrievably damaged.
Plants left in the ground have enough 10-15 cm of snow to survive the cold
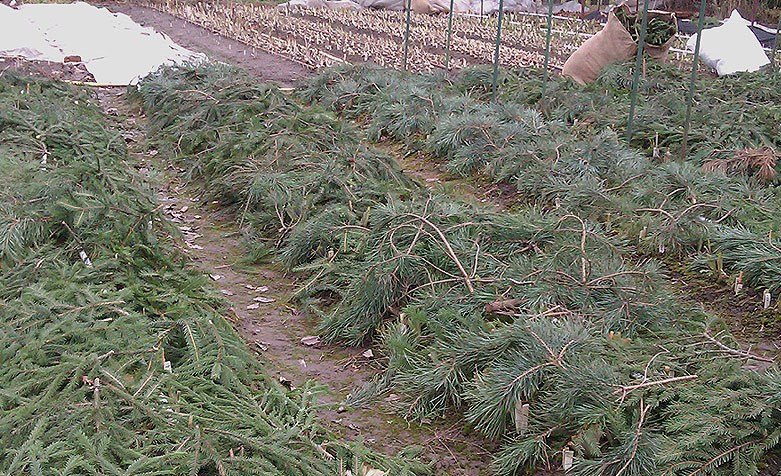
But with little snow in winter, it is important to use mulching with coniferous spruce branches, foliage, peat. The coating is removed when the soil thaws
Hybrid and Asian varieties of lilies require special storage.A moat is dug in the garden, at the bottom of which drainage material is placed. For it, you need to make a lid and lay out the inner space with boards. The cooked bulbs in bags or boxes are placed in a trench and transferred with bags of water. This helps to mitigate temperature changes inside the shelter. The storage is closed with a film, and on top - with a lid, on which spruce soil, coniferous branches and cardboard are poured.
