Distillation at home
The event will be successful if the recommendations described below are followed. Violation of even one of the rules, for example, inappropriate storage temperature of bulbs or poor-quality (weak) planting material, can negate all the efforts of an amateur grower.
When forcing Hyacinths, it is important to organize two periods for the plant "winter" and "spring", but the life cycles of the plant do not coincide with the calendar. From planting the bulbs to the beginning of flowering takes from 14 to 15 weeks
By March 8, the base is planted in October, by the New Year - in early September.
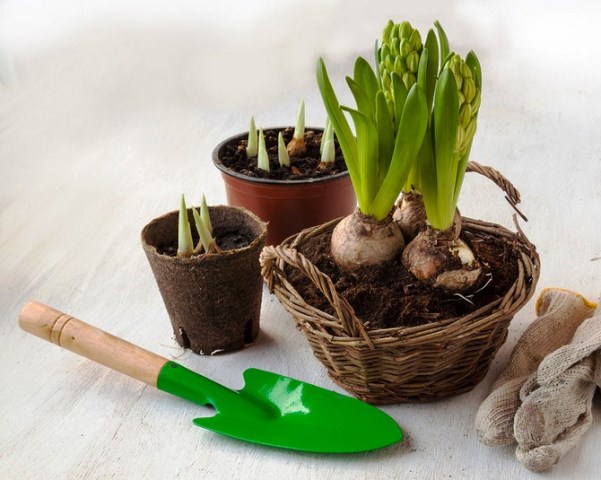
Bulb selection
Base requirements:
- dense;
- large (at least 5 cm);
- healthy;
- the ratio of the diameter of the bottom to the size of the bulb is 1: 1.6;
- no rot;
- intact, without cuts and deformed parts.
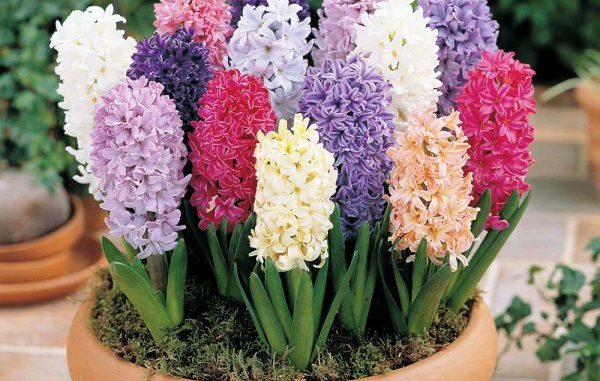
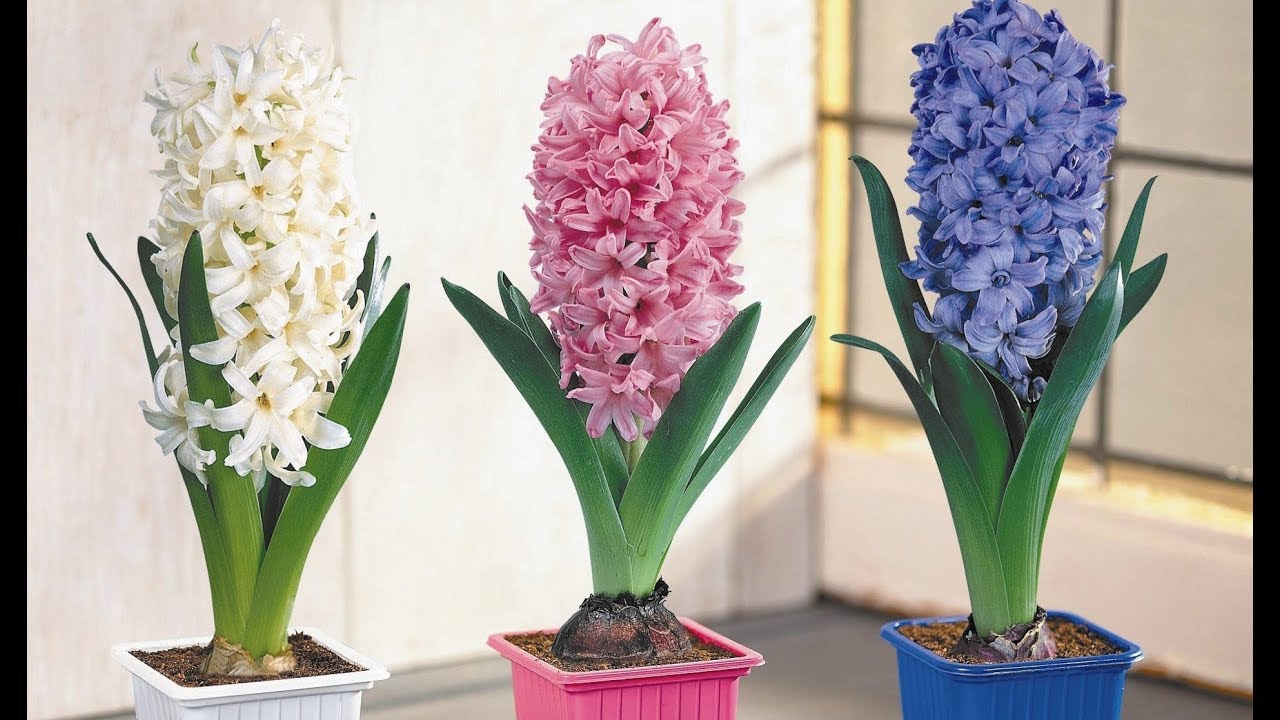
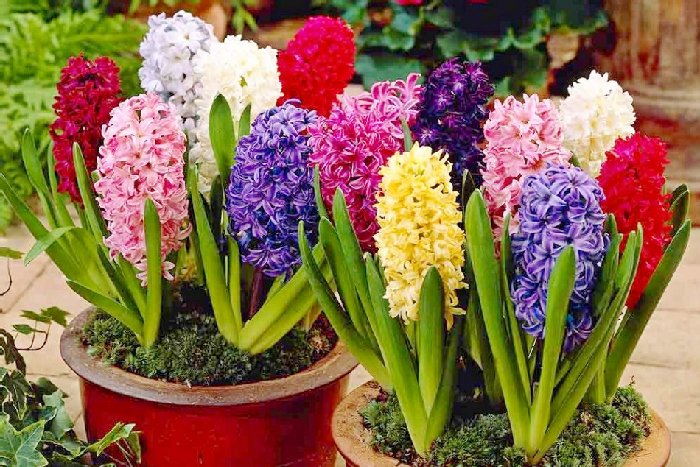
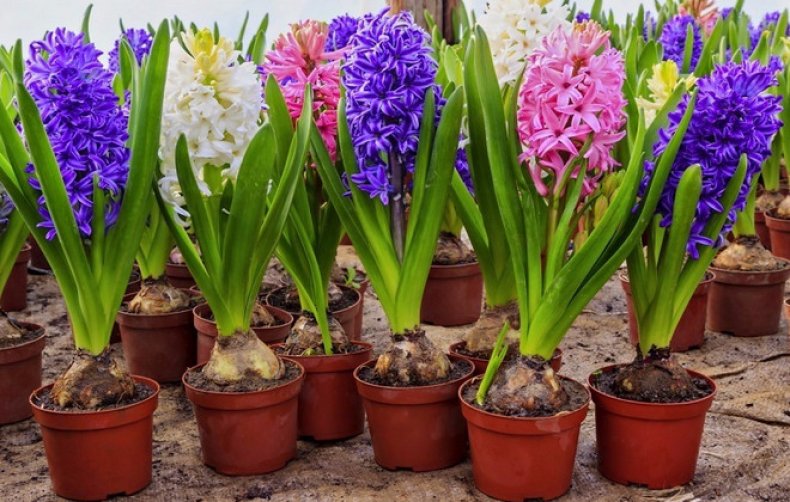
It is easy to distinguish hyacinth bulbs from varieties with different shades of petals
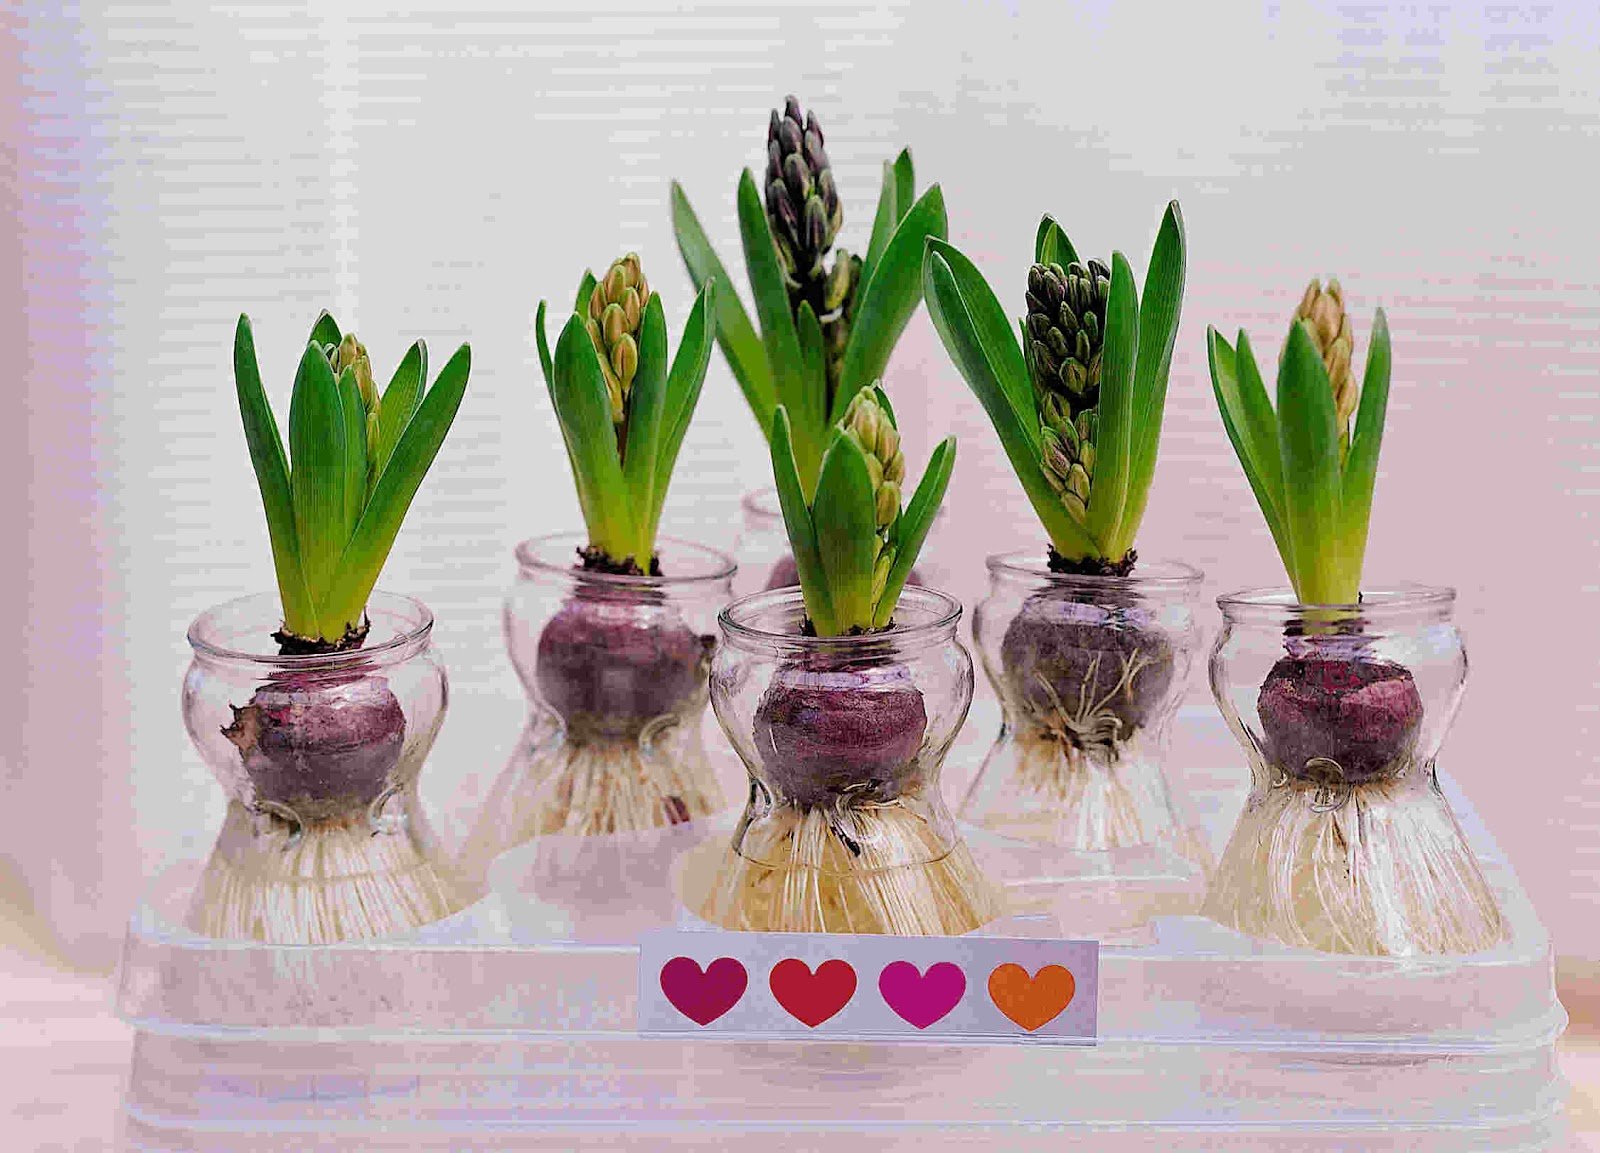
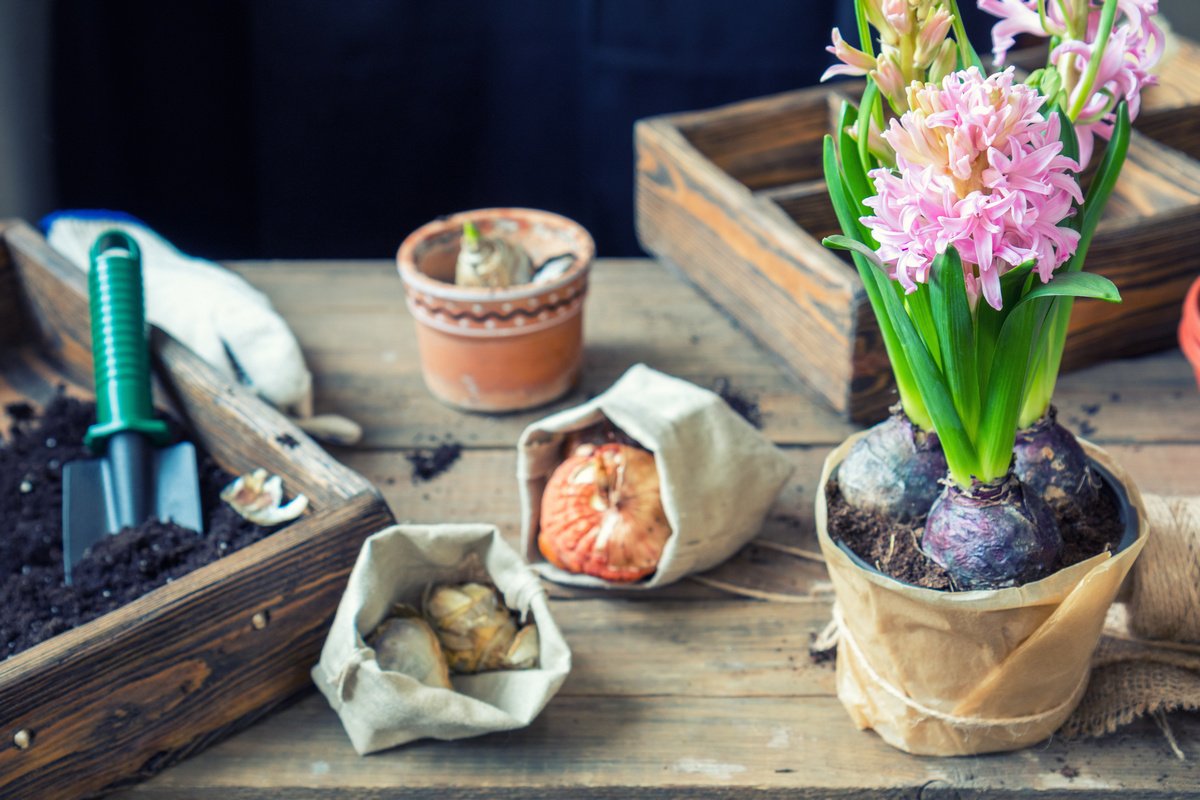
You need to pay attention to the color of the integumentary scales:
- yellow varieties - a shade of grayish cream;
- red varieties - burgundy scales;
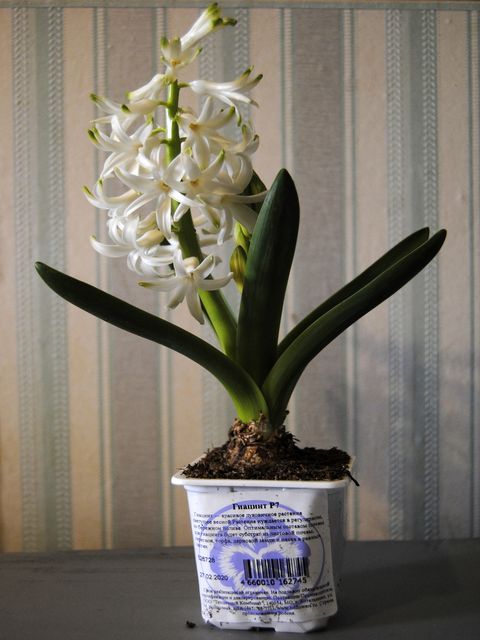
- white varieties - a light gray shade;
- pink varieties - lilac color of the cover;
- blue, purple and blue varieties - purple scales.
The best option is to buy the bulbs at a flower shop. In this case, the planting material goes through all the stages of preparation and processing, and the florist does not need to think about carrying out some procedures.
When preparing the bulbs on their own, they strictly adhere to the rules:
- dig up the base from the soil for final ripening;
- dry the bulbs at a temperature of +25 to + 30 ° C for 14 days;
- after two weeks the temperature is reduced to + 22..25 ° С;
- the remaining time before forcing the hyacinth bulbs are stored in a cool room: no more than + 17 ° C.
What to do with faded hyacinth?
Scenario one.
Many people throw away faded hyacinths. Sometimes an empty pot is left as it can be used for growing seedlings or for cacti.
Scenario two.
Some floriculture manuals (including articles in newspapers and magazines) recommend subjecting the faded hyacinth to execution: the plant is first systematically dried, the bulb is removed from the ground and disinfected, and then sent for storage until the autumn planting on the site. It is believed that a bulb that has passed this test will bloom in a year. I have tried many times to preserve the hyacinth bulb this way. First of all, it is quite troublesome. And most importantly, my bulbs never even survived until the end of summer. They were so shriveled that one could not even dream of any further flowering. By the time of the autumn planting, nothing remained of the dried onion, except for a lump of rustling scales. There was nothing to plant in the ground.
Scenario three.
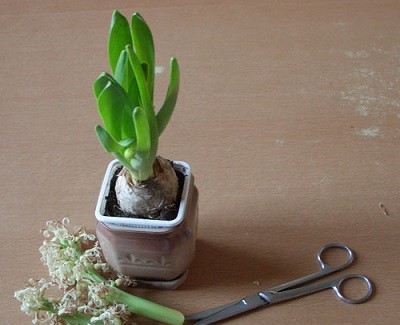
This option gives one hundred percent results. It is also very simple. I start by cutting off the faded peduncle. After that, I transfer from the old small pot to a larger flower pot. Of course, only if you did not transplant the hyacinth into a new flower pot immediately after purchase. Be sure to put a drainage layer on the bottom (preferably from expanded clay). I pour in the previously prepared garden soil, mixed with peat and sand. You can take a purchased soil mixture for flowers
It is important that it is not solid peat or too nutritious soil mixture of the "Living Earth" type. At least sand must be added to such package contents.
I cover the bulb with earth to the very neck. It shouldn't go deeper!
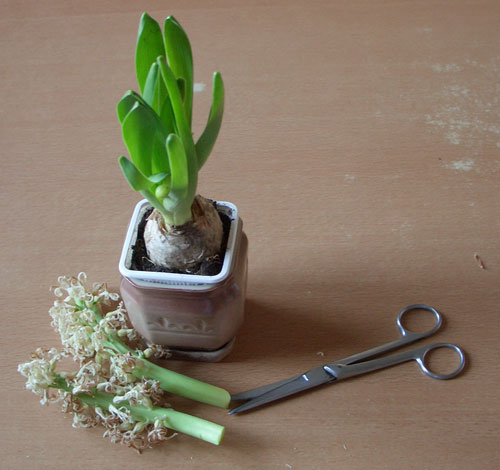
After the transshipment, I put the hyacinth pot in a bright, cool place on the insulated glazed loggia. You can put it on a windowsill.Hyacinth quickly begins to grow excellent green leaves.
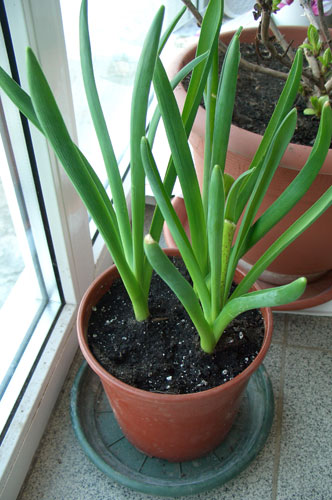
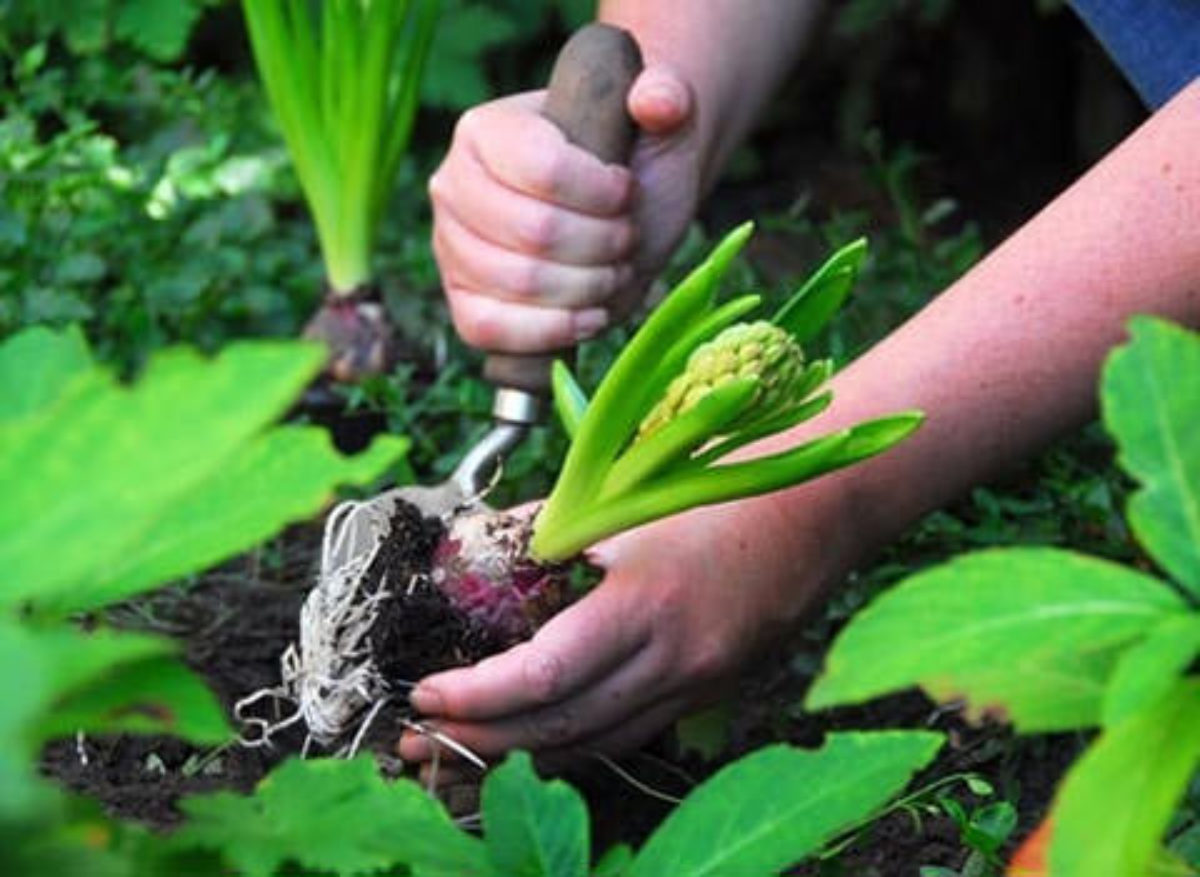
I take care of it as a houseplant during the growth period: I moderately water the soil in a pot, trying not to soak the bulb itself, and feed it with complex fertilizers. The soil should not be waterlogged during watering. Hyacinth will naturally grow in a pot (on a loggia or windowsill) like its counterparts outdoors. The only difference lies in the time and place of growth. As soon as the opportunity arises, the hyacinth should be moved to the flower garden. There I gently roll a clod of earth with roots from the pot into the hole and level the ground. I do not deepen the bulb, because the neck should remain at the ground level at all times. I usually do the transshipment in (according to the weather).
Hyacinths, which were bought in pots and grown in the house before planting in the ground, have the time and opportunity to accumulate nutrients in order to grow a full-fledged bulb. They are ready to bloom next year.
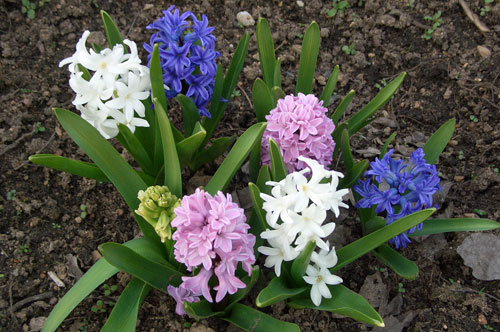
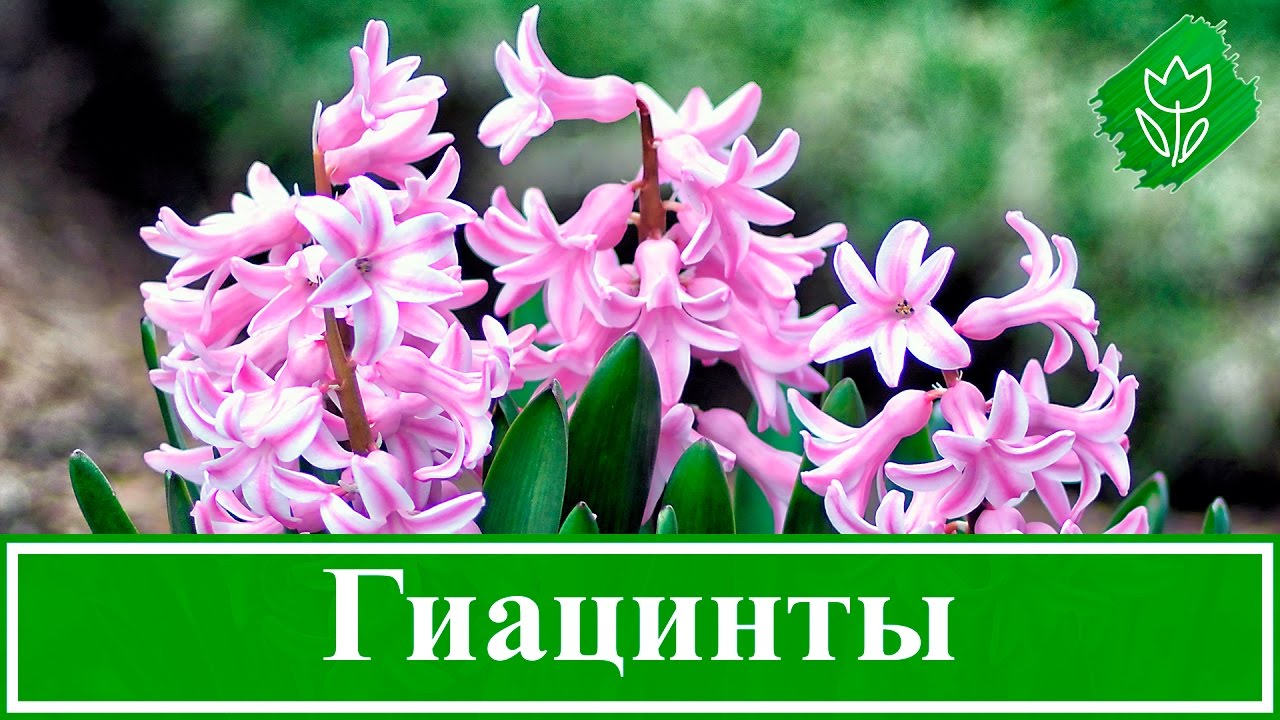
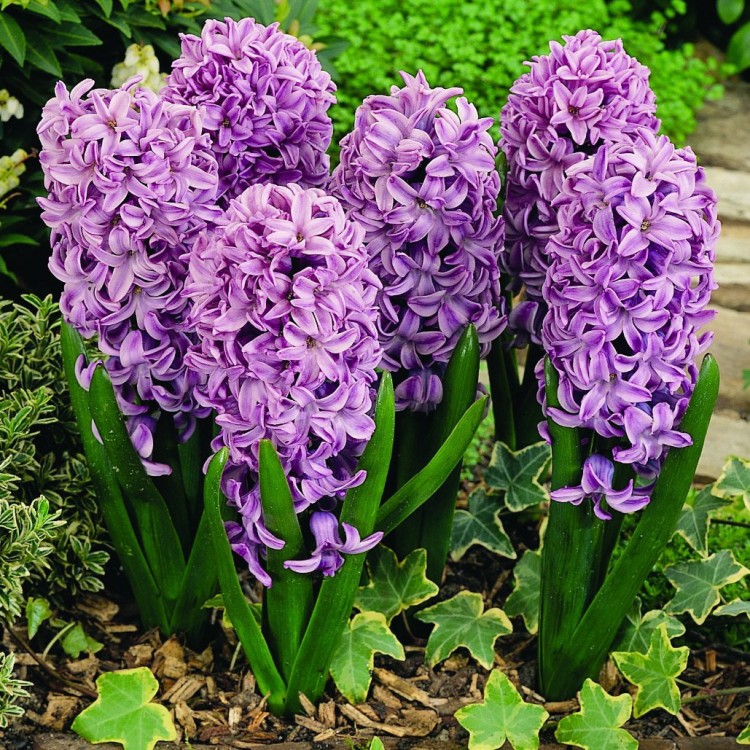
Flower hyacinth (Latin Hyacinthus)
, Is a genus of bulbous perennials from the Asparagus family, although it was previously isolated into a separate Hyacinth family or included in the Liliaceae family. From ancient Greek, the name of the flower is translated as "rain flower". The hyacinth got its name in honor of the hero of the ancient Greek myth: in those distant times lived a beautiful young man Hyacinth, the son of the king of Sparta, a young friend of the god Apollo, who often descended from heaven and taught Hyacinth to throw a disc. During one of the trainings, Apollo threw a disc, and Hyacinth rushed after him to pick it up and bring it to Apollo, but the god of the West Wind, secretly in love with the prince, in a fit of jealousy turned the flying disc so that he broke the young man's head. Hyacinth was bleeding to death in the hands of his almighty friend, who could not save him ... Grief-stricken and filled with tenderness, Apollo created a flower of amazing beauty from the blood of Hyacinth and gave him the name of the deceased young man ...
How to prepare bulbs for planting
Potted lavender - home care
The first stage in growing hyacinth is the correct selection and preparation of planting material. Bulbs must be:
- Healthy;
- Clean;
- Dazed;
- Dense;
- Large enough (at least 5 cm in diameter);
- No mechanical or other damage;
- No rot.
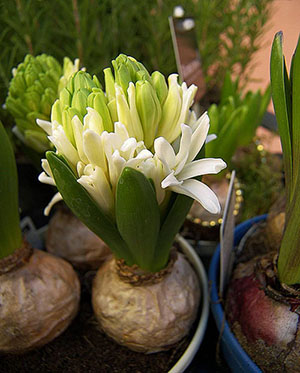
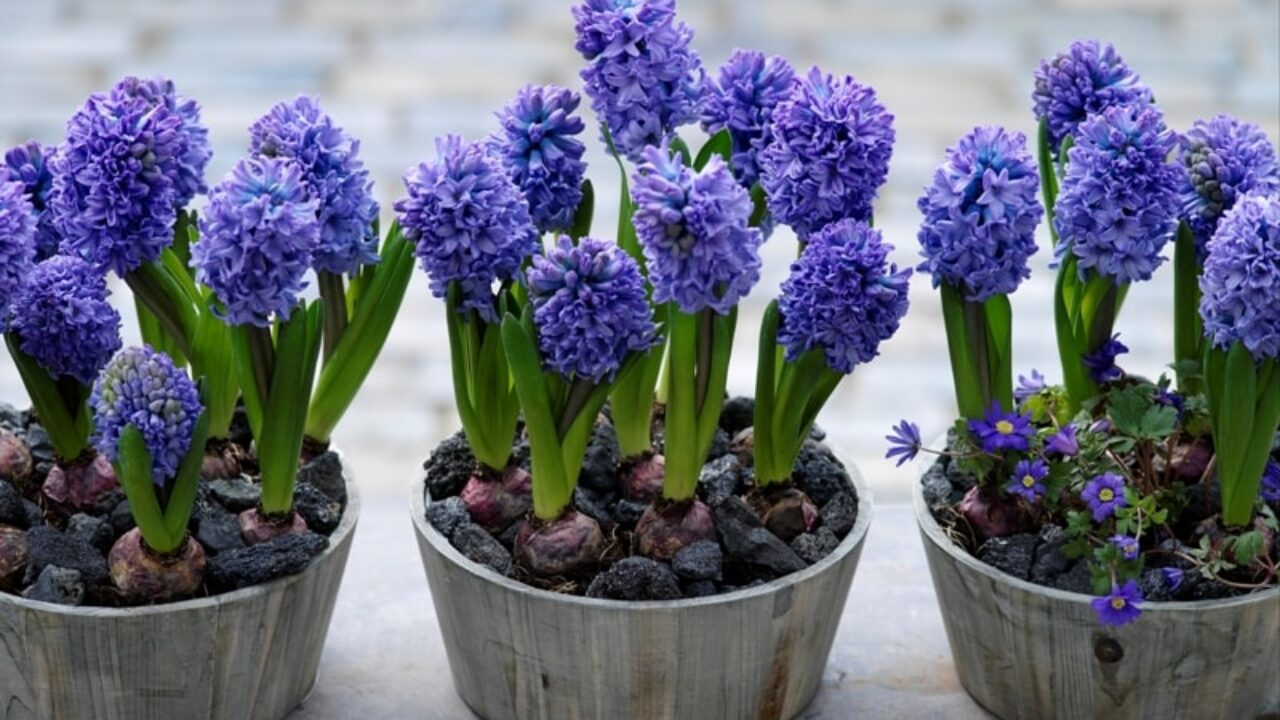
Interesting. Hyacinths have globular bulbs, consisting of dense juicy scales located inside, and dried outer scales. Their shade depends on the color of the hyacinth flowers (for example, in purple, blue and blue varieties, the surface of the bulbs is purple, in white varieties the scales are light gray).
You can prepare the bulbs yourself. This requires:
- After the death of the peduncle and foliage, the material is dug up, dried for 2 weeks at a temperature of 25-30 degrees, left for another 2 weeks, keeping the temperature at about 25 degrees, then kept in a cool place with good ventilation for 2-4 months.
- Determine the approximate start date of flowering and count back from it 3-4 weeks. This time is necessary for the growth and development of the aerial part of the flower. Then by this time add another 2.5-3 months (4-4.5 in late varieties) to cool the bulb.
- Before placing the material in the soil, it is soaked in a weak solution of potassium permanganate.
- After planting, the box with the bulbs is moved to a cool place (8-10 degrees).
- The soil is systematically moistened.
On a note. Bulbs intended for transplanting from open ground into a pot are dug up in June.
The subtleties of growing home lilies in a pot and caring for plants
You can get rich and long-lasting flowering only if all agrotechnical requirements are met. Growing lilies in pots is a fun and easy process. It is enough to provide complete proper care for lilies in pots, to carry out regular watering and feeding with a balanced composition of mineral and organic fertilizers. Let's figure out how to care for a lily in a pot. So, the planting was carried out correctly and successfully, now you need to wait for the sprouts to appear. For this period, a low temperature should be provided and watering should be carried out as the earthen coma dries up. This is about 1 time in 3 days.
In principle, a house lily in a pot does not require much care.After the shoots appear, the first feeding is carried out with a solution of organic fertilizers. After 7 days, re-feeding is carried out using a phosphorus-potassium composition. It is advisable at the time of initial growth to spray the sprouts with solutions with the addition of a growth stimulator. This is done about 2 times a week. This technique stimulates the formation of flower buds and ensures the development of large, colorful buds.
After the sprouts reach a height of 10 cm, the earth is filled up to the upper edge of the pot. Then, caring for a home lily in a pot is reduced to regular loosening of the soil to a depth of 5 cm to ensure the flow of fresh air to the root system. Watering is carried out daily. Top dressing with mineral and organic complexes for flowering plants at least 1 time per week. At the age of 1 month, a lily in a pot can be taken out into the open air. But this must be done with preliminary hardening. Carry out on the first day for 30 minutes, on the second - for 1 hour, on the third for 2 hours. And so the period of stay in the fresh air is gradually brought to 10 hours. Exposure to night temperatures below 10 degrees Celsius should be avoided. This inhibits the process of setting flower buds.
Until the buds bloom, caring for a home lily in a pot can be supplemented by daily spraying of the deciduous mass. This allows for faster growth and development. In the open air, there is one rule to follow. During spraying and until the moisture dries, there should be no direct sunlight on the leaves. Otherwise it will cause sunburn. After blooming flowers, when spraying, you should avoid getting water on the petals. Moisture will shorten the flowering period.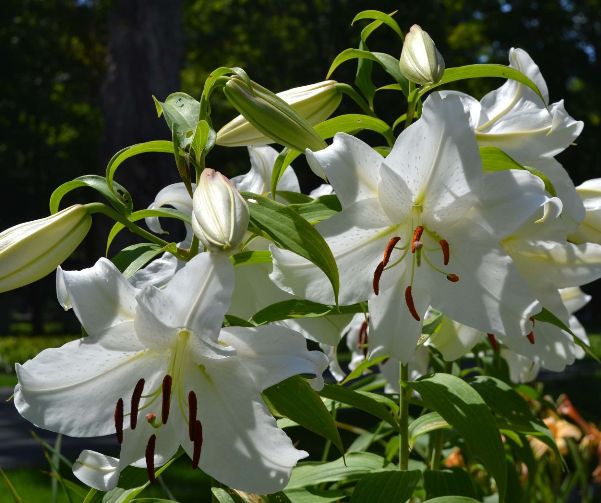
If there are a lot of buds and they are heavy, then it is necessary to install supporting structures that will support the stem.
Take a look at a photo of potted lilies that you can successfully grow in your home with the effort and advice given above.
Reproduction methods
Hyacinth - home care, growing in a pot
Hyacinths can be propagated in several ways:
- Baby bulbs;
- Seeds;
- Notching or cutting out the bottom;
- Bulbous scales;
- Leafy cuttings.
Of the above, the greatest difficulty is the question of how to grow hyacinth from seeds. The fact is that this method is used by specialists in the field of breeding work. This is the most difficult and time-consuming method, therefore it is rarely used in ordinary floriculture.
During the period of active growth and development, the mother's bulb is overgrown with children. After flowering, they usually detach easily, then they can be planted separately. If they hold on tightly, then it is better to grow the mother's bulb with the children. It will be much easier to separate them next year.
Hyacinth can be grown artificially by cutting the bottom. As a result of such manipulations, the bulb gives from 8 to 15 babies and is no longer restored. For the procedure, you will need material that has passed the resting stage and has accumulated a large amount of nutrients. The bulb must be large enough and not damaged. The material is washed, dried, the scales are separated from it, then treated with a disinfectant. Next, a sterile instrument is made 4 or 2 (depending on the size of the bulb) cruciform incisions up to 0.6 cm deep.Then the bulbs are sprinkled with charcoal, more once dried at a temperature 20-22 degrees during the day. The open incisions are sprinkled with crushed coal and planted in the soil, in a dark place with the same temperature. New bulbs appear after about 3 months, then they are separated and grown for 2-3 years.

Reproduction by notching the bottom
To propagate hyacinth on an industrial scale, use the method of cutting the bottom.It will allow you to get up to 40 children from a unit of planting material. This procedure is carried out at the end of the resting phase.
It is very important here to cut the bottom as carefully as possible so as not to damage the bulb. For this, it is better to use a teaspoon with a sharp edge.
After the operation, it is checked whether the base has been removed from all the scales, and whether the center of the bulb is not damaged. Further, the places of the cuts are treated with a fungicide, after which the material is laid out in the boxes with the cut up. Keeping the bulbs is also allowed on the wire mesh. For the fastest healing of tissues, the material should be kept at a temperature of 20-22 degrees. After a couple of months, new bulbs will appear on the scales. The parent bulb is placed in a pot in such a way that the "young" is shallow under the ground. Future hyacinths are kept in a cold greenhouse, with the onset of spring heat, they will grow, young leaves will appear. The bulbs are dug up after the end of the growing season and planted for growing. Flowering is observed after several years.
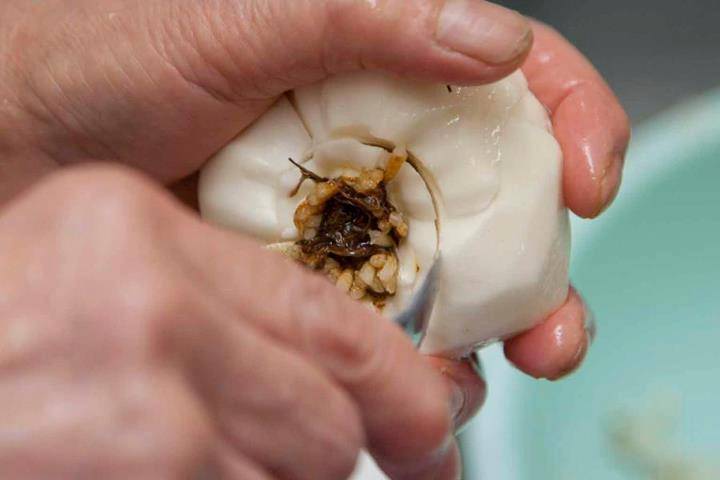
Reproduction by cutting out the bottom
Another example of how hyacinths reproduce is with bulbous scales. To do this, take an onion about 5 cm in diameter and divide it into 4-6 parts. Next, the scales are separated from the bottom and put into a plastic bag with river sand or charcoal (you can use perlite instead). The package is stored tied: six months - at a temperature of 20-25 degrees, six months - at a temperature of 17-20 degrees. Lighting should be diffused. As a result, 1-3 bulbs are formed at the base of the scales.
Propagation by leafy cuttings should be at the time of the appearance of buds. From each copy, 2 sheets are taken, cut off at the base. After treatment with a growth stimulant, they are placed in a container with sand, deepening by 3 cm.The box is covered with polyethylene and kept so under the following conditions:
- Diffused lighting;
- Air temperature - from 10 to 15 degrees;
- Humidity - 90%.
The bulbs will form in a month or a little more, in a couple of months the first roots and a leaf plate will appear. From this point on, the "young" can be moved to the garden bed. One stalk gives from 8 to 10 babies.
3. Planting and caring for hyacinth in the open field
When planted in open ground, the plants are placed in a warm and sunny place - when grown in the shade and high humidity, the bulbs can rot.
As a general rule, the bulbs are placed at a depth of 3 times the height of the bulb.
A small layer of coarse-grained river sand with a thickness of about 2 - 3 cm is poured onto the bottom of the landing hole.
So that moisture does not stagnate near the flower, the soil around it is mixed with sand and sprinkle it on the bulb in a circle, lightly tamping it with your hands.
Outdoor watering should be moderate.
With this method of growing, plants have an unlimited area of nutrition and can stock up on nutrients for future use.
If the winters are harsh, the planting should be covered with spruce branches or a small layer of fallen leaves.
Hyacinth distillation care
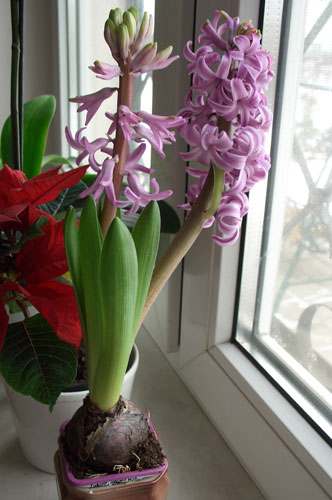
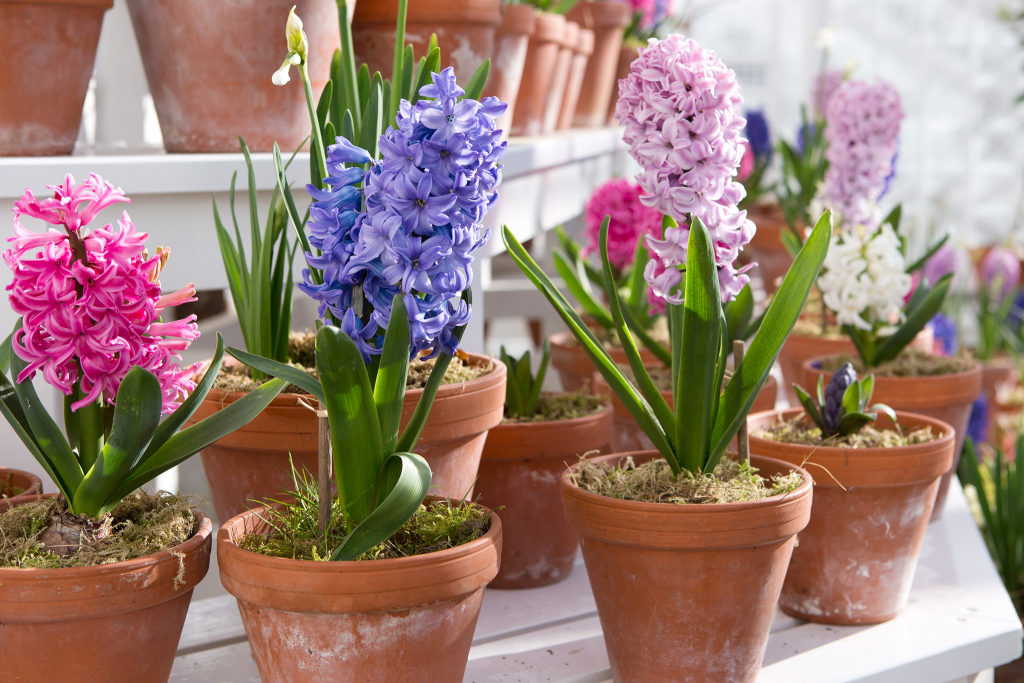
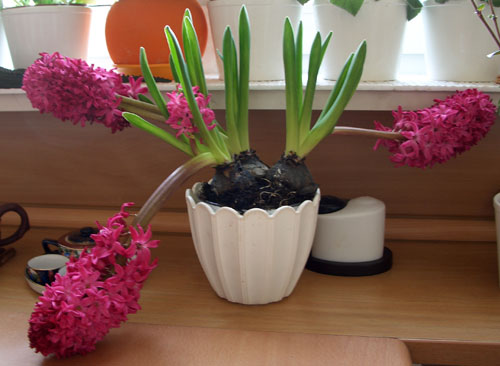
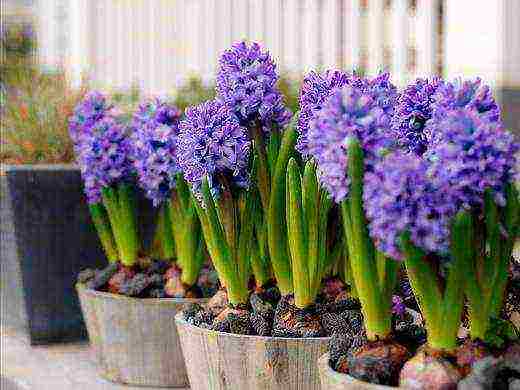
Hyacinths, which are often sold in small pots, delight us in winter and early spring. They bloom quickly, filling the room with a fabulous scent. Unfortunately, the life of such a hyacinth is fleeting and full of hardships. He suffers from lack of nourishment and thirst, there is little room in the pot for a normal amount of soil. When watering, it is difficult not to soak the bulb, so the substrate in the pot has to be moistened through a tray or gently watered to the very edges and corners of the pot. Hyacinth in a warm room falls to one side and breaks easily. This is because its elongated peduncle with a heavy ear leans towards the light (window), and it is impossible to strengthen the support in a tiny pot.

Various techniques help to keep the peduncle in an upright position.From time to time, the pot has to be turned, transferred to a cooler place overnight, or strengthened with improvised means. The peduncle of the hyacinth turns out to be more even, the pot with which stands in a bright and cool place (on a glazed insulated loggia, veranda, in a winter garden, etc.). In addition, winter distillation depletes the bulb.
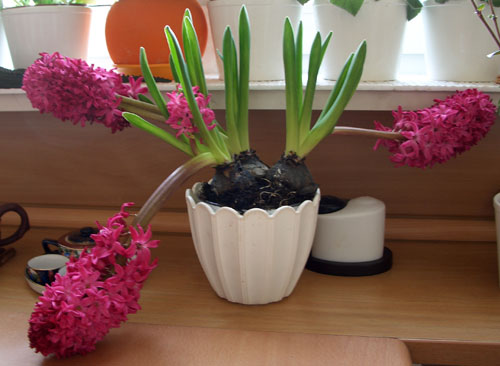
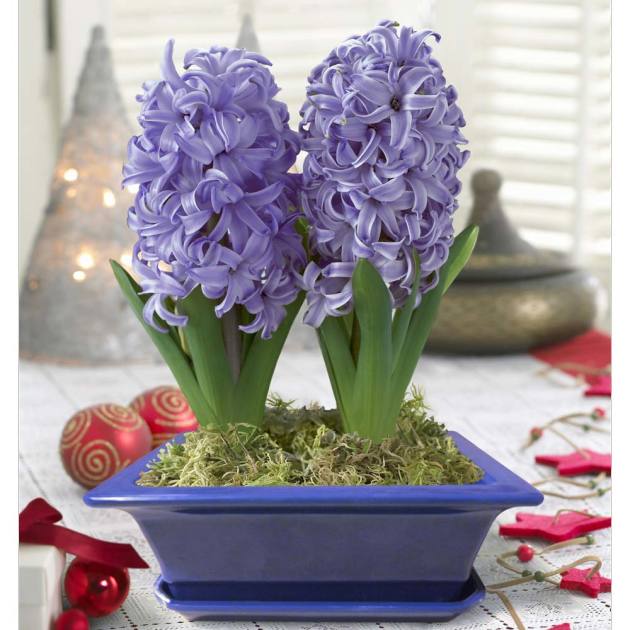
I buy blooming hyacinth in a pot not only as a temporary decoration. I use this opportunity to replenish my collection of hyacinths. If the newly purchased hyacinth is very cramped, it stays on the roots alone, and there is little left of the substrate, you have to immediately engage in transshipment into a new flower pot. Before that, I well moisten the contents of the former forcing pot and carefully transfer the bulb with roots into a larger container. The main thing is not to deepen the neck of the bulb. It is not necessary to completely cover the bulb with earth. You can add additional soil to it later, after flowering. A flowering plant transplanted into a larger pot is easier to care for. It looks much more interesting, and it can be grown in such a pot after the hyacinth has faded and the peduncle is cut off.
Common growing problems
When growing hyacinth, the following problems may arise:
- Too slow growth of the peduncle, the disclosure of flowers in a leaf rosette;
- Yellowing of the leaves;
- The buds fall off before they can open;
- Flowers do not form;
- Flowers are deformed;
- Leaves are elongated, drooping;
- Decay of the bulb;
- When planted together, bulbs bloom at different times;
- Leaves and stems fall out of the bulb.
Diseases and pests
Among the common ailments and parasites that pose a danger to hyacinth are the following:
- Fusarium (fungal disease). It manifests itself in the fact that the stems and leaves begin to wilt. A characteristic feature is the presence of mucus on the surface of the bulb. It is impossible to cure a neglected disease. With minor damage, all affected parts of the plant are removed, the cut sites and the bulb are treated with sulfur or activated carbon. The plant should be kept separate from other house flowers.
- Bacterial rot. Symptoms are the appearance of black spots on the leaves and mucous plaque on the bulb. The disease does not respond to treatment. The affected hyacinth is destroyed, the pot is treated with a disinfectant, and the soil is thrown away. Before planting again, the bulbs are recommended to be treated with a phosphorus-containing substance.
- Aphid. It is characterized by yellowing of the leaves. Colonies of parasites can be seen on the tissues of the flower. To rid the plant of pests, you need to treat it with insecticides, for example, Aktellik.
- Stem nematodes.
Signs:
- Change in the shape of leaves and peduncles;
- The appearance of thickening;
- The affected areas turn pale, then turn brown;
- Sick areas die off.
A sick hyacinth is destroyed (burned). The bulbs can be left, but before replanting the hyacinth, they must be immersed in hot (45 degrees) water for 15 minutes, then rinsed and dried.
Root mite. The parasite eats the onion, as a result of which it falls apart, leaving only dust inside. Treatment is with an insecticide (eg Apollo). Prevention - do not allow the bulb to become waterlogged.
Care errors, their elimination
The most common mistakes in growing hyacinth are:
- Improper watering;
- Lack of watering;
- Short rest period. As a result, the peduncle practically does not grow, and the flowers appear in a leaf rosette;
- The presence of drafts;
- Improper watering. Causes the leaves to turn yellow.
- Poor watering, in which water gets on the buds. Consequence - the buds do not open and quickly fade;
- Planting small bulbs;
- Short rest period;
- Wintering took place at high temperatures;
- Lack of moisture;
- Bulbs of different sizes.
- Uneven lighting.The result is that the bulbs in the same container bloom at different times.
- Overdried soil.
- Waterlogging. Consequence - flowers and peduncles are separated from the bulb.
These factors explain why hyacinth does not bloom:
- Improper wintering (non-observance of temperature and light conditions) is the cause of deformation of flowers.
- Lack of light, which leads to stretching of the leaves.
- Excess moisture causes the bulbs to rot.
Hyacinth is a very beautiful and not too demanding plant in terms of care. Despite the fact that the culture is intended primarily for growing in gardens, hyacinth is also quite successfully bred at home.
Hyacinth care at home
This plant is undemanding. Difficulties can arise only during storage of the bulbs. Caring for home hyacinths involves creating conditions and choosing the right place for a flowerpot, taking into account lighting, humidity levels, and air temperature. Also, flower care includes the organization of watering, feeding and preparing the plant for winter.
Lighting, temperature and humidity
Hyacinths are very light-loving plants. During the growing season, they need bright sunlight. Otherwise, the flowers lose their attractiveness: they wither, shed their leaves and buds. Vases with these flowers are usually placed on the windowsills of windows facing the sunny side. For uniform growth, the pots need to be unrolled periodically.
Proper care of hyacinths involves adherence to a complex temperature regime. During flowering, the indoor temperature should be between 18 ℃ and 20 ℃. Sharp changes are contraindicated. During the dormant period, the plant bulbs are kept in the following temperature regime:
- the first 8 weeks - 25-26 ℃;
- next 4 weeks - 17 ℃;
- a couple of days before disembarkation - about 5 ℃.
Failure to comply with the regime can lead to the following consequences:
- The upper flowers in the inflorescence bloom earlier than the lower ones and vice versa.
- Rotting of the top of the peduncle.
- Curvature of the inflorescence.
- Stopping growth.
- Underdeveloped inflorescences.
These flowers require constant moderate moisture. Avoid placing pots next to heaters that dry indoor air. You can place a humidifier or a container of water next to the plant. This will be enough for the flower.
Watering and feeding a home flower
The soil in which hyacinth grows must be constantly moist. However, you should not fill the flower - the plant bulbs can rot. In addition, stagnant moisture in the pan of the pot can provoke the development of fungal and other flower diseases.
Hyacinth does not tolerate moisture on its ground organs. The flower should be watered so that water does not fall on the leaves and inflorescences of the plant. To do this, water is poured onto the edge of the pot or poured through a tray.
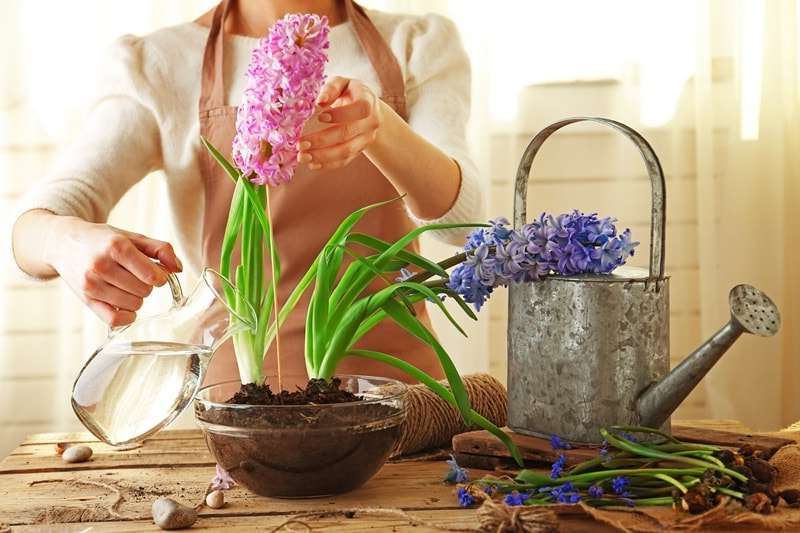
You can use the submerged watering method: place the pot in a container of water so that the plant feeds through the drainage holes.
The plant is in dire need of fertilization. Flower feeding takes place in 3 stages:
- After the emergence of sprouts, hyacinths are fertilized with ammonium nitrate at the rate of 30 g of the drug per 1 sq. m of soil.
- During the formation of buds, the flower will need 20 g of ammonium nitrate, 40 g of superphosphate and 30 g of potassium chloride. All proportions are calculated for 1 sq. m of soil.
- After flowering, it is a good idea to feed the hyacinth with a mixture of potassium chloride and superphosphate. 40 g of each drug are calculated per 1 sq. m of soil.
How to care after flowering, preparing for winter
Hyacinths are plants with a pronounced dormant period. In winter, they rest and regenerate their bulbs. 2 weeks after flowering, the peduncle is cut off from the plant. The flower continues to be watered until the leaves completely wither. During this period, the bulb of the plant gives an increase in children.
After all the leaves of the plant have dried, it is removed from the soil. The bulbs are cleaned and dried for 2-3 days.Then they are put in a dry, clean box, where they wait for the autumn landing on the site.
Compliance with the rest period is necessary for the normal functioning of hyacinths. If the plant wakes up ahead of time, it will not bloom. Overexposing the bulbs is also not worth it - this will slow down the growth of the flower.
It will also be interesting: Indoor lily in a pot - the name and how to care for a flower at home?

