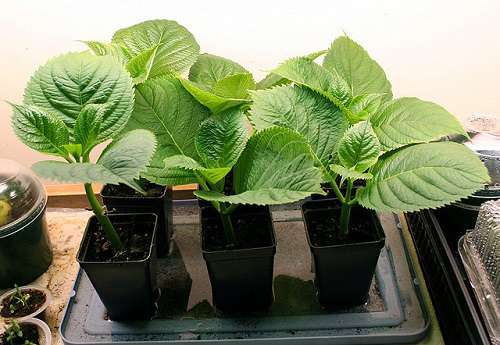
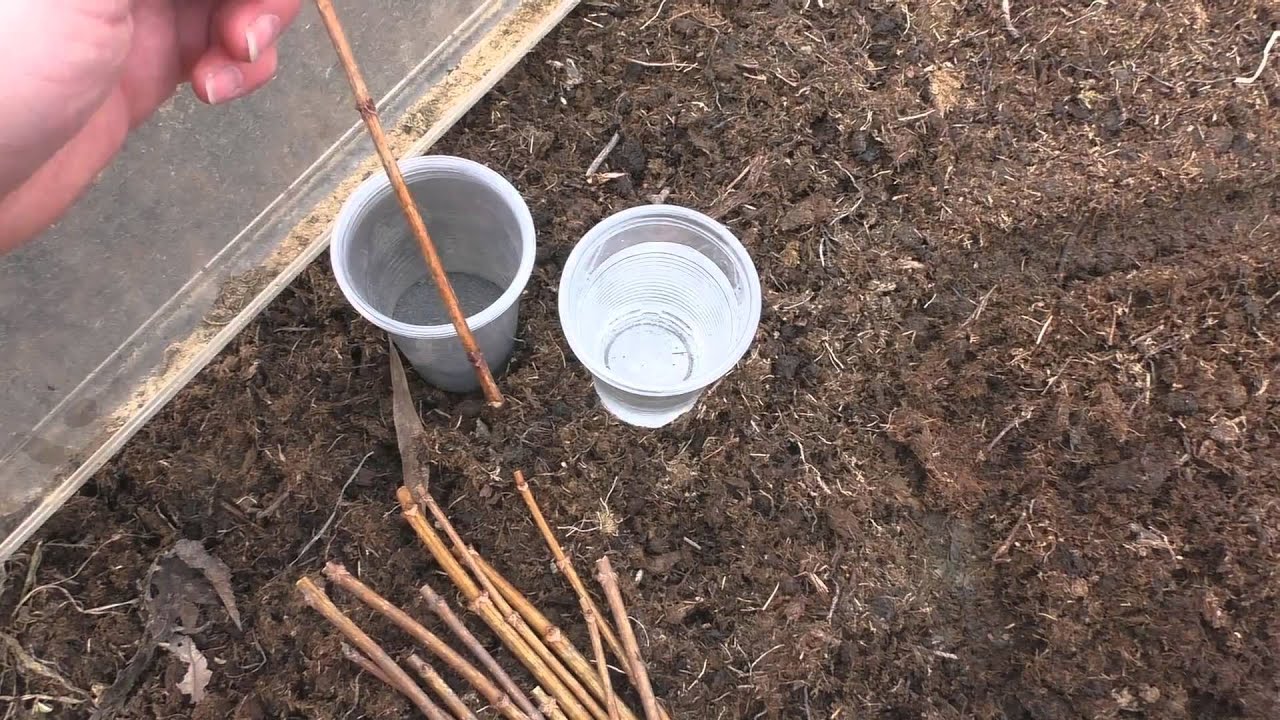
Propagation of hydrangea by green cuttings
Absolutely all types of hydrangeas are amenable to propagation by cuttings: paniculate, tree-like, large-leaved.
Hydrangea (especially paniculate and tree-like) is quite an easily rooted plant, which means that you should not have any special problems with its reproduction by cuttings.
When to cut, in what time frame
The best time for propagation of hydrangea with green cuttings is the second half of June-first half of July (before or at the very beginning of flowering).
Harvesting cuttings
So, in July, you need to find somewhere (for example, ask your neighbors) and cut non-lignified green cuttings of hydrangea.
As always, it is better to choose the morning time for cuttings, while it is ideal if the weather is cloudy. The fact is that under such conditions, the cuttings will have the maximum amount of nutrient moisture.
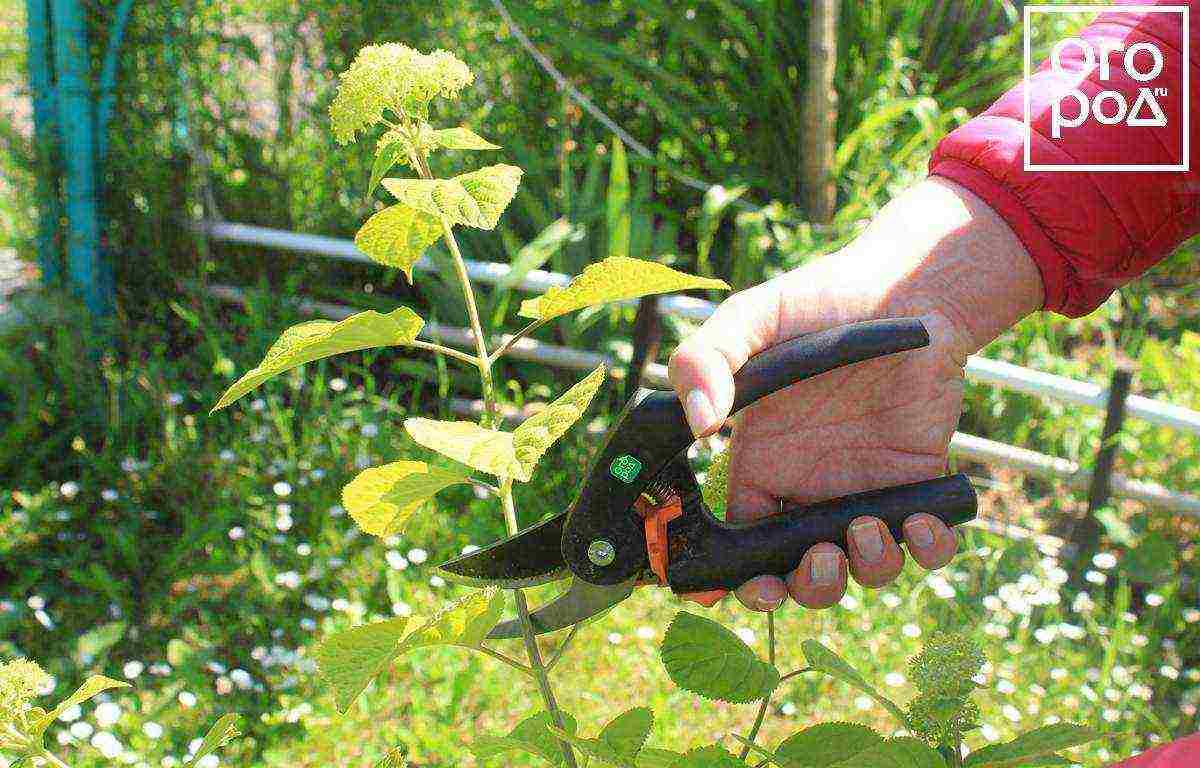
We turn to the direct green cuttings of hydrangea:
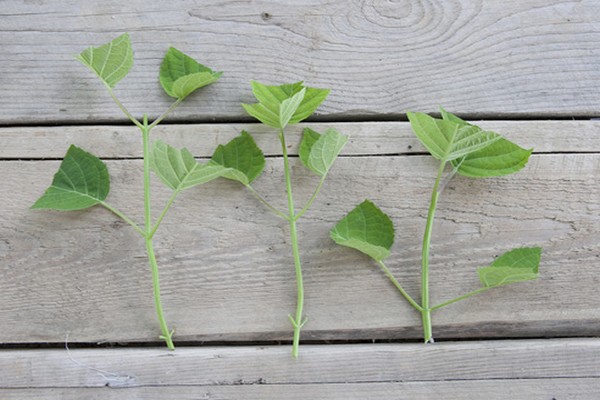
- The stalk must have 2 or 3 internodes.
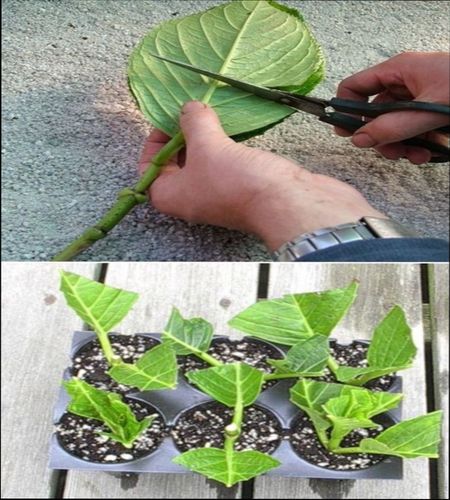
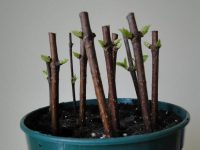
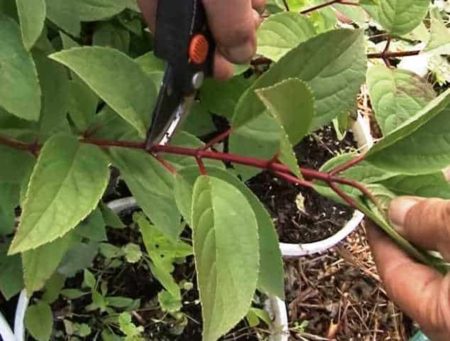
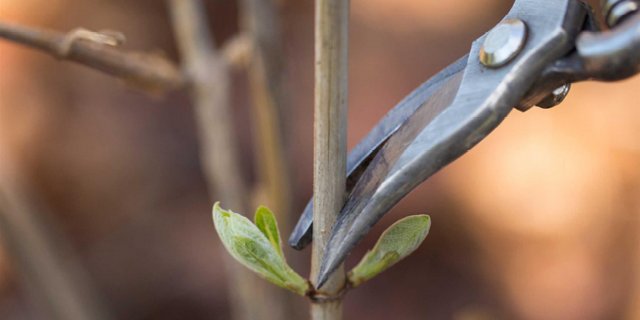
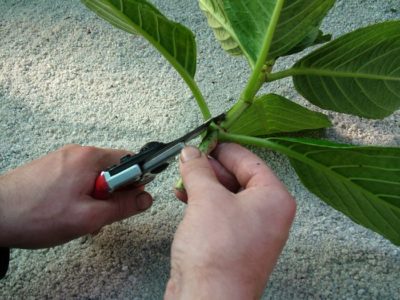
- Under the lower internode (departing from it by about 1 cm) make an oblique cut (at an angle of 45 degrees), above the upper one - a straight cut (departing from the internode itself by 2-3 cm).
Now you need to remove the lower leaves and cut the upper ones in half (to reduce moisture evaporation).
Rooting cuttings
Shortly before direct grafting, you need to prepare in advance a suitable soil for their rooting and capacity (You can take any, but the main condition is the mandatory presence of drainage holes).
The substrate should be as loose as possible (air and moisture permeable), so it must contain sand (or perlite). Alternatively, you can mix equal proportions of garden soil (or peat) and sand.
Step-by-step instructions for planting green hydrangea cuttings for rooting in the ground:
- At the bottom of the planting container, lay a drainage layer + a little moistened sand (for better drainage).
- Fill the pot with soil mixture and tamp lightly.
- Spill with water.
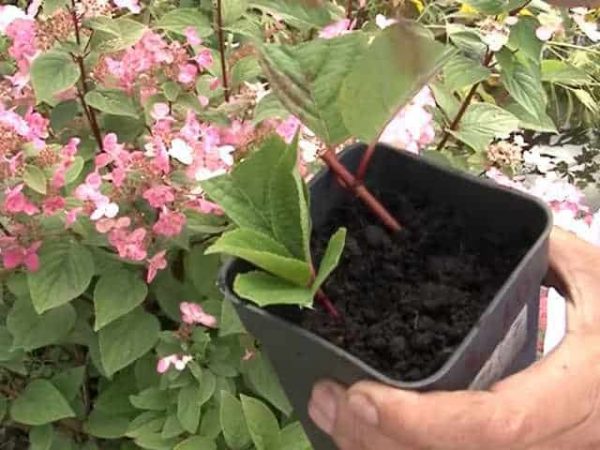
- Embed the cuttings into the ground at a slight angle (about half of their length or up to the second pair of leaves).
- Water again, and it is better to sprinkle, including the leaves.
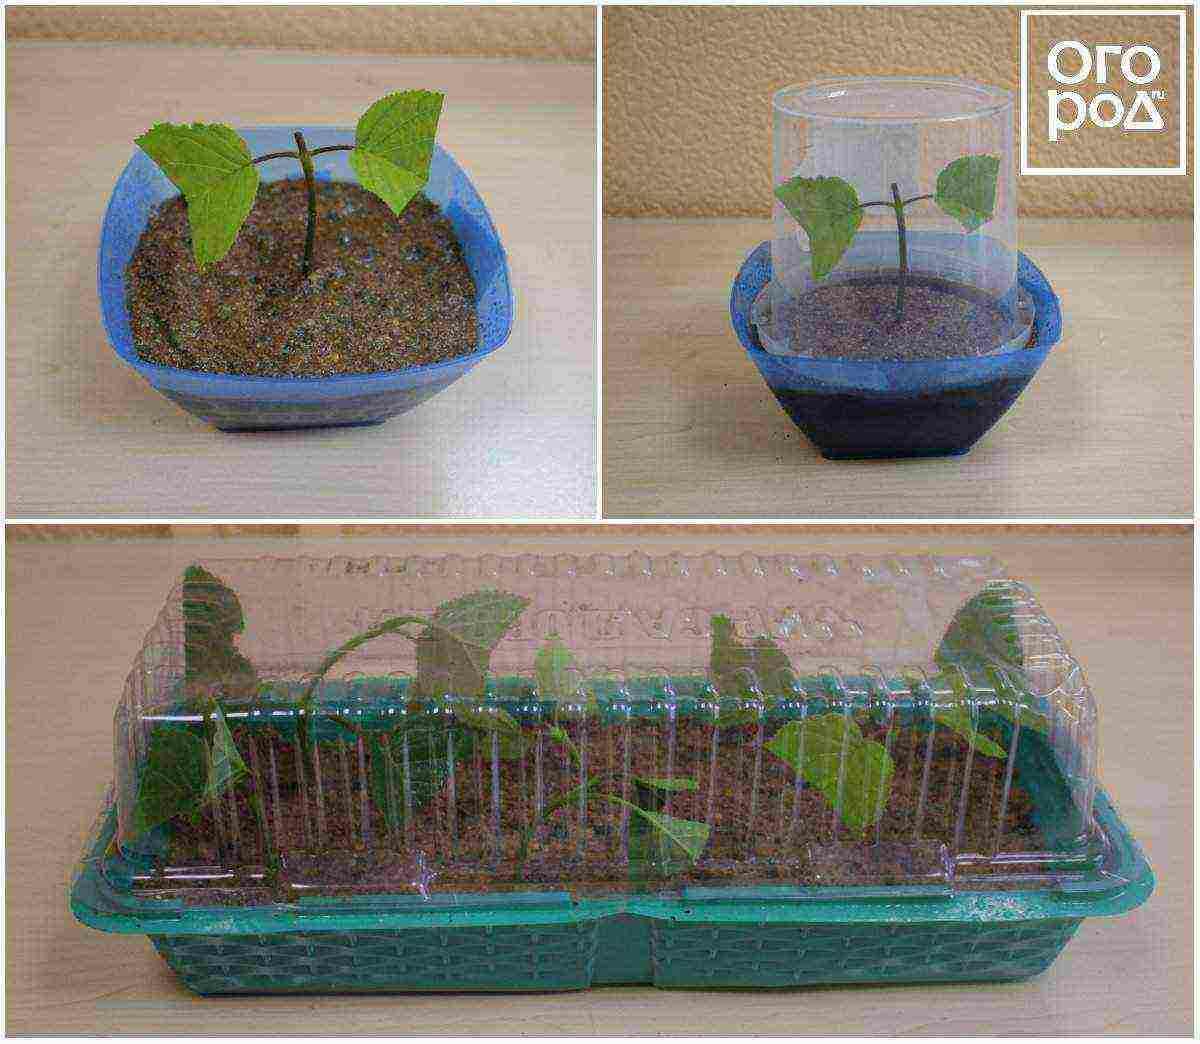
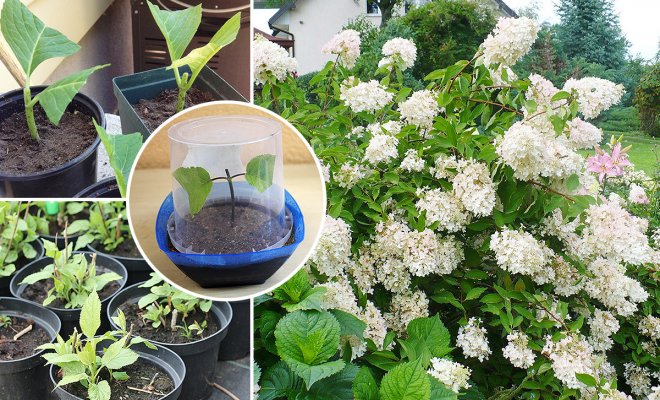
- Put a container with cuttings in a place where optimal conditions for their rooting will be created, namely: high air humidity and lack of direct sunlight, while the temperature should be within + 20-25 degrees.
- In other words, you can cover the container with a film or bottle (any other transparent cap), making a kind of greenhouse (greenhouse) and put under a tree (you need a shady place) or in a greenhouse.
Further care comes down to maintaining the created favorable conditions, which means that you need to carefully monitor the humidity (water and spray regularly).
On average, after a month (3-5 weeks), with proper care, the cuttings will take root (take root).
Germination in water
If you are used to initially sprouting cuttings in water, then this should work with hydrangeas too.
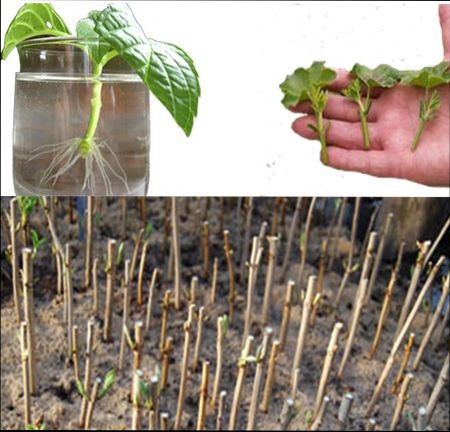
In general, the procedure is standard: put the cuttings in the lower part of the water (up to the leaves), and when small white roots grow, transplant them into seedling cups with a loose and nutritious soil substrate.
Landing in open ground at a permanent place
It is possible to transplant rooted cuttings of hydrangea into open ground only after young leaves appear and grow, and the roots fill the entire volume of the container, i.e. somewhere in 6-9 weeks (1.5-2 months) after grafting, in other words, around September (necessarily 3-4 weeks before night frosts, so that the plants have time to take root in a new place).
In autumn (before frost) it is very important to properly prepare young hydrangea seedlings for winter. Namely, cover, as an option, with spruce branches (spruce branches) or other covering material (you can cover with spunbond directly on top of the spruce branches)
As you know, panicle and tree hydrangeas winter well, including cuttings (and in adulthood, even without any shelter). The large-leaved variety is a completely different matter (it really needs to be covered annually for the winter).
Reproduction of garden hydrangea by seeds and transplanting an adult bush
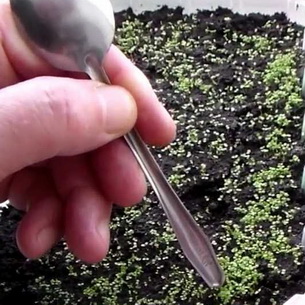
Hydrangea seeds do not require pre-sowing preparation, so they can be sown directly into seedling boxes. Precisely right away, because their germination persists for 2-4 weeks (for example, in panicle hydrangea). The seeds are very small, so they are not embedded in the soil. When hydrangeas are propagated by seeds, immediately after sowing, cover the box with glass or plastic wrap. At the same time, of course, do not forget that the soil must be moist. Seedlings will appear in about 20 days. Then the seedlings are grown for two years and only in the third year can they be planted in a permanent place in the garden. By this time, the seedlings should be 30-40 cm high.
Other species of hydrangeas also propagate by seeds, and varieties bred by breeders with this method of propagation lose their acquired decorative qualities.
It is difficult to propagate hydrangeas by seeds, so this is mainly done by specialists. In this case, their goal is selection.
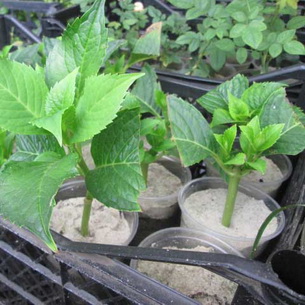
These photos show the propagation of garden hydrangea by seeds:
There is one horticultural rule that must be adhered to unequivocally - what blooms in the fall will more easily survive the transplant in the spring, and what in the spring - in the fall. So the best time to transplant hydrangeas is early spring. This is especially true for thermophilic hydrangeas that require shelter.
It is recommended to prepare adult bushes for transplanting in the fall. To begin with, they tie the hydrangea branches with a rope so that they do not interfere and do not break off. Then, a ring trench is dug outside the root system of the plant, in length and width approximately equal to the bayonet of a shovel. The trench is filled with compost and constantly moistened,
The plant will take root in the compost.
Do not forget an important rule: it is necessary to place the root collar at the level of the soil. For the first time, it is necessary to install supports that will support the bush and prevent strong gusts of wind from knocking it down
After the root system has taken root well, the props can be removed.
Together with the spring transplant of the plant, you can make a rejuvenating pruning of branches so that the bush quickly takes root in a new place.
The second axiom is to transplant under inspiration, then fresh thoughts appear. If very necessary, tree and panicle hydrangeas can be transplanted even in the fall. You just have to shade from the direct sun, and spray the bush several times a day. It is better to cut off all inflorescences - for fidelity. The plant, most likely, will not die, but next year it will not be too vigorous. However, the condition of the hydrangea will depend on the size of the bush and the luck of the gardener.
Timing
It is possible to carry out cuttings of panicle hydrangea both in spring and summer, and in autumn, while each procedure has its own subtleties.
In the spring
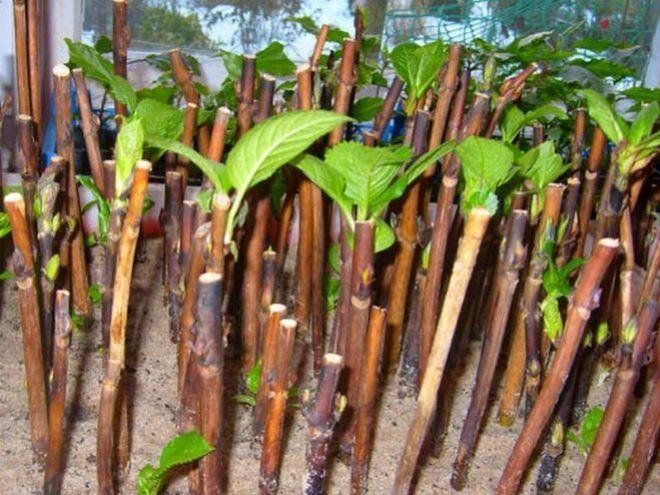
Early spring is suitable for cutting cuttings, when the natural process of sap flow has not yet begun in the bush. For planting material, last year's lignified branches are selected, which, after cutting, are kept in water for up to 5 days, and only then they begin to divide.
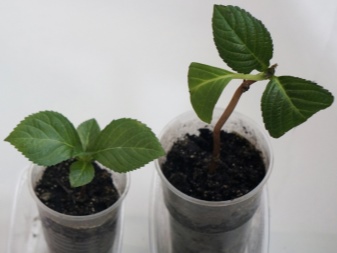

Summer
Breeding hydrangeas in the summer is carried out in June; it is optimal to do this from June 10 to mid-July. For rooting, green shoots are chosen, which have not yet had time to woody, with large buds
It is important to divide them immediately after pruning. If planting is delayed, you can root the plants in the water.
The roots appear in about 30 days.
In autumn
Cutting of cuttings in the fall begins in the second half of September, and cultivation in a nutritious substrate is chosen to form the root system. It includes peat and river coarse sand. The planted plants need to create greenhouse conditions, water them up to 2 times every 7 days, and the film should not be removed.
After October 15, the cuttings are planted in separate containers and placed in a cool place with a temperature of 0 to +5 degrees Celsius. When the leaves fall off, the plant needs a dark room; while the leaves are preserved, the pots are left in the light.
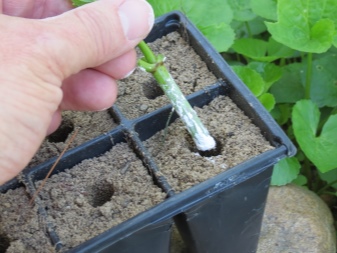
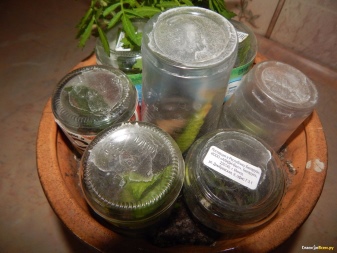
Planting blanks and germinating them
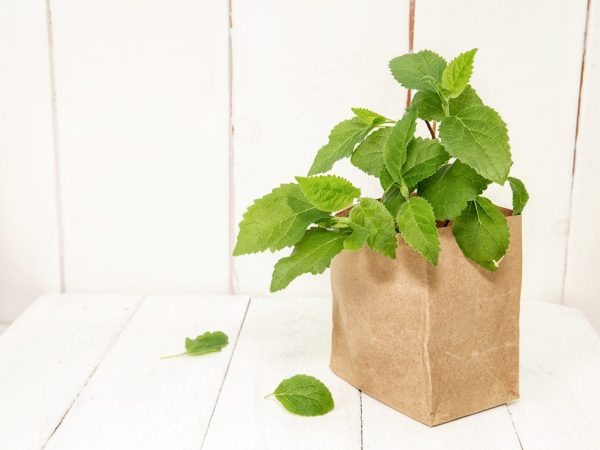
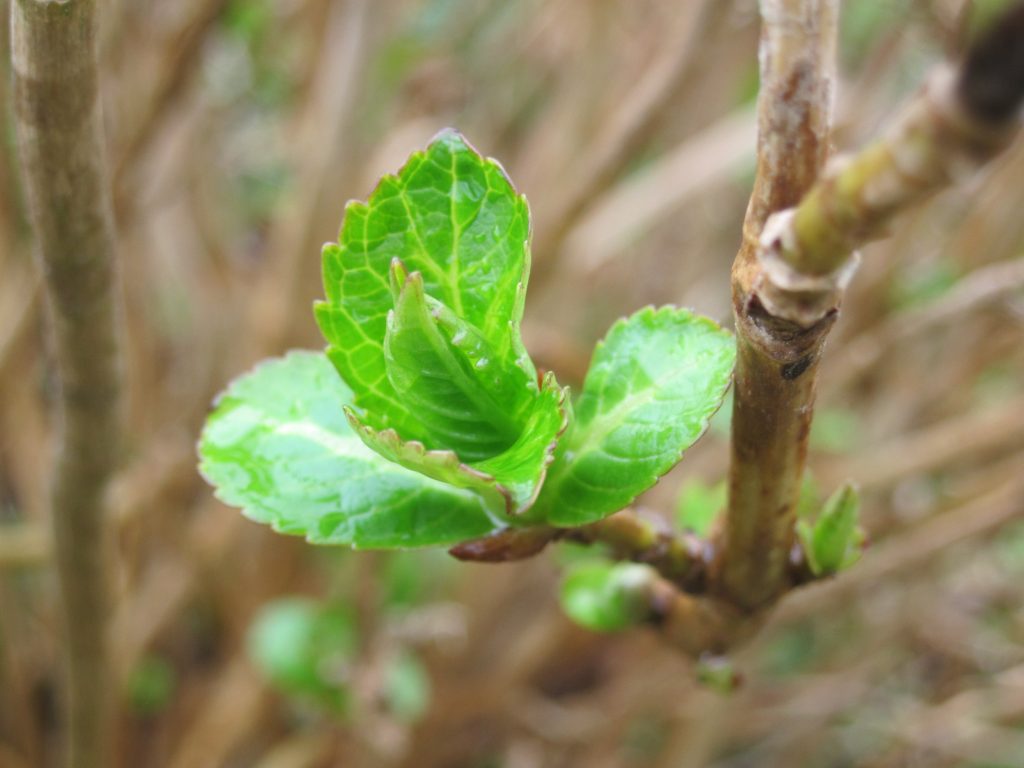
Young leaves will begin to appear on rooted cuttings
The next stage of hydrangea cuttings in the fall is planting the harvested material. Small depressions of 3-4 cm are made in the ground. Cuttings are placed in them. Place them vertically, at a slight angle. The installed material should not touch the ground with its leaves.
The distance between the seedlings is at least 5 cm. After they are sprayed with a spray bottle, and the soil is carefully watered. The container is covered with polyethylene or a glass jar. Further care comes down to simple actions. The seedlings are watered daily, the mini-greenhouses are ventilated and the room temperature is maintained in the room. Rooting time - 2-3 weeks. You can recognize the success of the process by the new leaves that have appeared on the cuttings.
The best way is with green cuttings
This method of breeding hydrangeas is the most common among summer residents.
It is best to do green cuttings at the moment when the buds appear - this is about mid-July.
Let's define what a green stalk is. It is a leafy part of the stem with one or more buds.
I advise you to cut only cuttings from young plants. If you already have old bushes, then you must first carry out anti-aging pruning.
Also, note that cuttings cut from lateral shoots (grown on last year's growths) in the lower part of the crown take root better, but it should be well lit. Such cuttings have fairly well-developed large buds and no signs of any diseases.
Another very important point is the preservation of moisture in the tissues in the cut cuttings, since the success of rooting largely depends on this. To do this, we cut off the shoots in the early morning, at this time all the tissues of the plant are still filled with moisture, and then, in the process of further work with the cuttings, we carefully make sure that they do not dry out.
We immediately put the cut shoots in the water in the shade and start cutting the cuttings as soon as possible. Cut off the green top with a bud at the shoot, since it is not suitable for a cutting.
Divide the remaining green part of the shoot into several parts with 2-3 pairs of leaves
After that, we remove the lower leaves from the cutting, and shorten the upper ones by half and carefully put the cuttings in a solution of some root growth stimulator so that the leaves do not get into the solution.
This can be, for example, root, heteroauxin, or zircon. We make the solution strictly according to the instructions and keep the cuttings in it for 2 hours, preferably in a dark place.
If you did not have any root former at hand, then I advise you to prepare such a solution: dissolve 1 teaspoon of honey in one glass of water. Honey promotes the rapid formation of callus - a thickening at the end of the cutting, from which the roots grow.
Now you can start planting the prepared cuttings. We plant their prepared in advance a mixture of peat and sand (2: 1), pre-moistening it. For better rooting, you can cover the cuttings with jars and water them directly over the jars a couple of times a week (in the absence of rain).
If the weather is very hot and dry, it is advisable to water the cuttings every day. Cuttings that you have not covered, it is advisable to spray twice a day.
Usually, after 25-30 days (approximately by the second half of August), the cuttings take root and new leaves appear on them.
Banks can already be removed from them, but it would be better to cover the seedlings with several layers of any covering material so that early autumn frosts do not damage our still very young plants.
They also need to be well covered for the winter. We fill the seedlings with fallen leaves, then we install a low frame above them and cover it with a covering material.
For better snow retention, you can additionally put spruce branches on top.
In the spring, we plant already rooted cuttings in the garden for further growing. We plant the seedlings in a permanent place when they grow up enough.
How to cut different varieties?
Each type of hydrangea requires a special approach when breeding at different times of the year. Consider the nuances of reproduction of the main varieties.
Paniculate

This type is distinguished by its thermophilicity and requires an appropriate attitude:
- It is necessary to cut the paniculate beauty in the summer. For this, green or semi-lignified cuttings cut from young lateral branches growing from the sunny side are suitable.
- You need to plant new bushes near a fence or building to protect it from the wind.
- Cover a young plant for the winter.
Tree-like

Treelike hydrangea tolerates cold well and is distinguished by good germination from cuttings. This variety is preferable to cuttings in the autumn-spring period, but it is allowed in summer as well. In order for the cuttings to take root quickly, they must meet the parameters:
- Be half or completely lignified.
- Taken from the middle of an annual branch.
The cuttings collected in the fall will have to be rooted at home on the windowsill. To do this, place them in a container with the green end up, cover with glass and care as usual during germination.
Large-leaved

The peculiarity of large-leaved hydrangea cuttings is the harvesting of cuttings. This variety grows best from fully lignified shoots. Therefore, use winter cuttings as described in the article or proceed as follows:
- In the fall, on a warm sunny day, open a bush that is sheltered for winter, and cut powerful, healthy branches at right angles.
- Wrap the plant again for the winter.
- Divide the shoots so that each has two pairs of buds.
- Tie in bundles of 10 each.
- Place in a cool, dark place on a layer of sand. If there is no such place, you can lay them on the site directly on the ground. To do this, pour about 10 cm of sand, arrange the cuttings on top, sprinkle with sand again and cover with covering material in several layers. You can use old, unsuitable material for other purposes. Cover the entire cache from above with foil and secure it securely so that it does not fly apart.
- In the spring, germinate the saved cuttings according to the general scheme.
Reproduction by offspring
Offspring are aerial shoots that have managed to acquire their own root system. They are located near the mother bush. Depending on the variety, the bushes may or may not produce offspring. If it is found that shoots have appeared near the main bush, they can be planted.
To do this, carefully loosen the ground in order to cut the offspring of the hydrangea without damaging the main plant. Having found a point of contact, it is cut off, and the cut is disinfected with a fungicide or charcoal.
The shoots can be immediately planted in a permanent place, but it will grow for another two years. Hydrangea blooms usually begin at 3-4 years old with good care. In order for the seedling to take root faster, humus or low-lying peat is introduced into the pit in order to attract soil bacteria and increase the amount of humus.
The advantage of the method is to preserve varietal characteristics, as well as to rejuvenate old bushes, which can be completely disassembled into cuttings and young growth.
When can a rooted hydrangea stalk be transplanted into open ground?
There is no need to rush. In the first year after the stalk has taken root, we must send it indoors and for wintering. The room for the wintering of rooted cuttings of hydrangea should be light with a temperature of + 3-5 ° C. Ideally, this is a veranda. Well, if there is no such room, then we send it to the basement, which is also frost-proof.
It is also necessary to take into account that the room where the hydrangea stalk will hibernate was not too humid. Otherwise, the stalk will begin to grow. And it was not too dry, because the stalk can dry out growing up. We store the cutting with the mini greenhouse already removed. Which we made for a hydrangea from a bottle.
There is no need to water the rooted hydrangea during winter storage. You just need to make sure that the soil in the pot does not dry out. And in case of drying out, spray it from a spray bottle.
There he hibernates with us and in the spring, in the month of March, or a little earlier, we get him. We put it on a light windowsill and begin to take care of it, so that it begins to grow.
And only next year can we plant a rooted hydrangea stalk in open ground. Again, we look at the cutting, if the cutting is well developed, strong, strong, then it can be planted in open ground.
If the hydrangea stalk is very weak then support it for another 1 year in this pot. Or transplant it into a slightly larger pot.
It is these two-year and three-year cuttings that are sold to us in nurseries or garden centers. Therefore, do not rush to plant the rooted hydrangea immediately in open ground if it is underdeveloped. There it will be even harder for her to grow and develop

