7 home care, distillation
Low-growing varieties of the catchment are suitable for placement in pots - for example, some varieties of hybrid aquilegia, fan, alpine, ferruginous and Canadian varieties. Rhizomes of biennial faded plants are dug up in late autumn. The root system is examined and the old and rotten roots are trimmed with pruning shears to healthy tissue.
For planting, deep flower pots are prepared with drainage holes at the bottom. As usual, lay the drainage and pour in a nutritious soil mixture of a loose texture. The rhizomes are placed in pots so that the root collar is level with the soil surface.
Plants planted in this way are placed in a dark and cool place with a temperature of 5-7 degrees - for example, in a basement or on a balcony, covered with dark plastic. From time to time, the soil is slightly moistened, preventing it from drying out completely.

7.1 Lighting
8-9 weeks before the desired flowering date, the pots are taken out of the basement and placed in a warmer place - with a temperature of about 12-15 degrees. At this time, it is worth choosing the right window sill for the flower - the eastern or western side will be the best option. In such conditions, the direct rays of the sun will hit the plants in the morning and evening, several hours a day.
If it is winter or early spring, daylight hours are too short, then it is necessary to organize artificial supplementary lighting with fluorescent or LED lamps. With a lack of light, the bushes will become loose and elongated.
7.2 Watering
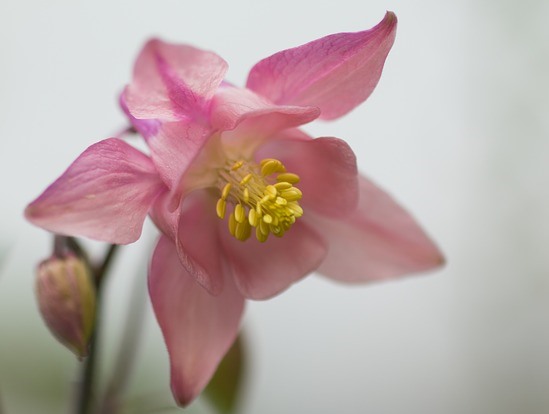
The frequency of watering during forcing at home should be brought in line with the stages of plant development. If immediately after planting the rhizomes are kept in barely moist soil, then as the green mass grows, the frequency of watering is gradually increased. The flower is always watered with well-settled water at room temperature.
As the leaves bloom and die off, the frequency of watering is gradually reduced and practically reduced to naught. After the dying off of the ground part, the flower is again planted outside to feed on nutrients.
7.3 Top dressing
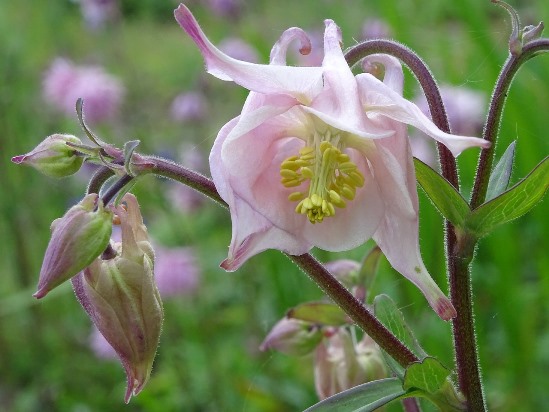
When kept in a pot, plants have an extremely limited nutritional area and are in dire need of additional feeding. The first feeding is carried out with the appearance of young leaves, then the plants are fed every 10 days. After flowering, another 1 - 2 dressing is carried out and the rhizome is planted outside.
Seed propagation
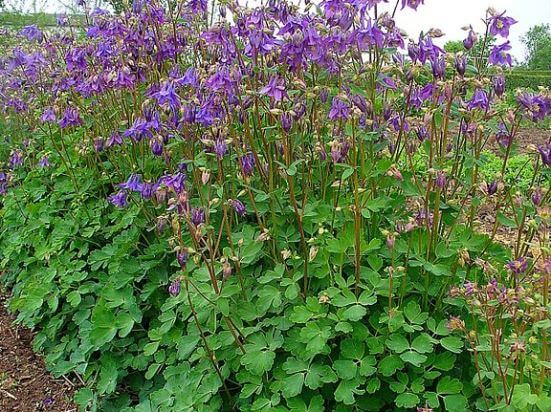
Aquilegia seeds have good germination, so its reproduction is mainly carried out in this way. Sowing can be done both in seedling boxes and in open ground.
When choosing a container for seedlings, it is recommended to choose sufficiently deep boxes or pots so that the plant has plenty of room for root development. For diving, you should choose peat or paper cups. They allow you to immediately plant the crop in open soil.
For aquilegia, a universal seedling substrate or any light soil is suitable. You can create a soil mixture yourself - mix turf, humus and sand.
Sowing features
As for the timing of sowing seeds in a container or in the ground, the best time is autumn. The alternative is early spring, but then the seeds must first be stratified. This process implies the creation of conditions for seeds that mimic natural conditions - a humid environment with a low positive temperature.
On a note! When sowing freshly harvested seeds, pre-planting is not necessary.
If sowing is carried out in the fall, then this procedure is reduced to the following steps:
- Seeds are evenly distributed over the bed with dug up loose earth.
- Sprinkle them on top with a thin layer of soil - about 5 mm.
- Watering is carried out.
- Mulch the beds with humus and cover them with dry leaves.
In spring, sowing in open ground is carried out in April or May. Before that, they must be stratified. The seed is then kept cold. There are several types of stratification:
- Refrigerate seeds for 4-6 weeks.
- Mix the grains with the soil and put them in the refrigerator for the whole winter.
- Place the seeds or mix them with sand in a snowdrift.
- Incubate seeds at 35 ° C for 4 weeks.
- Sand the seedlings with sandpaper.
- Mix the grains with the calcined river sand and moisten it with a spray bottle. Put on the bag and refrigerate for 4-5 weeks.
Sowing seeds in spring for seedlings is accompanied by the following actions:
- The containers are filled with soil and watered with warm water.
- Sow aquilegia seeds over the surface, but not too thickly. Sprinkle them on top with a thin layer of soil and cover with foil or glass.
- The containers must be kept indoors.
In open ground, seeds are sown to a depth of 5 mm, after which the soil is covered with a film. In order for the seedlings to appear as quickly as possible, you need to constantly water them. The shelter is removed after most of the seeds have sprung up.
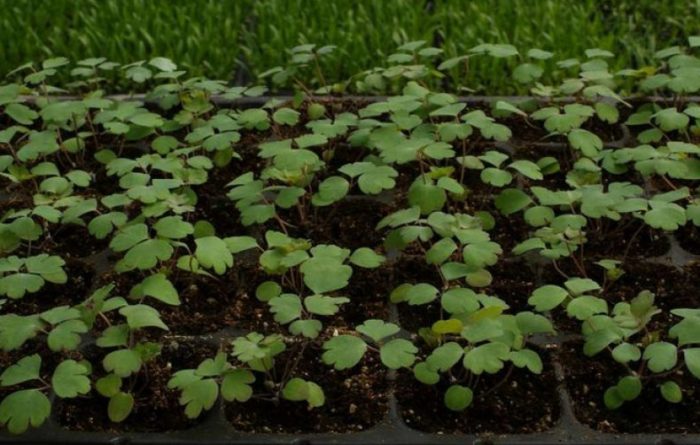
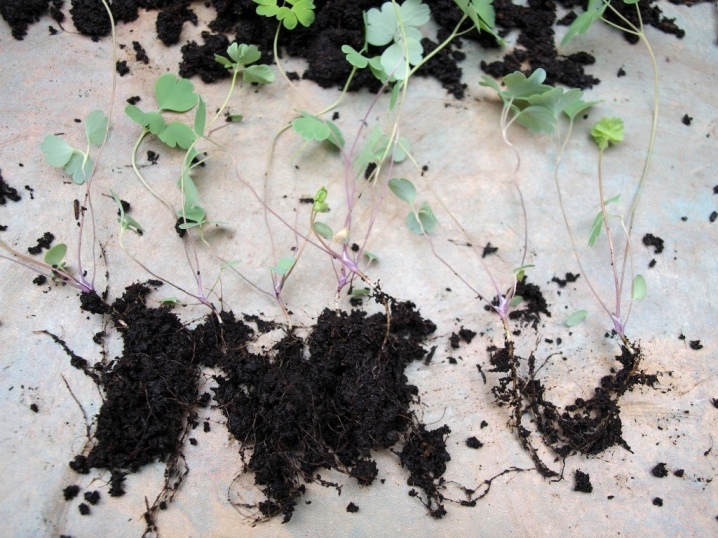
Seedling aquilegia
The most difficult thing is to germinate old seeds that are more than 2 years old. Then the seeding procedure in containers changes somewhat. Stratification is carried out after the seeds have entered the soil:
- The seedlings are washed in water and soaked in a warm manganese solution.
- Sow in a leveled substrate and sprinkle the seeds with soil.
- In this form, the containers are left for 3-4 days at room temperature.
- The pots are taken outside or in the refrigerator for stratification for 5-6 weeks.
- After that, the containers are left in room conditions.
For plant seeds, both cold and heat are equally harmful. A suitable temperature for germination is 15-18 ° C. The light should be diffuse and moderately bright.
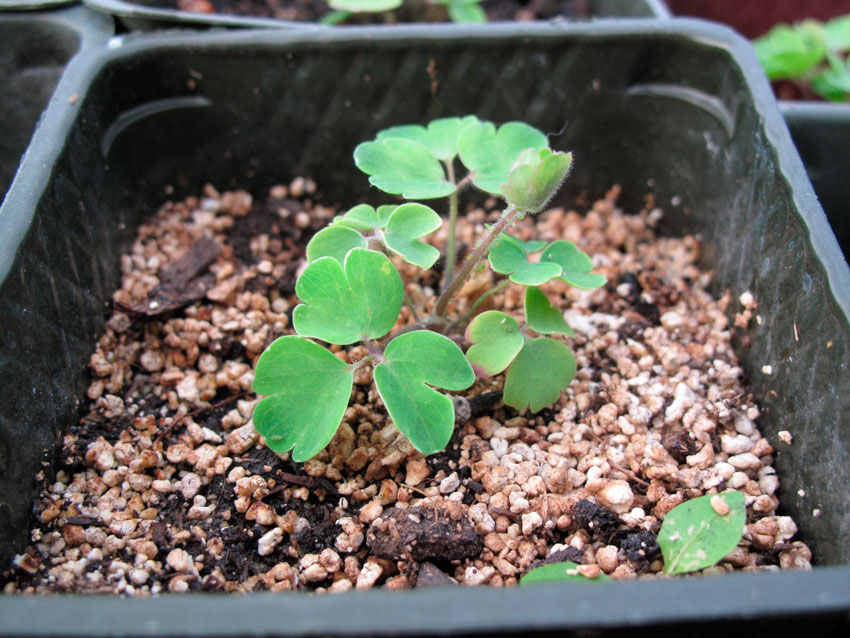
In containers, seedlings are grown until the second leaf appears. Seedlings are protected from drought and waterlogging. Watering is carried out carefully and dosed.
Picking
It is recommended to dive sprouts into prepared beds. If the seeds are sown early, and there is no way to plant them in a greenhouse, then the plants dive into individual pots or into large boxes, increasing the distance between flowers, and they are planted in the ground in June.
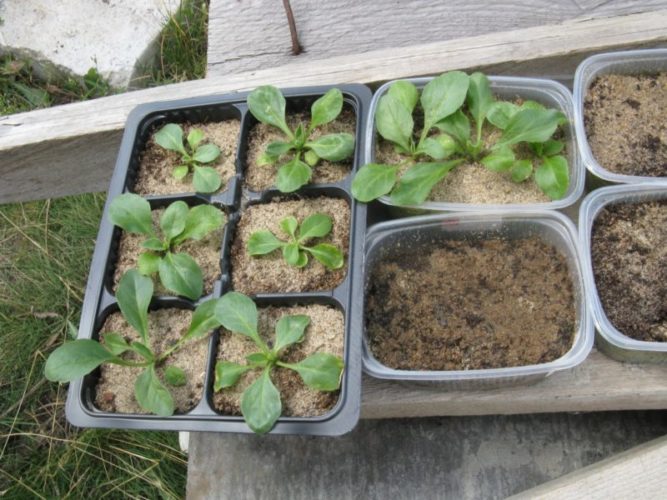
Picking seedlings into large containers
The aquilegia dive should be carried out carefully, trying to avoid injury to the roots. Seedlings should be in the same cool microclimate. Additional lighting for 1-2 hours will only benefit the plants.
Aquilegia seedlings in the open field are thinned out, leaving a gap of 5-20 cm between the plants.
The flowering of aquilegia planted in spring should be expected only in the second year.
2.Description - what the plant looks like
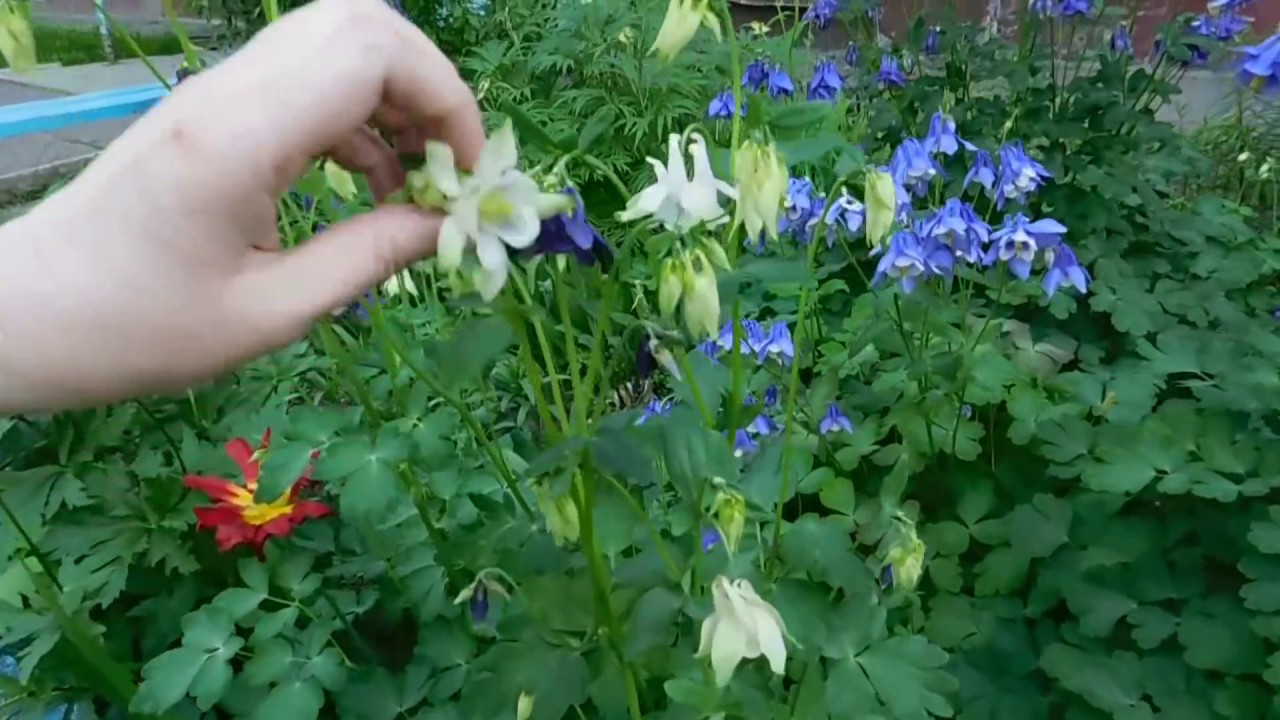
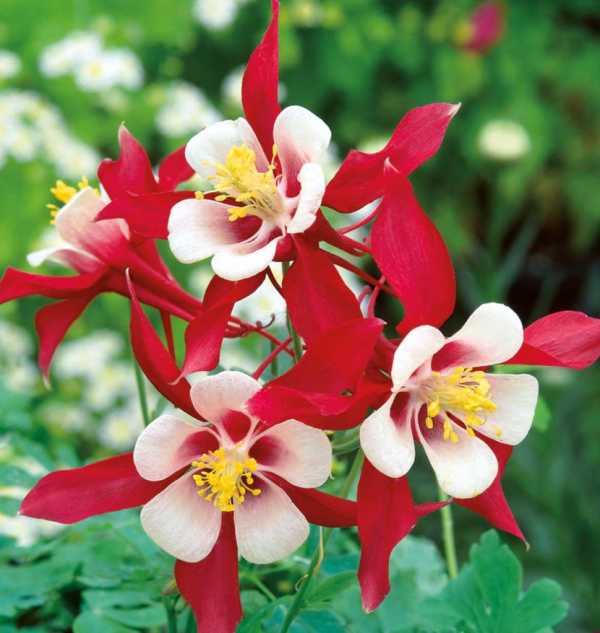
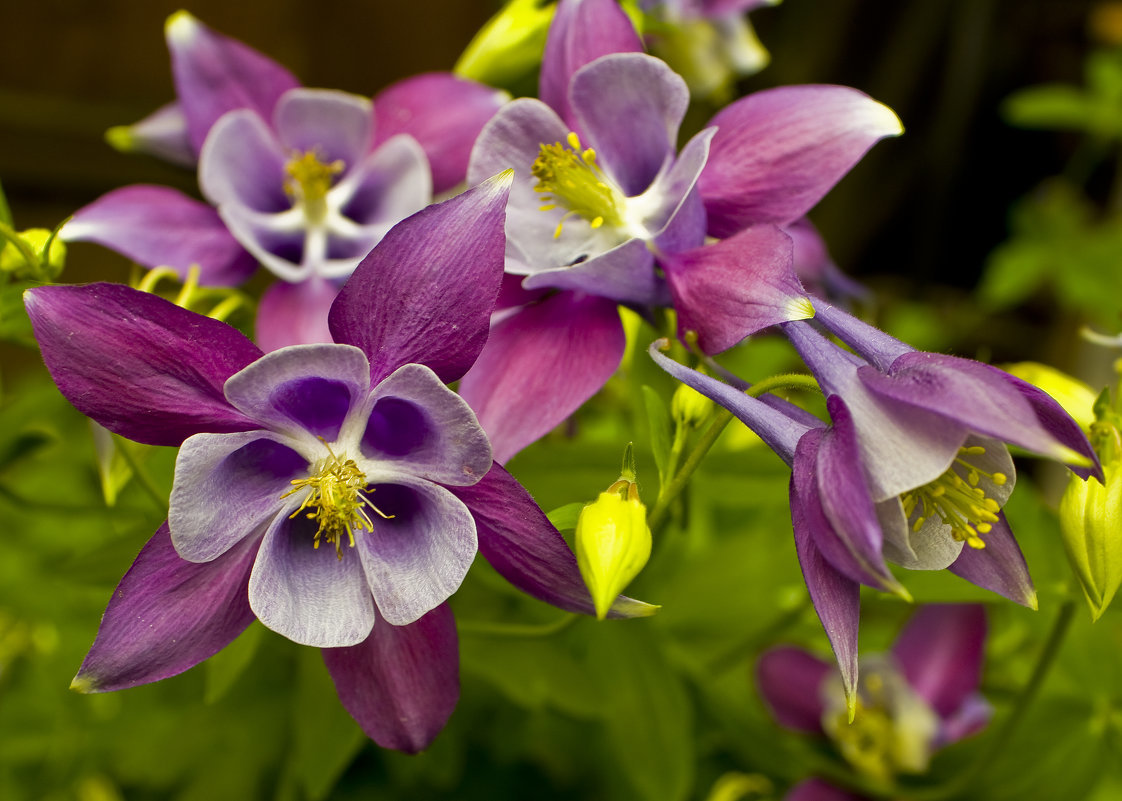
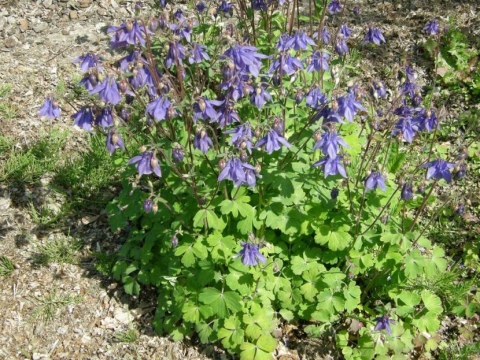
Aquilegia, eagle, columbina or catchment is an ornamental flowering herbaceous perennial with very unusual flowers, thanks to which the plant received a second, very romantic, name - elf shoes. The name "catchment" comes from the Latin name of the flower - "aqua" - water and "legere" - to collect. Also, according to the properties of the flower, the name “catchment” came from the water-repellent surface of the leaves. Falling on the leaf blades, droplets of moisture collect at the petioles in a small puddle. There is a version according to which the name "eagle" came from the word "aquila" - an eagle.
The root system of the flower is deeply lying, pivotal, reaches 50 cm and every year forms a bud of renewal, from which the development of plants begins.
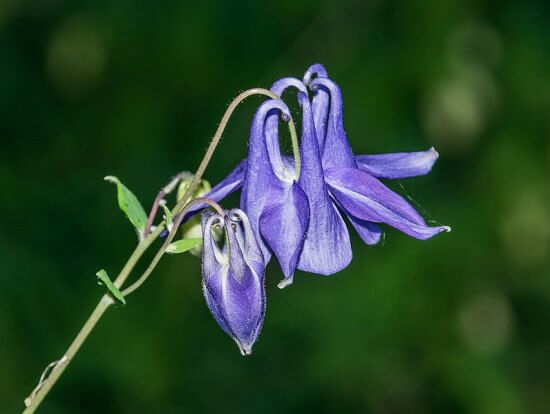
Bushes have erect, thin and rather stiff stems, profusely branched at the base.
The leaves are triple-compound, on long, thin, often pubescent petioles, green or bluish-green. The segments of the leaves are oblong - oval or triangular, the edges of the leaf plates are rounded - toothed.
Peduncles are tall, often arcuate at the top, bearing small inflorescences with drooping flowers. One peduncle can have up to 12 attractive flowers.
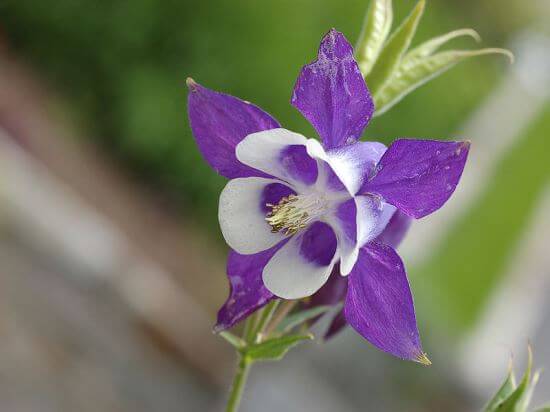
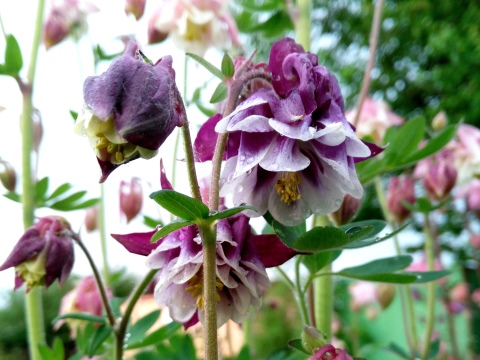
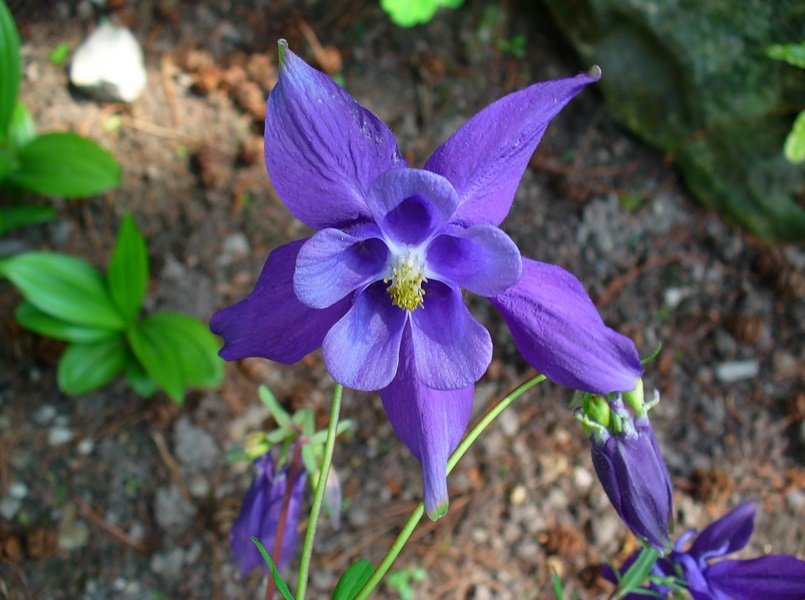
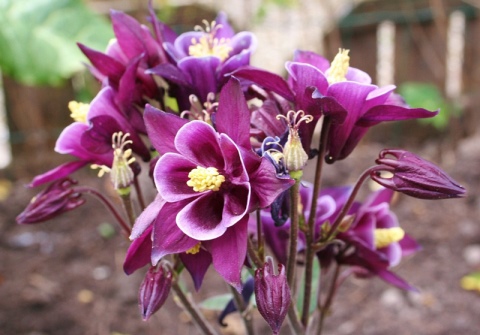
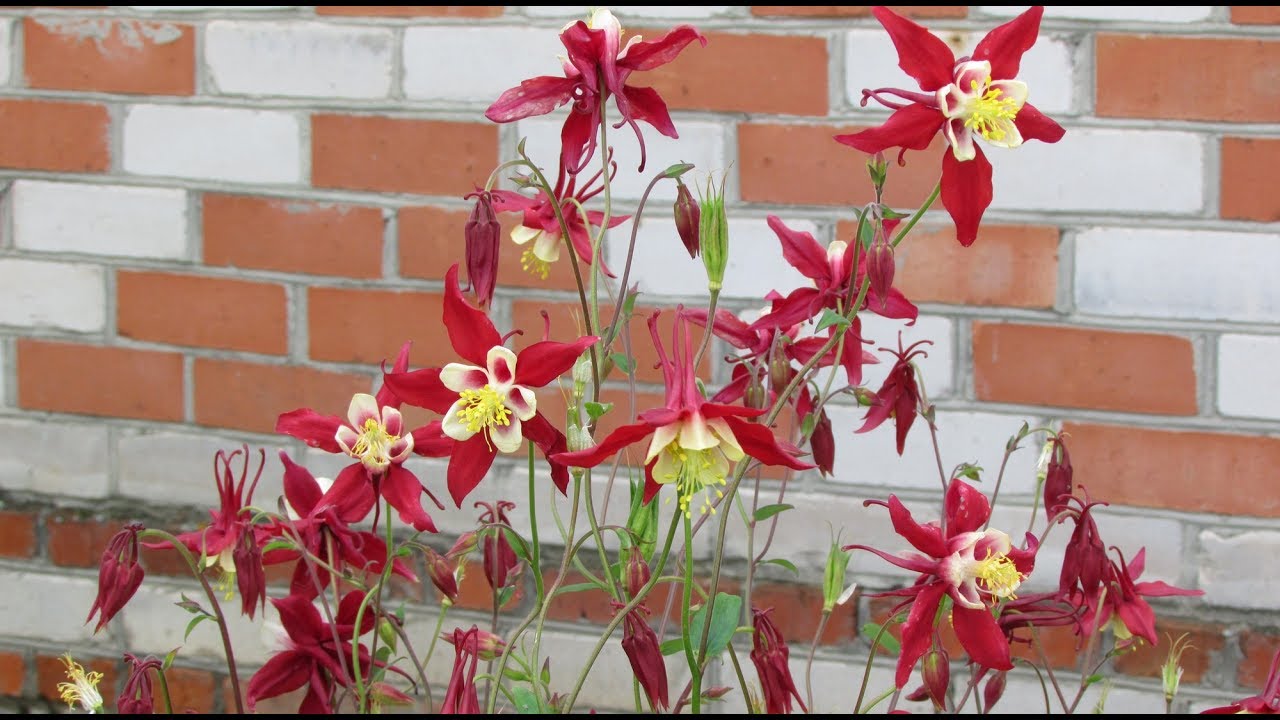
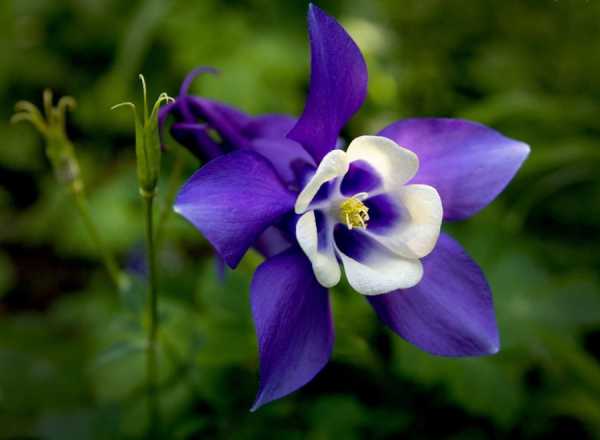
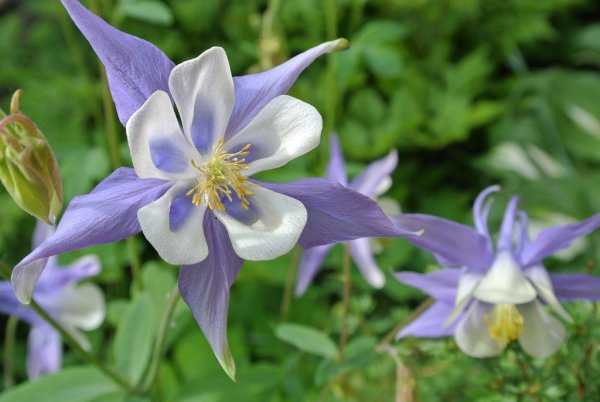
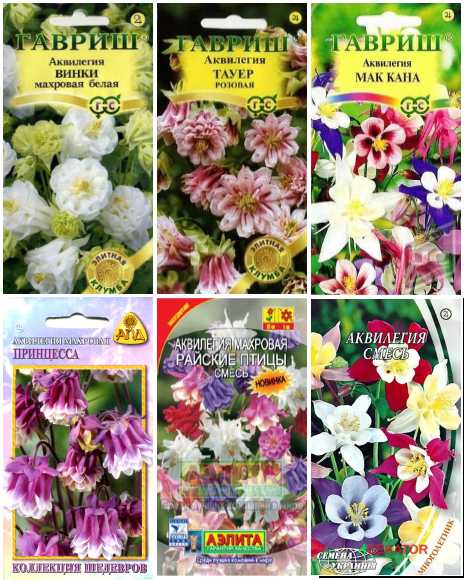
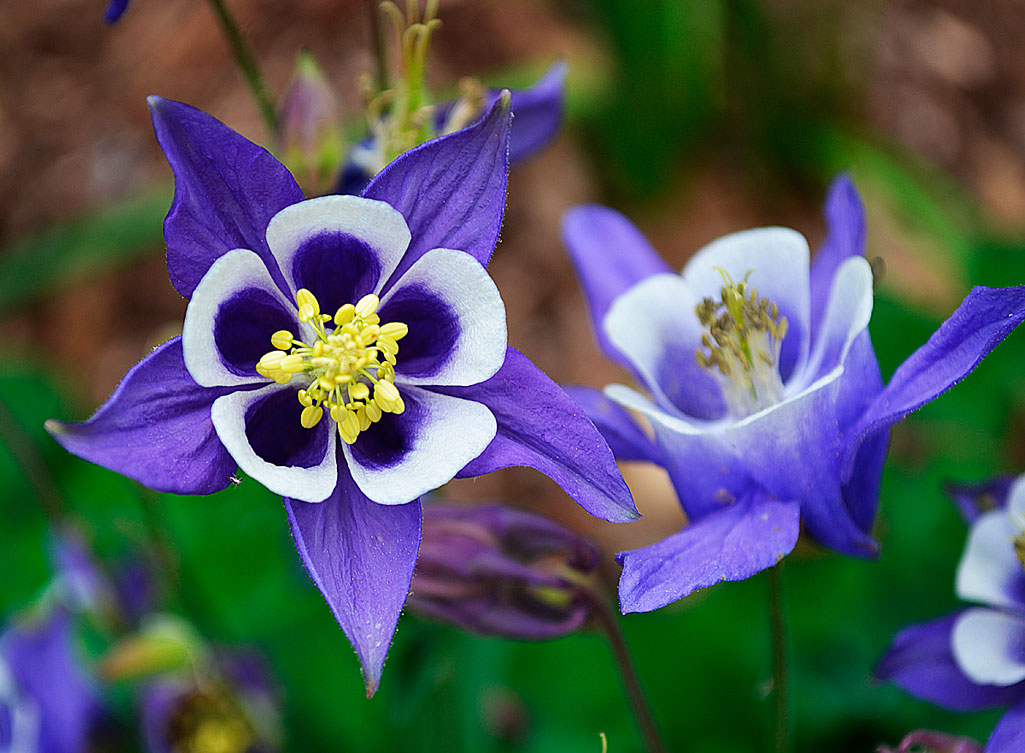
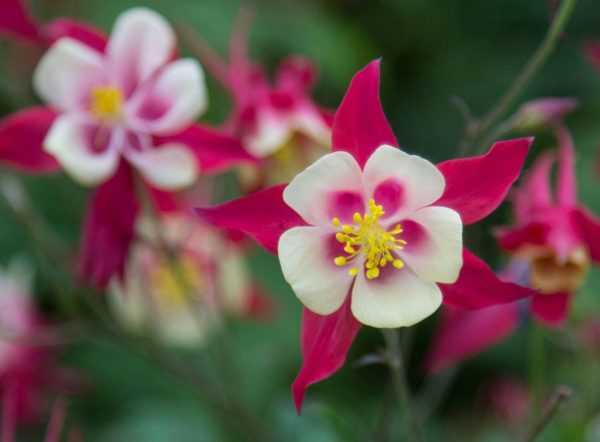
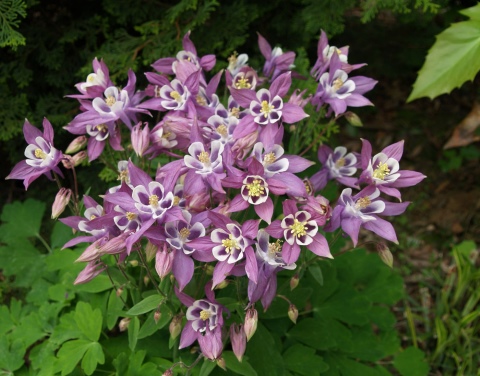
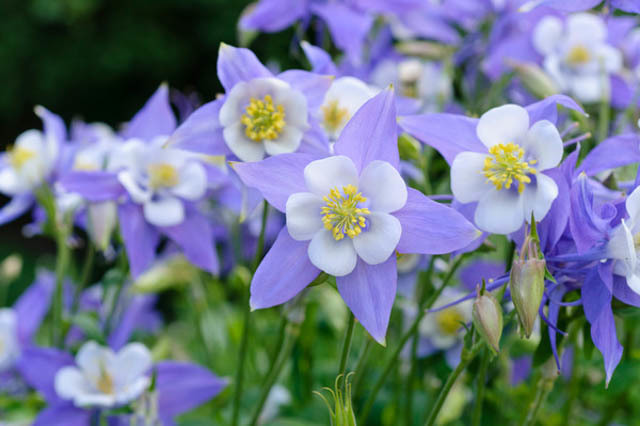
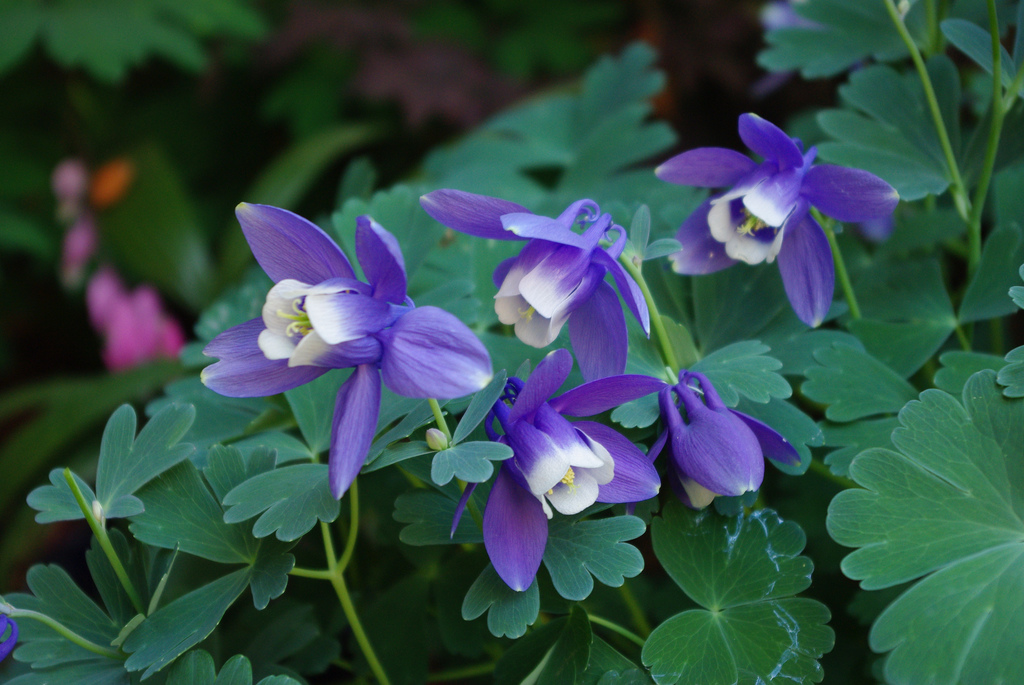
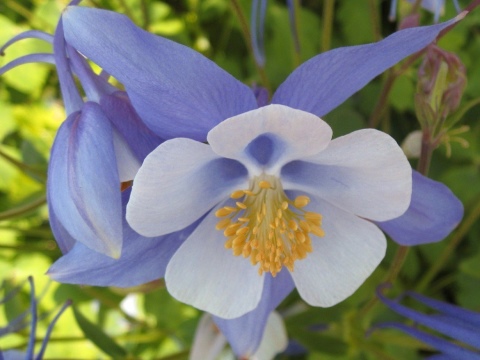
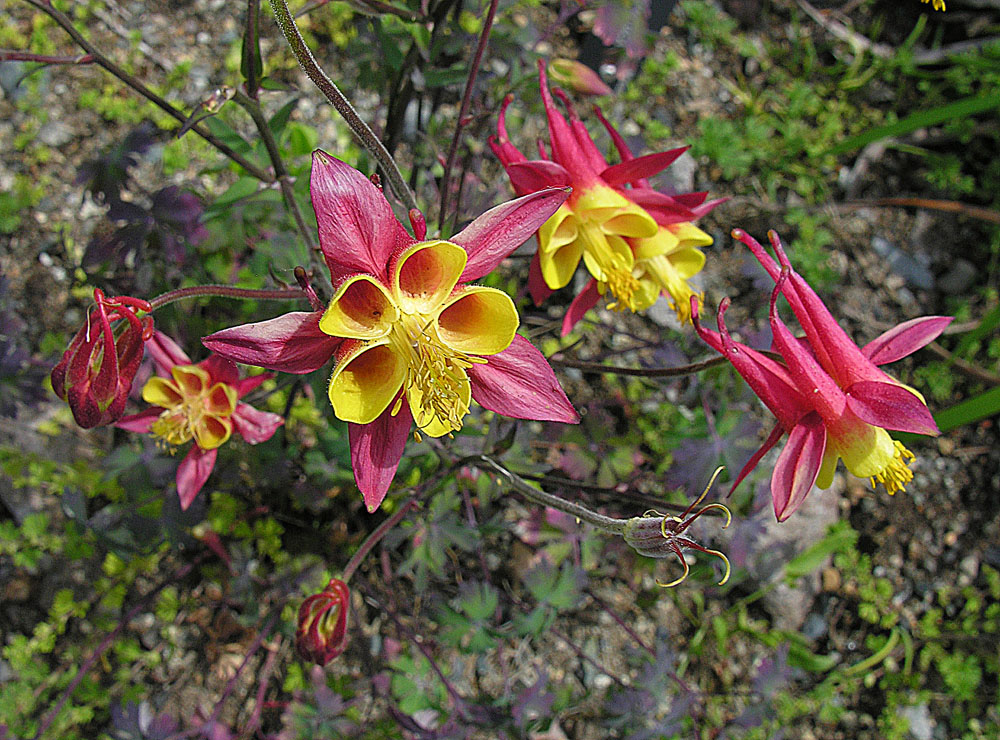
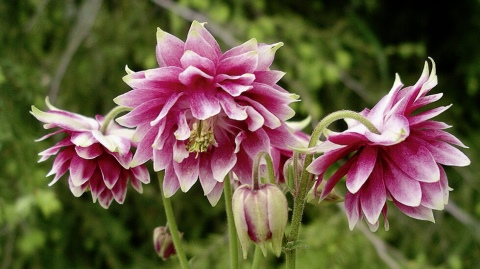
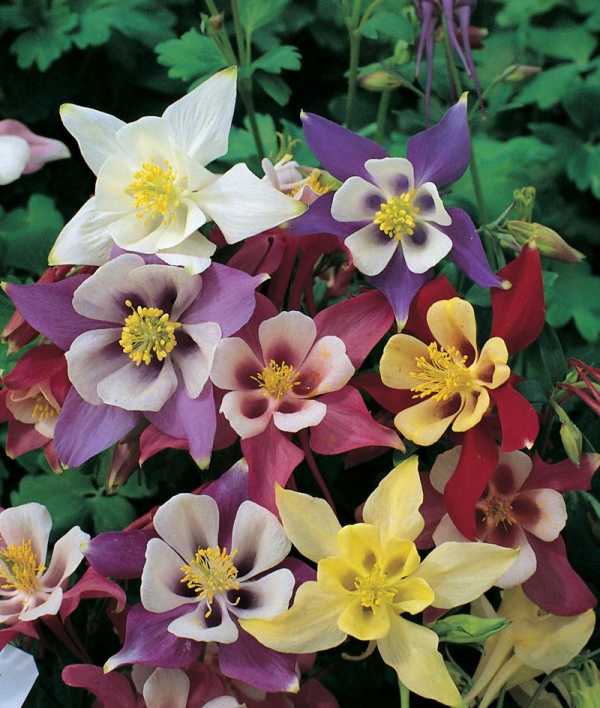
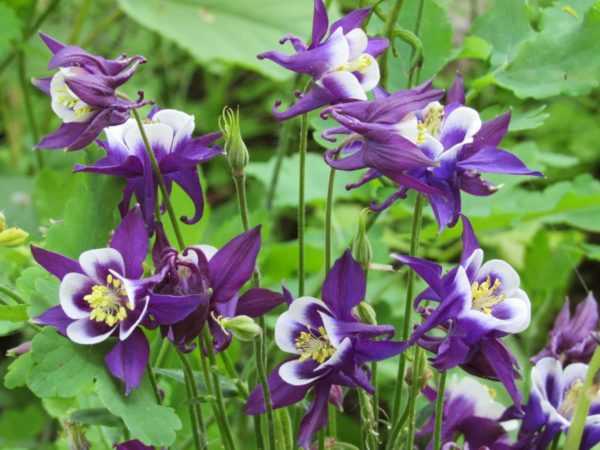
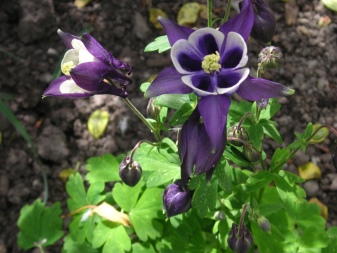
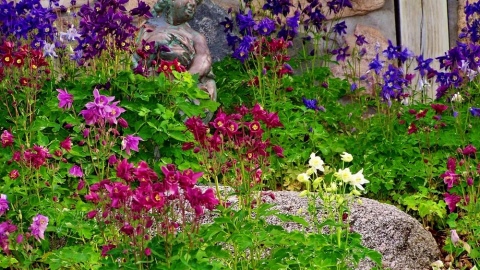
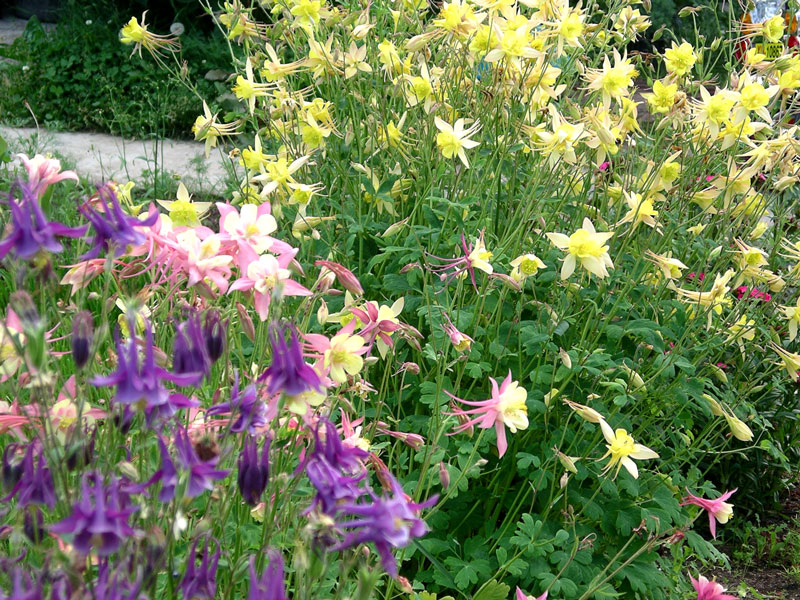
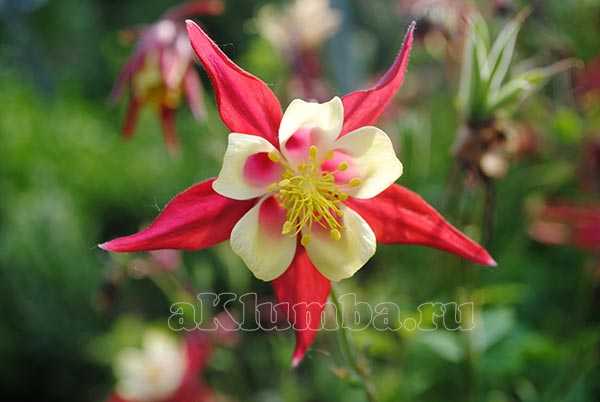
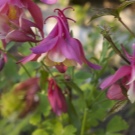
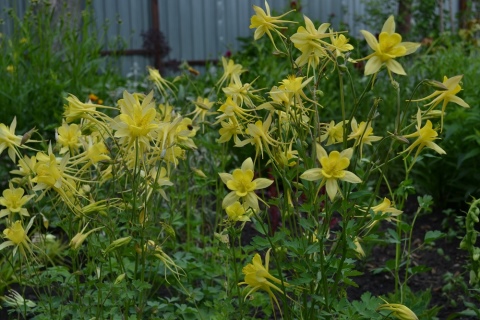
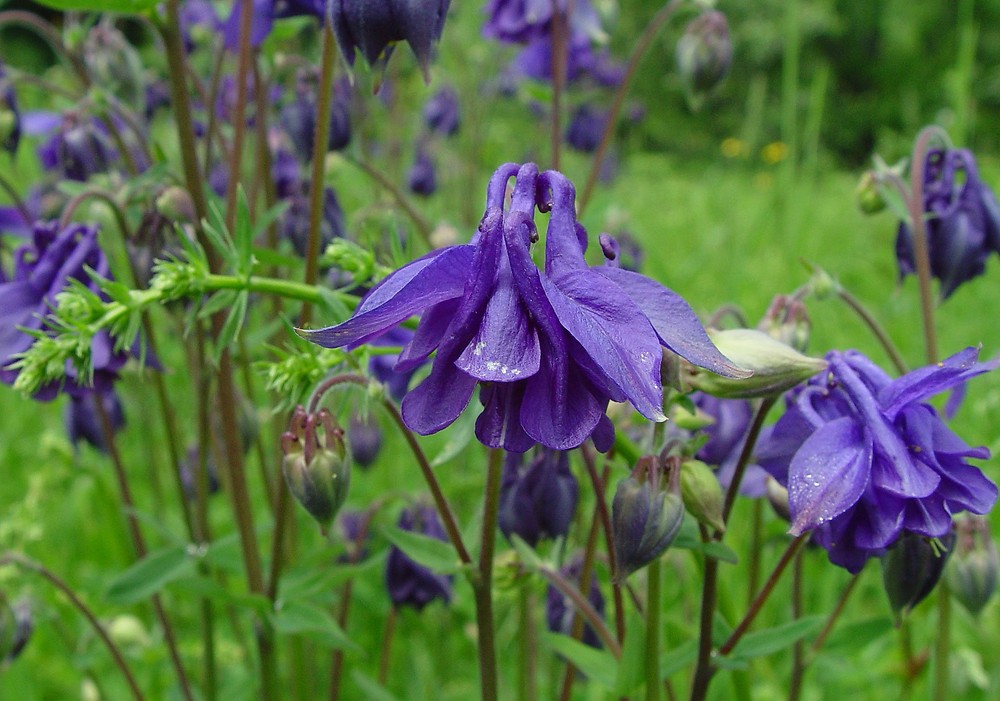
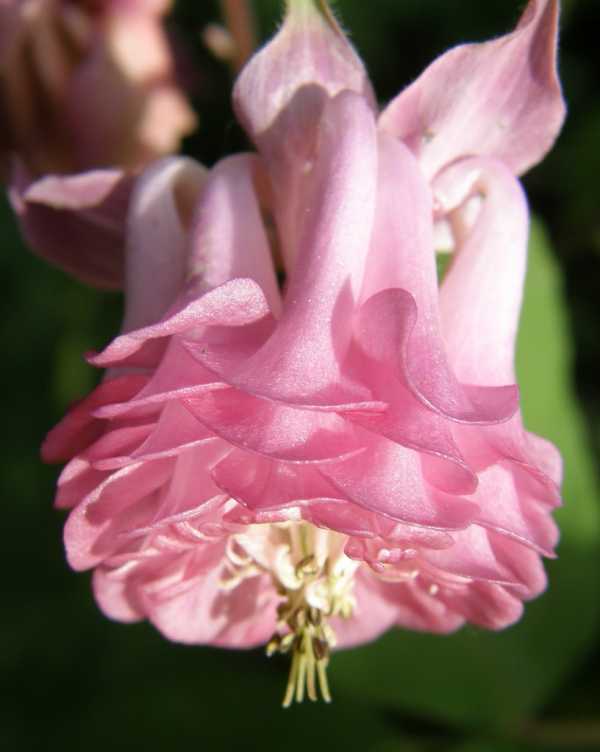
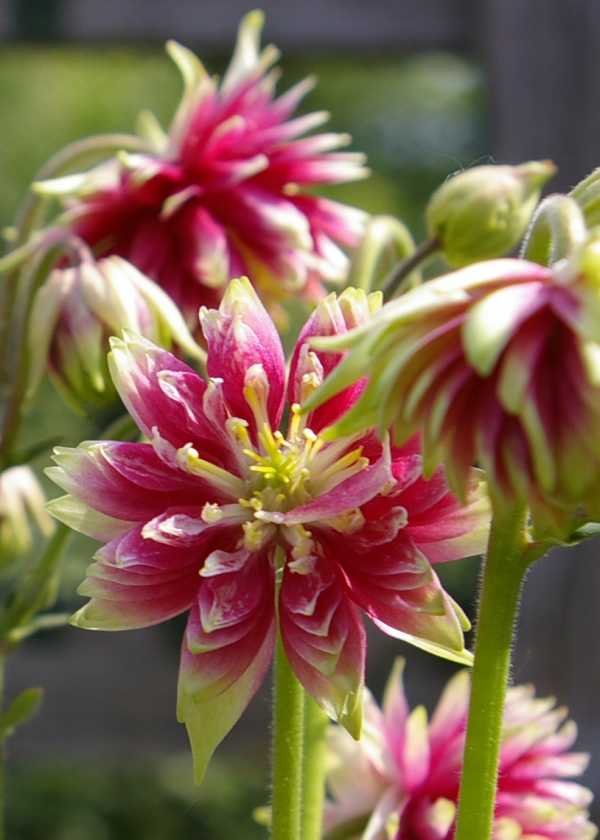
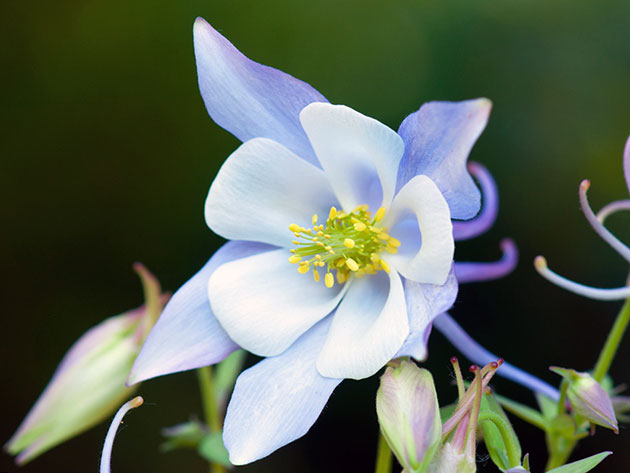
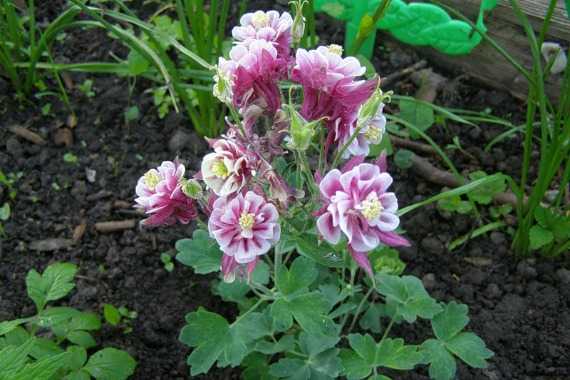
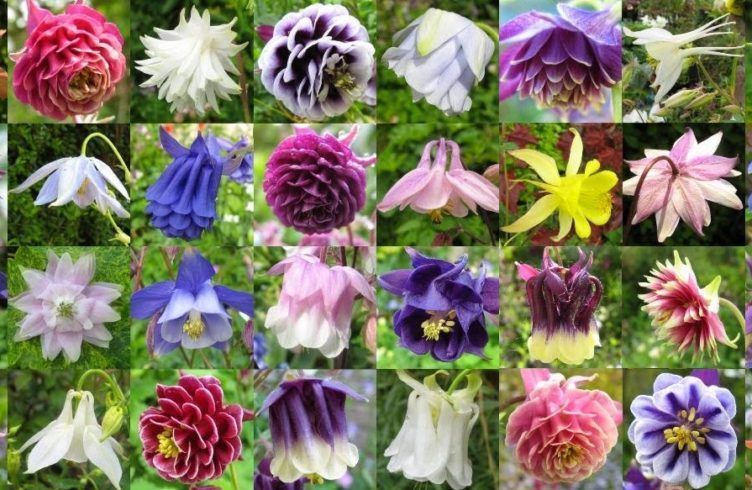
The aquilegia buds are bell-shaped, with 5 outer, oblong sepals and 5 inner, rounded petals, often forming an attractive "skirt" of a contrasting color. Sepals are often colored blue, blue, purple, lilac, white, and pink. The petals either repeat the color of the sepals or remain in a contrasting white or yellow color. Some varieties have long spurs on the back of the buds, in which nectar is collected. In some large-flowered varieties, the buds reach a diameter of 10 cm.
No less interesting are the fruits - multileafs, consisting of long rounded segments bent in different directions. Each such segment contains small ones - less than 1 mm. in diameter, black seeds.
The genus "catchment" includes about 120 species of plants, but only 35 species have received more or less wide recognition in floriculture.

Height. Depending on the specific variety, it can vary from 20 to 100 cm.
Growing features
In the wild, brachycoma is found in open sunny areas, so it is planted mainly in the southern side of the garden. When planted in a shady place, the bush begins to stretch out and poorly lay buds. The annual plant retains its decorative effect during the entire vegetative period only in an area protected from strong gusts of wind. When to plant brachicoma:
- in landing containers - in early or mid-March;
- in open ground - in late April or early May.
All Brachicoma varieties prefer light, fertile, loose soils with a high nutrient content. The plant is not planted in places where groundwater occurs, since with excessive moisture, delicate thin roots quickly rot.
The graceful plants are ideal for growing in containers no more than 25 cm in diameter. They are placed only on those sides of the balcony that are illuminated by the sun most of the day. Unfavorable weather conditions are not an obstacle for the lush flowering of the brachicoma.
Seed propagation
Growing a brachicoma from seeds is the most popular way of plant propagation among flower growers. Sowing is carried out in wide and shallow containers. Brachycomas prefer neutral or slightly alkaline soils with sufficient micronutrient content. Before sowing, the planting material is soaked in a slightly boron solution of potassium permanganate for 30-40 minutes, dried and treated with Fitosporin to prevent decay. Then the seeds, without deepening, are equally distributed on the surface of the soil, sprinkled with a thin layer of calcined river sand, and the containers are covered with transparent film or glass.
Depending on the air temperature, the first shoots appear in 1-2 weeks. During the germination of seeds, the cover is removed daily, the formed condensate is removed and the soil is moistened with a spray bottle. As soon as the first two leaves are formed on young brachycomas, they are dived into separate containers.
Watering, pruning, feeding
Special efforts or skills are not required when caring for an unpretentious brachycoma. Watering is carried out after the earthen coma dries out 5-10 cm deep. If it often rains in the region where the grower lives, then the introduction of moisture may not be required at all. The plant tolerates prolonged drought much better than frequent watering, which can provoke the development of putrefactive processes in the root system. Lack of moisture will negatively affect flowering, and an excess will cause the death of the bush.The rest of the care for brachycoma consists in carrying out the following activities:
- during the entire growing season, the plant is fed 3-4 times with mineral fertilizers. Their composition must necessarily include nitrogen, potassium and phosphorus, which are necessary for the brachycoma for the correct formation of the bush;
- to stimulate the bookmark of buds, dried inflorescences are regularly removed;
- once a month, elongated shoots and darkened leaves are cut off, the bush is examined for the timely detection of garden pests.
Mulching helps to facilitate maintenance. Sprinkle the soil under the bushes with high-moor peat, chopped straw, rotted foliage. This allows you to avoid rapid evaporation of moisture and cracking of the soil, prevent the growth of weeds and attacks of garden pests.
Plant diseases
With excessive watering, as well as during a rainy summer, the brachicoma flower often rots at the base of the roots. At the initial stage, the plant can be saved by removing the darkened parts and transplanting into another container. Sometimes excess moisture causes active growth and reproduction of molds on the roots, and then on the stem, leaf blades, flowers. In this case, heavily damaged bushes are removed, and, if possible, burned. The remaining brachycomas are cleaned of dark leaves and rotten roots, and then treated with any preparation with fungicidal activity. Sometimes garden pests attack the planting:
To solve the problem, two-time treatment of plants with insecticide solutions, for example, Aktara, will help. The succulent shoots and leaves of the brachicoma are eaten by garden snails. They are not able to destroy the bushes, but greatly reduce their decorative effect, gnawing through ugly holes. The snails are harvested by hand and taken away from the front gardens.
Medicinal recipes with aquileia
Of the various herbal dosage forms, the catchment is more often used in the form of an infusion. To obtain it, take 1 teaspoon of dry herb with flowers and brew in an earthenware or enamel bowl with a glass of boiling water, like ordinary tea. The effectiveness of the infusion increases if, during the preparation process, it is wrapped in a "woman on a teapot" or at least with a linen rag in several layers.
An hour later, the infusion is filtered through a sieve or gauze, take 1 tablespoon 3 times a day half an hour before meals. Externally used for rubbing or lotions for skin diseases. Store the infusion in the refrigerator.
The juice is dosed with 15-20 drops, mixed with a small amount of water and taken no more than twice a day. Outwardly, the juice is effective for treating fistulas.
The infusion of the catchment can be prepared from fresh herbs:
- it is finely chopped with a sharp knife;
- pour 0.5 liters of boiling water;
- simmer in a water bath for 10 minutes.
They drink the infusion half an hour before meals, half a glass. The course of treatment is designed for a month; before the new course take a break of two weeks.
Lapping from a mixture of aquilegia and hellebore is prepared as follows:
- 1 teaspoon of chopped herbs of both plants are mixed with 10 g of petroleum jelly;
- keep for 20 minutes in a water bath.
The cooled ointment is applied to boils, used for mastopathy and cellulitis. After half an hour, wash off or wipe with a damp cloth.
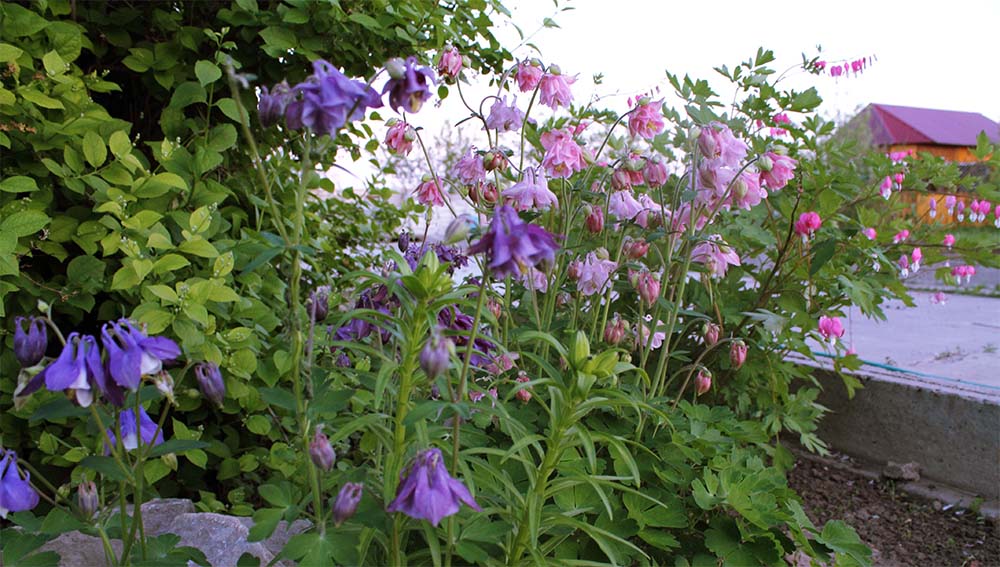
 Catchment photo
Slender, refined aquilegia, loved by both healers and gardeners, is fraught with unexplored properties. There are few folk remedies based on it, but even under such conditions, the use of this wonderful plant should be strictly agreed with the doctor - it is poisonous.
Read more: 1. Ragweed: description, flowering and control of the plant 2. Poisonous milestone: description, use in folk medicine and medicinal properties 3. Wolf's bast: useful properties, description, photo, treatment, rules for poisoning 4. Althea officinalis: properties, benefits and harms, description and medicinal recipes
Planting and caring for aquilegia in Siberia
Since aquilegia can be found in nature in all regions of Siberia, it is very easy to grow it in this climate.By itself, it is unpretentious, frost-resistant and not afraid of the cold.

Siberian aquilegia
For planting aquilegia in Siberia, it is worth remembering that wild it can be found in a birch forest, there are the best conditions for it. That is, in the shade, where loose moist earth.
Siberia does not need any special conditions for planting such an ornamental plant as a catchment. It will feel great in the soil rich in humus, and with proper care it will bloom for more than one year.
Breeding options
You can grow an ordinary catchment:
- seeds;
- dividing the bush;
- cuttings.

Seeds are sown in two ways: directly into open ground in early September or initially for seedlings in early spring. With autumn planting, seedlings appear more amicably. When sowing seeds in spring, the following algorithm of actions is applied:
- seeds are washed (especially old ones);
- sown in a container with a mixture of turf soil, leaf humus and sand in the same proportion;
- a thin layer of soil is poured on top;
- The seedlings are kept for 3-4 days in a room where it is warm enough;
- then they are kept in the refrigerator for a bit and again left in a room with a temperature of + 18 ° C.
After about 2-3 weeks, shoots begin to appear, when the first true leaves are formed, the seedlings dive, and in June they are placed on the garden bed.

The division of the bush is used extremely rarely, since the root system of the aquilegia is not strong and it is rather difficult to withstand transplants. But if necessary, reproduction is carried out in this way:
this method is used in early spring or in the first month of autumn, so that the plant has time to form strong roots by the cold;
a bush over 3 years old is carefully dug up to minimize damage to the root system;
with a sharp pruner, they cut off the leaves, leaving several new ones and shorten the shoots to 5-7 cm;
gently wash the roots from the soil;
with a processed tool, the root is cut along the length into several parts, and each must have at least a couple of buds and small roots, the cut off places are sprinkled with charcoal;
the cuttings are planted in a nutritious soil, followed by regular moistening.
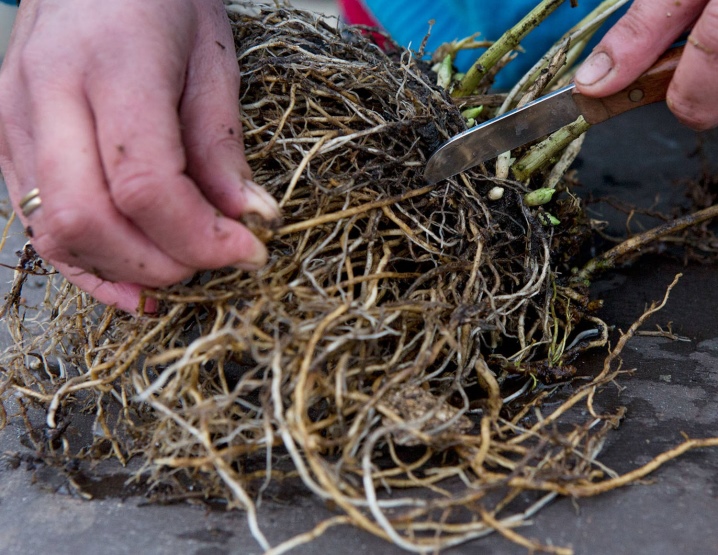
When grown by cuttings, all varietal characteristics of aquilegia are preserved, which is important. Cuttings are usually cut in spring from not yet fully blossomed shoots and planted for rooting in river sand in a greenhouse or in a garden bed, be sure to cover with a film or a plastic bottle
Sprouts should be slightly shaded and sprayed regularly with water. You can also use summer young shoots as cuttings, but still spring ones form roots much faster. For greater efficiency, cuttings should be dipped in a root formation stimulator.
Rooting takes up to a month, then the seedling is placed in a permanent place of growth. The catchment area is common and self-sowing very successfully, if you do not remove the faded shoots. Therefore, in order to limit this method of reproduction, the fruit growers are cut off at the end of flowering, leaving a part if necessary.
