Content
 It is possible to grow dill on a balcony or windowsill all year round, although usually planting it indoors is planned for the autumn-winter time. To get a good harvest of fragrant greenery, you need not only to select and plant a crop variety correctly, but also to provide the seedlings with proper care.
What you need to grow dill at home
Greens on the windowsill are a source of vitamins and a fresh seasoning for various dishes, reminiscent of summer with their aroma. To grow good, powerful, juicy dill, you have to try and stock up not only with patience, but also with the necessary props:
- containers;
- fertile soil;
- drainage;
- seeds;
- lighting lamps;
- complex dressings.
Varieties for growing green crops on the window can be early or mid-season:
- Grenadier;
- Richelieu;
- Gribovsky and others.

For planting in an apartment, choose early varieties of dill
They will give a quick harvest, however, they will be deprived of lush foliage. Therefore, some gardeners prefer late-ripening, usually bushy varieties. They ripen longer, but they also yield for a longer time, and also delight the eye with abundant greenery and a beautiful decorative look. Among the popular ones:
- Kibray;
- Buyan;
- Salute;
- Alligator;
- Amazon;
- Asparagus bouquet;
- Puchkovy, etc.
Approach responsibly and the choice of soil for growing dill at home. The soil should be loose, fertile and non-acidic. It is important that it retains moisture well. Buy a ready-made substrate or make your own. To do this, mix garden soil with peat, compost and humus, sand.
Advice. The container can be an old flower pot with a volume of up to 2 liters, or a small wide box with holes in the bottom. The sprouts should not be cramped in it. If the seedlings will stand on the window, make sure that the container looks aesthetically pleasing.
Seed preparation and sowing
Due to the high content of essential oils, dill seeds germinate for a very long time, no matter where they are planted: in an open ground or in a pot. Therefore, pre-soak them in warm water, potassium permanganate or growth stimulant solution. Place the seed in a small container with any of these liquids, and cover the top with a piece of cheesecloth. Soaking time in water - up to 20 hours, in manganese - 2-3 hours, in a stimulant - according to the instructions. During this period, you need to change the fluid 2-3 times.
Attention! For planting, take only those seeds that have sunk to the bottom of the vessel.
Having selected suitable specimens, dry them well, and then proceed to sowing:
- Lay drainage at the bottom of the container with a layer of 1.5-2.5 cm.Use expanded clay or broken brick for this purpose.
- Fill the container with soil. Moisten it.
- Sow dill. To do this, you can make grooves or simply mix the seeds with the soil. The distance between the seeds is 2-3 cm. It is not necessary to deepen them, it is enough to sprinkle it on top with earth (layer thickness - up to 1 cm).
- Cover the container with plastic wrap and place it in a warm place. The optimum temperature for seed germination is + 18… + 20C. The sprouts will begin to hatch 7-10 days after sowing.

Dill seeds
Dill care on the windowsill
Water the soil regularly and remove condensation until the seeds are full. When they sprout en masse, free the container from the film and place it on a sunny windowsill, remembering that dill is a light-loving plant.For the first week thereafter, lower the night temperature by 1 to 2C to prevent the seedlings from pulling out. For example, open a window or take the seedling pot out onto the glassed-in balcony.
In the warm season, you can do without backlighting. When growing greens in the autumn-winter period without it - nowhere. Place the lamp at a distance of 0.5 m from the seedlings and turn on:
- for 5 hours in the morning, if the container is in a well-lit place;
- 15 hours a day if the containers are in the back of the room.
The main care for dill on the window is reduced to timely watering with settled water (as the soil dries up) and spraying, especially if the temperature in the room exceeds + 25C. Once a day, the pot with seedlings must be turned 180. This procedure will allow the seedlings to rise evenly, but not stretch out.
To grow dill in an apartment, you need additional lighting
Feed the dill every 2-3 weeks using complex mineral fertilizers. Thin the seedlings as they grow. Monitor the temperature in the room. If the room is cold, plant roots can rot. In an overheated room, seedlings will wilt and require frequent watering, as well as more intense lighting.
Growing dill on the window from March to September is considered less troublesome. It is also possible to get a harvest in winter, although it requires significant efforts. Remember, cut stems will not grow back. Sow dill regularly to pamper yourself and your loved ones with delicious fresh herbs for longer.
How to grow dill at home: video
Growing dill on a windowsill: photo


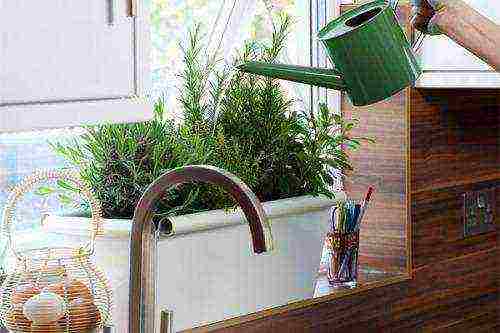 In winter, the body needs more vitamins than ever before to be able to withstand colds, which are usually rampant at this time. Leafy vegetables and fresh fragrant greens can come to the rescue, which can be grown without much difficulty on a windowsill in winter.
Although supermarkets do not suffer from a lack of an assortment of fresh vegetables and herbs at this time, it should be remembered that they can be harmful to the body due to the large amount of nitrates they contain. In addition, store-bought cucumbers or tomatoes have neither the taste nor the smell of naturally grown vegetables.
If you want to cook vitamin salads from fresh vegetables and herbs in winter without the risk of nitrate poisoning, you can grow them at home by organizing a small garden bed on a windowsill or a closed heated loggia. You can grow cucumbers, tomatoes, eggplants, sweet and hot peppers in the apartment. And growing leafy vegetables and greens will not be difficult at all.
In this article, we will talk in detail about how the cultivation of greens on the windowsill takes place.
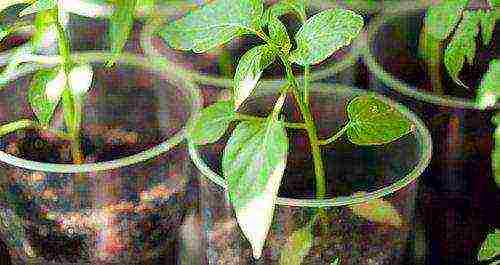
A garden bed in an apartment can be arranged using plastic or wooden boxes, pallets, flower pots, or plastic or clay bowls. An important condition is the presence of holes in all these containers for water drainage.
You can also make boxes with your own hands from spruce or pine boards, guided by the dimensions that are optimal for this. The boxes should be 40-50 cm long, 20-30 cm wide, 12-15 cm high. The thickness of the boards should not exceed 1-1.5 cm.
If you are going to make boxes from unnecessary furniture, it is better to stop this activity, because at high humidity the coating will peel off and harmful substances can get into the ground, which then get into the plants.
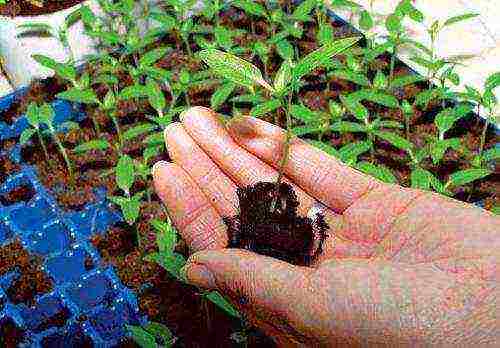
To get a good harvest of leafy vegetables and greens on the windowsill, you need to follow these rules:
- At the bottom of any container in which you are going to grow vegetables, it is imperative to put a layer of drainage, which is needed to avoid stagnant water and rotting roots. Drainage can be broken brick, fine gravel or expanded clay.
- To successfully grow greenery on the windowsill, you should not use garden soil that is infested with pests and can negate all your efforts, destroying the entire crop. It is best to use a special substrate that you can buy at the store. It is free of pests and has all the necessary nutrients for plant growth and development.
- Containers with plants should be placed on windows located on the southwest, southeast or south side of the house, because the plants need a lot of light. In the middle of winter, additional artificial lighting can be arranged. For this, fluorescent lamps are used, which are located above the beds at a height of 50-60 cm.
- Plants need regular watering as the soil dries out. For irrigation, use only settled tap water. You should be aware that soil dries more slowly in earthenware than in plastic. On the southern windows, plants need to be watered more often than on windows of other orientations.
- Plants require regular feeding, which should be done once every 1.5 - 2 weeks. You can feed it with ordinary universal fertilizer for indoor flowers.
- During severe frosts, it is better to take containers in plantings from the windowsill, since the temperature on them is much lower than in the room. The optimum temperature for growing vegetables on the windowsill is 18-20 degrees Celsius.
The most picky ones to grow on the windowsill are dill, celery, parsley and green onions. I eat these plants as an additional source of vitamins and microelements, necessary in the winter-spring period, as well as a flavoring additive to various dishes.

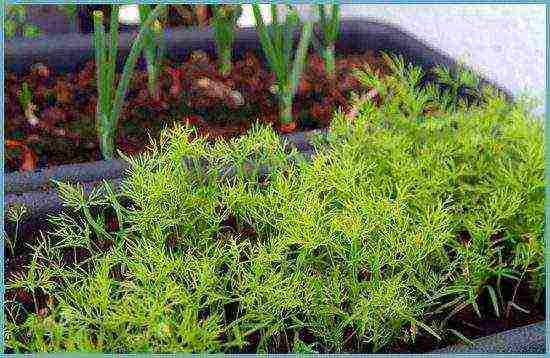
Dill is an unpretentious plant that does not require special care. It is sown in boxes in a scatter, lightly sprinkled with earth on top. Seedlings will appear in a couple of weeks, and after a month you can taste the first greens.
Parsley can be dug out of the garden before frost, along with a lump of earth and planted in a suitable dish. It can also be sown with seeds. Before sowing, the seeds must be placed in several layers of gauze and soaked in water for a day to wash off essential oils that slow down germination.
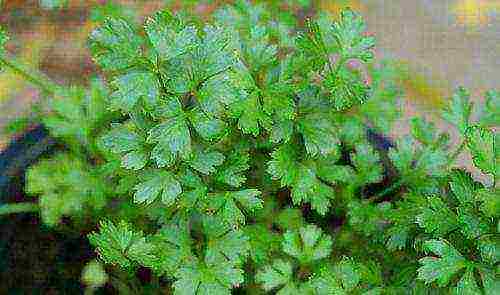
Parsley requires a lot of light and moisture. You need to water it often, but try not to overmoisten the soil. After the shoots appear, they need to be thinned out, leaving the strongest shoots at a distance of 3-4 cm between them.
Parsley can also be grown by forcing root crops. To do this, you need to take several small but thick roots with well-developed petioles and plant them in the ground, keeping a distance of 2-3 cm from each other and 4-5 cm a row from a row, having previously well moistened the soil. Planting should be kept in a cool place, watering moderately until the petioles sprout. When greens appear on the tops, the containers are transferred to the windowsill. With this method of cultivation, the crop can be harvested as early as 25-30 days.
The most suitable varieties of parsley for growing on the windowsill are "Sugar", "Urozhainaya", "Bordovinskaya".

Green onions grow most easily on the windowsill. To do this, you just need to place the onion in a glass of clean water, so that the water only touches its bottom, otherwise the onion may rot. To speed up germination, before planting, the bulbs can be poured with hot water and kept for 12 hours, then peeled, cut off the top tail and placed in a germination dish. To avoid an unpleasant odor, the water must be changed every 2-3 days.
You can also easily grow green onions in a box with soil. The bulbs are placed in the ground, while not deeply deepening. The dishes with plantings are kept warm until the first greenery appears, and then they are put on the windowsill. Since onions and dill are not very demanding on light, they can be placed in a little shade. The first appearing onion feathers cannot be broken off, because the growth of greenery will stop.
Celery can also be grown by forcing root crops or sowing seeds. Celery root is widely used as a spice for various dishes and side dishes, and the leaves can be used to decorate dishes. For forcing, strong roots are selected, which should have a diameter of at least 5 cm and have well-developed petioles. If the root crop does not fit into the container, it can be trimmed or planted with a slope. To ensure good growth and development of celery, it needs a lot of light and abundant watering.
p> From spicy herbs, basil, watercress, lemon balm and mint feel great on the windowsill.
Watercress is the fastest growing grass, the shoots of which, after sowing, appear as early as 4-5 days. In addition to excellent taste, this herb has a full range of vitamins and minerals necessary for the human body, it is used in cooking and folk medicine. This plant does not require strong lighting, so it can even be grown on north or northwest windows. Sowing is carried out to a depth of 1 cm and the soil is moistened. The first crop will appear in 2-3 weeks. The following varieties are best suited for growing on a windowsill: "Pepper", "Curly", "Shirokolistny".
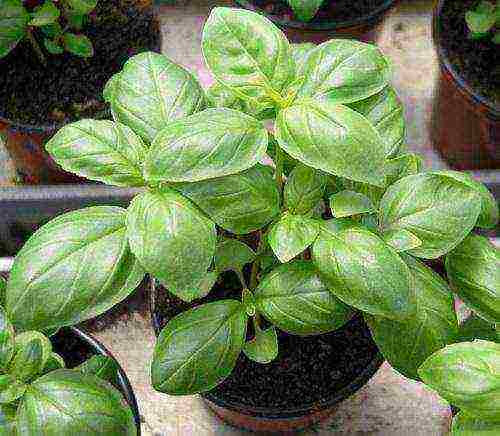
Basil has not only special taste, but also has an antimicrobial effect on the body. Therefore, it is simply necessary in the winter on the windowsill. To grow basil on the windowsill, it is best to dig out a ready-made bush in the garden and plant it in a suitable dish, because the seeds of this plant have a very low germination rate.
Basil is very picky about light, reacts poorly to temperature drops and drops, so the plant needs to be grown on southern windows. Water the plant as the soil dries up, avoiding waterlogging, which negatively affects the development of the plant.

Mint and lemon balm have excellent taste. They can be used to brew tea, which, in addition to its wonderful aroma, also has a calming effect. Melissa and mint on the windowsill can be grown in two ways. Plants can be transplanted with bushes from the garden or grown from seeds. The seeds are placed in the soil not too deep and watered well. Soon shoots appear, after which the containers with crops are transferred to the windowsill. Mint and lemon balm are very demanding for watering and lighting, so they need to be placed on the south or southeast windows and watered well.
Lettuce and Chinese cabbage grow best on the windowsill.
For the successful cultivation of Peking cabbage, its seeds must be sown to a depth of 0.5-1 cm, keeping the distance between the seeds at least 3-4 cm. Crops are watered abundantly and placed in a warm place. When the first shoots appear, the container can be rearranged on the windowsill. Peking cabbage is a short-day plant, so it does not suffer from light shading at all and does not require additional lighting. Watering the plants should be moderate, after the soil is completely dry. For growing on windowsills, early ripening varieties of Peking cabbage are suitable, which ripen 25-30 days after germination.
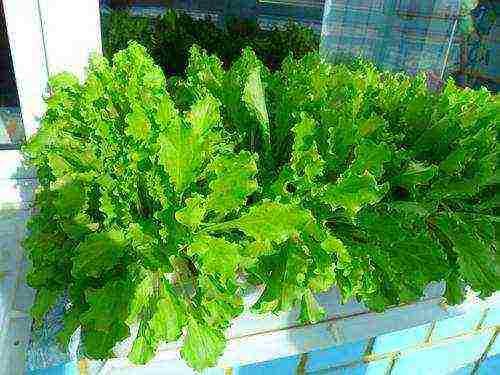
Lettuce is a cold-resistant crop, so it can be successfully grown on insulated loggias or balconies. The best varieties for winter cultivation are "Odessa", "Lollo Bionda", "Red Credo".
Lettuce is sown in prepared moist soil to a depth of 0.5 cm. Seedlings will appear in 3-5 days. Depending on the variety, the first crop will appear in 4-5 weeks. The salad is very picky about lighting and watering, therefore, in the winter months, crops must be supplemented with fluorescent lamps.
As you can see, growing on a greenery on a windowsill in winter or early spring is not particularly difficult and even a novice amateur gardener can do it. Of course, you will not get a big harvest in an apartment, in the absence of sufficient space and suitable conditions.But, having made every effort, and adhering to the recommendations set out in this article, you can provide yourself and your family with vitamins in the winter period, when they are so necessary for the body.
p> 
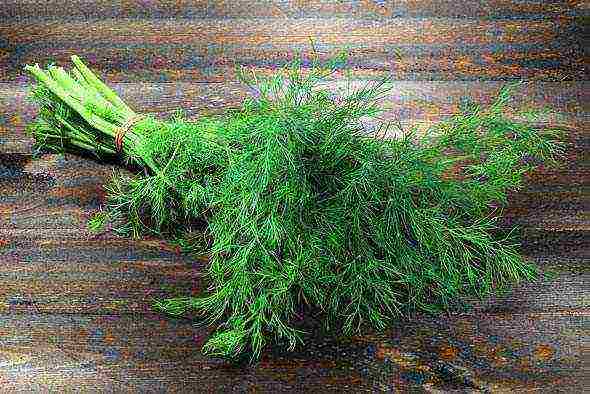
It is convenient when there is always fresh greens at hand - the dishes cooked with them become more aromatic and tastier, therefore, prudent housewives can often find dill on the windowsill. At home, this unpretentious plant feels no worse than in the garden, and with good care it gives a lot of lush greenery.
Choosing the right dill variety is the first step to a good harvest
It would seem that even inexperienced gardeners should not have any questions about how to grow dill at home: after all, you just need to sow seeds in a pot of soil and do not forget to water the seedlings, removing the weeds. But in fact, instead of the expected dense thickets of fragrant dill, thin pale blades of grass, practically without aroma, sway sadly in the pot. What's the secret? How to plant dill at home and get greens that are no worse than those that are sold on the market all year round?

For the purpose of growing dill at home, gardeners most often choose the early ripening variety Gribovsky
To grow dill at home, you will need:
- seeds of a fruitful unpretentious variety of dill;
- soil for indoor plants;
- fertile garden land;
- suitable containers (pots, containers);
- fluorescent lamps;
- complex mineral fertilizers.
Video about growing aromatic dill
For the purpose of growing dill at home, gardeners most often choose the early maturing variety Gribovsky. This variety of dill is not picky about care, resistant to temperature extremes, high yield and disease resistance. Its greenery has a strong aroma. In order for Gribovsky dill to give a good harvest at home, it is enough to sow it in fertile soil and prevent weeds from appearing.
The following varieties are also suitable for growing on a windowsill: early-ripening Grenadier, mid-ripening Richelieu with bluish-green fragrant leaves, late-ripening Kibray with beautiful wide leaves. Gardeners are also cultivated at home and southern varieties, which have a more spicy taste, but are more finicky.

And late bush varieties do not have time to ripen in the beds over the summer.
Since there is no special variety of dill intended for growing on the windowsill, when choosing a seed, the main attention should be paid to the ripening time. It is important not to be mistaken here: although early varieties give green mass in a very short time, they quickly stretch into flower stalks and are worse leafy than late-ripening varieties. And late bush varieties (Gourmet, Salute, Russian size) do not have time to ripen in the beds over the summer, but they are great for growing at home. Such dill on the window forms dense, well-leafy bushes, from the axils of which all new shoots are formed.
Instructions on how to grow dill on a windowsill
In the garden, dill can grow on almost any soil, but successful cultivation of dill at home is possible only in a fertile soil mixture, which must be prepared in advance. To do this, in the fall, you should prepare loose garden soil and mix it before sowing with purchased neutral soil for indoor plants. Select a container for crops of a sufficient size so that the dill is not crowded, and do not forget about the drainage layer at the bottom of the container.
Since dill seeds germinate for a long time due to the high oil content, they must be soaked for 20 hours before sowing in warm water through which oxygen is continuously passing (for example, using a compressor from an aquarium). Another option is to simply place the seeds in warm water for two days and change it to fresh water every six hours.

For best results, you can make grooves a centimeter deep in the ground, spill them with water and lay the prepared seeds on the bottom.
Seeds can be sown directly on the surface of the moistened soil, without grooves and pits, sprinkling with peat mixed with humus on top. Sufficient seeding rate - 0.3 g per 1 square decimeter of soil. For best results, you can make a centimeter deep groove in the ground, spill them with water and place the prepared seeds on the bottom. From above, dill seeds are sprinkled with dry earth from the edges of the grooves, so that a dense crust does not form on the soil surface, which prevents the emergence of seedlings. Cover the container with crops with cellophane and put it in a dark place with a temperature of about +20 degrees for a week.
After cutting, the stems and leaves of dill do not regrow: in order to continuously cut fresh greens, sow seeds on the vacating area of your micro-vegetable garden every three weeks.
Growing dill on the windowsill - the secrets of success
Growing dill at home, first of all, you need to remember that this plant is very fond of light. Place the crops on a light windowsill, and in winter, provide additional lighting for the dill by installing fluorescent lamps at a height of 50 cm above the plants. On the windowsill, it is enough to turn on the lamps in the morning for about five hours, but if the boxes with dill are in the back of the room, the supplementary lighting should last at least fifteen hours.
Video about growing dill on a windowsill
Dill care rules at home:
- dill must be watered regularly, especially paying attention to watering during seed germination and when young shoots appear;
- once every two weeks, it is recommended to feed the plantings with complex mineral fertilizer;
- it is best to grow dill at a temperature of +18 degrees, but even on a glazed balcony when the temperature drops to +8 degrees, the plants will feel quite comfortable;
- if the temperature in the room is higher than +20 degrees, you need to increase the illumination, otherwise the dill bushes will turn out to be elongated, sluggish and light;
- in the first week, as the shoots seem, it is advisable to lower the temperature in the room at night by opening the window, or to carry out the crops to the glazed balcony so that the dill does not stretch out.

The dill needs to be watered regularly, especially paying attention to watering during seed germination
Growing at home can be more or less hassle depending on what time of year you plant the dill. The easiest way to grow dill on a window is from March to August, since planting and without additional lighting form lush greenery, provided there is fertile land and a light windowsill. In the autumn-winter period, without additional illumination, the plants will stretch and fall, which means that you will have to pay more attention to them, and the costs of growing will increase due to the consumed electricity.
Rate the article:
(16 votes, average: 4.1 out of 5)
Greens are a source of useful vitamins, an excellent tool for maintaining immunity, and just a delicious seasoning for cold and hot dishes. In summer there is no shortage of it, but in cold weather it is quite expensive.
Therefore, there is an alternative option, which is also very simple. In this article, you will learn how to grow greens at home on any kind of windowsill at any time of the year.
What greens can be grown on the windowsill?
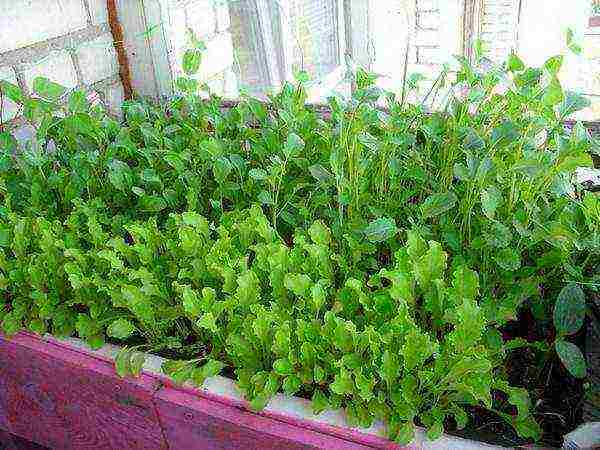
You can get almost any spice at home - feather onions, leafy salad varieties, lemon balm, mint, dill, mustard.
Greens on the windowsill can be grown from seeds, cuttings, roots, tubers - it all depends on how much you need it, how interesting the process of organizing a mini-garden is to you. But it is better to choose undersized varieties, bushy and early maturing.
Important! If you want a stable growth of greens at home, for example, you plan to sell them, then it is better to use methods with seeds. Such plants will yield more abundant and longer harvest.
When to grow?
Planting greenery on the window can be done at any time of the year. Only in summer will there be enough natural conditions of light and warmth. But in the autumn-winter season, when growing some crops, you will have to additionally take care of effective lighting with the help of special lamps and devices to maintain a stable level of temperature and humidity.
What do you need to grow greens at home?
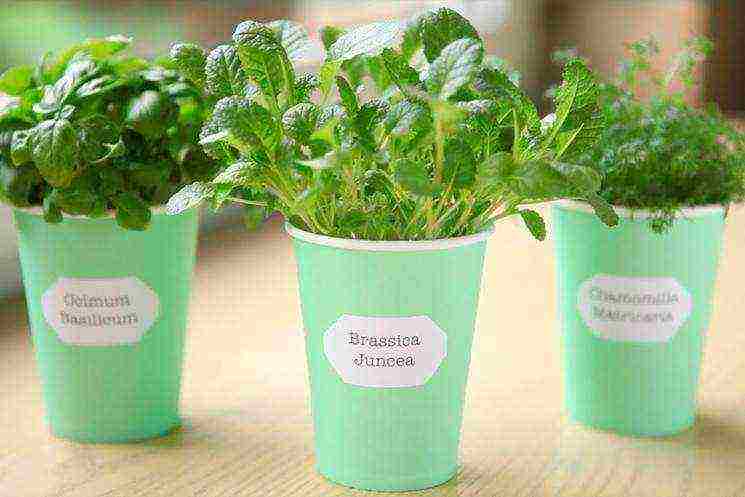
In order for all the effort and time spent to give their results, you need to be puzzled by 2 points:
- the necessary set of tools and devices;
- microclimate conditions.
Important! As for growing technologies, some varieties of greens can be planted not in the ground, but using hydroponic systems, or even ordinary 100-200 ml jars of water for the smallest volumes.
Equipment for planting greenery:
- Pots or containers of the appropriate volume - they should not be very deep and wide;
- High-quality soil for planting - a universal purchase option based on coconut fiber and vermicompost or earth from your garden flavored with ash solution and superphosphate is perfect;
- Pebbles or expanded clay to create a drainage layer;
- PVC bags or caps;
- Spray;
- Phyto lamps or fluorescent, LED systems for winter lighting.
Growing conditions

Each crop has its own specific environmental requirements.
But in general, there are several general points for growing greenery on the windowsill at home:
- Lighting. In winter, you will have to use auxiliary lighting sources, and it is better if they are equipped with auto-off timers. This way you will have to spend less time caring for your mini-vegetable garden.
- The soil. Regardless of whether you plan to use the land from your garden or will use purchased land, it must be disinfected before planting greenery. To do this, you can use a variety of methods - calcination in the oven, evaporation on the stove, steaming in the microwave, watering with a solution of potassium permanganate (in this case, take 3-5 g of powder per 10 liters of water).
- Drainage. Be sure to lay a layer of drainage material at the bottom of the containers to prevent soil rotting. An excellent alternative to drainage material is a hydrogel, which will either release moisture if there is a lack of it, or absorb excess.
- Watering. If you plan on growing your greenery in pots in the ground, be sure to follow the recommended watering guidelines for your chosen crop. Otherwise, a lack of moisture, like an excess, may not have the best effect on both the appearance of the plants and their taste - they will either be insipid or begin to taste bitter.
Since there are a lot of options for greens that can be easily grown at home, we will consider in more detail some of the most popular types.
Bow on feather
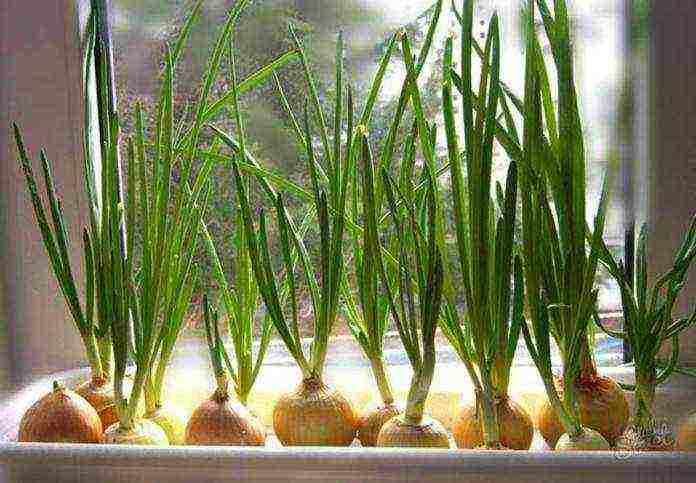
Let's start with the simplest and most popular - onions. Even schoolchildren are engaged in its cultivation as practical assignments in biology.
Methods:
- In water. They use water jars, special hydroponic systems, egg containers. The main thing is that only the lowest part of the bulb should be in the liquid, ideally the root system.
- In the ground. They use peat pots, special containers, boxes made of wooden boards, even plastic bottles of 5 liters. The planting depth should be minimal, since only the root part of the bulb is located in the ground itself. Place the bulbs as close to each other as possible.
Training:
- All bulbs should be firm, with no signs of rot, with a shiny husk.
It is better to choose the same size - 2-4 cm in diameter. - Before planting, the lower part along the bottom is slightly cut off, the bulb is placed in water for a day or two so that it takes root.
Important! The following varieties of green onions have shown themselves best when grown at home:
- Timiryazevsky;
- Spassky;
- Pogarsky
- Arzamassky;
- Strigunovsky;
- Union.
Planting and care rules:
- First, you need to put the containers of onions in a cool and dark place - this is necessary for the development of the root system.
- Further - rearrange the greens for growing on the windowsill, but make sure that the temperature is within 18-24C.
- It is undesirable to place containers too close to radiators.
- When grown in water, you can add ash in the amount of 50 g per 10 liters or a couple of activated carbon tablets to prevent decay of water and planting material. Water is taken only settled, the same is added as needed.
- Sprinkle green onions in the ground - 1 time in 2-4 days.
- The first crop is harvested not with the appearance of the initial feathers, but after 2-3 weeks.
Important! To ensure a continuous harvest of onions, you can make several plantings of greens at home with an interval of 10-12 days.
Chives bow
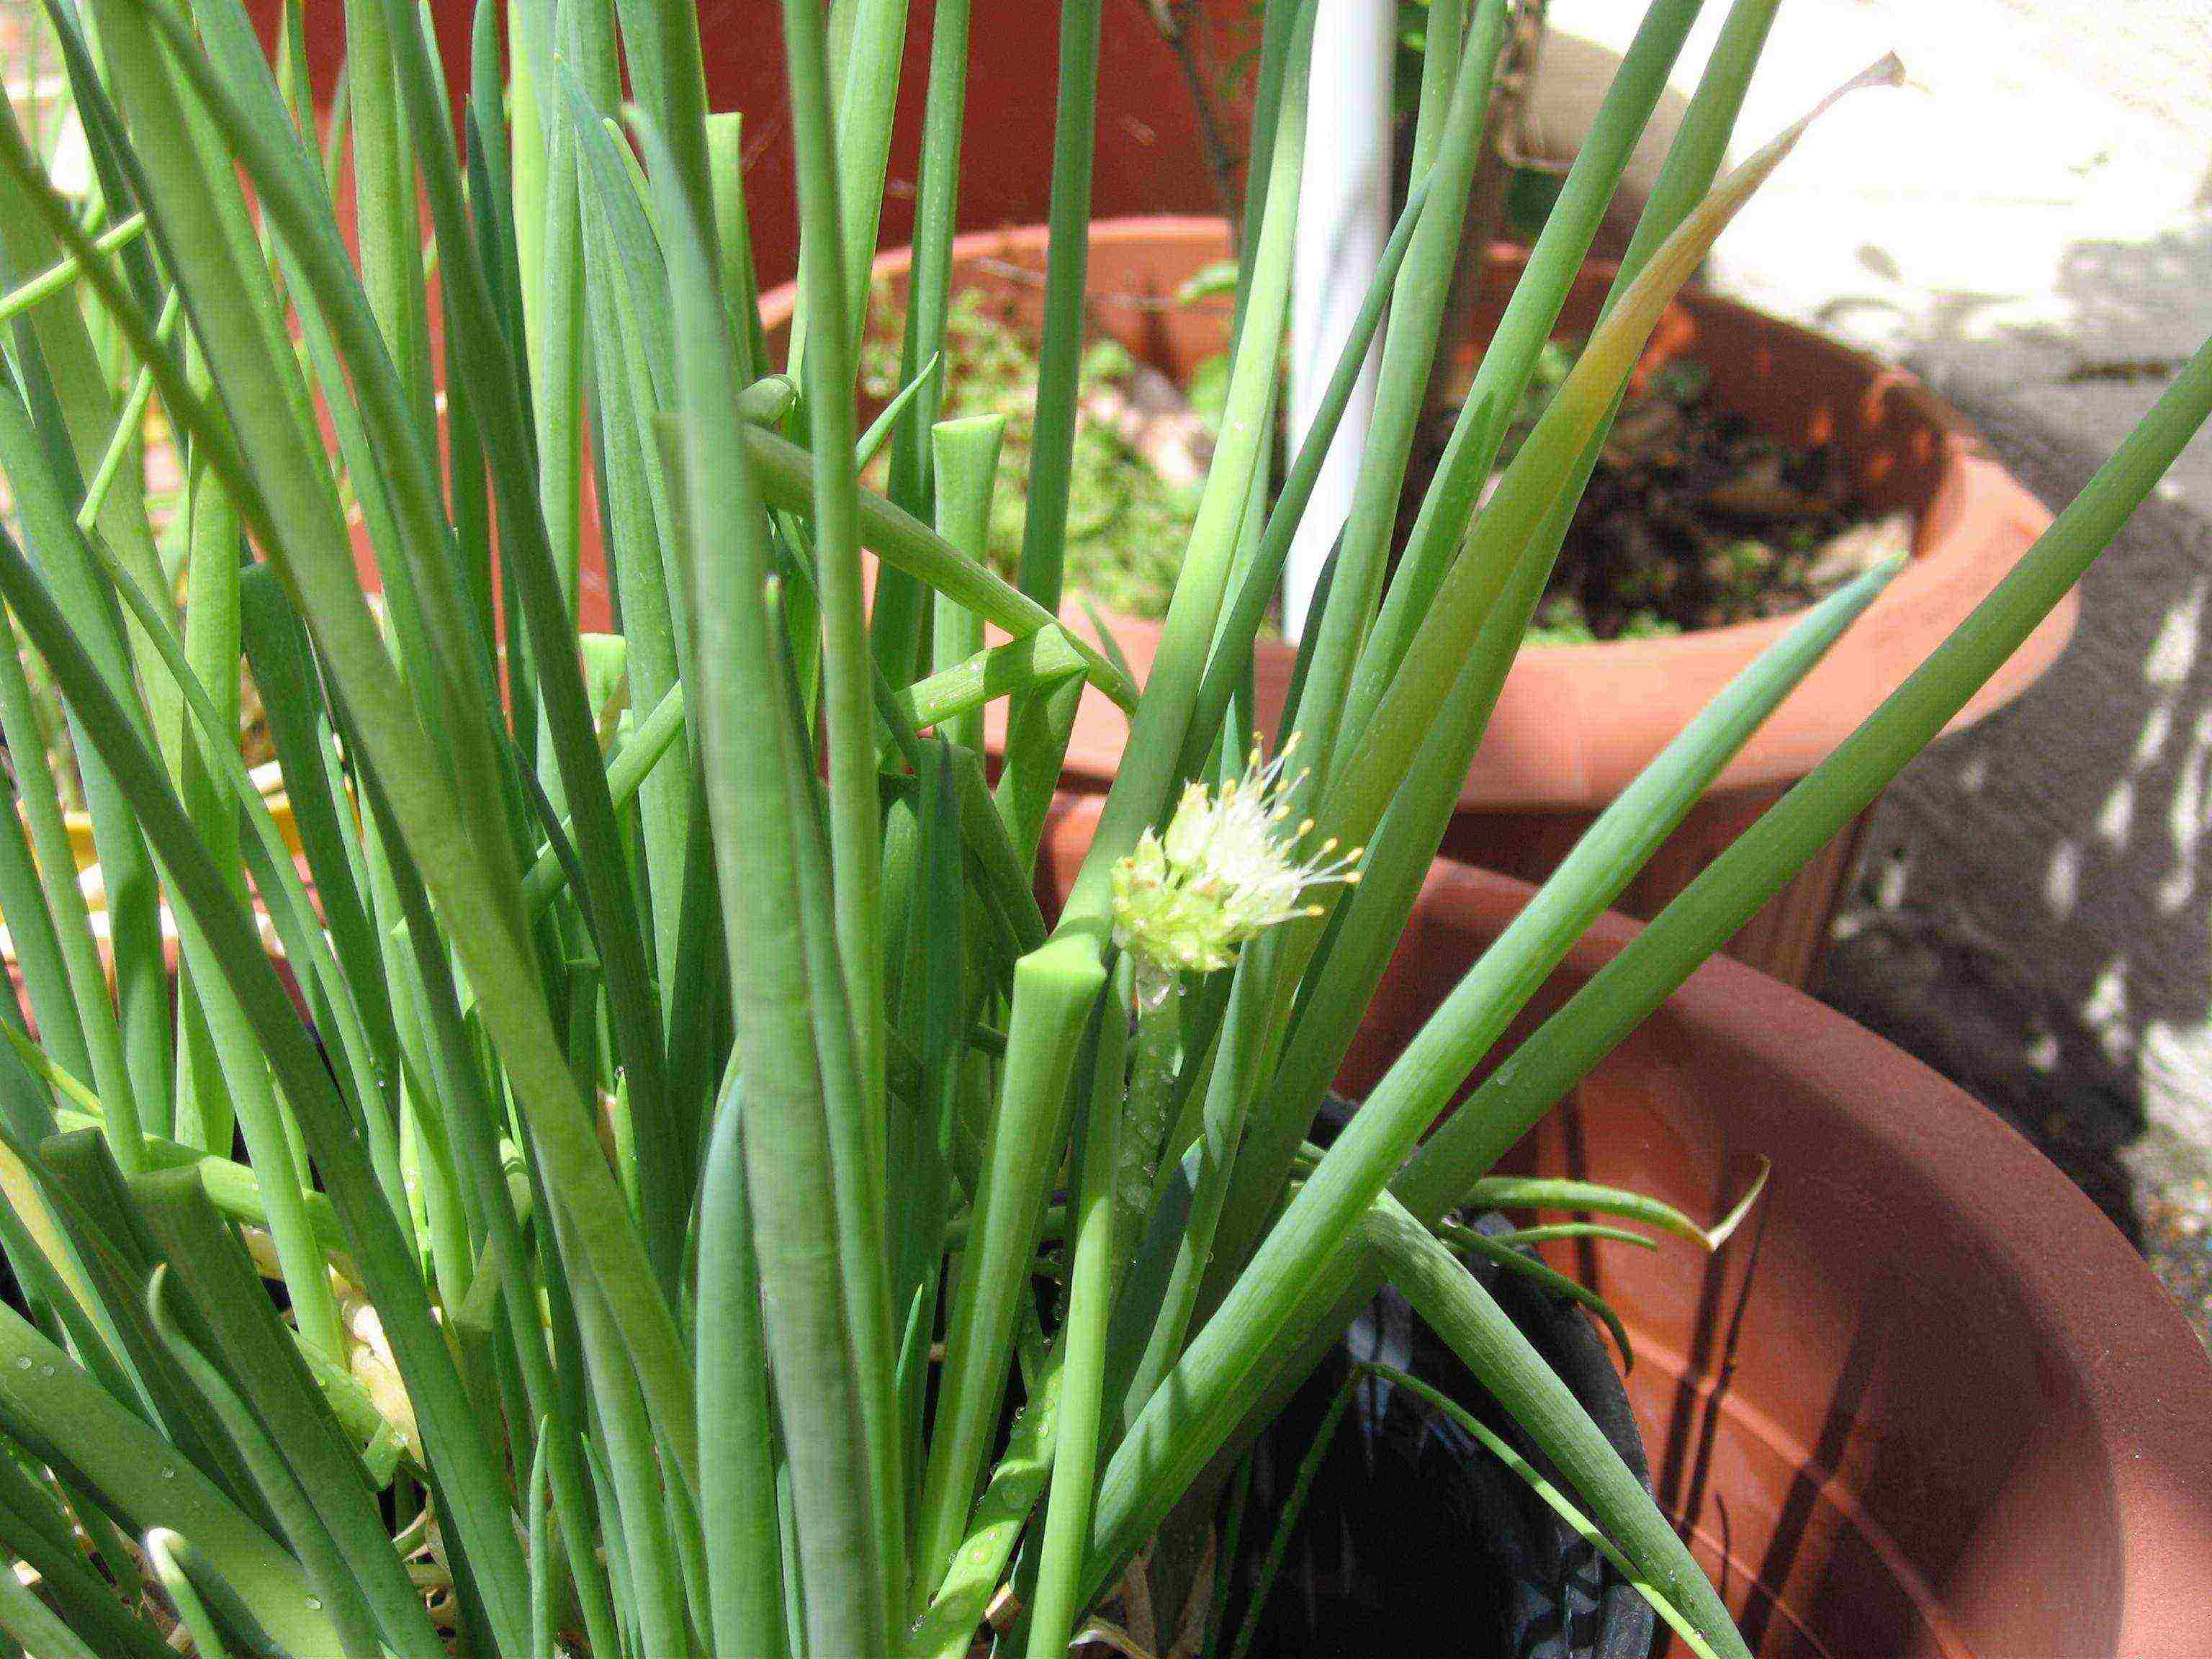
Chives are softer and more delicate in flavor than regular green onions, and are great options if you're wondering what kind of greens you can grow on a windowsill at home.
Important! A good selection of varieties - Bohemia, Albion, Chemal. Usually, at home, a crop from one plant can be obtained twice, after which the planting material is depleted.
Planting material will need to be prepared in advance - in the fall. For this:
- You can dig up a few bulbs and place them immediately in boxes of soil, leaving them in a cool place.
- You can take chisels, which are also then driven onto the pen.
- You can plant seeds, but it will take longer for greens to grow at home than in the previous 2 options.
Important! Planting and grooming - similar to growing regular green onions in the ground, only sprouting is usually earlier.
Parsley and celery

Parsley and celery are the next most popular crops for growing greens at home. Important conditions for these plants are good lighting and soil with high fertile properties.
Growing methods and choice of materials:
- Seeds. In this case, the planting material is first wrapped in clean gauze, kept in running water for half an hour, then left in this form in a cool place (possibly in the refrigerator) for a day. You can additionally disinfect the seeds in a solution of potassium permanganate - a standard proportion of 3-5 g of powder per 10 liters of water is used.
- Planting root crops. For planting parsley, choose roots about 5 cm long and 2 cm in diameter. It is highly desirable that an apical bud is formed.
The same requirements are for celery - the roots should be thick, but not long.
Important! The best varieties of parsley for growing at home are:
- Yielding;
- Aster;
- Beads;
- Sugar;
- Vorozheya;
- Emerald lace;
- Fitness;
- Borodinskaya.
Planting seeds:
- The soil is used necessarily with drainage.
- When planting seeds, they are buried 0.5 cm.
- Until the first shoots appear, keep boxes in a dark place and watered every other day.
- After germination of greenery at home, the plants are thinned out, maintaining an interval of 4 cm.
- The crop is harvested when the seedlings grow 10-12 cm - usually 1-1.5 months.
Growing parsley and celery from root vegetables:
- Containers and soil are disinfected with potassium permanganate.
- A drainage layer is laid on the bottom.
- The distance between the seedlings is 2-3 cm, between the rows - 4-5 cm, the deepening into the soil is done to such a level that about 2 cm of earth remains on top.
- First, put the boxes in a cool and dark place. Water in moderation.
Greens are transferred to the windowsill after the shoots have appeared. - The first crop is harvested in 3-4 weeks.
Care rules:
- Every day, the containers are turned 180 degrees so that all plants receive even sunlight.
- Temperature range - 15-20C.
Salad
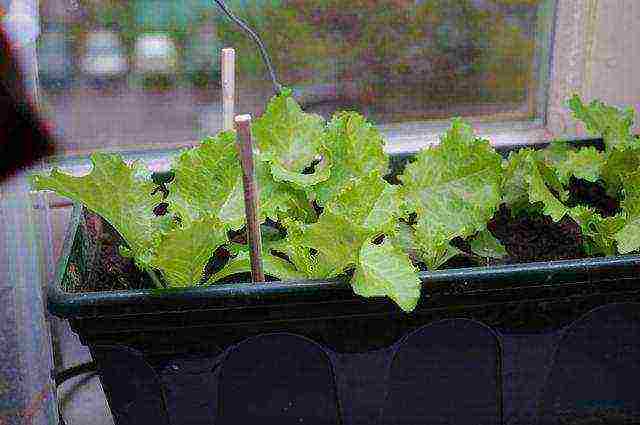
Lettuce is picky about growing conditions, especially with regard to lighting and air humidity. Therefore, when growing greenery on the windowsill in winter, you will definitely have to think about the arrangement of additional phytolamps.
Important! The best varieties for growing at home:
- Zorepad;
- Emerald lace;
- Snowflake;
- Vitamin;
- Crimson and Gold Ball;
- New Year;
- Lollo Rossa and Lollo Bionda.
Landing rules:
- Choose containers with a depth of at least 20 cm.
- If you use land from your garden, then dilute it with peat and rotted manure in equal parts. Also add 1 kg of sand, 1 kg of ash, 1 tbsp for each bucket of soil. urea and 1 tbsp. Nitrofoski. Mix everything thoroughly.
- The seeding depth is 1 cm, the distance between the grooves is 15 cm.
- When growing such greens on a windowsill, it is very important to create a greenhouse effect after planting. To do this, put a plastic bag or a special cap on the container.
- A week after planting, the seedlings are thinned out, maintaining a distance of 1-2 cm.
- The second time thinning is necessary after 2-3 leaves are formed on each plant, the distance is increased to 4 cm.
Care:
- The leaves are sprayed daily with warm, settled water.
- Once a week, watered with a solution of 1 part of fermented cow dung and 10 parts of water.
Watercress
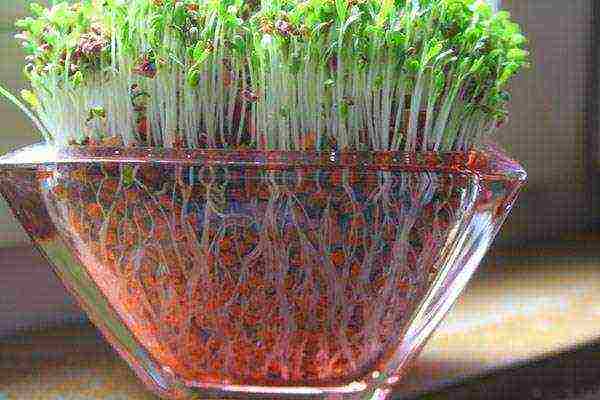
Watercress is somewhat even more interesting when deciding what kind of greens to grow on the windowsill at home. The harvest can be obtained within 2 weeks after the emergence of shoots, and caring for this crop is similar to caring for green onions, that is, extremely simple and not burdensome. Planting is done in the same way as lettuce.
Conditions:
- Temperature range - 15-18C.
- Special lamps do not need to be connected, since the culture is not very demanding on light.
- Pay special attention to moisturizing - this is a fundamentally important point.
Sorrel
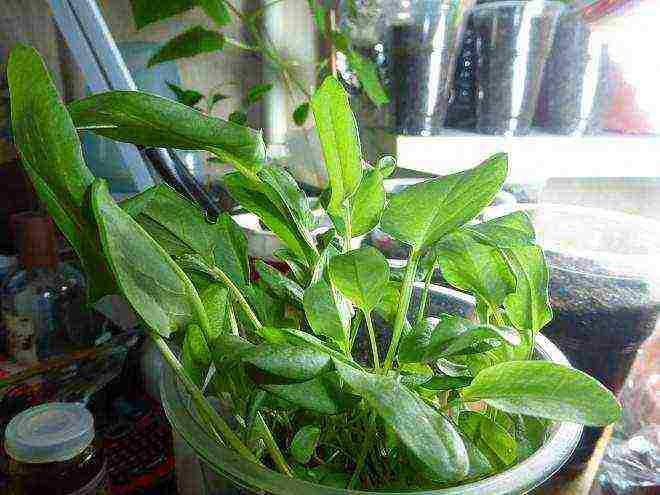
Sorrel is famous for actively releasing oxygen, so growing such greens on the windowsill is useful not only as a food product, but also for normalizing the microclimate.
Landing:
- From seeds. Before planting, the seeds are soaked in water on a plate and left for 2 days in a warm place. Sprouted seeds are planted at a distance of 6-7 cm.
- From the roots. For this purpose, take 3-year-old plants. The roots are shortened by 15 cm, planted in a container, where first there is a layer of drainage, then a layer of sand, then a layer of fertile soil. The distance should be minimal so that the development of the plant goes into greenery, and not into the root system.
The first crop is harvested in a month.
Care:
- The first week after planting, they are placed in a cold place with a temperature of about 10C, then transferred to a windowsill in a room where 20C is stably maintained.
- For fertilization, you can use coffee grounds or onion peel decoction.
- There should be a lot of lighting.
Spinach
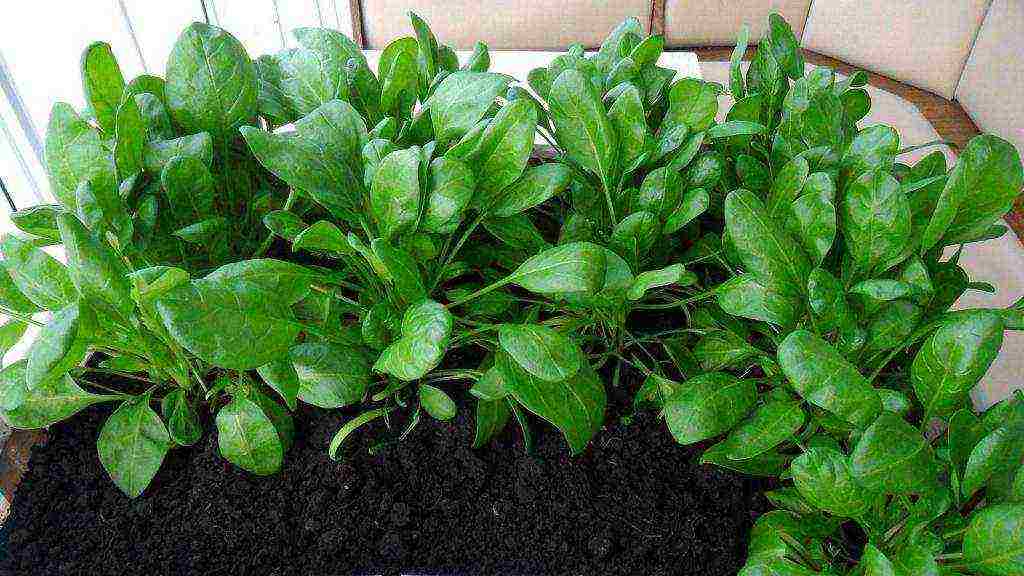
Spinach is a very valuable crop, and if you decide to buy it in the store during the winter, it will be expensive. But planting and growing such greens on the windowsill is very simple.
How to plant correctly:
- The boxes should be 15 cm deep.
- Before planting, the seeds are soaked in water at night and then treated with a solution of potassium permanganate.
- The soil is best suited for ornamental indoor plants.
- The distance between the grooves is 6 cm, the sowing depth is 1.5-2 cm, the distance between the seeds is 4 cm.
The crop is harvested in 3-4 weeks.
Care:
- Watering after germination is abundant and regular.
- Temperature - from 15 to 18C, a decrease is not critical, but an increase should be avoided.
- A month after the emergence of shoots, add another 2-3 cm of soil.
Dill

In terms of popularity, dill is on a par with parsley and onions.
Important! For planting at home, varieties are best suited:
- Grenadier;
- Gribovsky;
- Armenian-269;
- Kaskelnsky;
- Uzbek-243.
Landing rules:
- The soil is saturated with peat.
- The seeds are soaked for a day before planting, the water is changed every 4-6 hours, at the end they are disinfected with potassium permanganate.
- The distance between the grooves is 15 cm, the sowing depth is 1-2 cm.
- After sowing, the containers are covered with foil, which is removed after 1-1.5 weeks.
- The harvest is obtained in 4-5 weeks.
Care:
- Temperature - 18C.
- The pots are turned 180 degrees daily.
- Fertilizers - you can apply the Rainbow solution once every 2 weeks according to the instructions.
Basil

Basil is a very specific spice that will surely be appreciated by all lovers of delicacies and unusual tastes.
Growing methods:
- Seeds. They are soaked in water for 2 days, changing it every 6 hours, after sowing, they are covered with a film and immediately placed on the windowsill on the south side. The cultivation process before the first harvest will take longer.
- Stems - they are kept in water for 5 days, and after the formation of roots, they are planted in the ground. The crop can be harvested after 2 weeks.
Care:
- When 5-6 leaves are formed, the plants are pinched to increase tillering.
- Nitrogen fertilizers are used for feeding.
- The buds are immediately cut off.
- Temperature - 20-25C, not lower.
- Watering - every morning, in addition, you can turn on spraying.
- Loosening - every 3 days.
Cilantro

Cilantro is an unpretentious plant with an original and rather strong odor, somewhat reminiscent of parsley.
Important! For growing greenery on a windowsill at home, it is better to use the following varieties:
- Ray;
- Change;
- Amber.
Landing rules:
- The seeds are first germinated by placing them in wet sawdust at a temperature of 17-20C.
- Sowing depth into the ground is 2 cm, the distance between seeds is 5-10 cm.
- After sowing, the container is covered with foil and placed in a well-lit place.
- The film is lifted briefly every day to allow air flow.
- The first crop is harvested one month after germination. In this case, it is better to pinch off the leaves, rather than cut off the stems.
Care:
- Daily watering and spraying.
- Temperature - 10-12C.
- For feeding, you can use a solution of fertilizer Flora - 3-5 ml is diluted per 1 liter of water.
Rosemary

An exquisite plant with a very delicate aroma. It is quite difficult to grow such greens on the windowsill, but if you like such a spice, then all the effort spent is worth it.
Important! Of the species, only Fragrant is suitable.
Landing rules:
- The pots need to be spacious for the roots to develop well.
- The soil is slightly alkaline, at the bottom there must be an expanded clay pillow.
- Seeds are germinated in wet gauze for 2 days before planting.
- After planting, the container is covered with a film, making several punctures in it.
- Seedlings appear only after 2-4 weeks.
- When the plant grows to 9 cm and gives 3-5 leaves, a pick is made.
Care:
- The light should be intense.
- Watering is moderate. It is important that there is no excess moisture, a small flaw is better.
- Temperature - 10-15C.
Thyme

Thyme is very good for windowsill planting. If you have chosen this type of greenery, follow these rules:
- Drainage layer - 2 cm.
- The soil is the one used for planting vegetables.
- The deepening of the seeds is 1.5-2 cm.
- Moisten the soil from the sprayer.
- The location of the pots is bright, but not in direct sunlight.
- In winter, you can make additional lighting with special lamps.
Melissa
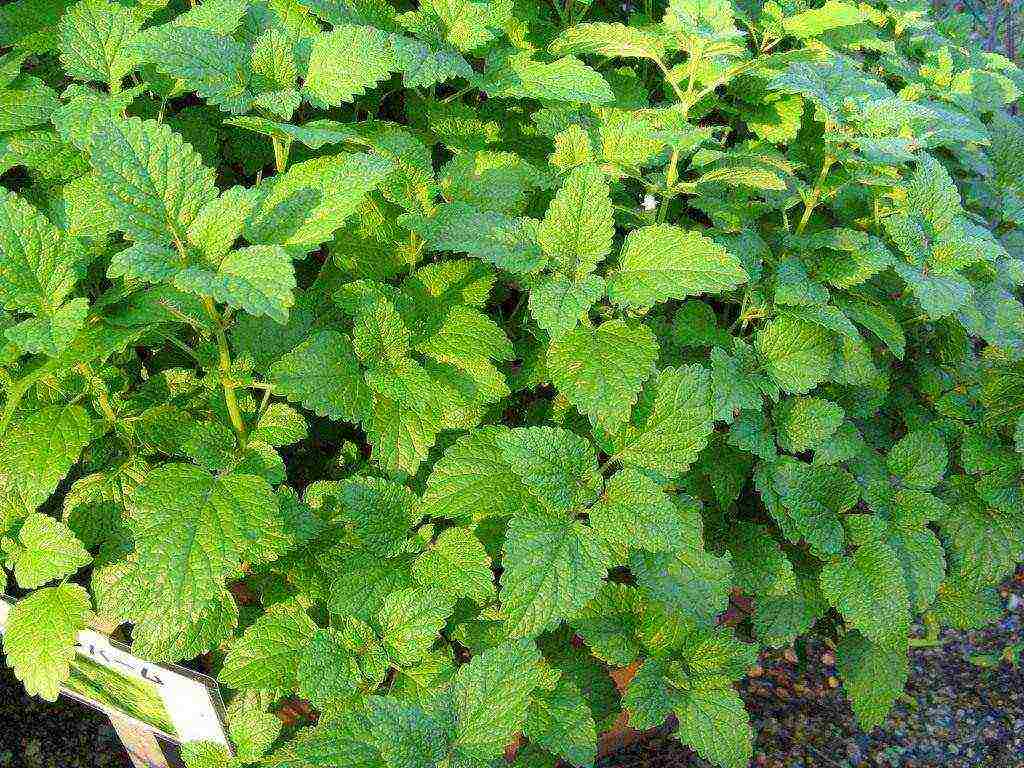
Melissa is good not only as an edible herb, but also as a medicinal plant. To grow it at home:
- Dig a bush in the fall and plant it in a pot.
- Use a stalk or cuttings for planting in a container.
- You can also grow such greens on a windowsill from seeds, but this will take quite a long time. Before planting, they are soaked and disinfected. It is deepened by 1.5 cm, the container is covered with foil.
- The soil is a mixture of humus and coconut fiber.
- Watering should be regular, you can additionally spray the leaves.
- Temperature is not critical, as is access to light - a shady place is also suitable for growing.
Sage
When planting sage at home on a windowsill, follow these rules:
- The soil is fertile and loose.
- The pots are voluminous.
- Drainage layer - 2 cm.
- The deepening of the seeds is 0.5-1 cm.
- The growing area is better shaded.
- Watering is not frequent, but plentiful.
Oregano
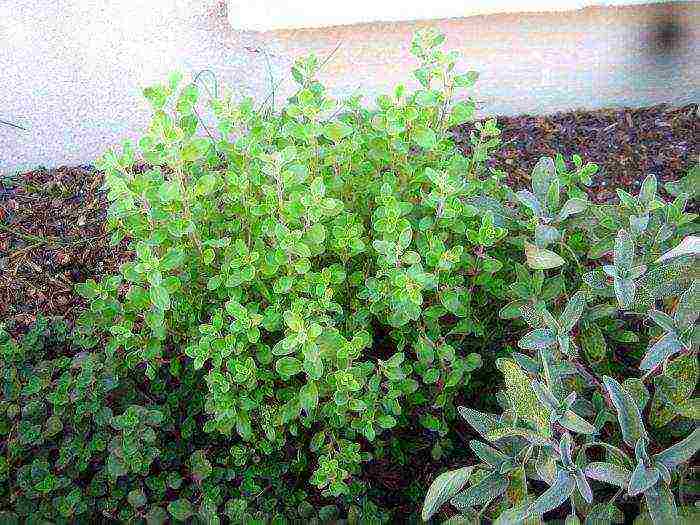
Oregano, another name for oregano, is great for growing on a windowsill at home:
- The plant is very picky - any soil will do, but it's better to take separate pots.
- The location is well lit, in winter additional lighting is required with special lamps.
- When planting, the seeds are deepened by 0.5 cm, moistened from a spray bottle, covered with a film with an air hole.
- Seedlings will appear in 2-3 weeks.


