Content [show]
Thanks to its spicy aroma, dill has become a regular regular in any garden. However, despite the general unpretentiousness, planting a culture often ends in failure. What is the reason for this phenomenon, and what you need to know in order to properly grow dill on your site in spring, summer and autumn?
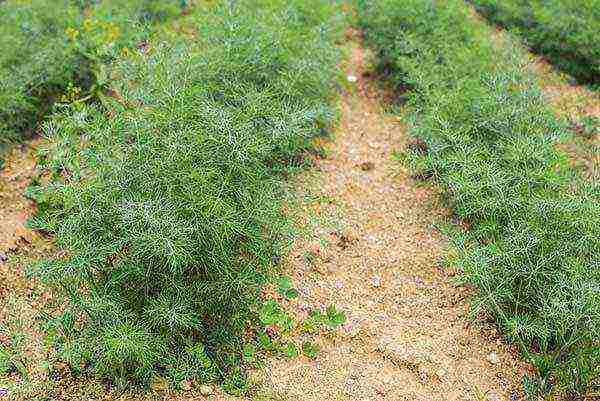
Features of growing dill
The ideal temperature for the growth of dill is + 15- + 20 C. Due to this property, it is better to grow a plant to obtain fragrant leaves in spring and autumn. In summer, however, they are usually planted exclusively to obtain umbrellas.
Gardeners who want to harvest spicy greens in the summer have one thing to consider. When daylight hours lasts 10-14 hours, dill actively forms new leaves, and as soon as the day begins to last 15 hours, the culture instantly releases a peduncle. Therefore, in late spring and early summer, early varieties that ripen quickly are undesirable to plant.
Before winter, dill is sown when the soil is not frozen yet. For sowing, rows 3.5 cm deep are made in the garden bed. To achieve good germination, the seeding rate of planting material is increased by 25%.
When to plant dill: planting dates
The optimal planting time depends on the purpose for which the fragrant greens are grown. So, in spring and autumn, dill is planted to get greenery, and in summer - umbrellas.
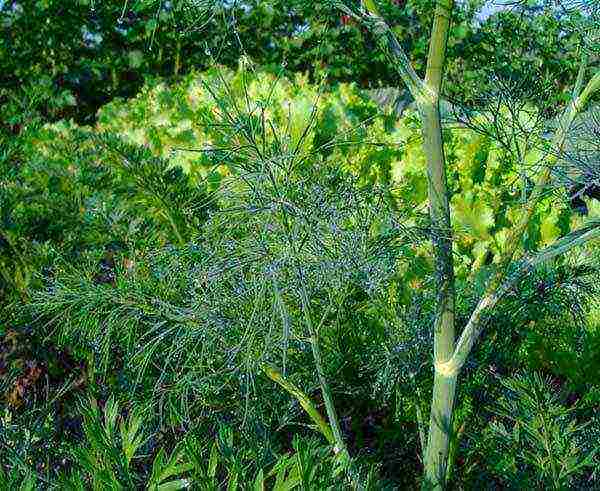
Dill planting dates for each season are as follows:
- In the spring planting the plant is carried out immediately after the temperature rises to + 2- + 5 C, and the soil in the selected place has finally thawed. Depending on the geographic location of the region, planting dates vary from mid-March to mid-May.
- Summer you can plant greens at any time. To constantly have fresh greens, the plant is planted 3-4 times every 15-20 days.
- In autumn the crop is sown in October-November. Before winter, a plant is sown in order to speed up the appearance of leaves in spring: the first harvest of winter dill can be harvested 2 weeks earlier than spring dill.
Video: planting dill for the winter
How to plant dill in open ground: preparation and planting
Even novice gardeners who recently acquired their own plot know that before planting dill seeds in the ground, you need to study the features and requirements of a cultivated plant. What is worth knowing?
Video: sowing dill in open ground
How to choose a place for planting and prepare a garden
For planting dill, it is better to choose a sunny bed or a bed in partial shade. Plant a crop not in the shade: due to the lack of sunlight, the bushes grow thin and lose their original color. Since aromatic greenery prefers to grow on loose soils and does not tolerate waterlogging poorly, sow a crop in places where it is often stagnant water or wherever they approach the surface ground water is not allowed.
The plant prefers to grow on neutral soils... Dill growing in acidic soil turns red, and in alkaline soil it turns yellow. In both cases, the plant develops slowly, resulting in delayed harvest of spicy greens.
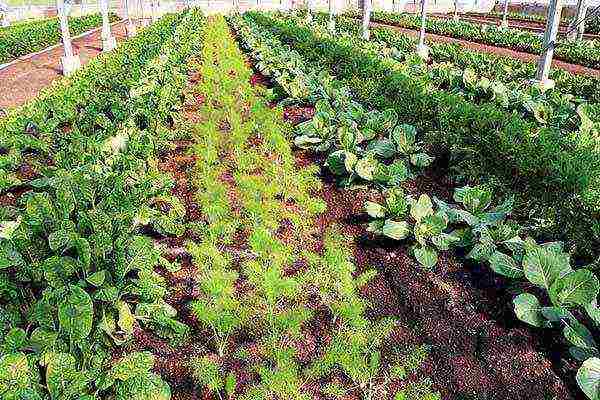
Better neighbors and predecessors for dill are cucumbers, tomatoes, cabbage and other vegetable crops, under which a lot of fertilizers were applied. To prevent plants from competing with each other for nutrients and moisture, greens and vegetables should be placed at a short distance from each other. The only plants incompatible with dill are celery and carrots.
What soil is needed and how to prepare it
Dill loves to grow in loose, nutrient-rich soils. The soil for planting a spicy crop is prepared in the fall: rotted manure or compost is introduced, and then the site is carefully dug up. Substance consumption per 1 sq. area - 5-6 kg. If there is no organic matter, the bed is fertilized with purchased mineral mixtures such as "Kemira Universal", "Solution".
Important! Heavy soil is not suitable for planting a plant: due to poor air permeability, dill is sick and grows slowly.
How to prepare seeds
Due to the content of essential oils, dill seeds have a low germination rate. To improve this indicator, the planting material is poured into a container, filled with warm water (50 degrees) for two days. As it cools, the water is changed every 8 hours.
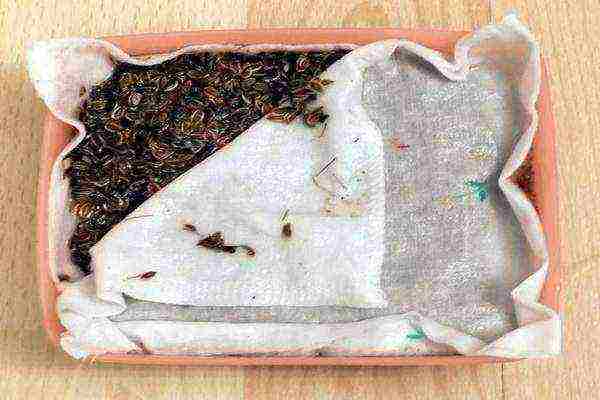
After two days, the seeds are removed from the water, laid out on gauze and covered with a damp cloth. The bookmark is placed on a plate and left at room temperature for 4 days. As soon as the seeds sprout, the planting material is slightly dried.
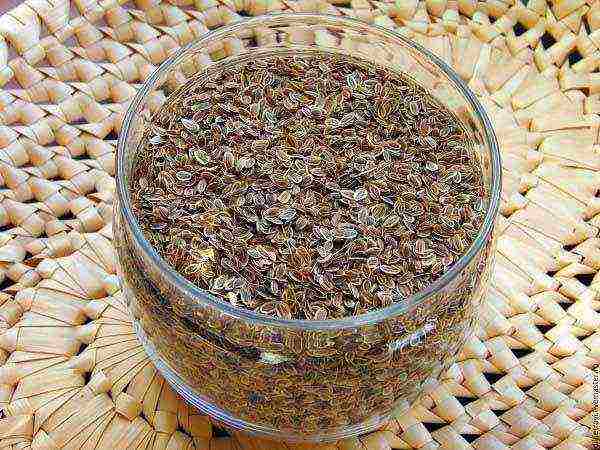
If dill seeds are not properly prepared, the first seedlings will appear in 2-3 weeks. Planting material that has been soaked emerges 4-6 days after laying. Moreover, such treatment disinfects the planting material from diseases characteristic of the culture.
Direct landing
Planting dill with seeds in open ground is as follows:
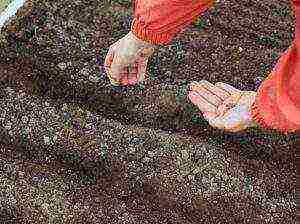
- In the prepared place, rows are made with a wooden peg or plank with a depth of 2 cm at a distance of 20 cm from each other.
- Then the depressions are moderately watered and the seeds are sown according to the seasonal seeding rate, which is 1 g / m2 in spring and 2 g / m2 in autumn.
- The sown rows are covered with dry soil. When dill is sown before winter, the rows are not watered before sowing.
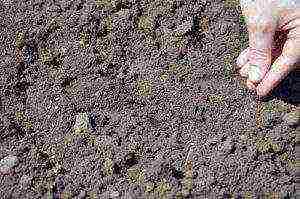
Besides the usual private schemes, for planting dill is used carpet scheme. To decorate the site with a lush green blanket, the planting material is evenly scattered over the surface and covered with a rake. The planting site is watered abundantly.
By the way! Dill can be successful grow all year round at home on the windowsill.
Video: how and when to sow dill
How to care for dill after planting
In order for the plant to sprout and please with a generous harvest, dill must be provided with comfortable conditions. What manipulations does the care of fragrant bushes consist of?
Watering
Dill is a moisture-loving plant, so the soil in the garden must be kept moist at all times. However, it is not worth watering the greens too often and abundantly: staying in swampy soil, the plants grow slowly and get sick. Moreover, due to excess water, the concentration of oils contained in greens is greatly reduced, which makes them less aromatic.
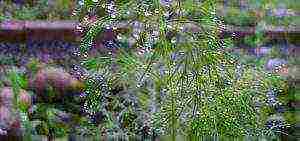
The plant also cannot grow for a long time in drought: development stops, the leaves become stiff and stretch with nitrates. To create a comfortable environment, the plantings are watered 1-2 times a week. On the hottest days, dill is irrigated by sprinkling.
Top dressing
For dill varieties with a short ripening period, fertilizers are not applied, since the greens are quite enough nutrients that were introduced during the preparation of the garden. If the bushes grow slowly, at the age of 2-3 true leaves they are fed urea or nitrophobic, based on the calculation of 10-15 g per sq.m. beds.
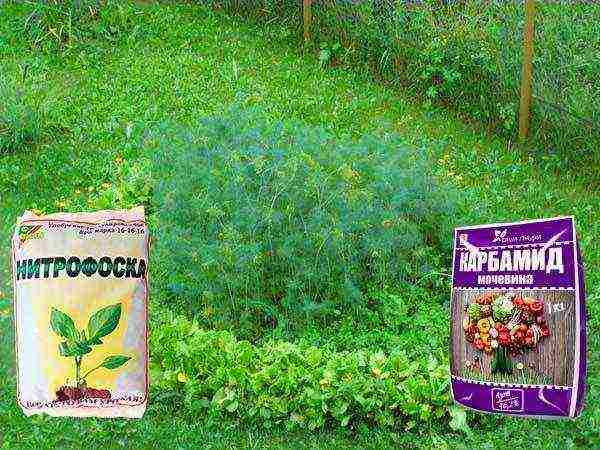
Mid-ripening and late-ripening species of dill are fed twice. First once under the plants that have formed 2-3 leaves, make nitrophosphate, urea in the same amount as for early species. Second once the plants are fed 20-25 days after the first feeding: by 3-4 sq.m. area contribute 15 g potassium salt, 20 g urea... Fertilizers are applied directly under the root, trying not to get on the leaves. After feeding, dill is watered abundantly.
Important! Nitrogen is introduced under the plant only in case of urgent need, since the leaves of the plant are capable of accumulating nitrates.
Weeding and loosening
In order for the nutrients to get into the greens, and not wasted on the growth of weeds, as soon as the need arises, the dill bed must be weeded. In addition, weeds compact the soil and retain water in it, which adversely affects the development of the plant. Since fragrant greenery prefers to grow on air-permeable soils, after watering or rain, the rows are loosened. The first loosening is carried out to a depth of 5-7 cm shortly after germination. In the future, the earth is loosened to a depth of 8-12 cm. If the seedlings have sprouted very densely, they are thinned out.
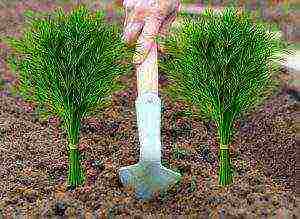
Shelter in the heat
Like most greens, dill doesn't really like the heat. Due to high temperatures, the soil quickly dries up, and the plant stops growing, the leaves become lethargic. So that the greens do not lose their structure and organoleptic qualities, a small canopy is installed over the garden.
Dill pests and diseases
The most popular diseases are false mealy dew and phimosis... The first disease manifests itself on the leaves with a white bloom, the second - with black spots on the stem and leaves. Excessive watering makes dill sick root rot, bacteriosis, curly and curly leaves.
Since dill cannot be treated with chemicals, it is better to take care of prevention in advance. To protect the plantings from infection with fungal diseases, it is recommended to disinfect the seeds, observe crop rotation, monitor the cleanliness of the beds, periodically removing weeds and diseased plants.
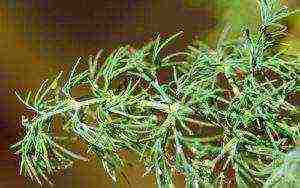
If the plants nevertheless become infected with the fungus, the plantings are sprayed with biological products Fitosporin, Trichodermin, Mikosan-V. Since these products are made up of beneficial bacteria, the sprayed greens can be used for cooking as soon as a couple of days after processing. How to process greens and after how long it can be consumed is indicated on the back of the drug packaging.

As for insects and pests, dill is most susceptible to attack. aphids, umbrella and earthen beetles. As soon as aphids have been seen on the plants, the plants are watered abundantly, directing a stream of water to the affected areas (for example, with manganese) or dusting them with ash or powdered sugar. The bushes and the soil around them are cultivated from flea beetles.Fitosporin ".
When to harvest and how to store
Dill can be harvested 30-40 days after germination. The most useful greens are bushes, the height of which is 5 cm. Depending on the needs and preferences, gardeners collect greens, cutting off only individual leaves or the entire stem.
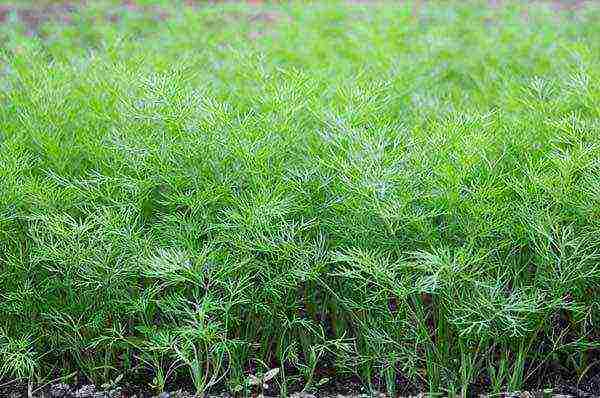
Harvesting the spice after the beginning of flowering is undesirable, since the leaves by this time become tough and not tasty. Leaving the plant in the garden after throwing out the arrow is advisable only if you plan to harvest canned vegetables for the winter.
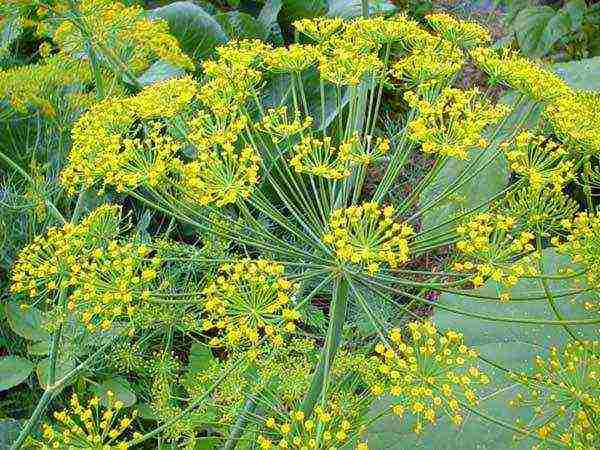
As for the time of day, it is better to harvest dill in the early morning, after the plant has dried from the dew. Harvesting spice during the day is not recommended: under the influence of hot sunlight, delicate leaves fade.
Greens are folded in bags or containers and placed in the refrigerator. In this form, dill is stored for a week. To prepare fragrant leaves for the winter, they are dried or frozen.After the sun has dried the pre-washed greens, they are placed in jars or bags and stored in a dark place.
Planting dill in open ground is one of the simplest garden manipulations. If you fulfill all the requirements of the culture, the plant will quickly rise and give an excellent harvest. And if you also prepare greens for the winter, you can enjoy the unsurpassed aroma of dill all year round.
Video: the secrets of growing dill
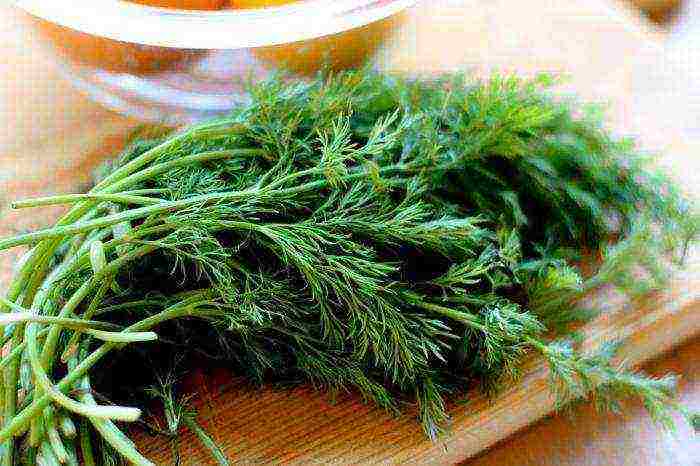
Dill is a perennial herb that is familiar to everyone. It is loved for its delicious spicy aroma. Learn about how dill is grown in a summer cottage (secrets, tips and basic nuances), and then you will always have a bunch of fragrant and fresh greens at your fingertips. It can be dried and frozen, as well as used for salads, soups. Inflorescences and seeds are also used, mainly in the preparation of pickles for canning vegetables.
Seed preparation
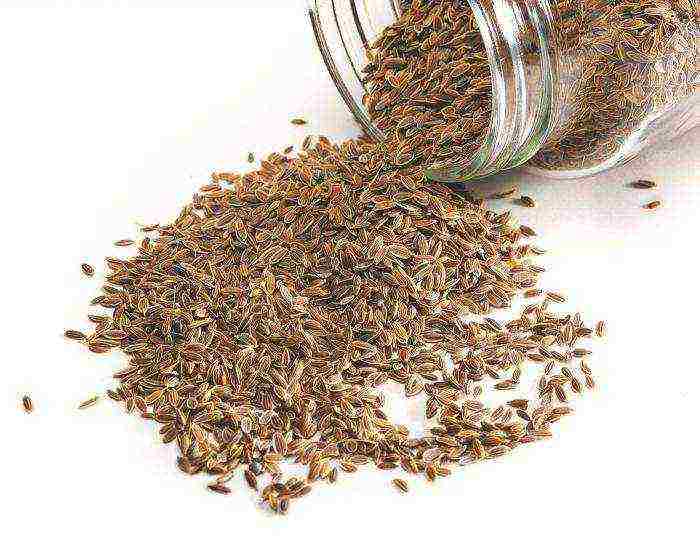
Experienced gardeners and gardeners recommend soaking the seeds before planting dill. The cultivation of dill seedlings is also practiced, without fail it is used for bush varieties. To soak the seeds, just wrap them in a cloth and keep it moist for a couple of days, until they swell. Then they need to be dried for 20 minutes in the air and sown in the prepared soil. Uniform seedlings appear, as a rule, after two weeks. All this time, it is required to maintain constant humidity. Dill seeds are not demanding at temperature and begin to actively germinate already at +3 ° C.
Dill sowing dates
Growing dill outdoors can be done in two ways: sowing in spring or late autumn. This plant is quite cold-resistant and can tolerate frosts down to -6 ° C, so the seeds can be planted in the ground in late autumn (October-November), the timing depends on the region. The second option involves a spring planting. They also start it early enough, as soon as the snow melts and the soil dries out a little. The approximate dates are from mid-April to the end of May. Dill reproduces very well by self-seeding. If the umbrellas with seeds are not removed in the fall, then next spring, most likely, the whole garden will be strewn with fragrant herbs.
Dill: planting and care in the open field
The garden for spring sowing needs to be prepared in the fall. It is required to dig up the ground to a depth of about 25 cm and add a bucket of humus (one square meter). In the spring, it is enough to level the bed with a rake and make grooves at a distance of 20 cm from each other with a depth of 2-3 cm. Seeds should be sown in them, sprinkled with a small layer of humus on top. You do not need to water until shoots appear.
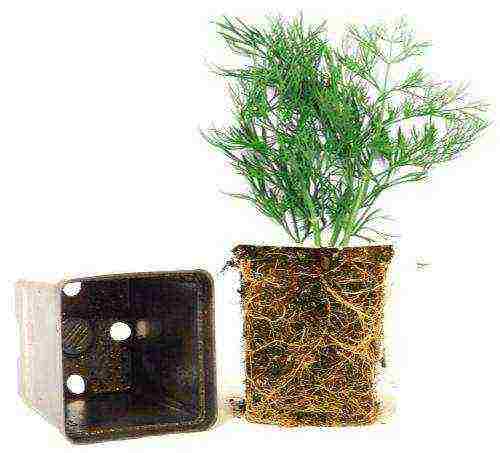
Throughout the summer, dill can be sown more than once, but at intervals of 20-25 days to obtain fresh greens. This is exactly the period of its ripening. By this time, the plant reaches a height of about twenty centimeters. To get the seeds, you will have to wait a little longer, until the umbrellas ripen. These are the basic rules for growing dill outdoors. Everything is quite simple and will not cause difficulties even for a novice gardener.
Bush dill: growing features
This variety has recently appeared on the seed market. Its appearance and growing technology are somewhat different from those of ordinary dill. If you do not follow agricultural techniques, then, of course, he will grow, but he will lose his elite qualities. The main feature of this variety is its size and strong foliage. Bush dill can grow up to one and a half meters in height, so the distance between plants should be large (25 cm). It is more demanding on soil fertility and climate, which is why it is planted in greenhouses. Growing dill in the open field is also possible, but only by seedling (sowing in mid-April - early May). It is planted on the garden bed when the air temperature is set in the range of 20-25 ° C.
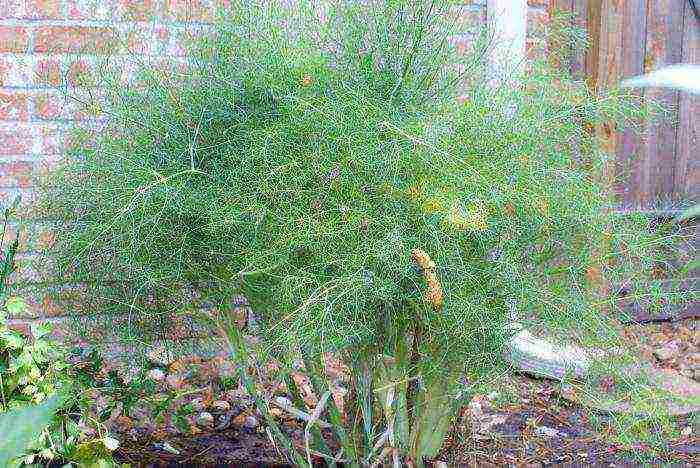
The capriciousness of bush dill is compensated by its high yield. So, 20 plants will provide you with greenery not only for the whole summer, but also for the winter.
If you practice growing dill in the open field, then the peduncles are best removed, especially in central Russia, since the seeds still do not have time to ripen even in greenhouses. The plant will only waste energy. This variety is best grown exclusively for greenery.
Dill diseases
One of the main enemies of fragrant greens is powdery mildew. It can appear at any time as a white coating on seeds, stems and leaves. Powdery mildew most often occurs in late summer when the nights are chilly. As a result, the plant loses its taste and is no longer suitable for consumption. The appearance of downy mildew is possible, which is characterized by the appearance of chlorotic spots, gradually turning yellow.
Also, dill can undergo phomosis. This fungal disease manifests itself as blackening on seeds, stems, and sometimes leaves.
These diseases, in principle, can appear at any time, regardless of whether you practice growing dill in the open field or in a greenhouse. It is impossible to process plants with chemical preparations, therefore, only the use of preventive measures is possible, namely, the alternation of crops, the timely destruction of weeds and infected specimens, as well as the disinfection of dill seeds. To do this, before planting, they need to be warmed up in hot water (50 ° C) for 30 minutes.
Growing dill: the main nuances
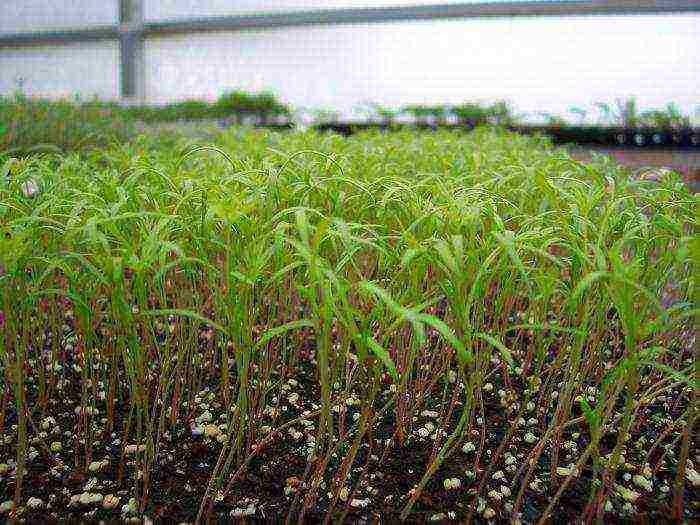
- Thinning. This is the case when you don't need to feel sorry for the plants. In the phase of 2-3 true leaves, the seedlings must be thinned out, leaving at least 6-7 cm between neighboring bushes. This contributes to the better development of dill, it will be strong and even. For bush varieties, this is generally a mandatory procedure, and it can be carried out in several stages, gradually bringing the distance between plants to thirty centimeters.
- Greens grow in about a month, so fertilization is not required during the growing season. As a last resort, if you notice yellowing of the leaves, you can water the plants with a solution of urea or mullein.
- Young greens can be pulled out directly from the root, but from adult plants (25 cm and above) it is better to pick off only green leaves.
- Choose sunny places for planting, where there is no stagnant moisture and fertile soil. In the shade, you will end up with a pale green or almost yellow dill.
Growing dill: variety selection
Often, vegetable growers and summer residents do not attach importance to dill varieties, because greens are greens. And this is a completely erroneous opinion. In the modern seed market, the choice of dill varieties is very large. As a rule, they all differ in terms of ripening, and sometimes in cultivation agrotechnics. Therefore, carefully read the inscriptions on the bags with fragrant seeds. It is worth noting the following varieties of dill.
- Mid-season: Anna, Gribovsky, Umbrella, Lesnogorsky, Salute, Patterns.
- Late ripening: Alligator, Borey, Superdukat.
- Bush varieties: Buyan, Bouquet, Sultan.
Harvesting and drying of crops
The collection of greens for drying or freezing is carried out 25-30 days after the shoots appear. By this time, the plant grows up to 15-20 cm in height. Before freezing, greens should be rinsed and allowed to drain. Then the dill must be crumbled and packaged in sachets or containers. You can also dry it. This should be done not in the sun, but in the shade, in a well-ventilated area. Store dried dill in jars with tight-fitting lids or paper bags, and the same goes for seeds.
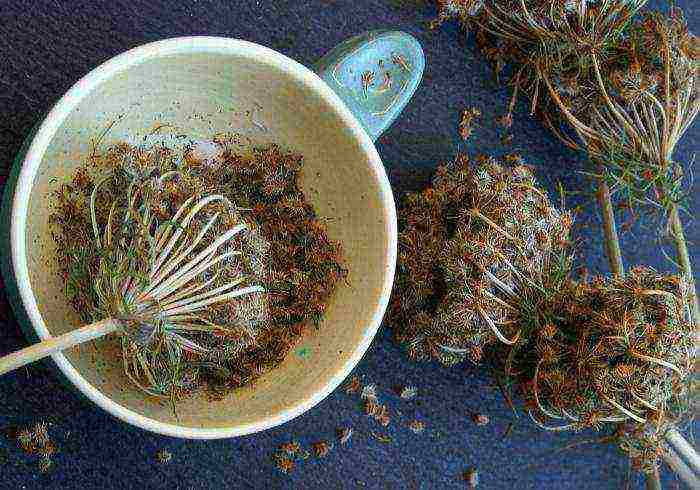
Be sure to plant fragrant dill on your site! Planting and grooming outdoors does not take much time and effort. But as a result, you will get not only tasty, but also very healthy spicy herbs, and the seeds are perfect for use in pickling and salting vegetables, in addition, they have medicinal properties.
Planting dill in open ground and its subsequent care is a traditional occupation of all gardeners. Not a single summer cottage can do without this useful aromatic plant. An annual from the umbrella family is considered unpretentious and cold-resistant. The main thing is to choose the right place and time of sowing, watering and feeding.
How to plant dill
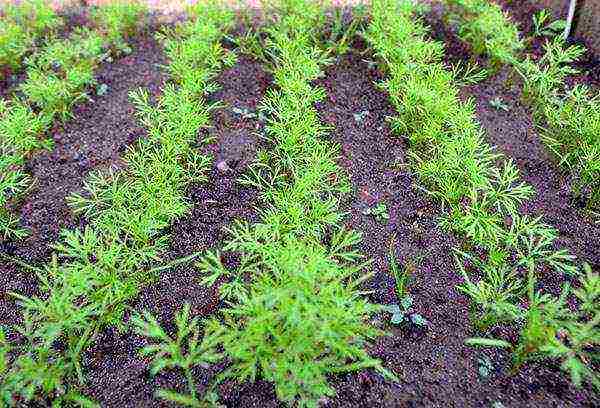
Growing dill in the open field can be started as early as April, especially if the choice fell on late-ripening varieties. For early maturing, the ideal time is late May or early June. With the conveyor method of growing (dill is planted every 10 days), the green harvest will delight not only the whole summer, but also the first half of autumn.
So, first of all, you need to prepare the soil: dig up the soil to a depth of 20 cm and add humus. Additionally, you can add superphosphate and potassium sulfate.
The place should be sunny and warm, but the sowing itself is best done in the late afternoon or early morning. The soil temperature immediately upon planting should not fall below 7 degrees.
The distance between the rows in the garden should be kept about 30 cm, and between the seedlings - 10 cm.
Advice
It is better to plant cabbage, cucumbers, garlic, potatoes, zucchini in the neighborhood. But parsley, cilantro and fennel should be planted away.
Ash must not be added to the soil. It is not recommended to plant dill in the beds where celery used to grow.
Growing dill is quite simple, it can be successfully done both in the open field and in a greenhouse and even at home. The seeds only need to be placed in the prepared grooves to a depth of about 4 cm. Then cover them with loose earth and water thoroughly.
Dill is not afraid of cold weather and can rise even at + 3C °, however, in order to speed up this process somewhat, it is recommended to soak the seeds for 1-2 days in warm water before sowing. Thus, the essential oil is washed out, which inhibits the germination process. During the day, the water will need to be changed several times.
Advice
After soaking, the seeds can be washed first with a strong solution of potassium permanganate, and then with running water. Be sure to dry immediately before disembarking. In this case, dill rises on the 10th day.
How to care for dill
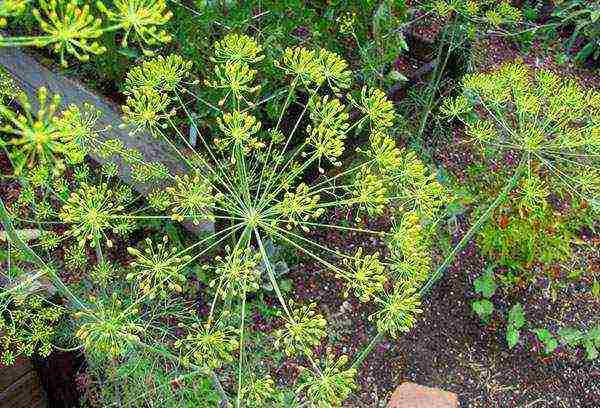
After the first shoots appear, the plant will have to regularly thin out, fertilize, remove weeds, loosen the soil and, of course, water. If dill grows under a film cover, then with the onset of heat it is better to remove it so that a greenhouse effect is not created. Then the development and quality of greenery in general will be higher.
In hot weather, watering should be done at least 2 times a day, otherwise the aromatic dill will turn into tasteless yellowed grass. Experienced summer residents install an automatic irrigation system on their site. It is convenient and safe, it saves not only time, but also energy.
Despite the fact that dill can grow without additional fertilizers, at least sometimes it is still worth feeding it. The ideal option would be nettle infusion, which, unlike other nitrogen fertilizers, does not accumulate nitrates. However, it is better to use it no earlier than half a month before the expected harvest.
Before growing dill in a greenhouse, open field or at home on a windowsill, you need to decide on the variety and purpose (the plant is used not only in cooking, but also in folk medicine).
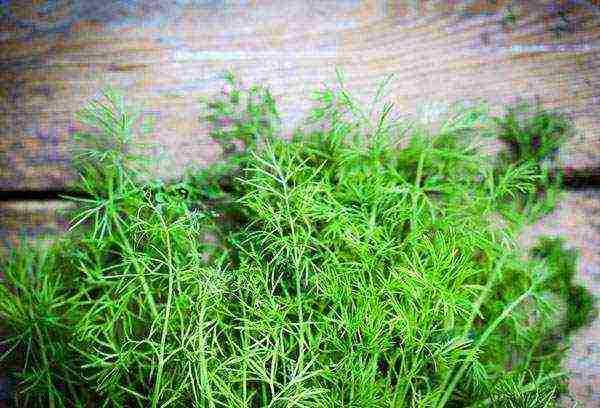
Dill varieties
It may be difficult for a beginner to determine which type of dill grows with a neighbor, and which is better to plant on your site. In fact, the plant differs in rosette shape, width, length and shape of leaf segments, color and degree of leaf dissection. Also, dill can be divided into early, medium and late varieties.
Consider early maturing species.
- Gribovsky. Dill cultivation takes about a month. It is allowed to sow not only in open ground (including under the film), but also at home on the windowsill. Disease-resistant, not capricious. Can grow up to 25 cm in height.Can be grown on a conveyor belt from April to July.
- Further. Differs in brightness of leaves and high yield. It can be planted in June, and a month later it can be used for food both fresh and dried, frozen. The culture is not afraid of cold and insects, has a weak waxy coating as a protective film.
- Aurora. You can collect fragrant fluffy greens in 25 days. This is a new hardened strain that almost never gets sick. Ready for planting by seeds even in autumn. It is a powerful bush with closely spaced internodes. Beautiful bright green leaves will also beautify the site.
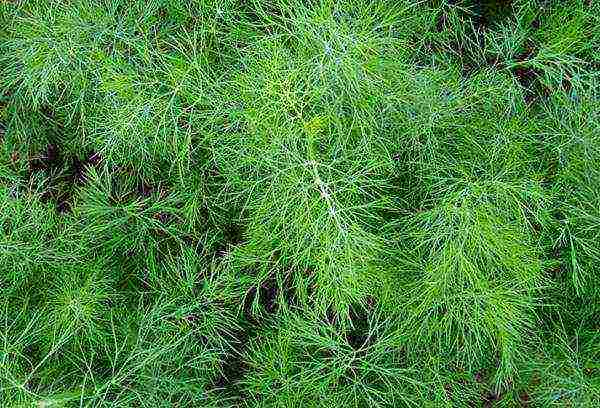
Now let's look at medium-ripening varieties.
- Kibray. The best place for this crop is a greenhouse. It is under the film that dill ripens much faster. The leaves are light green, sometimes with a yellowish tinge, which inexperienced gardeners can confuse with some kind of disease. The plant is erect, can reach a height of 40 cm. Ripening is observed no later than 40-45 days.
- Alligator. The leaves are usually raised. Collection is possible several times per season. Feels comfortable both in the open field and in the greenhouse. You can plant in the spring, then the harvest will ripen by the beginning of summer.
- Bushy. From the name it is clear that this variety grows as a bush, and it is very large and strong. Dill can be eaten after 35-40 days, and for the preparation of spices and seasonings you will have to wait another month. As a rule, harvesting begins from the bottom leaves, gradually moving upward.
Consider the late varieties.
- Salute. This is a bush variety. It can reach a height of 150 cm. Leaves and stems grow strong and large. The umbrella is formed late. The crop can be harvested in 2.5 months. The color of the leaves is dark green, sometimes with a bluish tint.
- Buyan. A distinctive feature is a waxy coating on the leaves, which has a protective function. Accordingly, this variety is resistant to cold weather, diseases and pests. Planting in the ground is done by seedlings. Collection starts in 2 months.
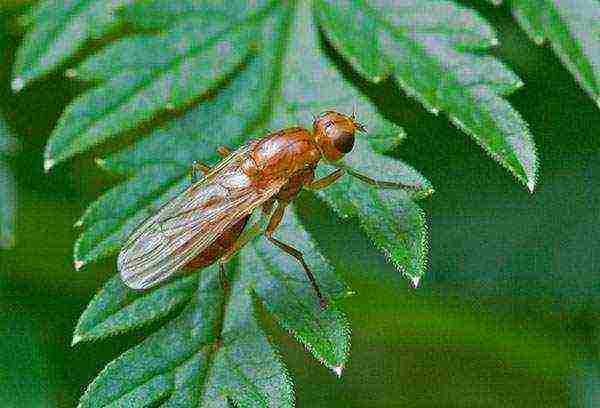
Diseases and pests
No matter how much the summer resident does his garden, the plants can still get sick. And it may not even be about care, but about insects, which are often carriers of diseases.
Let's consider the most common problems.
- Aphid. The danger is that the pest sucks out the juice, leaving behind bacteria and viruses. The plant withers, turns yellow and becomes unusable. Special preventive work is not required, it is enough to periodically feed with potassium-phosphorus fertilizers.
- Carrot fly. In addition to carrots, this parasite loves to feast on neighboring beds, and ground parts. When the carrot fly is infested, the dill dries up and takes on a reddish tint. As a preventive measure, you can sometimes treat the area with a tobacco-sand mixture or special preparations, for example, "Vantex" or "Arrivo".
- Powdery mildew. It appears as a white bloom on the leaves. Dill dries quickly and crumbles. As a rule, the causes of the disease are not related to the human factor. Dew can be noticed in late June or early July due to sudden temperature changes or prolonged rainstorms. In the initial stages, you can cure the plant with colloidal sulfur.
- Fusarium. The most obvious symptoms are rotting root, wilting leaves, and chlorotic spots. In this case, the onset of the disease can provoke improper care, for example, excessive watering, damage to the roots when loosening, planting in unprepared soil, inappropriate fertilizers. The situation can be corrected only in the early stages of development of fusarium by organizing treatment with fungicides.
Of course, no one is insured against adverse weather conditions, however, with proper care and adherence to all the rules of agricultural technology, you can reduce the risk of problems.Dill contains a huge amount of vitamins and minerals, so it should be present in the diet of every person.
Dill is a perennial herb that is familiar to everyone. It is loved for its delicious spicy aroma. Learn about how dill is grown in a summer cottage (secrets, tips and basic nuances), and then you will always have a bunch of fragrant and fresh greens at hand. It can be dried and frozen, as well as used for salads, soups. Inflorescences and seeds are also used, mainly in the preparation of marinades for canning vegetables.

Experienced gardeners and gardeners recommend soaking the seeds before planting dill. The cultivation of dill seedlings is also practiced, without fail it is used for bush varieties. To soak the seeds, it is enough to wrap them in a cloth and keep it moist for a couple of days, until they swell. Then they need to be dried for 20 minutes in the air and sown in the prepared soil. Uniform seedlings appear, as a rule, after two weeks. All this time, it is required to maintain constant humidity. Dill seeds are not demanding to the temperature and begin to actively germinate already at +3 ° C.

Growing dill outdoors can be done in two ways: sowing in spring or late autumn. This plant is quite cold-resistant and can tolerate frosts down to -6 ° C, so the seeds can be planted in the ground in late autumn (October-November), the timing depends on the region. The second option involves a spring planting. They also start it early enough, as soon as the snow melts and the soil dries out a little. The approximate dates are from mid-April to the end of May. Dill reproduces very well by self-seeding. If the umbrellas with seeds are not removed in the fall, then next spring, most likely, the whole garden will be strewn with fragrant herbs.
The garden for spring sowing needs to be prepared in the fall. It is required to dig up the ground to a depth of about 25 cm and add a bucket of humus (one square meter). In the spring, it is enough to level the bed with a rake and make grooves at a distance of 20 cm from each other with a depth of 2-3 cm. Seeds should be sown in them, sprinkled with a small layer of humus on top. You do not need to water until shoots appear.

Throughout the summer, dill can be sown more than once, but at intervals of 20-25 days to obtain fresh greens. This is exactly the period of its ripening. By this time, the plant reaches a height of about twenty centimeters. To get the seeds, you will have to wait a little longer, until the umbrellas ripen. These are the basic rules for growing dill outdoors. Everything is quite simple and will not cause difficulties even for a novice gardener.
This variety has recently appeared on the seed market. Its appearance and growing technology are somewhat different from those of ordinary dill. If you do not follow agricultural techniques, then, of course, he will grow, but he will lose his elite qualities. The main feature of this variety is its size and strong foliage. Bush dill can grow up to one and a half meters in height, so the distance between plants should be large (25 cm). It is more demanding on soil fertility and climate, which is why it is planted in greenhouses. Growing dill in the open field is also possible, but only by seedling (sowing in mid-April - early May). It is planted on the garden bed when the air temperature is set in the range of 20-25 ° C.

The capriciousness of bush dill is compensated by its high yield. So, 20 plants will provide you with greenery not only for the whole summer, but also for the winter.
If you practice growing dill in the open field, then the peduncles are best removed, especially in central Russia, since the seeds still do not have time to ripen even in greenhouses. The plant will only waste energy. This variety is best grown exclusively for greenery.
One of the main enemies of fragrant greens is powdery mildew. It can appear at any time as a white coating on seeds, stems and leaves. Powdery mildew most often occurs in late summer when the nights are chilly. As a result, the plant loses its taste and is no longer suitable for consumption. The appearance of downy mildew is possible, which is characterized by the appearance of chlorotic spots, gradually turning yellow.
Also, dill can be subject to phomosis. This fungal disease manifests itself as blackening on seeds, stems, and sometimes leaves.
These diseases, in principle, can appear at any time, regardless of whether you practice growing dill in the open field or in a greenhouse. It is impossible to process plants with chemicals, therefore, only the use of preventive measures is possible, namely, the alternation of crops, the timely destruction of weeds and infected specimens, as well as the disinfection of dill seeds. To do this, before planting, they need to be warmed up in hot water (50 ° C) for 30 minutes.

- Thinning. This is the case when you don't need to feel sorry for the plants. In the phase of 2-3 true leaves, seedlings should be thinned out, leaving at least 6-7 cm between neighboring bushes. This contributes to the better development of dill, it will be strong and even. For bush varieties, this is generally a mandatory procedure, and it can be carried out in several stages, gradually bringing the distance between plants to thirty centimeters.
- Greens grow in about a month, so fertilization is not required during the growing season. As a last resort, if you notice yellowing of the leaves, you can water the plants with a solution of urea or mullein.
- Young greens can be pulled out directly from the root, but from adult plants (25 cm and above) it is better to pick off only green leaves.
- Choose sunny places for planting, where there is no stagnant moisture and fertile soil. In the shade, you will get a pale green or almost yellow dill.
Often, vegetable growers and summer residents do not attach importance to dill varieties, because greens are greens. And this is a completely erroneous opinion. In the modern seed market, the choice of dill varieties is very large. As a rule, they all differ in terms of ripening, and sometimes in cultivation agrotechnics. Therefore, carefully read the inscriptions on the bags with fragrant seeds. It is worth noting the following varieties of dill.
- Mid-season: Anna, Gribovsky, Umbrella, Lesnogorsky, Salute, Patterns.
- Late ripening: Alligator, Borey, Superdukat.
- Bush varieties: Buyan, Bouquet, Sultan.
The collection of greens for drying or freezing is carried out 25-30 days after the shoots appear. By this time, the plant grows up to 15-20 cm in height. Before freezing, greens should be rinsed and allowed to drain. Then the dill must be crumbled and packaged in sachets or containers. You can also dry it. This should be done not in the sun, but in the shade, in a well-ventilated area. Store dried dill in jars with tight-fitting lids or paper bags, and the same goes for seeds.

Be sure to plant fragrant dill on your site! Planting and grooming outdoors does not take much time and effort. But as a result, you will get not only tasty, but also very healthy spicy herbs, and the seeds are perfect for use in pickling and salting vegetables, in addition, they have medicinal properties.
Most read:
How to care for grapes in the first year of planting, in spring and summer video
Grapes are ...
Secrets of growing sorrel
View the fu ...
Planting pepper seedlings in 2018 according to the lunar calendar
Anyone who borrows ...
Pruning apricot summer, spring for beginners, rejuvenating, autumn, scheme, video
Before abri ...
Growing root celery: tips and secrets of the harvest - Countryside
Cultivation of co ...
Raspberry diseases: methods of treatment and fight against them, video and photos
Raspberry diseases: ...
How to plant a pear correctly - Summer tips
Caring for b ...
Rules and secrets of growing raspberries according to the Sobolev method video
Raspberries - loved ...
What is the difference between cherry plum and plum? What is the difference?
Gardeners love ...
Modern weed control in the garden: methods, tips and tricks
Weed control ...
Growing celery in the open field Celery root leaf and petiole from seeds for seedlings ...
Celery is grown ...
Melon Ethiopka: description and characteristics of the variety
Medium early variety ...
When apricots ripen, varieties, history
Probably all ...
Potatoes: planting and care in the open field, care after planting, cultivation, potato soil
Correct pose ...
Copper wire from late blight on tomatoes - reviews, With your own hands - How to do it yourself
How to do what ...
How I visited botanical gatherings, or Kokedama "Sperm whale" with my own hands - Experiments
How did I visit ...
Why grapes burst when ripe and what to do
Actually…
When to plant melons for seedlings in 2018 according to the lunar calendar
When to plant dy ...
Planting sorrel, as well as proper further care
Planting and leaving ...
Outdoor beet care
Red ball. ...
Planting and growing methods of cucumber: in 5 liter bottles, in barrels
Classic with ...
Garden on the windowsill in winter - useful tips for beginners
Mini-vegetable garden - in ...
Growing the best varieties of eggplant in Siberia
Opportunities for agr ...
Pepper picking: what is it for and how to carry it out
Formation of ku ...
Growing black currant from seeds: the choice of seed, soil requirements
If the gardener is ...
50 best varieties of black currant for the middle lane, the Moscow region, the Urals and Siberia
All over the territory ...
Watermelon cultivation, seedlings
Green and stripes ...
Growing and caring for hot peppers at home (video), Site about a garden, a summer residence and indoor plants ...
Planting and growing ...
