Content
5 methods: Timing Boxes and soil Planting Heat Water
Growing seeds is a great alternative for gardeners looking to save money and extend their growing season. You can plant seeds in your home and place them near a window, or you can grow them in a greenhouse. You can learn how to grow seeds indoors by following the instructions below.
Method 1 Timing
-
 First, find out the approximate date of the last frost in your area.
- Visit the National Climate Data Center website for information on the timing of the frost in your area.
-

Plan to sow most of the seeds 8 weeks before the start of the frost, hoping to plant the plant in 2 weeks.
-

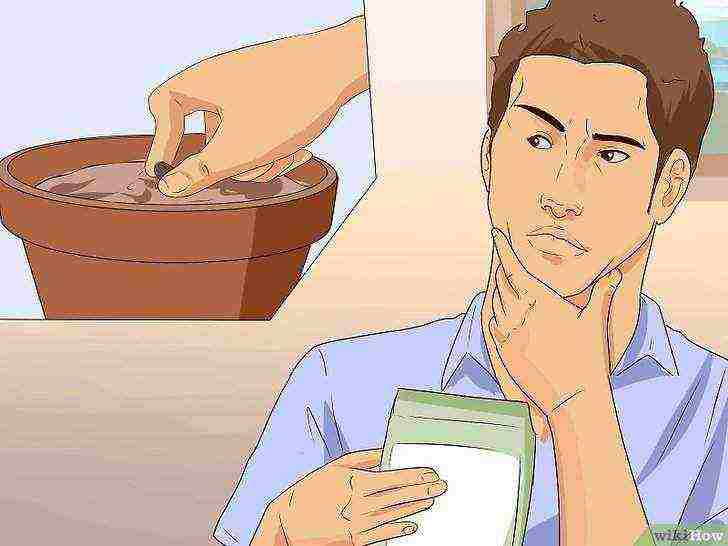
Buy seeds. Read the information on the packaging carefully. Planting times and seed germination rates are very different.
-
 Consider the sequence for planting seeds.
Plan to plant seeds with those that grow in the same amount of time.
- For example, grains and legumes can be planted earlier than flowers. The pumpkin does not like transplanting, so it can be planted later before the root system begins to develop.
Method 2 Boxes and soil
-
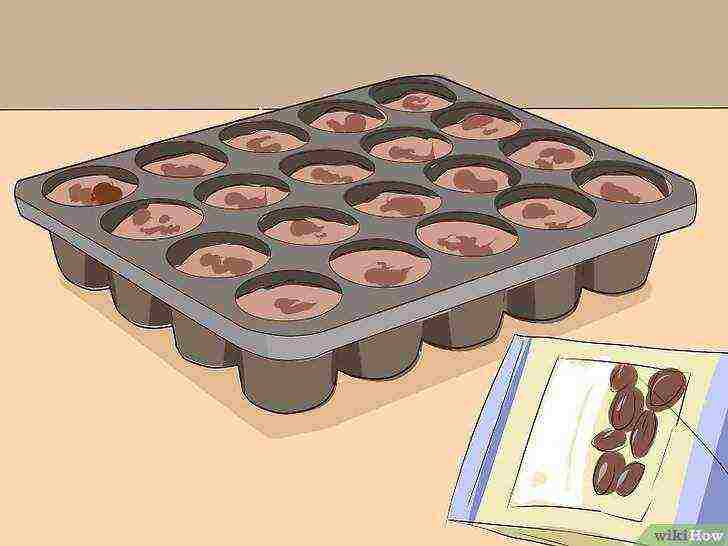
Buy seed trays if you want to plant a lot of seeds at once. These small plastic trays hold several centimeters of soil. They are easy to care for, but the soil dries out very quickly.
-
Try giving a second life to containers such as milk cartons, yogurt cartons, and other small plastic jars. Cut a hole in the bottom of each drainage vessel.
-

Buy a seed primer mix. Seeds do not grow well in heavy soil, so make sure your soil is the right one for the purpose.
-
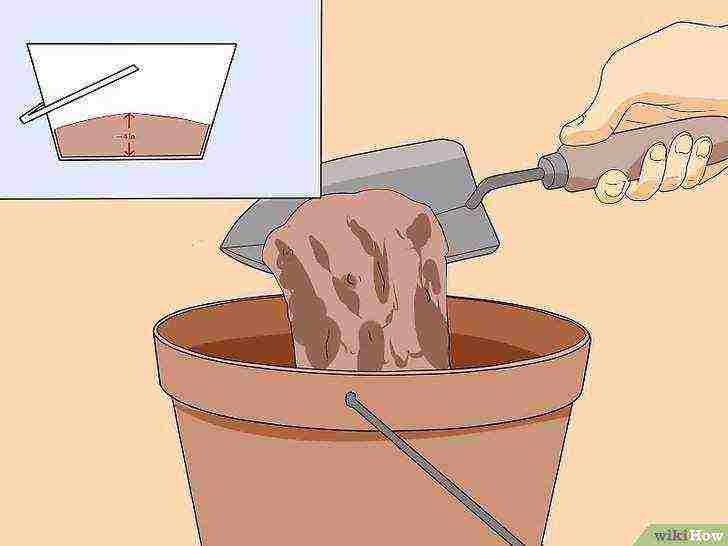
Place your soil in the bucket. Moisten it with warm water. Fill each vessel with 7.6 - 10.2 cm of soil.
-

Place trays or containers on a baking sheet. This way, the soil can absorb water that will fall on the baking sheet when draining.
Method 3 Landing
-
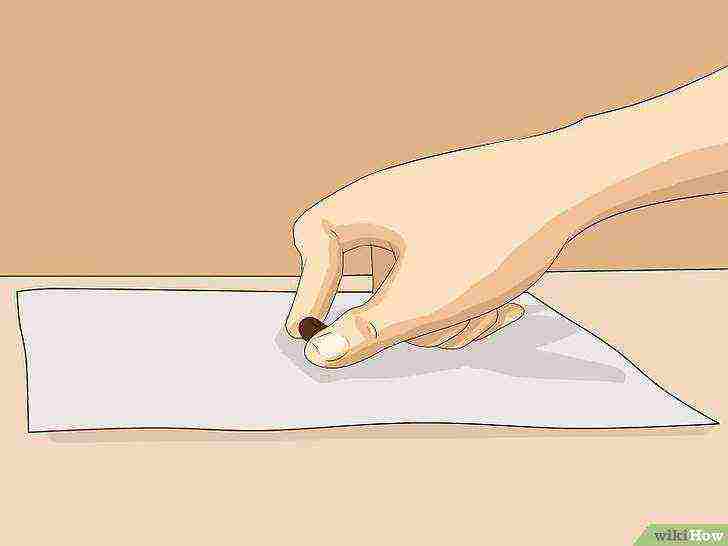
Place the seeds on a warm, damp towel overnight. You can speed up the germination process by light-simmering. Do not do this unless advised on the seed bag.
-
Plant 2-3 seeds in one compartment or vessel. Not all of your seeds will germinate, and later you can transplant them so that the seeds are not cramped.
-
 Plant seeds in soil.
The depth will depend on the plant, so read the recommendations on the seed package.
- Plants are usually placed at a depth of three times the diameter of the seed itself.
- Other plants definitely need sunlight and therefore must be planted in the topmost ball of the soil.
-
Label the vessels immediately after disembarkation. Keep seed packs nearby.
Method 4 Heat
-
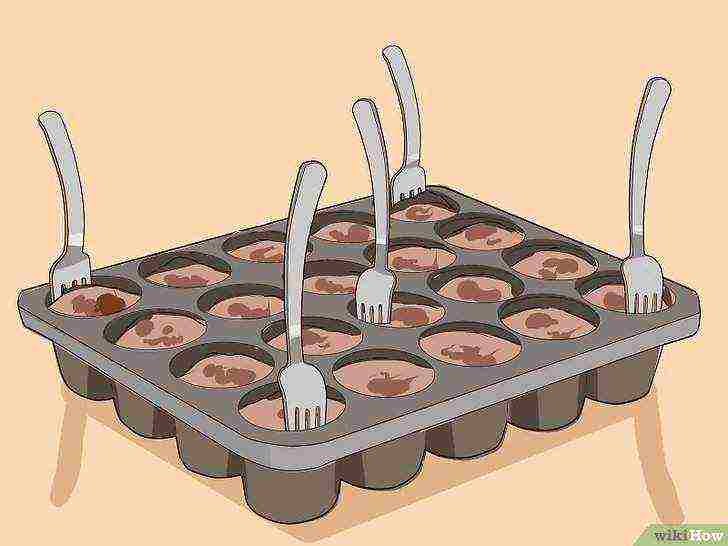
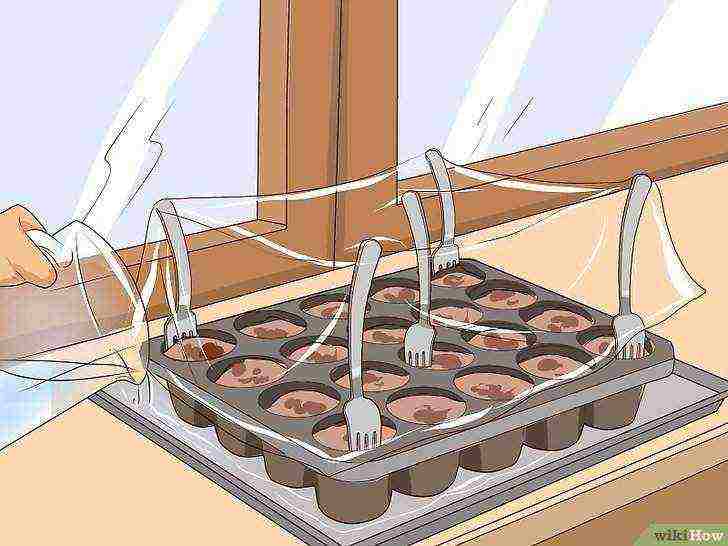
Insert plastic forks around the edges of the trays and in the middle.
-
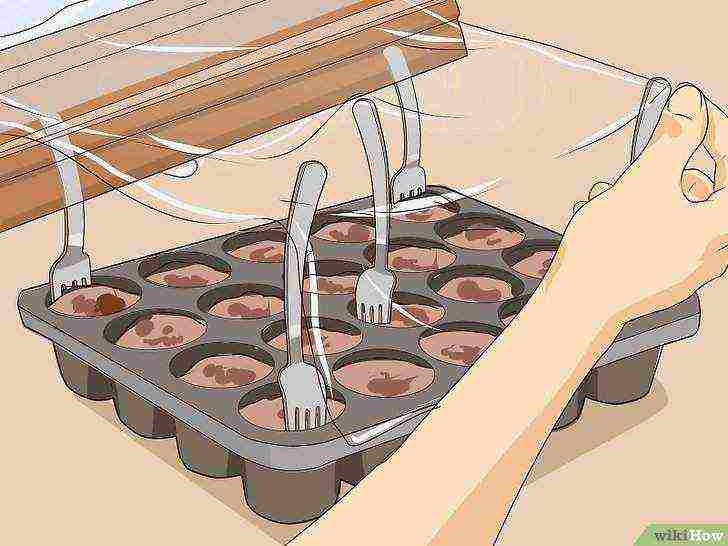
Wrap the plastic tray over the fork pin. Thus, you create a greenhouse environment.
-

Choose a location in your home that gets the sun's rays every day.
-
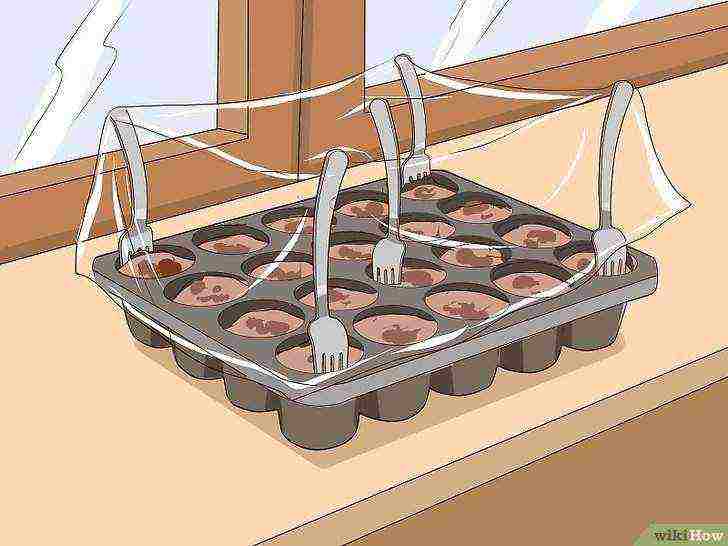
Place the seed tray near the window.
-
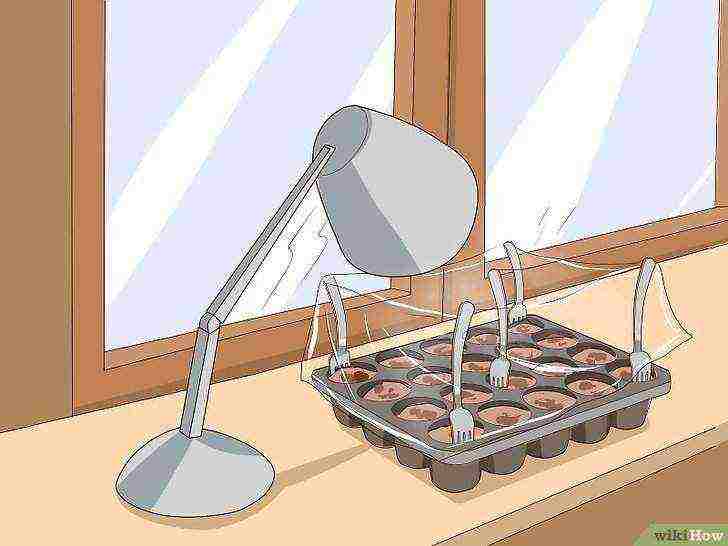
Set up artificial lighting 6 inches (15.2 cm) above the plants. You will need to rearrange the trays as the plants grow.
-
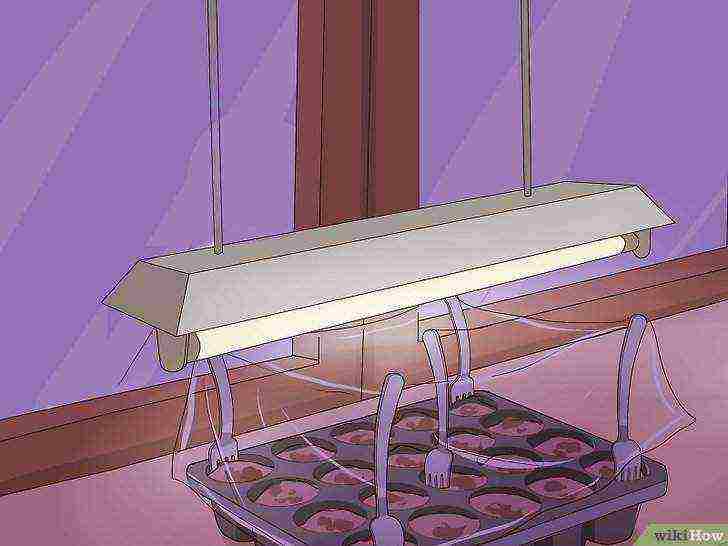
Use a fluorescent lamp to complement those days when there is no sun. Keep it turned on for 12-16 hours a day.
-
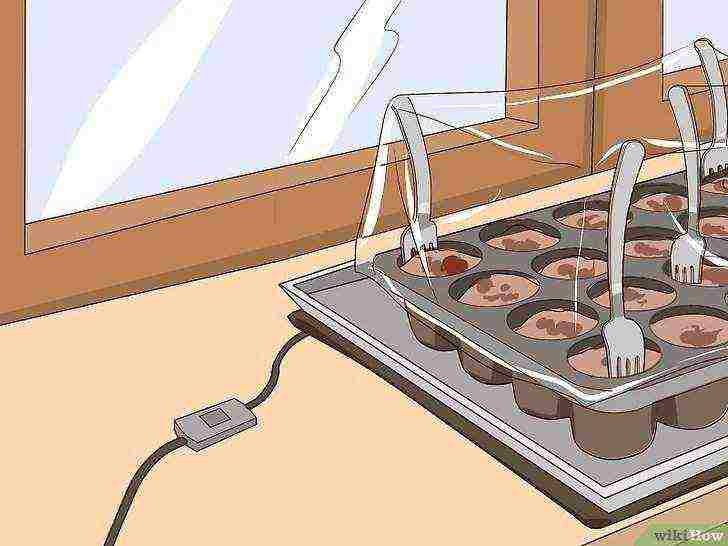
Try to keep the seed temperature at 21 degrees Celsius. To get warmer, place a damp / dry electric heating pad under the baking sheet and keep it at a low temperature.
Method 5 Water
-
Pour lukewarm water into your baking sheet. The soil will absorb moisture without displacing seeds. Make sure that there is water in the baking sheet at all times.
-
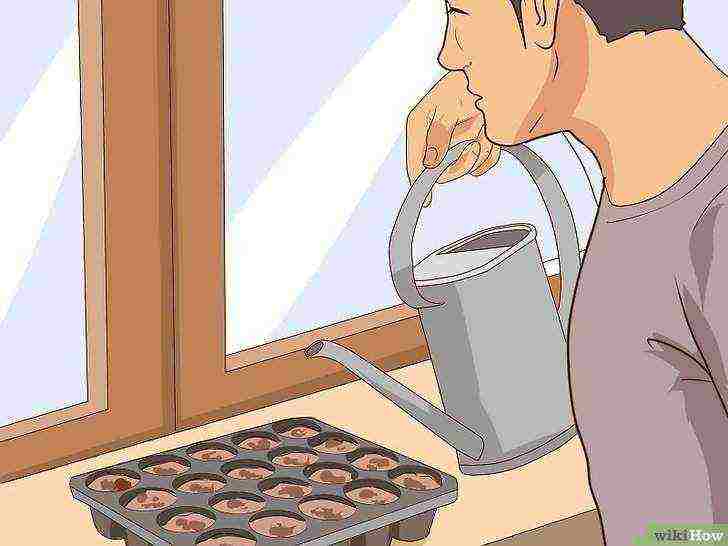
Water the topsoil as well, and then the seeds will begin to germinate.
-
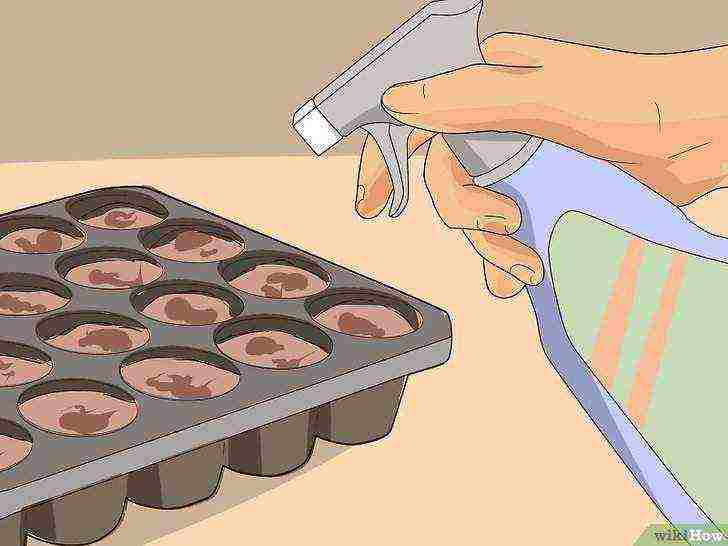
Use a spray bottle or simply water the plants gently. Never let the soil dry out. The seeds need to be constantly in moisture, otherwise they will not germinate.
-
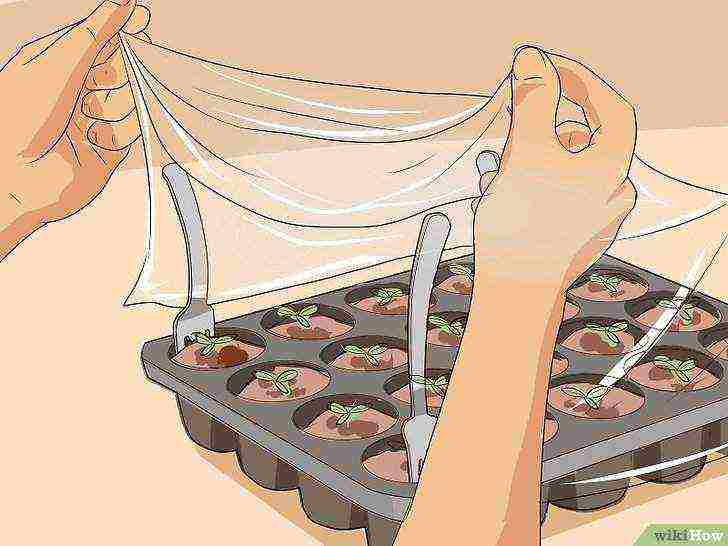
Remove the cling film from the trays when the seeds begin to sprout.
-
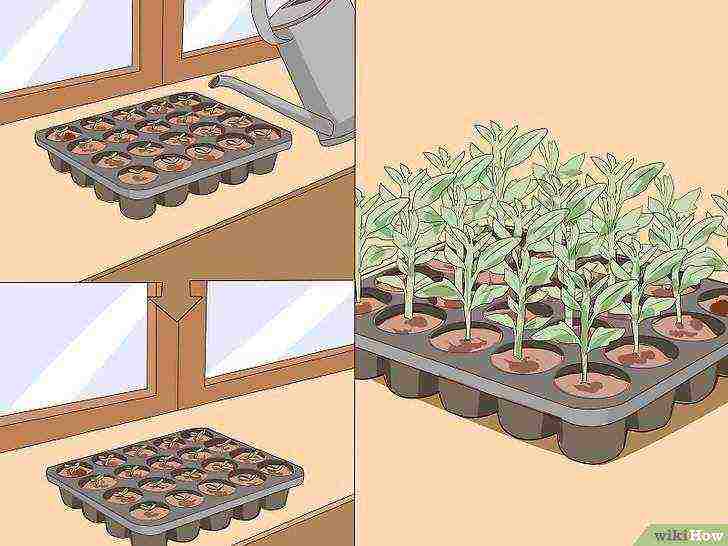
Continue watering, keeping cassettes warm and in full sunlight, until plants are ready to plant. Several shoots may need to be plucked out if they are heavily seeded and crowding each other out.
-
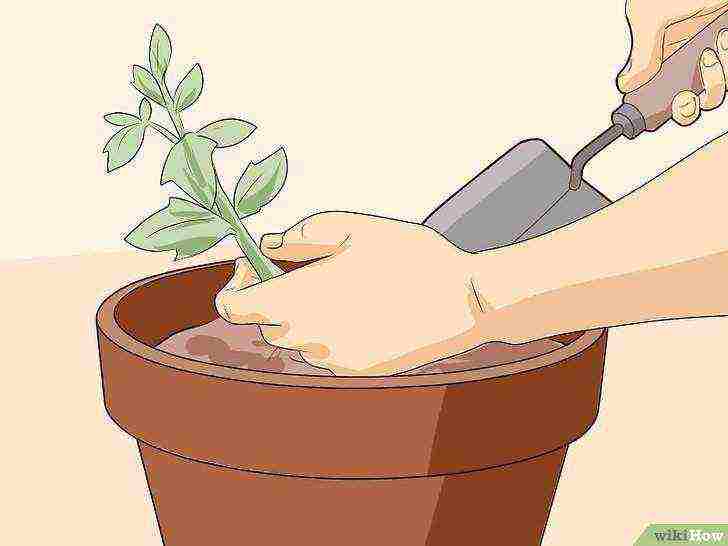
If you decide to grow plants for a few more weeks indoors, you will need to transplant them into larger pots. Your shoots can grow and become more hardy until it's time to plant them in the garden.
What do you need
- Plant trays / vessels
- Soil mixture
- Seeds
- Water
- Baking tray
- Electric heater
- Solar lighting
- Artificial lighting
- Film
- Forks
- Stickers / Tags
- Household sprayer
- Large pots
- Instruction with packing of seeds.
Article Information
This page has been viewed 21,095 times.
Was this helpful?
Growing seeds at home is not that difficult.
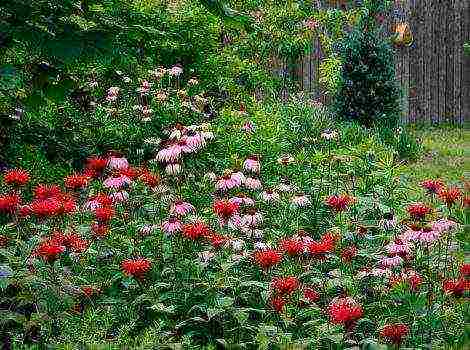
 Short-lived annuals like marigolds and zinnias are easily grown from seed, like most vegetables and herbs. If you first germinate the seeds at home, then you will get an advantage: such plants will please you with a lush color much faster than those planted with seeds directly on the beds. However, this requires additional costs, enough free space in the apartment, and possibly a small greenhouse. Indeed, in addition to heat, crops also need sufficient lighting for good growth. Most summer flowers and vegetables germinate well at temperatures of 15-20 ° C. A higher temperature (20-25 ° C) is needed for tomatoes, paprika and cucumbers.
1. Little tricks to help with sowing
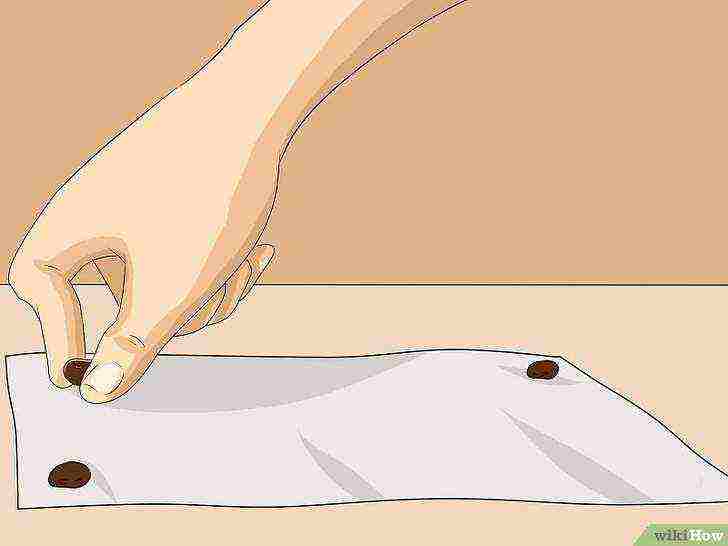
Practical seed containers are flat trays with transparent lids in which the seeds need to be spread evenly and not too thickly. A convenient method of planting is to take the seeds between your index finger, middle finger, and thumb and scatter them as if rubbing your fingers. Larger seeds can be spread one at a time in the soil at a distance of 1-2 cm. Large seeds, such as zucchini or sunflower, are best sown 2-4 in small plastic pots. Be sure to use a special substrate for germinating seeds, in normal soil they may not sprout. Do not fill the containers to the brim: after you lightly tamp the earth (with a wooden board), the edge of the container should protrude about 1 cm above the ground.
2. Do I need to cover the seeds with earth?
The seeds of some plants, such as lobelia, germinate exclusively in the light (usually indicated on the package). Such seeds are not covered with earth, but simply pressed slightly with a board so that they have better contact with the ground. Other plants germinate only in the dark or have no specific light requirements; it is advisable to lightly press down such seeds with a plate, and then sprinkle them with earth - this will protect them and the sprouts from drying out. For even covering with earth, it is convenient to use an old kitchen sieve. The basic rule is this: the minimum layer of earth poured on top is equal to the thickness of the seed, the maximum is the thickness of three seeds. It is also advisable to lightly press down the earth poured on top.
3. Take care of uniform hydration
Moisten the soil thoroughly immediately after sowing.A fine spray is best suited for this, as this will not wash away the seeds or soil. If you cover the container with a lid, glass or film, the earth will remain evenly moistened and you will have to add water only sometimes - a little, otherwise the seeds that are too wet will rot or suffocate. Place the container in a warm, bright place, but not in direct sunlight. When the first shoots appear, prop the lid with wooden sticks or remove it every hour. When most of the seedlings have sprout, the lid must be removed.
4. Picking promotes rapid growth
Usually 1-3 weeks pass from sowing seeds to germination. Over the next 1-3 weeks, the first pair of true leaves appears above the two germ leaves (usually round or narrow). Now it is necessary to give the plants more room for growth, for which you need to plant them (spread out) in pots one by one or in new containers at a distance of 4-5 cm from each other. Such a transplant also stimulates the formation of new roots, the plants become stronger. With the help of a picking board, the roots are easily removed from the ground and at the same time suitable holes are drilled in a new vessel. After transplanting, lightly compact the soil around the plant and water it thoroughly. As a rule, after a dive, the plant needs cooler conditions (about 15 ° C).
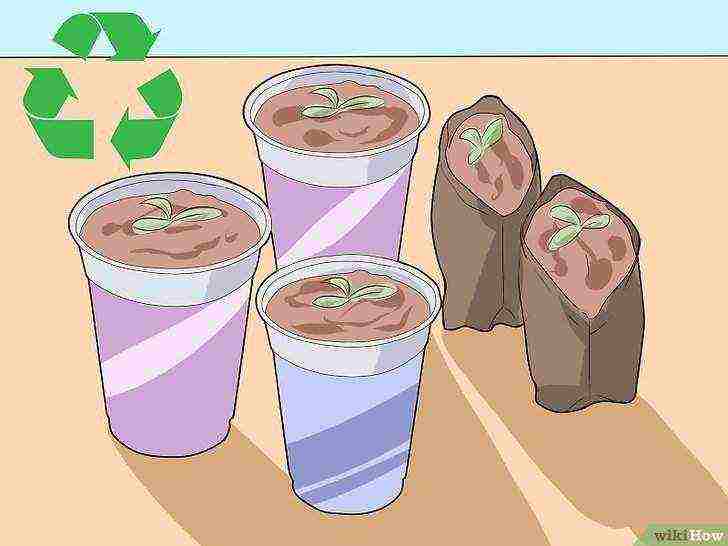
5. Practical pots for picking
The ideal solution is pots made of materials that rot in the ground after planting. Now the most popular pots are made from peat and cellulose; sometimes you can find eco-friendly recycled cardboard pots. Such containers are suitable not only for picking, but also for sowing larger seeds, as well as for subsequent transplants, if necessary. Then you simply plant the plants in the beds along with the pots.
Expert advice
For cardboard pots, it is recommended to cut their strong sides in several places before planting.
Many gardeners, not trusting the quality of the seeds offered on the market, tend to grow seeds at home.
You can get the most seed material of almost any vegetable crop.
However, it should be remembered here that hybrids cannot be used for this purpose, but only varietal specimens.
Obtaining cabbage, cucumber, tomato and pepper seeds
- Cabbage. To grow seeds, the best forks are chosen from the crop of the variety you like, which will be the mother plant. It is dug up with a clod of earth, trying not to damage the roots. Then they are placed for storage in a basement with a temperature not exceeding 5 degrees, digging into a box with moistened sand.
In early spring, the uterine forks are planted in a place prepared in the fall, remembering that cabbage of different types and varieties, planted close to each other, is capable of pollination. If this happens, then quality material cannot be expected.
In the summer, they take care of the mother liquor in the same way as for ordinary cabbage - they water, feed, loosen, weed, fight against harmful insects. Seed pods that form on tall stems begin to ripen by early fall.
Do not wait until they are completely dry on the frog, as the pods may crack and the seeds will crumble to the ground.
- Cucumbers. On a healthy pure-bred plant, mark a cucumber, which will be a testis, tied a piece of twine on its petiole. In order to avoid depletion of the mother plant and a decrease in the yield of greens, the seed cucumber is chosen in the middle of one of the lashes, but not close to the root. The fruit from which they want to grow seeds at home should ripen well. At the same time, it acquires a yellow color, its pulp softens and becomes sour.
From the finished testis, previously cut in half, pull out the core with a spoon and put it in a cup.
The resulting mass is kept for three days in a dark warm place for fermentation.Then the seeds are separated from the pulp by washing with running water. Then they are well dried and stored in signed paper bags.
- Tomatoes. A varietal tomato, intended for obtaining seeds, is selected from among the largest and earliest on the second or third cluster. Seed material from tomatoes is obtained by fermentation in the same way as cucumber seeds. This makes it possible to get rid of the protective mucus membrane covering the grains. The pulp in a glass of water should be stirred occasionally to speed up the fermentation process. Two days later, the suspension is washed, while the largest and highest quality seeds remain at the bottom of the glass.
- Pepper. The fruit chosen for the role of the testis must be biologically ripe, that is, it must acquire a color that is characteristic of this variety. Ripe peppers are ripened within a week. In this case, the fruit should not soften too much.
Having cut the base of the stalk, pull out the core with the seeds from the pepper and separate them. The resulting material is then dried. The testis membrane can be eaten.
Share with your friends on social networks
Showcases of garden centers are full of bags of seeds of beautiful flowers and we, often, buy up all the pictures we like, and at home we sow, sprinkle, water, wait ... wait ... But there is nothing! This is where disappointment comes and many in such a situation say: "It's easier to buy a ready-made plant than to waste money on seeds!"
Growing seeds
Knowing some of the sowing rules and the peculiarities of handling the seeds of certain crops, you will come to the opposite conclusion - of course, it is more profitable and more interesting to work with seeds.
Examine the packet carefully and determine whether it is an annual plant or a perennial. If you did not find the answer to your question in the text on the back of the package, then pay attention to the upper left corner of the package and the round sign with dots in it. If there are two points, then in front of you is a perennial and its seeds require stratification (freezing). This is how sowing occurs in nature. In autumn, the seeds fall to the ground, hibernate at subzero temperatures, go through periods of cold snaps and thaws, and begin to germinate only in spring at a stable positive temperature. This whole process (only in miniature) must be reproduced at home.
100 percent seed germination
To do this, within a week, seeds soaked in a napkin and placed in a plastic bag are set to the following mode: day - at room temperature, night - in the freezer. After that, the seeds are sown in the usual way in small container-bowls, given that very small ones cannot be covered with soil, but sown on its surface. But even large ones deeper than 1 cm should not be repaired. It is better to add soil to the seedlings after the emergence of seedlings. To do this, fill the containers with soil only halfway and be sure to cover them with lids, foil or glass.
Before emergence, the containers are ventilated daily and condensation drops are removed from the lids. After the appearance of "loops", the seedlings are taught to fresh air, gradually opening the lid. This process can take 5-7 days.
The seeds of some plants have a very thick shell, and for germination they need a violation of its integrity, the so-called scarification.
It can be carried out by grinding the seeds with sand or sandpaper; in practice, this is difficult for many to implement. In fact, everything is quite simple: put a sheet of sandpaper, sprinkle seeds on it, roll the seeds with the second sheet, slightly changing the pressure. Periodically inspecting the seeds, they put aside those whose shell is damaged - there is a crack, "rubbing". Next, the seeds should be wrapped in a napkin or cloth and soaked in warm water for 4-5 hours.After this time, it is necessary to drain, squeeze out excess moisture and, wrapping the cloth with seeds in a plastic bag, place it in a warm place. Every day, the seeds are examined for the presence of seedlings, they can appear after 2-3 days, and after 10 days. Seeds with sprouts are sown in the usual way.
Crops with crops are never placed on windowsills in direct sunlight. Moisten the soil well before sowing and do not water it until shoots appear. If the emerging seedlings begin to stretch, pour fresh soil under their base. If a seed cap remains on some seedling, which prevents the cotyledon leaves from expanding, water is dripped onto the "head" several times a day.
Seedlings with 2-3 leaves can begin to dive - to plant them in separate cups, pots.
Before the picking procedure, the containers are spilled abundantly with water so that the plants can be taken out of the soil one by one without damage, it is convenient to do this with a small fork. Having taken out the seedling, it is necessary to pinch (cut off) the lower part of the main root for it. This is called picking, but is done in order to provoke the growth of adventitious roots and, thereby, form a powerful root system in the plant. We plant the seedling in a prepared pot, a cassette cell, etc., compact the soil around it, water it well and shade it for a while.
Now it is necessary to provide the seedlings with timely watering and sometimes feed them with complex mineral fertilizers (those for indoor flowers are suitable). We are waiting for stable warm weather to land pets in open ground.
All this work, chores, looking after small sprouts helps a lot to quench the "planting itch" in the last days of winter and early spring and gives a lot of positive emotions!
Preparing rose seedlings for planting
Each of us, of course, wants his house and the area around him to look beautiful. To do this, I plant flowers in the adjacent territories. Spring is on the doorstep, so that your ...
Japanese style garden
Any modern person, busy with work, feeling a constant lack of time and often in a state of stress, needs a corner where he could go to ...
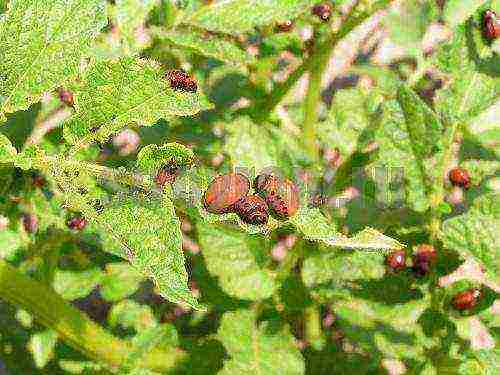 Colorado potato beetle control
In summer cottages, in order to collect environmentally friendly products, you need to use folk remedies. At the end of winter, while there are no shoots, and the beetles have already come out, they can be collected in ...
 How to make an alpine slide
If you decide to create a flower slide on your site, you do not have to put in much effort. In order to create a slide, boulders are suitable, which you can find on ...
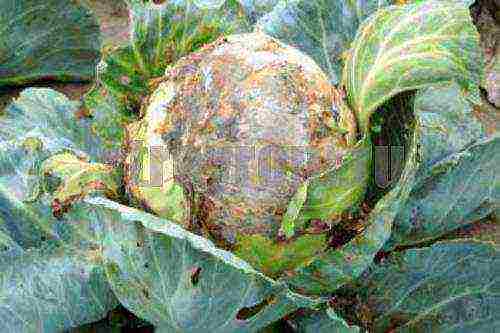 Fighting Cabbage Diseases
Cauliflower and cabbage are at the highest risk of developing vascular bacteriosis. The disease is characterized by the infection of the plant with microbes at all stages ...