Content
Not everyone likes to tinker with houseplants. Not everyone has a talent for this, and the flowers perish without having time to settle down. However, without greenery, window sills look lonely, and the interior is boring. And if you share this point of view, you should figure out how to grow moss at home. It does not cause allergies, is very unpretentious, resistant to the vast majority of diseases and pests, does not require fertilizers, pruning and hilling. And with it, you can create wonderful mini-landscapes and amazing compositions.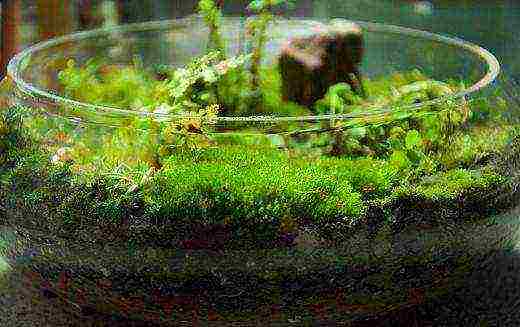
How to grow moss at home: fundamental principles
Before you start breeding mosses, you need to understand for yourself their needs and requirements. First, mosses growing on trees will not survive on rock or soil, and vice versa. So you need to settle the brought "shred" on a suitable basis.
Secondly, mosses need diffused and indirect light. If the sun only illuminates them in the morning or evening, the mosses will delight you with bright colors. But the midday rays will make the moss pale, dull, and can completely destroy it.
Thirdly, the source of the planting material is important. Before wondering how to grow moss at home, ask specialty stores if they sell it. So you will definitely be engaged in healthy specimens and will not infect the plants at home with anything. If there is no moss for sale, go to the forest. Just remember clearly what came from, and remove the moss with a layer of turf.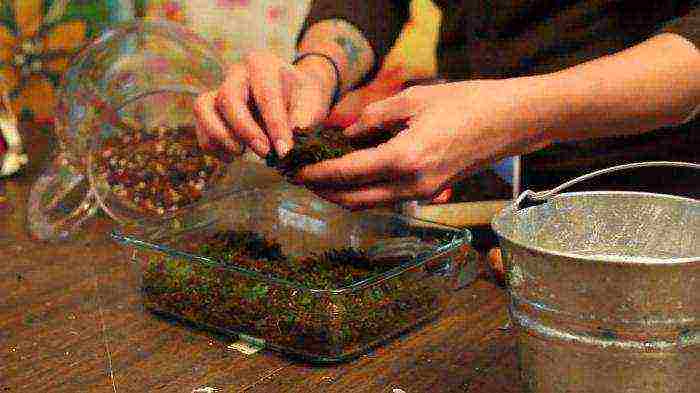
Landing
It must be taken as seriously as possible, since it is unrealistic to grow moss at home, which was initially incorrectly placed. Any vessel can be taken under the plantation. But it will look most impressive in a glass bowl, a rounded vase or a spherical aquarium. In addition, in such containers it is easier to create and maintain the desired microclimate.
To make the moss feel comfortable at home, small expanded clay or washed pebbles are poured onto the bottom of the dish. Charcoal-granulate is placed on top of the drainage, and the substrate is already placed on it. As the soil, take the one that is intended for epiphytes and marsh plants, then the mosses will settle down faster. A landscape is formed on the ground and moss is laid out, with a light pressure from above. After the formation of the landscape, it is poured abundantly with water to stimulate survival.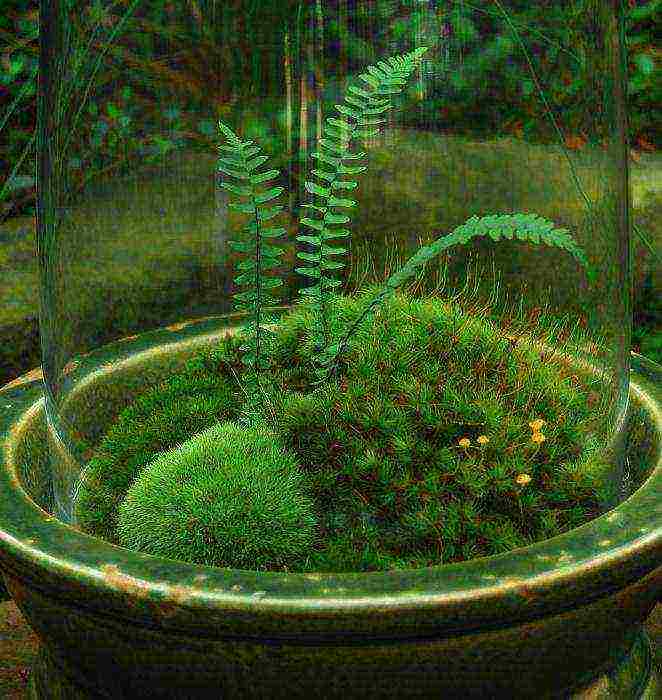
Care
The moss composition does not require special attention. But only after the “greens” have taken root. Therefore, the main subtlety of how to grow sphagnum moss at home is to provide it with abundant moisture at first, and then maintain it at a constant average level. For a week or two, the pads should be sprayed daily, while observing so that there is no flooding effect. Condensation should form on the walls of the vessel only in the morning. If the moss cover begins to darken, it means that the intensity of watering must be reduced. When the mosses begin to grow, spraying is carried out less frequently, once every three or even five days.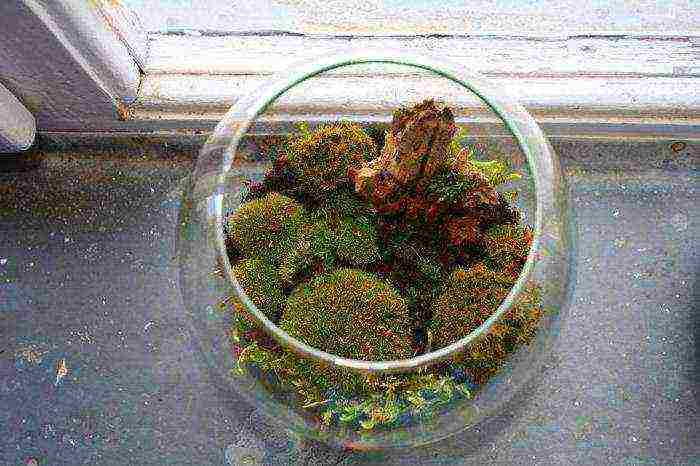
Growing moss at home can also mean fighting mold in the first step. It usually appears if the "rugs" are not brought from the store. In this case, problem areas are treated with phytosporin. Although some moss breeders believe that the plantings themselves will cope with this scourge.But it seems to us that it is better to help them: the moss is weakened until the moment of full adaptation, and it does not need additional stresses and loads.
If you created an installation in an open dish-pot, then you need to spray the moss daily. Otherwise, it will quickly dry out and lose its decorative effect.
Moss in the garden
Much easier is the case with the cultural cultivation of moss cover in the open air. Here you do not have to painstakingly create the necessary conditions and plant pads. You need to get a sufficient piece of moss, healthy, without dried and suspicious areas. The blender is loaded with two glasses of water and milk, plus the extraction from the forest. Having received a cocktail consistency, you "paint" the intended area with this composition. Thanks to milk, moss takes root over the entire treated surface with a 90-95 percent probability.
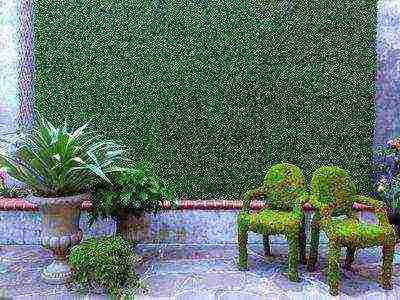
With some hard work and a strong artistic flair, your fence, wall, or rock garden can be a work of art. Your immediate task will include only regular watering of the "picture" until the moss is definitely entrenched in the territory provided to it.
»At home
How to grow sphagnum at home
btnvm
And I will write to you about my attempts to grow sphagnum at home.
Growing it at home is possible but difficult! Yes, difficult! It is only in the forest and in the swamp that it grows just like that, but it is still possible. 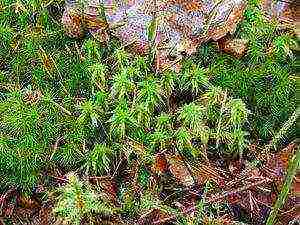 In a year, I managed to bring a sod of live peat moss from the Leningrad region, having compared it with pictures from the Internet, I determined that I had Sphagnum sqarrosum. In the Internet, I could not find information on how to grow sphagnum, there are links around like in sphagnum to grow all kinds of indoor booths, but I am interested in exactly how to grow sphagnum at home. I started experimenting. I killed a lot of moss. = (
When growing, Sphagnus does not like minerals.
To grow peat moss at home... it is necessary to pay attention to the following factors necessary for normal development:
Water from the tap, sphagnum containing an unreal amount of calcium simply kills - the tops of the moss are covered with limescale and that's it. I bought distilled water specially for watering in a car shop - what I need. so, in the winter, stocked up with melt water from the snow. If you need to water urgently, and there is no rain or distilled water, you can use cooled boiled water. Tales about the fact that, after drying, all the mosses can allegedly be watered and they will come to life, do not apply to sphagnums in any way! After drying, sphagnum mosses irrevocably die
The soil: I tried to plant sphagnum on acidic peat soil mixture from the store - horror! Obviously, there are too many minerals in it, algae began to develop actively, calcium plaque appeared again, the moss refused to grow. I planted it on sawdust - it grows normally, but, apparently, forest sphagnum, unlike marsh sphagnum, does not emit enough acids and over time the sawdust is affected by fungi, as a result, the best option was simply to place the moss in a glass without soil (no soil at all) to reduce evaporation glass covered with a transparent lid
Temperature: in the summer heat, the moss almost stops growing, it is not for nothing that the natural habitats of sphagnum in the north of our homeland (the southernmost habitat is the Black Forest swamp, or Berestuvatoe)
Light: for bog sphagnum, the sun is unambiguous, for forest sphagnum, according to the logic of things, a shadow, BUT on the windowsill, the moss brought from a dense forest began to stretch, which clearly indicated a lack of light
How to grow moss at home
 If you are thinking about the design of a summer cottage and want to use stones or other elements of the summer cottage, you can try to revive it all with the help of moss. In this way, you can decorate any element - wall, pond, stone, path. Mosses always smooth out transitions between surfaces of different textures and colors, and also make borders more blurred.You can grow mosses on your own, but not everyone knows how to grow moss at home.
How to grow moss at home?
First, you need to stir a handful of white clay in three glasses of water until the consistency of a batter is formed. After that, the diluted white clay must be mixed with a glass of undiluted fertilizer based on fish emulsion, which is an excellent growth accelerator and is sold in stores. The selected moss bush, which grows in the adjacent territories (this is desirable for the coincidence of the organic moss), must be divided into small pieces. When dividing the moss, you need to be careful not to damage the roots of the plant.
To grow moss, you need to apply the resulting mass to the stones using a flute brush, and then the surface should be periodically irrigated with clean water using a garden sprayer. This should be done as carefully as possible so as not to wash off the crops. Remember that traditionally moss grows in separate islands on the northern side of trees and stones, and also readily settles in cracks and furrows. When choosing a landing site, this fact must be taken into account. This way, you can grow moss in your garden in 2-3 weeks.
How to grow moss on stone?
When growing moss on stones, you need to take into account that the stone must be rough and lie in a suitable place (in the sun or on a smooth boulder, moss will not grow).
The ideal balance between rocky and mossy surfaces should be 1: 1. In this case, it will be both beautiful and unusual. If the stone is completely overgrown with moss, then the feeling of the density of the boulder is lost.
The idea to grow moss as part of a rock garden looks very nice. Rock garden is a design that helps to better inspect small plants and protects them from aggressive garden perennials. Therefore, mosses and lichens are the best suited for growing as part of a rock garden. In this way, you can create a simply beautiful effect, but also protect the roots of small plants.
Growing moss
Remember, to grow moss at home, it will need very few conditions - moisture and acidic soil. If in some place of your garden the soil is acidic, moss will develop there without difficulty. You can also grow moss on ordinary soil by oxidizing it with citric acid. Dilute a few grains of acid for one liter of water when watering the soil. Moss has no roots, but multiplies by spores, in the soil or elsewhere. It is fastened with rhizoids, which resemble thin threads.
Mosses appeared a long time ago. No other plants originated from them, they are considered a dead-end path of evolution. Moss can trap moisture from the air or soil, as well as from the place where it grows. The plant also feeds on nutrients. Therefore, moist air will be a big plus when growing moss.
The moss will grow where you can take its spores. If you want to speed up the result, then you need to sow the soil with moss spores abundantly. As a result, you will get beautiful landscaping.
To grow moss, the soil must be watered regularly and kept moist. Within a month, if these conditions are met, you will receive high-quality moss that will decorate your houseplant or any garden plot on which you are building a landscape.
How to grow moss on the site
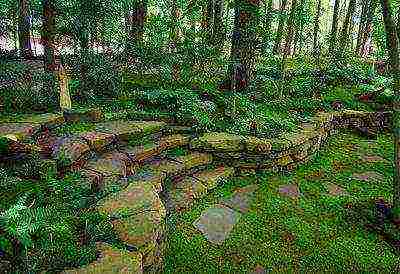
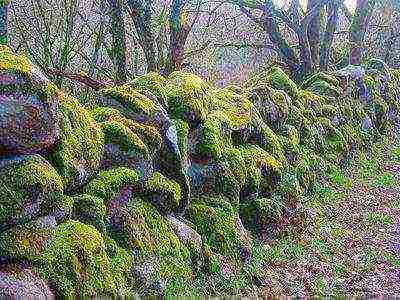
Moss looks amazing in the garden, especially on decorative stones and stone slides. It gives any garden a special charm of age and grandeur. Growing moss on your site simply means giving it the necessary conditions for growth, and having a little patience while it sprouts.

What conditions does moss like?
Mosses love moisture, shade and acidic soil (acidity 5.0-6.0). Direct sunlight can destroy moss sprouts in no time. Did you know that moss has no roots? It has fine filaments that carry nutrients from the soil to it, but no true roots.Therefore, it dries up and dies much faster than other plants.
How to grow moss on the ground?
The easiest way to grow moss on soil is to take a small piece of moss from somewhere and place it on the soil in the right place. Thoroughly loosen the surface of the ground in the place where you are going to plant it, so that its threads get good contact with the ground. Moisten the area and place the moss on top of it. It is necessary to press it well into the ground. You can even put a few light stones on top to help him gain a foothold. Freshly transplanted moss should be well moisturized for the first few weeks. Moss is not subdivided into varieties, but there is an opinion of practitioners that some types of mosses grow better in the ground, and some - on hard rocks. So it is wise to take your sample for planting from the same surface where you plan to plant it in order to minimize breeding problems (for example, if you want to grow it on rocks, then the seedling should be taken from the rock, etc.) ...
How to grow moss on rocks, bricks and garden figures?
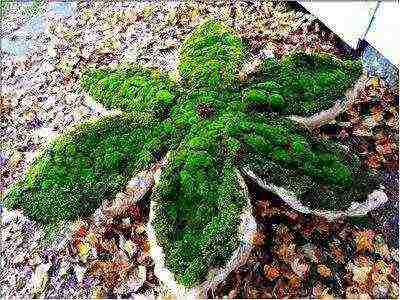
Getting started growing moss on a rock is a little more difficult than just moving a piece of it there. To grow moss on rocks, bricks, or garden figures, many people use buttermilk successfully. It is mixed with moss and applied to a new surface.
The recipe is as follows:
2 cups buttermilk or yogurt
1-1 / 2 moss tops, chopped (fresh or dried)
Mix until the consistency of medium-fat sour cream. If the mixture is too thick, add a little water. If it's too runny, add more moss.
Spread the mixture on the desired surface and leave it there for a day or two to start the process. After about 6 weeks, you will see moss sprouts.
How to care for moss
For your moss to grow well, you must maintain ideal conditions for it:
- shadow
- moisture
- low soil pH
- remove weeds regularly, mosses cannot compete for moisture with weed roots
- it is imperative to remove leaves fallen in autumn from the moss surface.
How to grow moss in a decorative pond
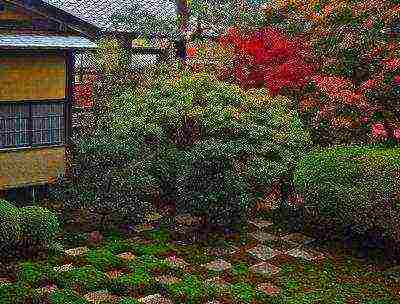
The moss grown along the edge of the decorative pond looks very interesting. To do this, you will need a landscape fabric. Place a tape of fabric around the perimeter of the pond so that it rests on the surface of the water. Place a piece of moss on top, the same as for growing in soil. The fabric absorbs water and stays moist - an ideal environment for moss to spread. So, to grow a piece of moss for planting, you can also use a shallow pan of water on which to place a piece of landscape fabric.
Once the moss strands have attached to the fabric, you can transfer the entire piece to the soil you are preparing for replanting. Do not forget to moisturize it, and your moss carpet will not keep you waiting.
Do you like the information? Share it with your friends!
Sources:
No comments yet!
How to grow moss at home? Just don't ask why. And don't say that he grows well on the street. On the street - it's not in a pot on the windowsill.

Grow it first in a large, circular aquarium with appropriate surroundings. Admire. Then we'll see why or go crazy, give two!
Moreover, where it grows, let it be there. And at home, you still need to work hard to grow this. Strict points on humidity and the amount of light will not allow you to shove a piece of moss from the forest into a jar and sit, waiting for a beautiful picture.
So. We plant moss at home. Stop. How do we plant? Neither species has roots or seeds. How will we propagate? By disputes, as in nature. And where to get them? It's not like wandering around with a microscope in search.
In fact, everything is simple. Go for a walk. We don't go to the forest. Forest moss that grows on trees is very aggressive and shaggy. Instead of an alpine idyll, you will get the count's ruins after the bombing. We need a moss that grows on stones, snags, old walls. Even just from the shaded side of buildings.
We pinch ourselves a little.You can just remove the plate. Who writes there: be careful not to damage the roots? You should have a bonus. Nobel Prize. Still, for the first time in millions of years, roots were found on moss!
And we calmly stomp home. By the way, in nature, the ripening time for spores is approximately July and August.
how to germinate wheat at home
Herbal cocktail
If you just put a plate of a plant on the bottom of the aquarium, it will dry out. And you will not get a beautiful landscape. Therefore, we will make a cocktail. No, not for drinking. For lubricating surfaces. To prepare it, you only need a blender. Here are some recipes:
- 100 g moss, 2 tbsp. l. sour cream, 200 ml of pure water.
- 200 g of the plant, 400 ml of any beer, 1 tbsp. l. granulated sugar.
- 1 tbsp. moss, 2 aspirin tablets, 2 tbsp. plain water.
- 200 g of a plant, 200 ml of kefir, 300 ml of water, 1 tsp. Sahara.
We take ingredients from any recipe. Well, those that are at hand. Amicably and cheerfully put in a bowl or jug. Then briskly grind with a blender. I warn you right away: the smells of cocktails using dairy products are disgusting. Well, nothing. Beauty always requires ...
Apply the composition
Of course, even before preparing this wonderful slurry, we arranged pebbles inside the aquarium. They put an artificial lock, put old snags. They added sand to the bottom, poured a little fine gravel. Wasn't it lovely? But something is missing.
How did the well-known cartoon character say there? It will not be enough. Not enough! Let's add aesthetics. By the way, they have already sniffed the stench from the jug. Now we take the old brush. We dunk it well in a cocktail and start writing. Over the stones, over the castle, over snags. We smear from the bottom of our hearts, we do not regret it. You can even splash a little.
We carry what remains to the backyard. There we select the darkest and dampest corner. And we draw with slurry right on the walls. Anything that came to mind. At least your autograph. Good results are obtained when drawing through a stencil. Guests will puzzle for a long time how the moss could grow so. Naturally, keep them in the dark until the very end. After all, this is your exclusive!
Of course, then the moss will fill all the free space. But even just a fluffy soft wall attracts the eye. And don't be afraid to damage buildings. Moss does not destroy the base, but only covers it, like a carpet.
The eerie-colored mixture is over. But our business is not yet. Let's move on to the next step.
how to grow kiwi
Care after sowing
Yes Yes. Our spreading of the slurry is scientifically called spore seeding. And if there is sowing, then there must be a harvest! And what else is required to obtain it? That's right - leaving.
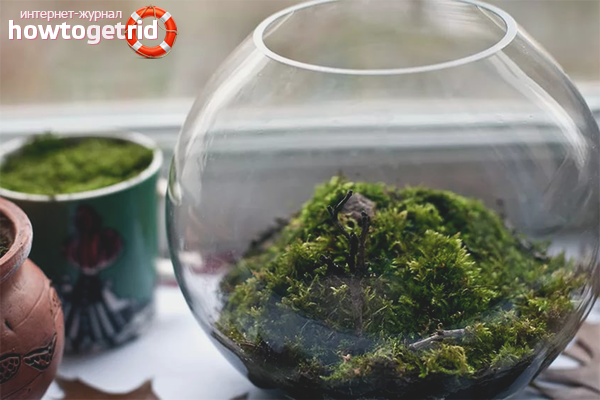
In principle, at home, it consists in periodically moistening the moss and dragging the aquarium into the sun, then back. Just two hours, early in the morning, but always every day. Otherwise, our pet will not have that desired juicy green shade. The rest of the time it can be kept shaded. But not quite at the back of the room. Better somewhere near the window, but with cover.
About moisturizing. In the morning we got up - we look at the glass. Is there condensation? This means that there is no need to water today. Is the glass completely dry? We stomp behind the spray bottle. By the way, the water in it is extremely melted. Or filtered. Otherwise, an ugly white bloom will appear on the moss. We don't need it at all.
Why a spray bottle, not a watering can. Because the moss drinks on the surface of the body. He has no roots. Therefore, we spray the plant a little. Carefully, without fanaticism. Overflow threatens with darkening and death. Bald spots and mold will appear. All beauty down the drain.
Of course, these procedures are carried out only after you see the result of your drawing with liquid. This usually occurs within about 10 days. Until then, it is best to simply cover the aquarium with a piece of glass or thick plastic wrap. Do not wear in the sun during this period! But be sure to air it once a day.
Then, after the microsystem adjusts its climate, you will only have to admire the mini-alpine lawn on your table.
how to grow bonsai at home
Interesting utility
- Instead of an aquarium, you can take a wide bottle. And even with a cork. There is a known case when one man planted moss in such a bottle and watered it. I closed it with a stopper and did not open it again. This was over 40 years ago. And the microsystem is still alive today. With its own climate, humidity levels and, of course, moss. Try it again!
- By the way, the scientific world still does not know the pests and diseases that would like moss. Unless molds sometimes taste it. And even then, only after a strong waterlogging.
- Do not keep your plantings near the central heating battery. Too dry air is harmful to moss.
- The rougher the stones in your composition, the easier it will be for the plant to adhere to them. Smooth pebbles will remain bald. By the way, they are perfectly replaced by broken shards from ceramic pots. Only without glazing.
How to grow moss at home? It's very simple and fun. It’s even fun in places. This does not require a lot of effort and material costs. Well, maybe for the purchase of an aquarium.
how to grow a money tree
Video: Create a Living Wall from Moss

