Content
- 0.1 Method 1 Selection of potatoes and auxiliary materials
- 0.2 Method 2 Germination
- 0.3 Method 3 Planting
- 0.4 Method 4 Daily Care and Harvesting
- 1 Tips
- 2 Warnings
- 3 What do you need
- 4 Necessary materials
- 5 General terms and conditions
- 6 Special conditions for growing potatoes on the balcony and windowsill
- 7 How to grow potatoes in the winter at home
- 8 Seed stock renewal through cultivation of mini-tubers
- 9 Growing potatoes for a good harvest
- 10 How to prepare a site for planting
- 11 Potato planting principles
- 11.1 How to plant potatoes in the country
- 11.2 The secret to planting to get a good big crop
- 11.3 How potatoes grow in the ground
- 11.4 Tips: how to grow more in a small area
- 11.5 Separate methods of planting potatoes for a large harvest
- 11.6 Seminal
- 11.7 Tuberous
- 11.8 From parts of the fruit
- 11.9 Dutch method
- 11.10 In the straw
- 11.11 Slide
- 11.12 Without beds
- 11.13 Under the film
- 11.14 Without hilling
- 11.15 In containers
4 methods: Choosing potatoes and auxiliary materials Germinating Planting Daily care and harvesting
Potato bushes give a good harvest, which, if the right conditions are observed, can be grown almost all year round. Planting potatoes in pots minimizes the amount of space needed and reduces the risk of pest and disease infestation. The main thing you need is a deep, heavy pot, as potatoes grow underground and require a lot of soil.
Method 1 Selection of potatoes and auxiliary materials
-
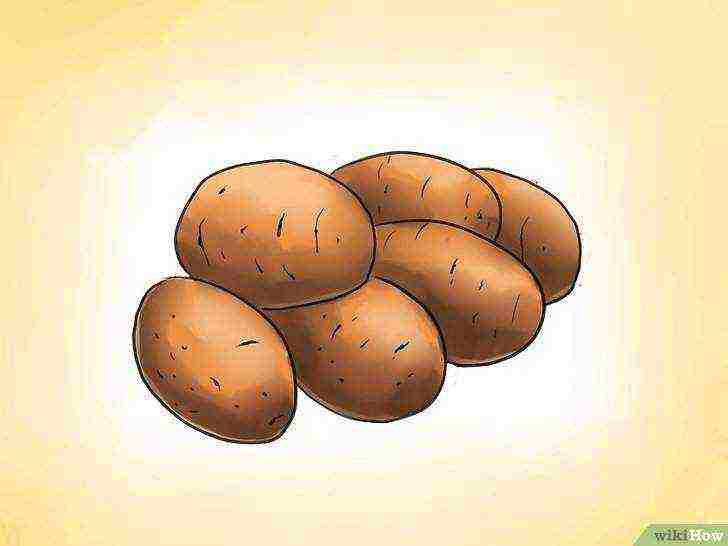
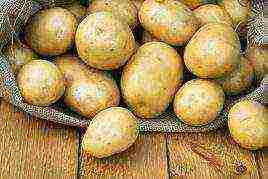
Buy seed potatoes. Unlike potatoes that were purchased from the grocery store, seed potatoes, or simply “tubers,” are grown for transplant purposes and are not intended for consumption.
-
 Find out when to plant different varieties of potatoes.
There are many of them, but, as a rule, they are divided into five main categories: first early, second early, early main, main and late main. Decide which variety to choose so you know when to plant and harvest.
- The first early should be planted at the beginning of the year in February and harvested around May.
- The second early is planted a few weeks after the first, closer to March and is harvested in June or July.
- The early main variety is planted around April and harvested in August or September.
- The main varieties should be planted in mid-spring, closer to May or June, and reap the fruits of their labor around October.
- Plant the late main potato in July and harvest in November or December.
-
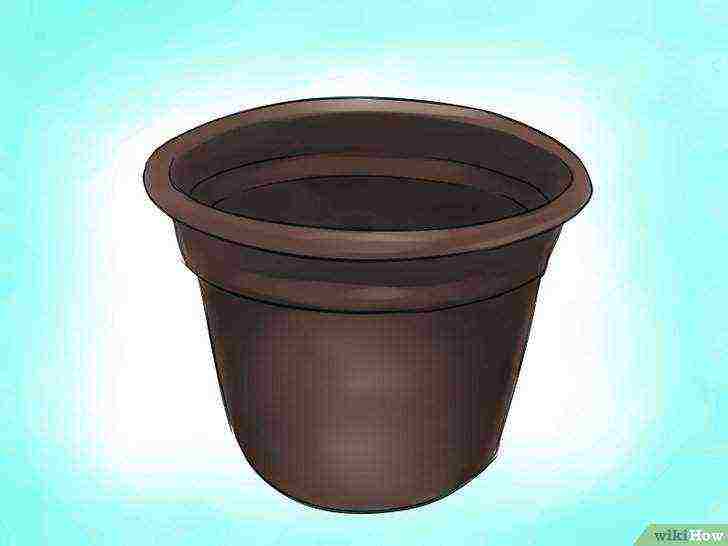
Choose a large container. For the development of potatoes, a container with a volume of about 10 liters is needed. The larger your pot, the more tubers you can grow.
-
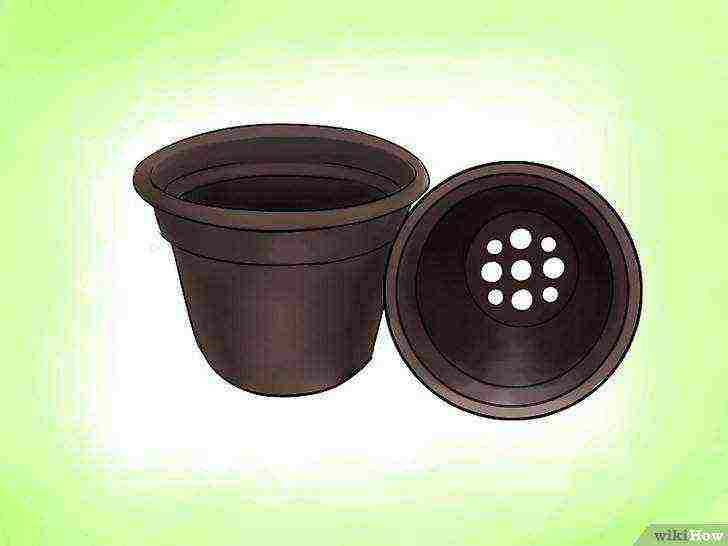
Make sure the pot has drainage holes. Seed potatoes will rot if left in excess water for a long time, and drainage holes are needed to prevent this from happening. If there are none in the pot or container, then drill two or three yourself.
-
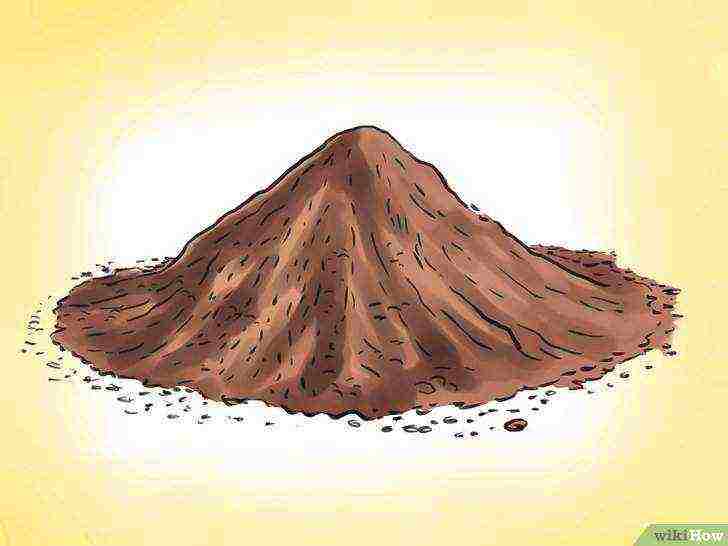
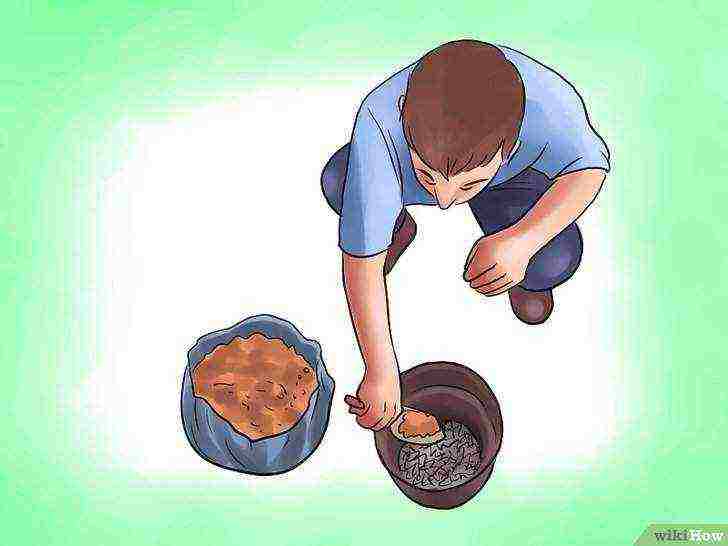
Prepare the culture medium. Made with equal parts potting mix and all-purpose compost, your tubers are rich in organic material. You can add a few handfuls of fertilizer for extra nutrition. Look for organic fertilizers such as chicken manure pellets, bone meal, fish meal, or seaweed.
Method 2 Germination
-

Leave the seed potatoes in a cool, dark place. A closet or storage room in the basement is perfect. Store the tubers in an egg carton or other container, keep an eye on them, and check for eyes every day.
-
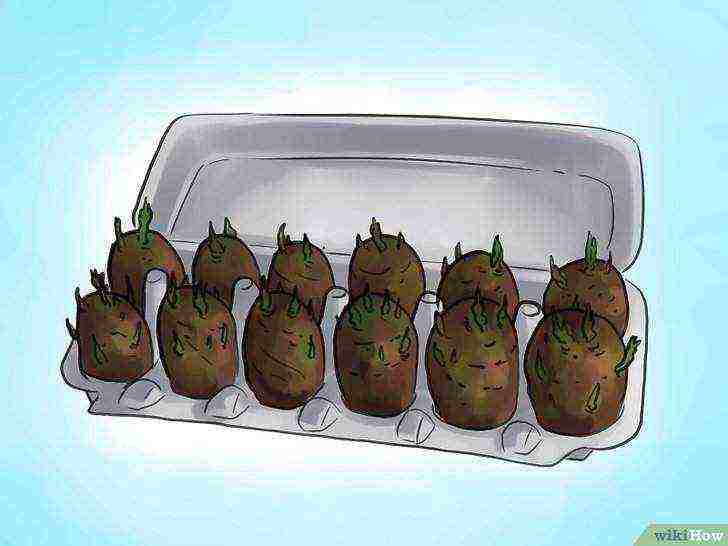
Transfer the potatoes to a bright but cool area as soon as they sprout. Store it there until dark green shoots appear.
-
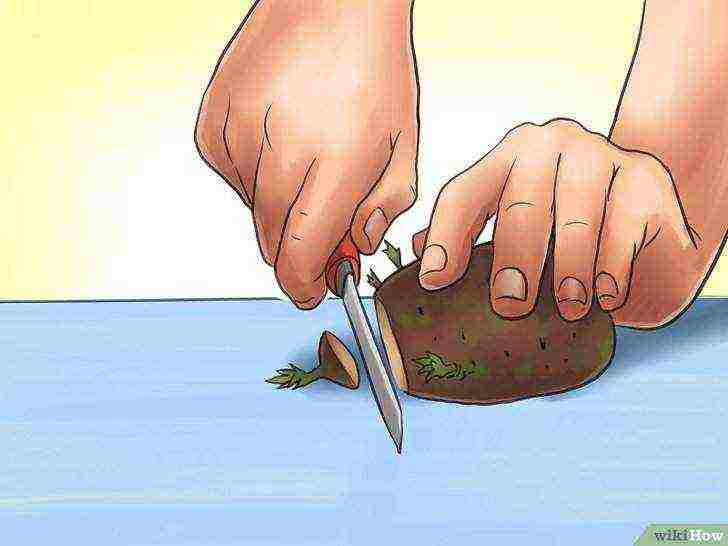
Cut off the extra eyes. The more there are, the more potatoes you can grow; however, the more potatoes grow from one tuber, the smaller they will be. Select the three strongest eyes, and remove the rest with your finger or cut out with a knife.
-
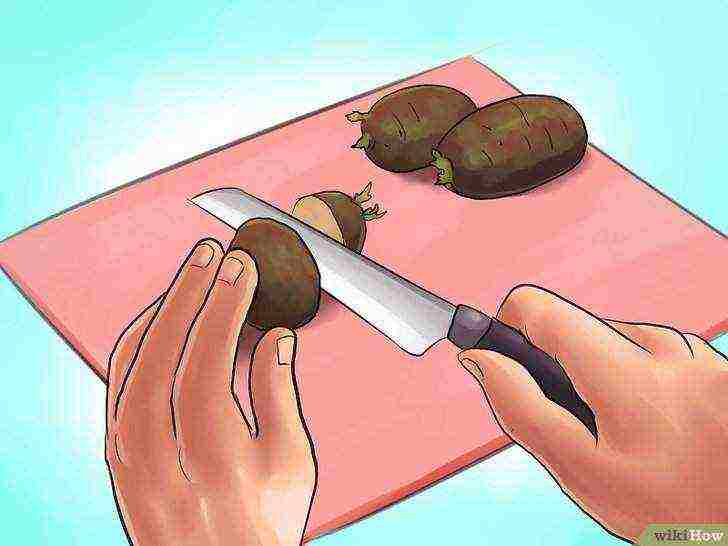 Cut the potatoes in half.
If you do not want to cut the shoots from the potatoes, use the halves as two separate planting tubers. Each half should weigh an average of 50 grams, and each should have two or three eyes.
- Let the cut pieces sit for a few days to allow the exposed areas to dry and harden.
Method 3 Planting
-

Place shards (debris from clay pots) or small pebbles on the bottom of the pot. These materials help water flow out of the soil, preventing it from accumulating in the soil.
-
Fill the pot with medium 10 to 15 centimeters. Tamp it lightly with your hands and make sure the soil is firm and dense enough to hold the potatoes together when ripe and not sink to the bottom.
-

Place the tubers in the pot. Most of the eyes should be facing up. Spread the planting material evenly and do not overfill the pot. As a general guideline, a 30.5 cm container should only contain 1 to 3 seed potatoes.
-
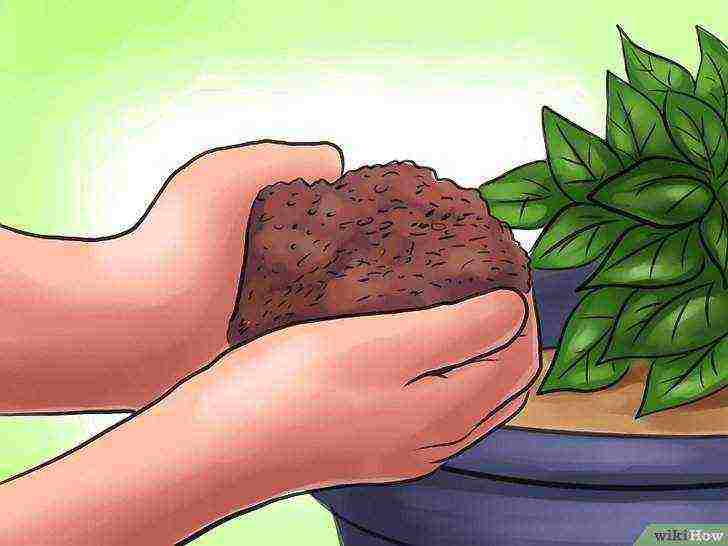
Cover the tubers with an additional 10 to 13 centimeters of growth medium. Press down on the soil with your hands, but not firmly to avoid damaging the potatoes.
-

Water lightly. The soil should be moist to the touch, but not soggy.
Method 4 Daily Care and Harvesting
-
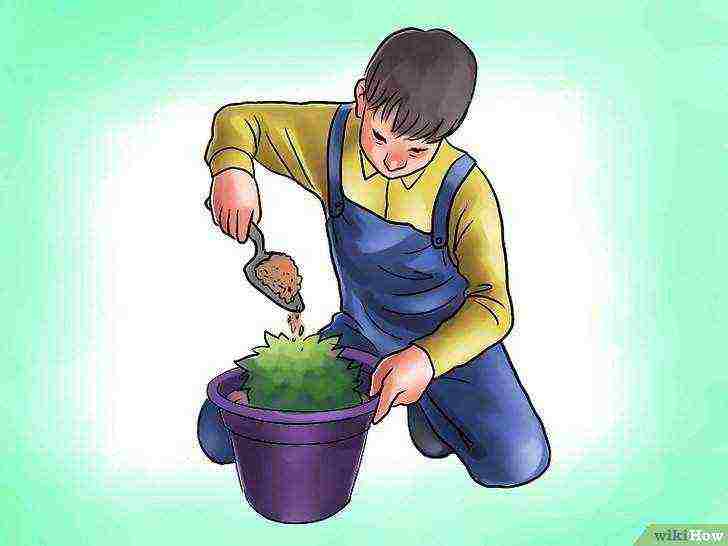
Add more nutrient medium as the plant rises from the soil. Only the top 2.5 cm should be visible. Continue adding until the medium reaches the edge of the pot. Ideally, the soil will be 46 to 61 centimeters deep.
-
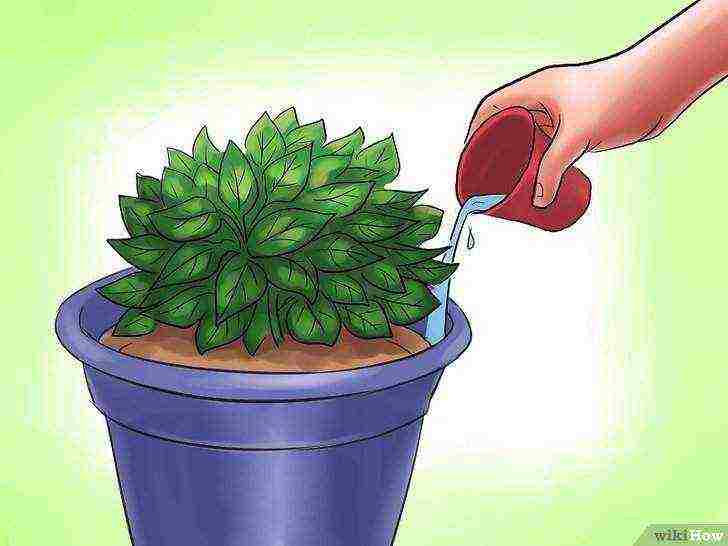 Be sure to water the potatoes.
The soil should be moist, but not soggy, and should never dry out completely. You can check it with your finger.
- In the summer, you may need to water your crop twice a day, especially if you live in hot, dry climates.
- During cool weather, most plants only need about 2.5 cm of rain per week to develop, but if it does not rain for a long period of time, you will have to water the potatoes by hand. Install a rain gauge next to the potatoes and determine if the plant is getting enough rain from week to week.
-
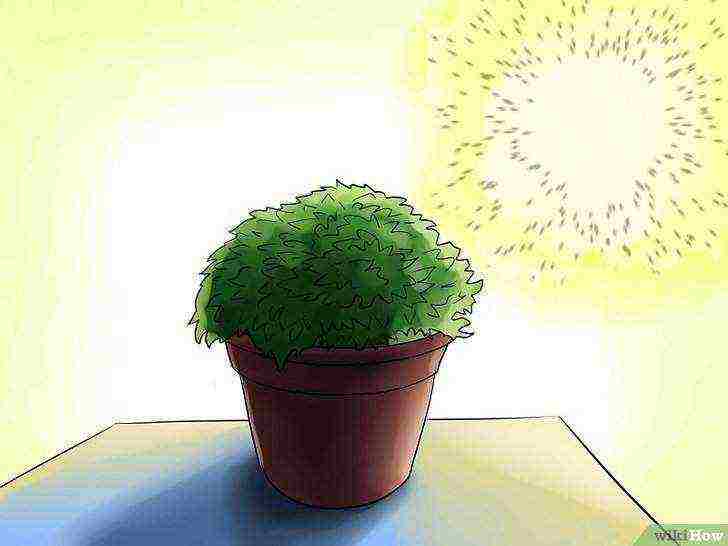
Place the pots in an area that receives equal parts of both sun and partial shade. Potatoes need sunlight, but exposure to direct sunlight for a long period of time is bad for them.
-
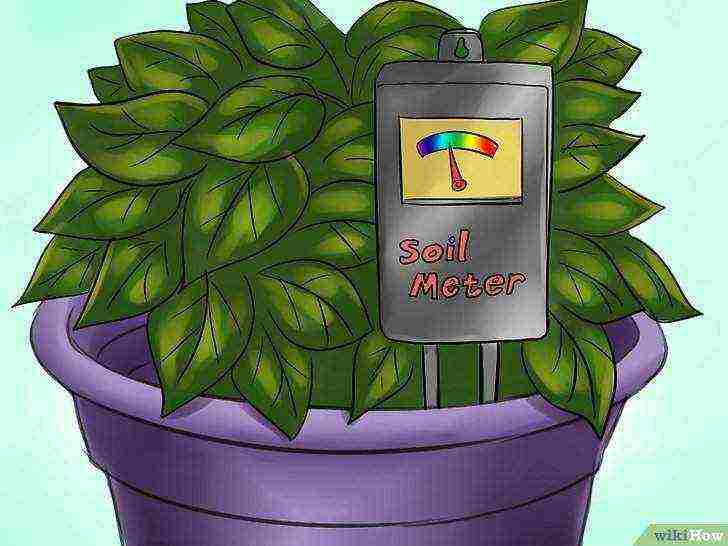 Check the level of acidity (pH) of the soil using litmus paper (light yellow stripes in an alkali solution become bluish, and in an acid solution - brown) or another special test.
This should be done around mid-season, especially if the leaves appear yellow or weak. Potatoes grow in soil with a pH of about 6.0.
- Add more compost or manure if you need to lower the pH.
- Use agricultural lime to increase the pH.
-
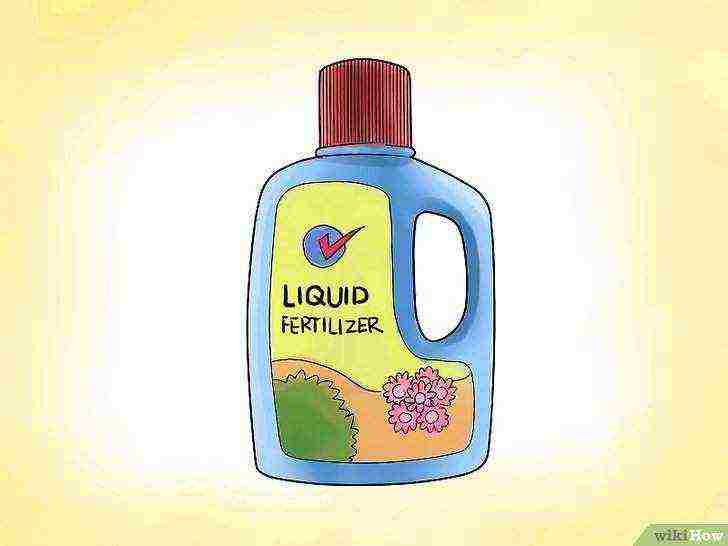
Fertilize your potatoes every two weeks with liquid fertilizer. Such feeding will give a larger, richer crop.
-
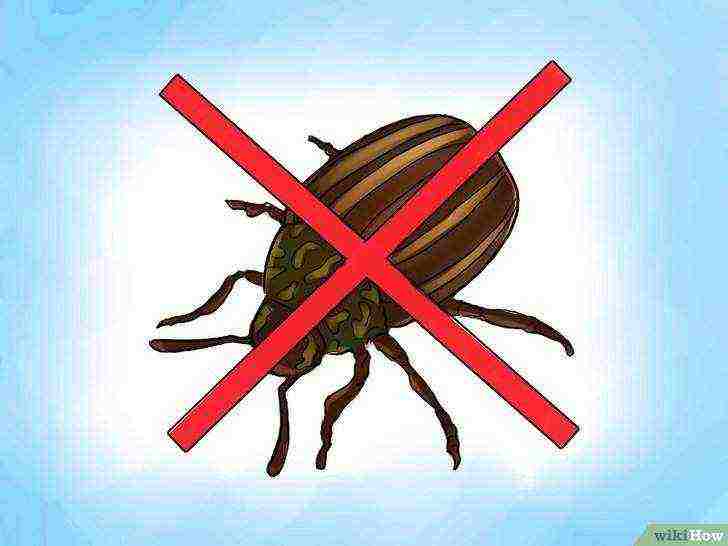
Watch out for pests. Many pests, such as the potato leafhopper, can be harvested by hand. Others will require the use of organic pesticides.
-

Monitor plant health. Many diseases, such as late blight, leading to wilting, leaf fall and cessation of plant growth, are contagious, so if you notice such signs, you should immediately move the bush away from others.
-
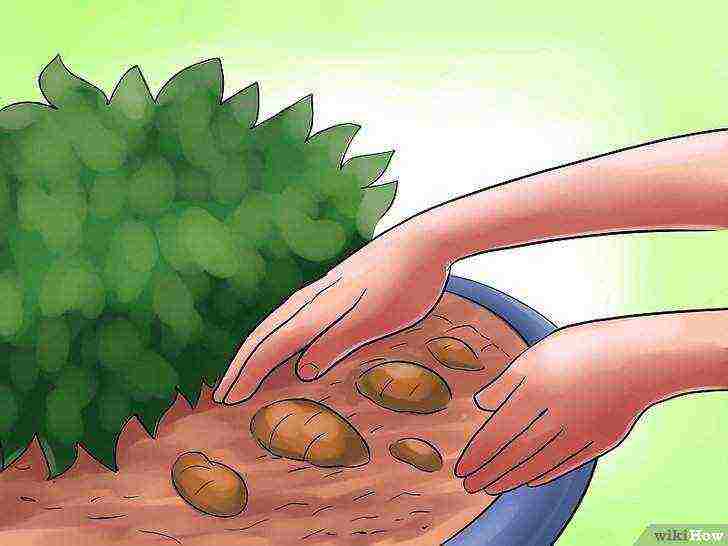
Examine the soil a few weeks after the bushes have bloomed. The first few potatoes will be ready by this time, and you can pluck them or twist them off the root. In general, an egg-sized potato is already ripe, but before picking it, check what color it is. The green fruits are immature and poisonous.
-
Stop watering two weeks before the final harvest. You can determine the maturity of a potato by looking at the leaves. Once the leaves and stems are completely yellow, your potatoes are ready.
-

Draw out dry stems and leaves. Wear gloves to protect your hands. Tear off all the potatoes from the dry twigs and dig in the soil to make sure you have selected all of them.
Tips
- You can also grow potatoes in a thick cloth bag. The instructions are almost the same as above.
Warnings
- Be careful with any chemicals, including fertilizers and pesticides. Many chemicals are hazardous to humans, so you should always read the label before using.
What do you need
- Seed potatoes (tubers)
- Big pot
- The soil
- Compost
- Fertilizers
- Pesticides
- Sharp knife
- Shards or gravel
- Watering can
- Litmus paper
Article Information
This page has been viewed 13,582 times.
Was this helpful?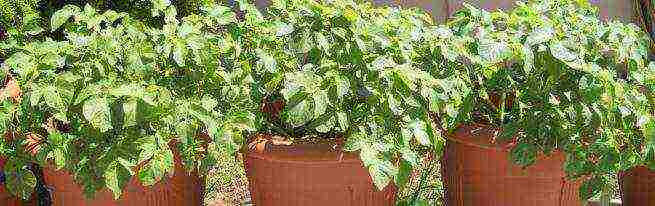
If you have tried a freshly dug young potato, then you know - its aroma cannot be compared with the purchased one. Don't you have a summer cottage? And time is not enough? We offer you the opportunity to have fresh potatoes for lunch or dinner without leaving your home.
Necessary materials
To get an indoor potato crop you will need:
- information on the timing of planting, the necessary conditions and rules for growing. We hope that you will find all this in our article;
- capacity volume of 7-10 liters. This can be a pot or container that has drainage holes, a large enough shopping bag, or a special bag for growing potatoes at home;
- planting material... Better if it is seed potatoes, and not the one you bought at the grocery store;
- priming... The nutrient medium should be light, fertile, not compacted. Purchased peat or garden soil mixed with compost may be fine. Add complex fertilizer (according to the instructions) and a handful of organic fertilizers (granulated chicken manure, bone meal, etc.) to this. Stale sawdust can be used as the top backfill layer.
Photo gallery: containers for potatoes in the apartment
General terms and conditions
Consider the general rules for planting and caring for potatoes in an apartment.
Germination
This is a very important agricultural technique that allows you to get strong shoots and a good harvest. To protect against diseases, soak seed potatoes before germination in a garlic infusion (insist 1 kg of chopped garlic in 10 liters of water), treat with a growth stimulant. Place the potatoes in a bright and cool place. Avoid direct sunlight. Spray the potatoes with water periodically and wait for the sprouts to appear. The room temperature is +20 in the first days, +15 in the following. The sprouts should be strong, no more than 2 centimeters long. Leave 3-4 of the strongest shoots and remove the rest to avoid chopping the crop.
Landing
- At the bottom of the selected container, drain from expanded clay, clay shards.This is necessary to drain excess moisture.
- Pour prepared soil on 2/3 of the height of the selected container.
- Place the potato tuber on top of it so that most of the sprouts are facing up.
- Cover it with earth or stale sawdust. The height of the top filling layer should be about 10 cm.
- After planting, the containers must be placed in a bright place, but not in direct sunlight.
Potatoes should be placed on the ground, which is 2/3 of its volume full of the pot
Watering. Top dressing. Protection
Watering should be carried out as the soil dries out. It should be slightly damp, but not soggy. After sprouting, add the nutrient mixture to the container. Once every 10 days, you can fertilize with readily soluble or liquid complex mineral fertilizers. Be sure to inspect the plant for pests and diseases. Take the necessary measures in time.
Harvesting
The first crop can be harvested after the potatoes have bloomed. Full-fledged tubers are carefully unscrewed, being careful not to damage the plant. The complete collection is carried out after the tops have finally turned yellow.
Video: digging potatoes on the balcony
Special conditions for growing potatoes on the balcony and windowsill
What do potatoes need to grow and develop? Oxygen, nutrients, water, light and heat. Our plant will be provided with oxygen both on the windowsill and on the balcony. Subject to the regime of watering and feeding, it will not need water and nutrients.
When growing potatoes at home, special attention should be paid to lighting and temperature conditions. Both the balcony and the window sill are oriented towards a certain side of the world. Consider this. Try to place containers with planted potatoes not in direct sunlight, provide them with sun and partial shade in equal shares. Remember that with strong darkening, the potato tops will stretch. At a soil temperature of 3-5 and above 31-35 degrees, plant development is delayed, and a temperature regime of 1-1.5 degrees or 35-40 degrees leads to irreversible damage to the potato. Use blinds, the angle of inclination of their plates doses sunlight and avoids overheating. Provide ventilation, but try to avoid strong drafts.
How to grow potatoes in the winter at home
Potatoes have one trait that can be used for growing them in winter. Provided a sufficiently high temperature and lack of air access, potato tubers do not germinate, but divide. Take a fairly deep bin (about 40 cm deep) and fill it with compost soil. Place the potato tuber at a depth of 25 cm and place the box in a dark place with a temperature of about +25. Seedlings will not appear, but the formation of young tubers will begin. They will not be very large, but will retain the taste of young potatoes. The main thing is not to forget periodically - about once every 10 days - to moisten the soil in the box and guess with the harvest time.
Seed stock renewal through cultivation of mini-tubers
If you want to renew your potato planting material and get a really high yield over the course of several years, try one of the described methods of growing potato sets.
Method of growing potatoes from seeds
Pros:
- purchasing potato seeds will cost you much less than buying elite seed potatoes;
- the potatoes grown by the presented method give a higher yield. It is resistant to many potato diseases, including late blight.
Minuses:
- two-year growing period. In the first year, you will receive a set that will yield table potatoes for the next season;
- potato seedlings are extremely capricious. Therefore, picking, replanting and even watering must be carried out with extreme caution;
- high demand for illumination. With a lack of light, potato seedlings are strongly stretched;
- seedlings are susceptible to some diseases. A black leg is especially dangerous for them.
Memo for growing potatoes
This method of growing is seedling. Therefore, you will need an appropriate container, potting soil and a comfortable place on the balcony or windowsill.
Growing stages and features:
- Soil preparation. The soil should be fertile and loose. You can take soil and peat in a ratio of 1: 4. To prevent damage to seedlings with a black leg, add the biological preparation Trichodermin to the prepared soil (5 g of the preparation per 5 liters of prepared soil). To grow potato seedlings before picking, you can use moistened stale sawdust. Such a soil will facilitate rapid root growth.
- Seed preparation... It is recommended to soak potato seeds for 2 days in water, and also to carry out the hardening procedure for 10 days. To do this, place the soaked seeds in small containers, which are placed in the refrigerator overnight at a temperature of +1, and during the day keep at room temperature. Then the seeds are germinated.Important! Germination is carried out on a constantly damp cloth. Do not use gauze for germination. Potato seeds are small, so it will be difficult to free them from the large cells of this material.
- Sowing seeds... The seeds that have eaten are placed on a moistened soil in a container at a distance of 5 cm from each other and slightly sprinkled with a nutrient mixture or moistened sawdust. Then the container is covered with a lid, glass or cling film and sent to a well-lit warm place on the windowsill.Important! In order for you to be able to plant seedlings in open ground in the second half of May, sowing seeds must be carried out in early March.
- Watering is carried out moderate... It is best to carry it out along the edge of the container so that moisture does not get on the sprouted sprouts. This will reduce the risk of getting a dangerous black leg.
- Top dressing is recommended once a month with complex fertilizers.
- A pick of potato seedlings is carried out 3-4 weeks after planting. The seedlings are deepened by cotyledonous leaves. Do not squeeze the seedlings, because any damage to the roots is fraught with rotting of the plant.
- Seedlings are planted in the second half of May in open ground or a greenhouse. 2 handfuls of humus are introduced into 10-centimeter holes, watered with water and the seedling is planted so that 2-3 upper leaves are visible on the surface.
- Further care consists in weeding, hilling, watering and feeding and, in principle, does not differ from caring for potatoes planted with tubers.
- In the fall, you will receive mini tubers weighing 10 to 40 grams.
- Next year, you can get super-super-elite potatoes from tubers-sets.
Harvest of the first year - tubers-sets weighing from 10 to 40 grams
Other ways to grow mini potatoes
There are other ways to grow mini potatoes. They are based on meristem reproduction. Obtaining a winter potato crop is based on this crop feature. It can also be used to obtain selected seed material. A large potato tuber must be placed in the cellar for the whole summer. By autumn, a root system will develop on the tubers, on which mini-tubers will be formed. They are not infected with diseases and viruses. The next year, the first harvest of the super-super-elite can be obtained from it.
A root system has developed on a potato tuber with the formation of mini-tubers
Another fairly simple way to update the variety is to plant the tops of the tubers. It is as follows:
- In the strongest and healthiest seed tubers, the apical bud with a piece of tuber is cut off.
- The cut part is placed in moistened sawdust and germinated.
- After the first shoots and roots appear (after about 3 weeks), they are planted in the garden.
- Autumn harvest of potatoes obtained by this method - mini-tubers of the renewed variety.
For the method of planting with the tops of the tubers, the apical bud of the potato with a part of the parent tuber is used
According to the described scheme, mini-tubers are grown only from sprouts without part of the parent tuber. For this, seed potatoes are germinated. It is placed in boxes of sawdust, sprinkled with water weekly to prevent drying out. If germination takes place in a dark room, then we get shady shoots (long, white), if germination is carried out in the light, then light shoots (green, short) are formed. When the sprouts reach a length of 4 cm, they are carefully twisted, separated from the parent tuber and immediately planted. When planting, the top of the sprout should protrude no more than a centimeter above the soil. After a week, the sprouts will turn green and start growing. After three weeks, when the plants reach a height of more than 10 cm, they are planted in a permanent place. When planting, you must adhere to the rule: 2/3 of the plants must be buried in the soil. The parent tuber can be used to sprout up to 3 times.
With this growing method, the most important thing is to provide the plantings with food. The plant does not have a parent tuber, so you need to feed it weekly. The best - alternating feeding with infusions of grass, ash and vermicompost.
So you can get 25 or more plants from one tuber, which means about 10 kilograms of seed tubers.
All tuber sprouts can be used for planting.
Thus, you can use the balcony not only for harvesting young potatoes, but also as a mini-breeding ground for updating the variety and, accordingly, increasing the yield in your summer cottage.
My name is Ludmila. Higher education, graduated from the Minsk Institute of Culture. I live in Belarus. Rate the article:
(0 votes, average: 0 out of 5)
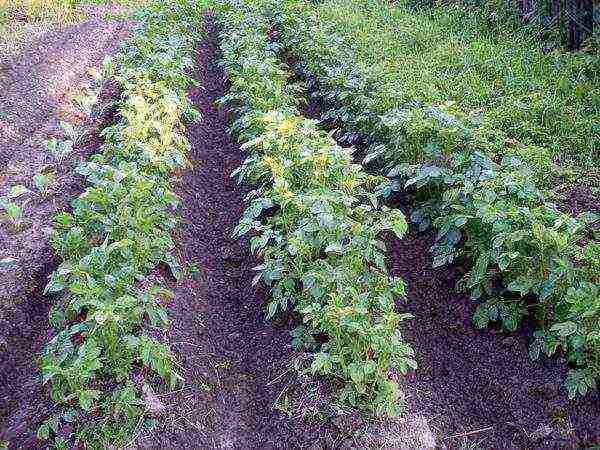
The yield of potatoes directly depends on the soil and the selected variety. However, it is not enough just to fertilize the soil. There are various modern technologies that help to significantly increase yields, improve the taste of potatoes, and protect against diseases. Consider how to grow a good crop.
Growing potatoes for a good harvest
This culture is popular and loved by everyone. Therefore, when the question arises, how many potatoes will grow in the country, I want this figure to triple. There are several secrets on how to increase yields.
 A rich potato crop in a small area is the aspiration of many vegetable growers
To get a rich harvest, you need follow certain instructions: Prepare tubers for planting, plant and care properly during crop growth. Considering all the nuances, you can get a large harvest of root crops.
When to plant potatoes
When to plant a vegetable depends on the variety you choose.
The best time to plant potatoes is early or mid-May. However, it is recommended to focus on the weather conditions. If the air temperature is above 10C, and the soil has warmed up, then this is the most favorable time for planting potatoes.
Before the end of April it makes no sense to plant a crop... It just won't sprout in cold ground. In the northern part of Russia, it is better to postpone planting until mid and late May.
The choice of planting material
The choice of seeds is carried out according to the following rules:
- potatoes should not be rotten or cracked;
- root crops should be chosen smooth, firm, without outgrowths and defects;
- for planting, choose potatoes of different ripening periods. Early varieties are left for summer food, late ones for storage in winter.
Disinfection of planting material
Processing potatoes before planting will significantly increase yields and protect the crop from pests. It is recommended to carry out a disinfection procedure.It is done a few hours before landing.
You can cook home disinfection solution:
- prepare a solution of potassium permanganate 1 g, water 10 l, copper sulfate 1 box of matches;
- sprouted tubers should be poured with the prepared solution for half an hour;
- then remove carefully so as not to damage the sprouts and leave to dry in the sun.
The potatoes are ready for sprouting.
Bathing in a nutrient solution
Growth stimulants can be used for planting material. Before planting, sprouted tubers should be taken a few days before planting. treat them with one of the drugs:
- Protein - 1 ampoule per 1 liter of water;
- Micon;
- Epin.
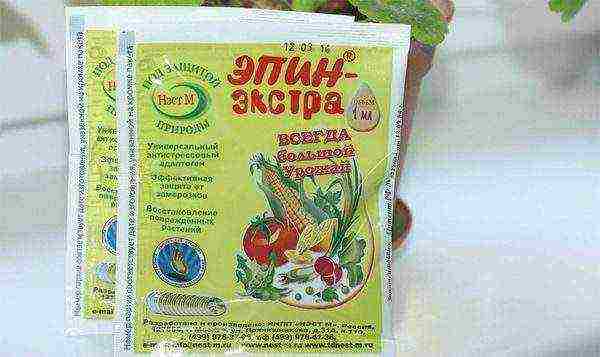 Epin
Epin
Stimulating incision
In order to make a transverse cut, you need to cut the tuber perpendicular to its axis. Only a small part remains uncut, so that the tuber does not disintegrate. With the help of a cut, nutrients are evenly distributed over the eyes, and a strong bush is obtained that gives a high yield.
An annular cut is made to a depth of 1 cm in such a way as to encircle the tuber with an incision. In this case, the intake of nutrients comes from the top.
How to prepare seed
To grow a high-quality crop, you need to sort out the seed material and remove all rotten, disease-infected, frozen, cracked, soft tubers. For planting, it is better to choose medium-sized potatoes 50-70 gr.
There are also the following methods of preparing seed potatoes before boarding:
- heating tubers in the oven or in the sun;
- germination in the light until sprouts appear;
- disinfection from diseases using potassium permanganate;
- wetting tubers in a fertilizer solution.
How to prepare a site for planting
Before growing potatoes on a personal plot, preparation is needed.
Preparing the soil for planting a crop begins with disinfecting it from fungal infections. You can achieve disinfection with solutions that are sold in specialized stores, or simply pour boiling water over the ground. You should also mulch the ground.
Proper watering
Potatoes are capricious to watering. Lack or excess of moisture can affect the yield. When the seed is in wet soil, it is not recommended to water the garden for 2 weeks... In the future, water in the heat under the bush, 2 liters once a week.
Potatoes don't like cold water. Therefore, watering should be slightly lukewarm water.
During the period of emergence of the formation of tubers should be watered more actively.
 When watering, there is a direct danger of overflow, since the planting material does not like active watering
Hilling potatoes
It is advisable to hilling potatoes twice with an interval of 10 days. The first hilling is carried out after planting, when the potato shrub has reached a height of 20 cm. Repeat the hilling after a short period of ten days. Forbidden conduct hilling in dry weather.
Top dressing
To get a rich harvest, you need to make additional fertilizing in the fall, feeding the land with organic and chemical additives. However, organic matter cannot be used if the land has been heavily attacked by insects or diseases before. Make an additive from humus, superphosphate, potassium sulfate.
Also an important procedure is liming. It must be carried out immediately after harvest. To do this, add dolomite flour or ash to the soil.
When planting tubers in the hole, you need to add humus 25 kg, ash 2 kg, superphosphate 1 kg, ammonium nitrate 0.5 kg per hundred square meters.
Harvesting and storage
Harvesting time directly depends on the selected potato variety and the timing of its ripening. The harvested crop must be properly preserved. The most important thing is that the vegetable does not start to sprout. Therefore, the following premises are chosen for storage:
- cellar... Airing the room to remove excess moisture plays an important role;
- on the balcony or in the closet... The main thing is that the storage t should not be higher than + 10C.
It is recommended to store the fruits in wooden boxes. Before storage, you need to sort out the potatoes and discard all damaged and diseased fruits. It is also important that the storage area is not exposed to direct sunlight.
How to deal with pests
Pests that most often attack the plant: Colorado potato beetle, wireworm, bedbugs. Insect control is carried out with the help of chemical solutions, which can be bought in the shops "Garden / vegetable garden".
Potato planting principles
The most important principle is to create favorable conditions for growth and nutrition planting material and keep it from diseases and pests. The vegetable also needs: sun, air, moisture, fertilizer. In addition, there are several secrets of how to grow a rich crop on your own.
How to plant potatoes in the country
In order to get a rich harvest in a small area, you need to thoroughly approach the choice of a potato variety. One of the fruitful varieties intended for a small area is the “Effect” variety.
It is also important to follow the landing rules. For a small area, the following methods are suitable.
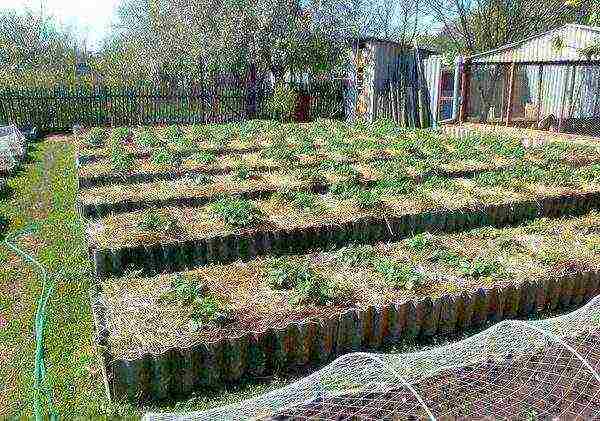
Under the trench
Way good for a site where the soil is sandy and is prone to drying out. In the fall, trenches should be dug 30 cm deep at a distance of 1 meter. Put a layer of hay 15 cm in the trench, sprinkle it with manure on top, add a little ash.
 Potato trench example
During the period of frost, the layer will be compacted. In the spring, planting material is laid out in the trench and lightly sprinkled with soil.
Advantages: The trench saves potatoes from frost, retains moisture well, gives a high yield.
Under the holes
For growing under holes it is recommended prepare the site in the fall: apply fertilizer, mulch the soil. In the spring, the tubers are planted by digging holes. With the help of pegs and cords, they create beds at a distance of 80 cm.
Sprouted tubers are placed in a hole at a depth of 8-10 cm, sprouts up. It is recommended to fertilize the top with compost and ash.
Advantage: The most popular and proven method.
 Landing in the holes
Under the ridges
If the soil in the garden is clay or soil, then planting under the ridges is suitable. The height of the combs is small - 20 cm, the distance is 80 cm. Combs can be done using agricultural technology... The planting material is planted in depressions located at the top of the ridges.
Advantages: Ability to use professional technology and save time and effort.
 Ridge landing
The secret to planting to get a good big crop
There are several more secrets to get a large harvest:
- the best place for planting a vegetable is a southern slope without trees nearby;
- it is better to plant several varieties of potatoes at once;
- reproduce by sprouts;
- plant in warm soil, pouring warm water over it.
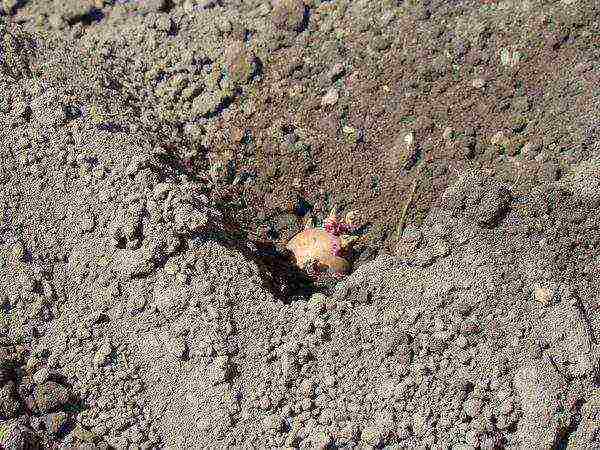
How potatoes grow in the ground
The sprouted tuber is planted sprout up. After that, the sprout actively begins to grow and emerge to the surface. The root system continues to develop in the soil. A root crop begins to tie on the roots.
To supply the tubers with starch, flowers appear on the bushes. Roots begin to grow in the soil, and when the green part of the plant begins to dry out and wither, you can dig up potatoes.
Tips: how to grow more in a small area
It is not advisable to plant potatoes on soil where the harvest after corn, pumpkin or sunflower was harvested in the previous year. It is useful to plant the vegetable after the legumes.
Regular weeding of the vegetable will increase the yield. But you cannot start weeding if the potatoes have not yet risen! There is a risk of damaging the sprouts.
Separate methods of planting potatoes for a large harvest
In addition to the basic methods of planting potatoes, there are the following:
- Meatlider method... It consists in the fact that the tubers are planted less often with a width of 45 cm at a distance of 1 meter. The tubers are planted in a checkerboard pattern;
- Dutch technology... The tubers are planted in high beds with a width of 45 cm at a distance of 80 cm. Fertilizers are also placed in the holes. In the process of leaving, the soil is constantly mulched, watered and fed;
- Gülich method... The plot is divided into square meters by meter. In the center of the squares, the soil is mulched and fertilized with compost. Then the tuber is planted sprout down, lightly sprinkling with soil.
After germination, the earth is poured abundantly and this procedure is repeated four times. A hill should appear from the soil. The method affects the development of the root system.
If you follow all of the above recommendations, you can significantly increase the yield. I wish you a rich harvest!
Potatoes have been a staple in our diet for many years. Besides the fact that it tastes good, it also contains many essential amino acids and is fast filling. It is not surprising that many gardeners set themselves the goal of growing a home crop of this vegetable. And the goal implies questions. Let's figure out how to grow potatoes at home.
Potato growing methods at home
Growing methods
The first step is to choose a growing method. Today there are many options:
- seed growing;
- tuberous;
- from parts of the fruit.
Seminal
Planting seeds is a great alternative solution. If you choose this option, it is recommended to buy seeds from specialized stores, otherwise you risk the quality of the crop.
Seed potatoes sprout a little later than when planted with tubers, but the plants are stronger and the yield of such a plant is much higher.
Tuberous
The most common options are planting whole tubers. Seed material is chosen of medium size, the tubers should be approximately the same in size and always of high quality (without rot and damage).
From parts of the fruit
When cutting a potato, you need to leave at least 2 eyes on each half. It is important to ensure that the eyes are fully formed, otherwise the plant will not sprout for a long time, and will be more prone to cold and disease.
Preparing for landing
Growing potatoes at home is easiest to do according to the classical method.
It is recommended to prepare the soil in the fall. Before planting, the land is cleared of weeds and pests. Then it is dug up and fertilized with manure, compost or purchased fertilizers with phosphorus and potassium. In case you have heavy soil, for a good harvest you need to add ash or lime in the fall.
It makes no sense to use nitrogen fertilizers until spring, as they quickly dissolve. But when plowing in the spring, they are a must. Urea can be used as such a top dressing.
Landing methods and technologies 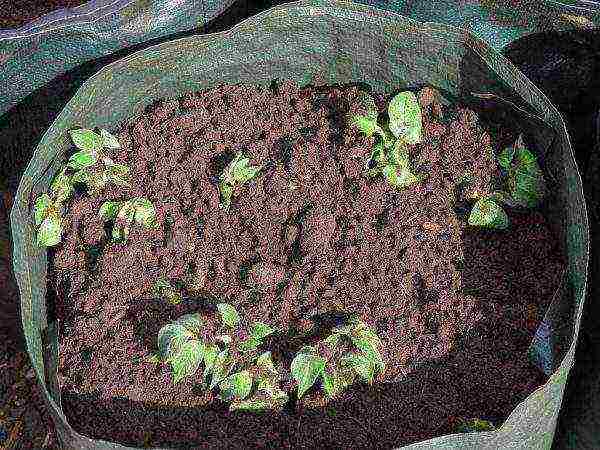
Seedlings in a bucket
The abundance of methods for growing potatoes at home allows you to choose the option that suits you best. The most common method to grow potatoes is hole potatoes. All gardeners are familiar with him. But it is worth paying attention to other technologies:
Dutch method
It means planting prepared tubers ten cm deep and covering them with earth after sprouts appear. In fact, the method is not particularly different from the classical one, but such a technology better protects the plant from frost, and therefore increases the yield.
In the straw
This method will provide the moisture necessary for the vegetable, therefore it is optimal for arid areas. Tubers are laid out on the prepared moist soil, and a 30-centimeter layer of straw is superimposed on top. The appearance of mice is likely.
Slide
Finished tubers are planted in the form of a circle in the holes with fertilizer. Above, an earthen embankment is created with a depression necessary for irrigation.
Without beds
It is used if there is not enough space to create full-fledged beds. A pit, 50 cm deep and a meter in diameter, is covered with humus, on which potato tubers are placed.From above, they are covered with compost and watered. Periodically, you will have to add humus.
Under the film
The entire area allocated for planting potatoes is covered with a thick film with incisions. Tubers are planted in them at a standard depth and watered if necessary.
Without hilling
If you don't have time to properly care for your garden beds, this method is for you. Seedlings can be grown in cold weather, planted in the ground at the first heat. The harvest appears very quickly.
In containers
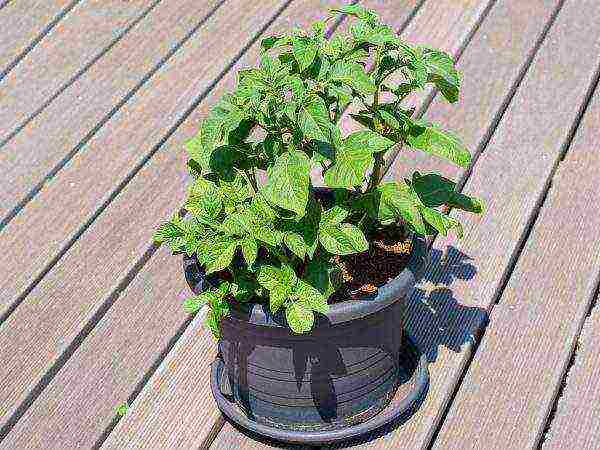
Methods of growing potatoes in bags, boxes, barrels, buckets are often used. It is desirable that the container is large enough. The improvised garden bed should be in a well-lit place.
This method is ideal for city dwellers. Vegetables can be grown in pots or buckets right on the balcony. The main thing is that the land is light and fertile. You can buy a pack of earth at a flower shop.
Watering the plant with this technology should be regular, but not flooded. For top dressing, which is carried out no more than 1-2 times a week, it is best to buy ready-made mineral approvals. If the plant lacks nutrients, it will begin to take on an unhealthy color. Pay attention to this.
Garden bed care
Proper care and good conditions are the key to a generous harvest. A few weeks after planting, you need to start caring for the beds. Let's figure out what are the benefits of the basic procedures.
| Procedure | How is | What is it for |
| Loosening | Rake. A couple of cm deep. | Helps kill small weeds and provides oxygen. Best done after rains. |
| Hilling | A hill of earth is scooped up to the tops. Sprayed with water and covered with dense material. | For the first time, you need to do it when the tops grow by 12 cm. The second time - after 14 days. Helps protect the plant from frost and disease. |
| Watering | It is watered additionally if there is no rain, or when growing in an apartment. | A crop needs moisture to grow well. But in no case should the earth be poured until puddles form. |
| Top dressing | Fertilizer is diluted in the correct proportions in the water. | For better and faster growth. |
Disease prevention
Typically, treatment is carried out about five times over the entire period. The first step is prevention, because it is easier to save a plant from disease than to cure it. Be sure to carefully monitor the appearance of pests.
The most common problem for gardeners is the Colorado potato beetle. This outwardly cute insect eats the leaves of the crop, preventing it from growing well, and then killing it altogether. Experienced gardeners say that the best way to deal with Colorado is to pick them by hand. But this method is not very reliable. You can always lose sight of the bug and then all the work done will be in vain. It is better to carry out chemical treatment, adhering to safety rules.
The wireworm is a pest that you will not encounter if you have been preparing the ground in the fall. Plowing brings the bugs to the surface and they die from the frost.
Useful Tips
Despite the huge amount of information on the network, many novice gardeners have questions that we will try to answer.
How to bury tubers
It is important not to throw the tuber at random, but to plant the side with the largest number of eyes up. The depth depends on the type of soil: if it is heavy, then you should not bury it deeper than 5 cm; if easy - all ten.
Which tubers are suitable for planting
It is necessary to select beautiful, even fruits. If there is a shortage, you can cut the fruit, but only keeping at least 2 eyes on each part. It is better to moisten the knife in potassium permanganate before cutting.
At what distance to make holes
The standard fit is 30 cm apart and approximately 60 cm between rows.
When to start planting
Usually they start planting a vegetable in April, when the air temperature warms up to ten degrees Celsius.It is important to see if there will be frosts soon. If, nevertheless, frost occurs, hilling helps to save the plant.
The secret of accelerated growing of potatoes / Bucket from a bush / How to germinate potatoes correctly
Secrets of growing potatoes
Potatoes. From seeds and sprouts. Growing at home. Part 1
Growing potatoes in winter on a window in 60 days.
Conclusion
You may or may not like potato crops, but it is a really important staple in the diet. It surpasses our favorite vegetables in many ways: it is rich in potassium, which supports the cardiovascular, neuromuscular systems, and the correct water balance; it contains a lot of vitamins C and B, as well as various amino acids. With the help of juice, you can improve the general condition of stomach ailments.
Fortunately, everyone can have their own harvest of such a vegetable. It is enough to have a great desire and minimal costs.
Similar articles
Reviews and comments


