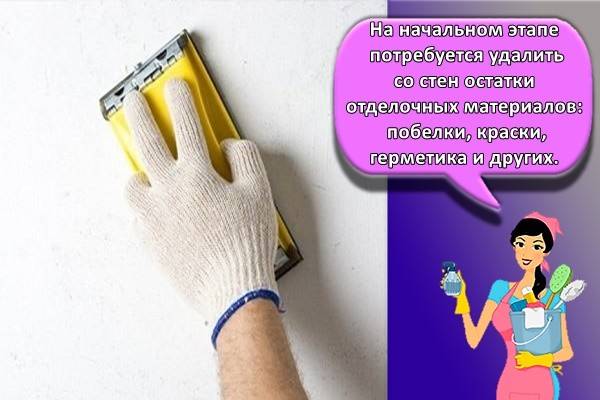
Purpose of wall grinding
Surface sanding is the work that follows the plastering process and consists in smoothing out irregularities in the dried layer.
Plastering the surface of the walls pursues the following tasks:
- insulation of the premises outside and inside the building with an additional sand-cement or gypsum layer;
- patching up irregularities, cracks, chips on the surface;
- giving an aesthetic appearance;
- preparation for subsequent design processing;
- an obstacle to moisture permeability, the development of fungus, the creation of additional adhesion, sound absorption and other things.
 Wall sanding is performed before applying the topcoat
The plaster mixture is a cement-sandy, gypsum, limestone, magnesian composition, including various large and small fractions that cannot be dissolved (that is, they are not able to turn into a perfectly smooth mass). For this reason, high-quality sanding of the walls after putty is always required.
Often in professional terminology, the words "grinding" or "sanding" are found. You need to know that such definitions are synonymous words. Their practical significance is reduced to one function: leveling the plastered surface to perfect smoothness.
 Sanding the walls must be done.
Surface treatment after sanding
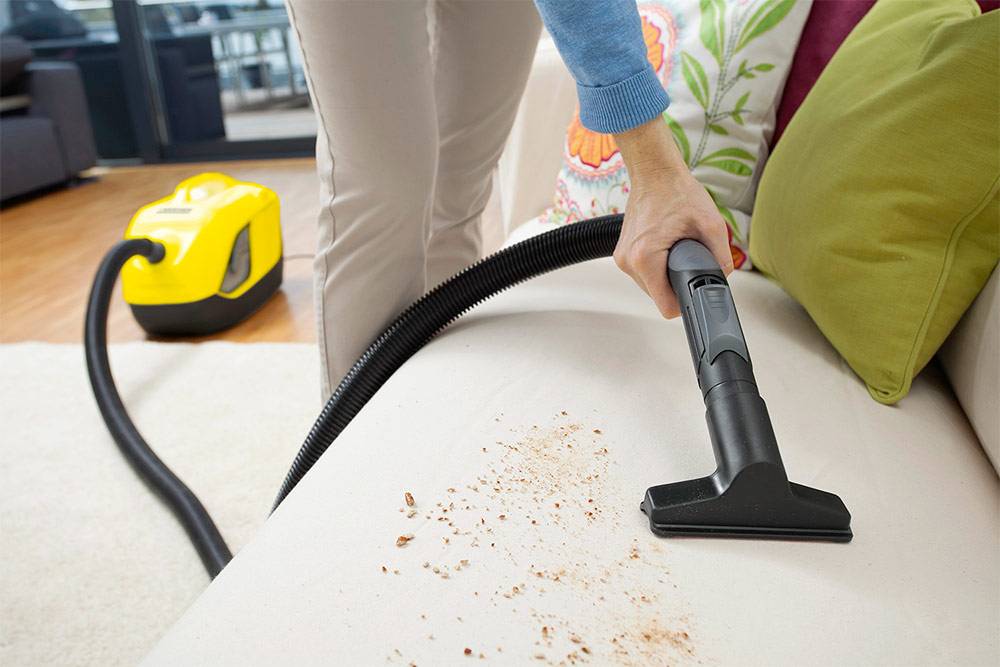
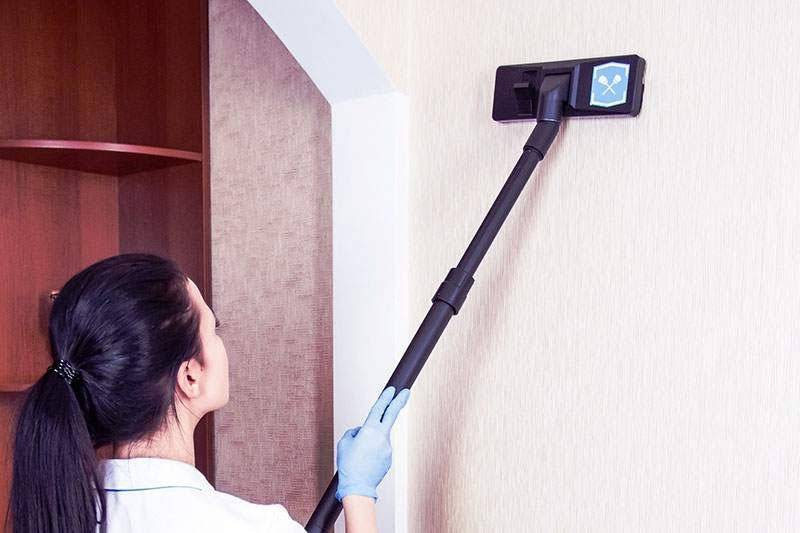
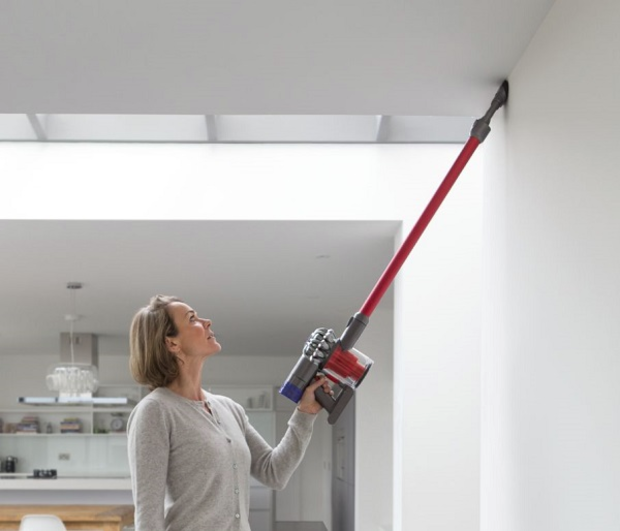
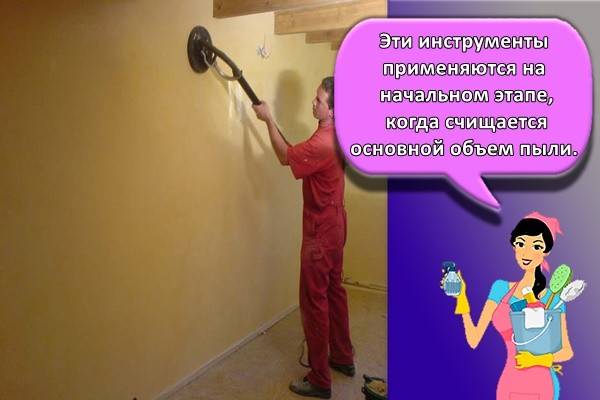
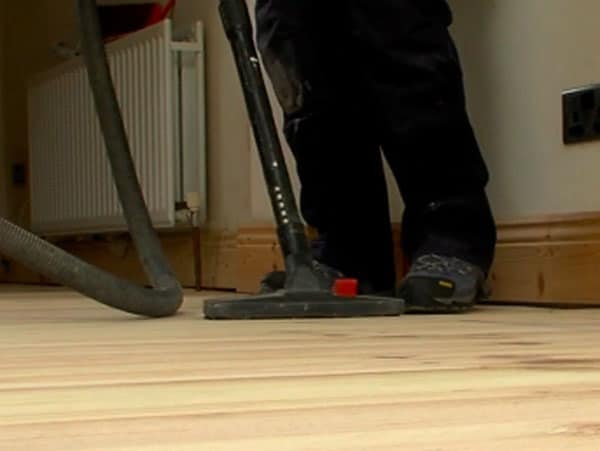
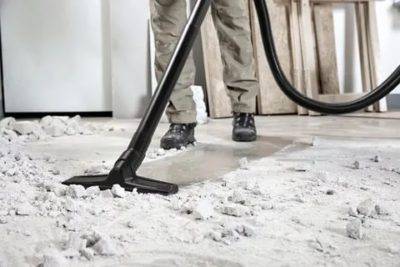
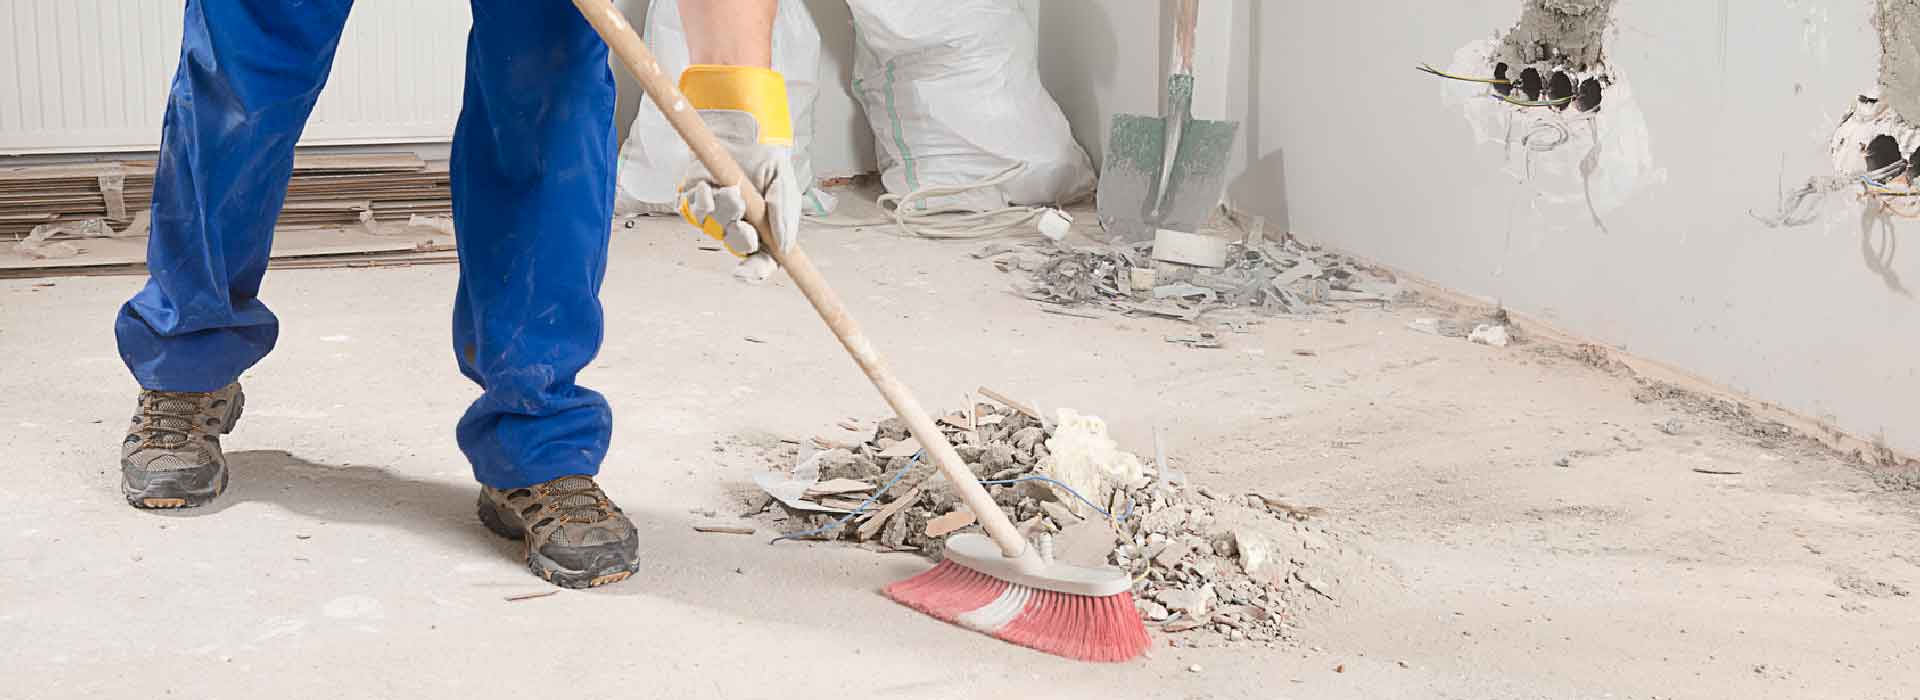
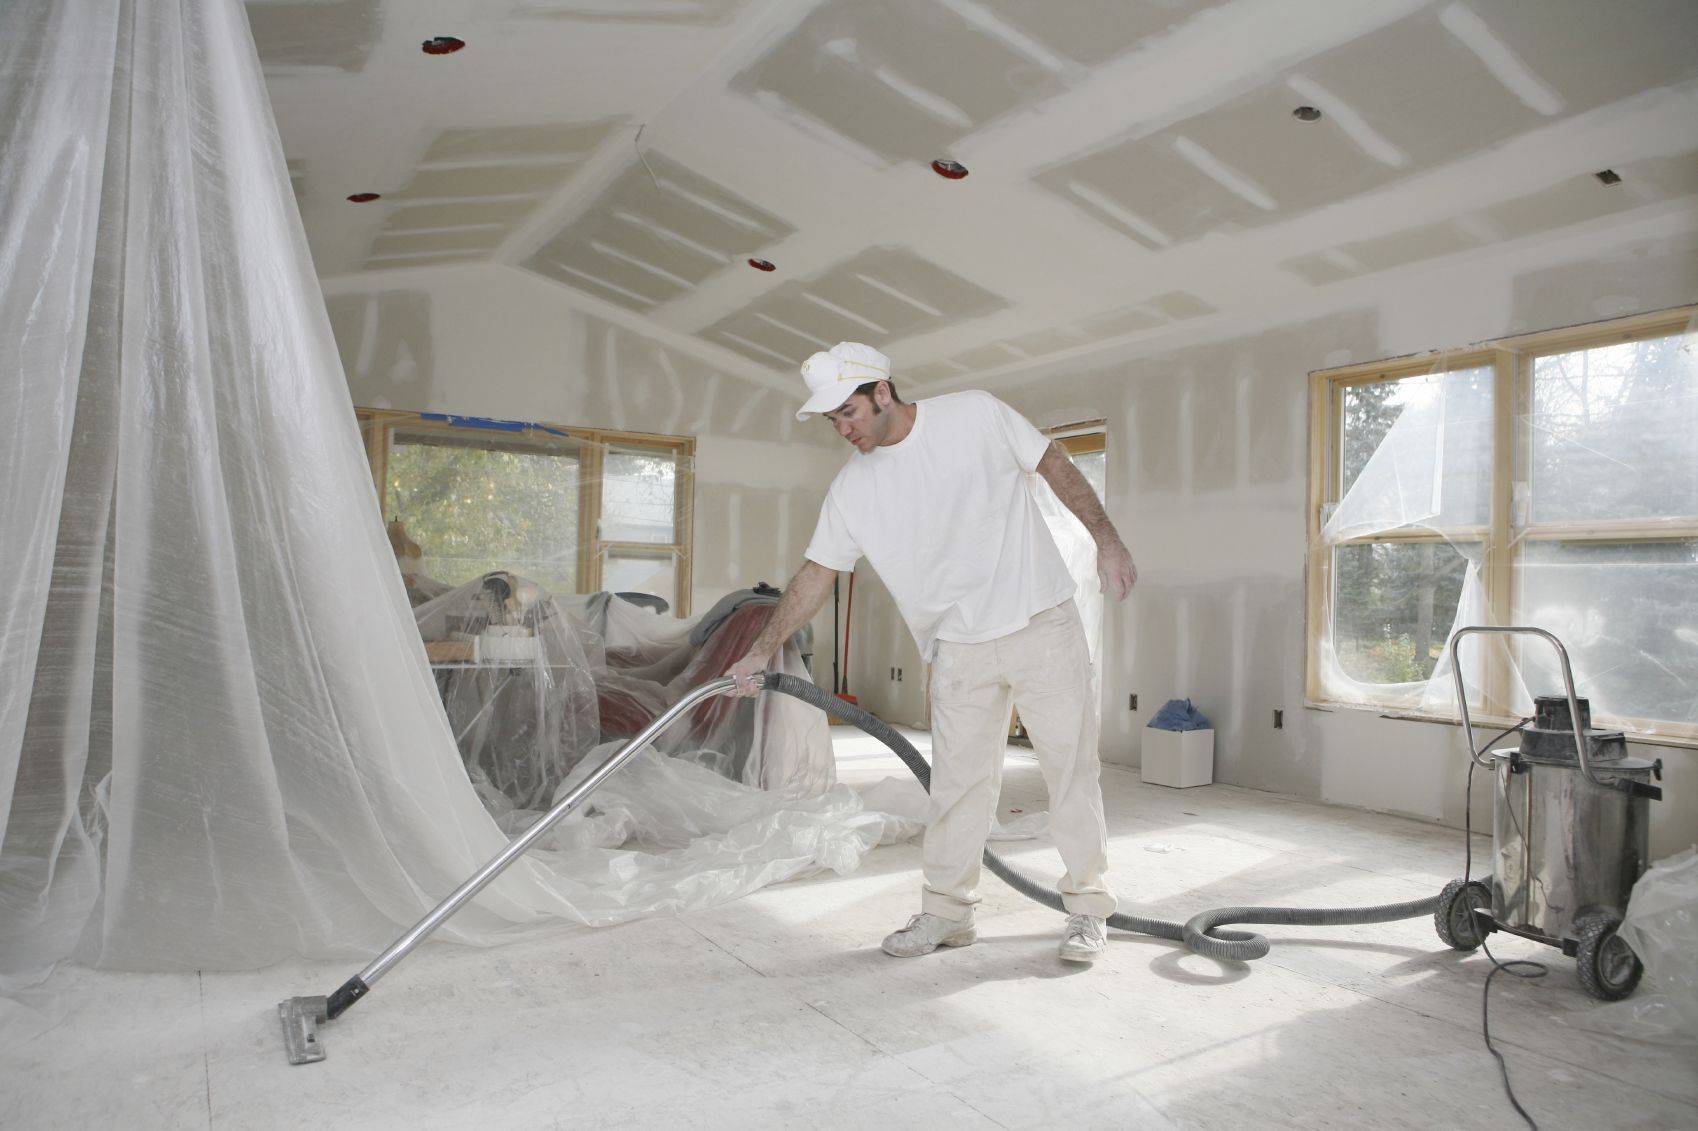
After surface treatment, it is impossible to proceed with further finishing immediately. First you need to remove all the construction dust that has settled. on walls and ceiling in the process of grinding. To do this, you can use a tool such as a construction vacuum cleaner.
You need to walk around the entire perimeter of the surface and carefully remove all dust. If it later mixes with paint or wallpaper glue, lumps and breasts may form.
The second method of cleaning surfaces from dust does not require the use of a special tool, therefore it is the most acceptable in many cases, although it is much laborious. The methods used are represented as follows:
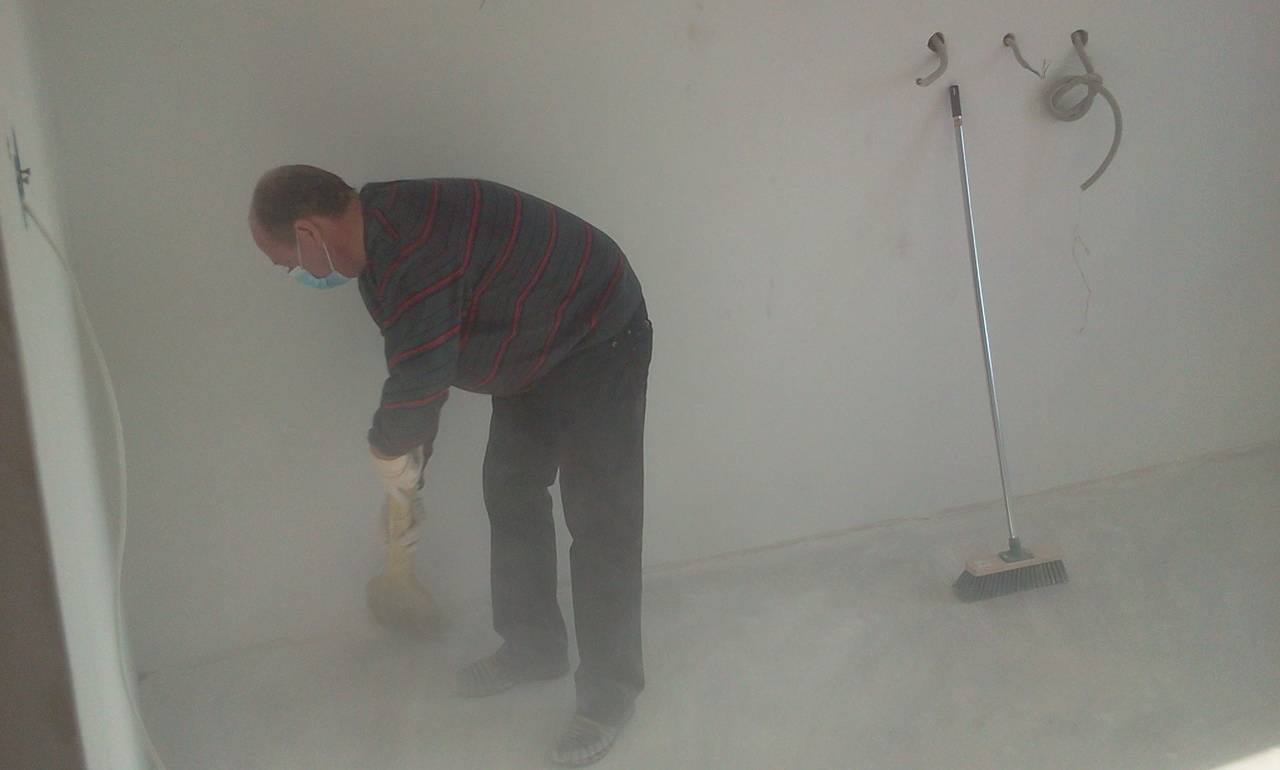
- Use a wide, soft-bristled brush to remove as much dust as possible. You can use a regular broom. The main thing is not to press hard, since the putty is a very plastic building material.
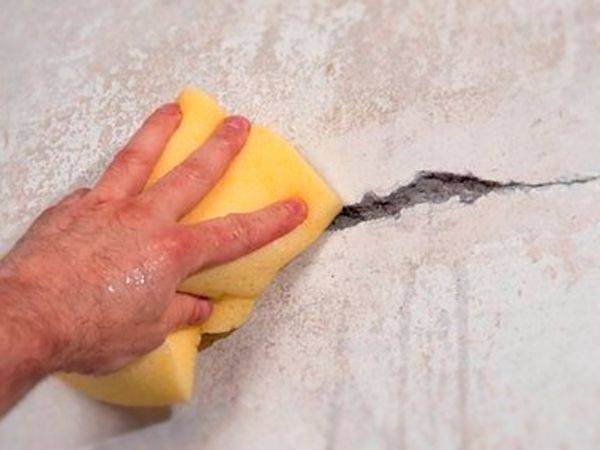
- This is followed by a secondary cleaning process. Soak a rag in cool water and squeeze well. Run the cloth over the walls and ceiling. Textiles should not fade, otherwise traces and stains will remain, which can later appear through the paper layer or paint.
- You need to wait until the putty is completely dry, and only then proceed with further finishing. In order not to wash out the building mixture, the fabric should be slightly damp.
In any case, dust must be removed completely to avoid corrosion of secondary building materials. It is not necessary to operate solely with a rag, since it is almost impossible to remove dust in this way.
After cleaning, you need to proceed with further actions: priming and treatment with antifungal agents.

High-quality sanding and further processing before finishing is the key to a successful repair. The sanding surface can be several types of sandpaper or mesh.
Sanding after filling the walls must be done without fail, as this solution will be an ideal option for a good basis for renovation work. Even if the alignment was initially poorly made, then with the help of further finishing it is possible to visually compensate for this defect. To carry out such a procedure, that is, to wipe the putty, perhaps without the involvement of specialists - self-processing is quite suitable.
Wall grinding technology
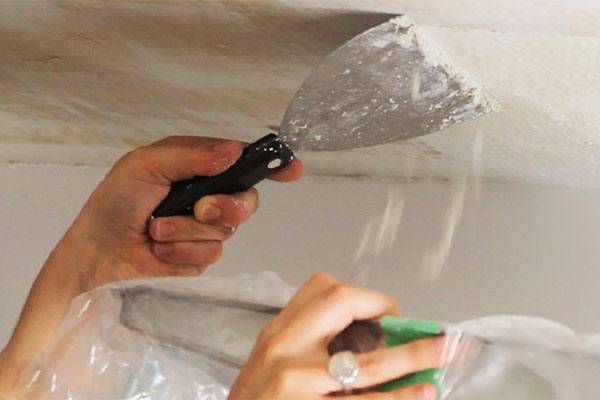
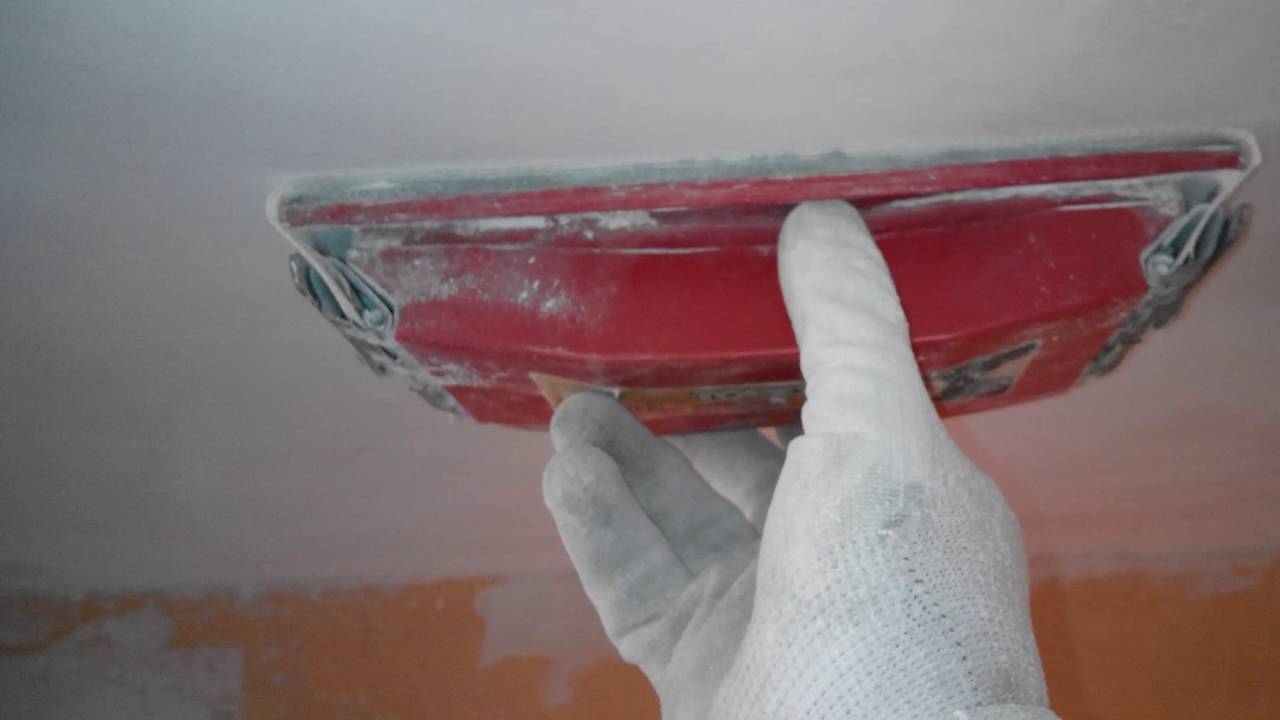
In the first step, use a spatula to go over the entire surface of the wall.Remove bumps, all kinds of protrusions, nodules. If you find large depressions or pits, fill them up, do not try to remove them by sanding.
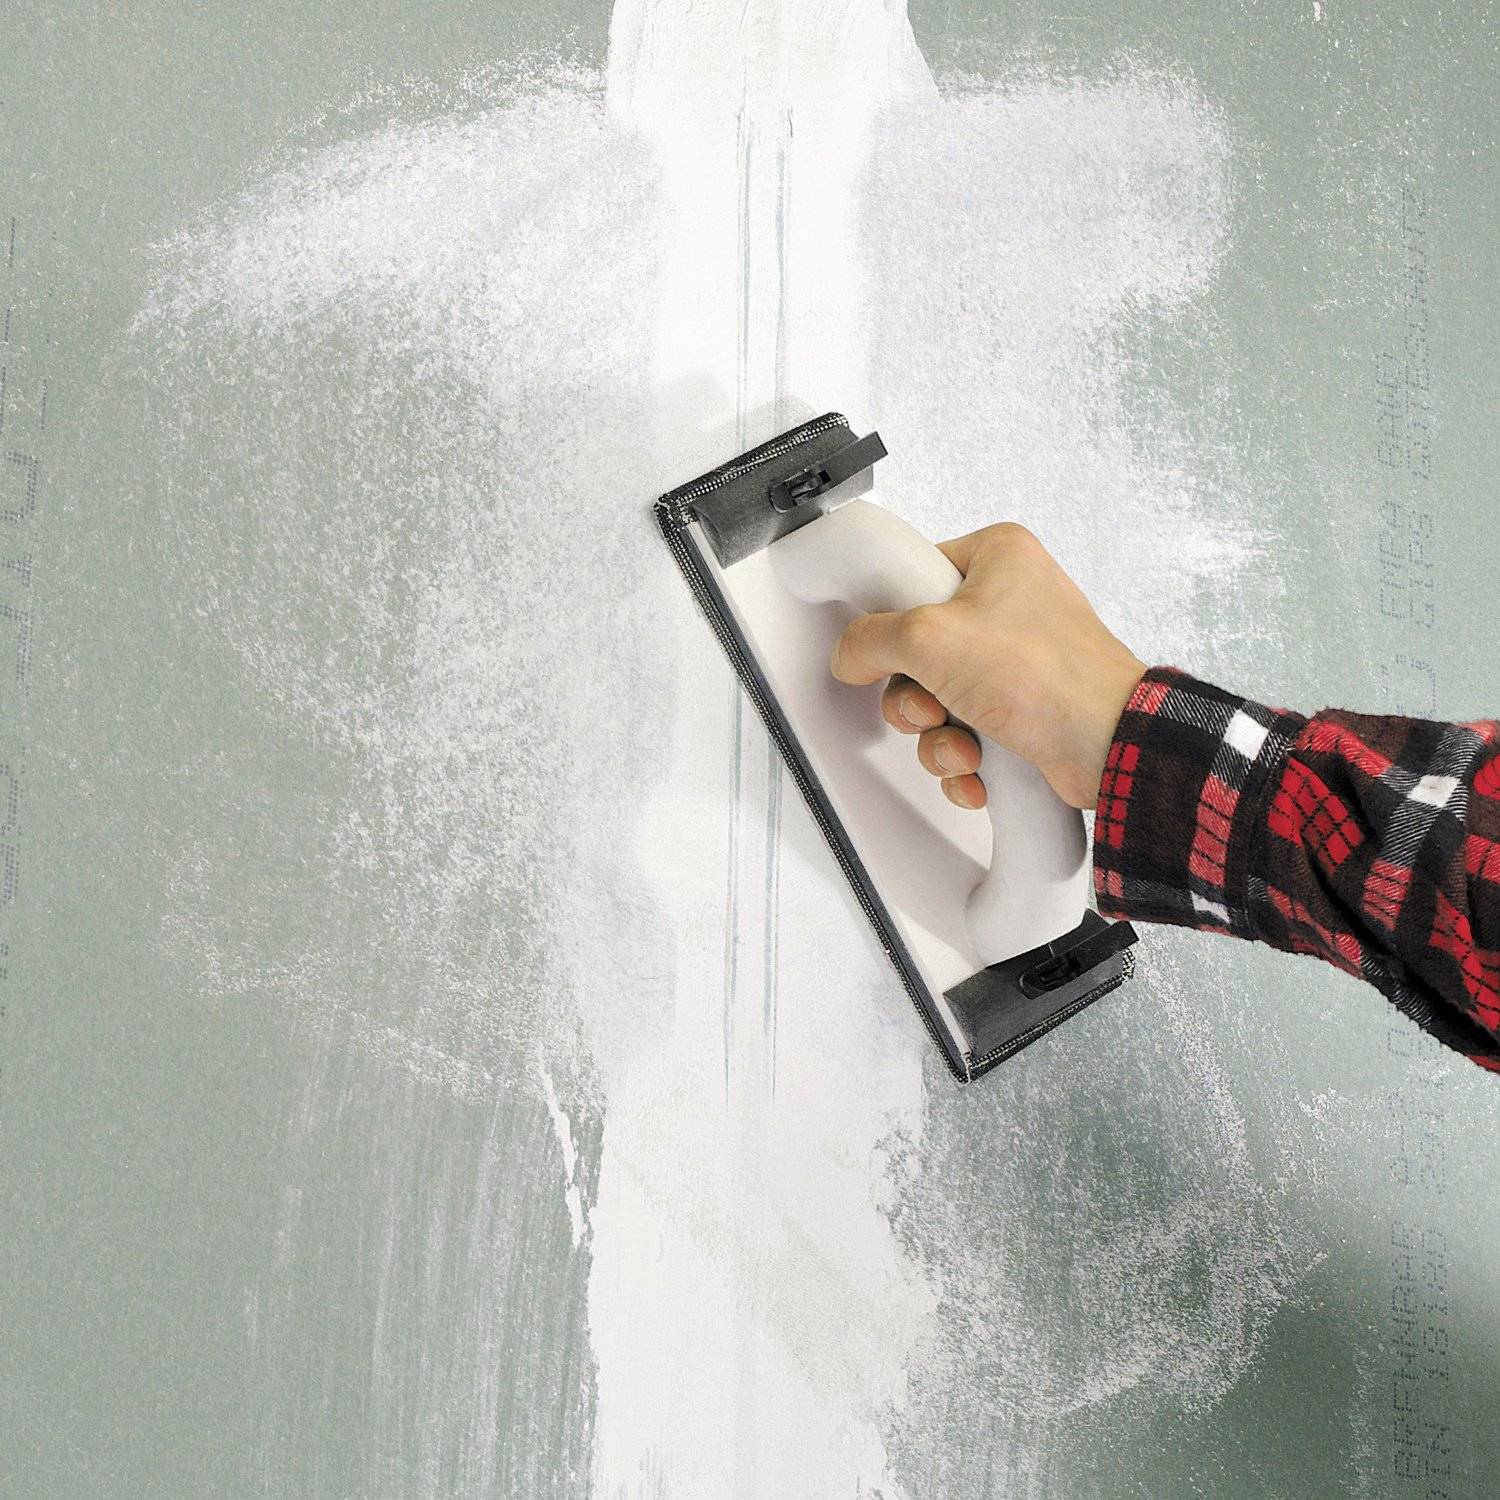
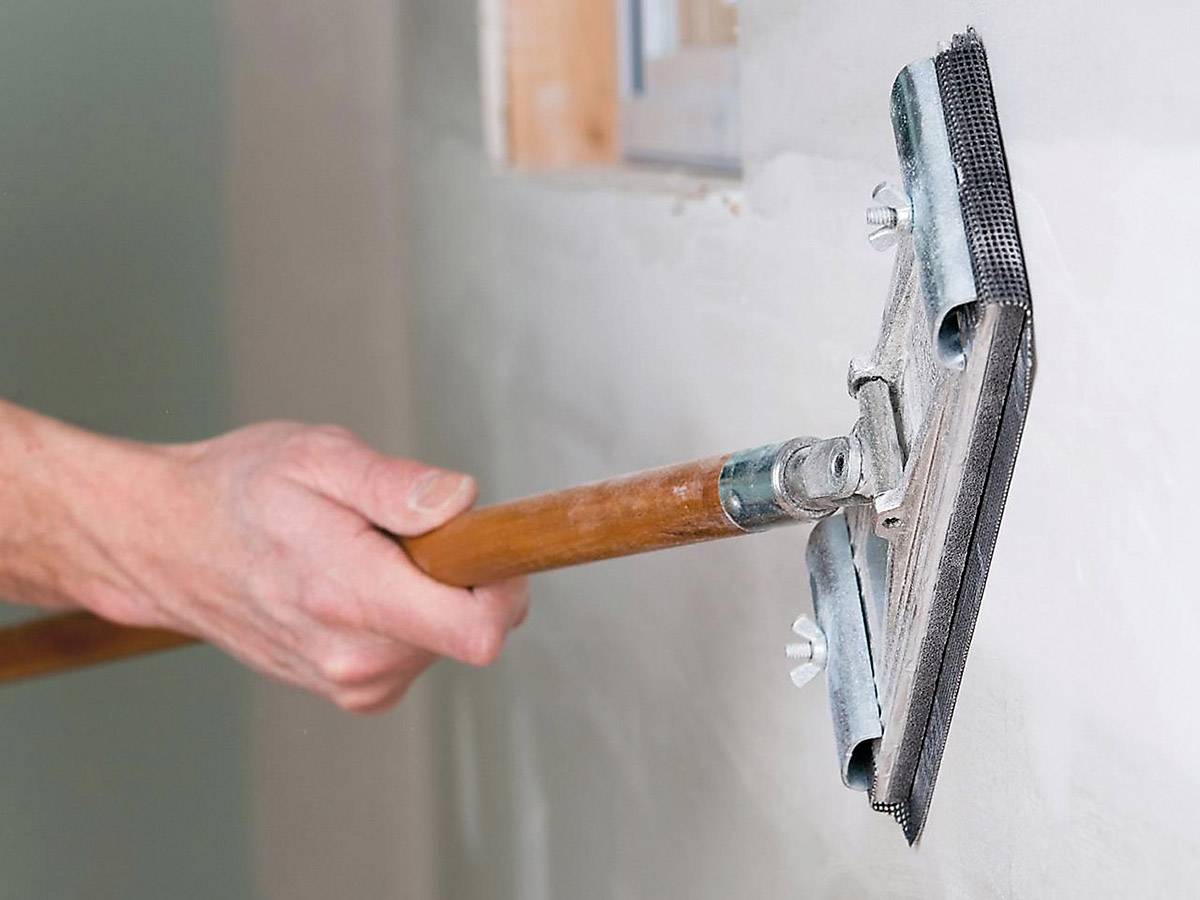
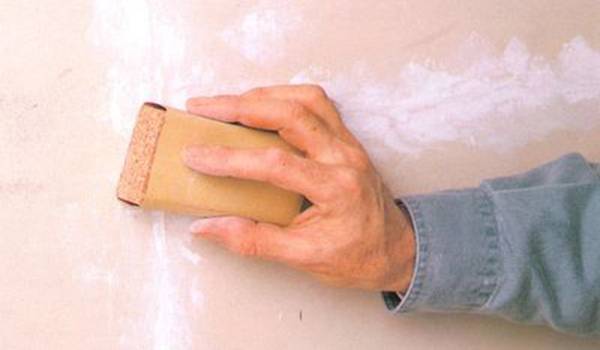
The second stage includes surface treatment with coarse sandpaper or sanding mesh. The consumable is attached to a sanding block.
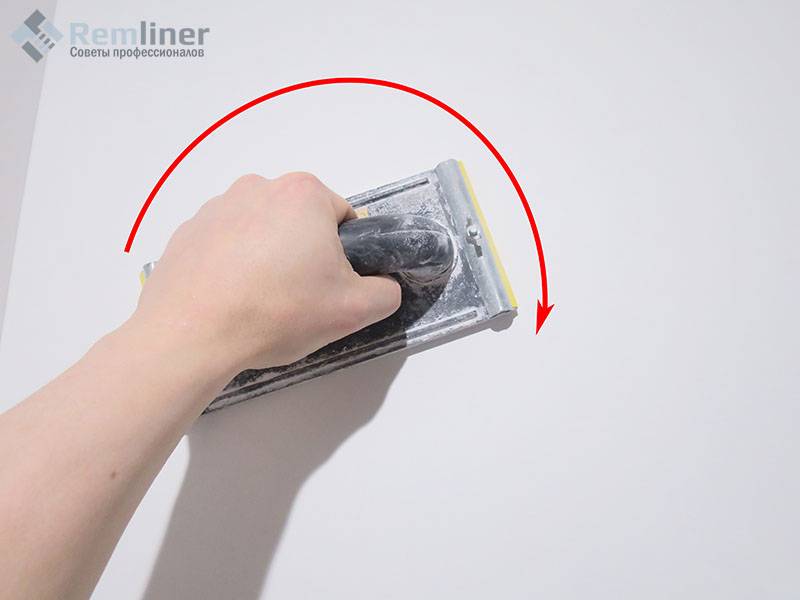
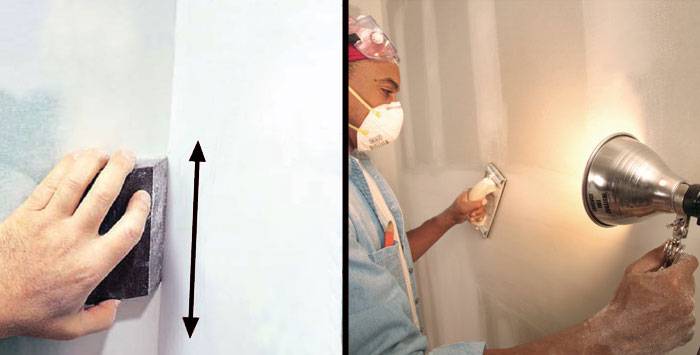
Surface grinding is carried out from top to bottom, processing small areas with rotary movements. The size of the plot should not exceed 1 × 1 m.
It is better to grind from top to bottom in strips no wider than 1 m. Hand movements during grinding are performed in a circle, but you can also move up and down or left and right.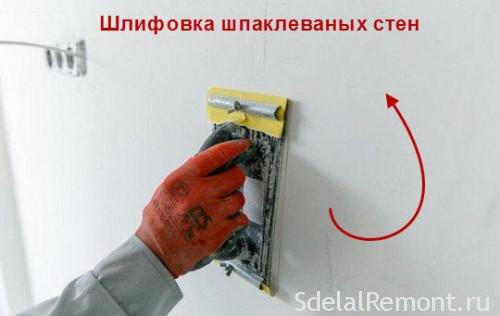
Do not press hard on the tool and sand in one place for a long time. You can wipe off the entire layer of putty.
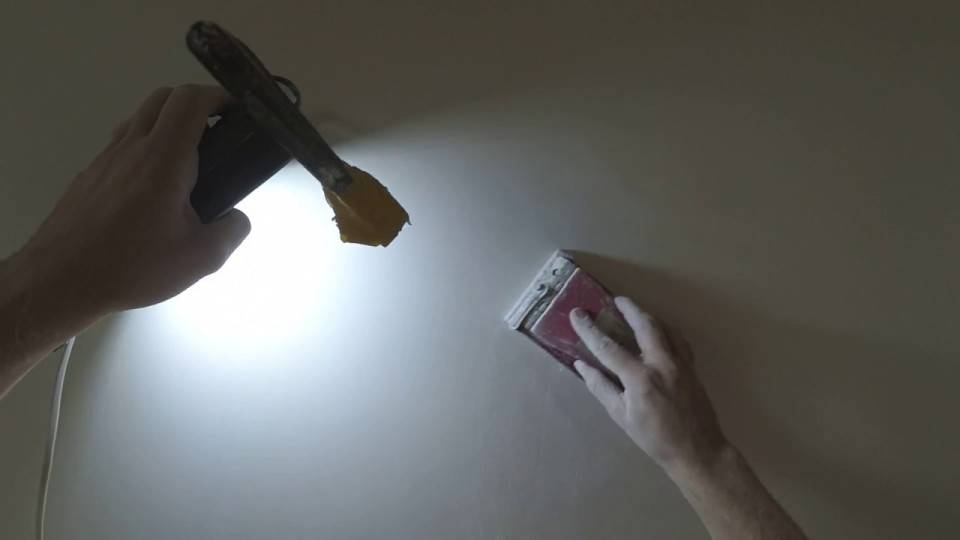
After sanding the entire surface with a coarse abrasive, continue sanding with fine sandpaper. When using finer emery material, be sure to bring the light source as close to the wall as possible.
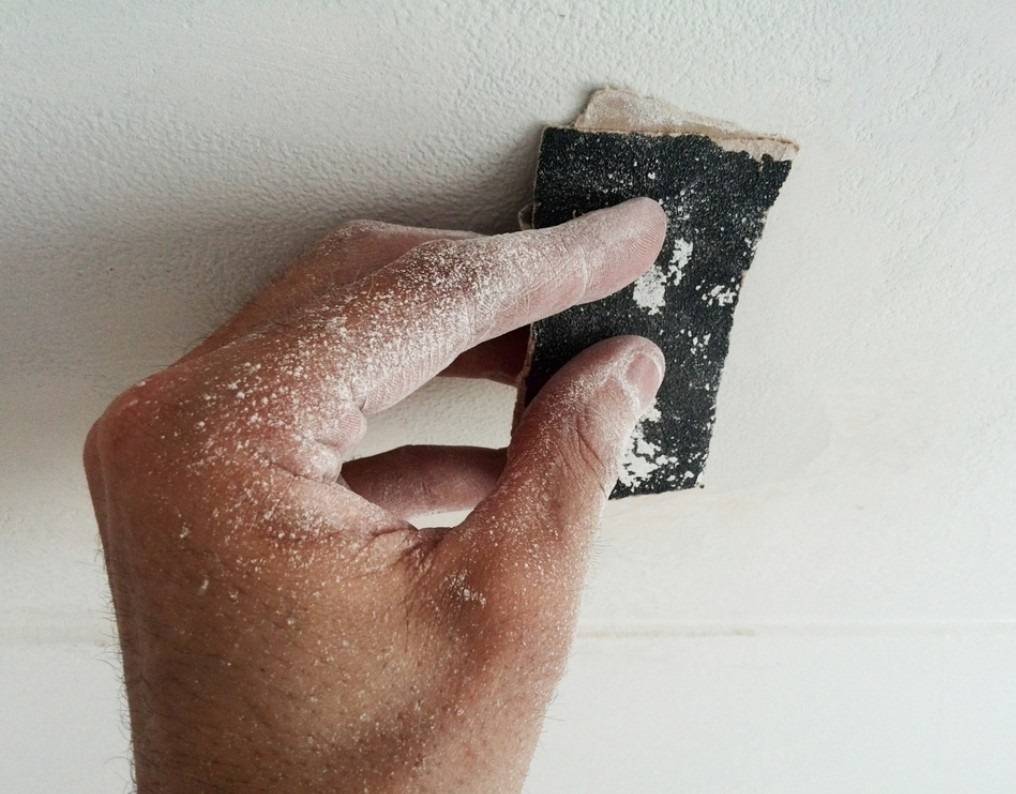
Hard-to-reach places are sanded with sanding sponges or the old-fashioned method, folded in several layers with sandpaper.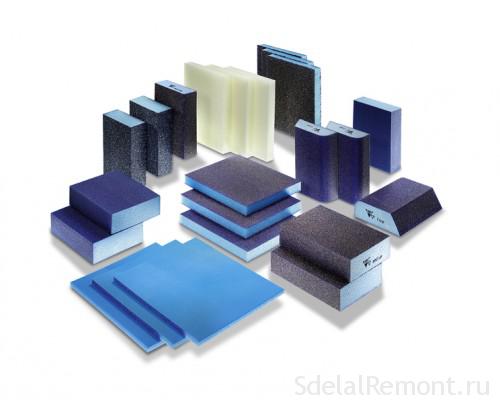
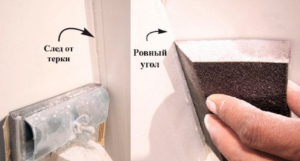
Never work corners or hard-to-reach places with a skin trowel. You will only spoil the surface.
If the abrasive material leaves scratches, choose a finer sandpaper. Under the wallpaper, slight scratches are allowed on the sanded surface after putty. But for painting, the surface of the walls must be absolutely flat. Read how to prepare a wall for painting.
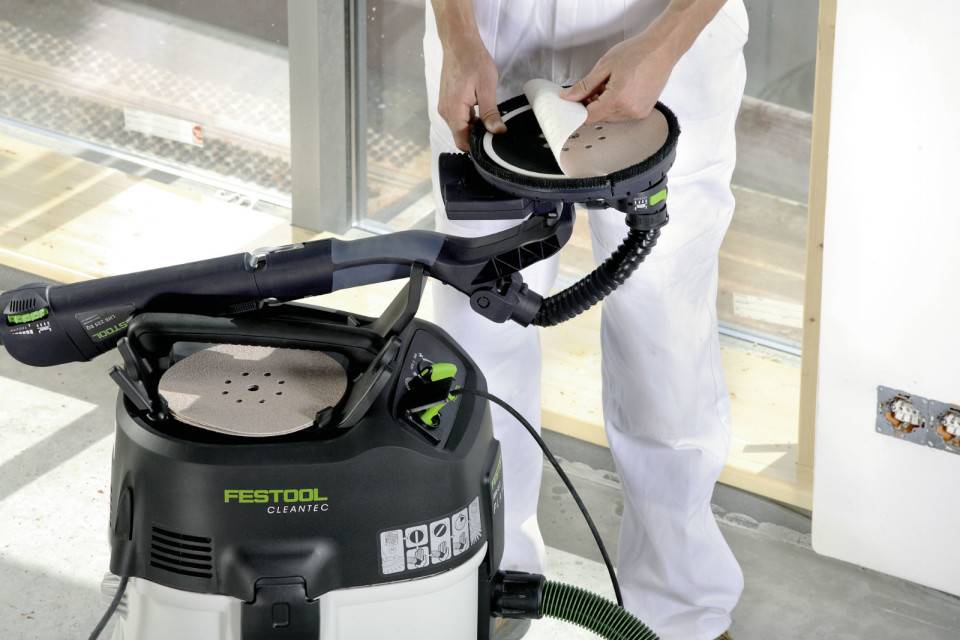
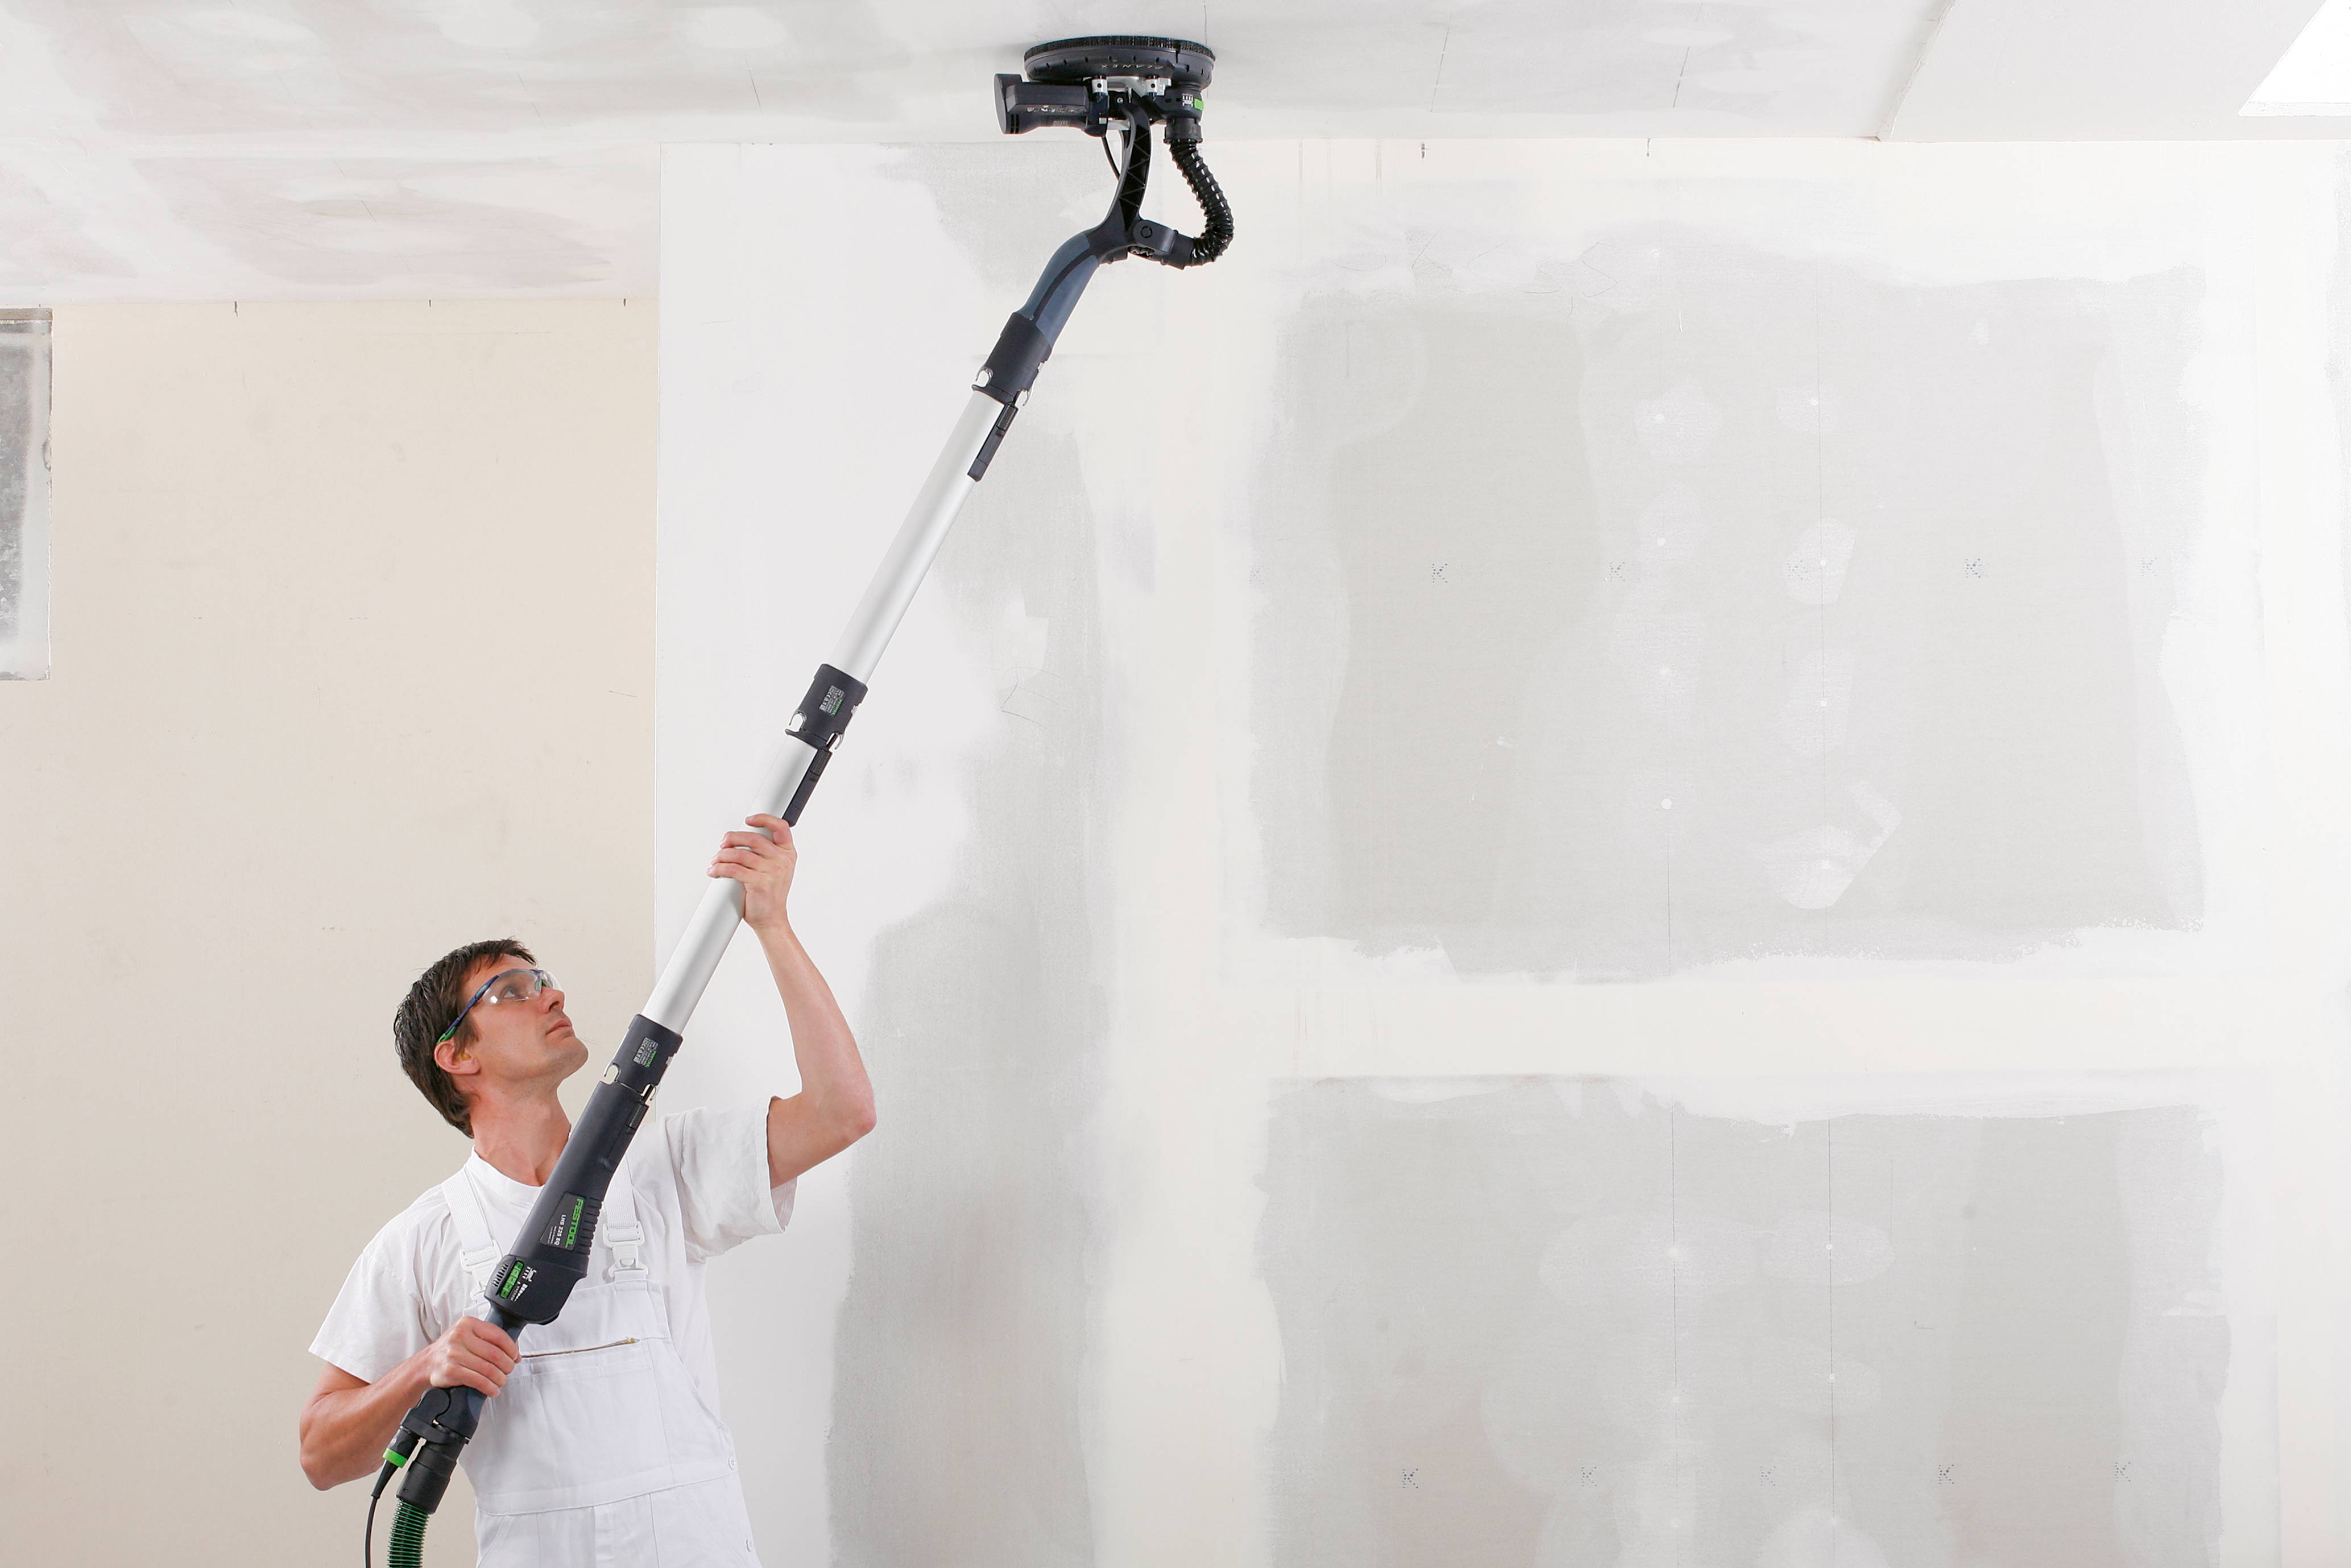
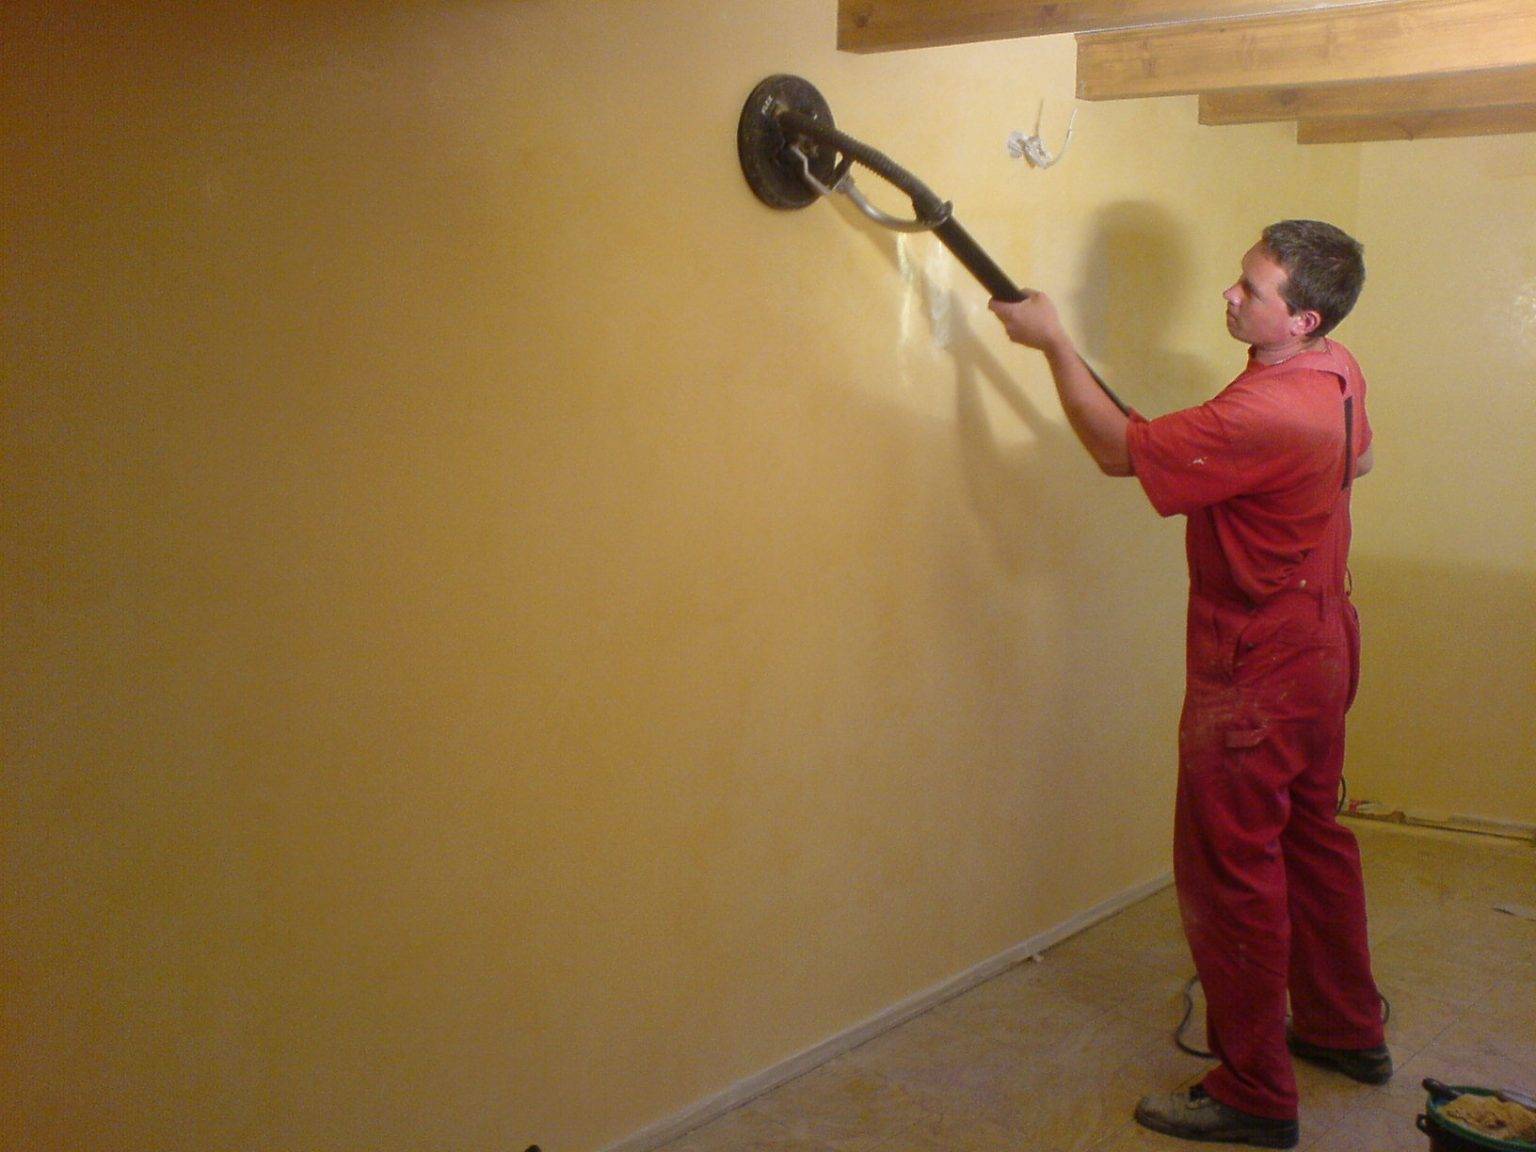
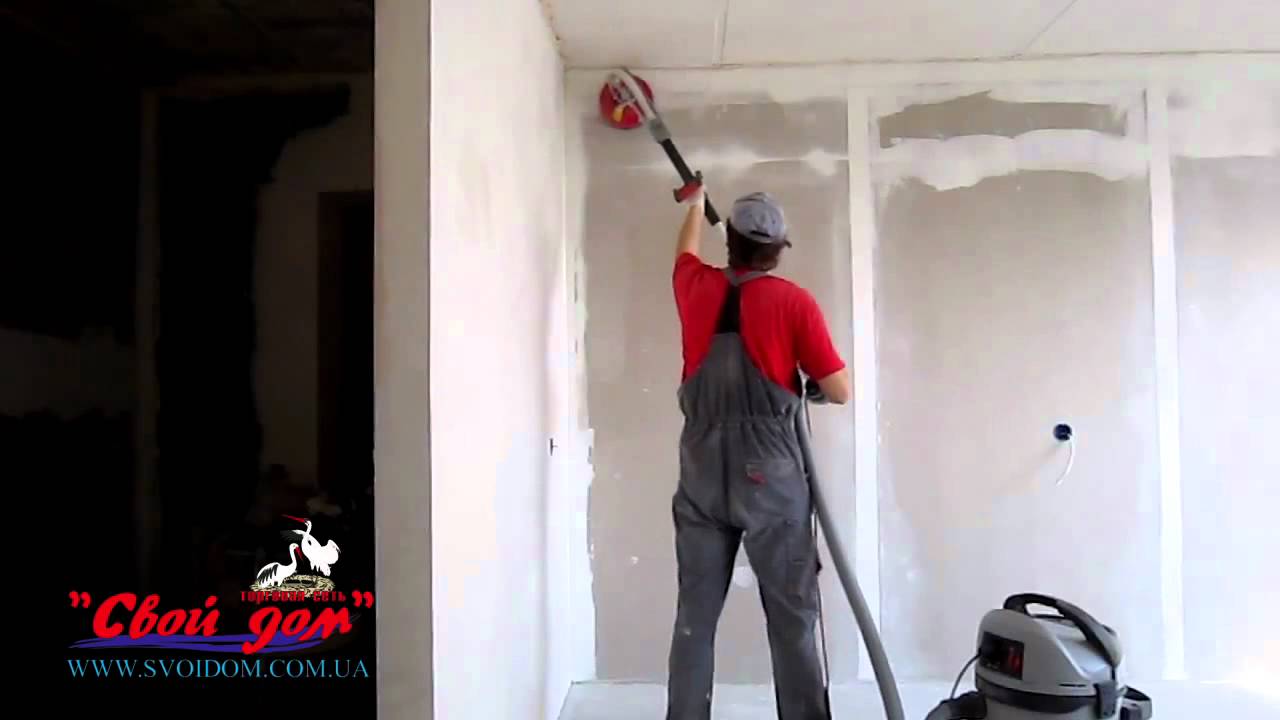
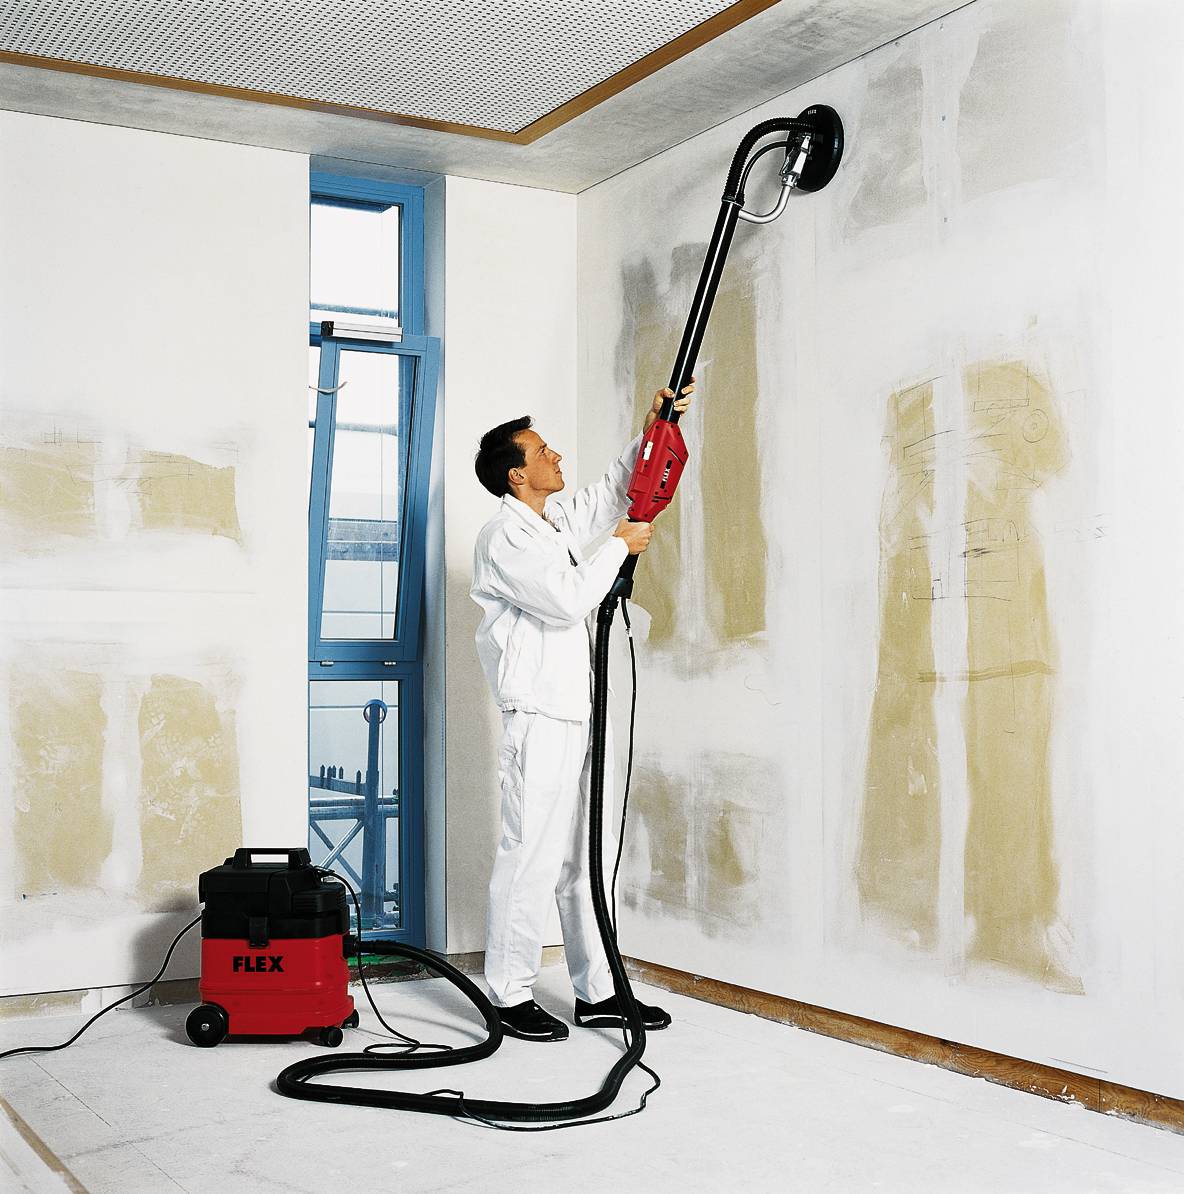
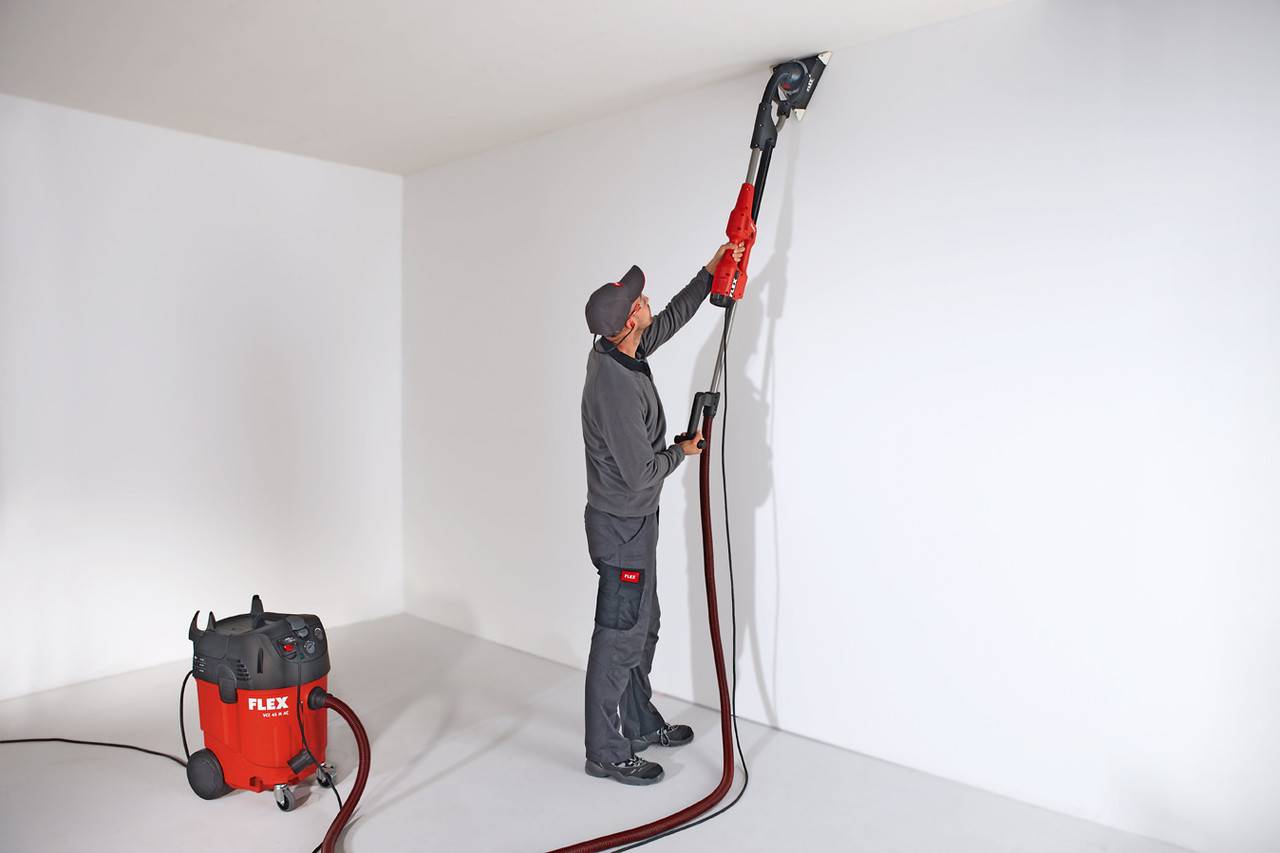
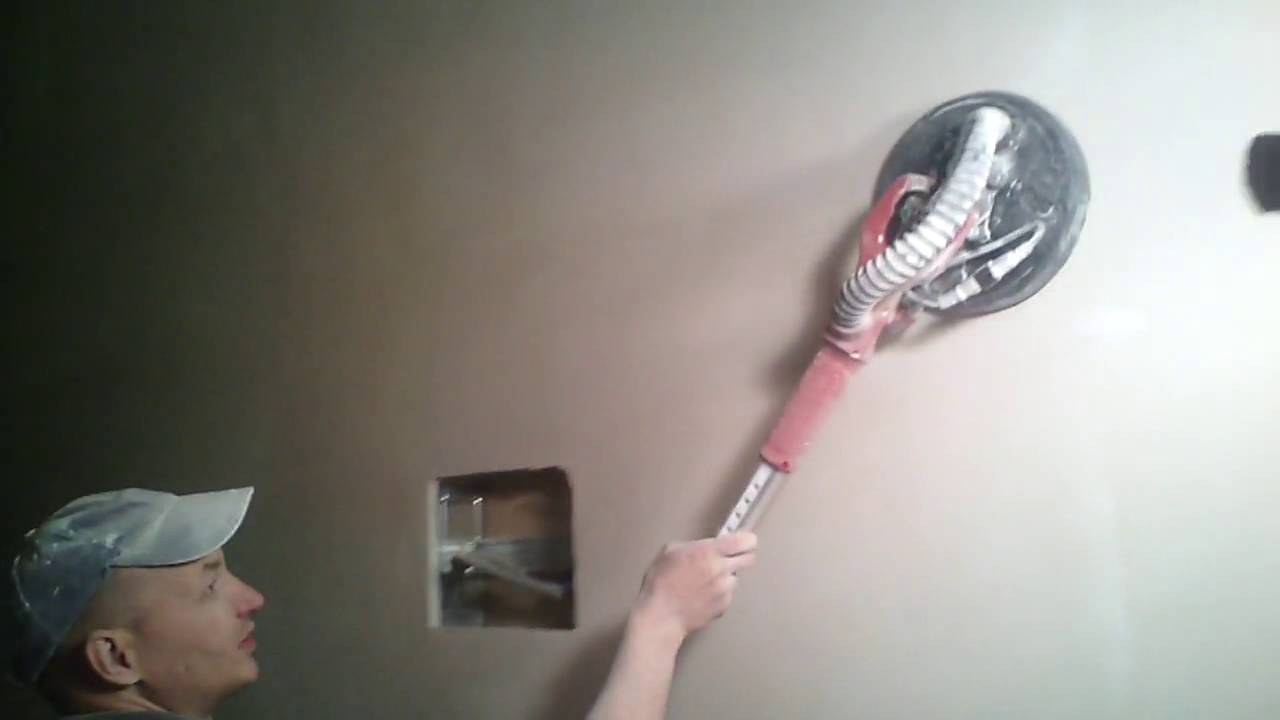
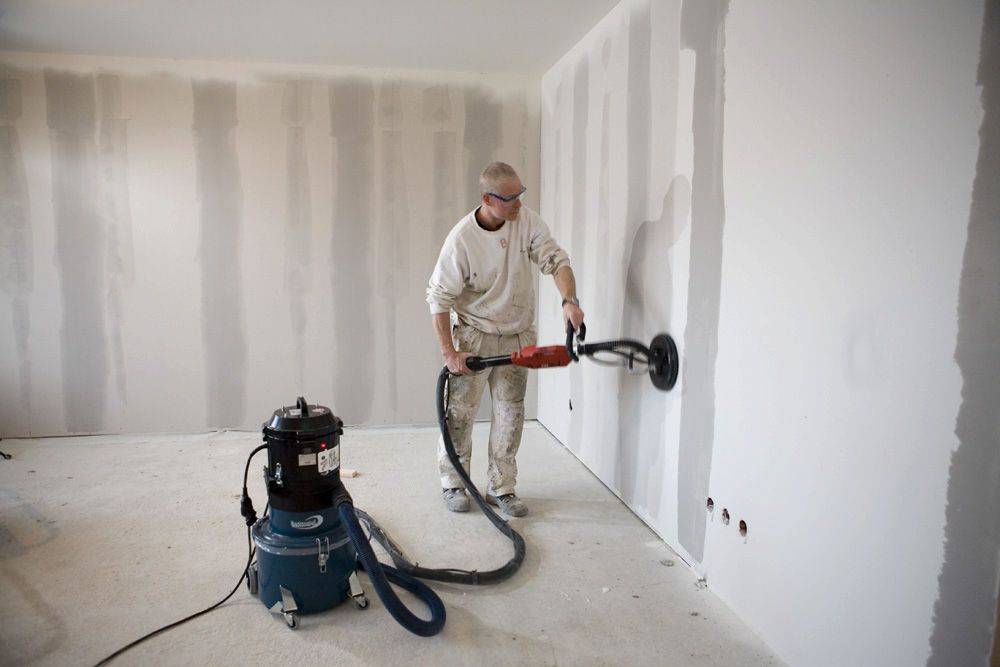
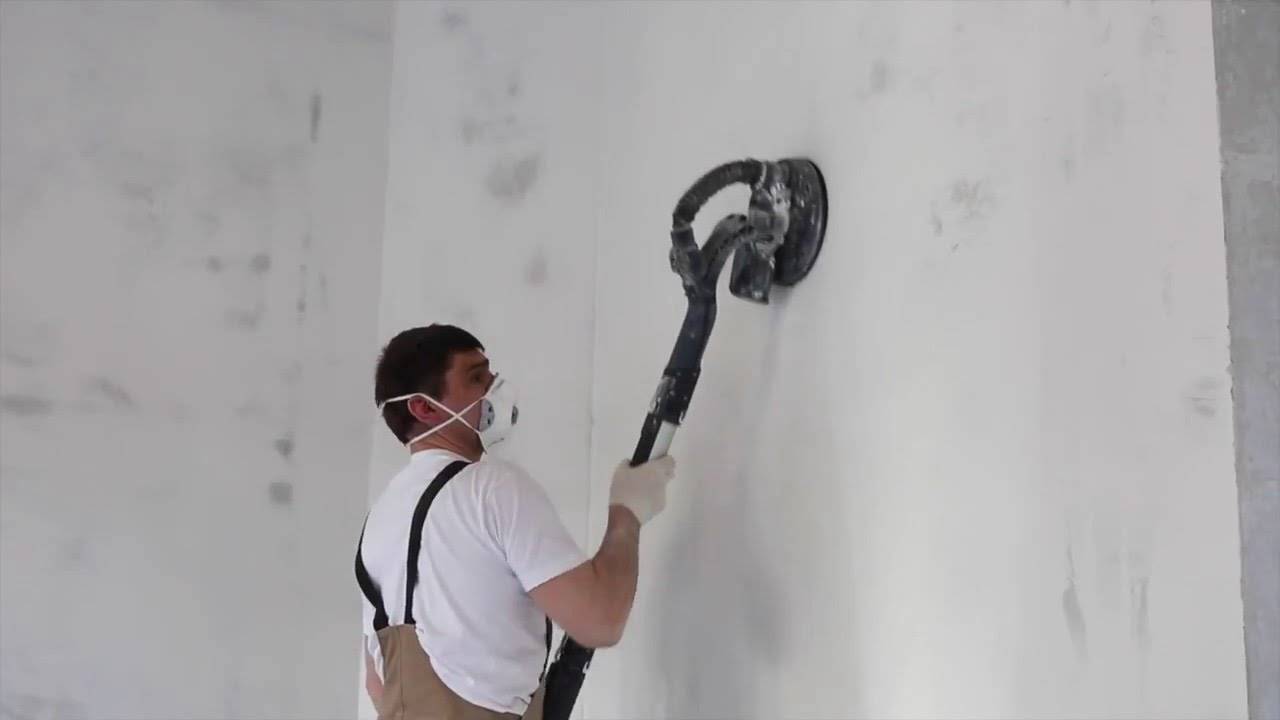
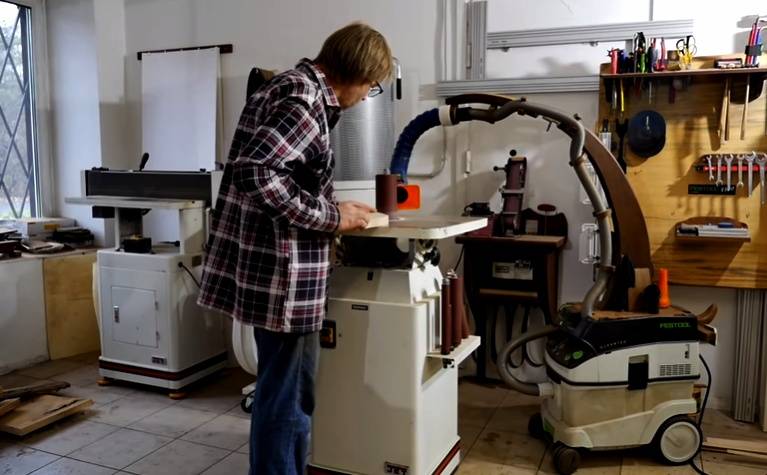
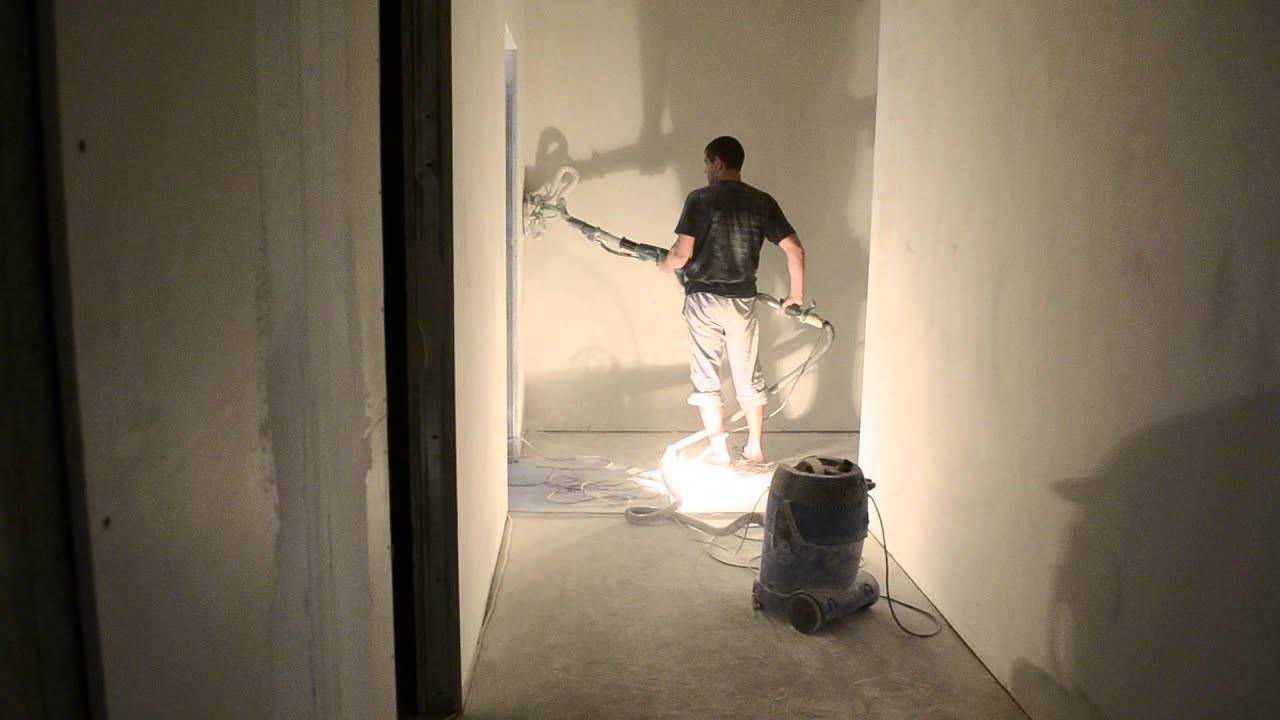
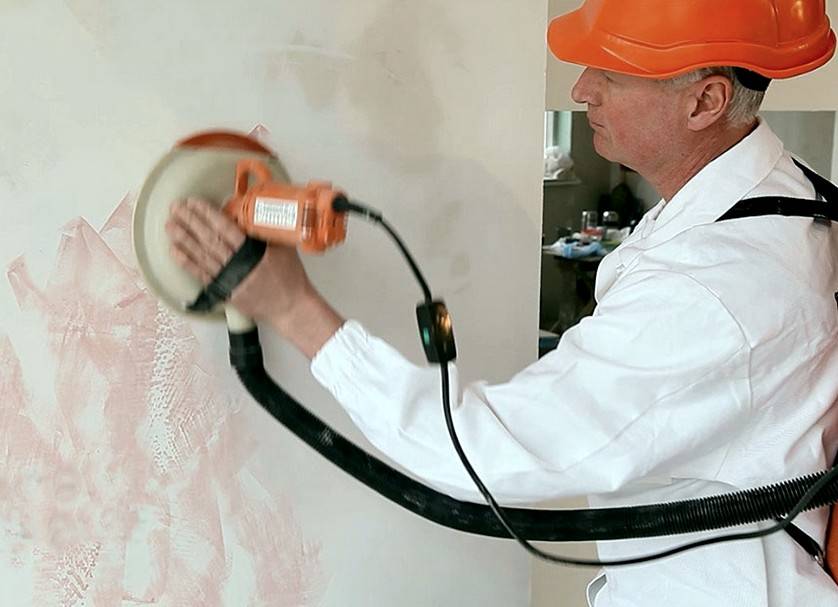
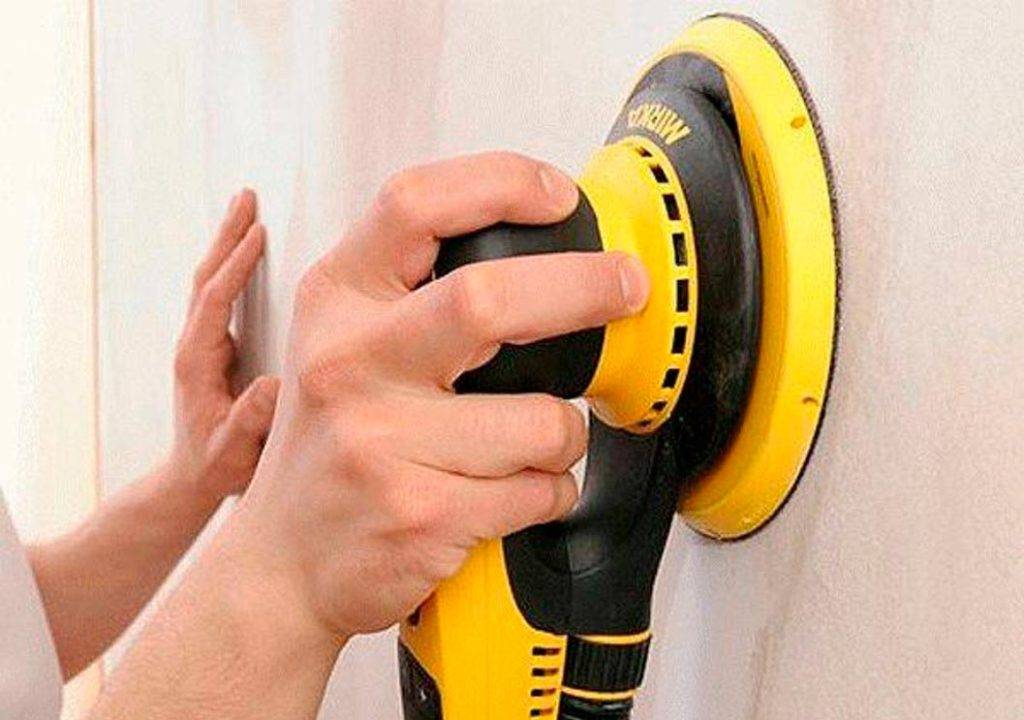
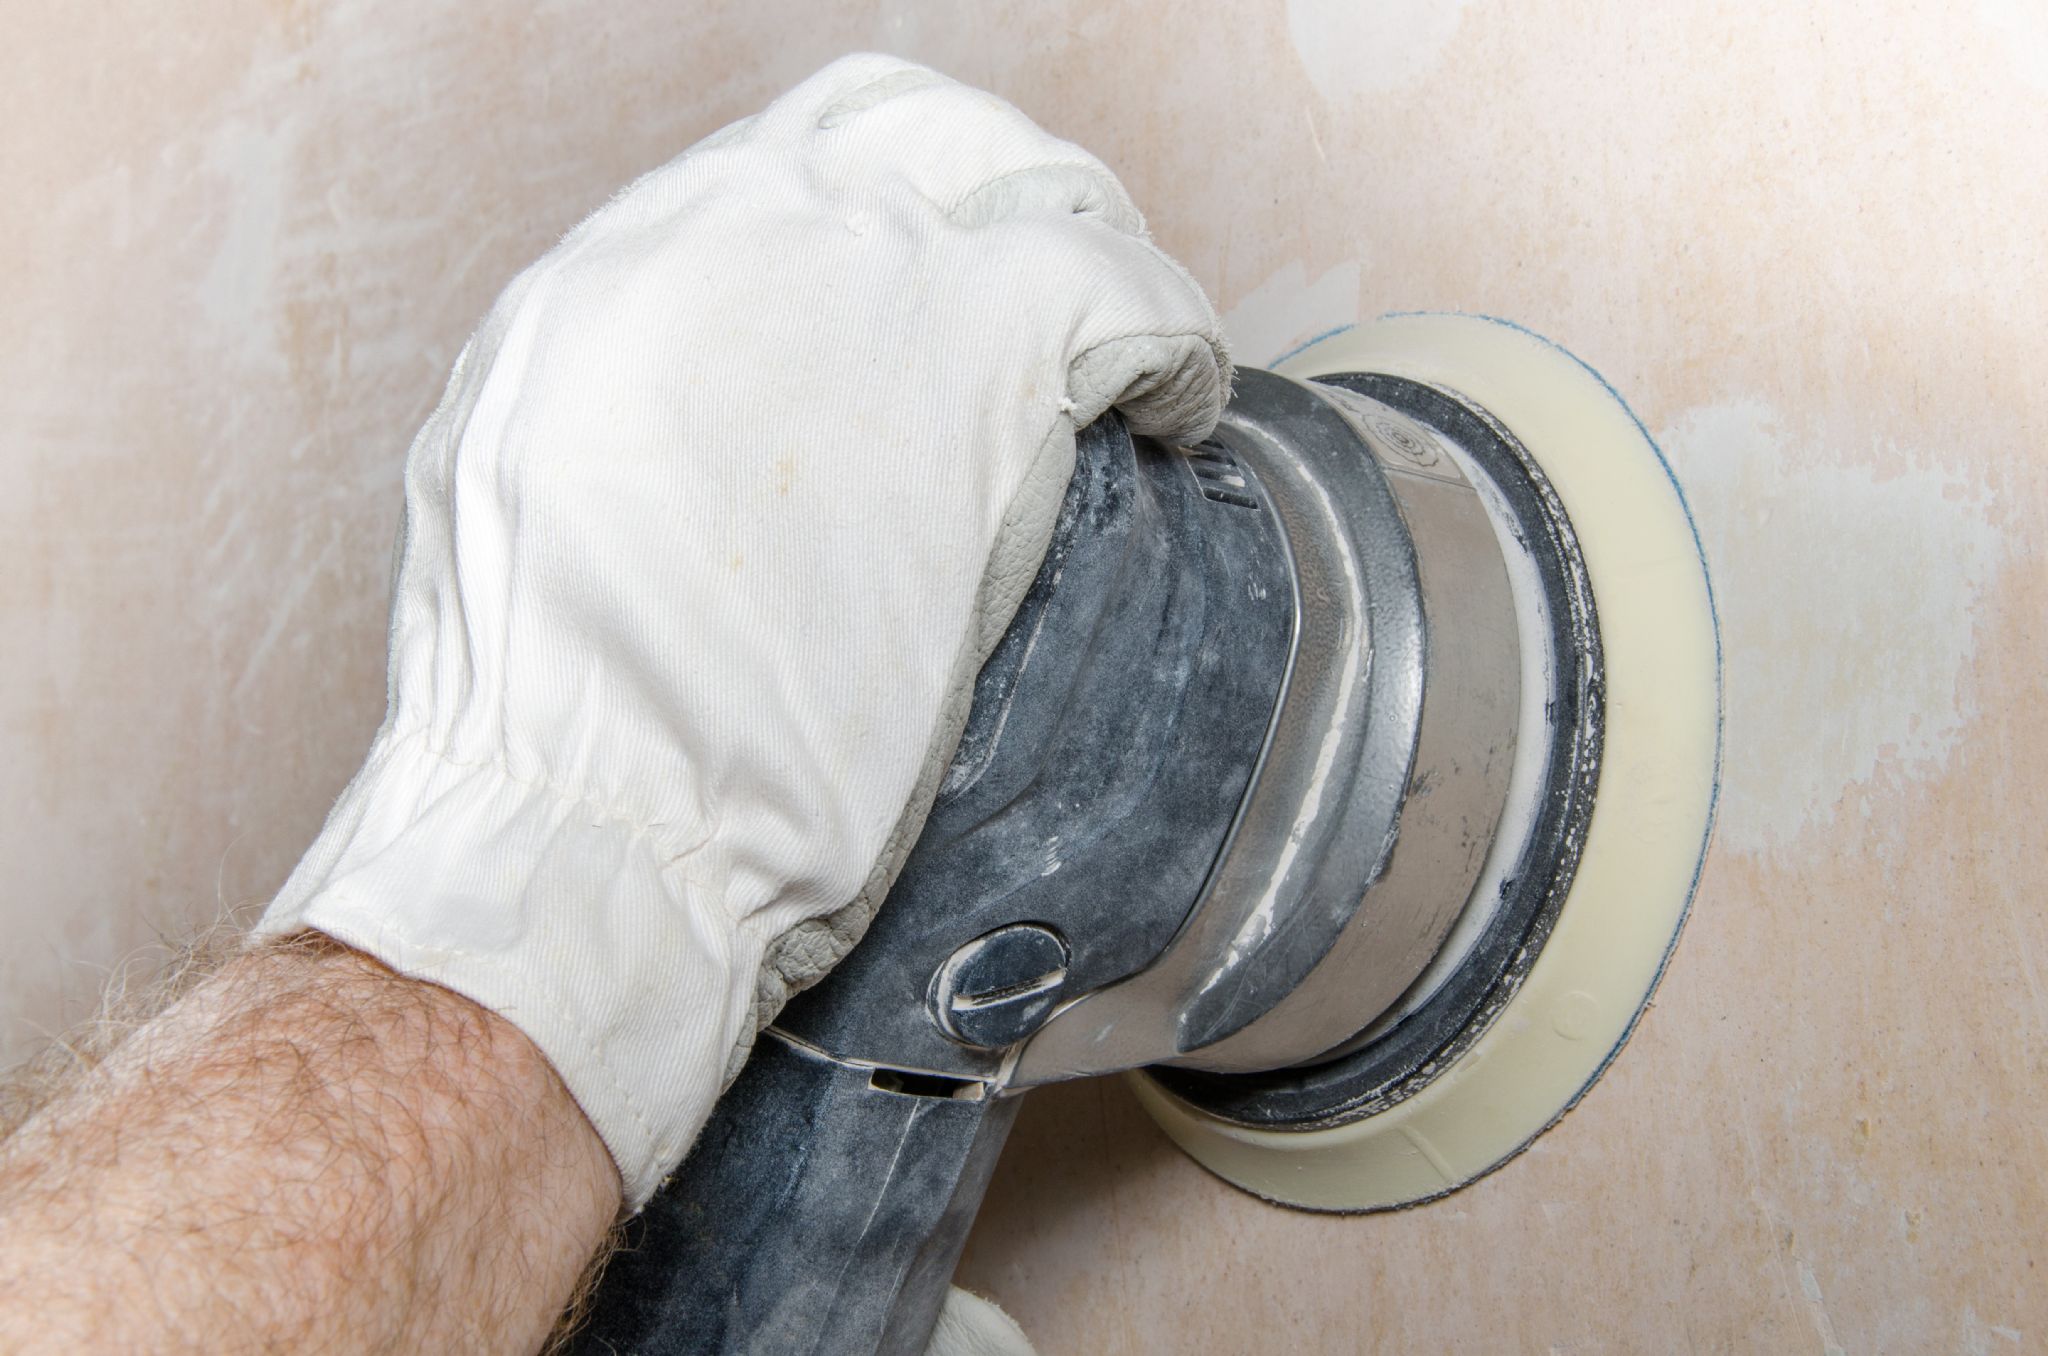
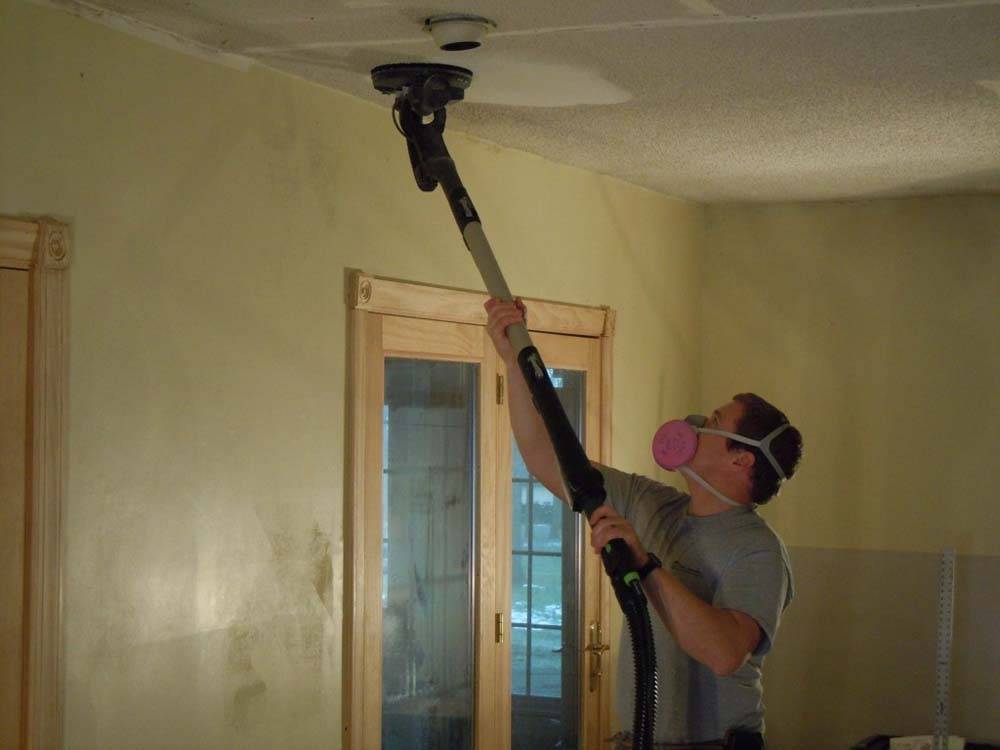
The grinding process is laborious and requires a lot of effort to complete. It can be mechanized using a special grinder. Grinding machines are available that provide for the connection of a vacuum cleaner, which makes the grinding process almost dust-free.
Do not use a belt sander. They are good for working with wood. An eccentric or orbital sander will do.
Although the use of a grinding machine speeds up the grinding process, it is very difficult for a novice builder to get a high-quality sanded surface without special skills.
It is necessary to feel the tool not only to move it correctly, but also to regulate the pressure of the tool on the ground plane. And such a tool is quite expensive.
After sanding, remove the dust layer, do a damp mop and check the surface quality. Before finishing, a layer of primer must be applied.
Sanding a ceiling is no different than sanding a wall. The process is more time consuming and requires patience and accuracy.
Once again about the abrasive material
The sanding mesh is more convenient than sandpaper because it does not get clogged with debris and dust during operation. But the right sandpaper also gives good results and is significantly cheaper. When sanding walls after plastering with your own hands, it is best to use sandpaper numbers 120 ... 180 (coarse-grained), and finish grinding with abrasive numbers 220-280 (fine-grained).
The sandpaper and mesh are marked the same way on the back of the material.
How to control the quality of grinding?
At the beginning of the article, it was indicated that the grinding process should be performed with good lighting, constantly directed from one place. Correctly adjusted lighting allows you to constantly monitor the grinding process and its quality by glare on the surface or in the light, applying an even ruler, a building level. There should be no gaps between the control tool and the wall.
When it comes to the ceiling and it is being prepared for painting, the ceiling needs to be sanded better. Illuminate the grinding area with light, this will allow you to see surface defects. Visible scratches are putty and cleaned after drying.
Sanding work ends with a thorough cleaning of the surface and the room and the application of a primer to the dry and sanded surface.
In addition, we recommend watching a video on sanding walls and ceilings. Good luck with this dusty business!
Video:
Video:
How to keep defects to a minimum
You can completely get rid of them only by skinning, but there are solutions that can significantly reduce their number. Moreover, these solutions make alignment possible in principle. Let's consider them in more detail.
Choose the right material
To get rid of shortcomings, you should use a universal or finishing putty. Universal can be put in one layer on plaster or other prepared base, finishing - only on the base layer. They differ in composition, which affects their properties.
- Polymeric. They have the greatest ductility and strength. They are easy to handle with sandpaper, while over time, the coating does not lose its qualities. Acrylic is used as the main material.
- Water-dispersive. They adhere well to the surface, are elastic, they are easy to grind. They are less resilient than polymeric materials, so they are easier to handle.
- Oil and glue based on drying oil. They are characterized by perfect adhesion. Ideal for painting.
- Cement. When dry, they shrink, which reduces their strength and adhesion. To get rid of this disadvantage, manufacturers introduce plasticizing additives into the solution, which leads to its rise in price. In this case, the price can serve as one of the guidelines for choosing.
- Plaster. They are the easiest to handle and have the least reliability compared to other types. Suitable for dry rooms only.
The determining factor when choosing is not only the material, but also the manufacturer. It is better to use a good plaster mix than a bad cement mix.

Correctly lay the mixture
So that the work does not have to be redone or corrected for a long time, it is better to do everything right from the very beginning. Sanding walls after putty is a rather tedious task. In the process of grinding, a lot of dust is formed, therefore it is better to direct the main efforts to a high-quality laying of the solution.

It is necessary to choose the right tool. Professionals work with a wide spatula with a blade of 30 cm or more, applying a mass of narrower ones on it. It is quite difficult to hold it in your hand. From an unevenly distributed effort, the mixture will go in waves, and one of the edges will surely leave a deep furrow at the most inopportune moment, when everything is ready. It is more convenient for beginners to load the mixture on a wide blade, and for narrow ones to remove and level it. This will save time and achieve good quality. To make the corners even, you can use a special angled spatula.

You should move from the bottom up, laying strips with a width of 1 m and making overlaps of about 5 cm. To increase the elasticity of the layer, you can put a thin reinforcing plastic mesh in it. Errors need to be corrected on the spot while the mortar is still fresh. Before you start sanding it, you need to let it dry. Usually a layer several millimeters thick dries within 24 hours.
Sander
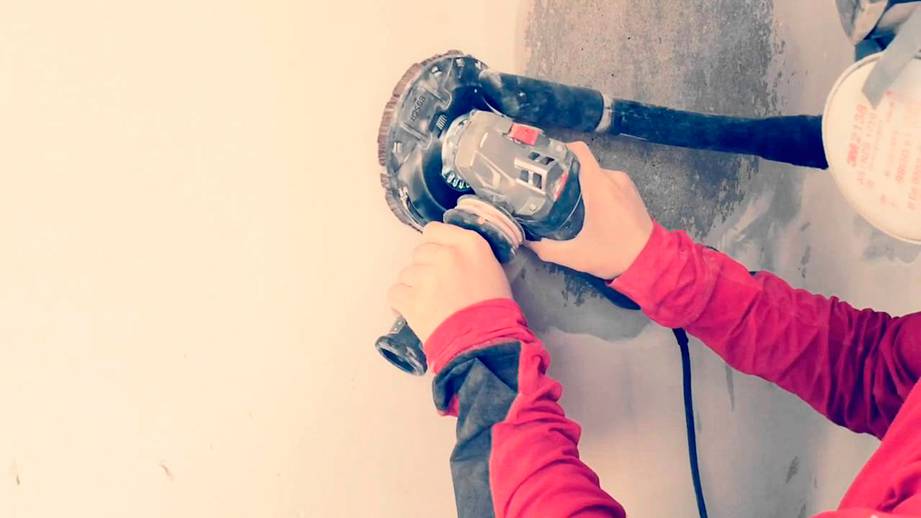
There are also mechanized post-putty cleaners. It's about a sander. With the help of such a power tool, you can process a large area in a short time and make grinding much better than manually. Depending on the power supply, the grinders are electric and pneumatic.
Due to its low weight, the pneumatic device is convenient to use, and its price is affordable. Such a grinder is powered by a compressor that directs compressed air and thus makes the mechanism work. Probably the main disadvantage of such a device is that a compressor is needed. And this is not a cheap thing. Therefore, it is advisable to use pneumatic machines for large volumes of work. And for repairs, say, in your apartment or house, it will turn out to be very expensive.
Electric grinders are mobile.By weight, they are heavier than pneumatic ones, and their cost is also higher. But for home use, it's a great option. Electric sanders are distinguished as follows:
- tape;
- orbital - eccentric;
- flat vibrating.

A belt sander is used for sanding a thick layer of putty, therefore it is more suitable for processing after applying the starting mixture. It is not used for grinding finishes due to the high power of the device. A feature of the belt sander is that all the working dust is sucked in by the engine cooling fan.
The abrasive belt moves thanks to special rollers, it is automatically centered. This contributes to ease of use. And the presence of additional rollers will help to process poorly accessible surfaces: such as corners, slopes, etc. Orbital-eccentric machines allow high-quality grinding and polishing of surfaces. They are very popular, they make it possible to remove old paint on the surface. The main disadvantage of this type of tool is that it does not provide the ability to grind surfaces in the corners.
The device has a round working platform, which rotates around an axis during operation and makes movements in orbit. The abrasive material is attached with special Velcro strips. These machines allow you to work with grinding wheels with a large diameter - up to 225 mm.
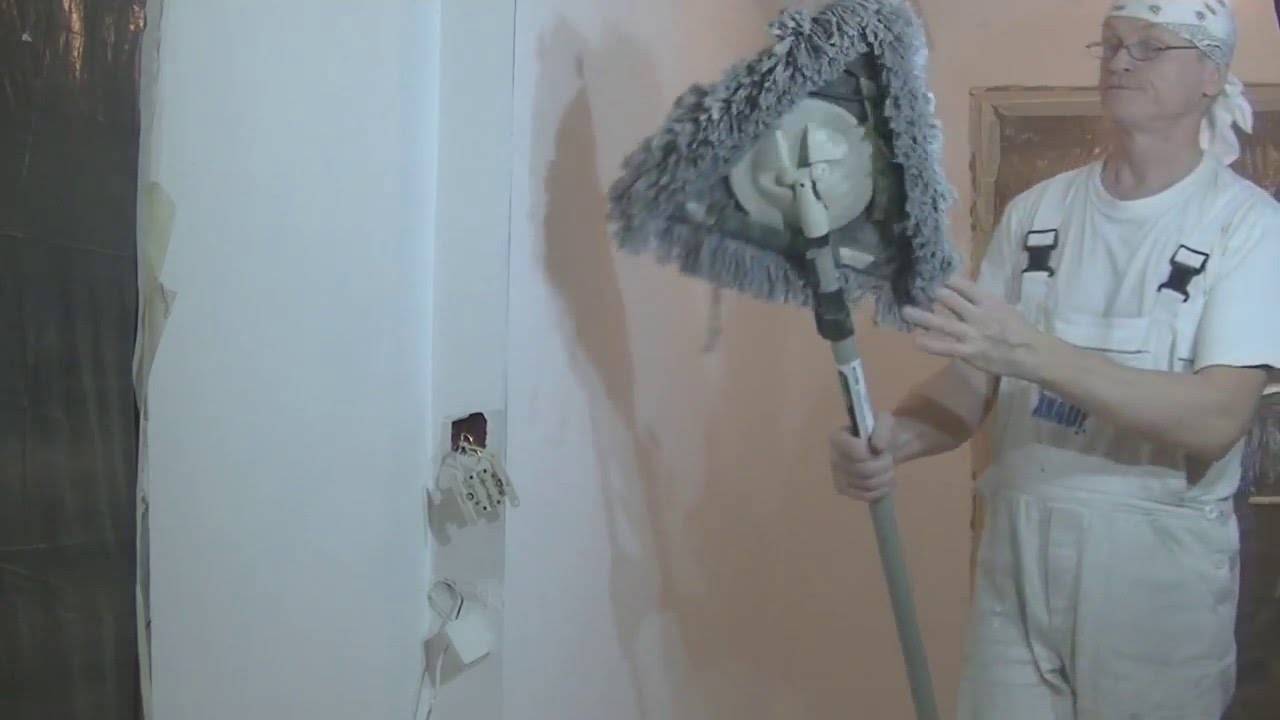
Flat vibrating devices for grinding are distinguished by their versatility and are very widely used. They allow you to perfectly polish and grind. The working surface of such a machine is a rectangular sole, which is fixed by an abrasive with clamps. So, for walls or ceilings, they take emery with the number 120, for metal - 60-80, and for wood - 180-240. So, for grinding hard-to-reach places, a machine with a triangular sole is used.
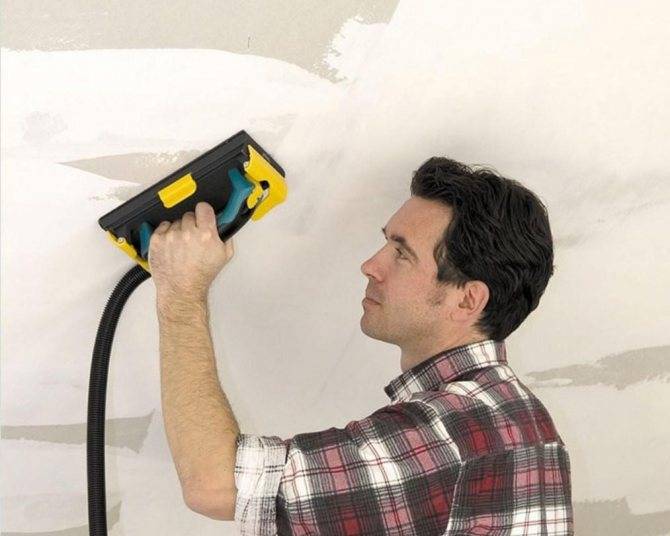
Dust bag sander
Probably almost all modern hand grinders
the machines are equipped with a dust bag.
Recall that for rough rough grinding, that is, to a depth
more than 1 mm, use a belt sander to eliminate
defects up to 1 mm deep by a vibration sander, and for
finishing orbital.
This dust extraction method is not suitable for large grinding volumes.
suitable because bags clog quickly, you need to be distracted and
shake them out somewhere, besides, not all the dust these bags
delay, 10 percent still flies out. And if the filter
cloth and torn, then you need to look for a replacement.
Ideal if you buy a model that includes more than just a bag
for collecting dust, but also an adapter for a vacuum cleaner, or it has a connector
made so that you can connect to a vacuum cleaner without an adapter.
For example, we will give a couple of popular and reliable grinding
machines with bags for collecting dust.
Vibration sander Bosch GSS 140 A
The vibration sander Bosch GSS 140 A has a bag easily
detachable, inside there is a ribbed filter made of
paper that can be vacuum cleaned and reused.
The sanding paper is attached with clips or Velcro, itself
the machine is compact and lightweight, weighs only 1.4 kg.
 |
|---|
 |
|---|
|
Rice. 1-2. Vibration sander Bosch GSS 140 A machine |
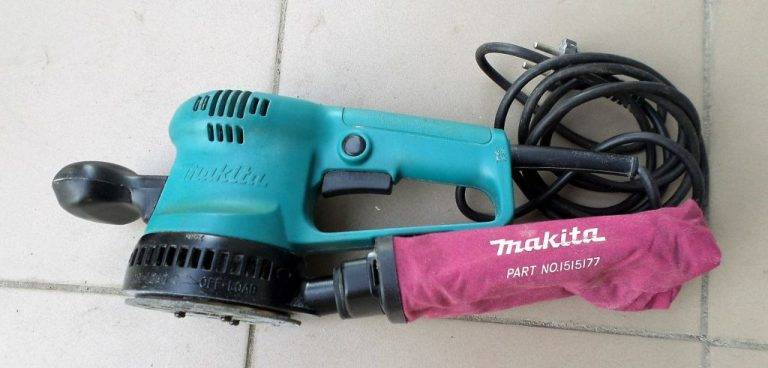
Orbital sander Makita BO5021
Orbital sander Makita BO5021 is characterized as
a professional tool that can work
long time. The sole of the machine is almost indestructible if
just do not periodically grind sideways or at an angle, and not along
plane.
 |
|---|
|
Rice. 3. Orbital sander Makita BO5021 |
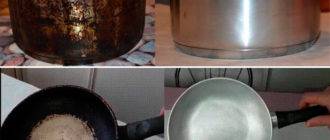
How to remove plaster and whitewash marks
After the repair, not only construction dust remains on the floor and walls, but also other contaminants. First, let's figure out how you can remove traces of plaster:
- If the stain flaunts on the tile, wait until it dries completely. Then gently scrape off the finishing mixture.
- Acetic acid will help to tidy up the linoleum. To cleanse, you need to apply a little water to the stained area of the floor, with nine percent table vinegar diluted in it. After five to ten minutes, try to wipe off the dirt with the hard side of the sponge. If it does not work the first time, it is allowed to repeat the indicated steps.
- Any solvent, for example, refined gasoline, dissolves well plaster. To achieve a positive result, you need to carefully apply the active liquid to the stain, being careful not to get it on the floor covering. After ten to fifteen minutes, the plaster should be easy to clean off with a soft brush.

Cleaning the whitewash from the floor after renovation involves the following actions:
- fill a ten-liter bucket with warm water;
- add fifty milliliters of sunflower oil;
- wash the floor with the mixture;
- re-wash the surface with water and vinegar.
Expert opinion
Irina Kovtun
At the end of cleaning, you will need to thoroughly wash the flooring with plain water.
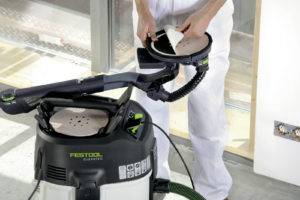
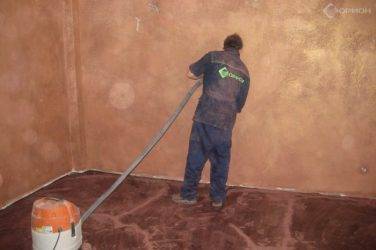
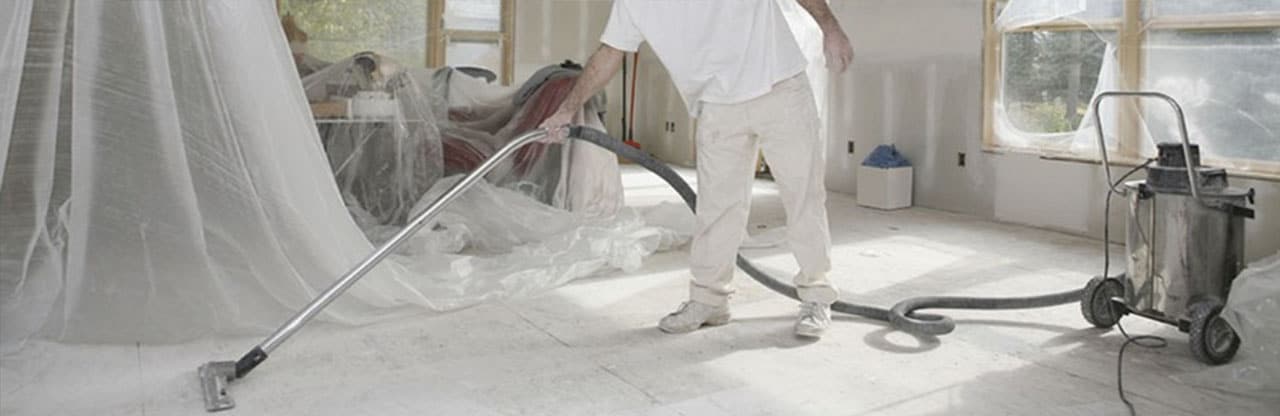
Industrial vacuum cleaner for collecting dust
We are talking about using a professional vacuum cleaner, not
try to use a household vacuum cleaner for these purposes, risk
be left without him.
Significant differences
professional vacuum cleaner from household
the professional vacuum cleaner has a large capacity for
dust collection
there must be an automatic switching unit and
switching off the vacuum cleaner when you start the tool,
so as not to run to the vacuum cleaner and turn it on and off
during breaks in work
the presence of such an interesting mode as
self-cleaning of the filter or "auto shaking",
that is, a function when the vacuum cleaner can work without a bag
for collecting dust, which is important when working with finely dispersed
dust
the presence of an antistatic hose, nothing of the kind in
household vacuum cleaner no. Due to this static discharge
will not accumulate and you will not be electrocuted, but dust
will not quickly stick to the walls of the hose, again due to
static electricity
and of course, this is the presence of an adapter in order to
connect the tool to the hose of the vacuum cleaner.
What are the requirements for an industrial vacuum cleaner
for furniture production
Dust class
When working with wood, it is better to use class "M" vacuum cleaners, and
here vacuum cleaners of class "L" can be used for soft and good
dried wood materials such as pine or spruce.
Useful capacity of the vacuum cleaner
The volume is selected based on the amount of dust that appears when
work. For example, when sanding wood or MDF, the volume of the container
the vacuum cleaner must be at least the amount of dust that is sucked
a vacuum cleaner per shift, or at least half a shift.


Maximum permitted power of the connected tool
When buying a vacuum cleaner, pay attention to how powerful it is
corresponds to the connected tool. If you have a vacuum cleaner with
power of the connected tool 2.0 kW, then connect to it
a 2.2 kW tool is no longer recommended.
It is obligatory to have an automation unit, which is connected to the outlet,
thanks to him, the vacuum cleaner automatically turns on when
running the tool
But that's not all, the automation unit must have
soft start and delayed shutdown, which is important to maintain
tool. Due to the shutdown delay, the vacuum cleaner turns off a little
later than the tool, so that residues are sucked out
dust.
Vacuum cleaners with and without dust bags
An important point when choosing a vacuum cleaner is the presence of a collection bag
dust or lack thereof
If there is one, then from the point of view
future cash spending, pay attention to what material
bags for collecting dust are made, as well as disposable ones or
reusable
Yes, there are industrial vacuum cleaners that can work without
bag, thanks to the automatic shaking mode or
self cleaning.
Sizes of nozzles on
tool and vacuum cleaner
Dust extraction connection on the grinder and
the jigsaw has an outer diameter of 25 or 27 mm, and the saw or
milling cutters 35, 36 mm.
Therefore, when buying a vacuum cleaner, also pay attention to
inner diameter of the vacuum cleaner hose connection -
it must match the outer diameter of your
tool.
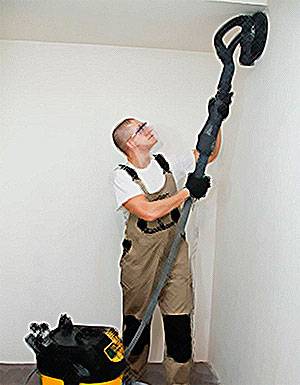
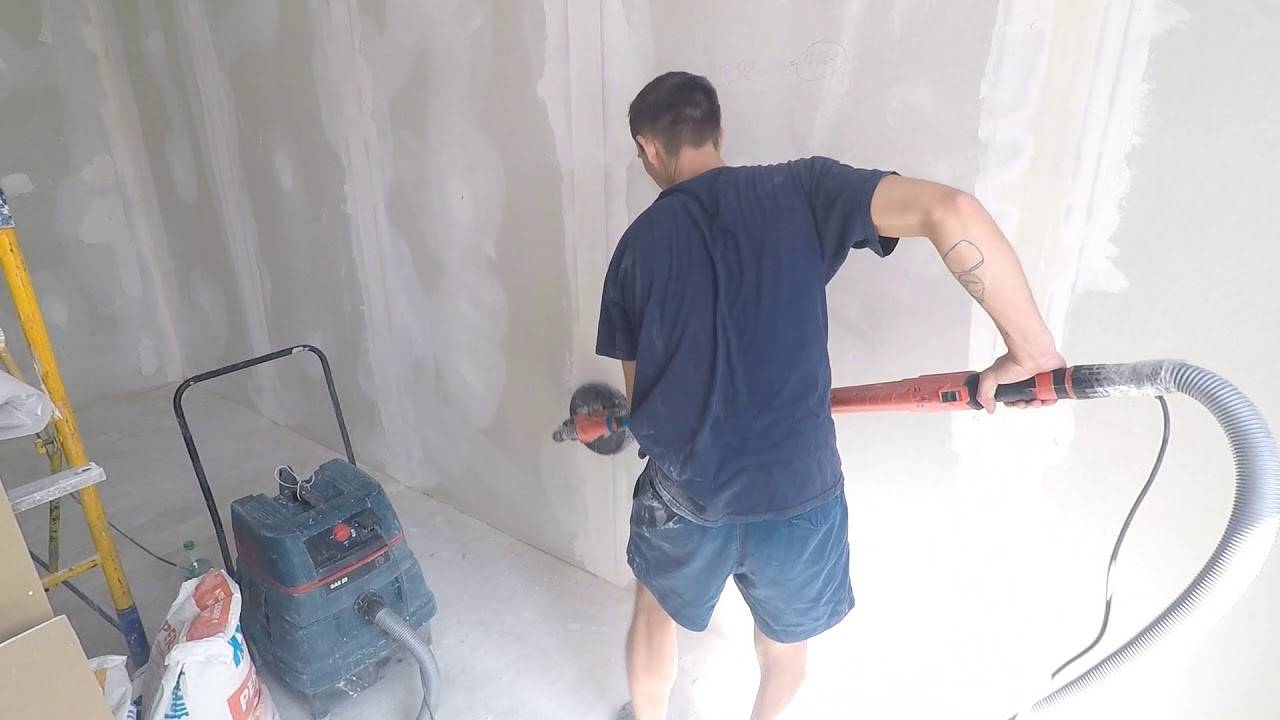
Rice. 4
Grinder through hose
connects to a vacuum cleaner
What kind of vacuum cleaner is needed for
|
Festool CTL vacuum cleaners, for example, meet these requirements.
26 E with a price of about 45,000 rubles or a budget solution - a vacuum cleaner
Mirka 1025 L PC at the price of about 20,000 rubles.
 |
|---|
|
Rice. 5. Industrial vacuum cleaner Festool CTL 26 E is used to collect dust even in small grinding machines |
 |
|---|
|
Rice. 6. Industrial vacuum cleaner Mirka 1025 L PC |
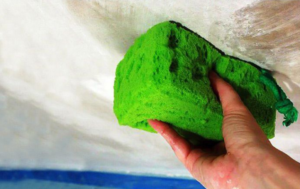
Preventing the spread of dust
Building dust contains a lot of hazardous chemicals that have a negative impact on health. It provokes allergies, respiratory failure. A fine suspension penetrates the bronchi, lungs, irritates the mucous membrane of the eyes.
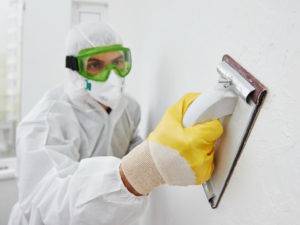
And therefore, dust protection during repairs is an important nuance. Protect yourself from negative effects with a respirator and construction goggles. If a respirator is not available, cover your mouth with a damp cloth while working.
If the weather is calm, then it is better to open the windows so that some of the dust comes out. The frames are closed already at the cleaning stage so that the gray cloud does not rise.

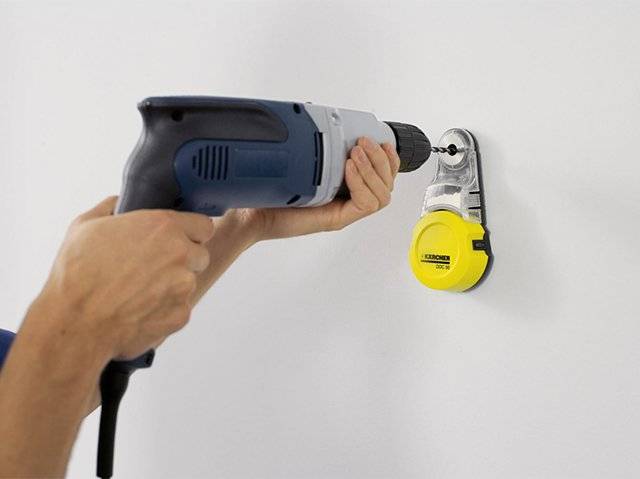
While working with the drill, turn on a nearby vacuum cleaner, directing the hose so that the dust flow moves in the desired direction. In addition, some craftsmen put a dust collector on the drill. Then the waste immediately falls into the plastic container, rather than scattering to the sides.
You can protect yourself and the room from construction dust by lightly treating the surface with a spray bottle with water. The main thing is not to violate safety rules. After work, it is recommended to turn on the humidifier, which will cause the cloud to settle to the floor.
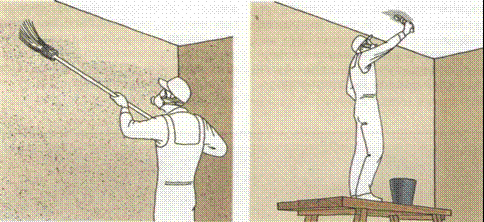
If you are removing old wallpaper, paint or whitewash, then moisten the surface with plenty of water. The softened layer is easier to remove from the walls and less dust will settle from it.
Thus, to make cleaning easier, you need to open windows while working, use a dust collector and turn on a humidifier from time to time.
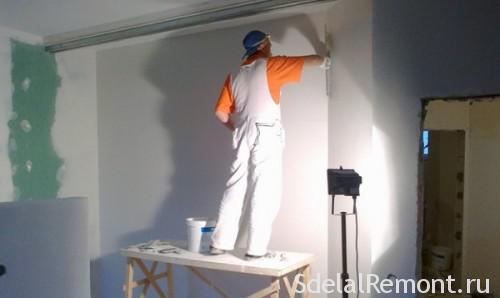
How wall sanding is done
How to sand the walls after putty so that the surface is perfectly flat? It is important to know the technology and methods of sanding the walls after filling. But first you need to decide on some characteristics of the walls in order to choose what to grind the putty
Grouting of the putty begins with the choice of the tool. If the question has arisen, what kind of emery paper to do the work, then you should decide on the degree of processing: initial grinding with grain 60, and the last one - 120. How to sand the walls of a room with a large area? A machine is best suited for this, although the corners, notches and depressions will still have to be handled by hand using sandpaper.
Sanding of walls after putty is carried out in accordance with the following instructions:
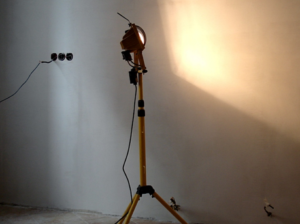
1.First, the most visible irregularities and defects on the surface of the walls are highlighted. What technique is needed for this? A powerful floodlight or lantern that is installed as close to the wall surface as possible. Thus, shadows appear on it from the protrusions or depressions of the putty. These places should be outlined with a pencil.
2. How to rub the putty correctly? It is better to start cleaning the putty from the corner. You need to move from top to bottom, while occupying a strip of about one meter. After processing the designated strip, you should proceed to the next one. Movements should be spiral.
3. Sanding the putty on the walls should be done carefully, without much effort. In this case, it is better to use sandpaper. Do not press hard on the canvas so that holes do not appear in the putty. And you do not need to align the grooves with the general level.
4. Cleaning the finishing putty consists in the same stages as the starting
In this case, polishing is done carefully, but with extreme care so as not to damage the putty layer. Sanding the finishing putty is better with sandpaper
You don't need any experience in the construction industry to sand walls. It is enough to adhere to a certain technology that is very easy to learn and apply.
Step-by-step instructions for sanding walls
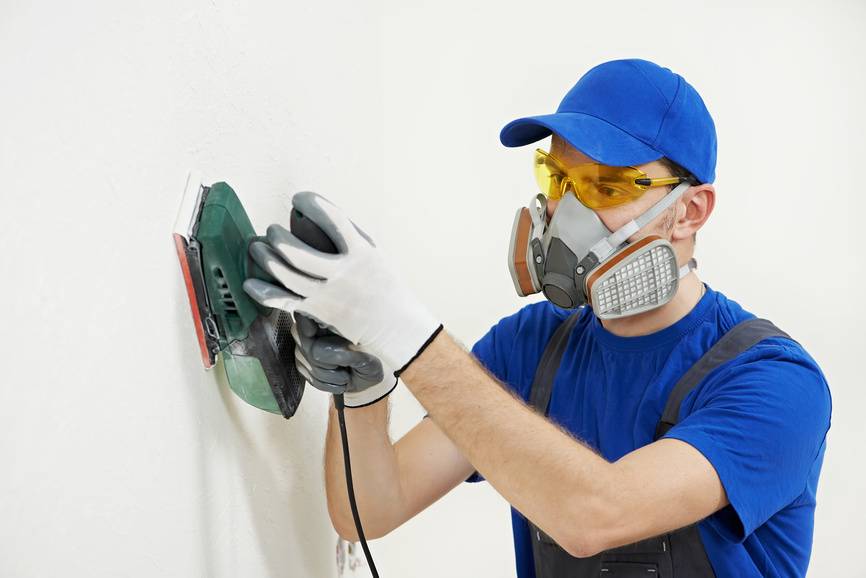
It is better to sand the wall in a respirator or a bandage that protects the face. The dust from the putty does not contain toxic substances, but its amount makes staying in the room extremely uncomfortable. It will be difficult to breathe without protective equipment. You will also need glasses and clothes that you don't mind getting dirty.

It is advisable to prepare a stepladder. The ceiling and the upper part of the wall can be processed by standing on a chair or stool, but in this case you will have to constantly reach for hard-to-reach areas at the very top. The hand in this position quickly gets tired.
In order for all the irregularities to be clearly visible, side lighting is required. A desk lamp or night light located in the corner will do. In this position, it will create a stream of oblique rays, forcing the irregularities to cast shadows. When shining directly, they may not be visible. The shadow creates the necessary contrast and reveals even the smallest defects.

If you work with emery, it is better to use sheets with different grain sizes. For finishing, it is not advisable to use paper larger than P150 - it will leave marks. It is more convenient to remove large irregularities left after drying with a spatula. The material behaves differently depending on its composition. To figure out which paper to use, you need to try it out on a small area. It is possible that the scratch will remain even with P220 grit. In this case, you need to switch to P240.
When sanding, in no case should you put pressure on the tool - otherwise it will leave a mark in the soft coating. If large depressions have formed, they can no longer be leveled dry. You will have to fill them with plastic mass, wait for it to dry and start all over again.
It is more convenient to work in the corners with an abrasive sponge in the shape of a trapezoid. Aligning one edge, it will be impossible to damage the other. For hard-to-reach places, emery wrapped around a pencil or finger, or a special mesh is suitable. Its advantage is that it is easier to clean.

How to sand the walls after putty without dust
When grouting joints between drywall sheets, you can use a wet tool. For a large area, this method is not suitable, since the grains will immediately be clogged with a wet mass. There are grinders with electric pumps and dust collectors. This device filters out particles perfectly, but a small amount remains in the air, so work best with a respirator.


Best remedies for removal
It is possible to determine the best method only after assessing the quality of the material, the degree of its old age, the base on which it is applied, the thickness of the layer and a number of other indicators. Therefore, in fact, you will first have to conduct a deep analysis of the old coating.But even this will not allow you to unambiguously decide how to remove the old layers. Most likely, you will have to try several and choose the best one.
 There are two main withdrawal methods - manual and automatic. In the first, a hand tool is used, for example:
- putty knife;
- chisel;
- hammer;
- sandpaper, etc.
In the second:
- perforator with replaceable nozzles;
- hand sander (grinder).