Necessary tools and tools
You will not be able to clean a computer mouse without special tools and tools. Some of them will be found at home, while others will have to be looked for in a computer hardware store. The latter will be useful not only for cleaning itself, but also for caring for the mouse.
To effectively remove dirt, you will need:
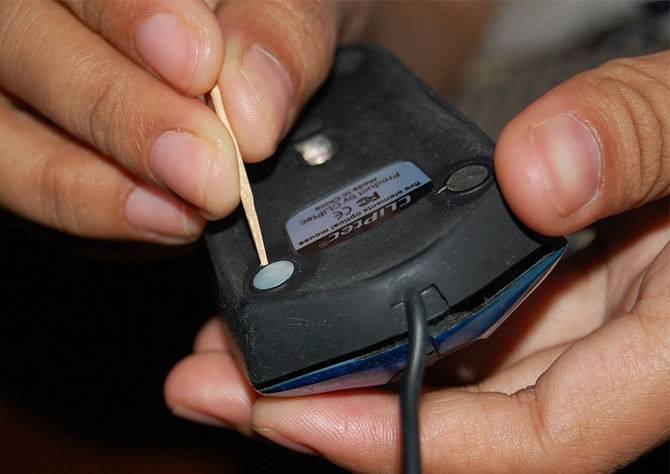
- cotton (cosmetic) sticks of different diameters, toothpicks will help to clean narrow places that are difficult to process;
- rugs on which the parts of the computer mouse will be laid out - this is necessary for the convenience and safety of each part;
- cotton pads;
- spray or liquid for cleaning computer equipment;
- a plastic scraper will remove dried-on dirt;
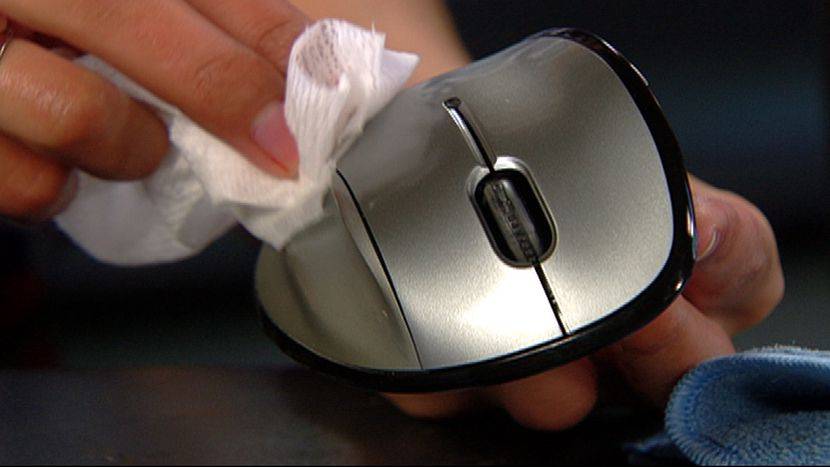
- alcohol-based wet wipes without long lint for computer technology;
- dry paper napkins or towels are needed to wipe the mouse after cleaning;
- a magnifying glass, it will help clean the small parts of the device;
- A Phillips screwdriver is required to disassemble the mouse.
There are also tools and tools that harm computer technology. To clean the mouse you cannot use:
- ordinary wet wipes - they contain components harmful to technology;
- sharp objects: knives, needles, scissors, files, metal scrapers, etc .;
- aggressive solvents;
- cotton wool. It should not be used to clean the inside of the mouse, as leftover fibers can lead to even greater problems.
Precautions, what not to do?
There are also several precautions that in no case should be done when processing a computer device:
-
Do not use excessive amounts of liquid
... Clean only with a slightly damp cloth. Otherwise, a large amount of an alcohol-containing solution can oxidize the components of the device, which will lead to disruption of its functioning; - For the same reason, it is not recommended to use sharp objects that can damage the surface of some equipment particles;
- Be sure to disconnect the device from the computer and start processing it after a few minutes have passed;
-
It is best to use specially alcohol-containing solutions for processing computer equipment.
Ordinary alcohol can damage the internal parts of the mouse, leave streaks and inadequately remove dirt; - It is not recommended to use a cloth with lint, its particles can penetrate into the device, after which its functionality may also be impaired.
First, you should familiarize yourself with the memo attached to the mouse in order to figure out how to handle a device of a certain model.
- For the mouse to work properly, it is necessary to clean it at least three times a year;
- You will also need to clean the mouse pad and the working surface of the table;
- Do not start working with dirty palms.
If you take timely care of the cleanliness of not only the mouse, but also every component of the computer device, then the system will always work fully without causing unnecessary trouble to the user.
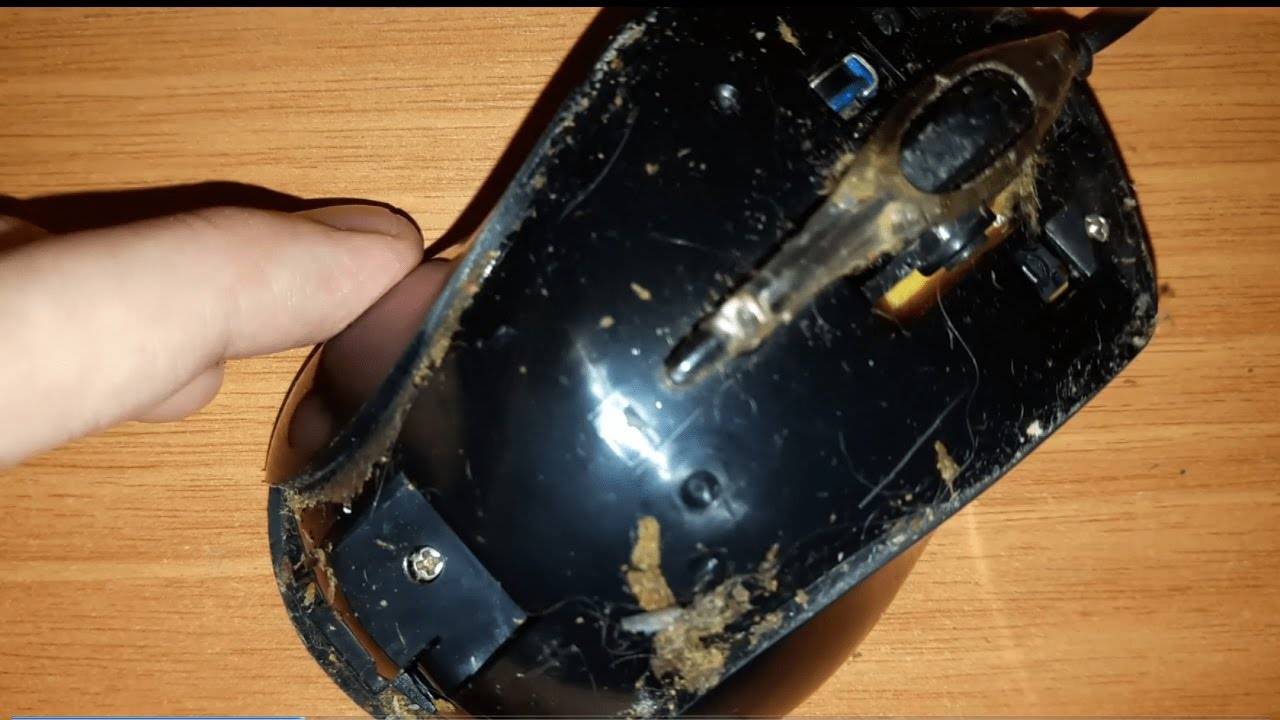
How to clean inside
Well, if a simple cleaning from the outside is not enough, the mouse is still very messy, the cursor shakes in place, and each click works twice, it's time to start the internal cleaning.
The algorithm below is universal for each type of mouse, including those with decorative elements. You can safely use it in the case of a ball, laser or optics, Japanese, Chinese production, just adding a few nuances.
Take:
- Alcohol or its solution.
- Cotton pad.
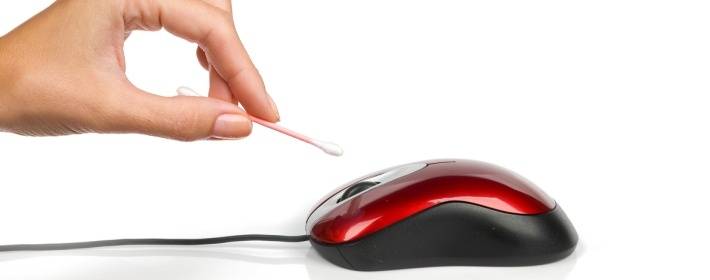
- A cotton swab.
- Small Phillips screwdriver.
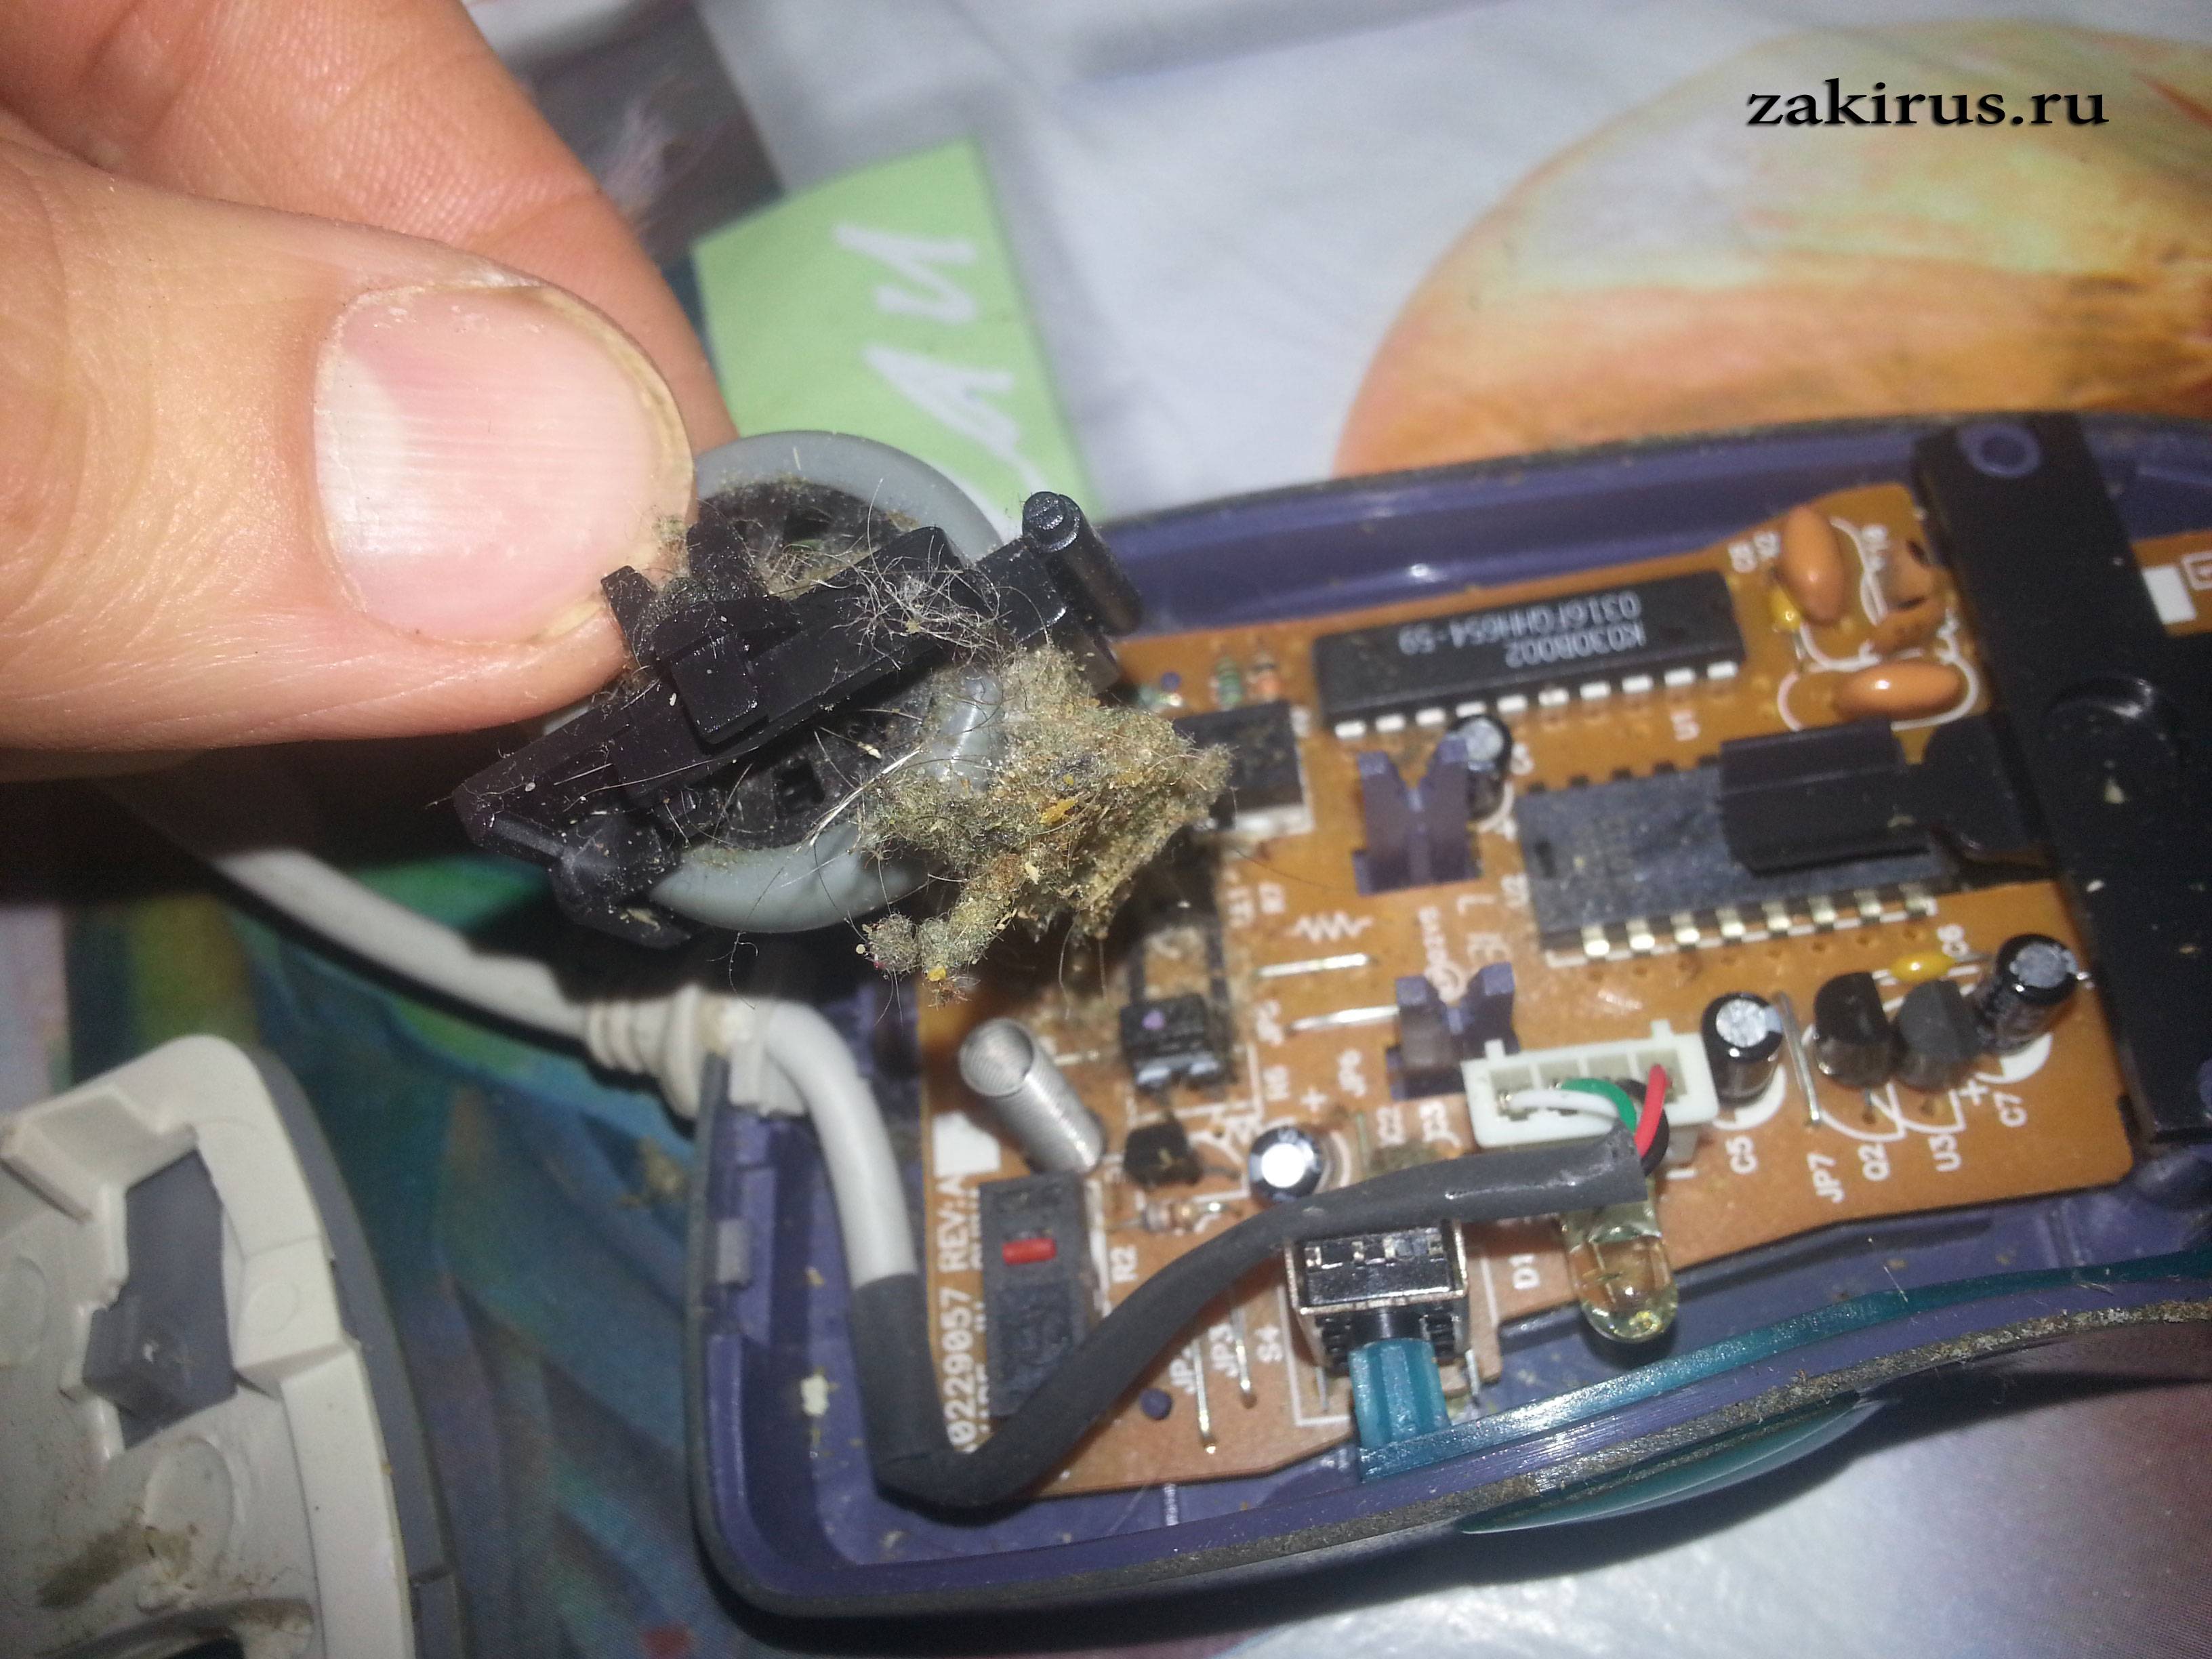
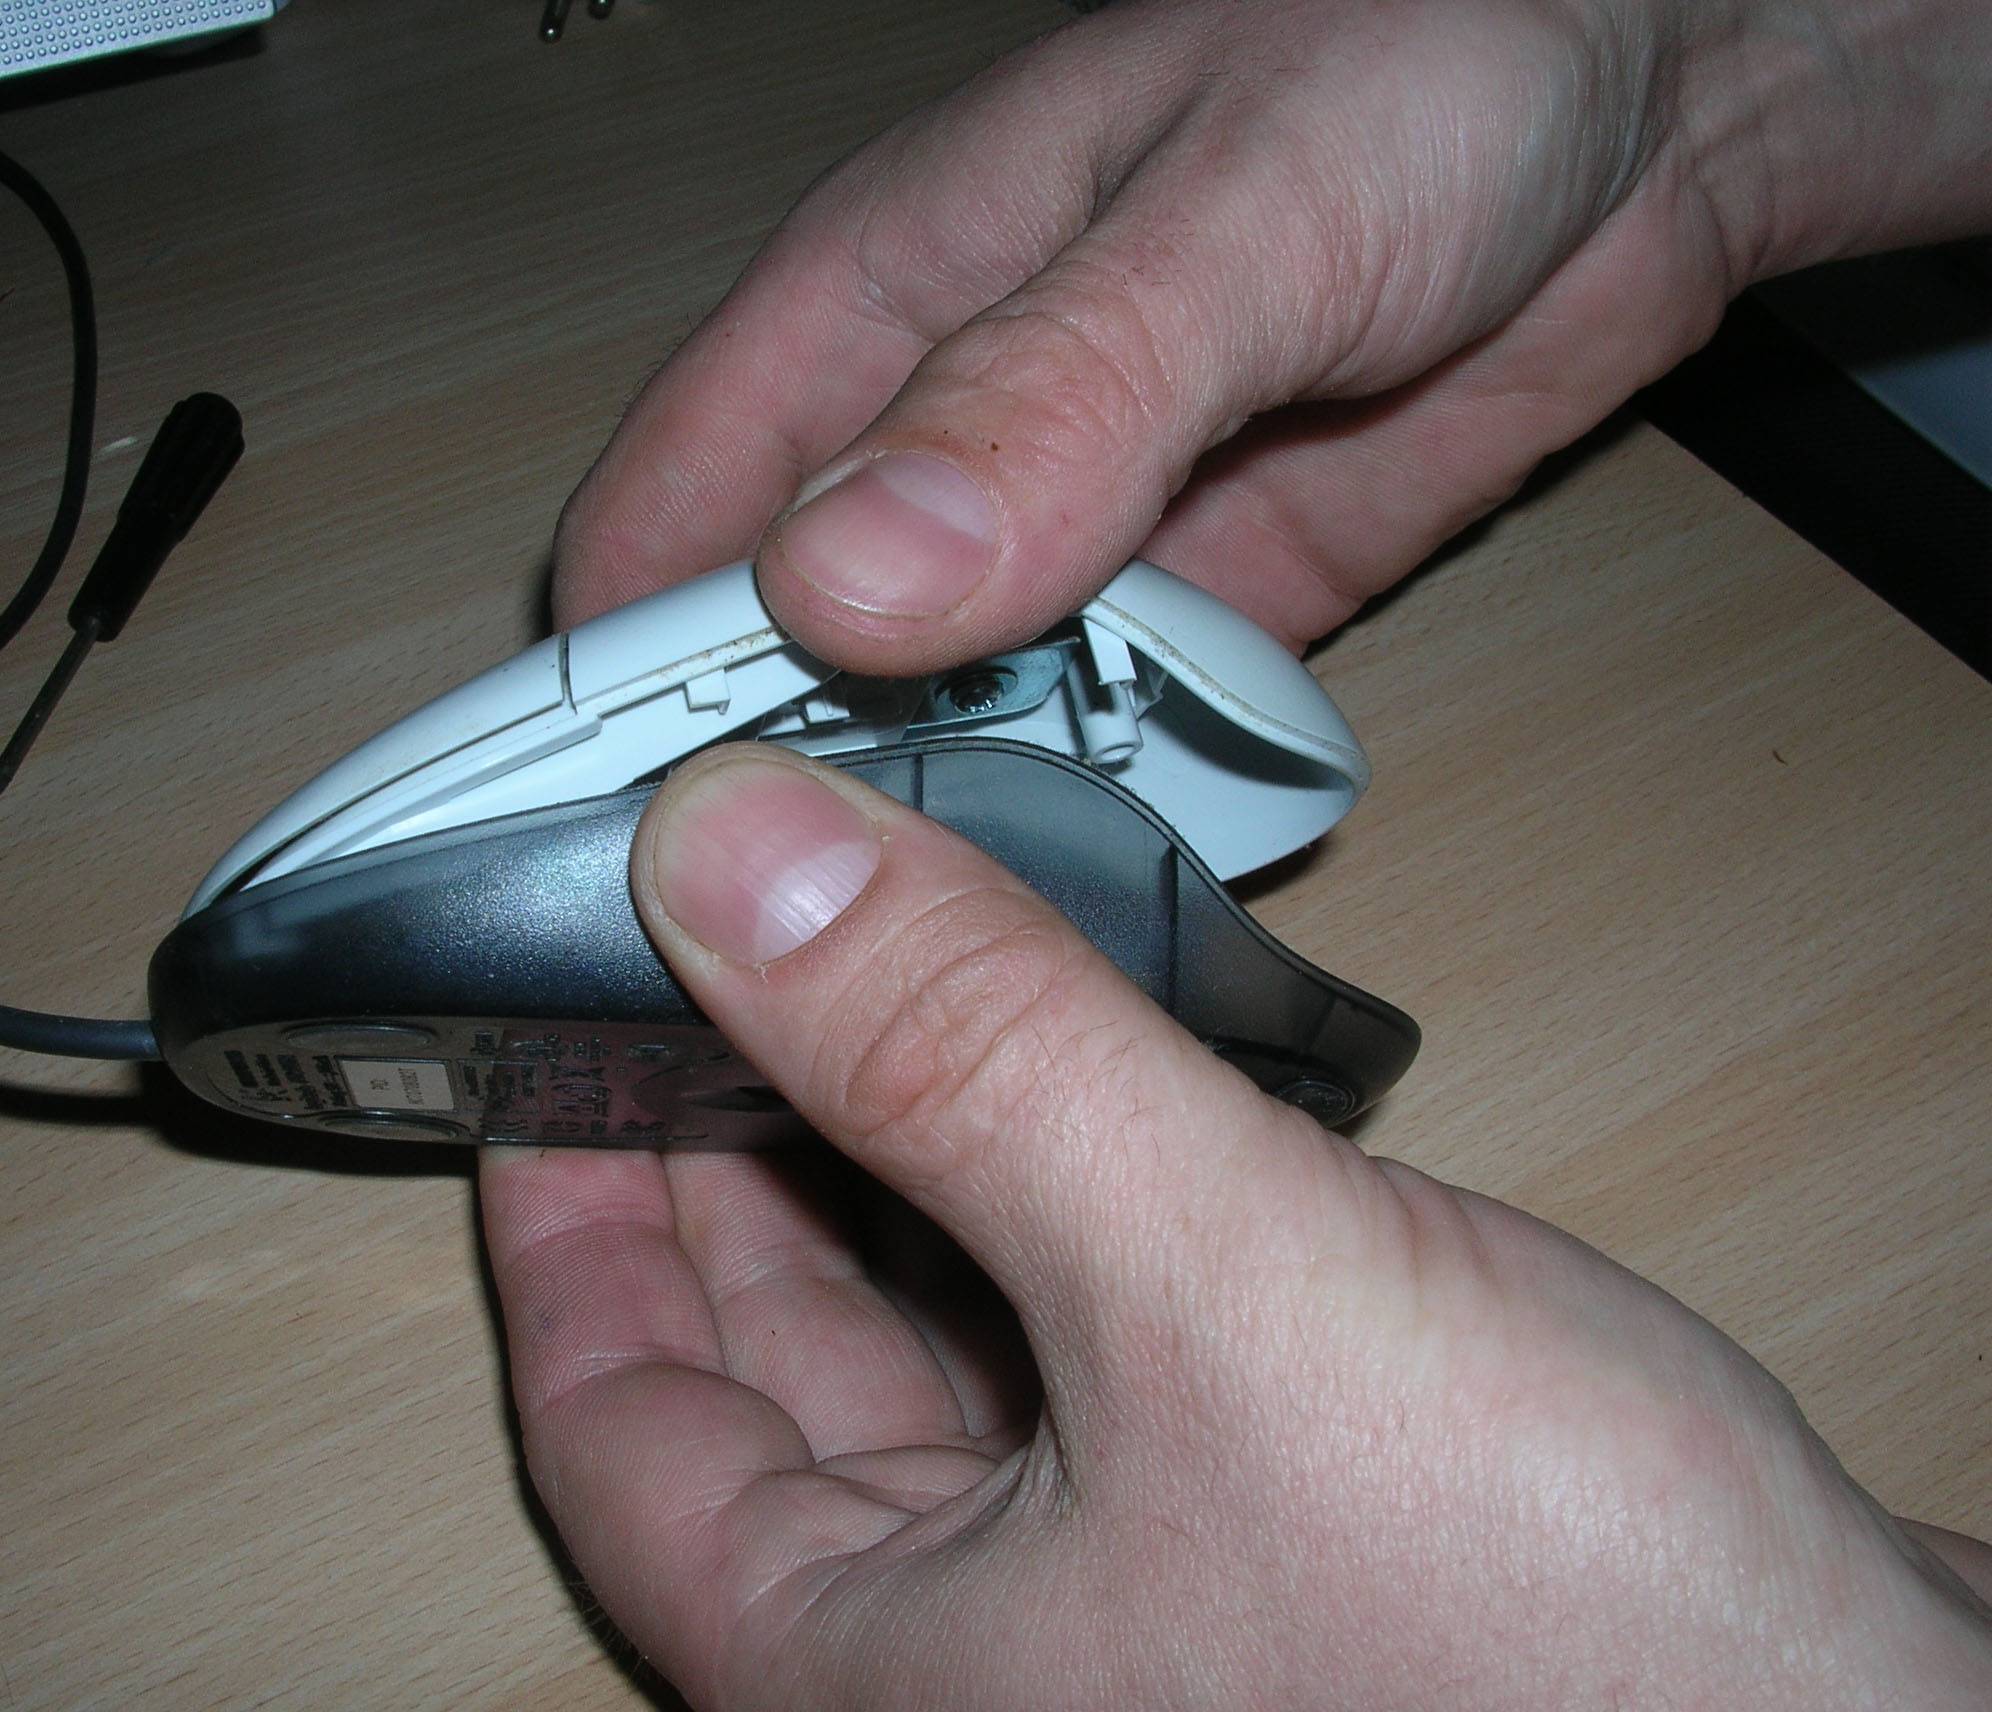
Disassemble the manipulator, remove the plastic case, carefully remove the microcircuit from there, go over it with a cotton swab. Use a cotton pad and alcohol to clean the inside of the case. If necessary, remove and wash the wheel (see below for how to do this).
After that, use a cotton swab to wipe all the sensors
Pay special attention to the space for the buttons - it gets clogged most often. Then put all the parts back in place, cover them with plastic and reassemble the device
Assemble the mouse very carefully. Strong pressure on the elements can damage the device!
Cleaning the wireless mouse
When it comes to a wireless pointing device, all the fundamental principles of the process remain exactly the same as stated above. You need to be a little more careful when disassembling, as this type of device is often more fragile.
When cleaning - internal or external - pay special attention to the Bluetooth sensor. This will help if your Logitech mouse begins to malfunction, loses connection, sometimes disappears from view, or constantly requires you to shorten the working distance.
Cleaning the laser mouse
A laser lens has a drawback: it gets dirty quite often. Since laser manipulators, unlike optical ones, require careful adhesion to the surface, therefore even small spots of fat on the eye can already affect the operation of the device.
To prevent this from happening, thoroughly wipe the eye with alcohol wipes or rubbing alcohol during each cleaning. But be careful not to press hard on the fragile glass, otherwise you may accidentally break your mouse.
The same "bath procedures" should be carried out at least once every couple of weeks.
Cleaning the optical mouse
Cleaning an optical mouse like steelseries rival 110 is considered the easiest
For her, you do not need to do serious manipulations, pay special attention to something or act extremely carefully.
Since optics are considered a class of fairly cheap and durable devices, it is much more difficult to accidentally break them. Cleaning of such a mouse is carried out according to the standard algorithm indicated above. Our information site recommends holding it every few months, in special cases - once every six months.
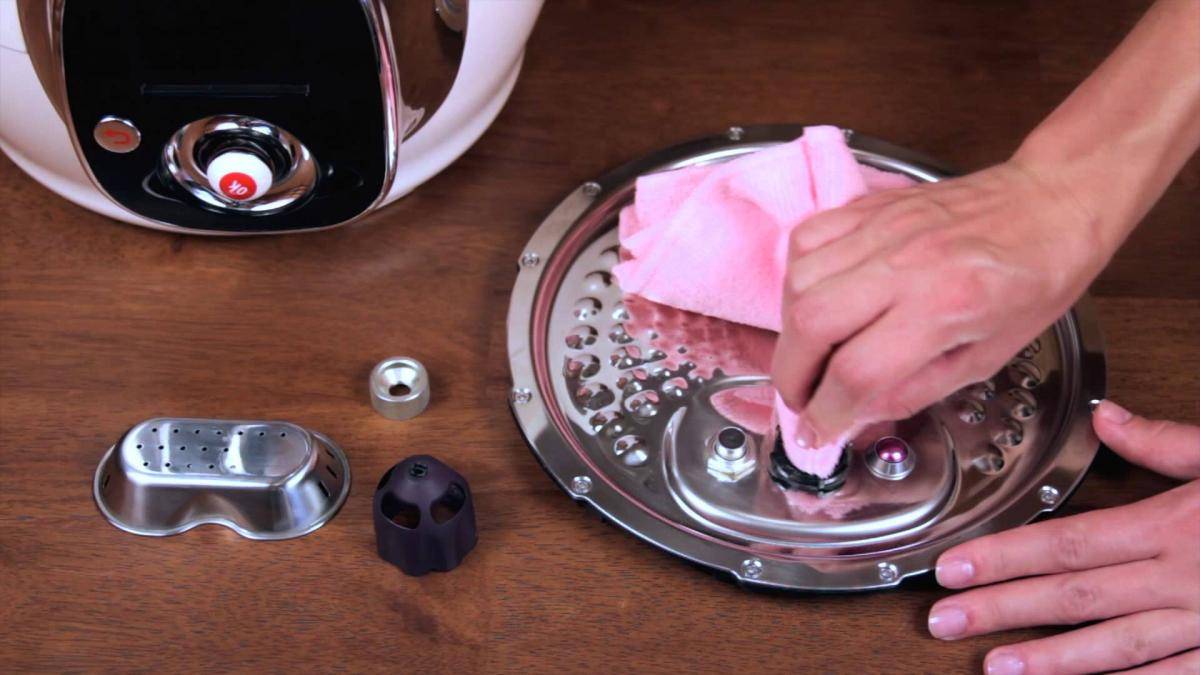
How do I clean the inside of the remote control?
A quick cleaning on the outside helps prevent serious stubborn stains, but it doesn't always work. To get rid of all the accumulated dust and dirt, you need to process it inside. This procedure takes time, effort, and great care, since it is very easy to damage the contacts.
It is recommended to carry out a comprehensive cleaning of the device every 3-4 months, in extreme cases, once every six months. This frequency will allow you to notice damage to the device in time, prevent damage, and significantly reduce the amount of dust and bacteria.
Parse order
To clean the inside of the switch, you must first disassemble it. The order of this procedure depends on the model of the console:
- with bolts (Samsung, LG and others);
- with latches (mostly they come with cheap TVs).
To disassemble the TV switch with bolts, you must:
- Remove the batteries.
- Unscrew the screws located in the battery compartment.
- Remove all other fasteners.
- Separate the two parts of the remote control - the lower and the upper, you can gently pry one of the parts with a knife or screwdriver.
- Remove the rubber insert with buttons - there will be access to the microcircuits under it.
To clean models with latches, they must be disassembled as follows:
- Pry off the two parts of the remote control at the junction with a flat screwdriver or knife.
- Pull them with force in different directions.
- Remove the keypad.
Cleaning products
It is impossible to use the same solutions as outside to clean the remote control - water ingress on the microcircuits will destroy them. Therefore, it is forbidden to use:
- citric acid;
- soap solution;
- aggressive agents;
- wet wipes;
- cologne;
- perfume.
All of them contain impurities that contribute to the oxidation of contacts, the appearance of plaque.
For internal cleaning of the remote control from the TV, you can use:
- medical alcohol;
- technical alcohol;
- special compounds for cleaning contacts.
Among the latter, there are such brands as:
- Abro EC-533;
- Wurth;
- Wd-40 Specialist;
- Mannol Contact Cleaner;
- Loctite SF 7039.
They are sold in computer stores, sometimes in outlets with household chemicals.
Cleaning steps
When the remote control is disassembled and the tool is found, you can start cleaning the device.
The procedure consists of several stages.
Processing the board and battery compartment
First of all, you need to apply the selected contact cleaner to the microcircuits.
The processing sequence is as follows:
- Liberally moisten the board with a cleaning agent.
- Wait 10 minutes.
- Clean the microcircuits with a cotton pad.
- Treat narrow and hard-to-reach places with a cotton swab.
- Repeat the procedure several times if it was not possible to remove all the dirt at once.
- Do the same with the contacts in the battery compartment (sometimes these microcircuits can be removed, which greatly simplifies the task).
Button wash
While the microcircuit is drying, you need to wash the buttons. They get dirty the most, as they constantly interact with hands and dirty surfaces.


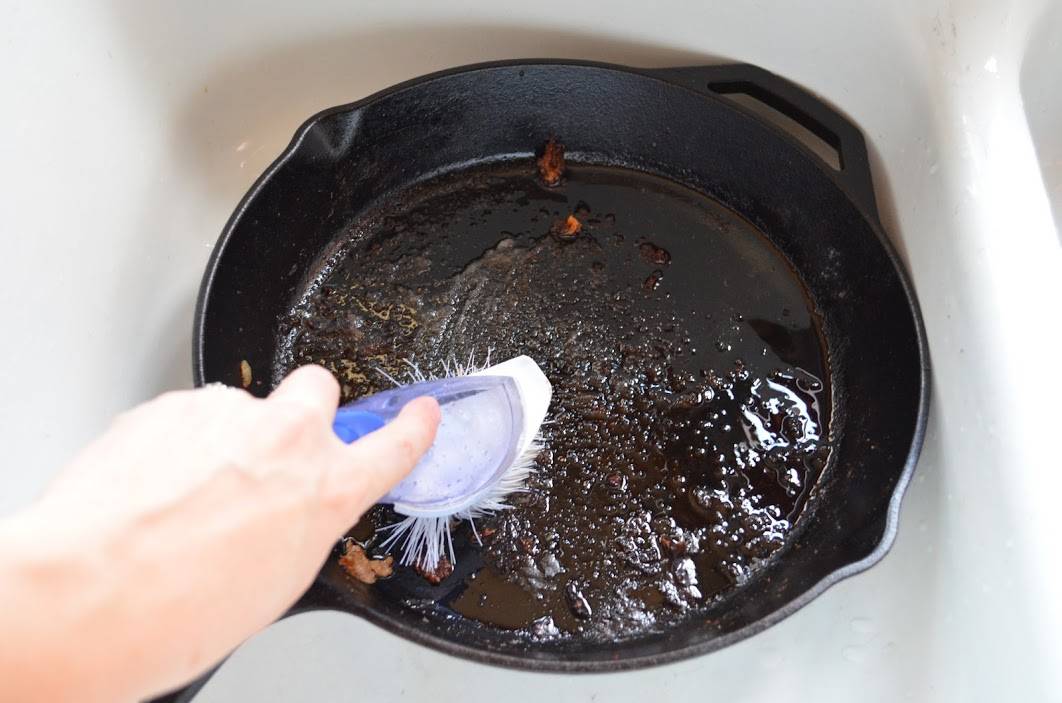

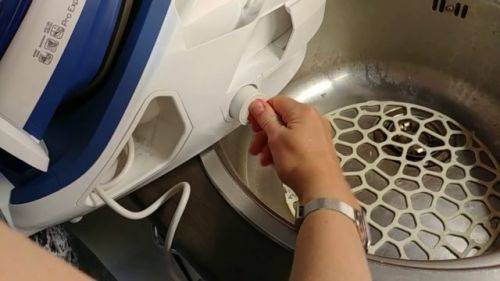
The panel with buttons is rubberized, so it is not afraid of water. To clean this part, you must:
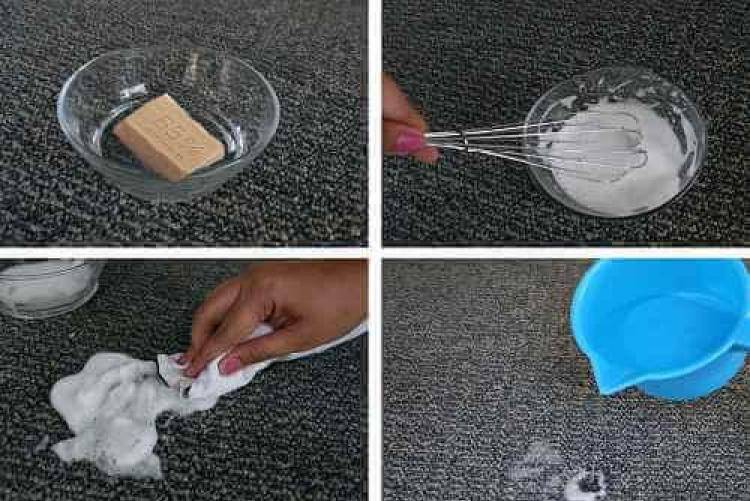
- Grate ½ bar of laundry soap into small shavings.
- Dissolve in 1 liter of water.
- To stir thoroughly.
- Submerge the panel in liquid for 10-15 minutes.
- Brush the part with a toothbrush, carefully removing dirt from the buttons.
- Rinse the part with clean water.
- Dry with paper towel.
- Leave to dry completely.
Cleaning the case
The plastic "shell" of the device can be cleaned by any means. Alcohol and soap solution are best for removing dirt.
It is necessary to wipe the case with the selected product, paying particular attention to the holes for the buttons - they usually collect a lot of dirt and dust
Assembly
When all parts are cleaned and completely dry, you can put the device back together.
This must be done in this order:
- Install buttons on the board.
- Insert these parts into the housing.
- Connect the two parts of the remote control.
- Screw in the screws or snap on the device.
- Insert batteries.
Poison - the best drugs
The poison has a good effect and copes well with rodents. Manufacturers release it in the form of powder, special liquid, poisonous briquette, paste. The following brands have proven themselves well:
- "Rat Death No. 1". The poisonous mass has a pleasant aroma that rodents like. It emits vapors that are harmful to rats, which depress the respiratory system of pests. The maximum effect is achieved a week after treatment;
- "Goliath". The drug helps to poison a large number of rodents. Its action does not begin immediately, but after a week. During this time, all pests eat the bait, which does not cause them any fears. Soon all the animals die;
- "Ratid 1". Helps to poison rodents, used in all types of buildings;
- "Storm". The main advantage of the poison is the absence of decomposition of dead individuals. In this regard, there is no specific smell;
- "Nutcracker". The green briquette acts as bait. The rodent absorbs a poisonous mass that poisons the circulatory and respiratory system. After a short period of time, suffocation develops, which forces the rodent to crawl out into open areas. A dead specimen is easy to find and dispose of;
- "Tsunami". Pink tablet preparation. Safe for pets and humans. It has a cumulative effect, having a detrimental effect on the cardiac, nervous and circulatory systems of the rodent.
A poisoned mouse should not be handled with bare hands. You can throw out the pest with a scoop, or putting household gloves on your hands.
Tools and accessories for cleaning the mouse
In order to process the device, you will need the following:
- Storage mats for individual pieces of equipment;
- Sticks of various sizes to handle difficult-to-pass holes;
- Special liquids designed for cleaning computer devices;
- Cleaning balls;
- Alcohol-based wet wipes;
- Inexperienced users can additionally print a diagram of the assembly and disassembly of a certain type of mouse;
- If you need to disassemble the device, then you must first prepare a Phillips screwdriver;
- Plastic scraper for removing heavily soiled surfaces;
- Soft fabric;
- Soap solution;
- Cotton swabs, discs, or swabs.
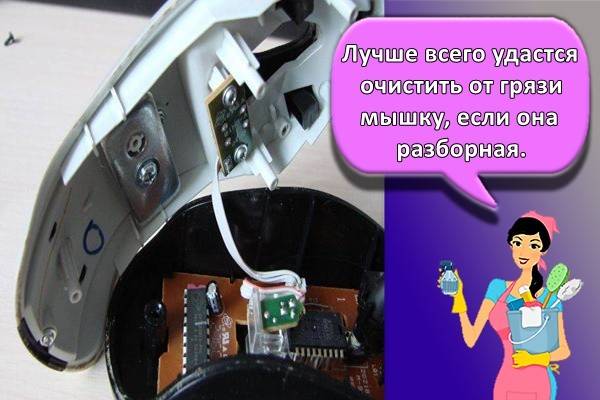
It is also worth noting that there are two main ways to clean a mouse: by disassembling it or unassembled.
Each of these methods consists of several main stages%
Stories from our readers!
“This cleaning agent was given by my sister when she found out that I was going to clean the brazier and the wrought-iron gazebo in the country. I was delighted! I did not expect such an effect. I ordered myself the same.
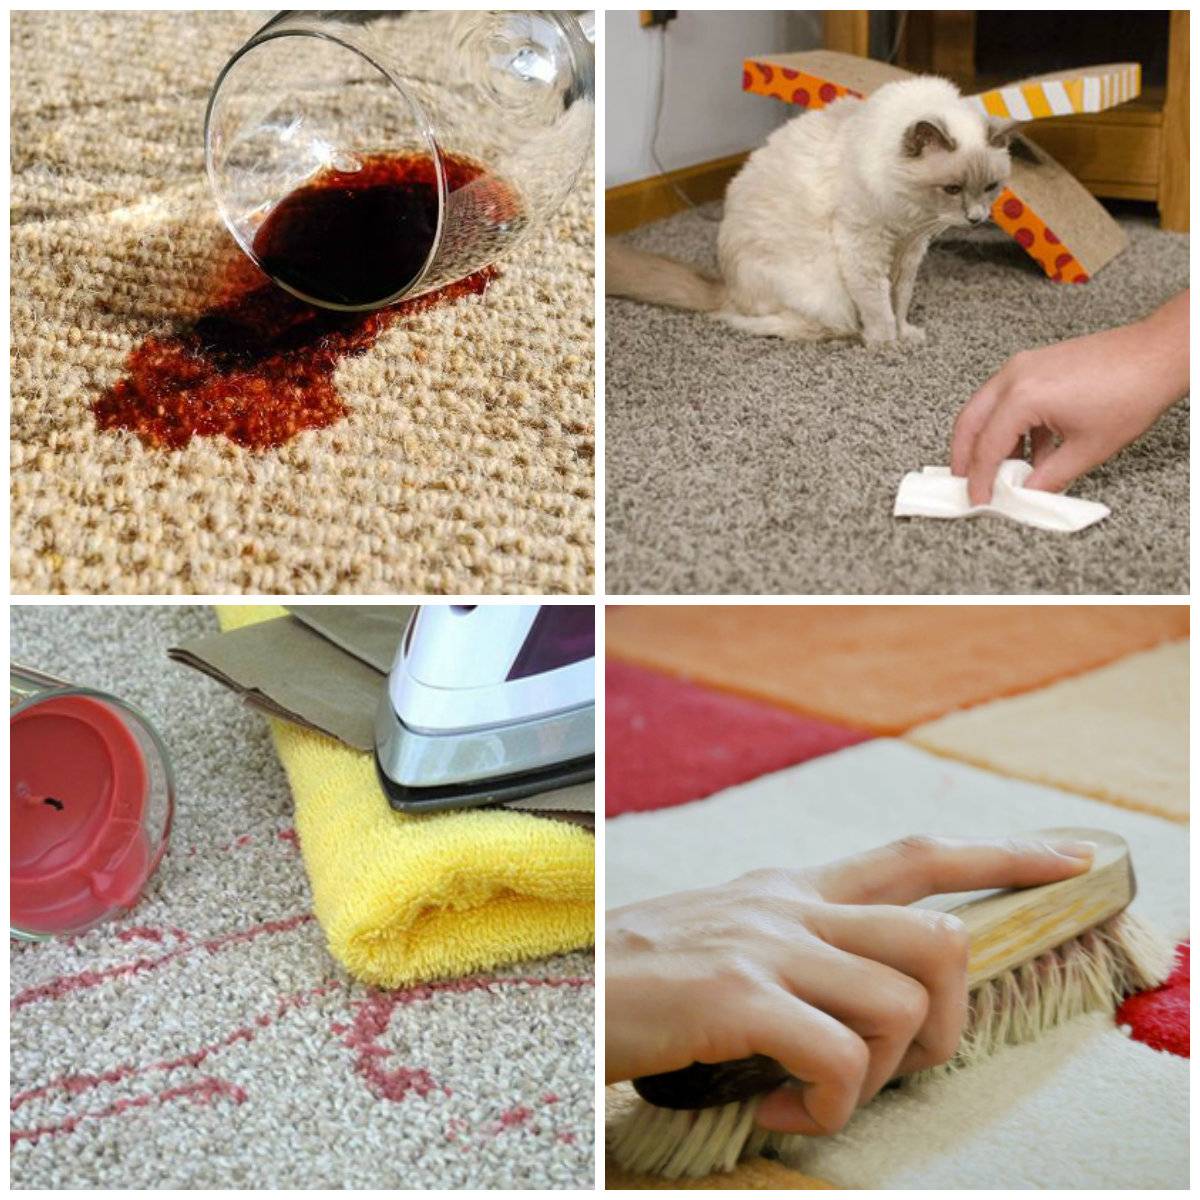
At home, I cleaned the oven, microwave, refrigerator, ceramic tiles. The product can even get rid of wine stains on carpets and upholstered furniture. I advise. "
How to properly clean your own system unit
To properly clean your computer from accumulated dust, you need to familiarize yourself with the features of such work.
Preparation
Before proceeding with cleaning, it is necessary to carry out preparatory work.
Complete shutdown of all external components
People who have repeatedly cleaned the PC recommend that you disconnect all external devices from it beforehand. However, before doing this, you must disconnect the computer from the power source.
Components that need to be disconnected include speakers, a printer, a modem, a monitor, and other peripheral devices. In this case, you need to remember how everything was connected. This will help in the future to avoid problems with the connection of disconnected devices.
Remove the cover of the system unit
After detaching the external components, you need to get rid of the side case cover. To do this, you will have to unscrew the two bolts that are screwed to the back wall.
It is very important not to confuse the covers and unscrew the one opposite the motherboard. The removed cover is also wiped with a rag, as there may be dust particles on its inner side.
We collect all the bolts in one place
Quite often, people lose the unscrewed bolts that attached the side cover to the system unit. Therefore, it is necessary to put all fasteners aside or put in a small box so as not to lose.
We take out the RAM from the motherboard
Before removing the RAM from the slots, the system unit is placed on a hard and flat surface. Then you need to remove the memory sticks one by one. To do this, for each slot for RAM, you need to move the latches and carefully remove the strips
This must be done carefully so as not to accidentally damage the memory sticks.
We remove the video card
Having got rid of the RAM, they start removing the video card. To remove it, you will have to unscrew the bolt that secures the video card to the computer case. After that, the latch on the motherboard is disconnected, which is also responsible for securing the card. In the process of removing the card, do not pull it with all force, so as not to damage the video card and the slot in which it is installed.
We take out other internal components, if any
In addition to RAM and a video card, there may be other components inside the system unit, which must also be obtained before starting dust cleaning. Therefore, it is recommended to disconnect Wi-Fi modules, sound cards, modems and other additional components from the motherboard.
Disconnect and take out the hard drive, floppy drive
Other components that need to be removed before dusting your PC are the floppy drive and hard drive. These components are connected to the power supply and therefore must be disconnected from all cords in advance. In some system units, hard drives with drives are attached with bolts. It is necessary to unscrew all fastening bolts and only then remove the components from the housing.
Removing and disassembling the power supply
The very last piece to remove is the power supply. It is attached to the system unit with screws located on the back wall. After removal, the power supply unit must be disassembled in order to clean its cooler from dirt. To do this, you will have to unscrew a few mounting bolts and remove the cover.
Cleaning
Having finished with the preparation, they begin to clean the personal computer from dust.
Initial cleaning with a vacuum cleaner
First, you need to blow the motherboard with a vacuum cleaner to get rid of the top layer of dust. First, the vacuum cleaner is connected to the outlet, then the nozzle is removed from it so that only the handle with the hose remains in the hand. Then a mode is set in which the vacuum cleaner does not blow in, but blows out air. Blowing is carried out for 5-6 minutes.
We clean hard-to-reach places with a brush
The processor fan and other hard-to-reach areas should be cleaned with a brush. In this case, a powerful vacuum cleaner is used, which will suck in all the crushed dust.
Gently rub the contacts with an eraser
Component contacts that are inserted into the motherboard connectors are oxidized. Oxidation causes the devices to malfunction. It is recommended to regularly clean the contacts so that there is no oxidation on their surface.

To do this, the surface is carefully rubbed several times with a regular eraser.
Assembling a computer
Having finished cleaning the PC from contamination, they are engaged in the collection of the system unit. Everything should be done in the same way as during parsing, but all actions are performed in a different sequence. After assembly, you need to check that all components are in place.
How to properly clean your mouse pad
The accessory is made from different materials, and the methods of cleaning them also differ significantly.
To clean the mouse pad and not ruin it, you should consider the type of surface.
An individual approach is important. In this case, both the mat and the mouse will last longer.
Take care of the stand according to the material from which it is made.
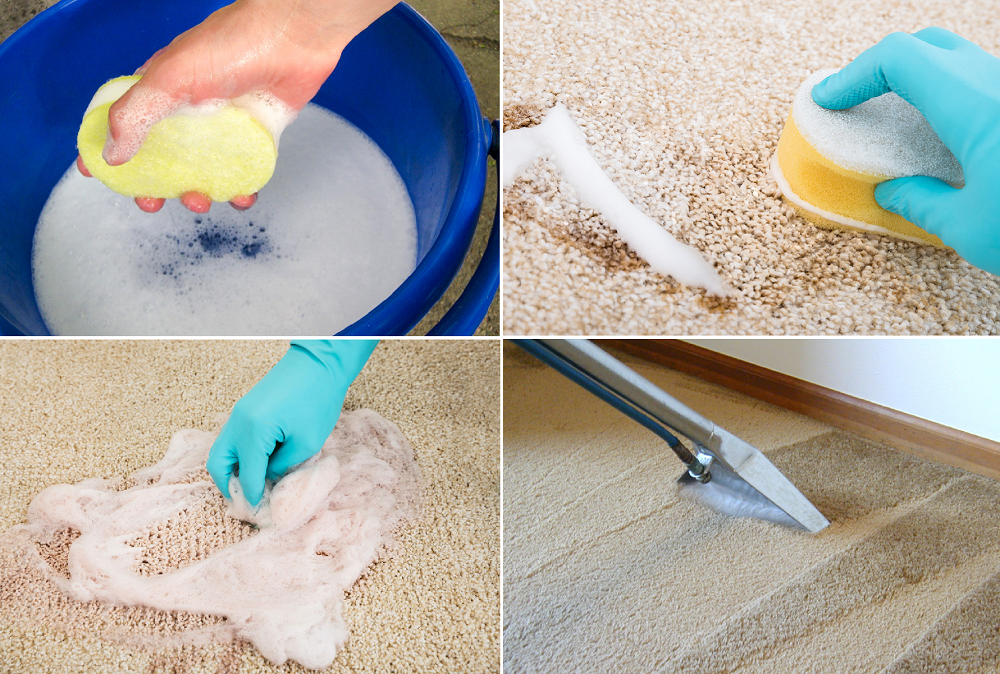
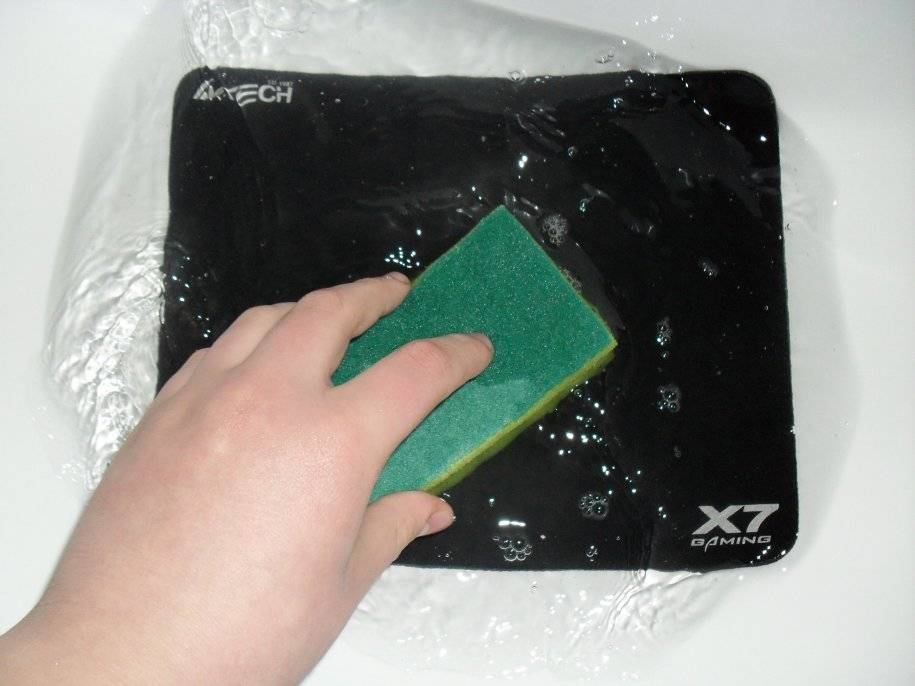
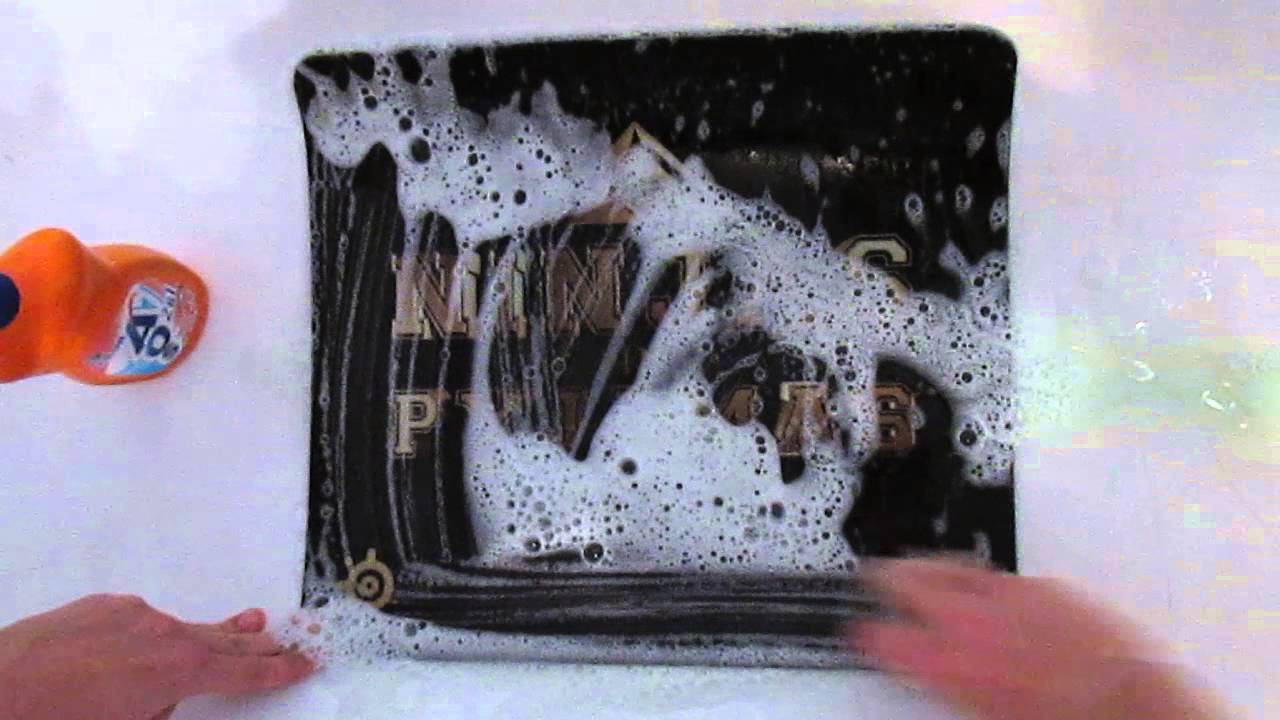
Cleaning the Cloth Mat
To clean a cloth mat, dip a sponge or soft brush into a soapy solution and gently wipe the dirty surface.
To clean the surface of the rug, a brush or toothbrush, napkins, and a sponge are useful.
Then rinse thoroughly.
Each type of material has its own effective detergents.
Sometimes shampoo containing silicone is applied after washing.
The silicone in the detergent forms an invisible film on the material, thanks to which the mouse will glide better.
Dry the rug only in a natural way, without using a hair dryer, gas stove or battery. To dry faster, wipe the mat with a newspaper or soft cloth.
Dry the rug flat on a horizontal surface for at least 24 hours.
How to clean a plastic and aluminum mat
Accessories with aluminum or plastic surfaces are easy to clean. Take a handy sponge or brush and any detergent (laundry detergent, dishwashing detergent, or surface cleaner). Water is poured into the basin, the detergent is diluted and the rug is placed there.
Rugs made of plastic or aluminum are the most simple and unpretentious to maintain.
Important! Do not use boiling water, otherwise the rug may deform. Thoroughly rinsing the entire computer accessory, including the folds and bulges for the hand, do not forget about the reverse side - it also gets dirty
Thoroughly rinsing the entire computer accessory, including the folds and bulges for the hand, do not forget about the reverse side - it also gets dirty.
Rinse the mat thoroughly, rinsing off any remaining detergent.
After the above procedures, it is rinsed under running water and dried. At the final stage, they are polished. Without special preparations, this can be done by taking a carpet and a drop of any oil.
For polishing, you can use a regular piece of carpet and a drop of oil.
Cleaning the glass mat
The cheapest product for cleaning glass surfaces will help you “wash” the glass stand. If such a product is not at hand, use a detergent solution and a sponge.
Glass mouse pads can be cleaned with a special window cleaner.
Rinse well afterwards so that soapy streaks do not remain. Then, using rubbing alcohol (or vodka), wipe the surface with a lint-free cloth. This will be a kind of polish. Here is the glass rug and brushed.


Glass mats are also wiped with ammonia.
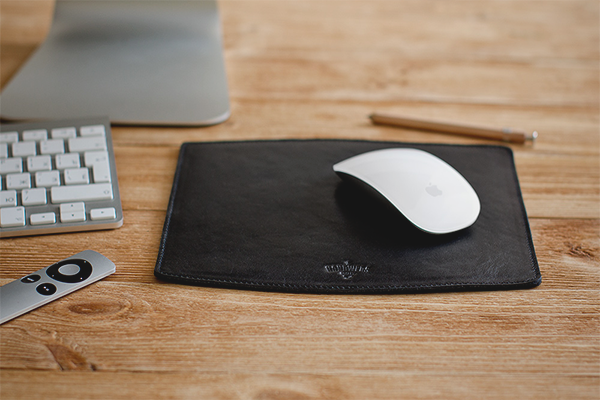
My leather rug
Can a leather mouse pad be washed at all? Perhaps, the word "wash" or "wash" in the conventional sense in our case is used incorrectly.
Computer accessories made of leather are durable and unpretentious in care.
Leather things are, nevertheless, more of a decoration of the workplace than a practical item for everyday use, therefore, they must be used extremely carefully and carefully, avoiding serious contamination. Otherwise, even if you manage to get rid of the stains, streaks will still remain on the surface.
The leather rug cannot be washed and generally soaked in water.
The maximum that is allowed when cleaning a leather mouse pad is to wipe it with a barely damp cloth and wipe it dry immediately.
These coasters are cleaned with napkins with special products.
How to clean dirt from a rubber or cork mat
You can clean the rubber mouse pad in the most straightforward way. Washed and dried. No special recommendations.
Rubber mats. The most convenient type of rugs for cleaning.
A cork accessory is a capricious thing. It should not be dipped in an aqueous solution, much less allowed to get into chemicals.
A cork product can be wiped with a damp cloth and any office equipment cleaner.
Better to wipe with a soft cloth soaked in a special composition.
When washing a rug made of any material, you should also clean the mouse.
Wet cleaning with foam
The steps for this method vary depending on the fabric the toy is made from and whether it has parts on it.
We recommend:
How to clean a muton coat at home
When washing children's toys, you should follow the recommendations:
- If there are balls inside, then it is forbidden to wash it in the machine, since the weak seams on them easily diverge.
- Stains can be easily wiped off with rubbing alcohol or lemon juice applied before washing.
- Velor and knitwear are machine washed in a special net.
- Before washing children's toys, you need to know that shampoos and soaps, except for children's ones, cannot be used.
- After washing, rinse thoroughly to remove soap or other detergents.
Felt
It is necessary to clean toys from felt according to step-by-step instructions:
- Apply soap to a cloth, sponge and lather.
- Squeeze out, treat the surface of the product.
- Wash a cloth or sponge, wring it out and go over the entire soft thing.
- Dry the product.
Plush
Plush toys can be cleaned with both detergent and liquid. Before washing along with other things, you should check if it sheds. If it does not fade, then the cleaning procedure is as follows:
- Add the cleaner to warm water.
- Leave the toy in it for half an hour.
- Wash it with your hands.
- Dry the product.
After cleaning, you can reshape the garment with a brush.
Toys with parts on glue and balls inside
For wet cleaning of soft products with glue-on parts, the following technique is used:
Shampoo is used to wash toys
- Pour shampoo into water and lather.
- Transfer the foam to a sponge, process the subject of fun.
- Wash off the foam from the sponge, wipe with a clean sponge, then with a towel.
- Dry.
Handwash
Children's toys do not have to be machine washed - they can be easily and quickly washed by hand, the result is the same as washing in a machine. This requires:
- Collect warm water.
- Lather the products and leave for a while.
- If the toy is not made of poor fabric, then the stains can be brushed.
- Wash off the soap, squeeze out.
- Dry the product.
How to clean out solid materials
The industrial industry does not stand still, and every year it offers users more and more extravagant products made of exotic materials. They require special care, because such a thing cannot be washed in a regular basin of water.
Views
There are the following types of hard materials used in the creation of mouse pads:
- aluminum;
- plastic;
- glass;
- cork materials.
Plastic
Plastic products are gaining more and more popularity thanks to:
- low price for the product;
- unpretentiousness.
Among the minuses are:
- fragility;
- during operation, the friction of the mouse on the plastic mat may be accompanied by unpleasant sounds.
Aluminum
Rarely used material. Aluminum mats:
- durable;
- they are easy to care for;
- beautiful.
They are more expensive than plastic ones, but they fully pay off their price.
Glass
Glass products are more expensive than all others, recouping their value due to:
- exclusive appearance;
- durability;
- ease of use.
Glass products require a special approach in the cleaning process from dirt.
Cork
Cork rugs are valued for:
- ease;
- environmental friendliness.
They have mixed reviews from consumers. This is due to their rough surface, which in some cases slows down the movement of the mouse. The sensitive skin of the hands does not react well to cork rugs, as they easily rub the hand in places of contact during prolonged work.
How to wash
To wash hard material rugs, use:
- napkins;
- dish detergent;
- ammonia.
Napkin
A regular paper towel is great for cleaning glass, aluminum, and plastic items. Stains do not bite into the structure of these materials, which allows dirt to be removed effortlessly.
Dish detergent
Suitable when you need to wash a glass mouse pad that you accidentally flooded with grease. Plastic also easily tolerates the effects of this detergent, washing off quickly and without problems.
Ammonia for glass surfaces
To avoid this, use ammonia instead of soap. It can easily deal with dirt without leaving any marks on the glass.
Do-it-yourself comprehensive laptop cleaning
If simple methods did not help or the equipment has not been cleaned for several years, complex cleaning with disassembly of the entire case will be required.
Removing the back cover
The first step is to open the laptop to get to the contaminated parts. To do this, unscrew the bolts holding the panel at the back using a Phillips screwdriver of the required diameter. Twist them counterclockwise. In some models, only a part of the panel above the ventilation can be removed, and not the entire cover. Collect the unscrewed bolts in a container so as not to lose them. If the cover does not give way, do not press down on it, but double-check that all bolts have been removed. After removing the cover, wipe it inside and out.
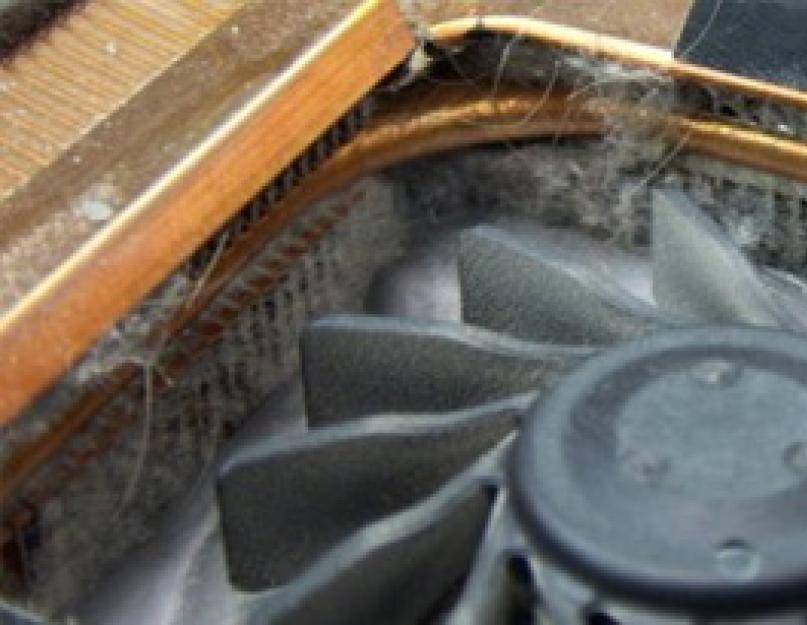
Radiator and cooler
The first step is to find a cooler and heatsink. The cooler looks like a fan in a square or round frame, and a radiator is a box with a grill.They can be blown out with a vacuum cleaner or a spray can, and dust with microcircuits should also be blown
But you need to use a vacuum cleaner very carefully so as not to damage fragile parts. The handset must not be brought close to the circuits or touch them.
Unscrew the screws that hold the fan and set aside elsewhere
Remove the fan, disconnect the ribbon cable leading to the microcircuit. Wipe the blades with a brush and blow the place where the cooler was located with air.
For prevention, lubricate the engine with engine oil by dropping a drop inside. Put the device back in place, attach the ribbon cable and tighten the bolts.
Thoroughly clean the radiator with a thin brush from old thermal paste and dust accumulations.
Video card and motherboard
The motherboard is the most fragile part of the laptop, so you need to take it out very carefully. Walk over the surface with a soft brush slightly moistened with alcohol and blow off the microcircuits and contacts.
Take the processor out of the slot as carefully as possible.
Pull the socket pedal (the socket where the processor is inserted) slightly to the side and lift up. The pedal should be vertical, then take the processor by the sides and remove it from the socket. Go over the contacts with a cotton swab dipped in alcohol.
Replacing thermal paste
Cleaning the ventilation system involves changing the thermal paste. Remove its remnants. If it's dry, rub it with an alcohol wipe. Be careful, there should be no scratches left. Apply the paste a little at a time, spreading it with your finger or a spatula (included) over the heat sink plate.
Cleaning the keyboard
The keyboard is perhaps the dirtiest place on the computer. If it is not very dirty, wipe it from the outside with special technical wipes or a cloth soaked in soapy water. Wring out a cloth, lather buttons, rub to remove dirt and soap, wipe dry
It is important not to damage the markings or flood the keys.
Cleaning the connectors
The internet or USB connectors can also get dirty. From this periodically there are problems with connecting flash drives, phone and mouse. Take a long bristled brush. If the hole is narrow, then just cut a strip out of the plastic along the width of the slot, and glue it with double-sided tape. Dip the Velcro in rubbing alcohol and let it dry well. Wipe the ports lightly and blow out with compressed air.
Screen care
Do not rub the monitor with compounds that contain alcohol, as the screen may deteriorate from moisture. Buy alcohol-free LCD wipes or spray. Rub so that no streaks remain. A full cleaning is best done once a year.
How do I clean different types of devices?
With a ball
Recently, manipulators of such a model are already rarely found, since they are primitive, they are gradually going out of circulation.
To prevent contamination, it is necessary to wipe the computer mat, the wheel on the mouse with napkins or chlorhexidine once every 1-2 weeks.
It is better to clean the ball model when it is disassembled, since the main dirt accumulates inside the device. This requires:
Disconnect the manipulator from the network, carefully disassemble it without pressing hard on the parts.
Remember where the cord is in order to put it back in place at the end of the procedure.
Pull out the rubber ball carefully.
Soak it for 5-10 minutes in soapy water (¼ a bar of laundry soap for 0.5 liters of water).
Wipe the ball with a dry cloth, treat it with an alcohol solution (1: 1).
Use a plastic scraper to clean the dirt that has adhered to the "insides".
The crust of dirt on the wheels can also be removed with a scraper or a cotton swab dipped in a solution of alcohol.
When all dust has been removed, degrease the surface, especially the moving parts, with any alcohol-based substance such as strong alcohol.
Very carefully clean the button contacts with a cotton swab dipped in alcohol.
Assemble the mouse back.
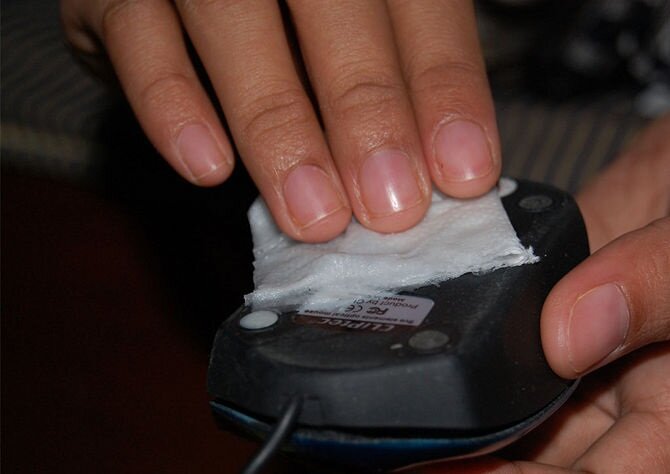
Wipe the outside of the case and cord with alcohol.
Optical
Cleaning the optical mouse is easy from the outside as well as from the inside. It belongs to cheap, durable models, so it is much more difficult to break it with a careless movement.
It is necessary to remove accumulated dirt from the outer part of the optical device once every 2-3 months, from the inner part - once every six months.
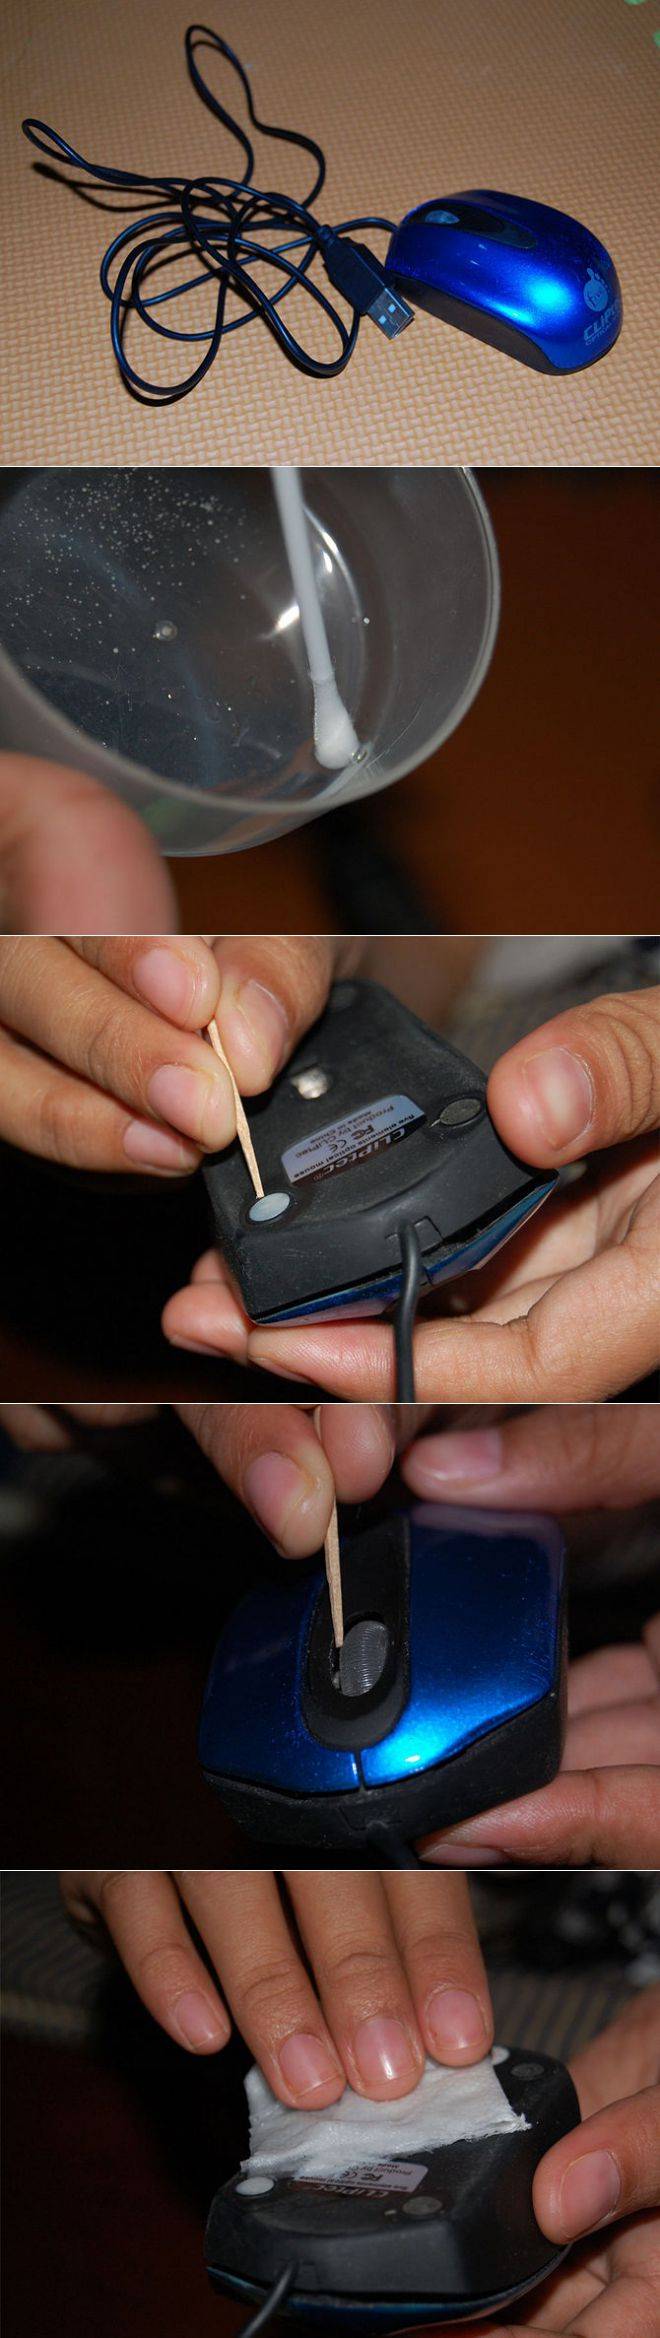
To clean the mouse from dirt, you must:
- Disconnect the device.
- Carry out a quick cleaning.
- Wipe the peephole, being careful not to put too much pressure on it.
- Disassemble the mouse.
- Remove the microcircuit, clean it from dust with a dry cotton swab or a soft brush with light movements.
- Wipe the wheel with an alcohol solution.
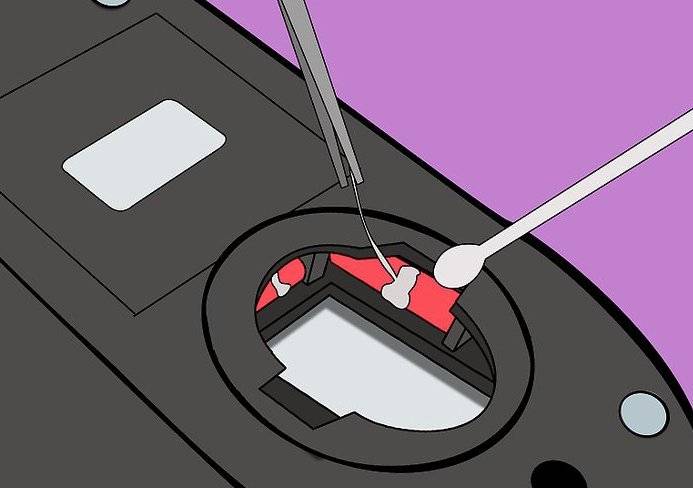
- Clean the optical sensor with a cotton swab.
- Degrease internal parts with alcohol or vodka.
- Assemble the manipulator back.
- Wipe the eye of the mouse.
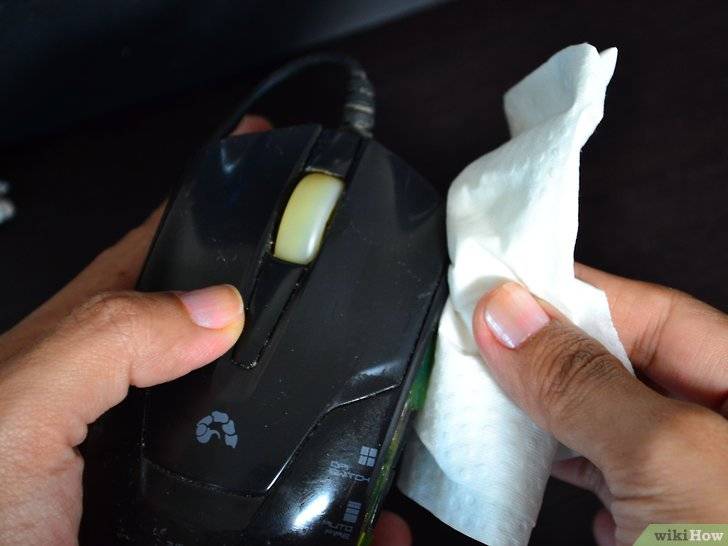
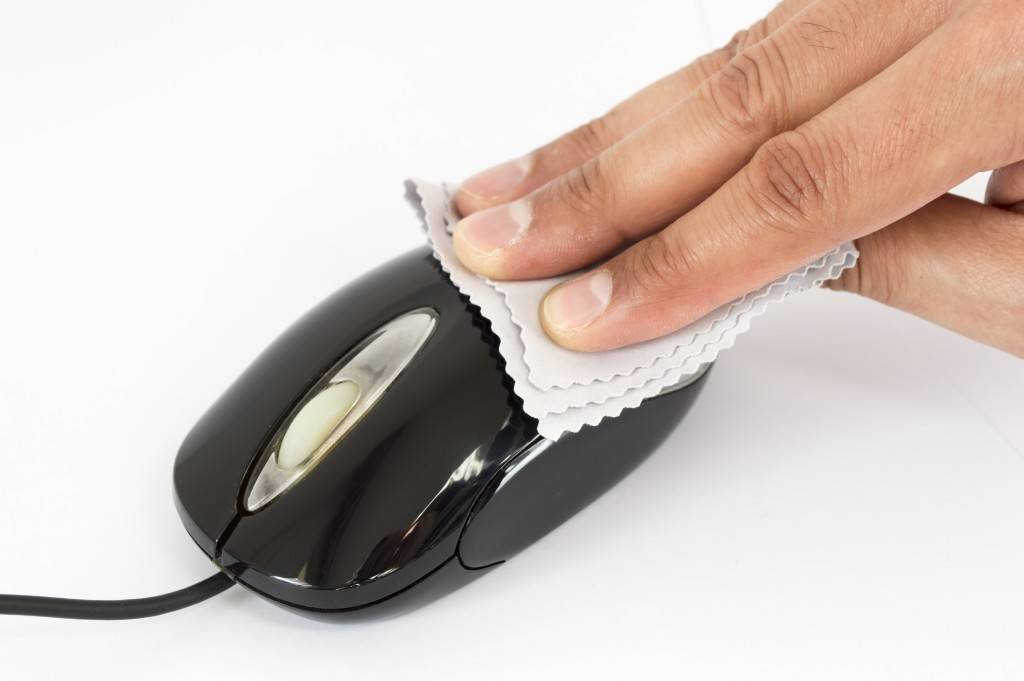
- Treat the case with napkins for computer technology.
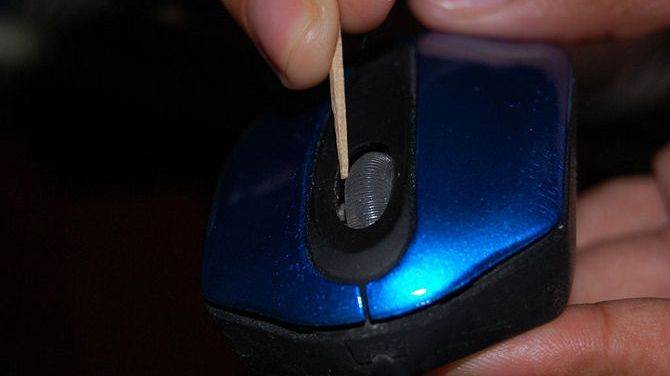
Laser
The laser mouse can be cleaned in the same way, paying particular attention to the sensor. It needs to be wiped with a cotton swab
However, there are times when the cursor periodically disappears from the desktop, and the lens on the back of the device stops glowing red. This means that the laser sensor is clogged and needs to be cleaned. This can be done as follows:


- Turn the mouse upside down.
- Clean the edges of the laser with a toothpick, slightly penetrating the inside of the case through the slot.
- Wipe the edges of the sensor with a cosmetic stick moistened with alcohol.
For prophylaxis, such cleaning should be carried out once every 2-3 months. Remove dirt from the inside of the manipulator every 6 months.
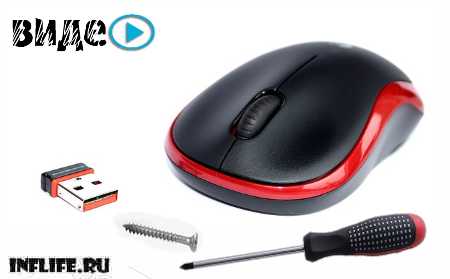
Wireless
Recently, wireless mice have become popular as they reduce the number of wires. In addition, they can be fixed in a comfortable position, control the computer from a distance.
For these models, the principles of quick cleaning remain the same. But in order to clean the inside of a wireless mouse, you need to follow a few rules:
be careful when disassembling the product: it has a fragile structure;
special attention should be paid to the Bluetooth sensor, since it is he who provides communication with the computer. If this sensor is dirty, the working distance becomes shorter and the data transfer becomes slower.
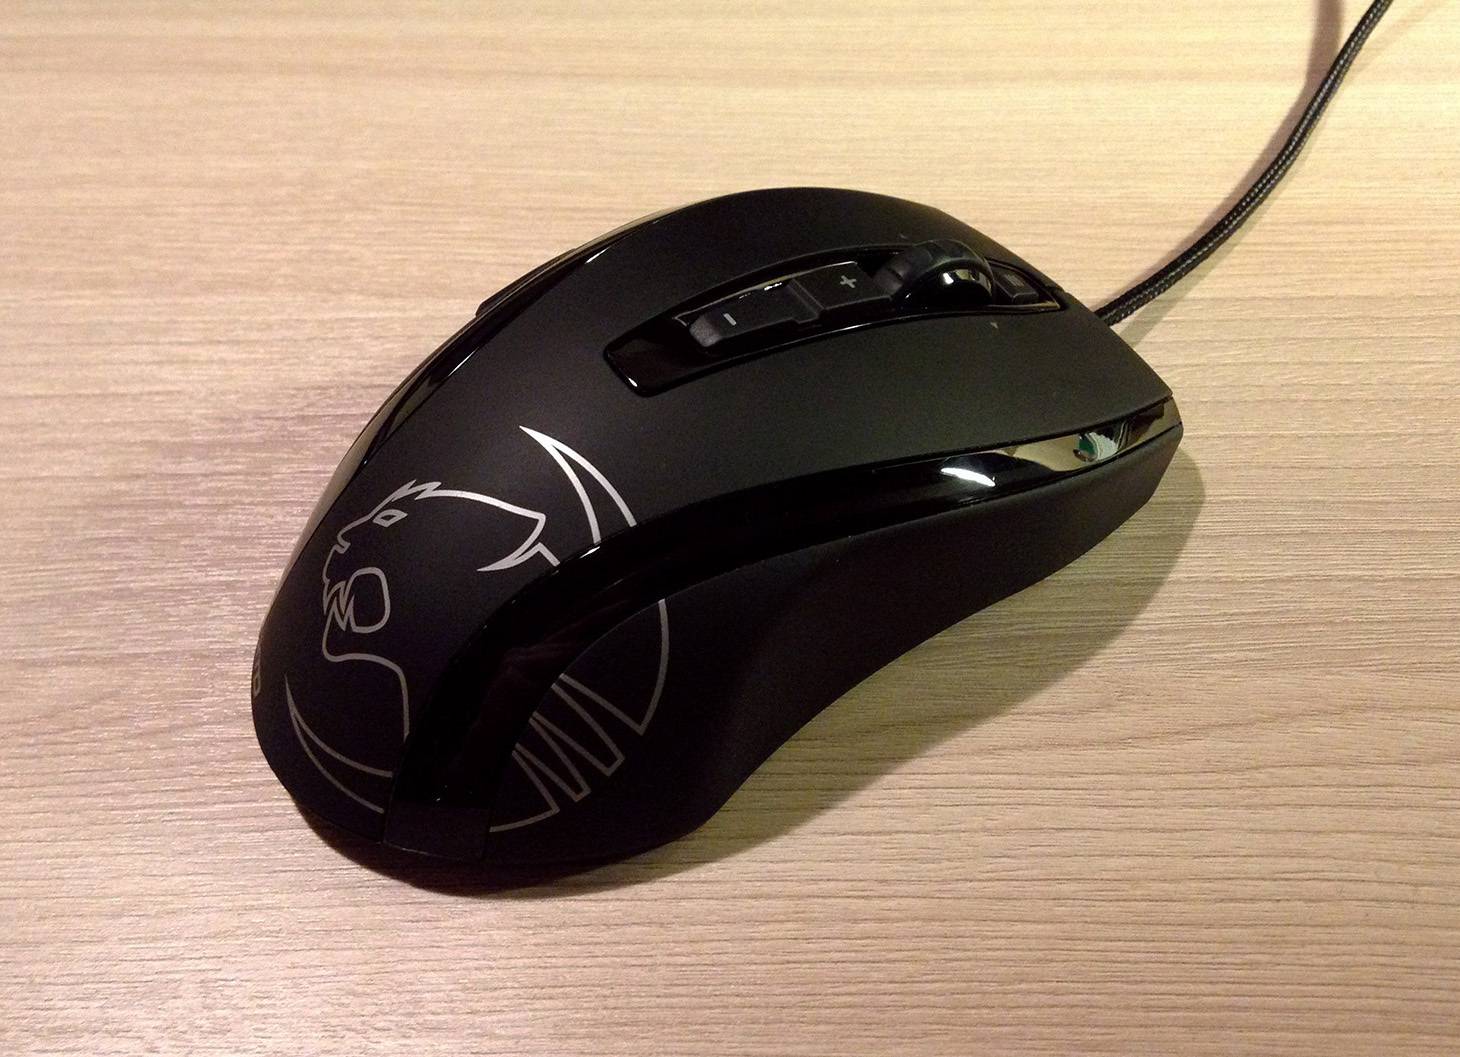
Playroom
Gaming mice are designed for gamers and differ from conventional models in that they have increased sensitivity, many additional buttons. This complicates the task of removing dirt, as dust gets into the cracks (which are more than in non-gaming devices).
There are a few rules to help you clean your gaming mouse safely:
you need to very carefully remove dirt from the sensors so as not to damage them;
do not press hard on the device, because it is sensitive, fragile;
disassembling a gaming mouse is difficult because there are many additional parts to be carefully removed. It also increases the cleaning time.