Deep cleaning
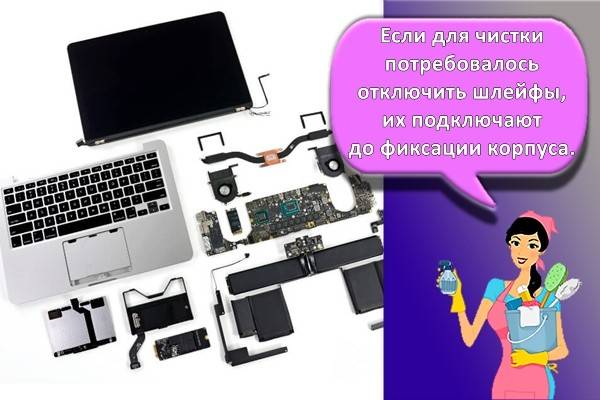
To clean a disassembled laptop, you need a certain set of minimum knowledge about its configuration and the location of some parts inside the case. If a person does such work for the first time, at each stage of the procedure it is better to take a photo of the placement of the components. This will make it possible to assemble the device back at the end without any problems.
After disassembling the laptop, you will need to clean:
- frame;
- radiator;
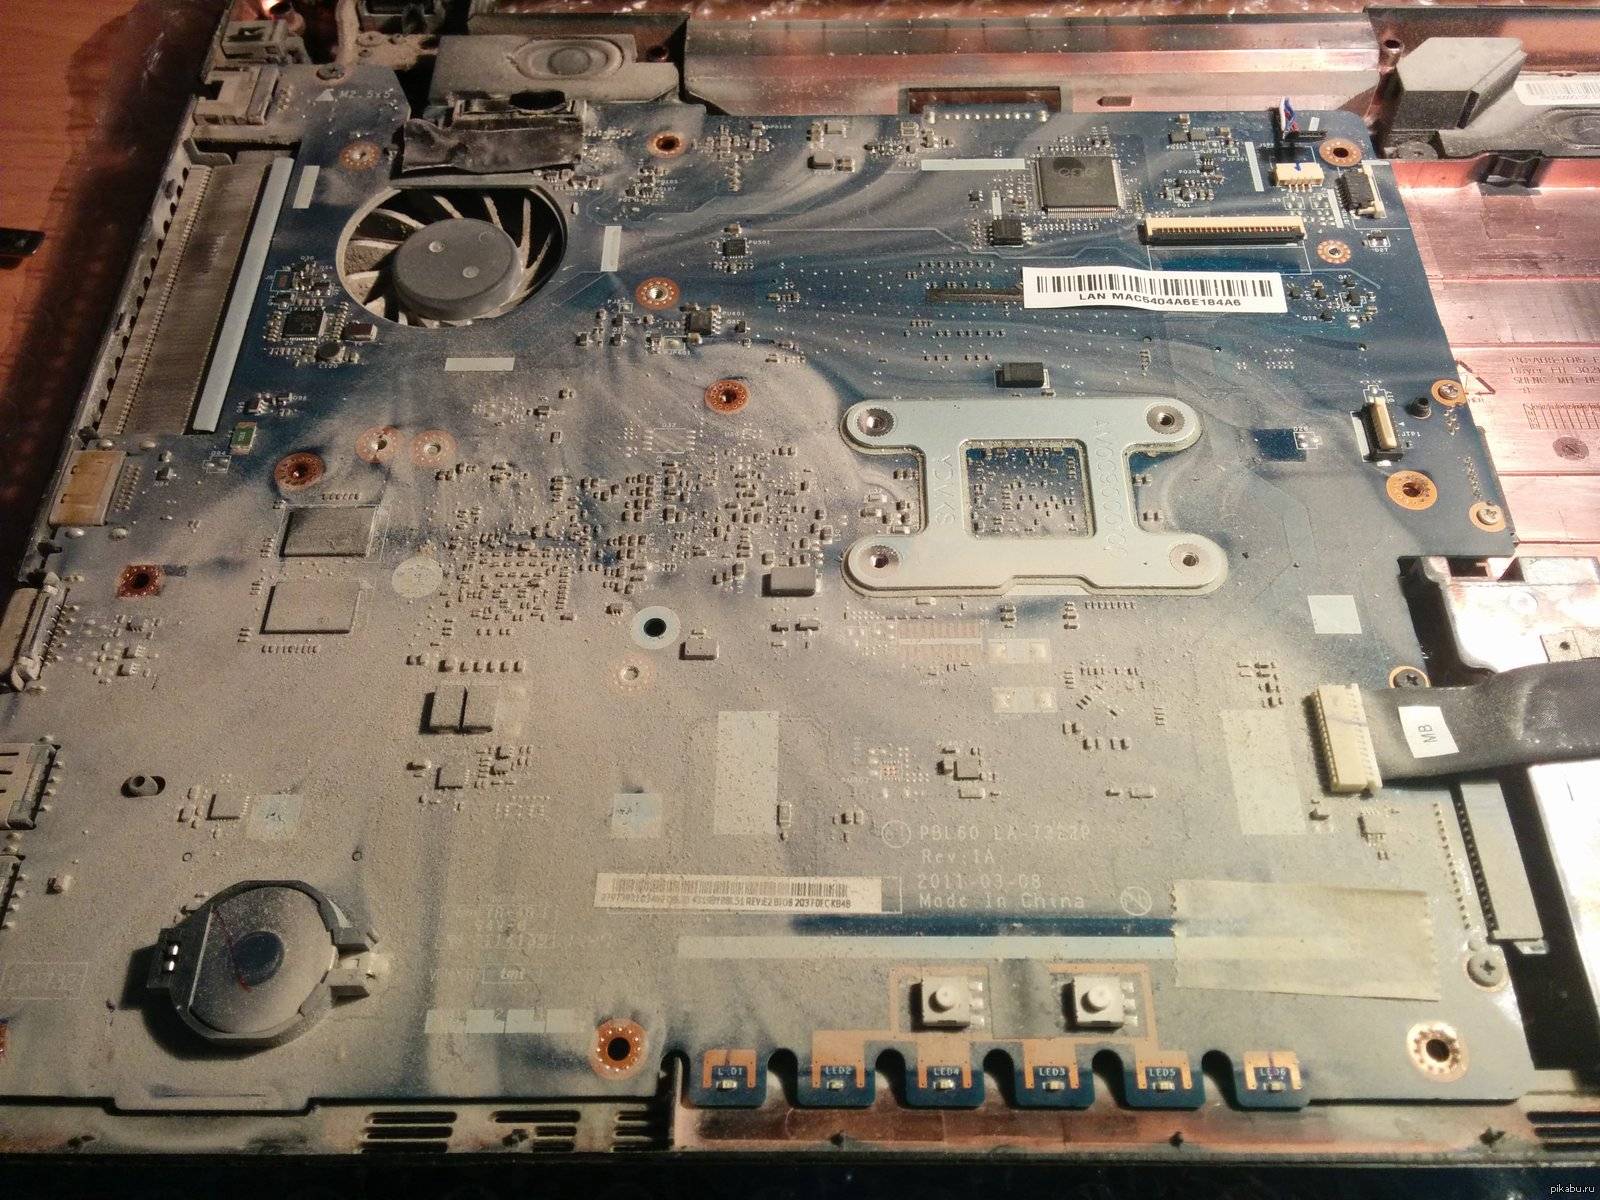
- motherboard;
- video card;
- CPU.
When disassembling the device, you need to follow a certain algorithm of actions. First, the keyboard is removed. This must be done carefully. It is necessary to study the configuration, since it may be different for all models. Older notebook models have a keyboard with fasteners behind the screen. In such cases, you will need to unpin the screen first. It is necessary to disconnect the wires that connect the display and the case.
Note! Many models require the back cover to be removed for deep cleaning. It is usually secured with several screws.
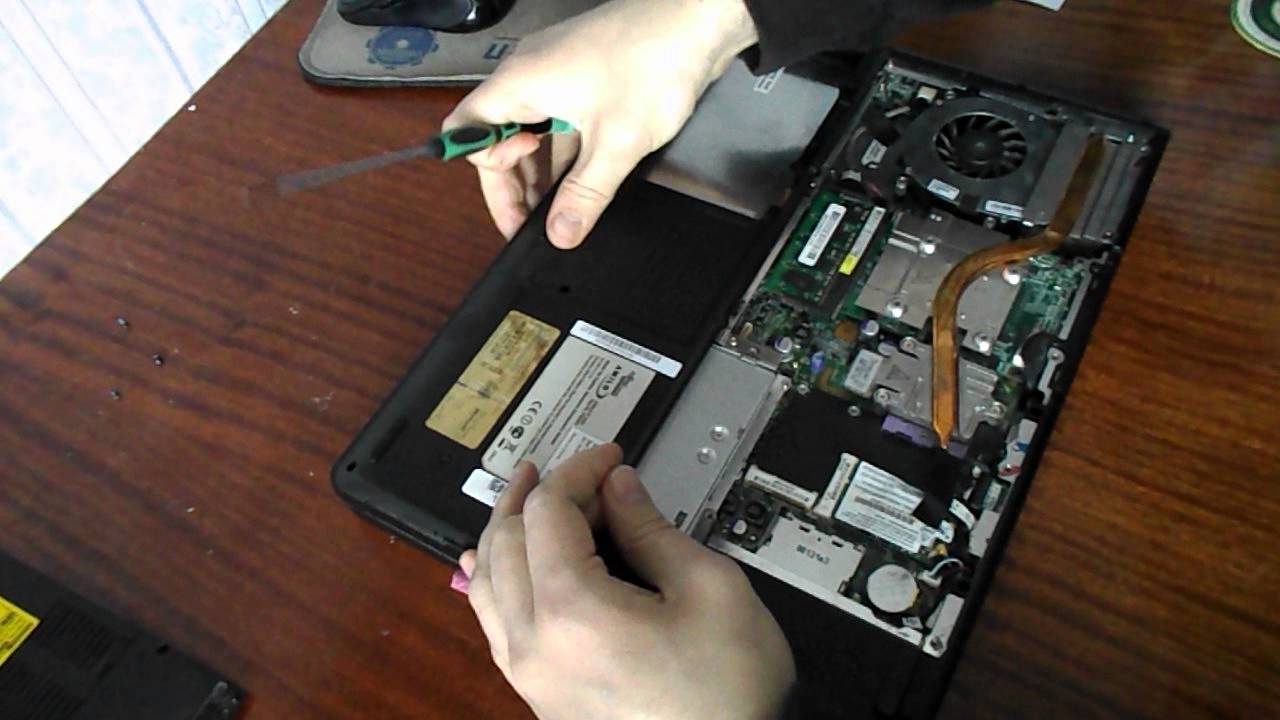
They are unscrewed with a Phillips screwdriver. The cover is removed after removing the battery. Thus, access to the motherboard will be opened. The main thing is not to hurt her contacts and elements. It is best to wear anti-static gloves to prevent static electricity from crashing your laptop.
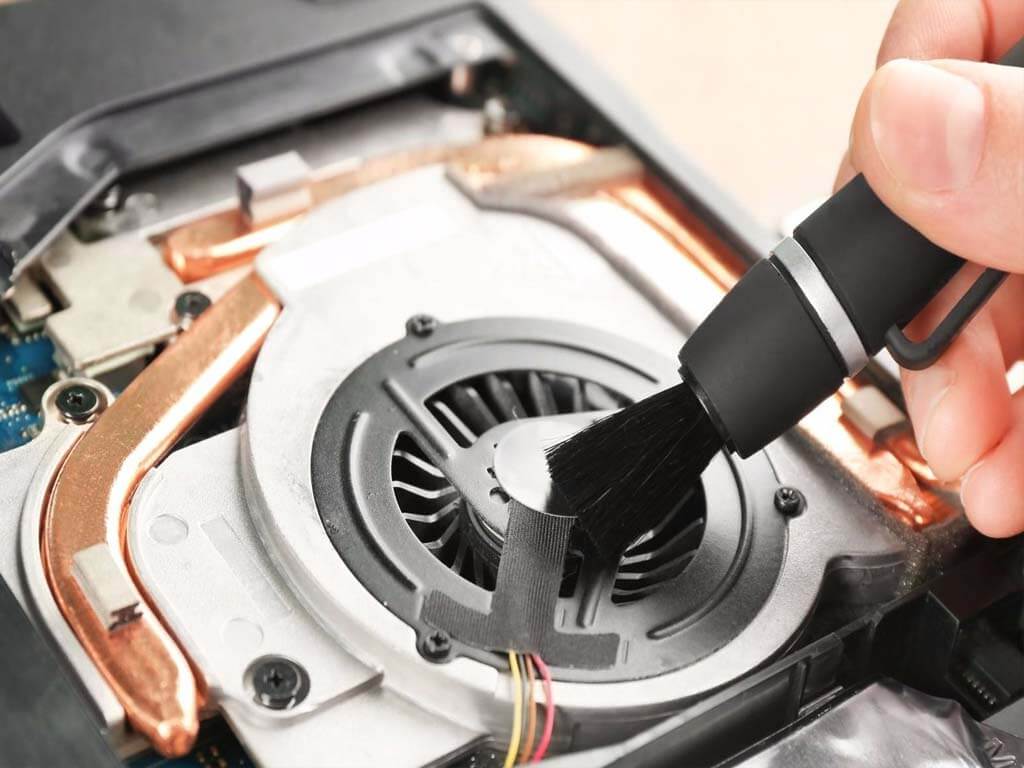
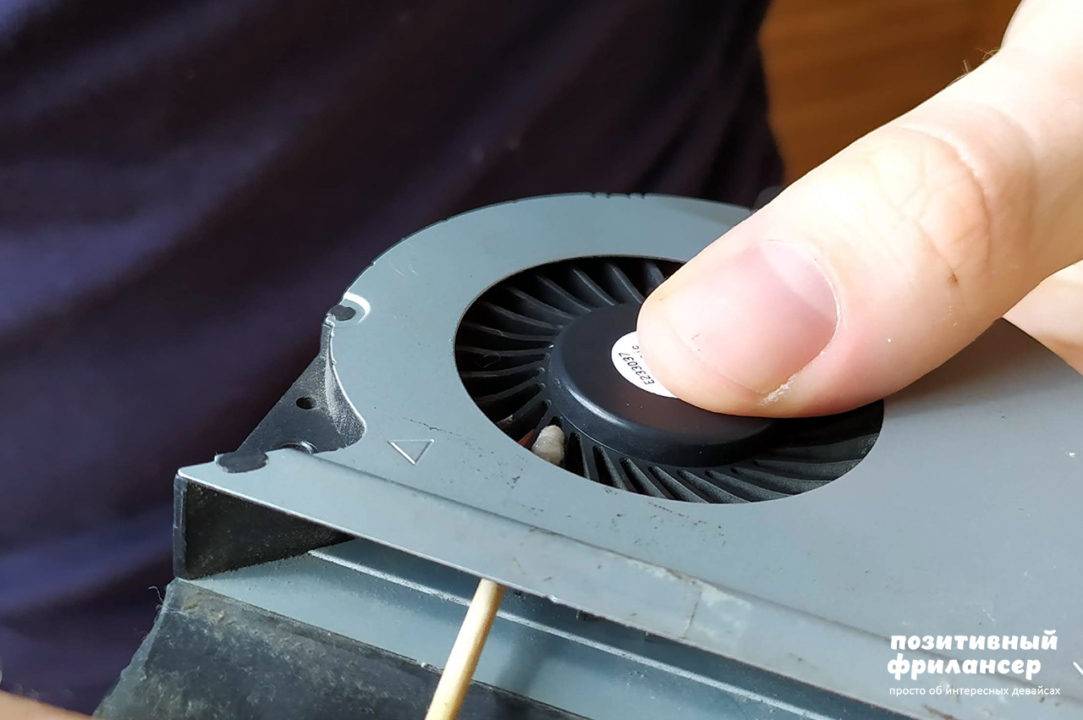
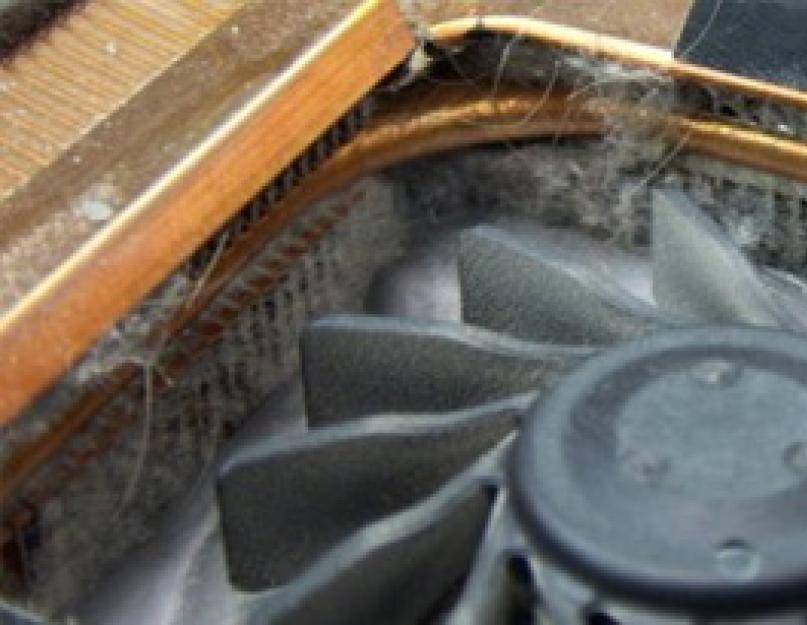
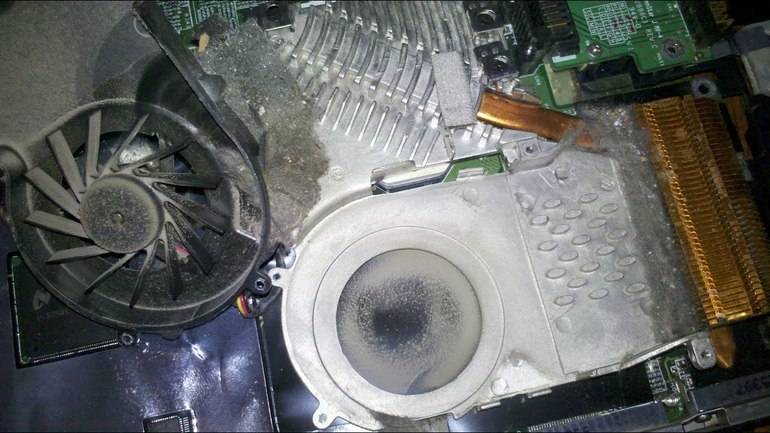
Fan
Most of the dust collects on its blades. They are easy to detach. You can wipe off the dirt with a simple napkin, either dry or moistened with alcohol. First wipe the case, then the fan. Apply machine oil to the rotor. It is enough to drop a few drops into the hole and turn the fan.
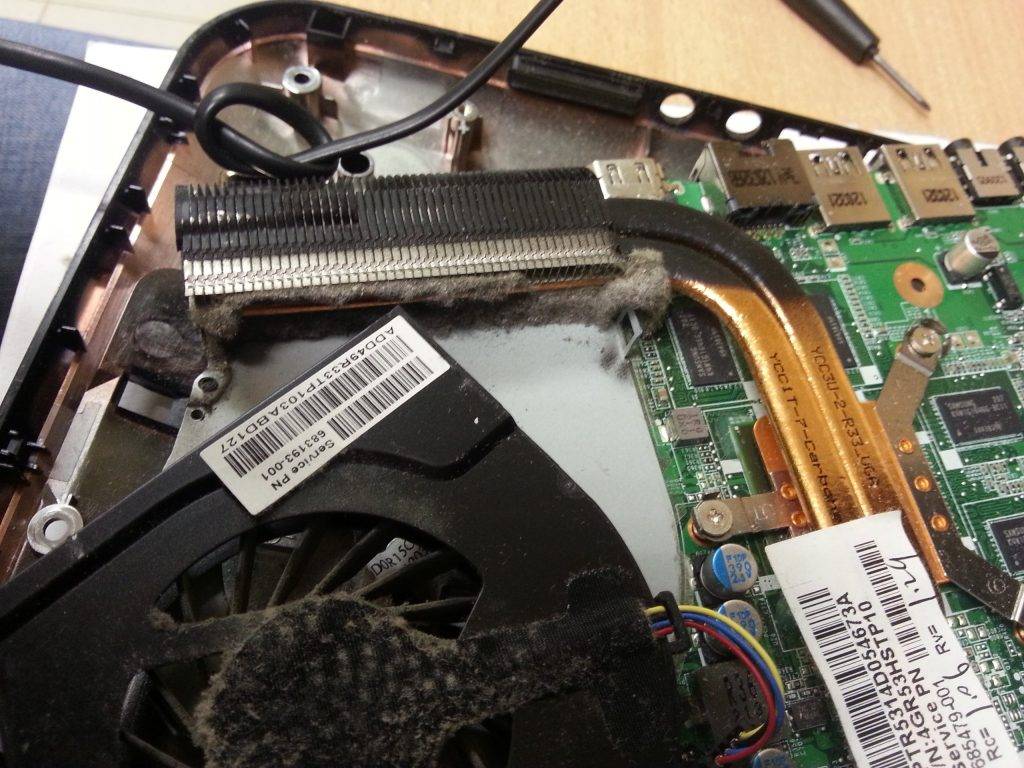
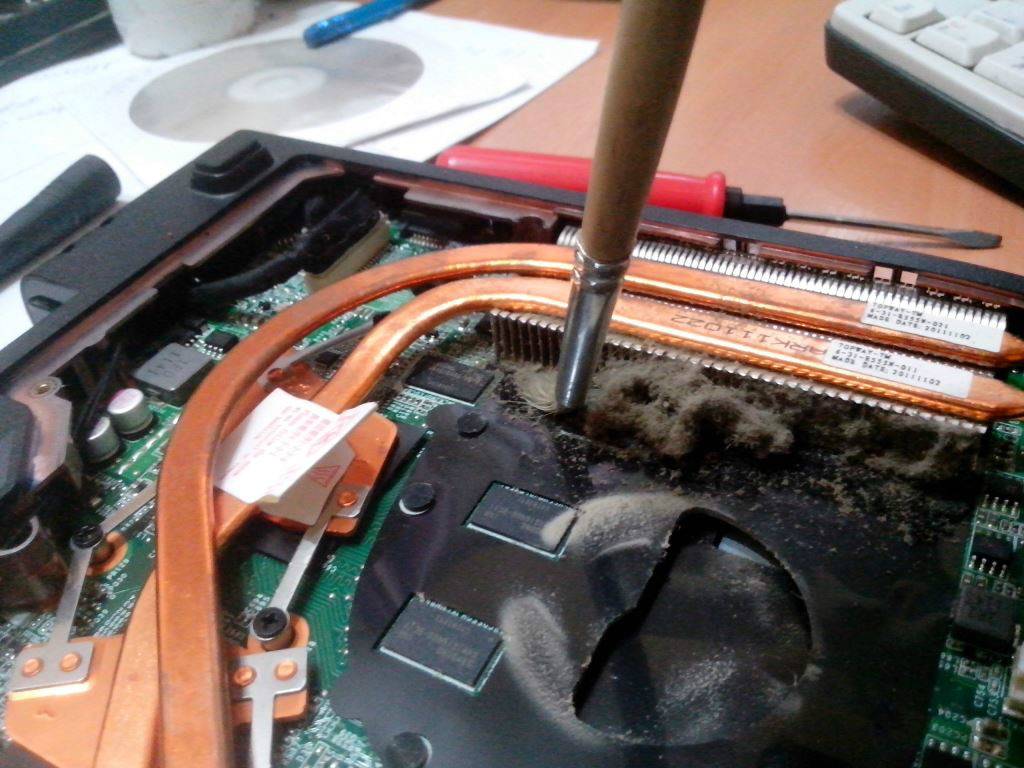
Radiator
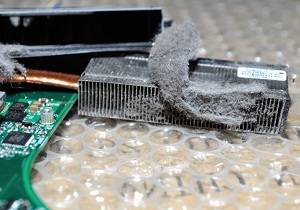
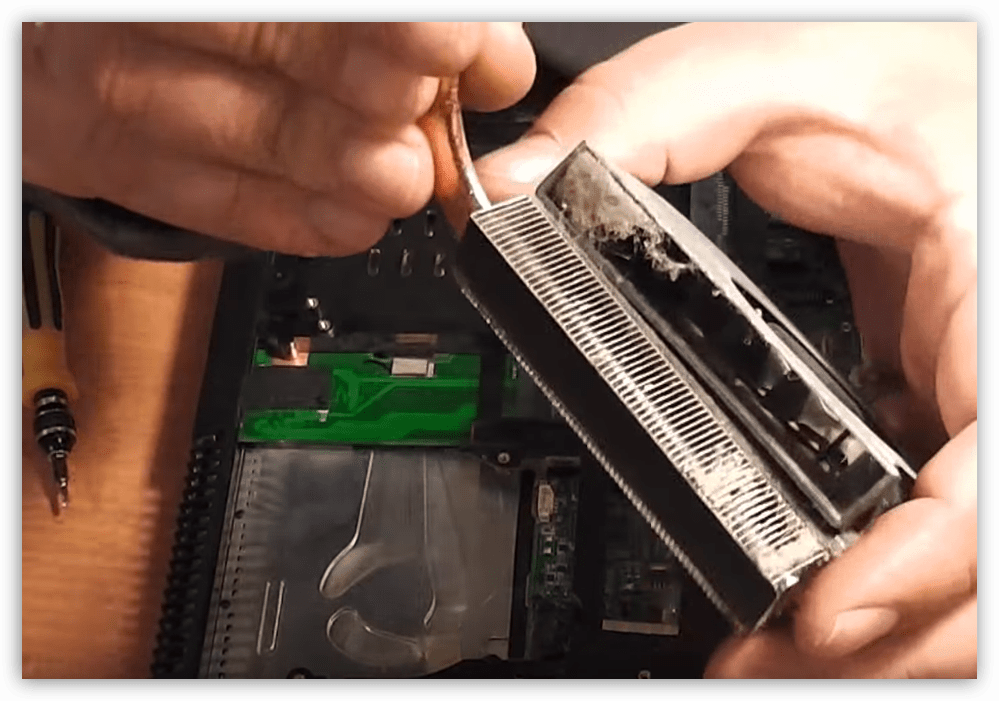
This device helps the processor to cool down as much as possible. It must be cleaned especially thoroughly. To remove the heatsink, you need to open the retention mechanism on the motherboard. Sometimes it can be difficult to remove it due to the thermal paste sticking to the processor. You can remove it with a soft cloth. Ensure the processor and heatsink are perfectly clean before reapplying the paste. It is most productive to clean the radiator with a vacuum cleaner with a reverse or a powerful hairdryer. It is advisable to put on a protective mask during work so as not to inhale the blown dust.
After cleaning, new thermal grease is applied. You need to be careful not to let it get outside the radiator.
Processor and graphics card
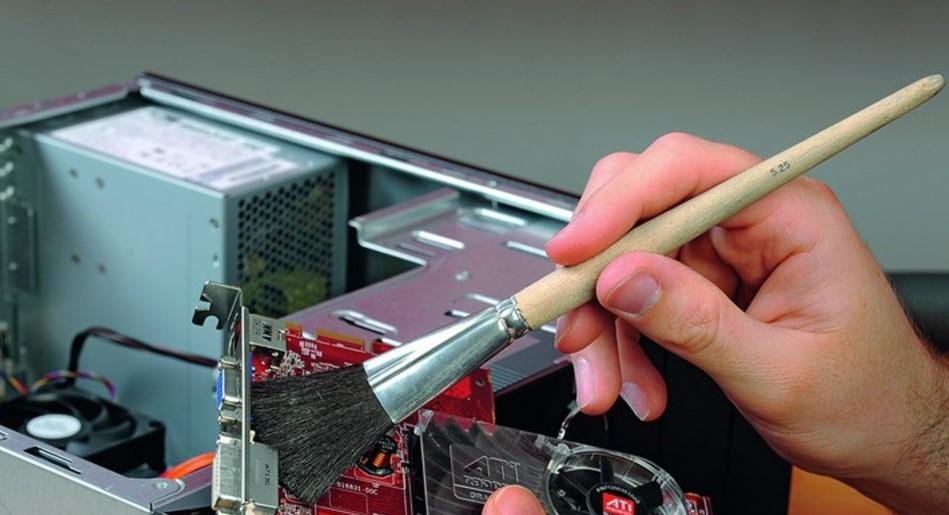
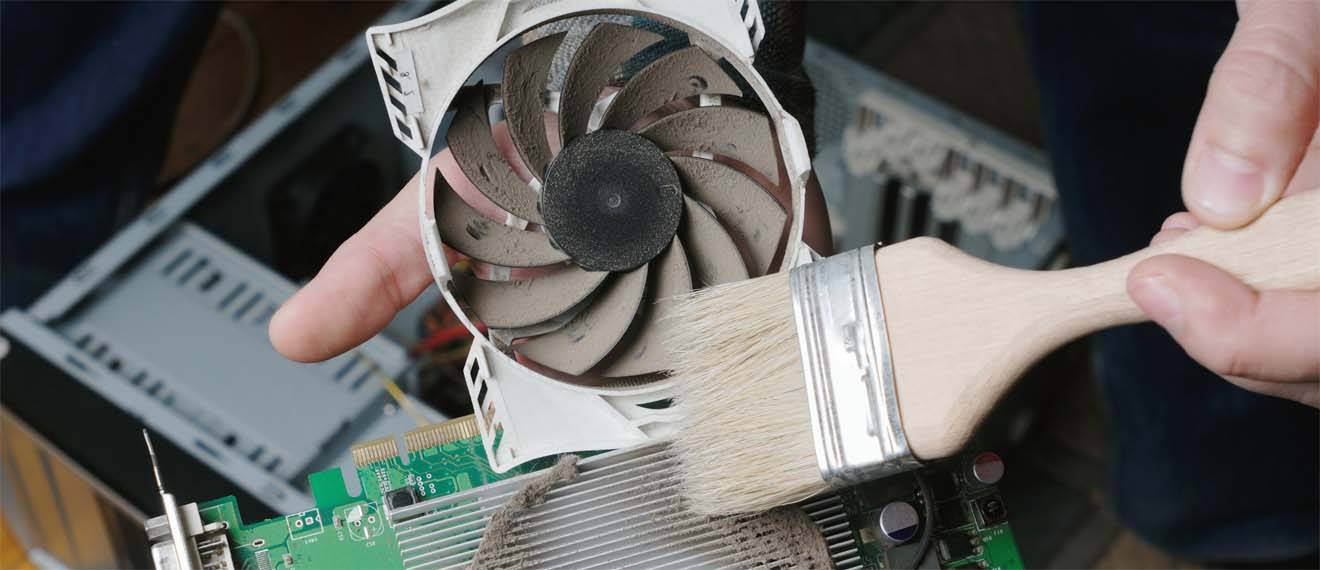
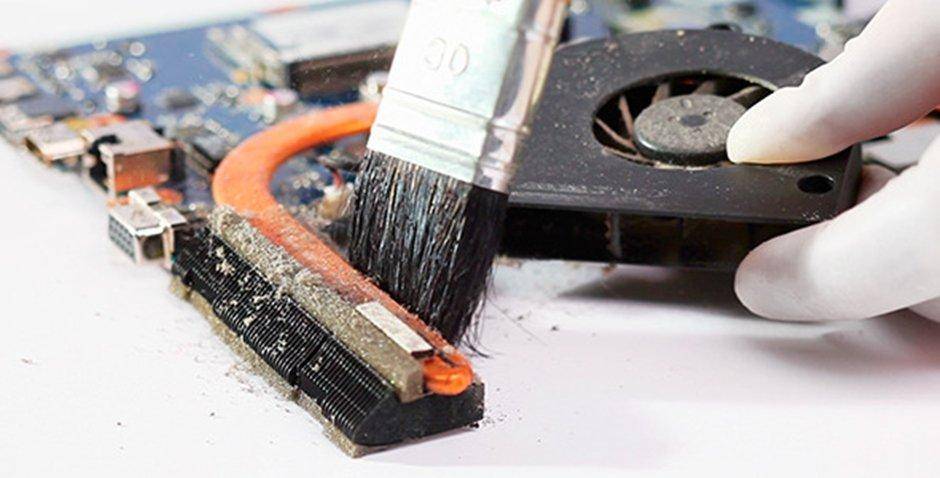
When disassembling a laptop, you need to monitor the integrity of its legs, which connects the motherboard to the element base. You can not make sudden movements. The retaining mechanism is loosened before the processor is removed. You need to turn the knob to a certain position, the panel will open, freeing the processor. Thermal grease and dust are removed from it with a dry cloth or thin paper. The video card is best cleaned with a stiff paintbrush.
Keyboard
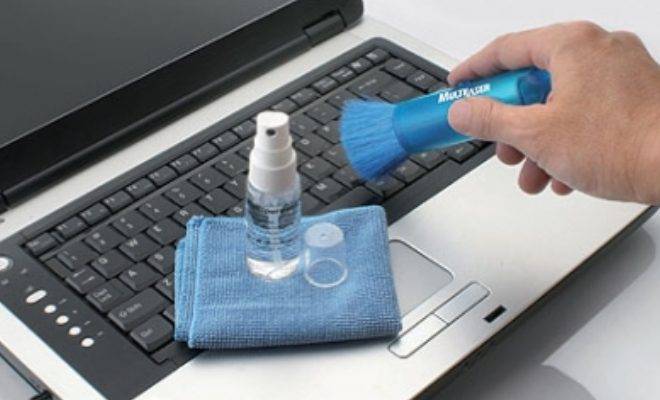
This is one of the most polluted spots on a laptop. There can be 2 options for cleaning it from dust. If the dirt is insignificant, you can simply take a napkin moistened with alcohol and walk it over the surface of the keyboard. You can also use ear sticks. If a lot of dust has accumulated, then each button will need to be processed. It will take a lot of time, but the effectiveness of such work will be significant.
After cleaning all the internal parts of the laptop, you need to reassemble it. All movements must be accurate, the elements must be installed as accurately as possible.
The procedure for complete disassembly of laptops from different manufacturers
Laptops from different manufacturers differ in design features. To avoid mistakes when parsing portable devices, you should follow the instructions for a specific laptop model.
Acer
To clean Acer notebooks, you will need to completely disassemble the case. First you need to disconnect the battery by switching the latches to the appropriate position. Further parsing is done by the following parsing:
- unscrew all the screws on the bottom cover;
- disconnect the wi-fi module wires and RAM slots;
- remove the hard drive and disk drive;
- raise the keyboard by disconnecting several latches in the upper part and sliding the latch, after which the panel is removed from the outside;
- turn off all visible loops;
- dismantle the motherboard to gain access to the cooling system.
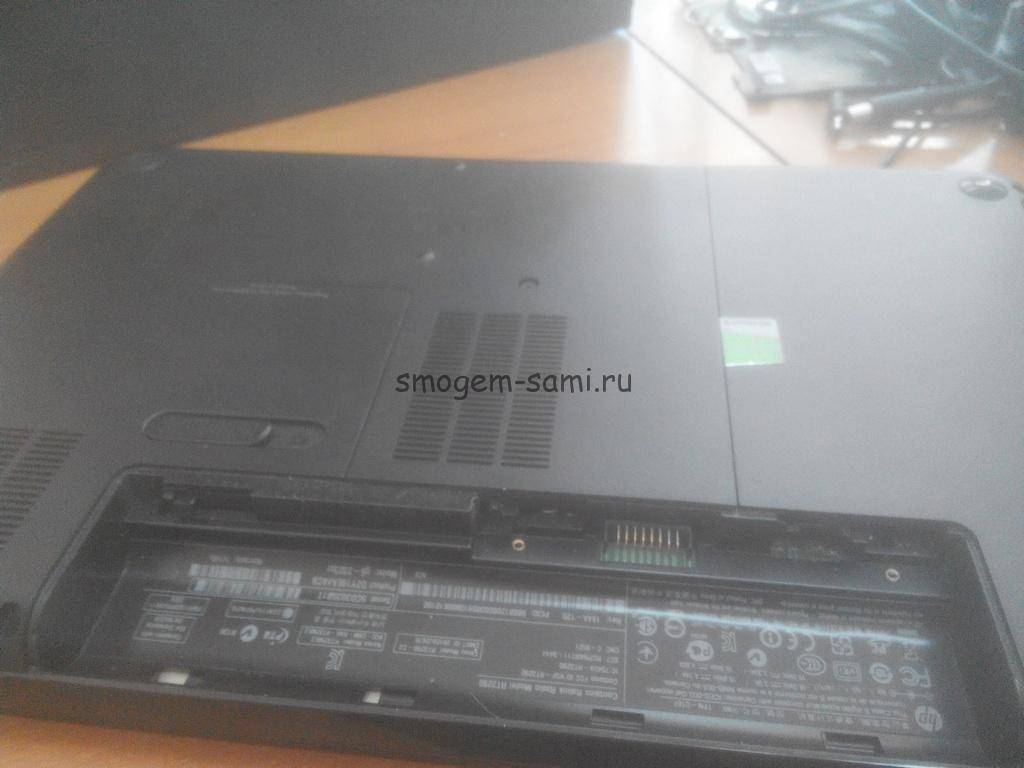
HP
The disassembly process for HP notebook computers begins as standard by removing the battery and unscrewing the screws on the chassis. Then the hard drive, RAM strips, wi-fi module and keyboard are sequentially disconnected. To carry out cleaning, it remains to turn off the motherboard and fan.


Lenovo
Modern Lenovo models are easier to disassemble than equipment from other manufacturers. It is enough to remove the battery, unscrew the bottom cover and take out the hard drive, after which the cooling system will be visible. To get the cooler, you need to unscrew the fixing bolts and disconnect the loop.
Toshiba
Disassembling Toshiba notebooks begins with removing the front panel located above the keyboard. Then, use a screwdriver to lift the keyboard and disconnect the motherboard cable. The battery and hard drive are removed from the reverse side, the cover is unscrewed, after which the cooler can be cleaned.
Dell
Dell laptops are disassembled sequentially from two sides. The battery and bottom cover are removed first, followed by the keyboard and top cover. Having gained access to the motherboard, the fixing bolts are unscrewed and the cooler is cleaned.
MSI
MSI brand devices are easiest to disassemble due to their special design. It is enough to remove the battery and unscrew the back cover, after which access to the cooling elements will be opened. After pulling out the cooler and pipes, you can start cleaning.
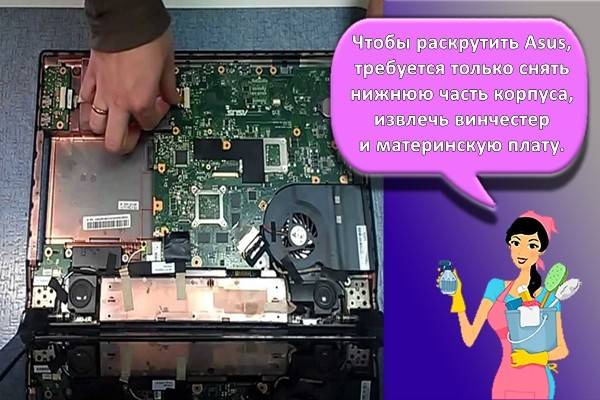
Asus
To spin the Asus laptop, you only need to remove the bottom of the case, remove the hard drive and the motherboard. To perform basic cleaning, the listed actions are sufficient.
Why do you need to clean your pc monitor screen yourself
Not every owner has the time and money to carry out professional cleaning of the device in organizations that provide such a service. But the daily accumulation of various types of dirt on the display leads to the following problems:
- reducing the sharpness of the image. A person has to strain his eyes in order to consider the necessary information, as a result of which his vision will fall;
- dust on the surface of the screen can damage the circuit boards and cause a fire, provoking the generation of static electricity;
- frequent occurrence of pathologies of the respiratory system due to the work of constant inhalation of dust from the display.
In order to avoid damage to the device and the development of various diseases, it is recommended to periodically clean the LCD. You need to wipe your computer monitor at home in accordance with the following standards:
- dry cleaning - 1 p. in 7 days;
- wet cleansing - 1 p. at 30 days.
Important!
If children poke their fingers into the monitor, and you like to drink hot drinks or eat food in front of it, then remove dirt immediately and carry out a wet cleaning 1 r. in Week.
It is not recommended to carry out such a procedure on a daily basis in order to avoid erasing the anti-reflective coating. Wipe the screen in a timely manner, as the larger the layer of dust or grease, the more difficult it is to remove it.
To avoid damaging the LCD of your device, follow the procedure and perform all actions carefully (without strong pressure).
Traditional methods of clearing the screen

- If you do not have the means to purchase professional chemicals, or you urgently need to clean your monitor, you can prepare a soap solution.Use cosmetic pads, they do not leave lint due to their dense structure.
- Wet the swab, squeeze well, and begin to gently wipe the display in all directions. Do not be intimidated by the soapy streaks that appear as it dries. Now take clean cotton pads, moisten them, walk across the screen again.
- Carry out the procedure until you get rid of streaks, change discs as they become dirty. The LCD matrix dries quickly, so the procedure is not time-consuming.
- Table vinegar with a concentration of 3–6% has similar properties. Prepare a solution to remove dirt from the screen. Mix 100 ml. filtered water with 10 ml. composition, dip a cotton pad into the product, cleanse. After the procedure, the LCD monitor should be wiped with a dry, lint-free cloth (microfiber cloth is suitable).
Step-by-step plan for cleaning your laptop from dust
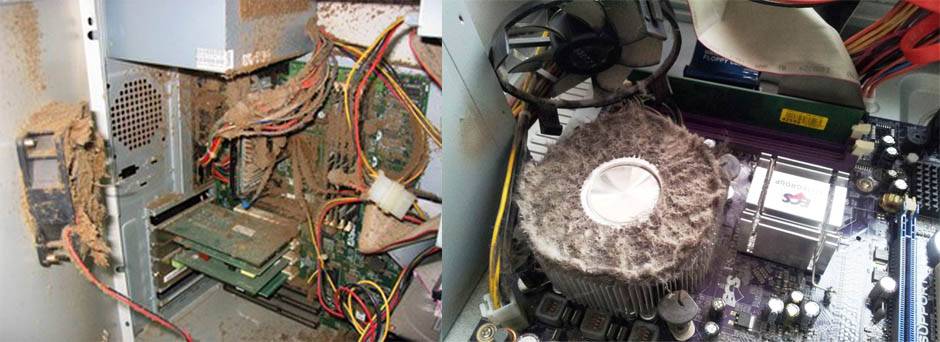
If the system slows down, the "screen of death" has become a frequent visitor, the laptop case gets very hot, and the sound of the fans resembles the operation of jet aircraft engines, this is an indication that your personal assistant needs cleaning.
Cleaning the laptop without disassembling
Even if there is no knowledge in this area, and there is no way to seek qualified help, do not panic
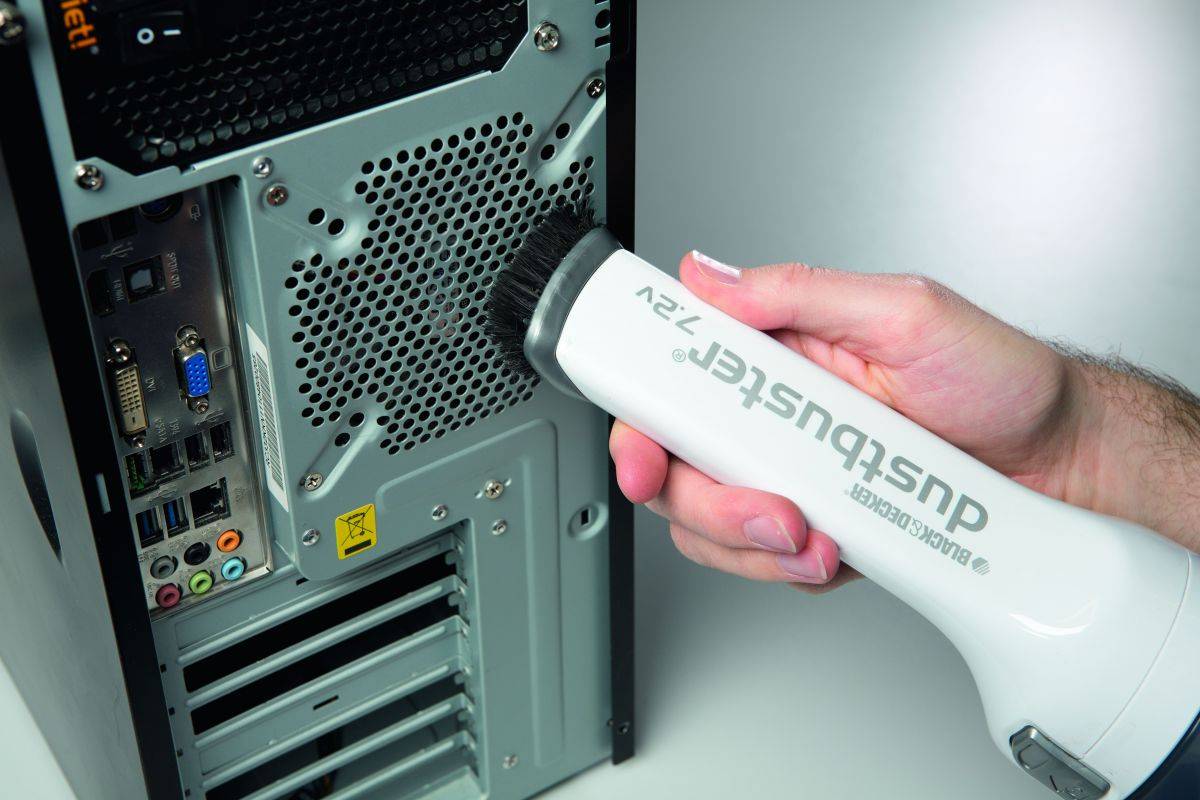
Place the patient on the table, remove the vacuum cleaner from the closet, attach the fine nozzle to the nozzle, activate the blowing mode and blow out the laptop, paying particular attention to the keyboard and ventilation holes
Video instruction
HOW TO CLEAN THE LAPTOP FROM DUST - WITHOUT DISASSEMBLING IT
After completing the five-minute procedure, you will notice that the performance of your laptop has improved significantly. It is not surprising, because the procedure helps to remove the main layer of dust. However, it is impossible to completely solve the problem thanks to this cleaning method, so I do not recommend delaying total cleaning.

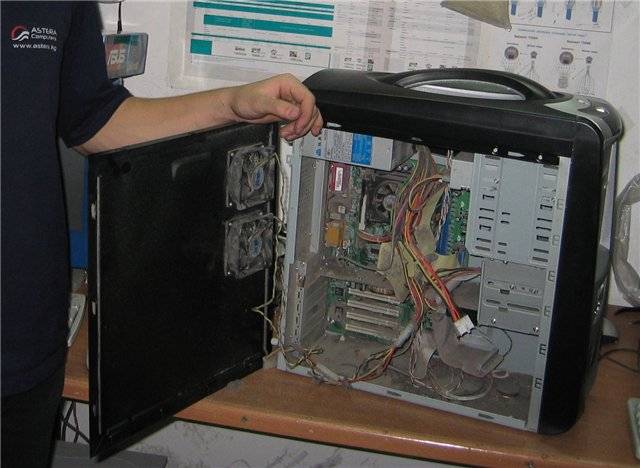
Cleaning the laptop with disassembly
If your laptop is out of warranty and you have the courage to do the disassembly and cleaning procedure yourself, go for it.
Just be careful and remember what and from where you unscrew and disconnect
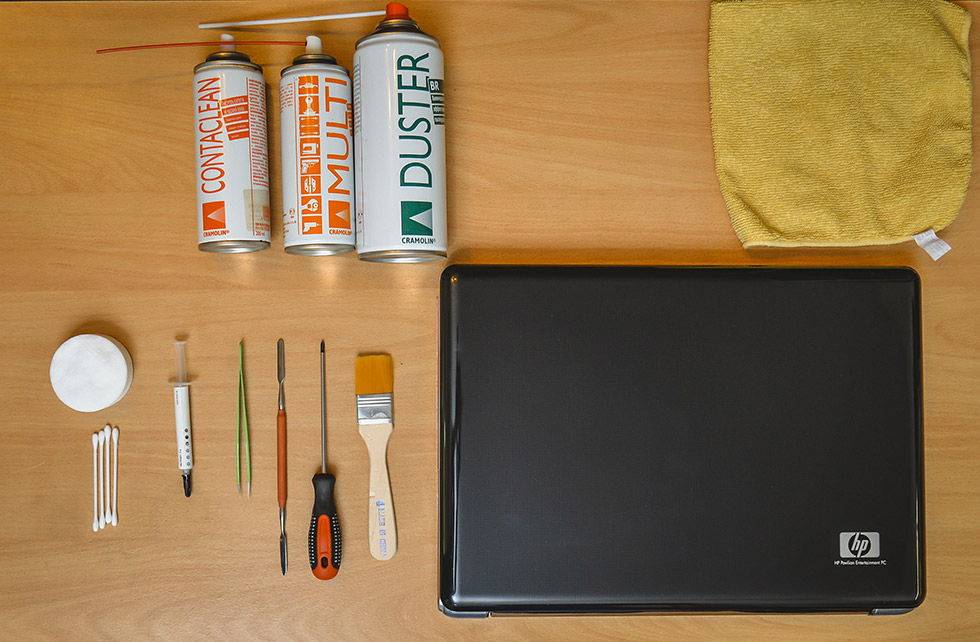
Prepare your inventory before starting the procedure. To work you will need a small screwdriver, a soft brush, a vacuum cleaner and a hair dryer. And the instructions below will be a good helper in disassembly and cleaning.
Turn off the laptop and disconnect the battery
Turn over and carefully unscrew all screws, carefully remove the cover. Put removed and unscrewed elements in a container so as not to lose
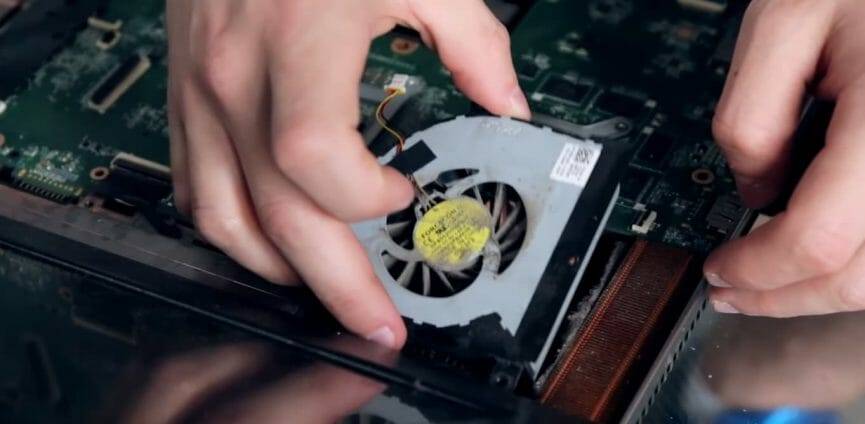
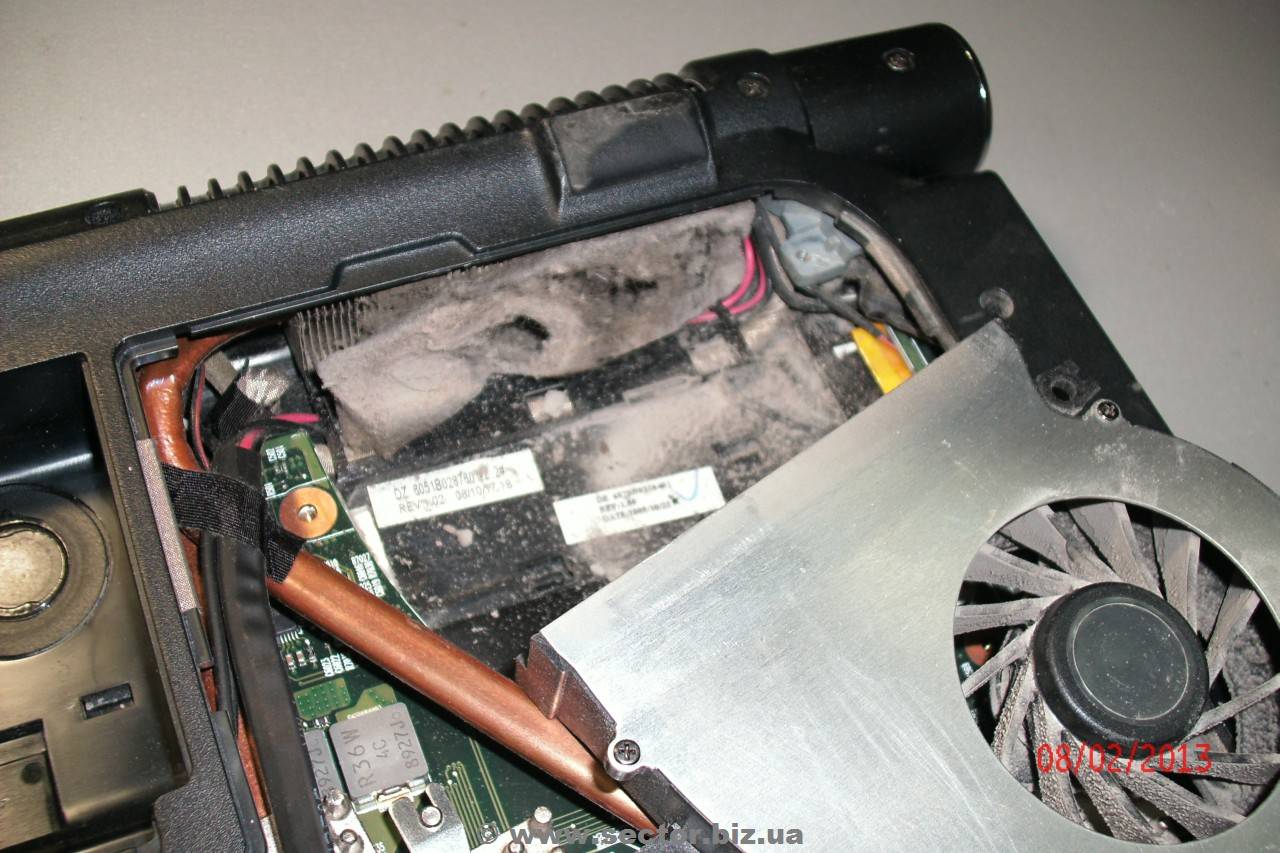
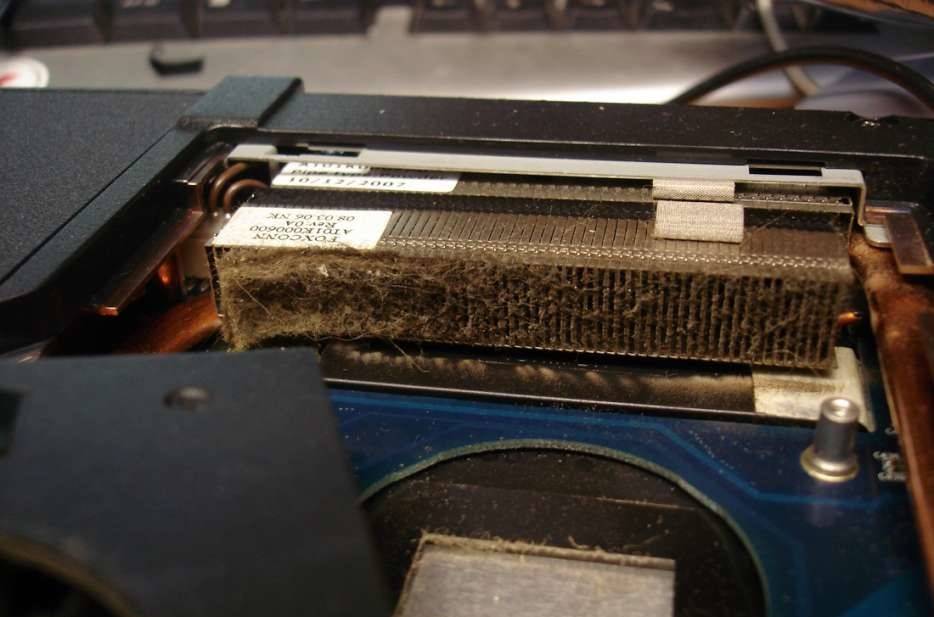
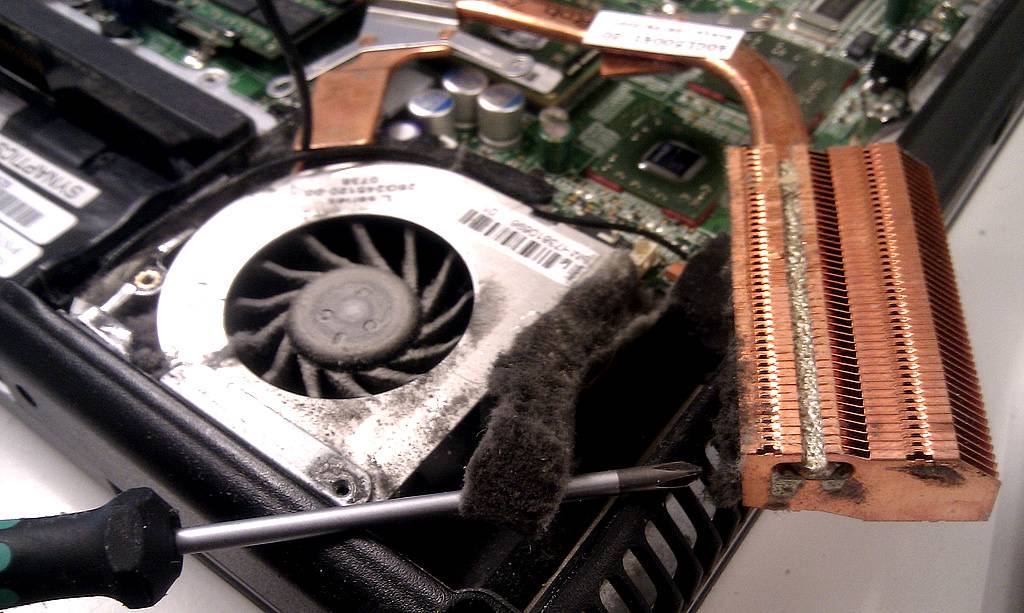
Identify points of accumulation of dust and debris. Traditionally, you will see the greatest amount of dirt on the fan blades and between the radiator fins. In advanced cases, a continuous layer of dust and debris is found. Pull out the fan carefully. Peel off the sticker, remove the washer and remove the impeller. Wipe the blades with a cloth, clean and lubricate the shaft with machine oil, assemble the cooling element
Run your brush over the surface of the radiator, paying particular attention to the crevices, and vacuum up any loose pieces of dust. Using a hairdryer, vacuum cleaner or compressed air cylinder, remove dust from the surface of all internal elements
Do not use a rag or cotton swab for this purpose. They leave behind tiny scraps, and this is fraught with closure. Not suitable for cleaning the motherboard and brush as it is potentially hazardous to the tracks. Use a hair dryer or vacuum cleaner to remove dust from the keyboard. If a better cleaning is planned, you cannot do without disassembling the module. When cleaning is complete, reassemble the patient in reverse order. Reinstall components without undue force, otherwise damage fragile parts.
After completing the assembly, turn on the computer and test it. If done correctly, the room will be filled with a quiet and pleasant sound from cleaned and oiled fans.By the way, this instruction is also suitable for cleaning a netbook.
Video manual
Does the laptop get hot, slow down and shut down? How to disassemble and clean a laptop from dust?

I do not recommend disassembling and cleaning the laptop yourself if it is under warranty. It is better to entrust this task to a foreman who will carry out preventive maintenance as safely as possible for the system. The master will not take a lot for the work, and at a distance such investments will pay off headlong.
Precautionary measures
If you plan to clean yourself, be sure to take precautions to avoid unwanted consequences. It will keep you healthy and save money.
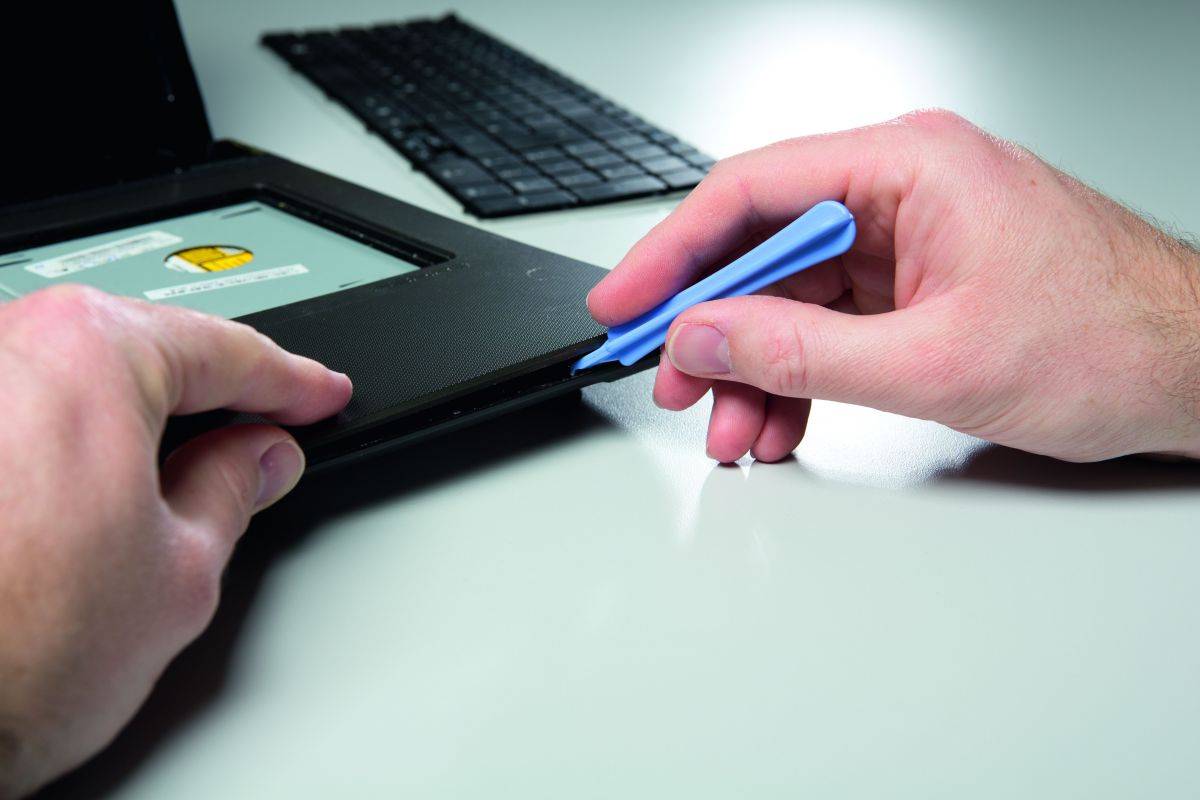
Before starting the procedure, be sure to turn off the system, disconnect the device from the mains, remove the battery. When disassembling the laptop, loosen the screws carefully. Remember or write down in a notebook how many and how long this or that element is screwed with screws. If it was not possible to find the screws, it is most likely that the element is kept on latches.
When removing such knots, proceed with extreme caution. In case of difficulty, use a small screwdriver and pry the latch slightly
Do not use force, otherwise you will break the fastener. Clean only with clean, dry hands. If you have gloves in your arsenal, be sure to use them. When using the vacuum cleaner, do not point the suction port towards the motherboard. This is fraught with breakage. Do not blow out dust and dirt with your mouth, otherwise they will end up in your lungs and eyes. Better to use a hairdryer. Aim only with a cold jet of air at the internal components. When cleaning a laptop, it is strictly forbidden to use cleaning agents and wet wipes, except for special ones.

It is recommended that you do a preventive cleaning of your laptop every six months to keep the system clean and extend its life.
Step-by-step instructions for cleaning a laptop from dust
Disconnect the device from the mains, turn it over and disconnect the battery.
Remove the back cover of the laptop
In some cases, it is not necessary to remove the entire cover: it is enough to open the part of the device where its cooling system is located, that is, the cooler
It is important to pay attention to the legs and stickers, under which fastening bolts are often hidden. What exactly needs to be unscrewed depends on the available laptop model.
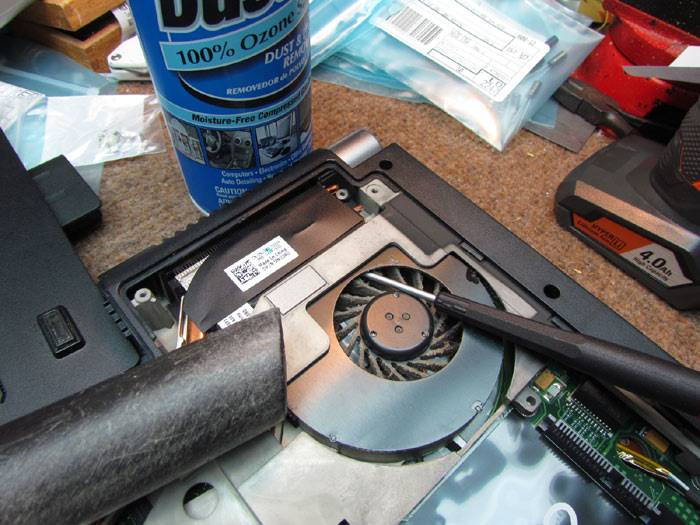
Usually, the place where the cooler is located is visible even to non-specialists: it is there that the most dust collects.
The cooler power cable must be carefully disconnected and then removed the cooler itself.
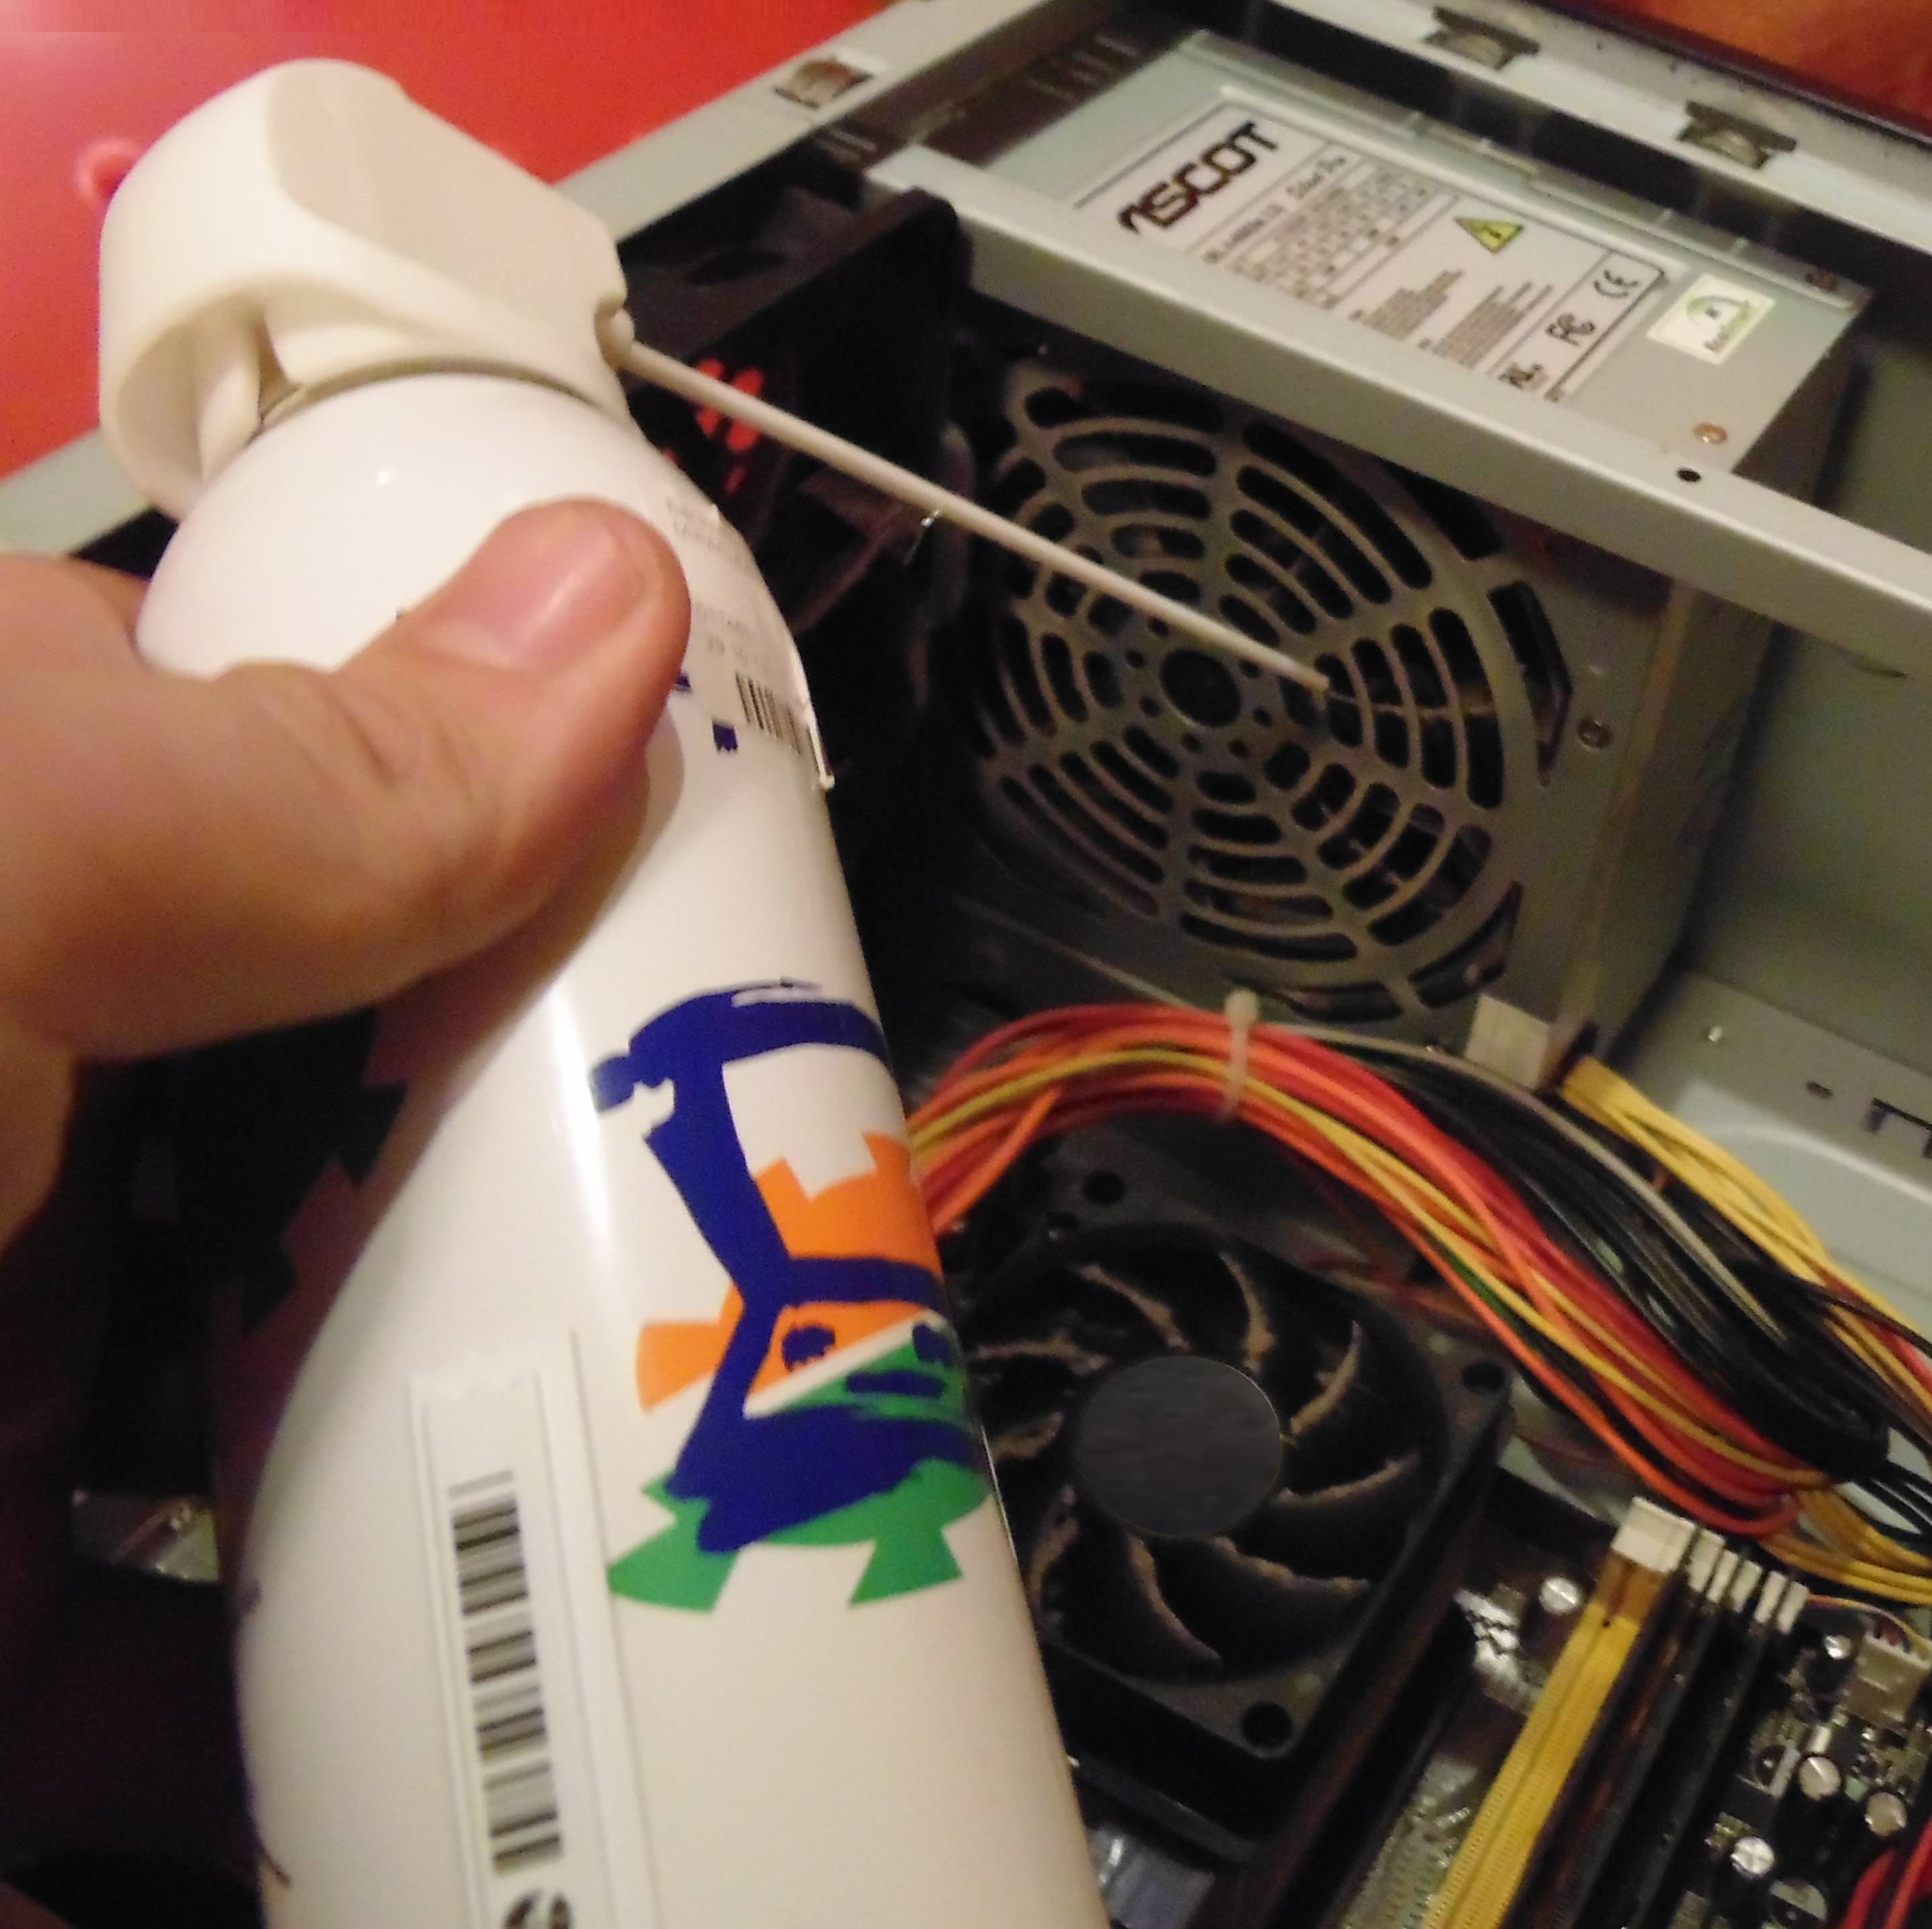
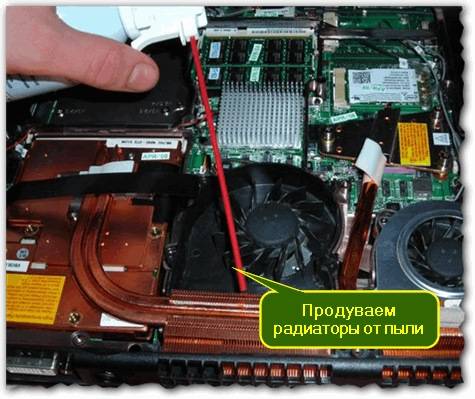
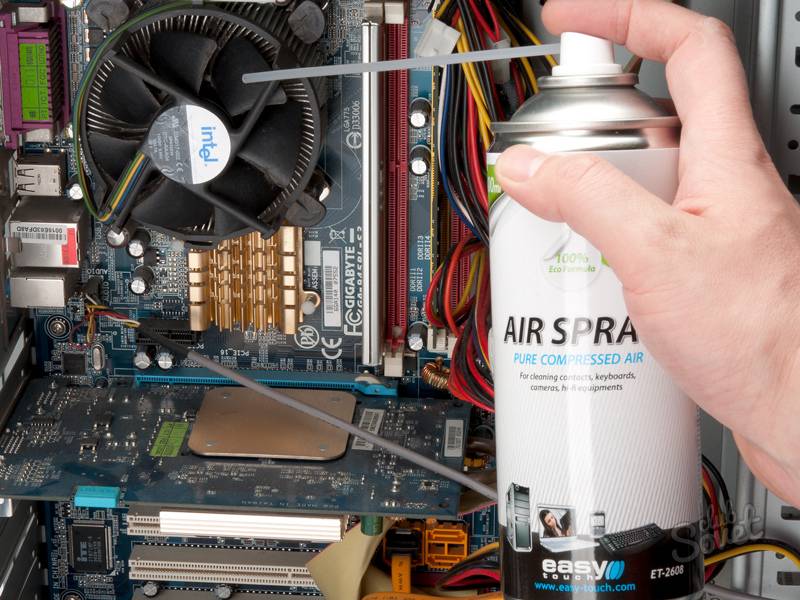
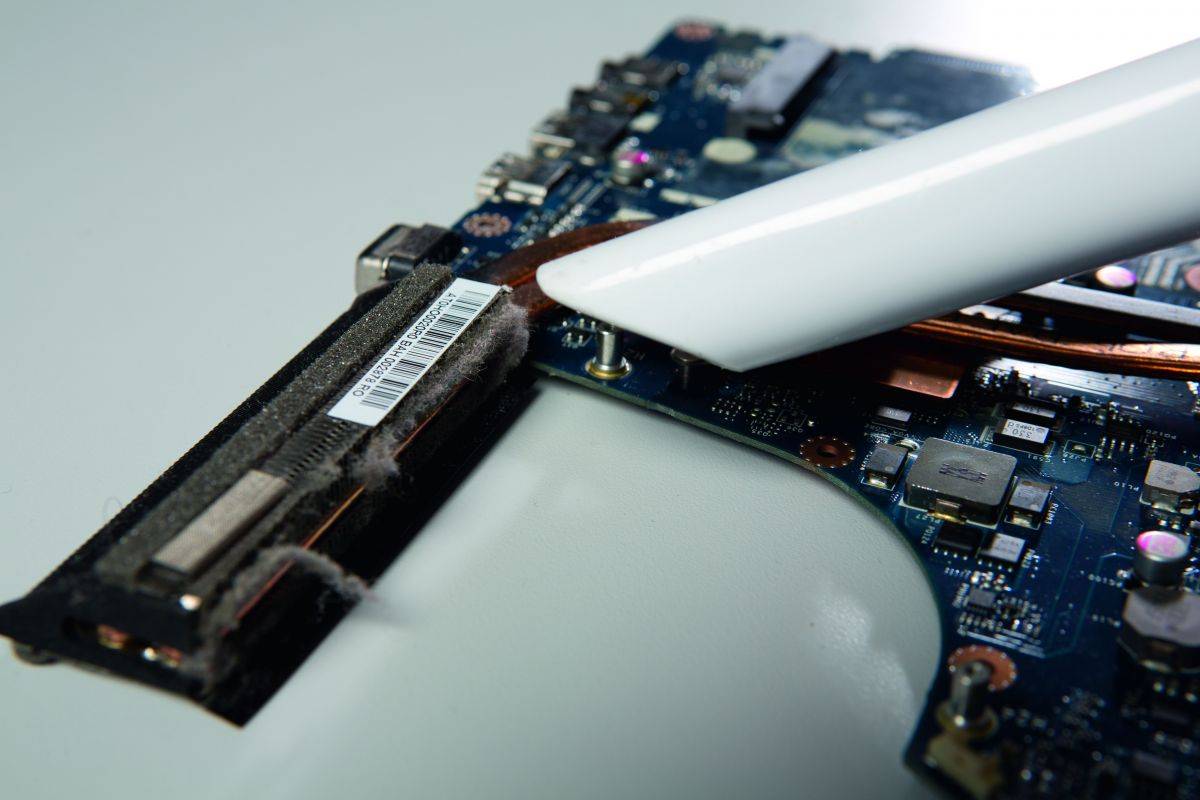
Now it's time to turn on the vacuum cleaner and blow out both the laptop case (special attention should be paid to the radiator - a yellow piece of metal with a lot of slots) and the cooler itself
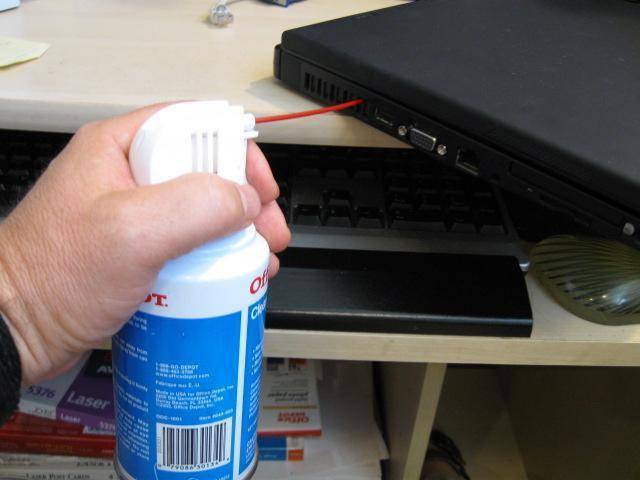
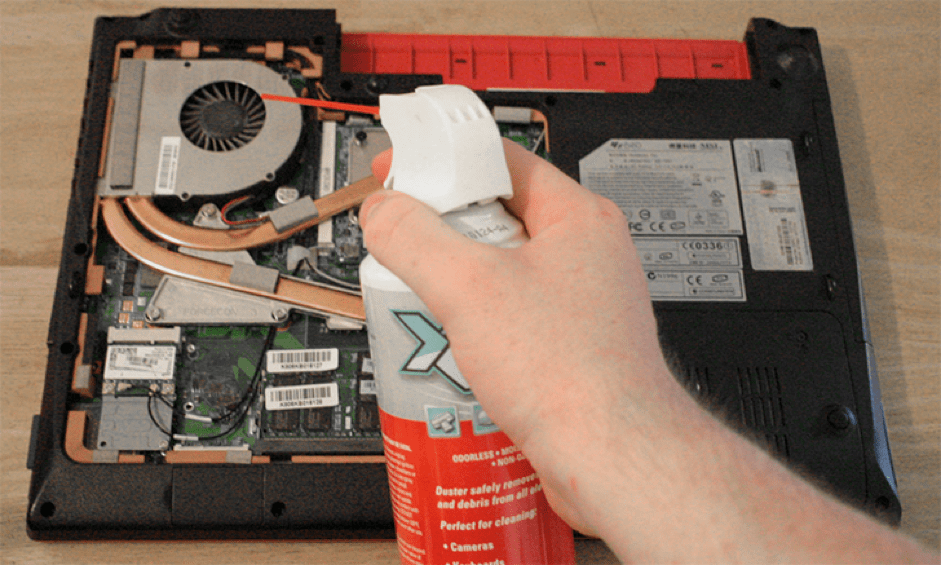
As mentioned above, instead of a vacuum cleaner, you can use a can of compressed air.
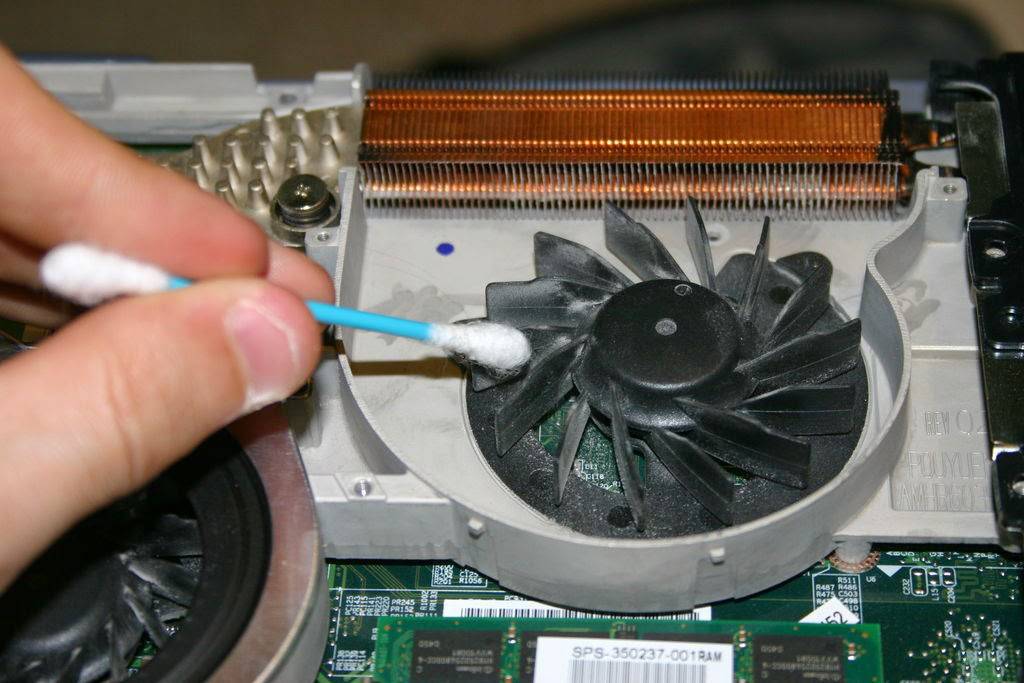
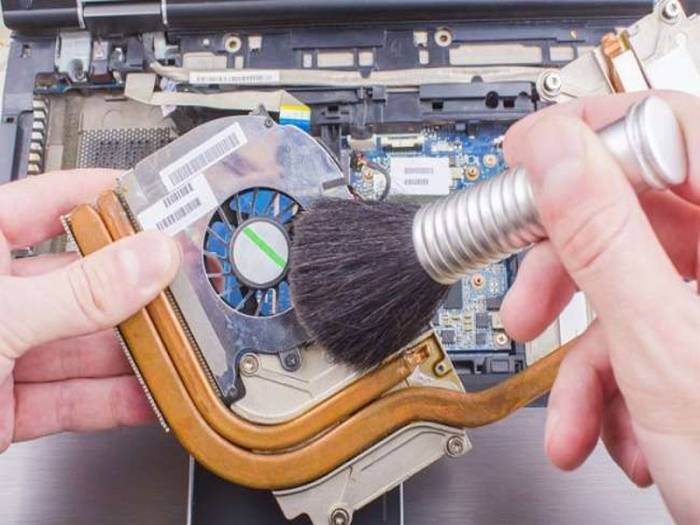
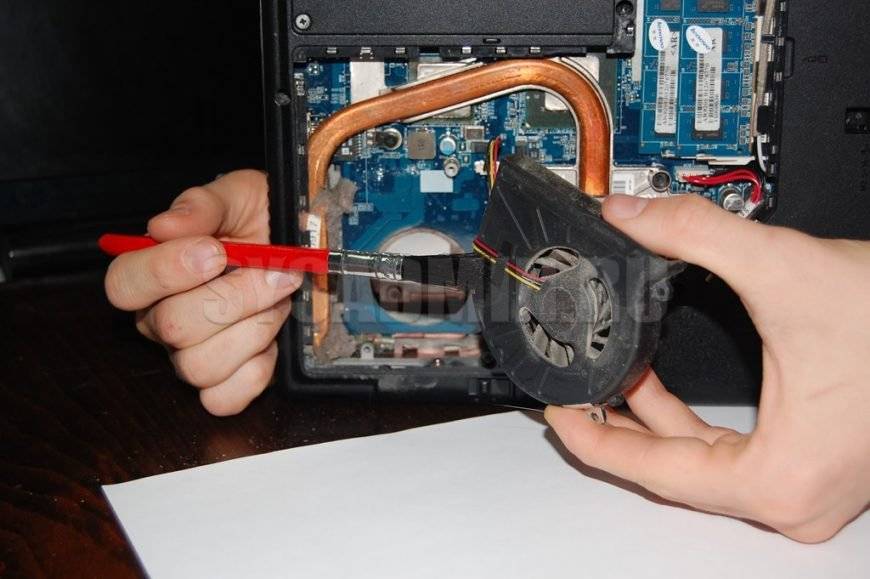
After the end of the purge, you need to brush off the remaining fine dust with a brush, especially from the radiator and cooler blades.
To clean the cooler, you can use a small syringe, and in case of severe contamination, rinse the blades with cotton wool moistened with alcohol using tweezers.
Next, you need to assemble the laptop, proceeding in the reverse order: first put the cooler in place, connect it with a loop to the power supply, then screw the mount, install the back cover and, if necessary, glue stickers and rubber feet into place.
How to clean a new laptop
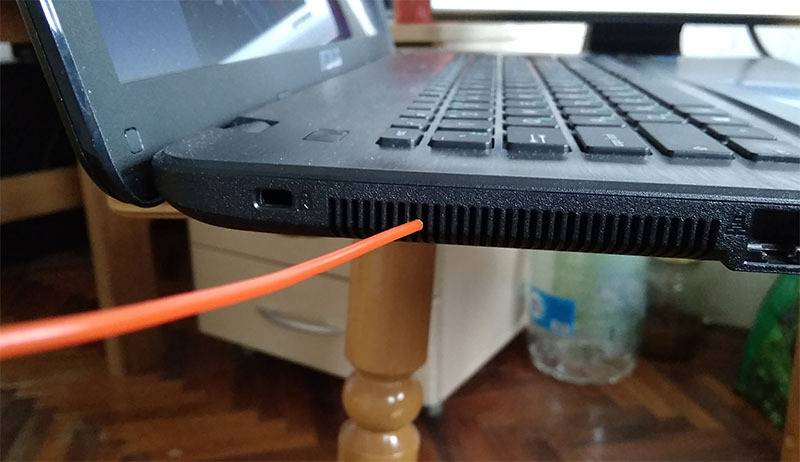
In a laptop that has not worked for a year, there is usually very little dust. Experienced craftsmen clean such laptops with their mouths: for this they find a place in the device from which a stream of warm air blows during intensive work of the laptop and, clasping it with their lips, blow sharply into it.
This location is similar to the grille of a harmonica and can be located on the right or left side of the device, and sometimes also on the back.
It should be remembered that a large cloud of dust escapes from another place of the laptop during such manipulations, so you should not clean in a room where a baby is located or in another place with unsuitable conditions. After such cleaning, the device will work normally for at least several months.
What to do if overheating problems persist after cleaning
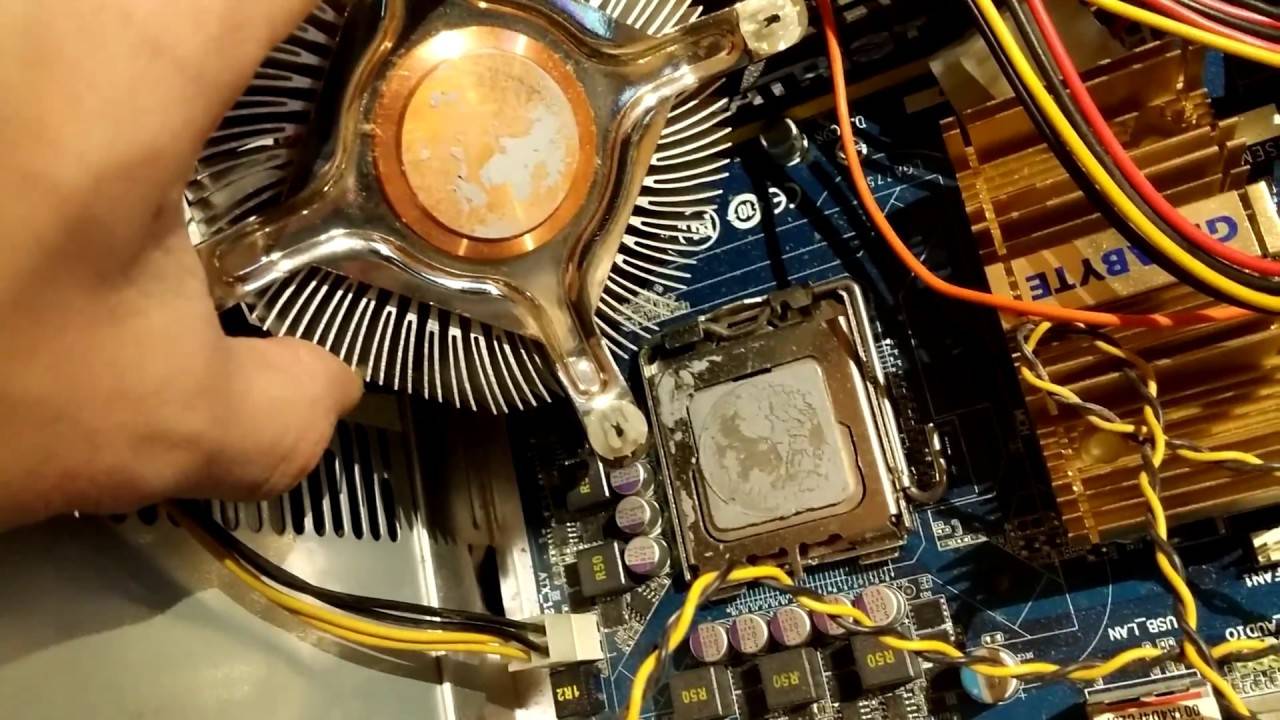
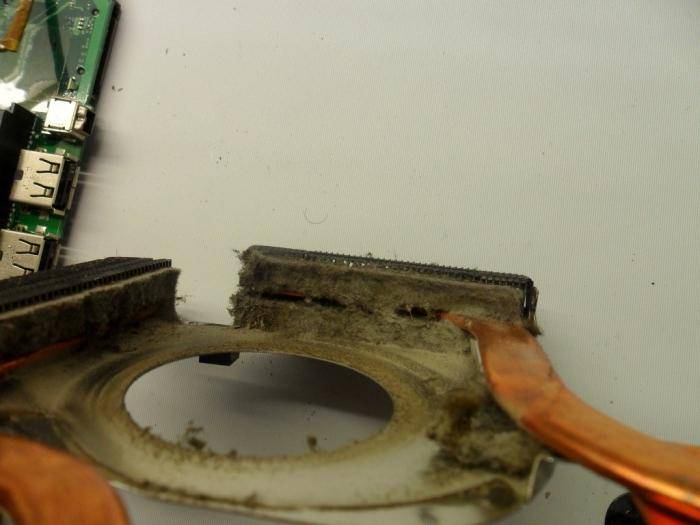
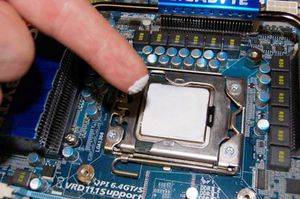 Older laptops that have never been cleaned are often not enough to simply dust them off. The problem is that there is a layer of thermal paste between the heatsinks and the microcircuits that they cool, which improves the heat transfer process.
The composition of the thermal paste is quite complex and often includes a certain percentage of silver. The heat-conducting properties of the thermal paste are lost from time to time, so it has to be changed.
In order to replace the thermal paste, you need to prepare a new composition, dismantle the entire cooling system (you should act carefully, not tearing off the parts, but carefully removing them), remove the remnants of the old substance and apply a new one with a match, and then reinstall all the parts in the reverse order. New thermal grease is sold in computer component stores and costs about 100 rubles.
New thermal paste is sold in computer component stores and costs about 100 rubles.
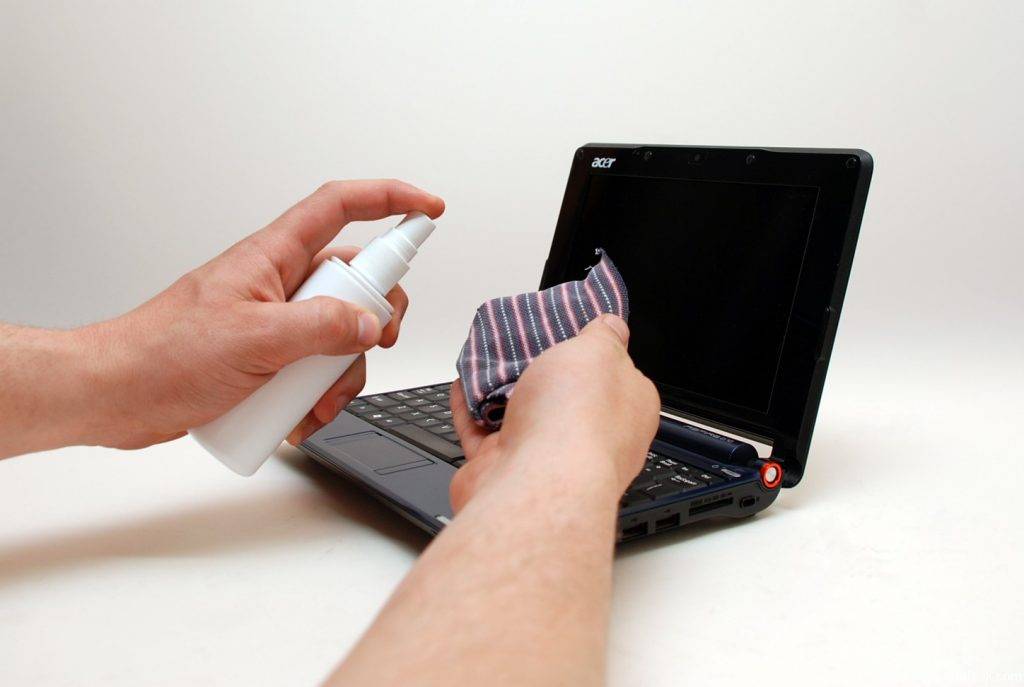
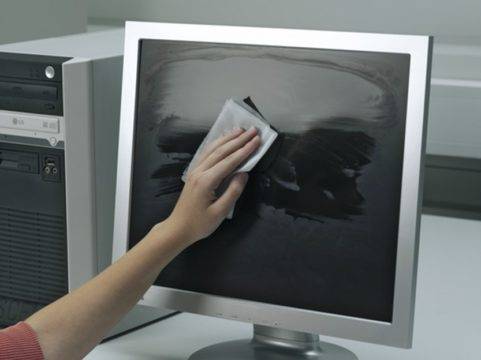
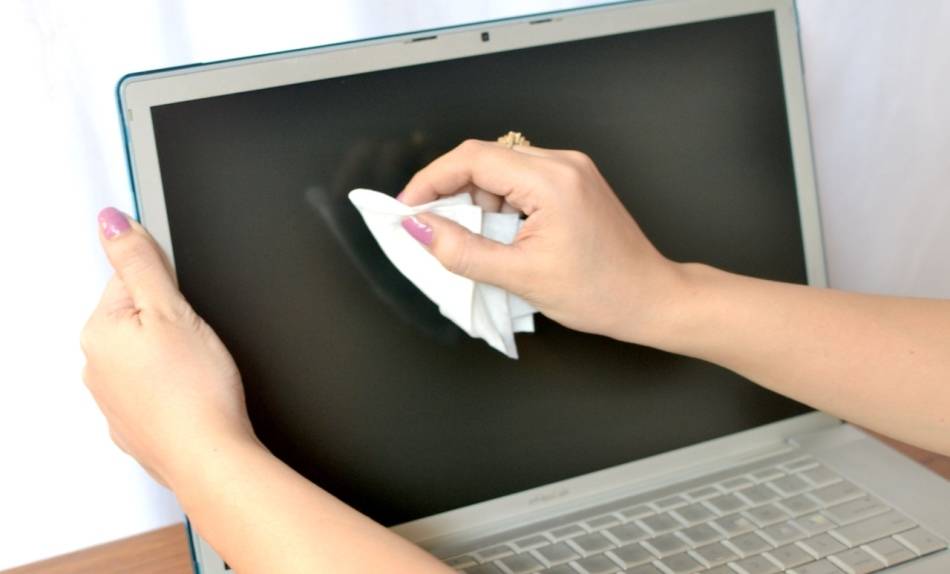
How to remove dust from a laptop screen
The easiest way to clean the screen is to use special wipes. A package of napkins costs no more than 200 rubles, and it lasts for at least six months.
Experienced masters advise from time to time to wipe the screen of a turned off laptop with a damp sponge, which is pre-moistened with plain water.
After that, the wet screen is wiped dry with a dry towel or a regular napkin, but this should be done with extreme caution, without pressing on the surface of the screen. Interestingly, this method allows you to clean the laptop screen from dust even better than special wipes.
Step-by-step instruction
If you keep an eye on your laptop, then it will be able to work for a long time without interruptions. Preventive cleaning is much easier to implement than full cleaning. To do everything right, just follow the recommendations. Complete cleaning is a little more complicated, but this kind of work can also be handled.
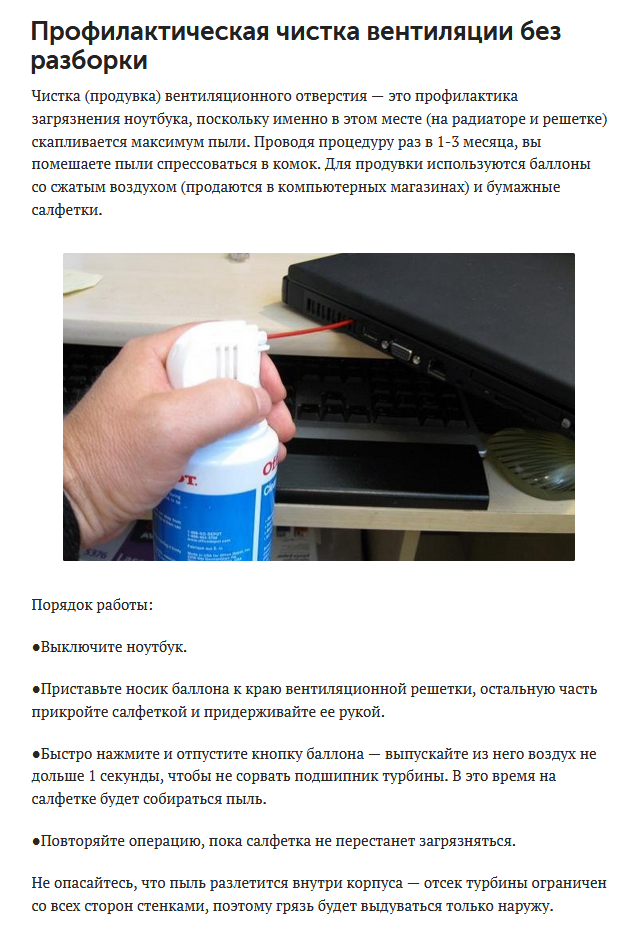
Prevention without disassembling the device
Surface cleaning is a simple purge of the cooling system. This is an extremely simple way to avoid problems with a laptop, so the user does not need special training or special knowledge of the device. It is enough to carry out preventive cleaning at least once every two months, and then you will not have to think about disassembling the laptop for a long time.
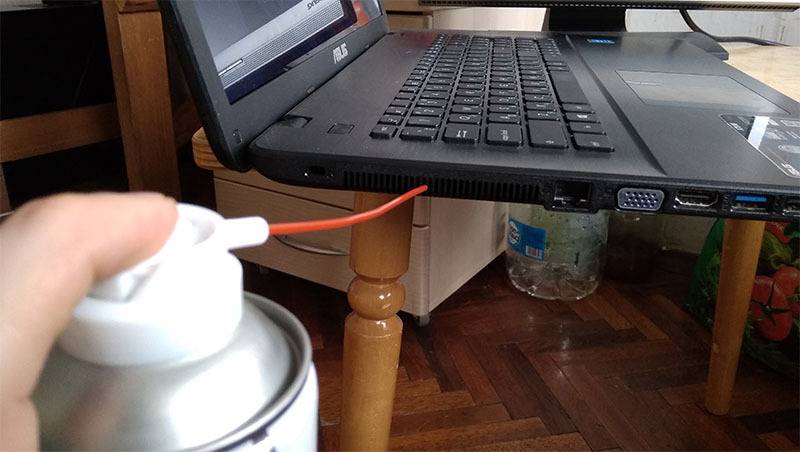
To carry out work at home, you will need several wet wipes, as well as a can of compressed air. The algorithm is as follows:

- The ventilation grill through which the heated air escapes must be covered with a napkin. Only a small section of it should remain open on either side.
- Bring the can to the edge of the grate and blow for a second. Doing this for a longer time can damage the fan bearing. At this time, the other hand should hold the napkin.
- The second stage is repeated until the dust is no longer blown out of the case.
Do not be afraid that dirt from the laptop will spread throughout the room during blowing. The cooler is fenced off with special walls so that the air flow is directed only towards the ventilation grill. It should also be remembered that purging the cooling system will only be effective when the air vent is clear. If during a visual inspection a lot of dust was found, then you need to disassemble the laptop and vacuum it.
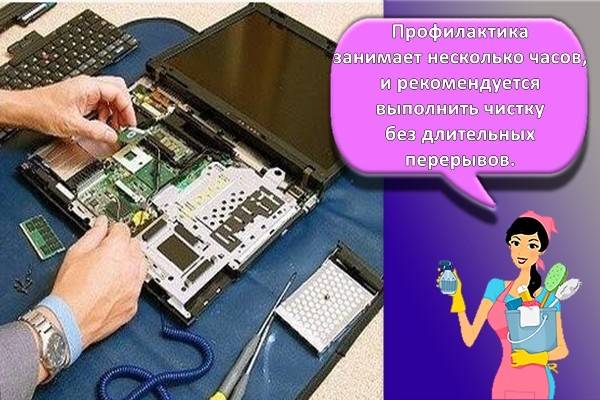
Complete cleaning

First, the user should master the basic skills. Complete cleaning of the laptop involves disassembling the device and removing dirt from all elements.In addition, it is worth replacing the thermal interface with a CPU. If you do not have complete confidence in your own abilities, then it is better to seek help from specialists.
Before disassembling, the laptop must not only be disconnected from the mains, but also taken out the battery. For beginners, it is advisable to shoot the whole process on a smartphone camera in order to quickly assemble the device. You can also watch a video describing the features of a particular model.
Since the keyboard is almost always the most contaminated element of any laptop, it is worth starting with it. To solve the problem, it is enough to wipe it with cleaning wipes from the outside. In addition, you can use a simple cloth, soapy water, or diluted alcohol:
- Moisten a cloth and squeeze well to prevent water from flowing out.
- Wipe the keys.
- Moisten in water without soap and squeeze out a new piece of cloth well.
- Wipe off the soap solution from the keyboard.
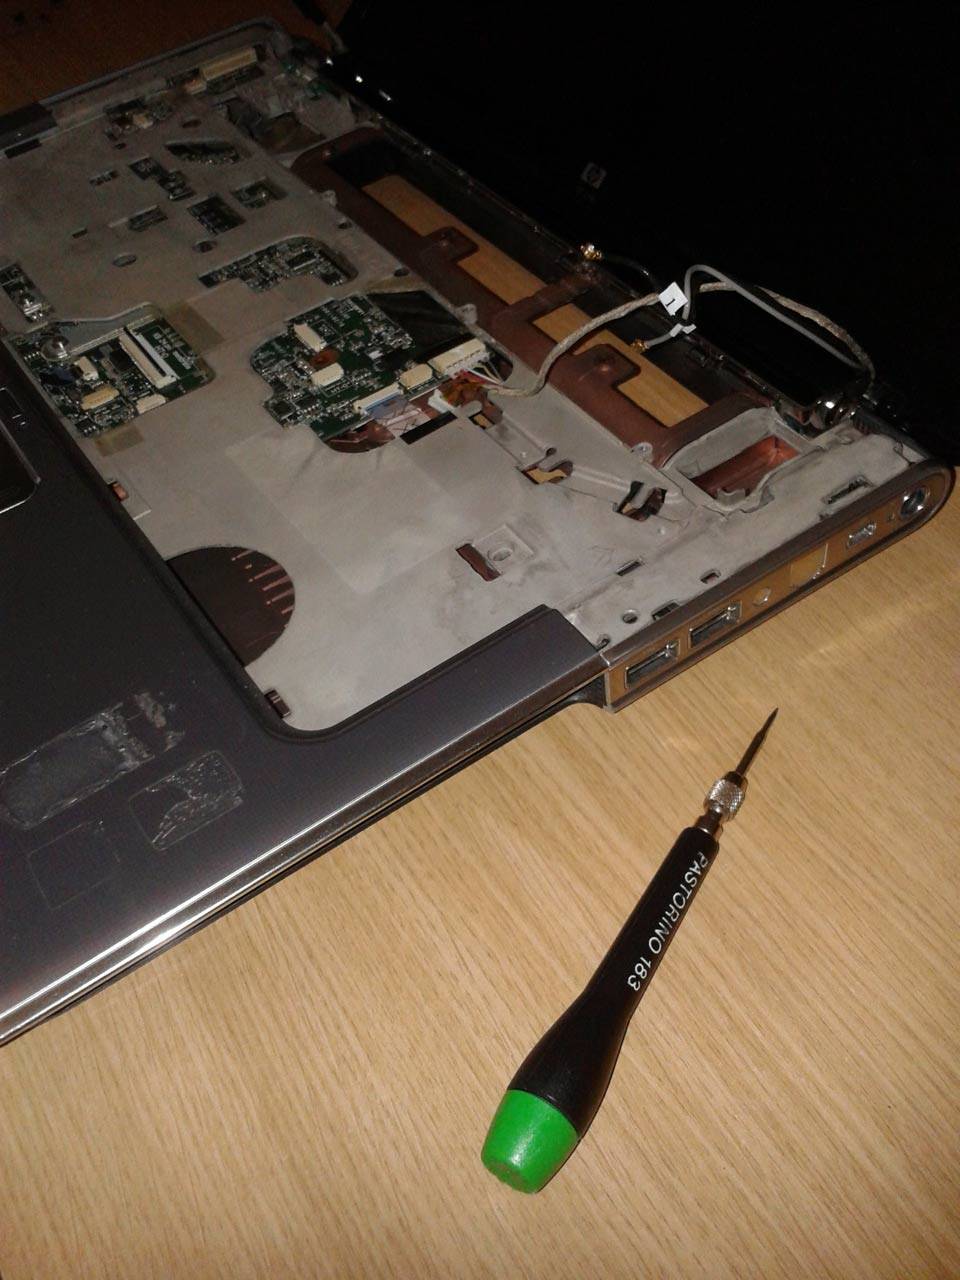
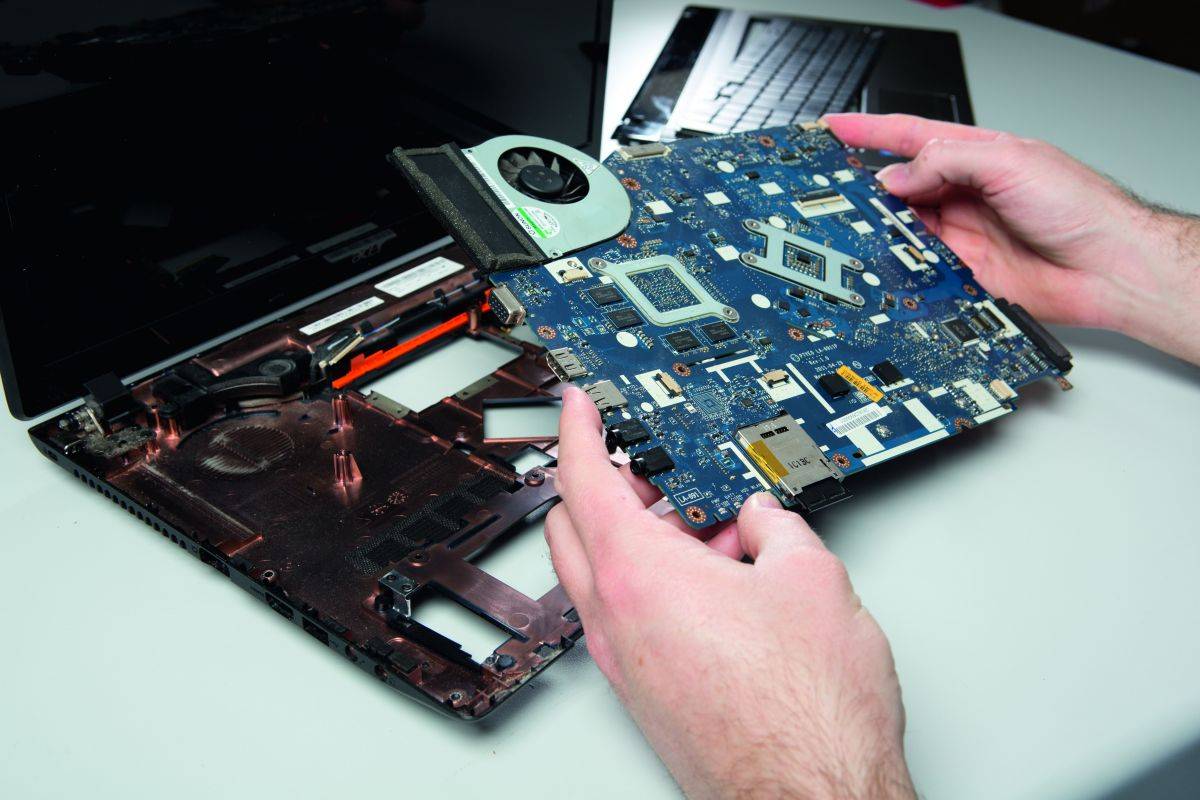
To gain access to all elements of the laptop, you must first remove the back cover. The loosened bolts must be put in a separate container so as not to lose them. If the cover does not open with light effort, then inspect it again for any remaining fasteners. In no case should great efforts be made during the disassembly process.
Take the utmost care when removing the motherboard from the case. It is this structural element that is considered the most fragile.
When this step is completed, you need to clean the board from dust using a soft brush dipped in alcohol. In addition, you can blow through all the microcircuits and contacts with a spray can or a hair dryer.