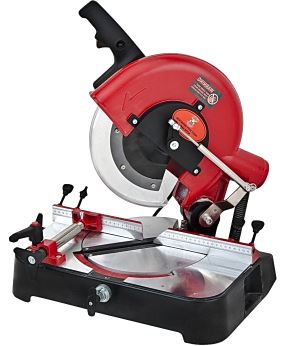
How to make a do-it-yourself miter saw from a circular saw?
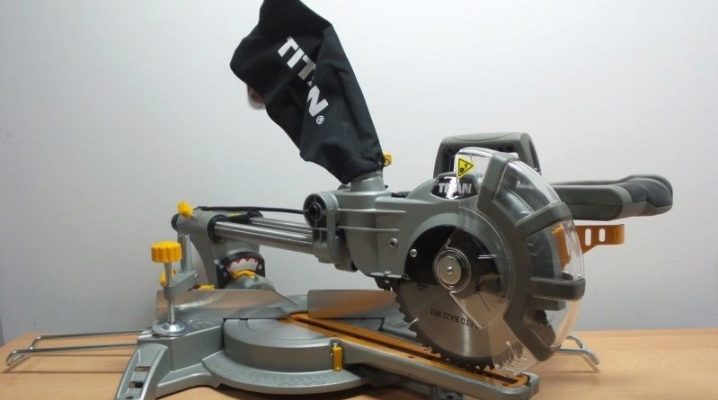
A miter saw is a device that every builder needs to take "into service". However, it is no secret that a high-quality professional tool on the construction market is quite expensive. That is why those who want to save material resources, as well as show their skills, should try to make a miter saw with their own hands. The starting material for this will be a circular saw.
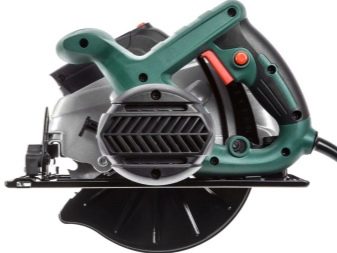
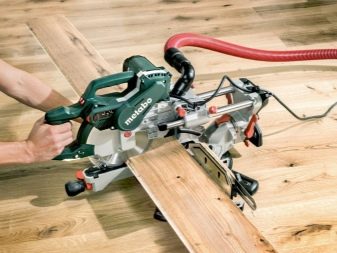
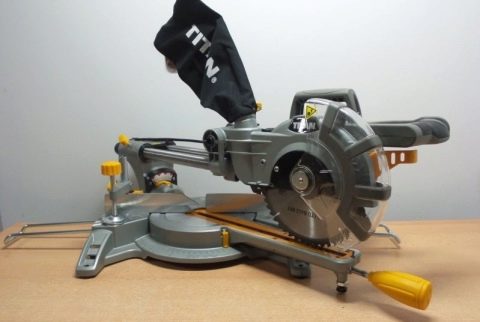
Varieties of miter saws
There are several types of miter saws (popularly also called “miter saws”). Let's get acquainted with these varieties.
Pendulum
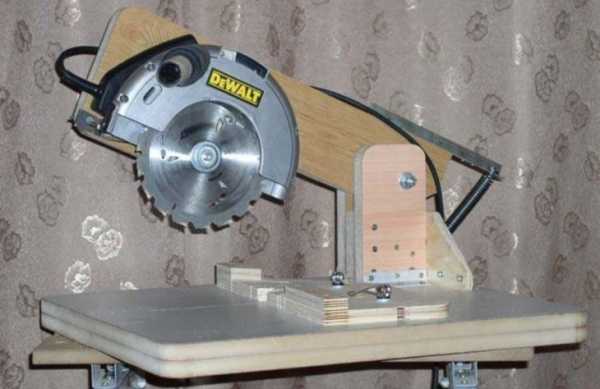
The basic part of such a saw is the bed. A table is attached to the bed, which must have a swivel mechanism equipped with a ruler. It is this mechanism that allows the cutting process to be carried out at a certain angle, adjusting it to the specific individual needs of each user. Moreover, this angle can be changed by moving the desktop directly in relation to the bed.
Combined
When using a combined saw, the cutting angle can be changed in 2 directions. The device, like the previous version, contains an additional hinge. In order to change the cutting angle, it must be adjusted and retracted to the side opposite to the place where the drive is mounted.
With a broach
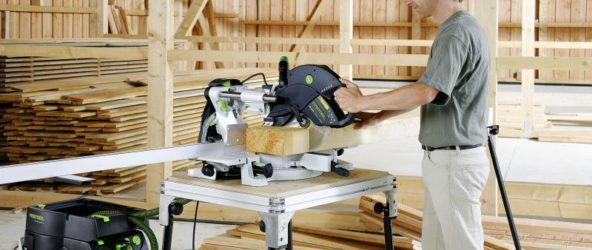
This device is considered the most versatile, since the saw can be displaced not only around the axis, but also along the cut in a straight line.
How to make a circular trimmer?
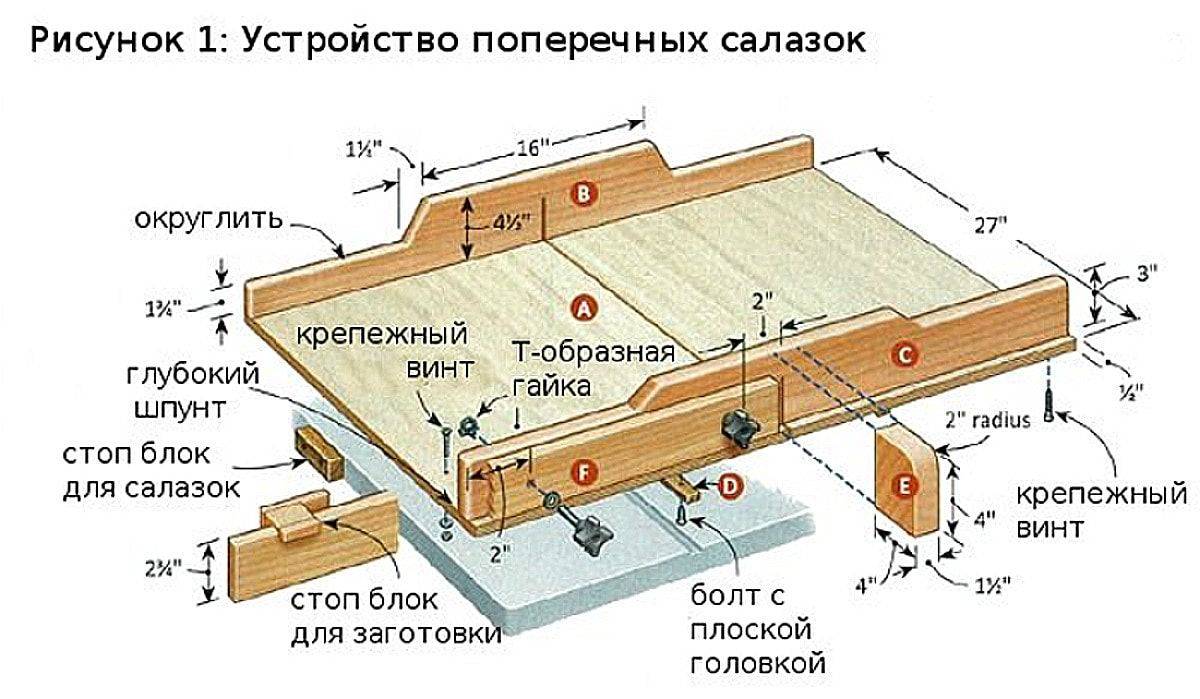
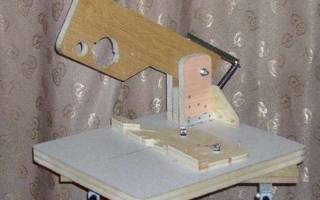
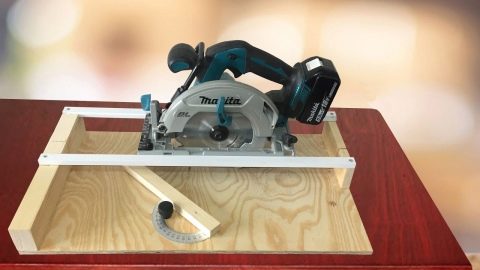
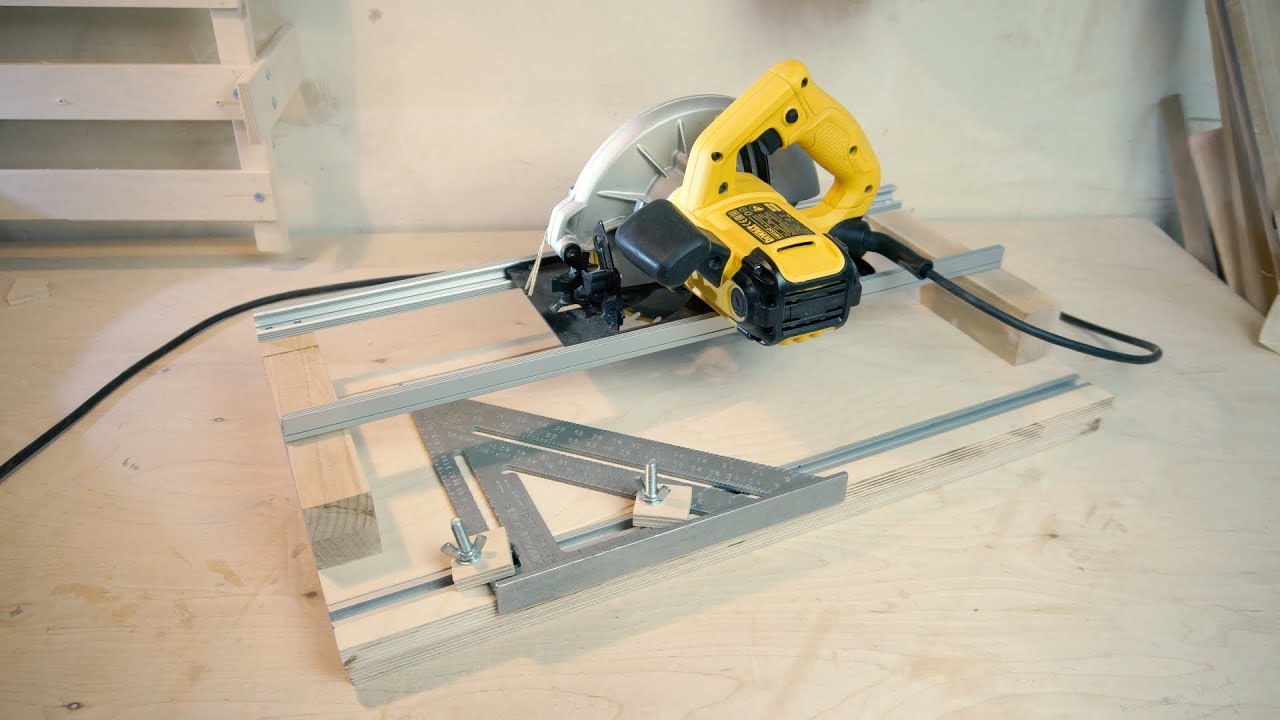
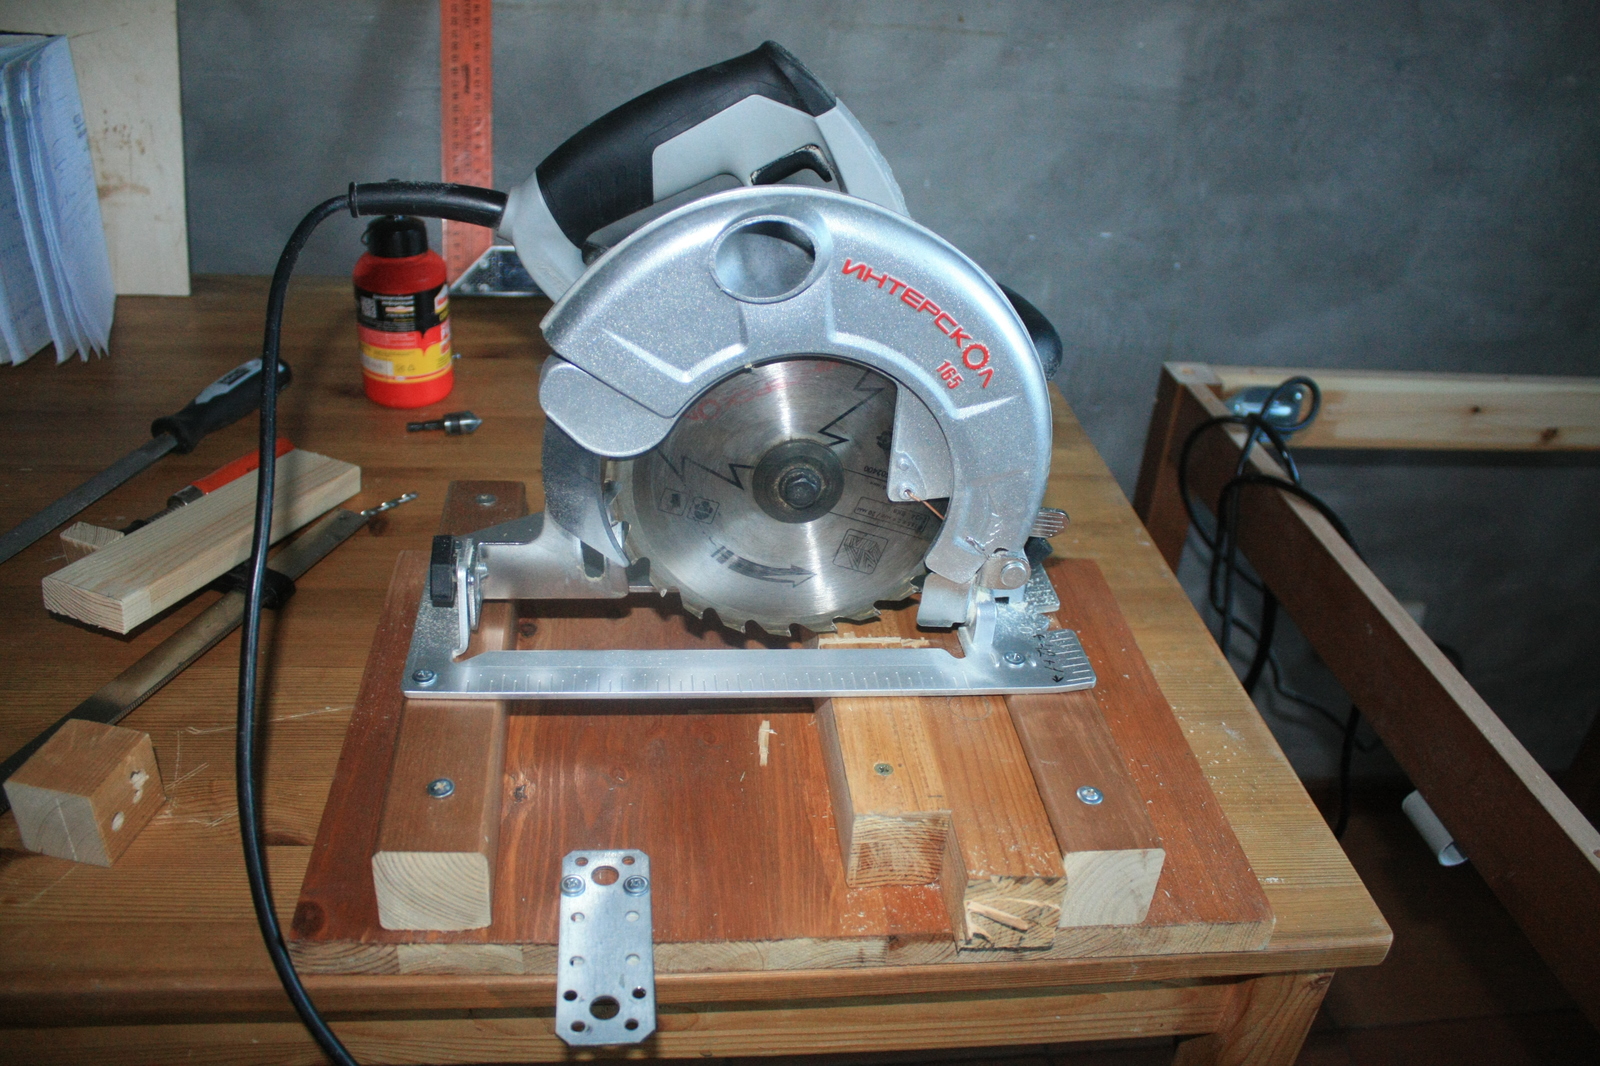
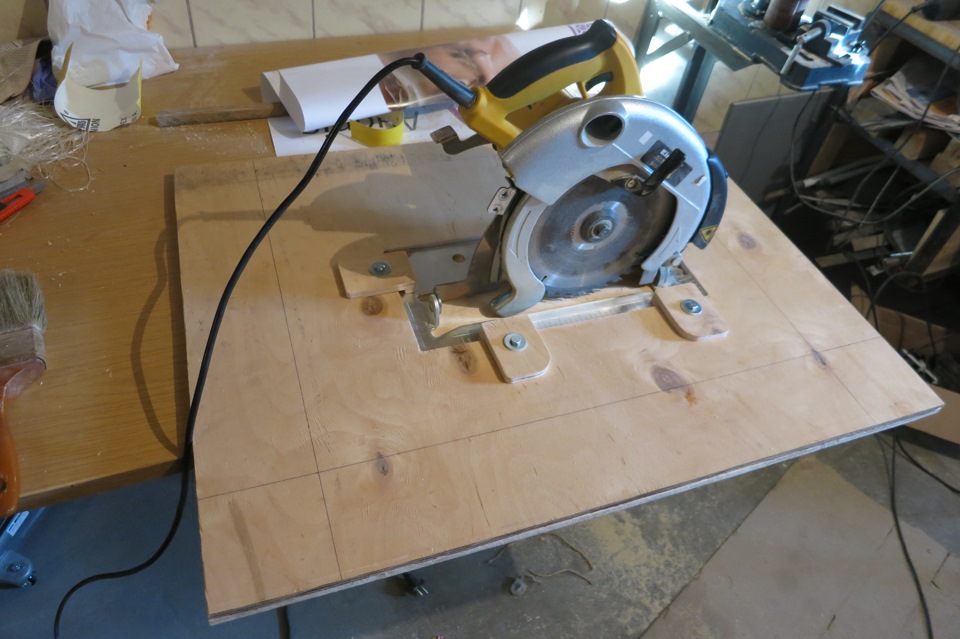
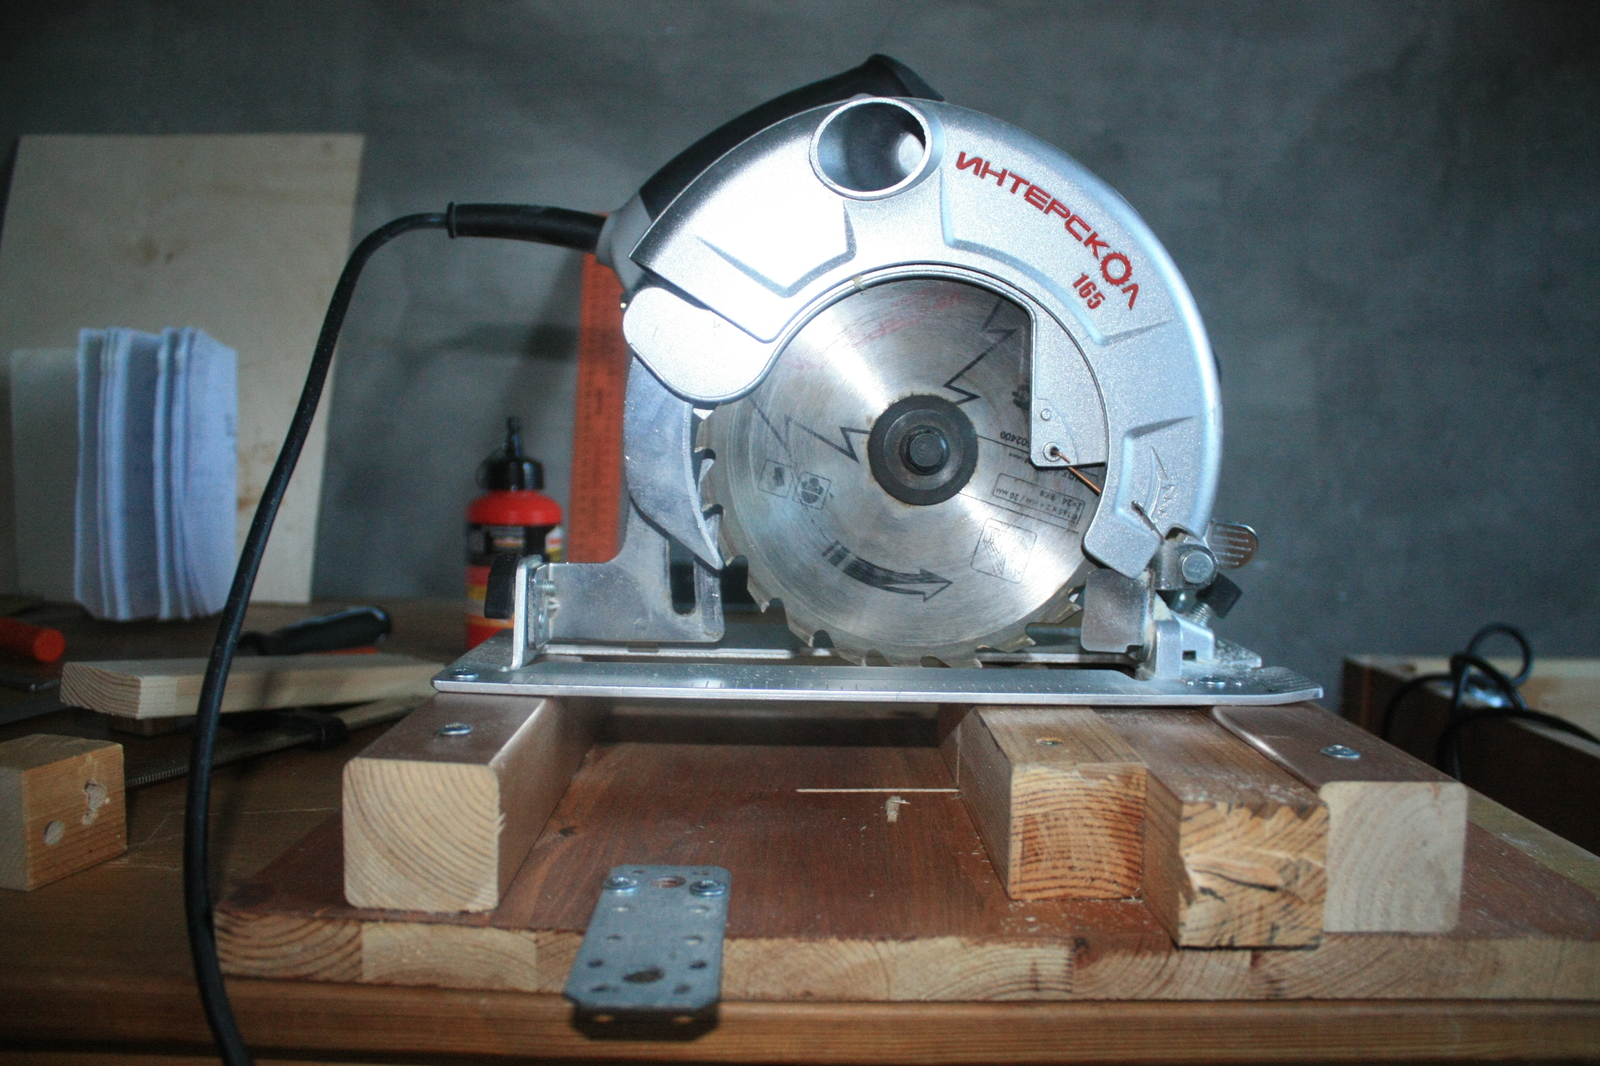
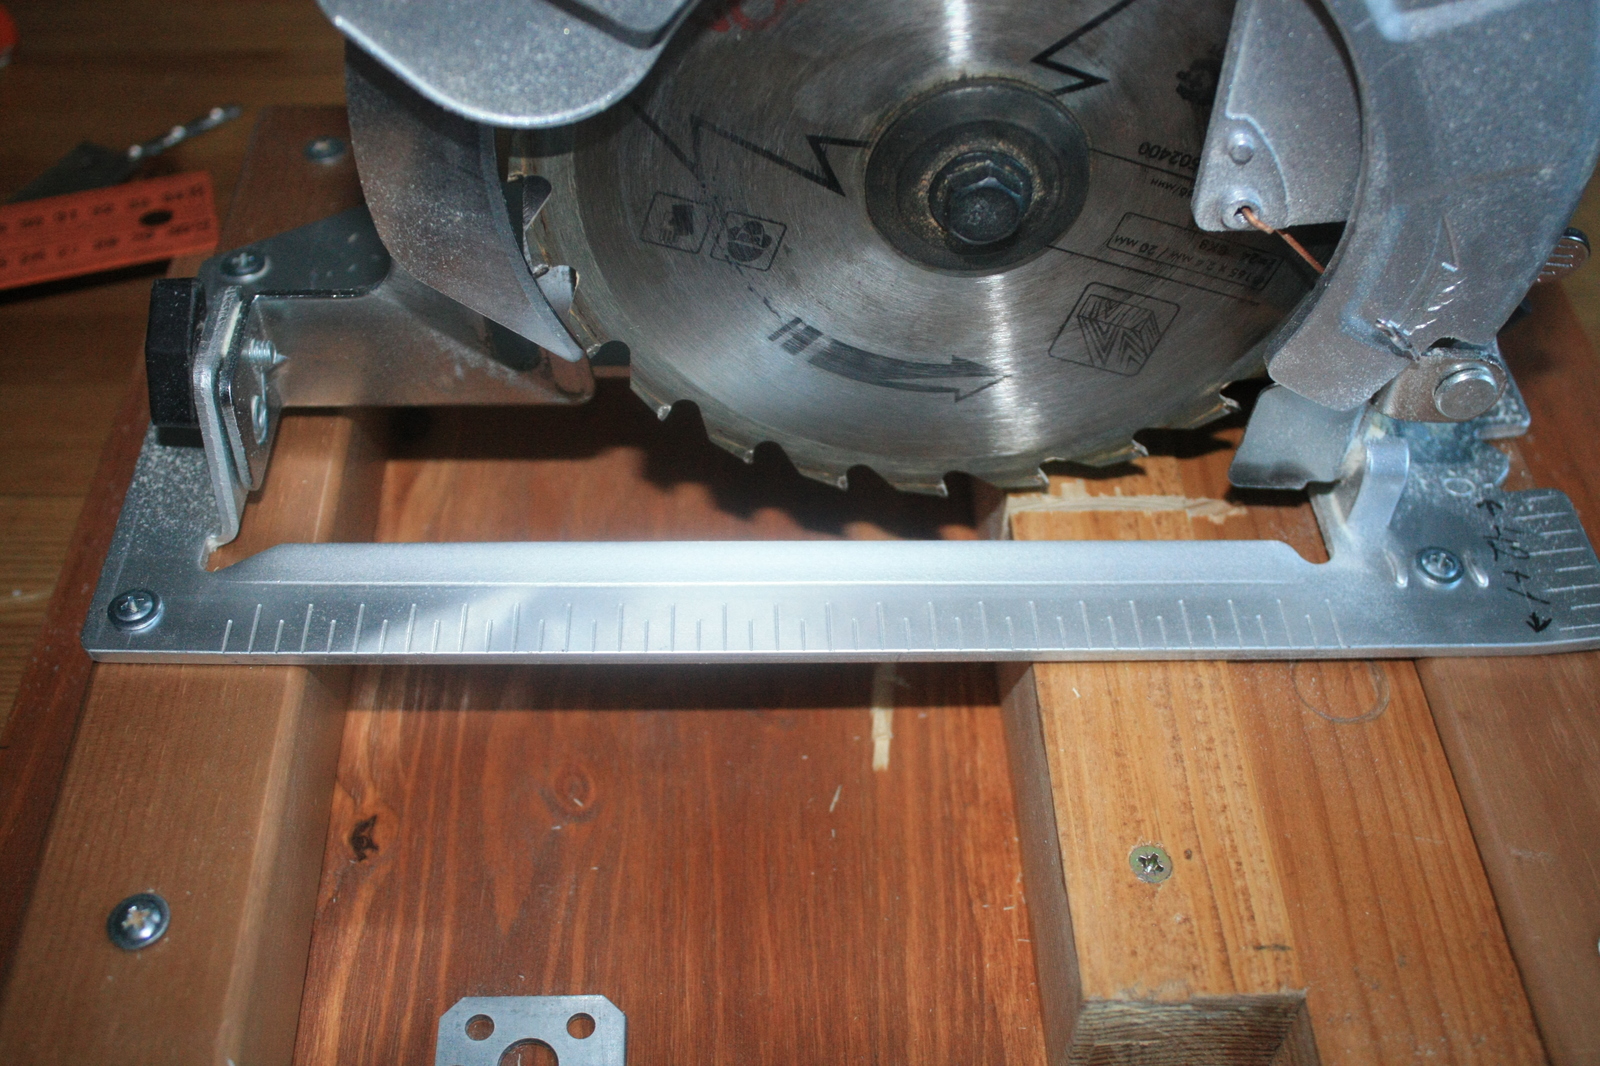
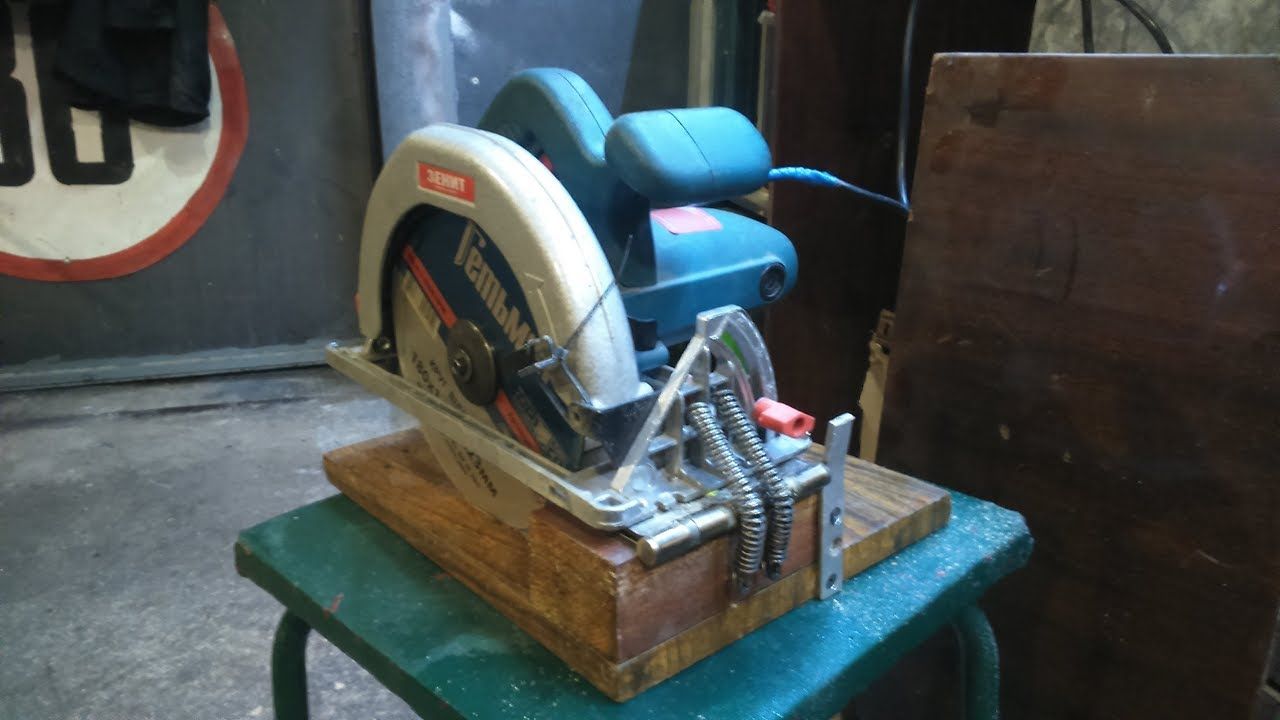
So, in order to make a trimming with your own hands at home, you need to make a box that will serve as a base. As a raw material for the manufacture of the box, you can use chipboard (chipboard).
In the process of whipping and assembling the box, experts recommend using confirmations consisting of 1 element - they are inherently ordinary ties for connecting wooden parts. The final box for the base for trimming must have the shape of the letter "P".
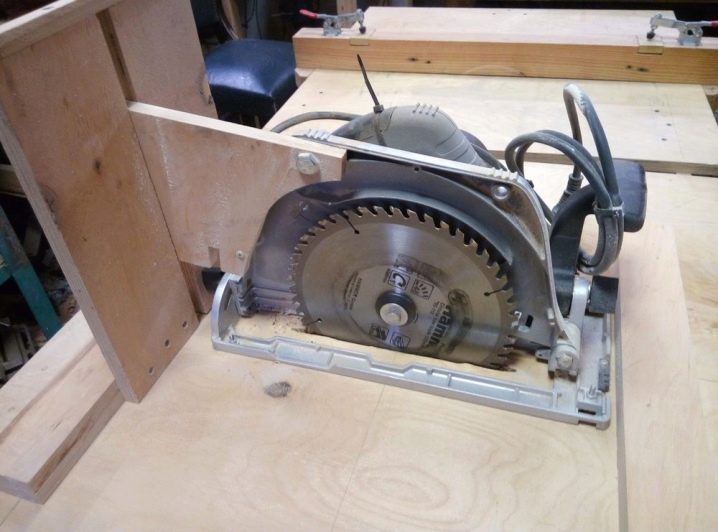
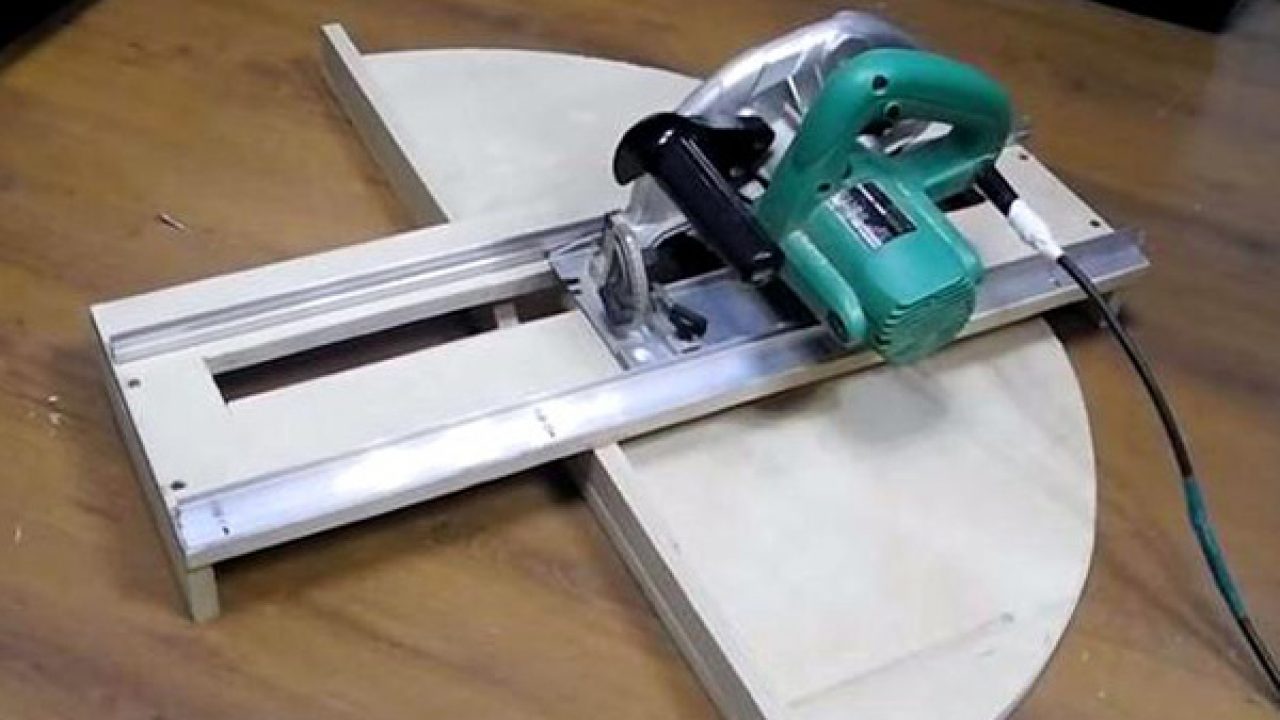
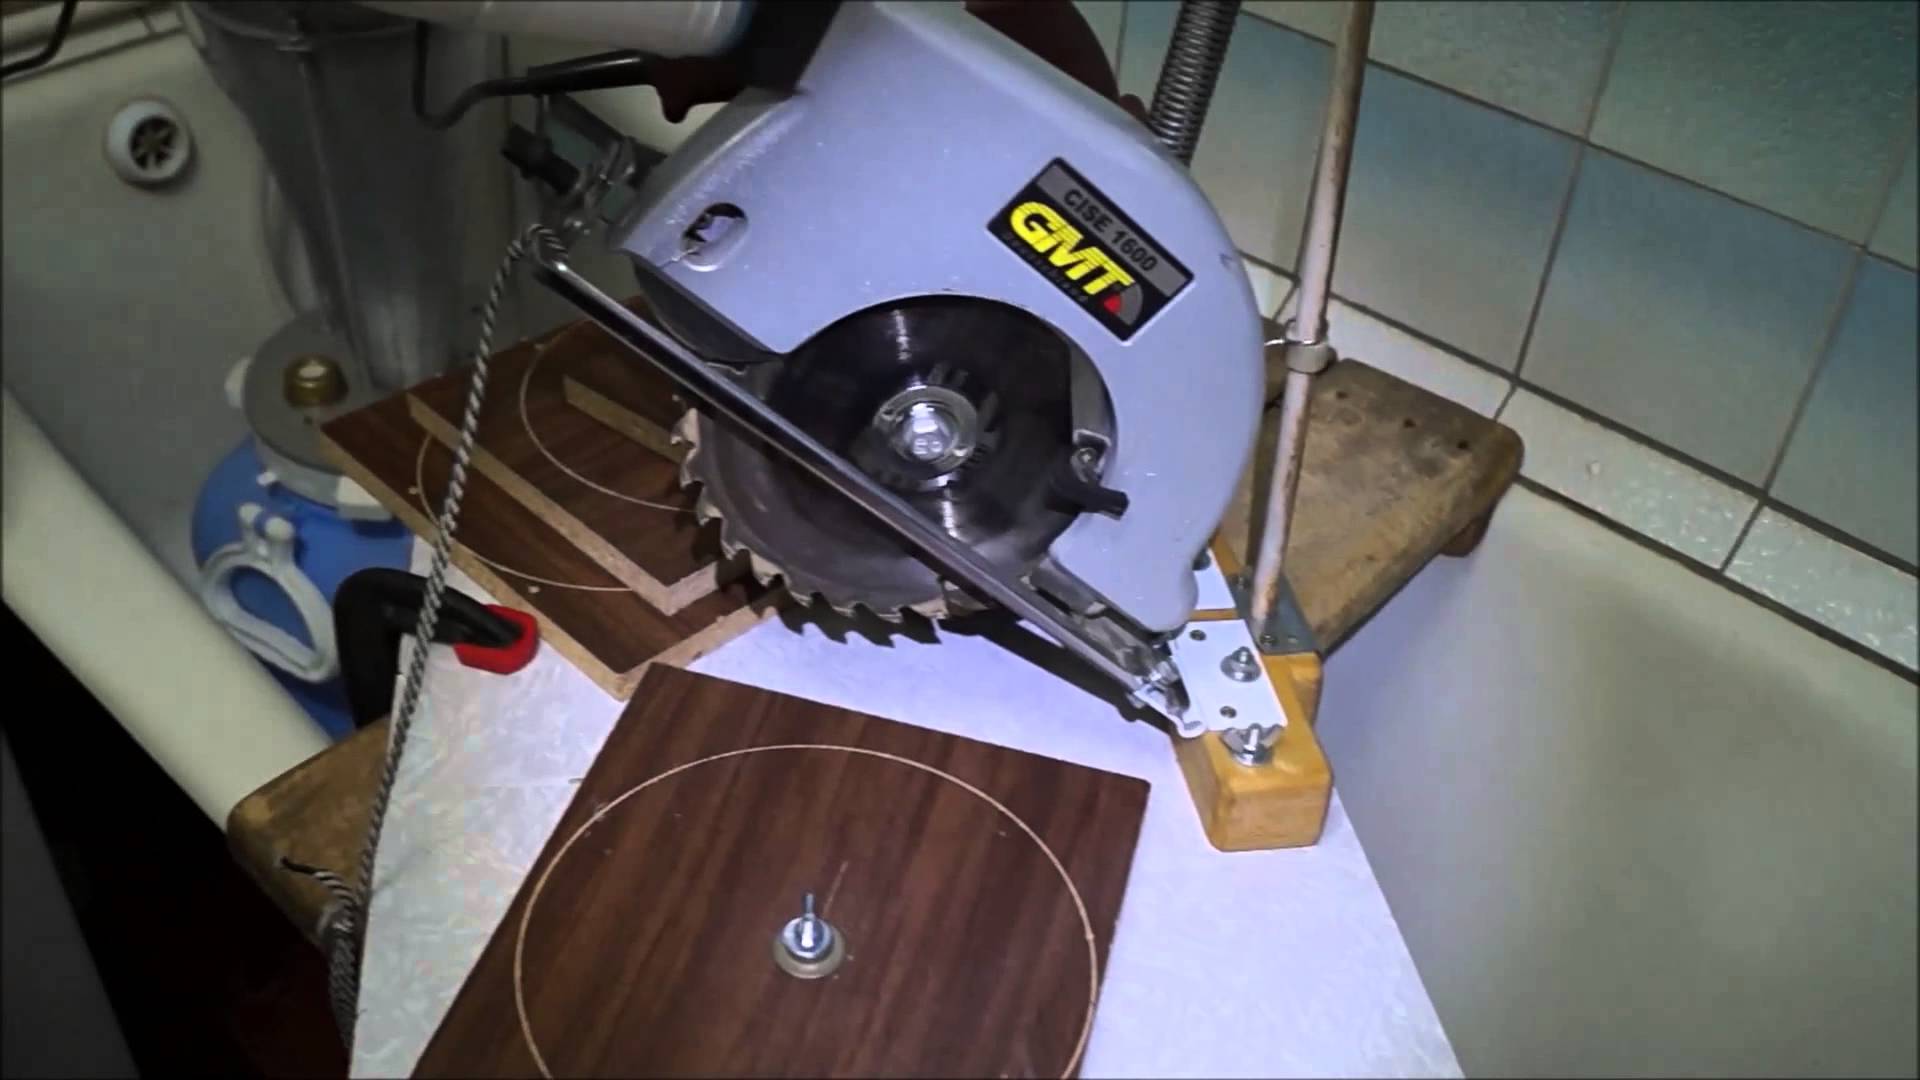
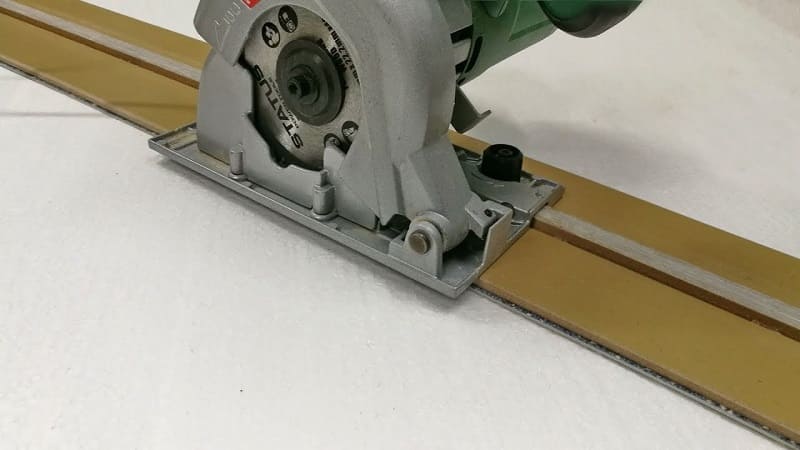
On both sides, using self-tapping screws, it is necessary to fix small pieces of chipboard. Thanks to this manipulation, you will adjust the position of the sole of the instrument. The next step in transforming the circular is to fix it. Moreover, this should be done using all the same clamps, and you can also use wing clamps.
Next, you should proceed to the installation of the so-called table. It should be fixed near the base of the table. However, keep in mind that in the process of carrying out this activity, you reduce the cut in depth by 1.5 centimeters, so try to put the profile as close as possible in relation to the saw element.
After carrying out the above described manipulations, you can proceed to the test cut - you should get a cutting line based on the stop. If so, then you did everything right.
As you can see, it is quite possible to make a miter tool from a circular hand saw. The main thing in this is to strictly follow the instructions and recommendations, as well as make a little effort and be patient.
Advantages and disadvantages of a homemade device
Pros.
The first and most important benefit of a homemade miter saw is the significant financial savings. So, buying a ready-made tool will cost you quite a lot (the average cost of a device is 10,000 rubles), and making a tool with your own hands from a material point of view is available to almost everyone.
Minuses.
Often, the available tools on the farm are used as starting materials for making a miter saw with their own hands. It should be noted that such materials are not always of high quality. That is why the life and quality of service of a homemade device can be very short and low.
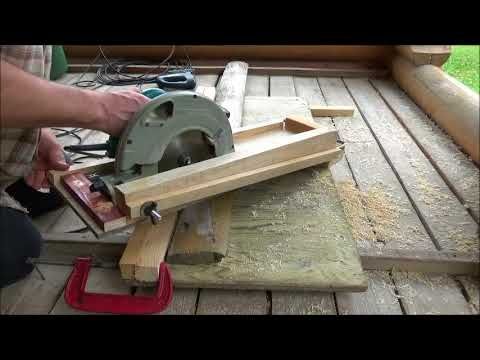
For more on how to make a miter saw from a circular saw, see the video below.
It is interesting: Foil-clad Penofol - technical characteristics, what it is, application in thermal insulation
Assembling a complex machine
There is an option with a more complex and heavier design. She will definitely cope with cutting pipes. At the same time, a self-made installation does not require the use of a circular as a component of the machine. But for certain stages of work, it is better to have a circular on hand.
Depending on the components you choose, you can get a higher power machine. For assembly machine with their hands you will need:
- Electric motor with a power of about 900 W. If you have to cut pipes regularly, you can choose a more powerful electric motor;
- Metal sheet;
- Metal corners;
- Channel;
- Hinge groups;
- Bulgarian;
- Welding device;
- File;
- A spring of impressive power.
When everything you need is assembled at the workplace, you can start assembling the miter machine with their hands.
- A homemade bed can be done by hand using adjustable supports, metal corners and bed racks.
- A sheet of durable metal acts as a working surface. In this table-sheet you need to make holes and process them with a file.
- To weld a pendulum rack for a future machine, use channels and a welding machine. The structure is installed on a metal sheet. The approximate height of the rack is 80 centimeters.
- The support for the electric motor is made of a metal sheet in the form of a fixed plate. Be sure to install the stand on the hinges.
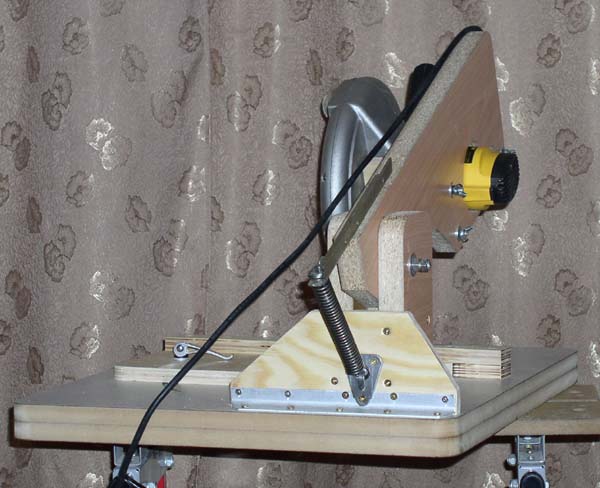
- The stabilizer of the electric motor of the miter saw is a powerful spring. If you managed to find one, belts and a swingarm can be completely abandoned.
- Using the eyebolt, you can tension and adjust the belts. The pendulum can be made of metal to make the structure reliable and durable.
- Select the disc of the required diameter with the operating tool. For domestic purposes, a saw blade with a diameter of 400-420 millimeters is usually sufficient.
- Be sure to provide for protective covers, since the assembly of such a machine is accompanied by a certain degree of danger.
Choosing the option of assembling the machine with your own hands, and not buying a factory trimming machine, you need to understand that there will be a rather serious difference between them in quality, accuracy and error in processing wood, pipes, metal and other products.
Milling
Disks
These attachments are available in various designs. The main difference between the devices is in the size of the abrasive grains.
Read the same
In terms of implementation specifics, they do not differ enough from rasps. The only difference is the speed of the technological operation. With certain abilities, such attachments are purposefully used for finishing wood.
Cutters
They are, and especially for wood. The assortment is significant, since nozzles of this type differ in configuration, arrangement and size of teeth.
- Sampling of grooves.
- Pre-alignment of edges.
- Bowl carving.
- Sawing (for small sections of wood).
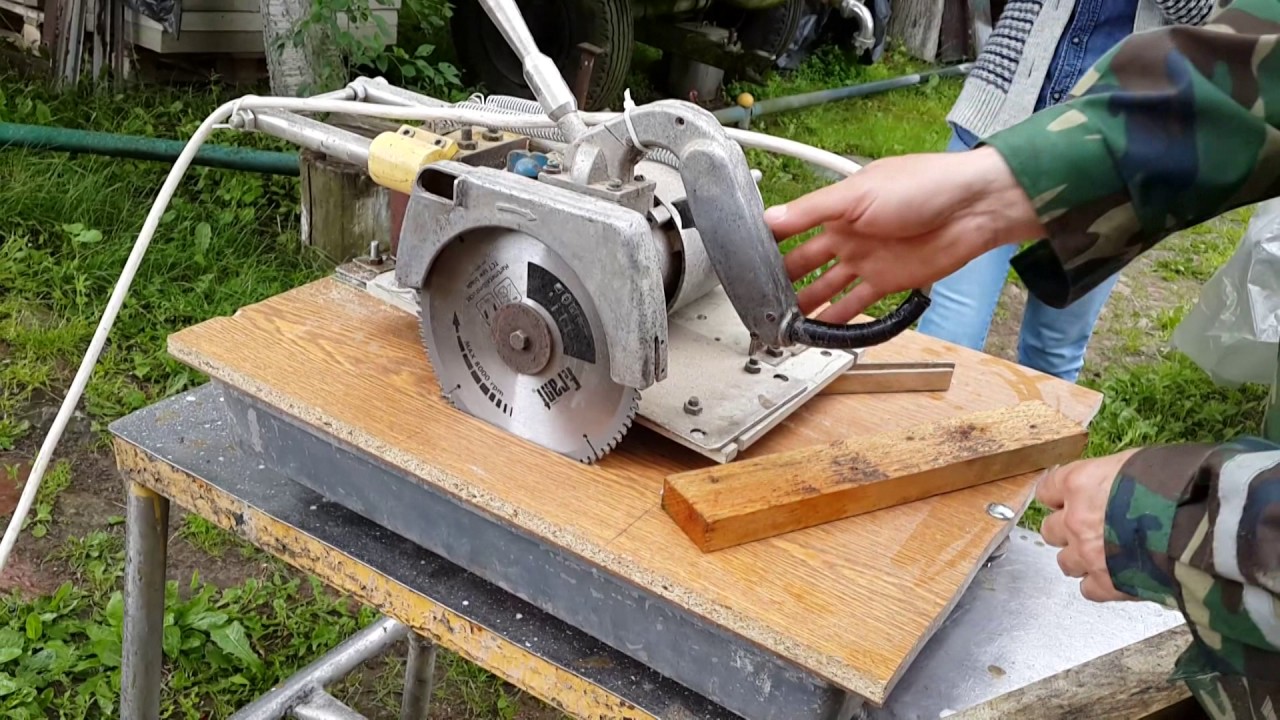
Trimming from various scrap metal
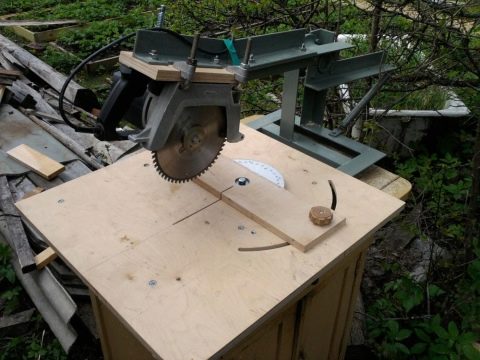
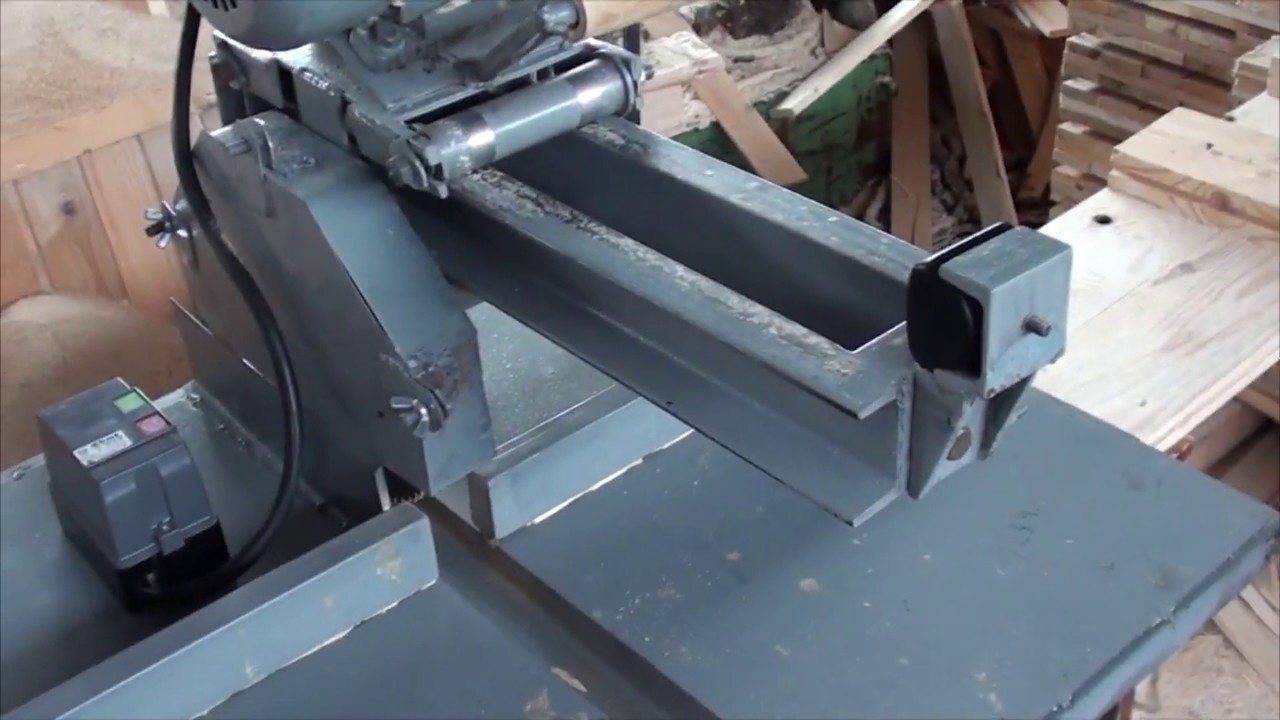
the frame of the trimming is made of metal
This is a rather heavy bevelling on a stationary metal table. It will take some effort to manage it. But in the end, the saw mechanism moves smoothly, without jerking, do-it-yourself trimming is easy.
Specifications:
- electric motor power - 2.2 kW;
- disk revolutions - 2800;
- cutting depth 80 mm.
Materials and tools required for assembly:
- 900 W electric motor;
- a metal sheet;
- metal corner;
- channel;
- hinge group;
- powerful spring;
- Bulgarian;
- welding machine;
- file.
The bed is made of adjustable supports, a metal corner and racks from the old bed. The working surface is a metal sheet like the surface of the table, in which we cut a hole, we process the edges with a file with our own hands.
- The pendulum saw stand is welded from a channel mounted on a sheet of metal, its height is about 80 cm.
- The support for the electric motor is made in the form of a movable metal plate mounted on hinges. When installing an electric motor, a spring is used as a stabilizer. Then you can do without the pendulum and belts.
- The tension belts are adjusted with a conventional eye bolt, the swingarm for the mechanism is also made of metal.
- A 420 mm diameter disc is installed on the facetting as an executive tool.
Wood sanding
If we decipher the abbreviation LBM, then it is clear that finishing is the main purpose of the "grinder".
Cord brushes
They are used mainly for primary (coarse) sanding of wood, when it is required to smooth out the unevenness of the sample.
End disks
The names speak for themselves. The end parts of wooden blanks (cuts) are processed with such nozzles. Especially effective when you have to deal with miter cuts.
Read the same
The most used grinders for grinders.
Grinding wheels
The most versatile attachment to the "grinder". It alone is enough for varying degrees of grinding. The nozzle itself is a metal base on which circles with one or another grain size are attached. They can be easily changed either as they wear out, or in case of moving to another area of work. Therefore, only circles are consumable. The nozzle itself is used indefinitely.
- Sanding wood.
- Parquet scraping.
- Processing of edges and ends.
- Cleaning wood before painting.
About choosing a saw model
Usually, recommendations regarding the choice of a model of a power tool are reduced to a comparison of power, functionality and similar characteristics.
We will not repeat these generally correct advice, but we will draw the attention of our readers to the main thing.
Therefore, we strongly advise you to first determine more precisely for what purposes and for what work the tool is purchased, and only then choose a specific model.
The circular saw is mainly used in "manual mode", that is, the master holds it in his hands and moves his hands along the part being cut. For comfortable and fatigue-free work, the saw should weigh as little as possible and lie comfortably in the hand.
For a miter saw that is supposed to be used in a carpentry shop, the recommendation will be exactly the opposite: choose a saw as large as possible. It is preferable to buy a saw with a broaching mechanism, which allows you to cut workpieces of significant width and diameter.
What is the purpose of this tool and how does it work
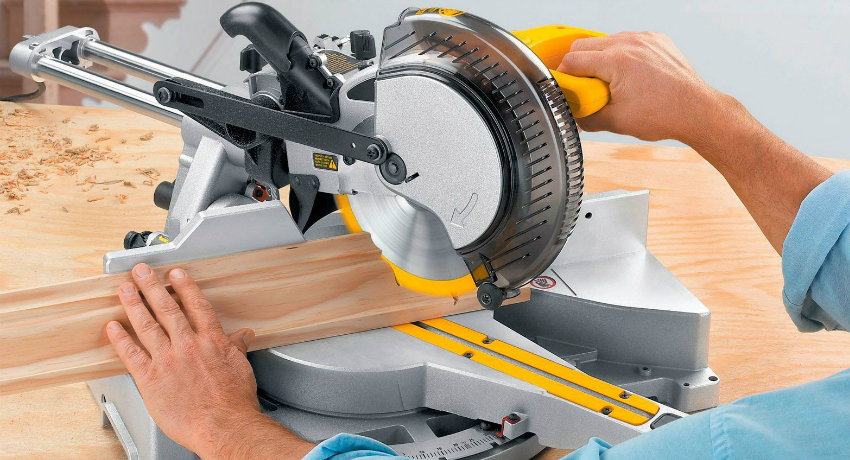
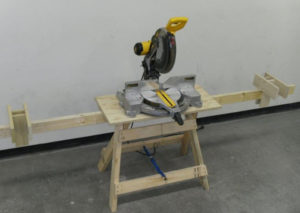
A device designed for cross-cutting wood blanks at different angles is called an end (miter) saw. Often such a tool is also called an electric miter box, by analogy with a carpenter's device in the form of a tray for cutting boards at a certain angle. The design of such a saw allows you to cut by changing both the vertical and horizontal angle of the saw blade.
You can cut a long workpiece by changing the vertical and horizontal angle.
The functionality of the miter saw makes it possible to use it in woodworking, where precise joining of the ends of two elements of a product or structure is required. It is to ensure the accuracy of the cut that the bed is required, which can have legs or be installed on a table. Such work is often necessary for the following purposes:
- making decorative frames;
- cashing out door loot;
- skirting board devices;
- construction of wooden building structures for the construction of houses and auxiliary buildings;
- finishing work with clapboard or plastic panels, as well as laying wood, parquet or laminate floors.
When installing a certain type of disc on such equipment, it is possible to cut light metal or plastic profiles and pipes. If necessary, you can even choose the thickness of the wood with a miter saw, arranging grooves, which are often used to make window or door frames and loops.
Such work is often performed in the manufacture of window frames.
Despite the solid appearance, and the fact that such saws are often called machines, their weight is small (about 18 kg) and they can be an excellent tool for a home or summer cottage workshop.
Parts of the mechanism
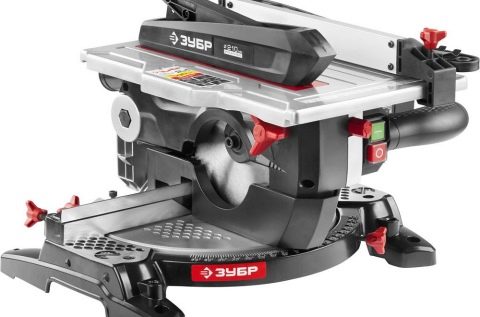
All miter saws have a simple design that is basically similar for different types of this tool. Their main elements are:
The main structural elements of the miter saw
- bed with a round rotary table (some models have a sliding table extension on both sides with integrated supports);
- a pivot arm attached to the bed with a special hinge with a return spring, on which the saw blade and a handle with buttons for starting and braking the disk are attached, such a lever is called a pendulum, which is why the whole tool was called a pendulum saw;
- an electric motor located on the pendulum to the right of the saw blade (in some models, to make a better view, it is installed on the back of the pendulum;
- a unit for adjusting the angle of inclination of the disk, which allows you to turn the cutting head of the tool to the left of the operator at any angle up to
45o, turning to the right is not possible due to the engine located on this side;
- a sawdust outlet, to which you can attach a vacuum cleaner hose or a bag for collecting chips;
- stops for convenient placement of the workpiece and clamps in the form of clamps for its reliable fixing.
A special insert is provided on the tool table at the cut site, in the form of a tray-type depression, which allows the saw blade to cut through the workpiece to the end, making a neat cut. There is a scale on the bed for rotating the table in both directions at a certain angle. In the desired position, the table is secured with a screw clamp. The saw blade of the tool is protected by a special transparent cover, which allows the master to clearly see the cutting site. For convenience, many miter saw models are equipped with a laser pointer showing where the cut will be made and table illumination.
In more detail, you can understand the design of the miter saw, the purpose of its main units, and also see how they are used in work, in the following video.
Advantages and disadvantages of homemade trimming
Advantages:
- Making a tool with your own hands saves money. For example, about 500 rubles were spent on the revision of the grinder. The cost of a homemade table and sawing mechanism is available to most craftsmen;
- basic parameters: cutting depth, rotation frequency, disc diameter, engine power, table dimensions, are selected according to their own needs;
- having assembled the tool with his own hands, the master will easily find the cause of the malfunction and eliminate it.
Disadvantages:
- The service life of the tool depends on the quality of the raw materials, and homemade products are usually collected from all kinds of trash;
- homemade trims are rarely powerful enough.Indeed, for the high-quality operation of the equipment, a careful selection of parts is required;
- sometimes the funds saved on the purchase of a factory tool are spent on repairs and revision of a homemade one;
- craftsmen often save on their safety by not equipping the table and saw with protective devices;
- Factory saws are equipped with a graduated scale that accurately indicates the cutting angle of the tree. It is difficult to build such a mechanism on a home device.
A few more convenient and interesting homemade products, including an excellent stationary, mobile and made in a couple of minutes from several plywood and screws:


