Why are glued wood shields created?
Even if the thickness allows you to create products with a large width, their subsequent operation raises great doubts. Those who often deal with wood are well aware that solid wood products are quite capricious in terms of use.
In order for a wood product to not lose its original shape, the wood itself must be very well dried in advance. It is advisable to keep the material for at least four weeks in the conditions of the room where the product will be located later. However, this condition is very difficult to comply with when it comes to a window sill or door. Changes in temperature and humidity, one way or another, will lead to deformation.

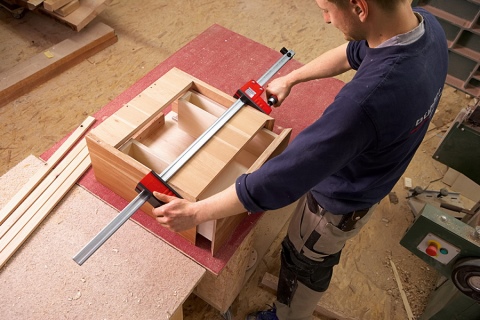
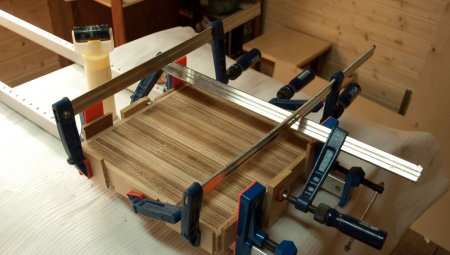
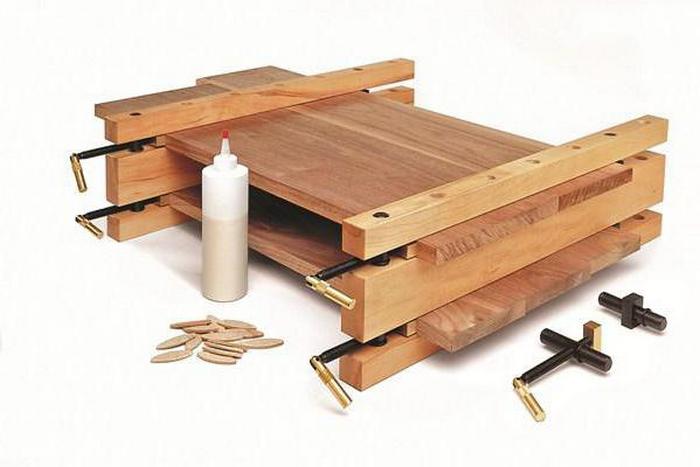
Bonding helps to get rid of this disadvantage. For this, wooden blocks are folded into a complete shield, and then glued. To make the workpiece really turn into a single whole, a special mechanism is used - a clamp. It is quite simple to create it at home, saving well on factory models.
Furniture clamps
Furniture tools are a separately considered option. All models must meet a number of requirements:
- Do not spoil the surfaces of the furniture when fixing.
- Reliability of fastening.
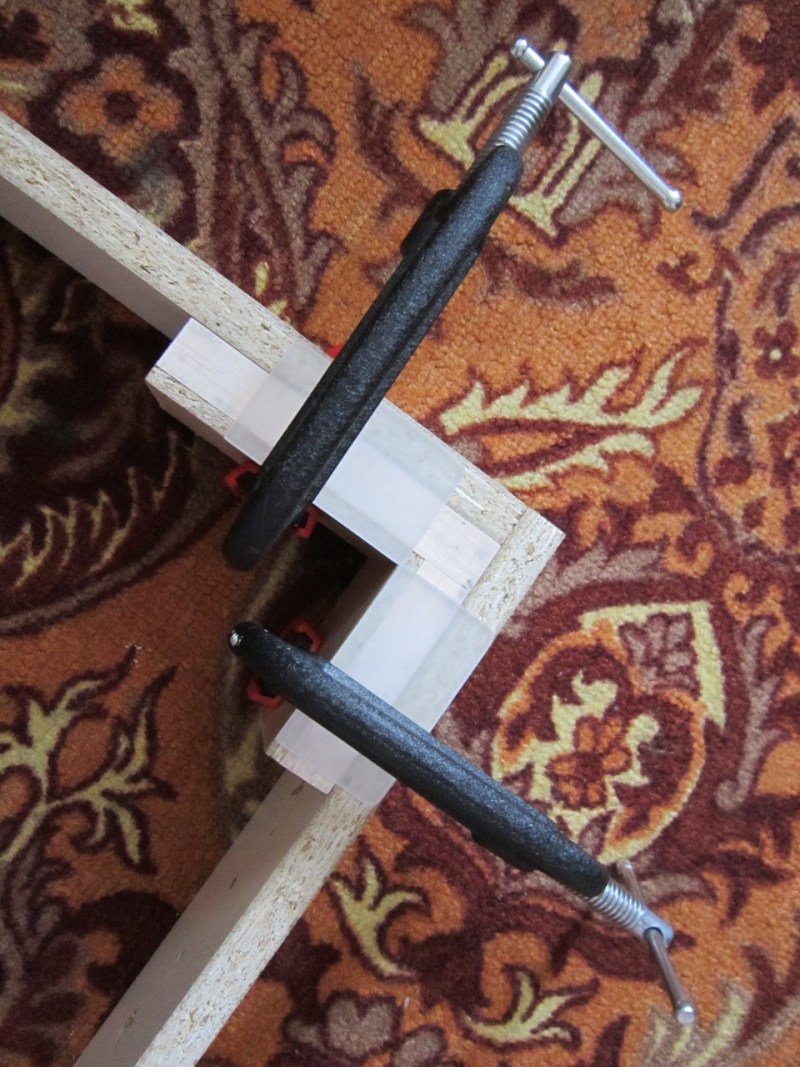
In addition, such devices must necessarily have convenient shapes (furniture parts do not always correspond to traditional dimensions and shapes). Regardless of the material of manufacture (and most often metal and wood play this role), the working surfaces are covered with additional strips to protect the furniture from damage.
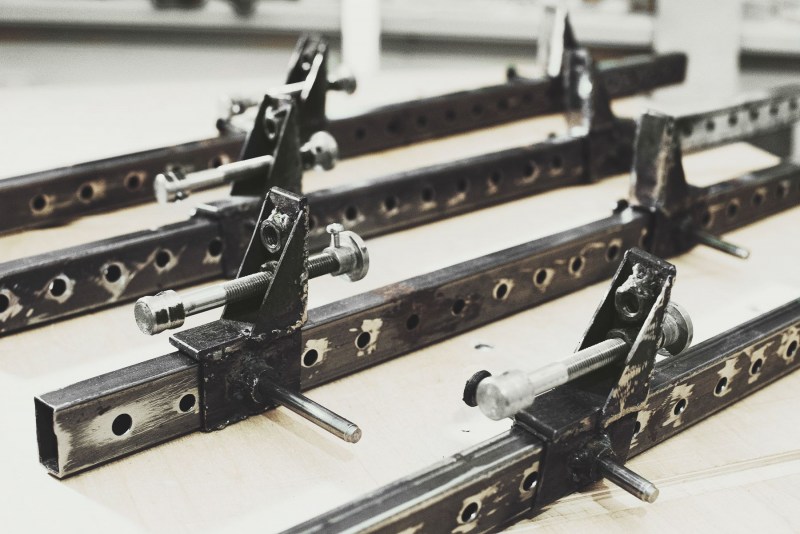
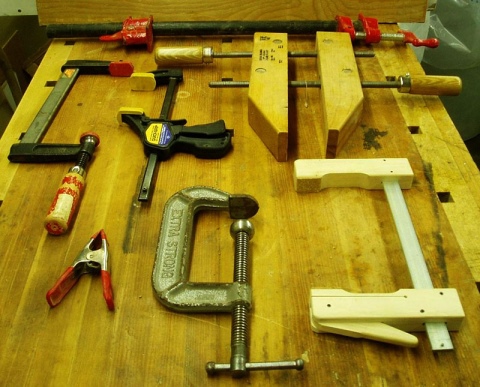
There are the following types of furniture clamps:
- Screw model. It is presented in the form of a T-shaped handle and a classic screw. Most often used for repair work with plumbing, communication pipes.
- Mounting clamps. For such options, the scope is to mount communications and fix them at the proper level.
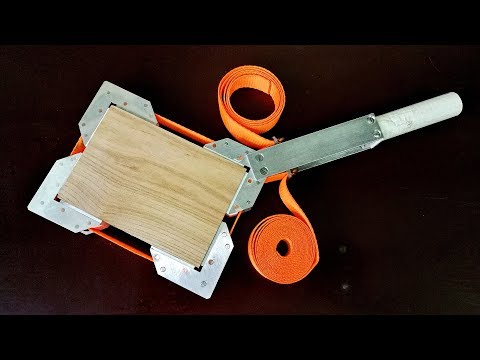
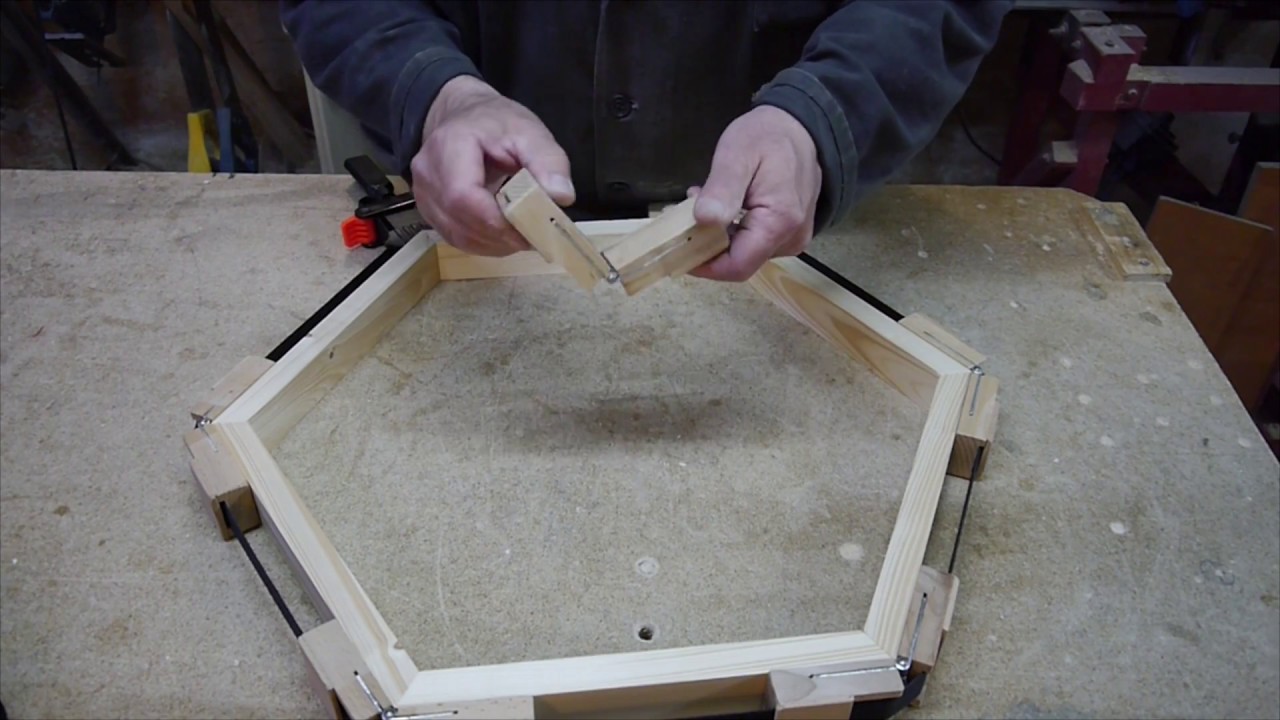
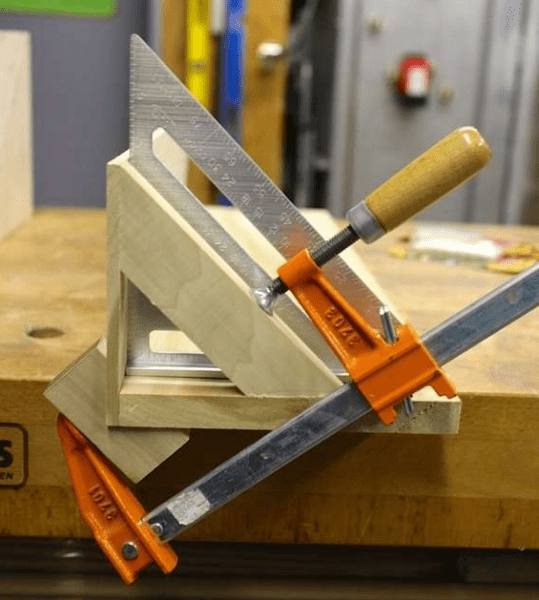
- Corner clamp. It has a convenient shape, it is used when gluing frames, wooden corners.
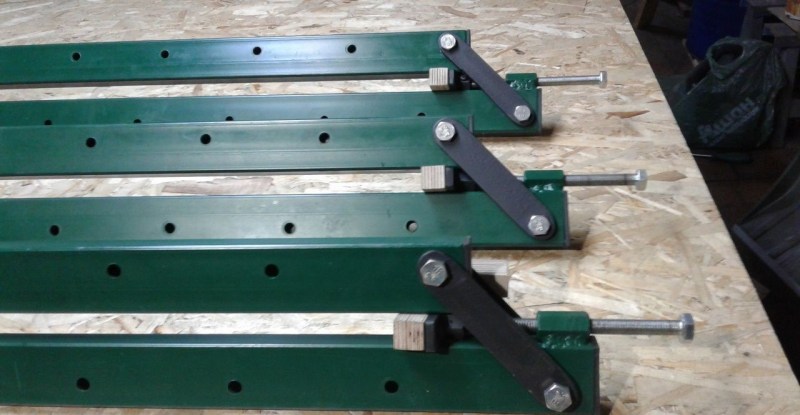
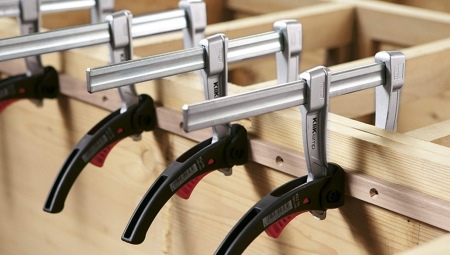
In practice, combined models with hydraulics, triggers, and vacuum are used. These are G-shaped and F-shaped types of clamps, which are used to fix complex objects, silicone parts (with a sensitive surface to mechanical stress).
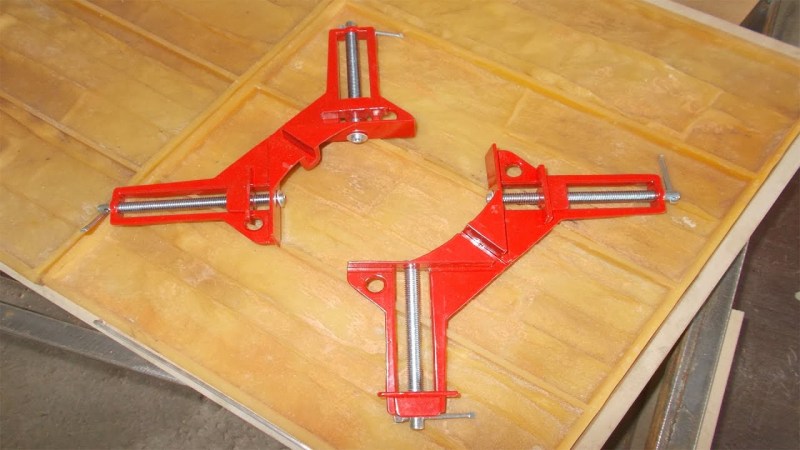
Special designs of clamps
Having mastered the skills of making clamps of a simple form, you can improve them and make adaptations for connecting complex parts.
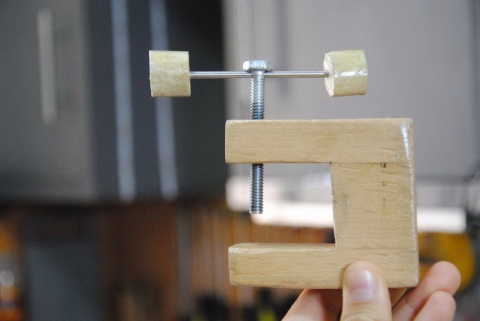
There are homemade clamps made from a wooden hanger, which is sawn into pieces. Combines wood and steel, makes more comfortable handles that allow you to quickly tighten the screw
This is especially important if you need to change position frequently or use several clamps at the same time. In the case of complex workpieces, you can first cut them out of paper and then transfer them to plywood
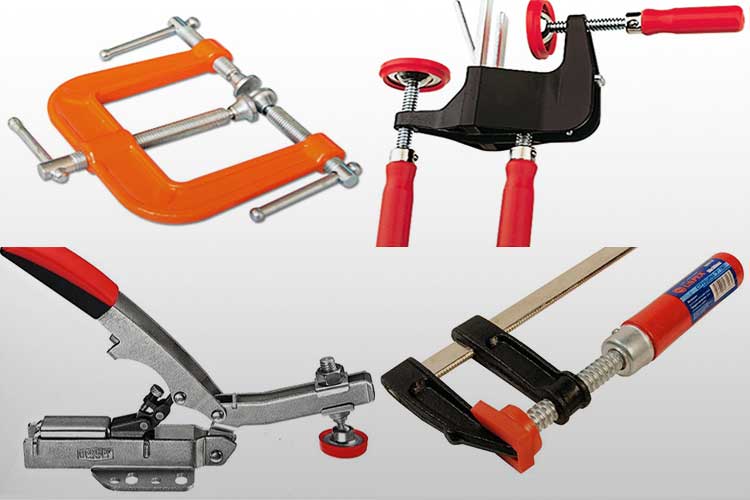
Although welded metal products are more reliable, wooden structures are also used not only for joinery, but also for turning, carpentry works. You do not need to have special skills to create a clamp. You can make such a product out of wood in unlimited quantities with your own hands. You just need to devote some time to the manufacturing process.
Simple models
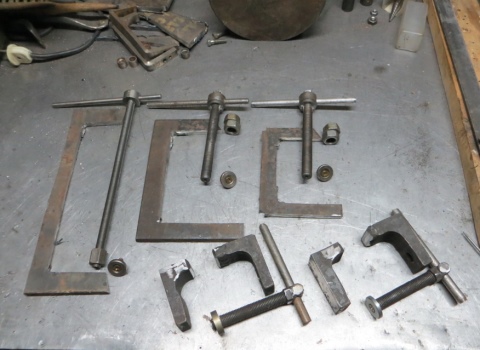
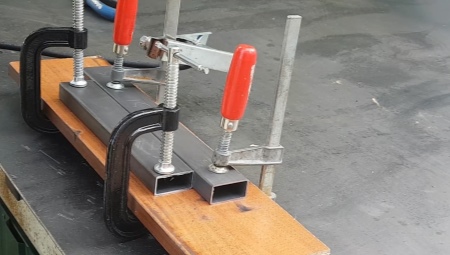
Simple in design, manufactured do-it-yourself metal clamp will allow you to glue the details. You can pinch them and leave them until the glue is completely hardened.To do this, you need to prepare:
- 2 thick metal strips;
- holes in each plate are shining in full coincidence with each other;
- thread is cut on the studs.
Working with a clamping device:
- parts greased with an adhesive are inserted between the iron sheets;
- use a wrench to tighten the nut on the hairpin;
- removed for a while until the elements are glued together.

Monolithic hacksaw
The next model needs a monolithic hacksaw.
Rather, you will need saw frames for cutting metal fragments. In addition, they prepare:
- hairpins;
- steel plates;
- screws with nuts.
A support platform is welded to one end of the frame, a nut is installed on the other to install an adjusting screw with a coupling and a handle.
Algorithm of work processes
Basically, the clamp clamps the parts at right angles. But you can set the slope in the design as needed.
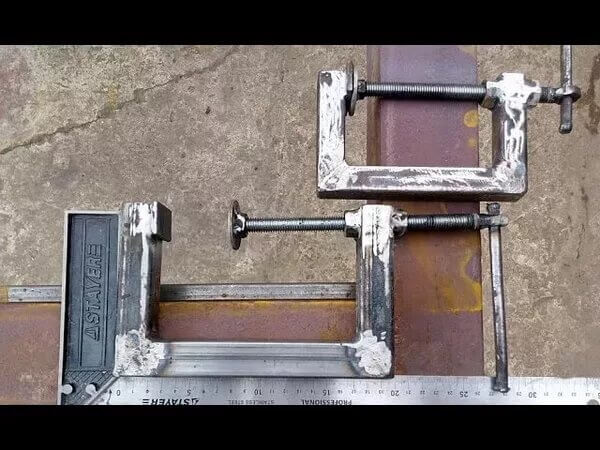
Metal devices
Metal devices hold the workpiece firmly, they are stable and more reliable.
The order of actions must be followed:
A body part is created, alloys with a thickness of 10 mm are used for the production of the base. Clamps are made from corners that are welded or bolted.
A metal rod, a console or several nuts fastened to each other will fit on the pressure device. Holes are drilled on the bracket, threads are screwed
Fixed to the base with bolts.
When forming the corner, pay attention to the clamping brackets. Connect only corners of the same size
A reliable design will be a fixed coupling with a corner, installation of 2 of the same element, pressed against the brackets and fastened by welding.
Correct installation of the movable device. From the sides there is a fastening of the guides, along them the inner base will move. A groove is cut out in the direction of the ray dividing the structure from the corner into 2 equal parts.
Holes are made with a drill, bolts with nuts and washers are tightened with a screwdriver.
The hardware is chosen with a thread on the rod, which is not screwed up to the head.
You can try these recommendations in practice:
- cut out 3 strips from a metal sheet with a width of 45 mm, and a length equal to 110, 260 and 510 (mm);
- prepare rectangular iron plates;
- weld 1 sheet to the base;
- 2 the steel sheet is welded to the smaller side;
- welded washers;
- apply nuts to the moving part.
- the stem of the rod is set in a parallel position;
- the first steel rectangle is welded to the outside;
- the movable part is fixed inside the device from the ends;
- the washers are welded to the rod.
An ordinary device creates problems with some types of work. Due to the limited location of the installation, which can perform operations at right angles. Eliminate the limitation of a detachable bolted connection, an adjustable clamping bolt. With the help of hardware, an angle is chosen, then the workpieces are fixed.
How to make metal clamps
A master class on creating a home clamp fits into several simple steps:
You need to prepare a metal base. The length of the base must be at least one meter. In some cases, a pipe bender may be required.
Next, the product is assembled on bolts. Details of the future press will be convenient to weld. If the assembly is carried out on metal corners, the channel must be fixed at equal intervals from each other.
The edge of the channel and the short corner must be placed between the long parts so that they are perpendicular to each other
It will be useful to insert spacers about a centimeter under the nuts.
Then it is important to process the joints with a welding machine. The joint between the channel and the corner does not need to be processed
If this is done, the resulting seam will create a lot of hassle in the process of gluing wooden panels.
The clamps are made from an ordinary metal rod, about five centimeters in diameter.A centimeter hole is drilled in the end, and ball bearings are installed inside.
The use of ball bearings will reduce friction, and therefore increase the service life of the product.
- The nuts also need to be welded. In this case, the screw must be placed parallel to the metal profile. If you ignore this moment, when the part is clamped, it will be pressed through.
- To secure the clamps, you need to drill holes about a centimeter in diameter. And then insert pins into them, which will allow you to change the position of the workpiece in the process of working with wooden materials.
- Stops must be welded to the bottom of the resulting device, which will make it more stable and durable.
When creating comfortable carpentry clamps for the workshop with your own hands, it is important to closely monitor that the parts are placed strictly parallel. The building level will help with this
It is advisable to try to do so that the metal is not distorted during welding.
A visual video will allow you to understand the nuances of the assembly.

