3 Applying a Flexible Level - Precise Layout
It's time to talk about the application of the hydro level. There are no difficulties with this device. But accuracy in its application, as well as compliance with certain rules are mandatory. To mark the wall, floor, ceiling bases, use the spirit level as follows:
- 1. Place a container with water (ordinary bucket) on a raised (optimally 2 m) place. Darken the liquid with any dye on hand, if desired. Then the water will be perfectly visible in the hose.
- 2. Lower one end of the spirit level into a container with liquid, and the other into a low basin, which is placed on the floor.
- 3. Pass the water through the tube until it starts pouring out in a continuous stream.
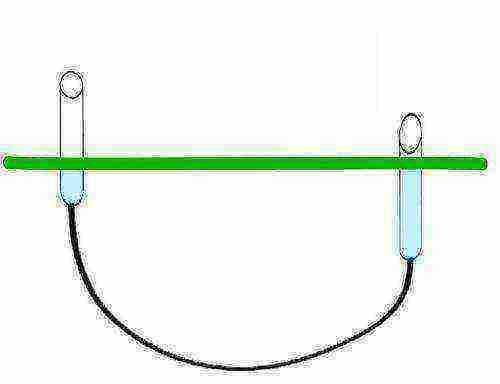
- 4. When the hose is full of liquid, pinch the lower end (the one in the basin) with your finger. After that, take out the other end from the bucket. And clamp it too.
- 5. Connect the two ends of the spirit level. The water levels in them must be the same.
- 6. At a height of about 0.9–1 m, a line (horizontally) should be drawn around the perimeter of the room. It matters a lot. This mark will become the main reference line.

It is not difficult to work with a spirit level, but you need accuracy and adherence to some rules.
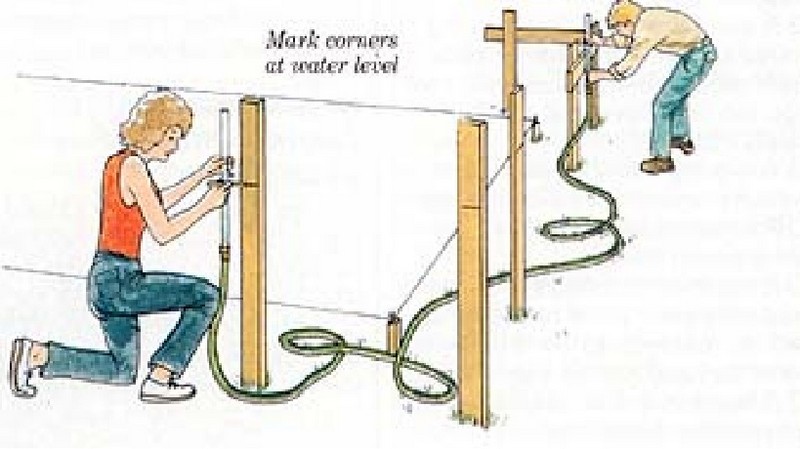
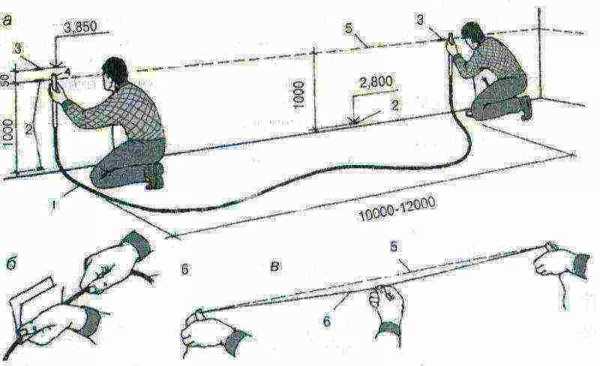
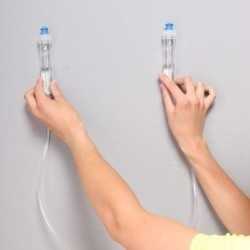
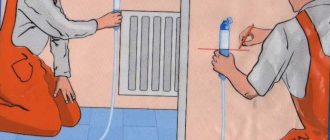
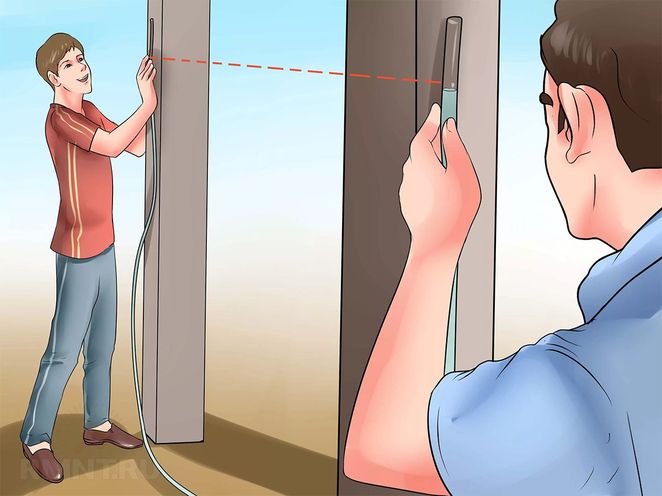
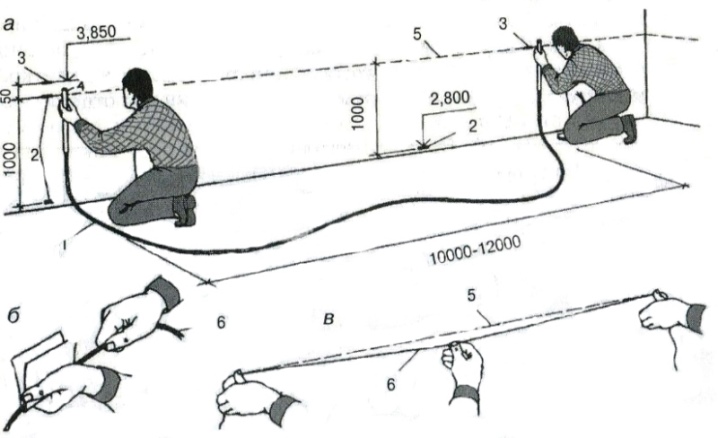
Further, all work should be done together! Place a point (called a reference point) on the surface. Bring the end of the hose to this mark, apply it. Keep the hydro level against the surface. In principle, you can try to fix the tube to the mark with fasteners. But it is better to hold the hose with your hand, ensuring that its tip is still.
The partner takes the other end of the flexible level, moves to the other edge of the wall, applies the spirit level to the surface. Now you have to wait a bit. The liquid in the tube should calm down. When this happens, the person at the first reference point commands the partner to what height the spirit level should be lowered or raised so that the mark on the surface coincides with the water level in the hydro level. Once you have achieved a complete match, the second employee can safely put a point on the wall.
The next step is to connect the two marks (they are already at the same level). This procedure is most reasonable to carry out by means of a dyed thread. It is fixed between the set points, pulled a little from the surface and released. As a result, a straight and clear line remains on the wall. Now you can apply it on all other wall surfaces (along the perimeter of the room), following the already described sequence of actions.
Pay special attention! All marks, without exception, should be made from the first reference point. After applying several marks on each of the walls, they must be connected horizontally with one line.
Moreover, its end must coincide with the point that was set very first. If it is required to transfer marks to adjacent rooms, the operation is performed again from the initial reference. One person stands at the first point, the second goes to an adjacent room and sets the necessary landmarks.
The final stage is the determination of the line (horizontal) level of the ceiling and floor surfaces. It is deposited from the previously marked perimeter. There is a small nuance here. When determining the horizon of the ceiling and floor, the zero point of the floor surface is found first, and then the height of the ceiling is set. The operation will look like this. Find the highest point on the ceiling. Measure the distance from the horizontal reference line to it.Lay the resulting distance (using a tape measure) on all wall surfaces. Connect the marks made with each other. The floor horizon has been defined!
Now you know what a water level is, how to use this simple but truly accurate tool that makes it easier to mark surfaces when performing repair and construction activities. The main thing is to avoid kinking and twisting the spirit level when using it, and you will succeed.
How to use the hydro level - learning how to use it in different ways
The construction hydraulic level, like any other measuring tool, needs to be prepared before use. This preparation includes filling the instrument with liquid. The liquid being poured in the form of ordinary water is pre-painted in a bright color, which increases the measurement accuracy. Coloring the water in bright colors is not necessary, but it has a positive effect on the accuracy of measurements.
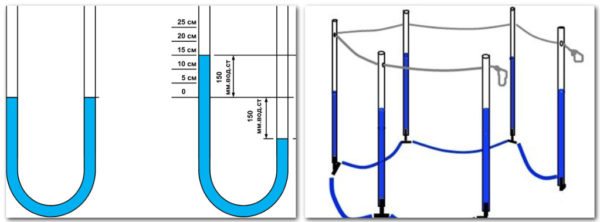
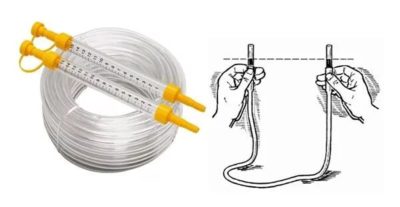
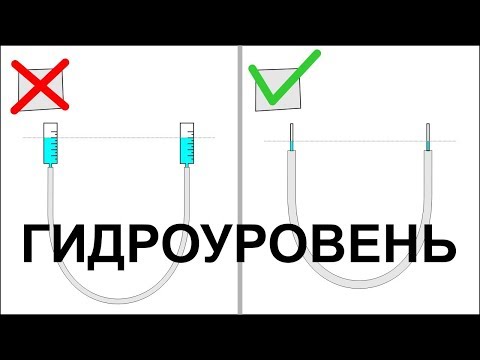
When pouring water into the inside of the device, you need to look so that air bubbles do not form in the hose. Their presence is unacceptable, as this will lead to inaccurate data. It is necessary to fill in water until the entire tube is filled with water, and there are no air bubbles. How to properly pour liquid into the device is shown in the diagram below.
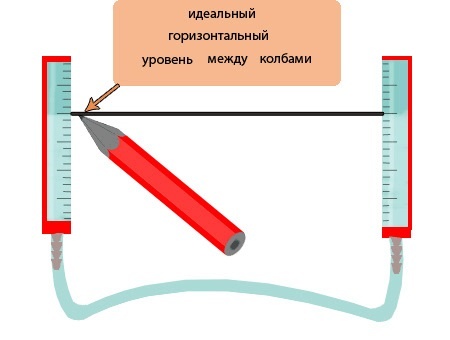
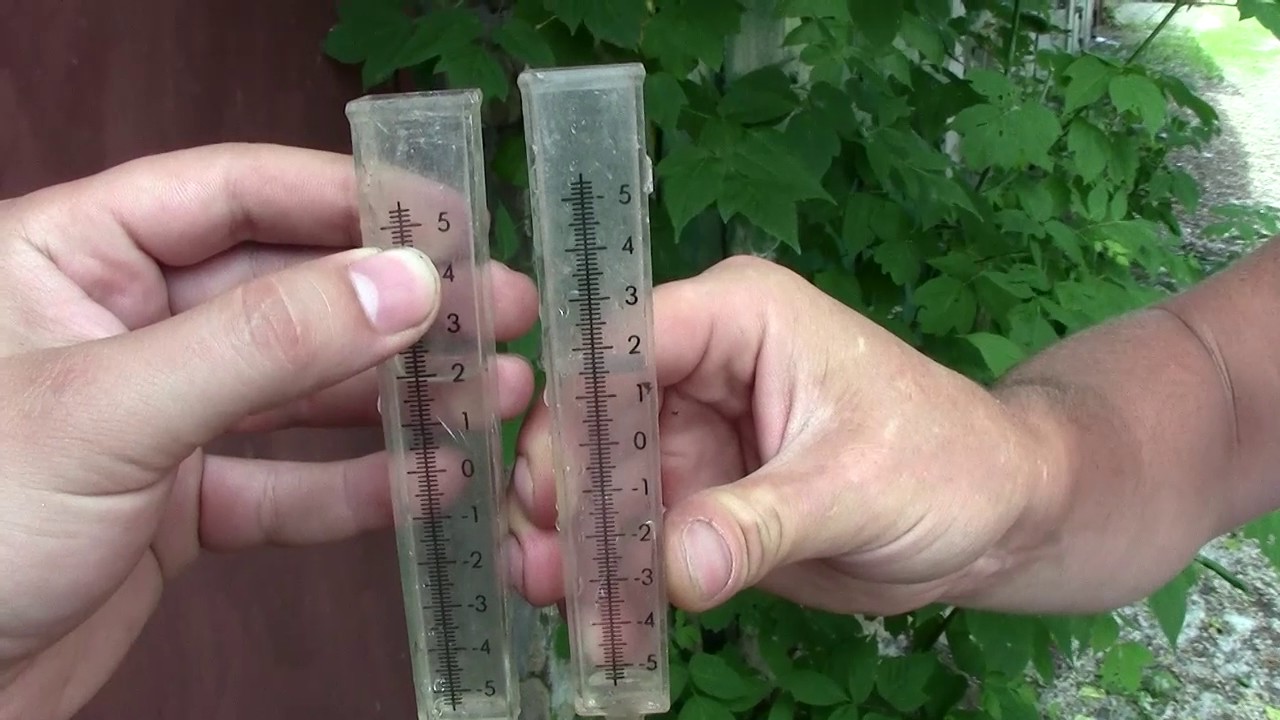
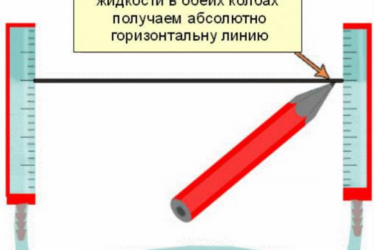
After the device is filled with water, you can begin to calibrate it. Calibration is needed to get accurate results. The procedure consists in combining two flasks with each other, and adding water until they are aligned at the same value.

This value is the zero mark, but it is not at all necessary to fill the flasks with water until the liquid is aligned at zero. For this, any value that must be remembered is suitable. This is the whole process of hydraulic level calibration. When the device is ready for use, consider the first use case:
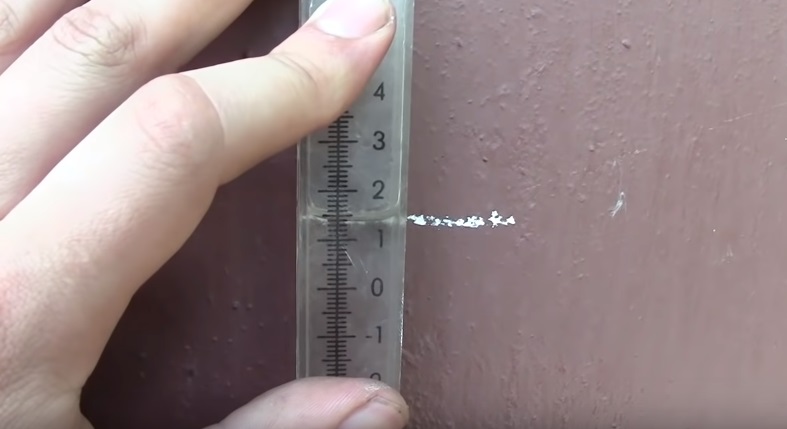
As you can see, using this device is not at all difficult. If both flasks are filled to a mark that does not correspond to zero, then measurements are carried out using a similar method. This is the second way how to use the hydro level:
- We remember the value at which the value of the liquid in both tanks was balanced (for example, +3) during calibration
- We bring the first tank to the surface, and align the flask with the previously set mark on the wall at the value that was fixed during calibration (i.e. +3)
- One person holds the first tank, and the second moves to another object, and puts the flask against the wall, and achieves until the liquid in the flask reaches +3
- After that, a mark is put on the wall.
The principle of measurement by the second method is completely similar to the first, with one small exception - it is necessary to remember the value of the liquid level during calibration. The accuracy of the results depends on this value.
It is interesting!
If you are wondering how to use the hydro level for one person, then everything is quite simple here. To do this, you should use tape or a nail. With their help, the first flask is fixed after alignment with the pre-set mark on the wall. The fixed flask remains in place, and the master needs to move to another surface, where the second mark is applied.
Rules for the use of the hydro level
For convenience and to obtain more accurate results, 2 people should work with the hydro level.
Mark the starting point. To draw a horizontal line, you need to move this point to another section of the wall.
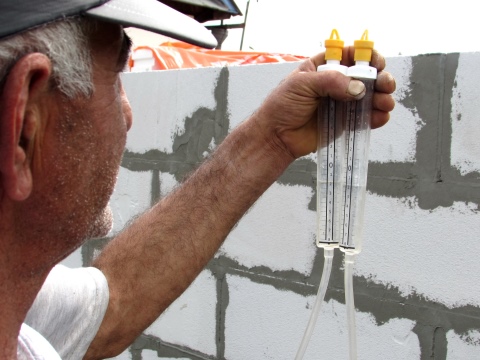
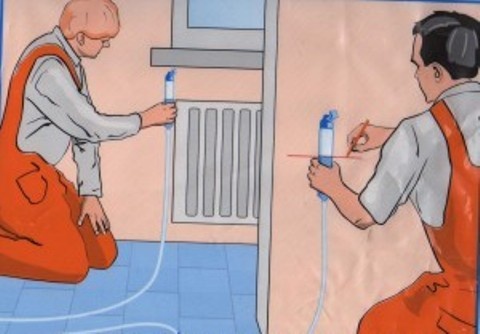
The first person holds one end of the level at a given mark, the second takes the other part of the level and moves to the opposite end of the wall.He applies the tube with the flask to the surface, holds it motionless for a while so that the water level in the tube evens out after moving.
The first worker, who continues to hold his end of the tube, controls how much to raise or lower the hose to the second so that the water in his flask reaches the reference mark. When, after all the manipulations, the goal is achieved, the desired point on the wall is marked, then a line is drawn.
How to use a water level alone correctly? When marking, one end of the hose must be precisely fixed at the level of the reference mark. This can be done with tape, fasteners or any other available method. You can see in more detail all the subtleties of the process by watching the video.
To make sure that the markings are correct, you can additionally measure the flatness using normal bubble level.
Drawing a horizontal line around the entire perimeter of the room
All measurements are taken from the first control point.
According to the same principle as described above, they make marks on the other three walls (2 - 3 on each), and then connect everything using a dye cord. If everything is done correctly, the end line exactly coincides with the starting point.
Transferring a mark to an adjacent room
This work will require 2 people.
One holds its end of the hose at the control point, the second moves to the room where you want to transfer the mark. The procedure for work is the same as when marking on one wall: they wait for the water level to equalize, and then change the position of the second flask until the liquid reaches the marked level in the first.
During work, you need to ensure that the hose lies on the floor freely, does not twist or bend. Otherwise, all measurements will be incorrect. When the first point in the adjacent room is set, it is used as a reference point for drawing a horizontal line.

The nuances of using a water level
To get an accurate result, it is recommended:
Monitor its position during work
Avoid kinks, mechanical damage to the hose - all this affects the measurement accuracy.
After finishing work with the device, drain the water and carefully twist the hose, remove it to storage. If you need constant use of the water level, and it is difficult to fill it with liquid every time, you can add alcohol or vodka to the water so it will not bloom.
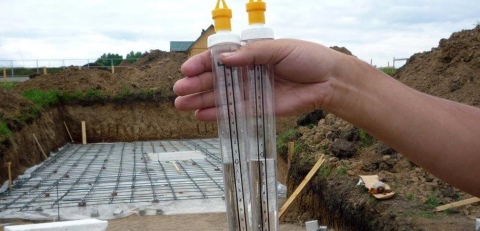
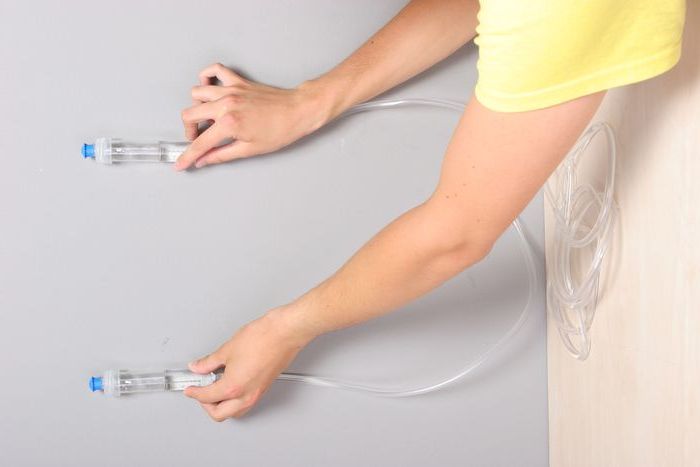
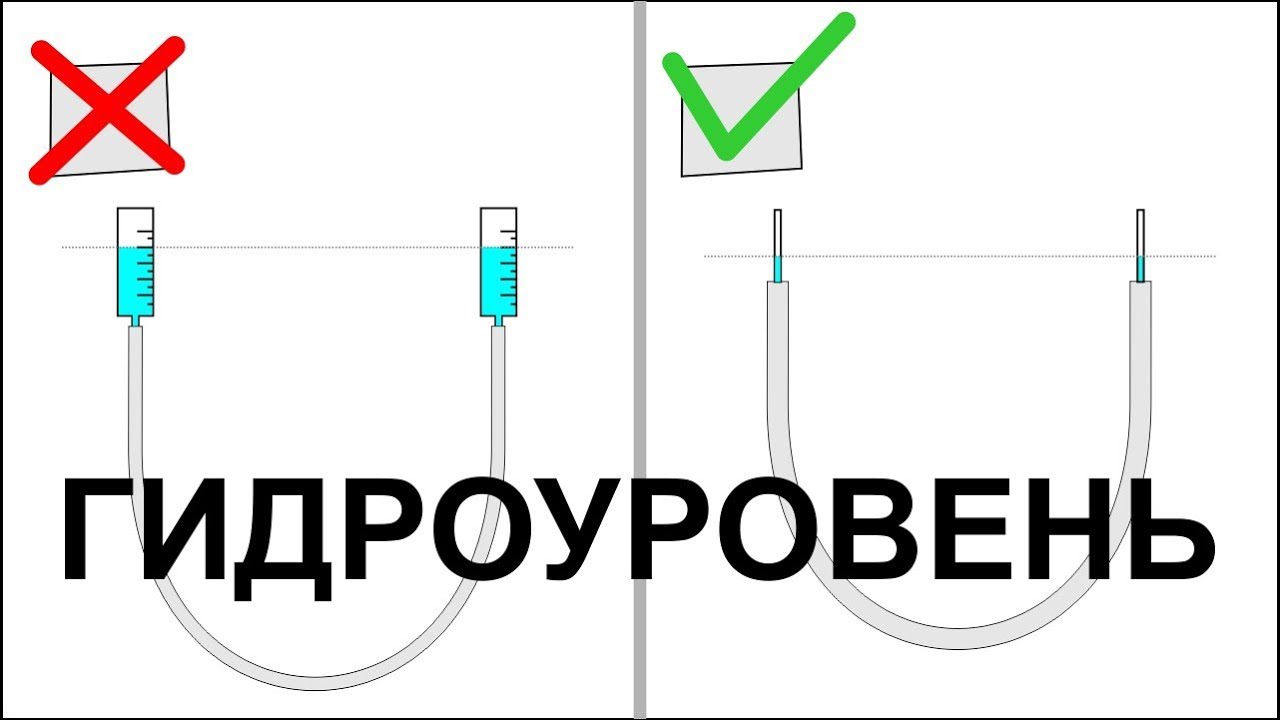
A technique that will help distinguish a correctly working device from one that gives inaccurate results - the flasks are applied to each other, holding them vertically
If the liquid level in them coincides, the readings are correct; if not, the instrument is damaged.
To store the water level, you should choose a place that is not illuminated by the sun's rays so that the hose material remains transparent and does not cloud over time.
Having learned how to use the water level, you can use this useful tool when carrying out repair and construction work.
Advantages and disadvantages
The construction tool on the market is available in several sizes, and has the following hose length:
- three meters;
- five meters;
- seven meters;
- ten meters;
- fifteen meters;
- twenty meters.
The different length of the cord allows you to make markings at different heights and in rooms of different sizes.
Among the advantages, builders note:
- accuracy;
- ease of use;
- light weight;
- the ability to work in large areas.
Among the minuses, the following are noted:
- high sensitivity to high air temperature;
- air entering the system;
- cloudy hoses;
- the inability to work in very small premises.
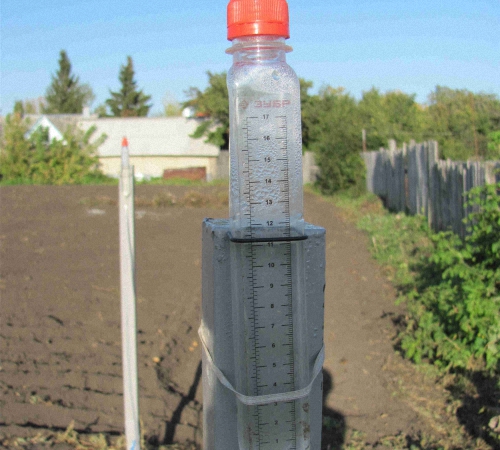
Depending on the manufacturer, the price for the hydro level varies from 30 to 300 rubles. The water level of Zubr (MASTER) has received positive recommendations in the construction market, it has different markings, depending on the length of the hose.
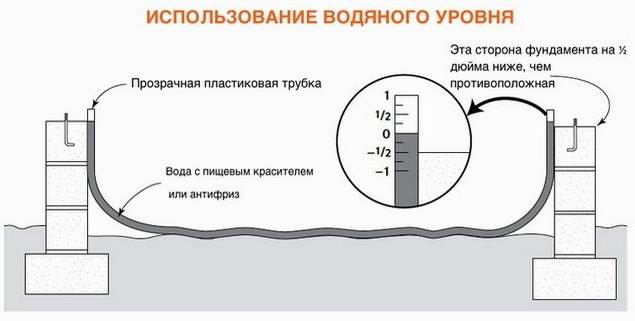
Leveling the foundation horizontally
To check the evenness of the already poured foundation with your own hands, you must use the water level in the following order:
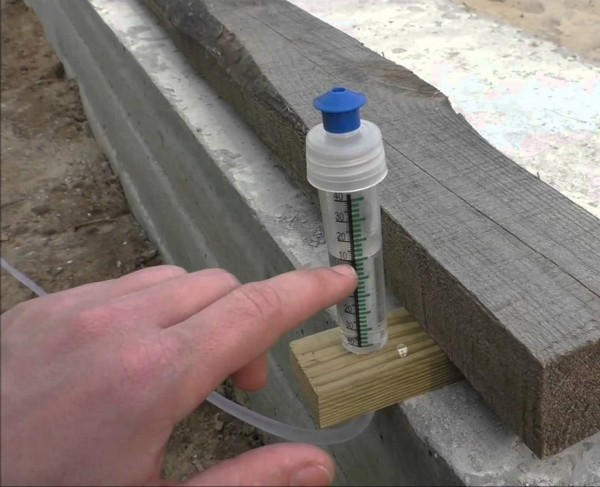
A base is made for fixing the device. To do this, you need to take two boards and two bars. I place the boards horizontally, and the bars are attached to them perpendicularly, placing them approximately in the middle
It is important to align the angle between the planks and bars: if it is not 90 degrees, measurements may be inaccurate. Alignment can be done with a construction square.
One of the options for fastening the hydraulic level for breaking the foundation.
Next, the ends of the hydraulic level tube are fixed to the workpiece.
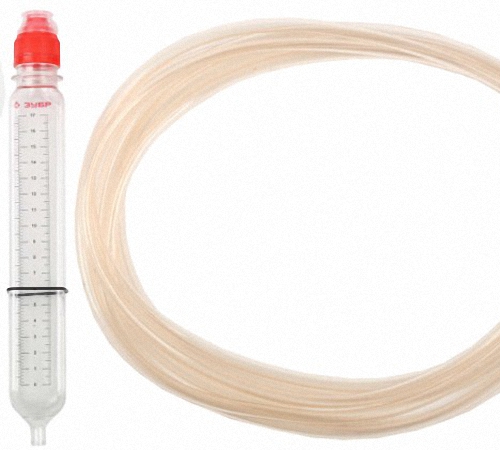
It is best to use only a pipe. The stores sell ready-made devices, which, in addition to the tube, include a container with a measuring scale and fasteners. You can use these, but due to the difference in the thickness of the tube and the hole in the measuring container, the liquid will level out for a very long time during the measurement process. To increase the speed of work with your own hands, it is recommended to use the simplest level, consisting only of a tube.
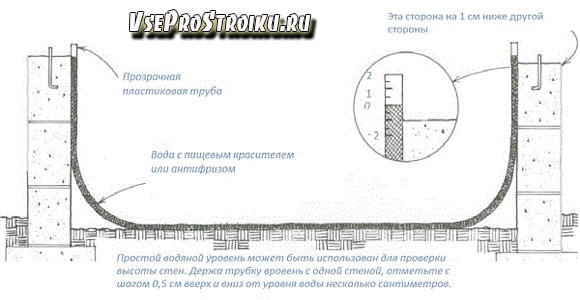
After installing the device on one of the corners of the foundation, allow the liquid to level out and mark the water horizon on the device. You can mark it with a regular pen. This will be the baseline. Then the ends of the tubes are clamped.
The next step is to check the deviations of one corner of the foundation relative to the other. To do this, one end of the tube with the board is transferred to the corner to be checked. Unclench the ends of the device and allow the liquid to level out relative to the horizon.
Take readings. For this you need a ruler. On it, the deviations of the water level relative to zero (the first mark) are measured.
Measurement of the difference in heights of the corners of the foundation.
Calculations are performed using the difference method. For this, the deviation in the tested one is subtracted from the deviation at the base point. It is important to take into account the signs of deviations. If the water column has dropped below the base mark, then the value is taken with a minus sign, and vice versa. For example, after transferring the level to the required point of the foundation, the deviation of water from the marked horizon at the base angle was minus 3 mm, and at the tested one minus 7 mm. (-3 - (-7) = 4mm). This means that the checked angle is 4 mm higher than the base angle. If a negative value is obtained, then the angle is located below the horizon of the accepted zero.
In the same way, they check all the corners of the foundation for which the length of the hydraulic level is enough. To ensure that all points are checked, two diagonally located areas can be taken as reference points.
After measurements are taken, it is necessary to check the compliance of the design with the standards.
During construction, it is important to align the edge of the foundation horizontally. Limit deviations are indicated in the manual for SNIP "Regulatory requirements for the quality of construction and installation work" and the joint venture "Supporting and enclosing structures"
| Deviation | Allowable value |
| horizontal plane for the entire length of the tested section of the foundation | 20 mm |
| local unevenness of the surface, except for the support areas | 5 mm |
| at the junction of two adjacent sections | 3 mm |
All deviations are indicated for height marks. If the measured values do not fit into the required framework, the quality of work is considered unsatisfactory, it is necessary to level the surface. For private housing construction, alignment can be carried out when laying a brick base.
We make the hydro level on our own from scrap materials
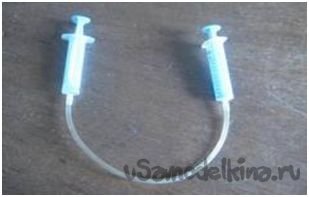
Imagine the situation. You urgently need to lay a small section of paving stones in the yard, how to make a hydro level with your own hands, if there is no industrial design. To make it you will need:
- a small piece of an elastic tube with a cross section of at least 8 mm. You can take the hose from the car spray on the wipers;
- several 5 cc disposable syringes;
- sharp knife;
- bottle of water;
- liquid soap;
- the gel pen.
To determine the length of the hose, roughly determine the length of the walls and the total area of the room. Sometimes a section over 20 m is required.
Important! If you use a hose with a diameter of 12-16 mm, air bubbles will form in it less often, which will make it difficult to work. Having prepared all the materials and tools, we proceed to making the level
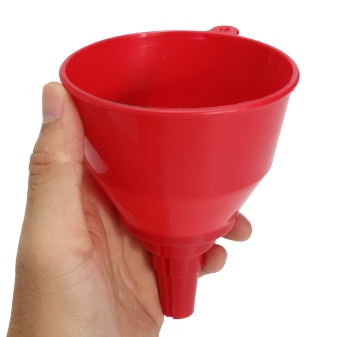
To do this, first, using a homemade funnel, pour the diluted liquid soap into the hose. This flushes out the walls of the tube, removes dirt and oil. We take out the needles from the package with syringes and throw them into the bucket.
Having prepared all the materials and tools, we proceed to making the level. To do this, first, using a homemade funnel, pour the diluted liquid soap into the hose. This flushes out the walls of the tube, removes dirt and oil. We take out the needles from the package with syringes and throw them into the bucket.
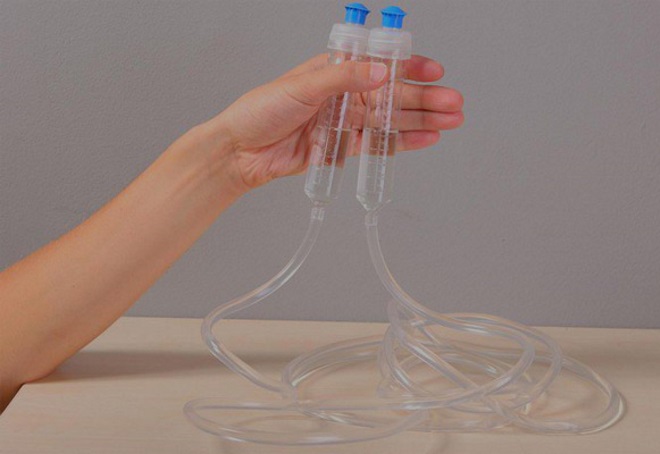
We take out the pistons from the body. With a sharp knife, cut off the thin nose on the syringes, at the junction with the needle. If the tubing is larger, the opening in the syringe will need to be widened. We insert the ends of the tubes into the syringes, they will serve as flasks with markings. We use the pistons to set marks when marking in different rooms of the house.
You can make a simpler design without flasks. At the same time, at the same distance from the edges, we apply risks with a pen or felt-tip pen. Such a device will make it possible to make a more versatile level that works in rooms with different wall lengths and areas.
Regardless of where this method of marking is used, when laying paving slabs or pouring a foundation, the application has positive and negative sides.
How does it work?
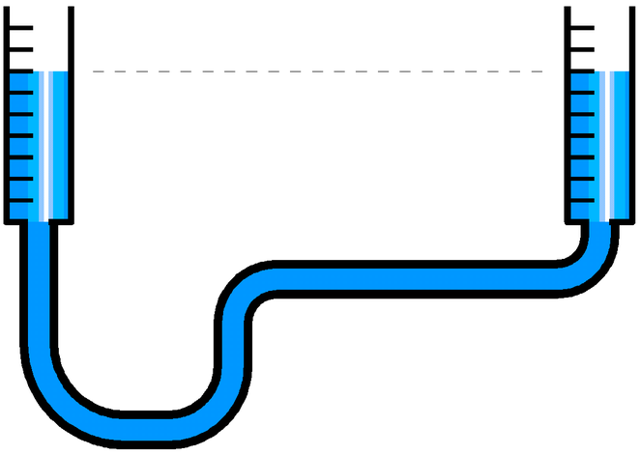
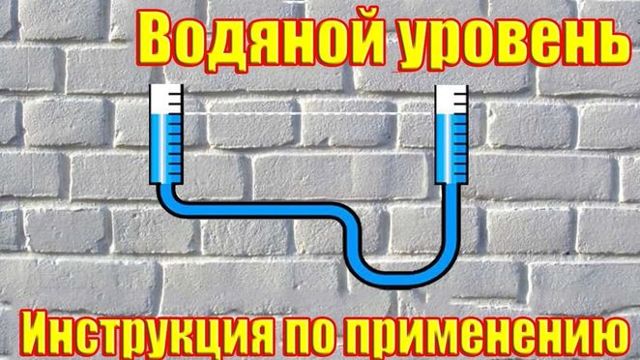
The device of this type of level is based on Pascal's law of the level of liquid in communicating vessels. Use the device only for marking on horizontal surfaces. Due to the specific design, when using the hydro level, two people are required, although, in principle, it is possible to work alone, but this is more difficult. The first container must be kept at the desired level, make a mark with a pencil or marker and fix the indicator with the device, holding it motionless, you can attach it with tape. The second flask must be moved to the second point, while making sure that there is no bend in the tube, and adjust the desired level.


When both levels are aligned, the areas to be measured are in the same horizontal position. As auxiliary materials for working with a liquid level, you also need: scotch tape, a marker, a tape measure, a container and a dye for water. To get more accurate measurements, it is worth rinsing the instrument with warm soapy water from possible dirt before work and then rinsing well with water. You can fill the liquid level in two ways, when using the first you need:
- straighten the hose well;
- pour liquid into a bucket and put it on any elevation;
- lower one end of the tube to the bottom of the container with water;
- pull up liquid through the opposite hole.
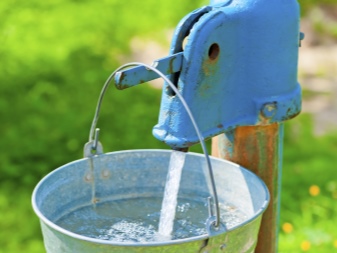
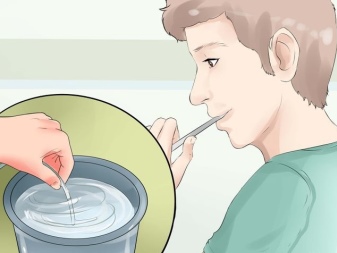
The second method is that one part, together with the flask, is lowered to the ground, and liquid is poured into the other hole using a funnel. In the same way, you can pour water from the tap into the instrument, although with this option quite a lot of air bubbles enter the tube, which reduces the accuracy of the indicators. It is worth knowing that there are much fewer air bubbles in boiled and settled water, so experts recommend using it to refuel the tool. To get rid of air bubbles, you can tap on the tube with your fingers, so they begin to move upward. Also, the hose at the place where the bubbles appear is pinched with your fingers, and passing them along the tube, they drive the air up.
Basic principles of the hydro level operation:
- suitable for working together;
- used only for horizontal measurements;
- do not use at temperatures below 0 ° C when filled with water;
- the accuracy of the readings depends on the filling of the tube.
It makes no sense to use water in the instrument at low temperatures, it freezes. Therefore, in cold weather it is necessary to fill in antifreeze or brake fluid, you can also add alcohol or salt to the water. In addition, the spirit level is ideal as a bricklayer's working tool, because it allows you to:
- perform work on the street;
- take measurements from different angles;
- measure in inaccessible places;
- carry out work on the alignment of points located at some distance from each other.
The laws of physics in construction
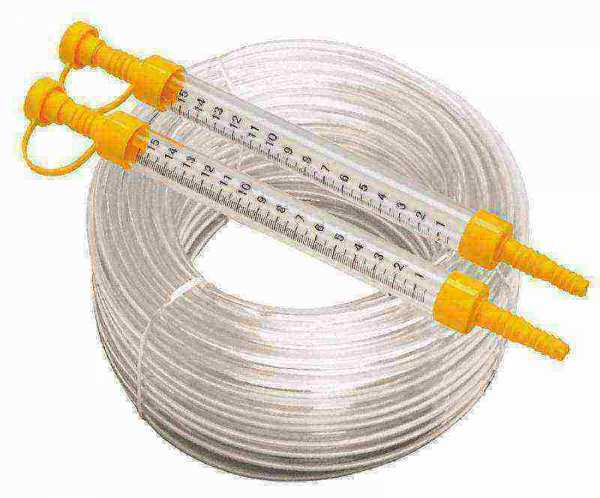
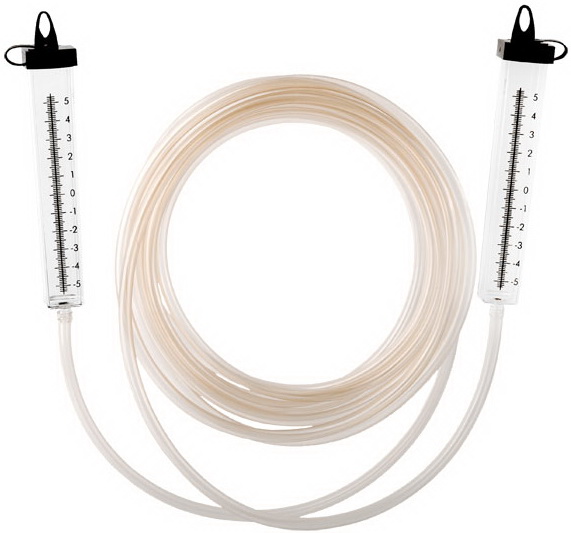
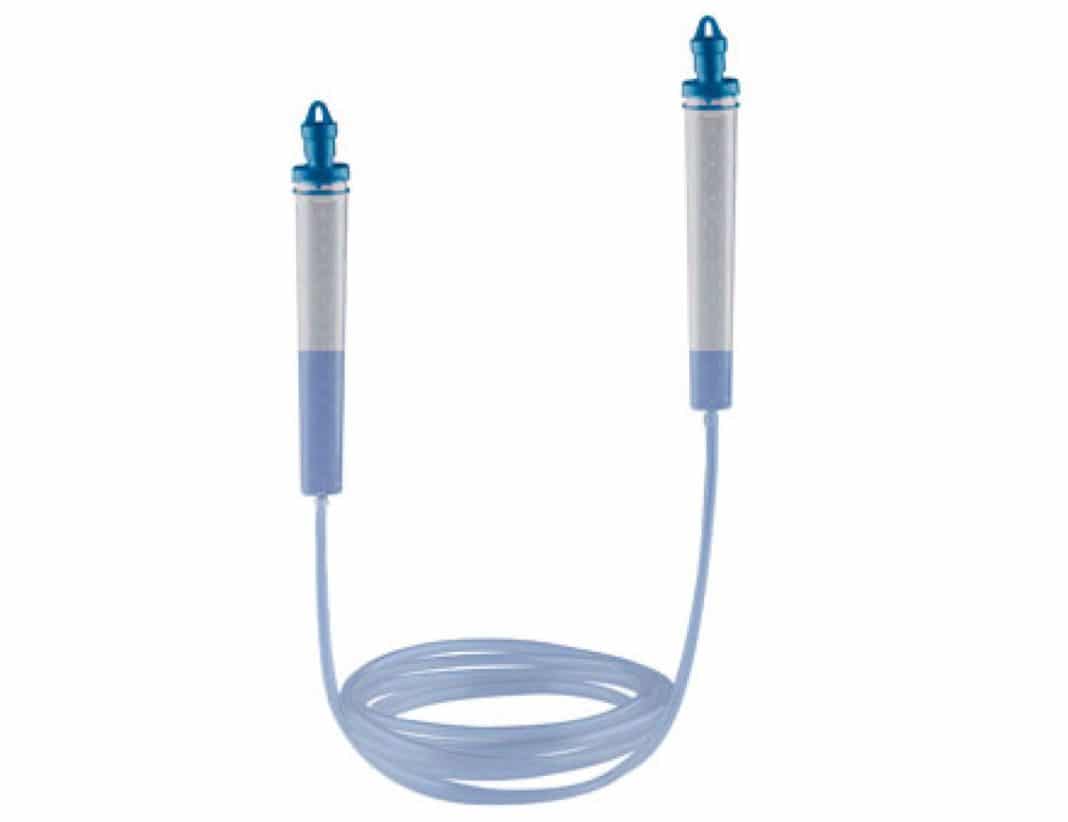
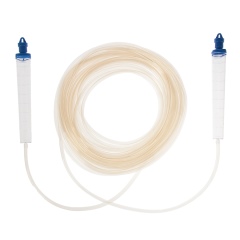
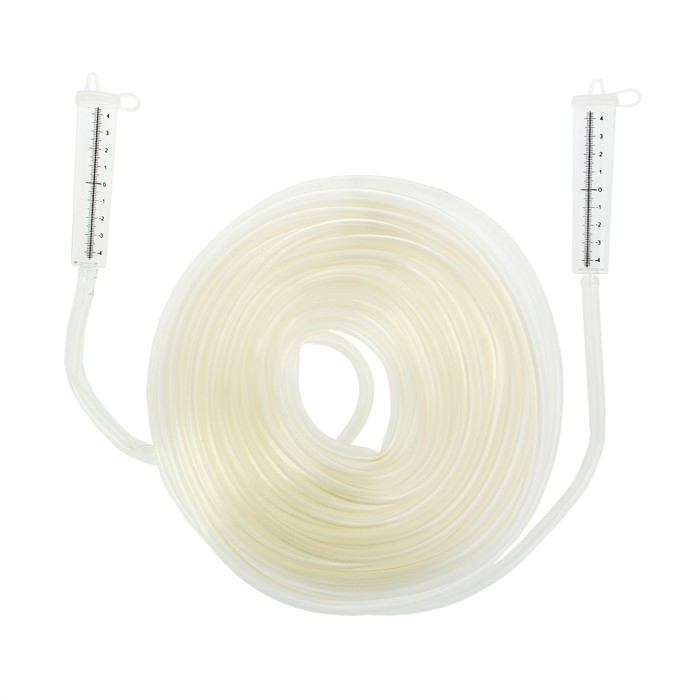
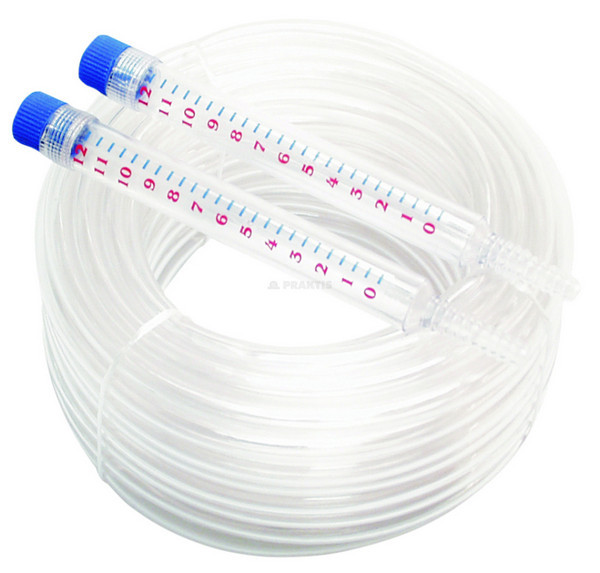
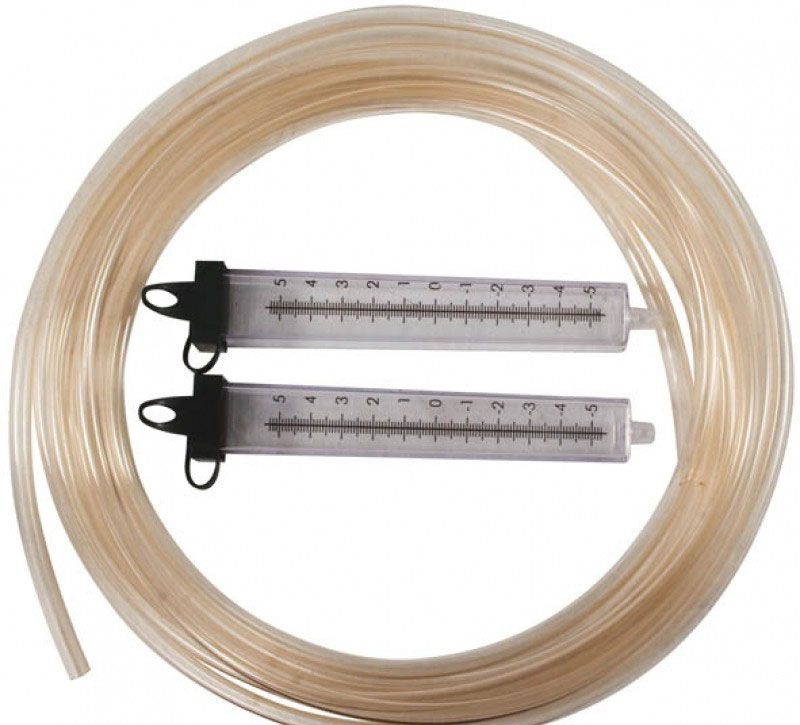
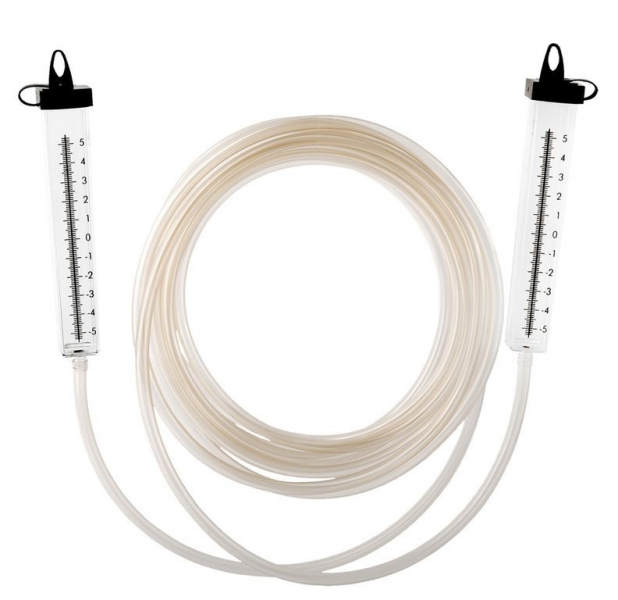
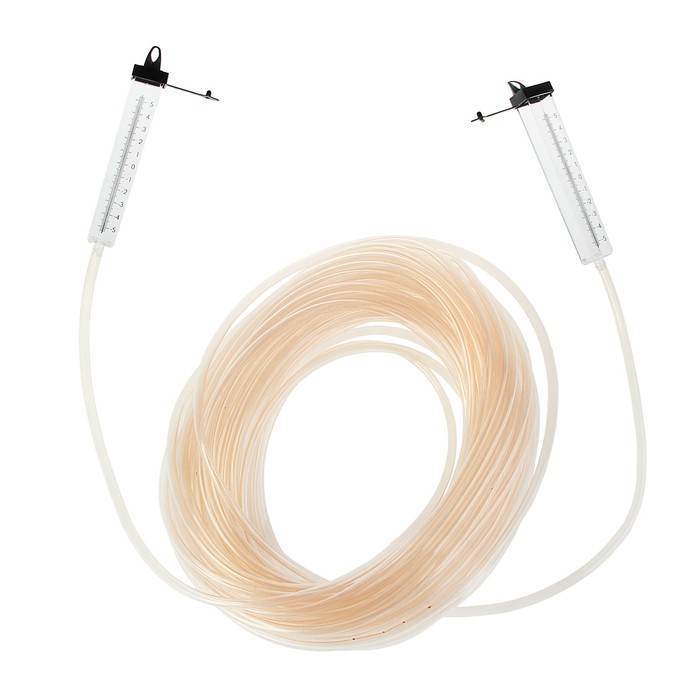
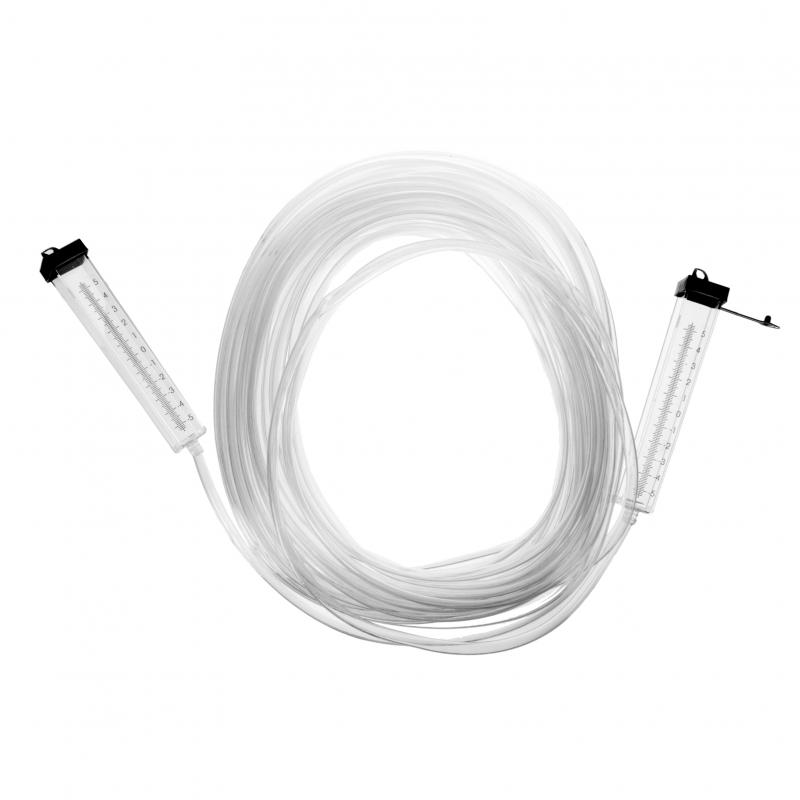
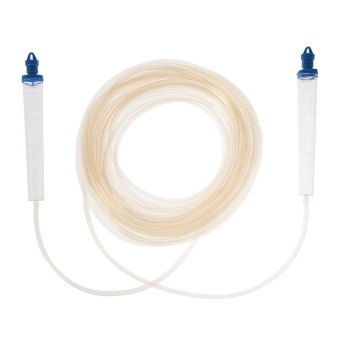
 Pascal's law of communicating vessels, familiar to us from school, is the principle of the water level. The spirit level is a transparent flexible tube with plastic flasks at the ends, which are marked with markings. These flasks are control vessels, and the position of the water determines the level relative to the horizon. If the liquid level at both ends is the same, then the objects are at the same height.
Where can I get a water level? Yes, in any hardware store. But a self-respecting master will not refuse to make it on his own. To do this, you only need to buy a transparent hose of the appropriate length. The flasks can be replaced with disposable syringes.
The length of the tube depends on the object being repaired and varies from 2 meters to 30 meters. If it is a small room, for example, a bathroom, then 6-8 meters will be enough. For work in private houses, where there are large halls, a length of 20 meters or more may be needed. It is not recommended to take a very long hose, as it can curl, bend, interfere with the work, and the results can be distorted. Too short can sag. The optimal length is when the hose runs freely along the wall and rests freely on the floor. The diameter can also vary from 5 mm to 2 cm. But you should not take a very small one. You have to choose the most suitable option yourself.
What hydro levels are there?
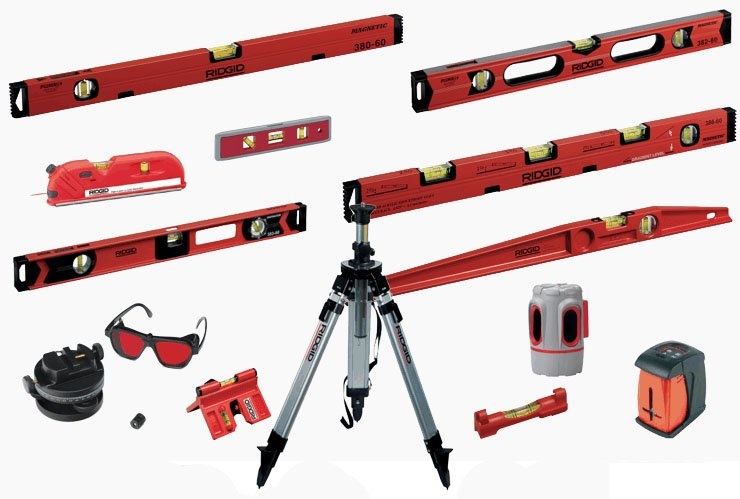
There are several types of building levels:
- Hydro level or water level;
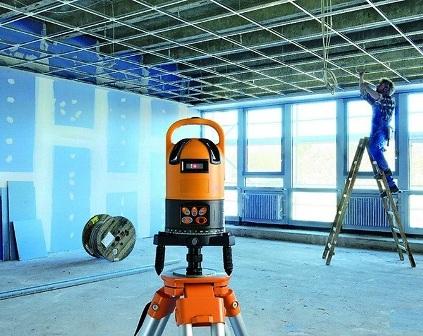
- Laser;
- Pipe;
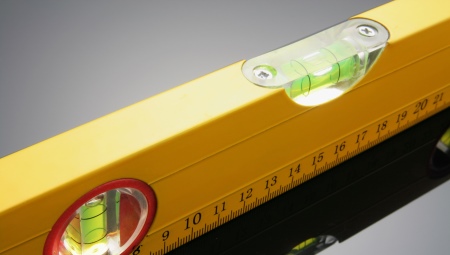
- Vesiculate.
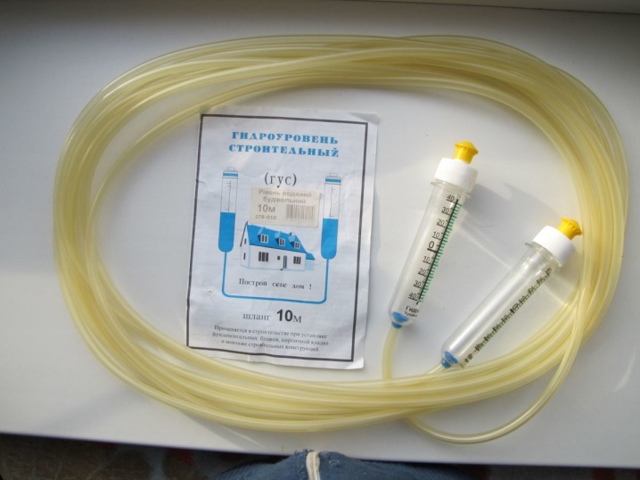
As a rule, a hydraulic level is made of a transparent elastic hose and two plastic tanks at its ends. This apparatus works on the principle of interconnected Pascal vessels. The tool is used for installation of suspended ceilings and screeds, leveling floors, and high-quality wallpapering. It makes it possible to align objects that are located around a corner or in different rooms. For example, lamps or paintings. That is, they help to transfer this or that mark in horizontal planes over a long distance.
Flasks, which come with a centimeter-marked tube between themselves, after that the entire system is filled with the liquid that is located there. When the device is located in the same plane relative to the surface of the earth, the water level in the tanks is absolutely the same. Quite a few of these flasks are removed by professionals as unnecessary. Therefore, in fact, any transparent sludge can be considered a hydraulic level. The large diameter of the tube greatly simplifies the process of working with this device. The optimal size of the diameter is ten to twelve millimeters, and if necessary, the length can vary from three meters to thirty.
Some instrument models have rubber flask sliders. In order to greatly facilitate the work of beginners, it is used to mark the level of liquids in the device.
How to make a hydro level with your own hands
The principle of operation of the hydraulic level is based on the feature of liquids in communicating vessels to be located in a single plane relative to the horizon, which is why an ordinary transparent hose with a diameter of 6-8 mm, made of vinyl or silicone, can be used as such a tool.

Whereas the length of such a device depends entirely on the distances to which the reference points should be transferred within the measurement object. (It is advisable to add 3-4 meters to the obtained value so that the tube can be on the floor during the measurement). In addition, it should be noted that, if necessary, in the future, such a level can be lengthened by the method of building up through nozzles of the corresponding diameter.
In some cases, experts recommend equipping the extreme points of such a tube with graduated containers, which will make it possible to apply several control marks at the same time. If such a need exists, flasks from syringes or similar devices can be installed on the ends of the hydraulic level on both sides.
How to use the hydro level correctly
It should be noted right away that the most optimal option is the use of the device by two people. When the first person sets one part, and the second, according to the values obtained in the response section, makes the required marks, but if necessary, such manipulations can be implemented by the performer and independently (by using improvised means to fix the level to the base surface).
Whereas the technique of applying a water level itself is implemented in the following sequence.
First of all, the cavities of the hydraulic level should be filled with a liquid, which can be ordinary water with the addition of a dye, or a matte primer (which can be used for its intended purpose after the measurement process). Moreover, this should be done in such a way as to prevent the penetration of air into the tube. That is, the most optimal option for filling the device is when one end of the tube is placed in a vessel with liquid, and from the other (holding it below the vessel), air should be drawn out by mouth, after which the water will begin to flow by gravity from the upper vessel to the lower point. After the hose of the hydraulic level is completely filled, both ends of it should be raised to the same height and, for the convenience of measurements, pour the liquid from both ends of the water level by 100-150 mm.
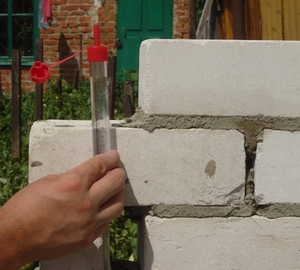
In the future, before using the hydraulic level, it is necessary to make sure that its readings are correct, for which both ends of the tube should be compared with each other (in a vertical position). In this case, the liquids in both parts of the device should be located at the same height, if this did not happen, measures should be taken to eliminate the congestion of communicating vessels:
- Eliminate the presence of kinks, twists, squeezing the hose;
- Remove air plugs by shaking the device vigorously, or refill it with working substance.
The measurement technology itself is implemented in the following sequence.
For example, if horizontal markings should be applied to the walls of the rooms to construct a suspended ceiling or floor screed, proceed as follows:
- The ends of the water level are carried by the performers to different parts of the room (for example, to different corners of the room);
- The device at the measurement points is applied vertically to the wall surfaces (at any convenient height), because the purpose of this stage is to obtain reference (reference) points located at the same level, from which points can subsequently be recaptured both in the upper and lower wall plane;
- After the time for the liquid to settle down (1 - 2 minutes), marks are made on the walls corresponding to the levels of liquids at both ends of the measuring device;
- The control points are transferred to the subsequent corners of the object, for which one end of the level remains in the same place, and the other is moved to the required zone;
- Comparing the liquid level with the existing notch, the control mark is bounced off at the second point;
- All control points within the room (usually at the corners) are placed in the same way, between which lines are drawn indicating the horizontal.
Advantages and disadvantages of the construction water level
Among the advantages of the construction hydro level are:
- affordable price;
- not a professional can work;
- ease of use;
- the sleeve has flexibility and great length, which makes it possible to make marks in various places, in an invisible area;
- captures large sections;
- the tool is not picky in storage, it is enough to wind it on a drum and keep it in any climatic conditions;
- continues to show accurate data after it could have been stepped on.
- it is hard to work in small rooms because of the tremendous length;
- does not tolerate overheating;
- the presence of bubbles delays the start of work;
- not used in all planes, only in horizontal;
- you only need to work on invisible objects with an assistant;
- at temperatures below 0 degrees C, not used with water - freezes;
- a gut of 30 m is difficult to refuel;
- with each new job, the procedure with fluid injection will be repeated;
- there is no possibility to work closely with heating or hot appliances.
Homemade laser level: material preparation
Since a construction laser level costs a lot of money, and you need it only to carry out repairs, the acquisition of such a level will be an unnecessary waste of finances.
You will need inventory and a step-by-step guide to do some of the work.
Namely:
- For laying tiles on floors and walls;
- When pouring a screed on the floor, which requires the most even surface;
- For pasting a room with wallpaper;
- For the installation of windows and false ceilings.
Making a laser level with your own hands is not so difficult. And in terms of the quality of the level, it is practically in no way inferior to the purchased level. To craft you need some materials.
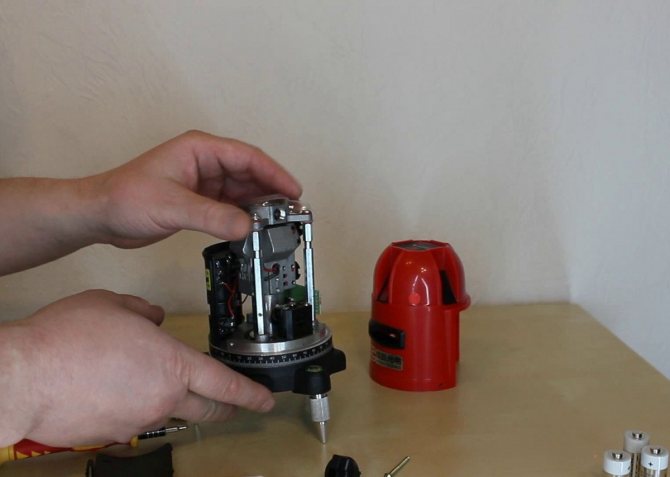
Namely:
- The simplest laser pointer sold in children's stores;
- A small piece of foam rubber;
- Normal bubble level;
- Polished wooden block;
- A small, straight stick that will serve as a support;
- A small piece of plywood about 10x10;
- Clamp, the diameter of which is suitable for the diameter of the pointer;
- And the required number of screws.
After preparing all the materials, we proceed to making the level.
How to use the water level correctly?
It is easier and faster to work with the device, with good fluid passage in the tube. For this, the diameter of the hose must be approximately 10 or 12 mm. As for the length, it depends on the dimensions of the room and can be either 3 meters or about 30 meters. For beginners, it is better to purchase models of water levels with rubber sliders for flasks. This makes the use of the device convenient. The weight of the tool is small - from 500 g to 1 kg, so that ladies can also use it.
As already described above, the tube of the device is filled with water, usually at room temperature. Next, you should carefully measure the level of this water in the containers. To make a mark at a given height, one tank remains in place, the other moves in the desired direction. It is necessary to strictly monitor that at this moment the tube does not have even the slightest kinks and bends. It is worth waiting for a few seconds until minor fluctuations in the water in the device disappear. Control marks must be made when the liquid level is exactly the same in both flasks.
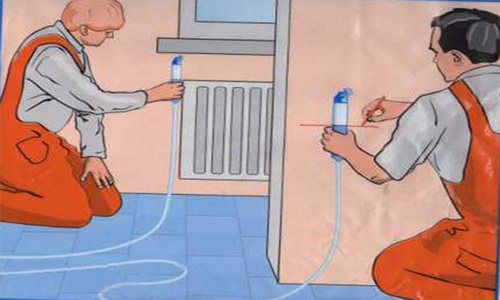
You should prepare in advance for working with the hydro level. Indeed, for this you will need not only the device itself, but also a few more tools at hand, namely: a ladle, or better a small watering can, to fill the level with water; small funnel; tape measure and ruler; Scotch; pencil. If desired, dye can be used to brighten the water.Well, of course, all work with the water level must be carried out with the assistance of an assistant. If you work alone, you will have to make a retainer for one of the flasks, for example, a hook or other mount. This makes it harder to use the level. Still, the design of the tool is provided for the participation of two people in the work with it.
To avoid errors in measurement, the water level should be thoroughly rinsed before use, as contaminants can malfunction in the accuracy of the marks.
It is not recommended to fill the hydraulic level with water directly from the tap, as in this case the liquid is enriched with a large amount of oxygen, which can affect the accuracy of the level and the easy flow of water inside the instrument. Therefore, professional craftsmen, ideally setting the marks perfectly, often use boiled water, excluding the air content.


