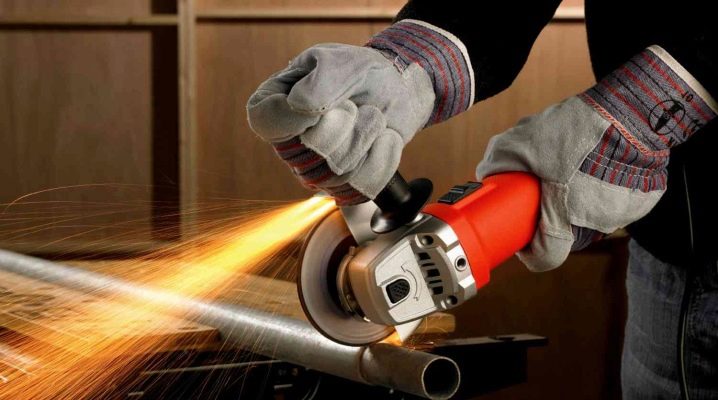
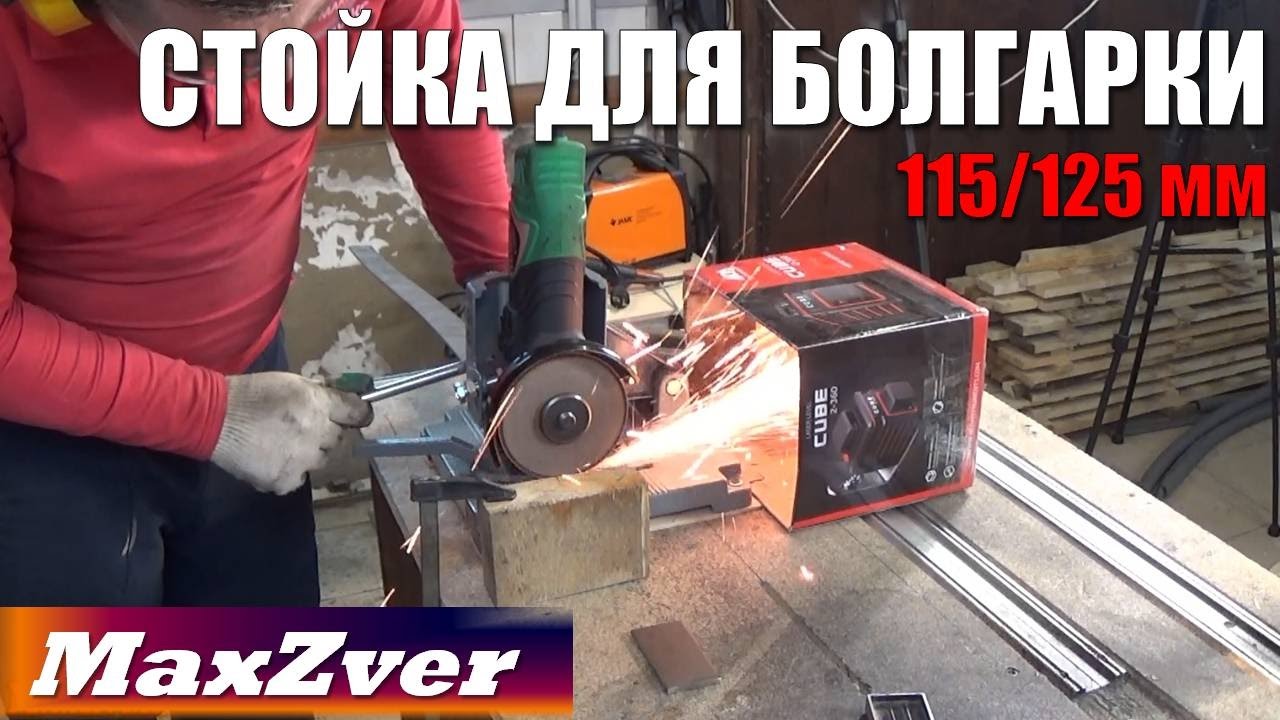
Safety engineering
In the process of working on the cutting machine (as well as during its operation in the future), safety precautions should be strictly observed. Be sure to use a protective mask or goggles, and position the angle grinder so that the spark is directed "away from you." The high fire hazard of the equipment requires work in a ventilated area and away from fuels and lubricants. During welding, a protective mask, thick leather gloves, closed shoes and protective coveralls should also be worn.
Ensure good grounding when using the welding machine and avoid operating the equipment with exposed cables. Remember that welding in open areas in rainy weather is prohibited. As for the operation of the cutting machine, then when arranging the button to turn it on, secure yourself by installing a simple decoupling with a 12-volt power relay. To do this, you can make a pedal with any non-latching switch (for example, a button from a doorbell) and use any solid-state relay designed for switching currents of at least 10A. A battery or accumulator with a voltage of 5 to 24 V is used as a power source.
A cut-off machine from a grinder is a convenient tool that can be easily made if you have the skills to work with electric welding and locksmith tools. A pendulum circular saw made in just one day will save time in the future and will allow you to perform locksmith and welding work accurately and accurately.
Tool fixation options
Many experts argue that there is no better way to secure the workpiece than the well-known vice. The use of this attachment ensures that the risk of injury is reduced to zero even if the abrasive disc breaks into small pieces.
Particular attention should be paid to the rotary type of vice, at the base of which there are special longitudinal grooves. If the master manages to make the correct oblique cut, then it will be possible to achieve a significant increase in the functionality of the device.
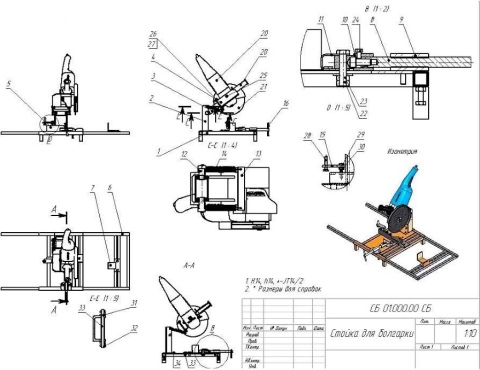
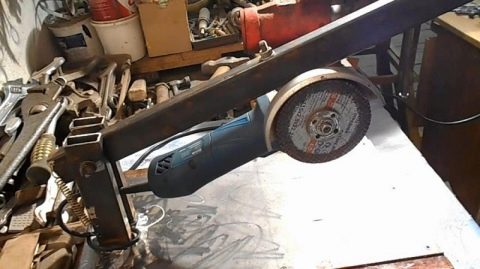
First you need to prepare strong fasteners in accordance with the drawings of the rack for the angle grinder. With your own hands, you can build a unique device for the grinder, which must necessarily consist of the following elements:
- Spring to provide counterweight.
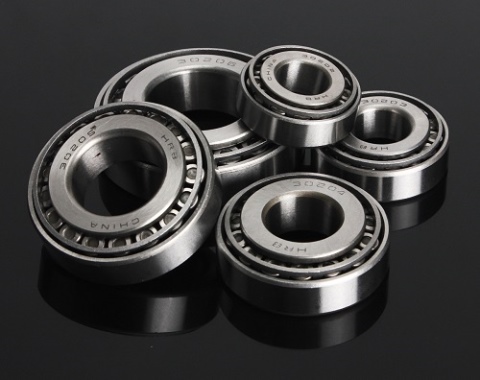
- 2 tubes in the form of bearings.
- 2 meters of profile pipe.
- Sheet metal to create a solid base.
- 2 bolts.
You can build a rack from the most common materials that can be found in almost every garage and private house. Of course, you simply cannot do without a welding machine. Despite this, such a rack will not only be of high quality, but will also cost much less than a purchased product. For more convenient use of the device, its frame can be equipped with an ergonomic handle. In this case, a simple tube is suitable, which is attached with a welding machine.
Stand for cutting sheet steel
The main parts of such a machine:
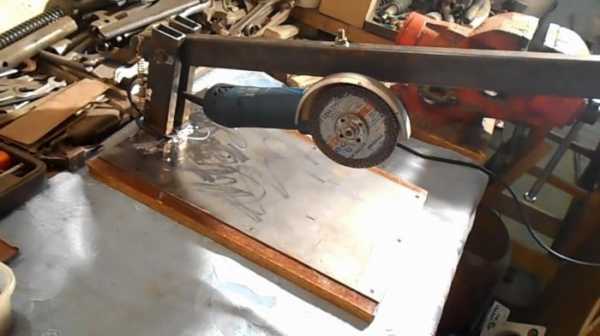
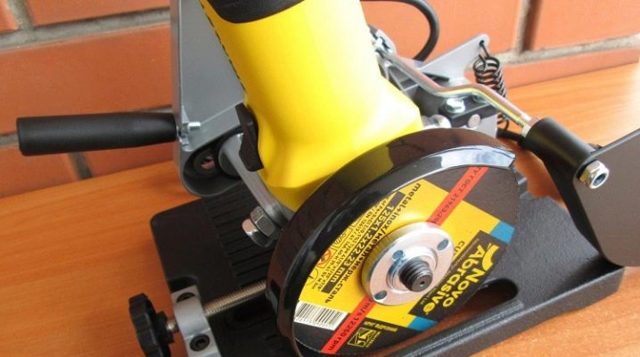
- Base. Ideally, it should be no less than the sheet that is supposed to be cut with a grinder, or allow the cutting area to be completely laid on it. It is necessary to use steel as a material for manufacturing, so that it absorbs heat, not allowing the cutting line of steel to overheat.
- U-shaped rack. This structural element serves as a guide for pulling the grinder.The length of the segment between the legs of the rack should be sufficient to put a sheet between them, plus allow the body of the grinder to fit freely.
- The carriage is a movable element that moves along the U-shaped rack on bearings. A pendulum arm and a cut-off wheel lowering depth limiter are attached to it.
- The pendulum console serves as a mechanism for lowering the angle grinder to the level of the working position. It also has a tool control knob attached to it.
Instructions for making a homemade grinder rack
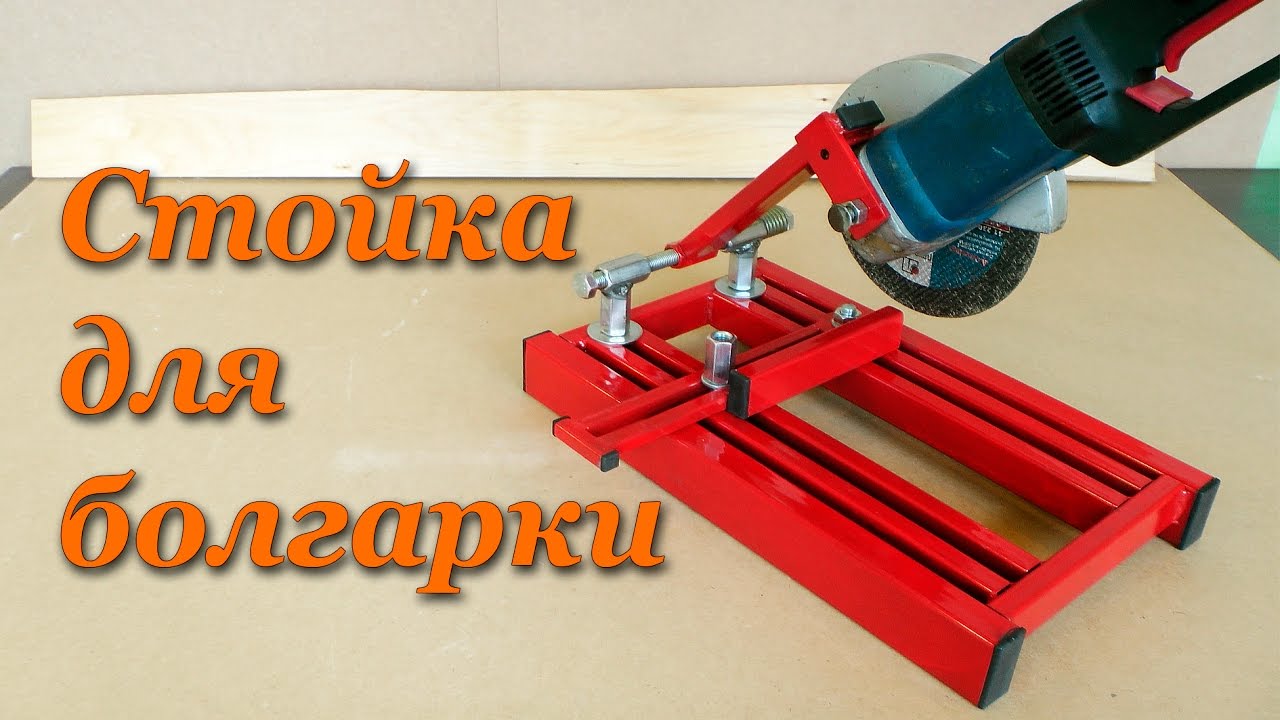
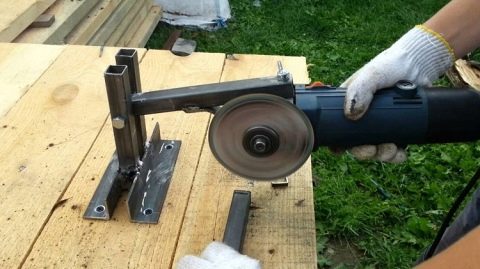
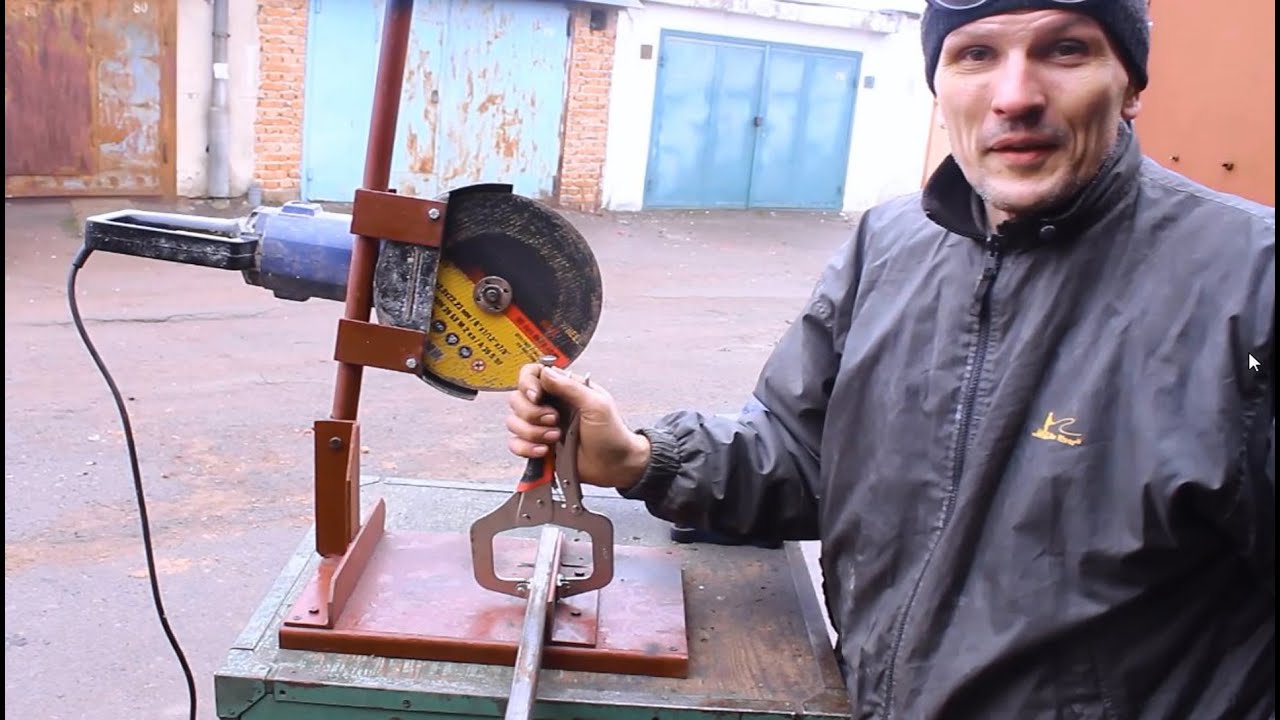
We cut the workpieces from the professional pipe to size, and weld them into a frame with an approximate size of 350-500 mm. This will be the base for our stand.
Assembling the bracket for attaching the grinder... We mark and drill holes with a diameter of 10 mm. in the profile, and then saw off to its size. We attach the obtained parts of the profiles to the grinder and weld together.
Then we cut off two pieces of the profile, from which the stand itself for the grinder will be mounted. The length of the profile is about 30 cm. Drill a hole in the center of the profile to install the hinge axis in it.
We assemble the hinge axle from an M10 bolt with a length of 150 mm. We install it in the pre-drilled holes at the ends of the posts, while ensuring free rotation using the elongated nuts.
We weld the elongated nuts on the axle to each other, and check their free rotation on the axle.
We cut off two more pieces of the profile, the length of which is selected according to the size of the grinder. This will be the rack arm.
On the cut pieces of the profile, mark the contour of the elongated nuts and cut the contour at the ends of the profiles. This is optional, but will provide a tighter abutment of the metal for welding.
We weld the obtained profiles to the elongated nuts. To maintain the parallelism and identity of the installation, we fix the profiles with a clamp.
We weld the resulting rack with a lever on the axis to our base.
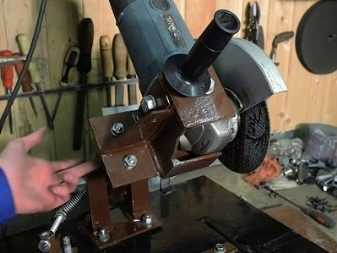
We connect the stand arm with a bracket attached to the grinder using a specially prepared corner with longitudinally sawn holes. This will ensure the deflection of the grinder's disc for setting the exact angle of the cut.
Next, we take out the standard bolt from the grinder handle and insert an elongated one there, which will pass through our bracket, and securely fasten it to the grinder.
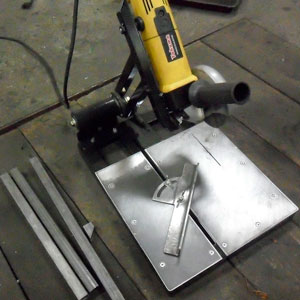
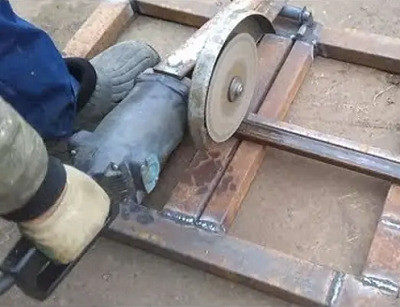
We weld two pieces of a profile pipe to the base of the rack. We expose them in the same plane with the base. This will be the support for the cut parts.
We expose the grinder along the disc and the base with a square. We bolt it to the rack.
We weld two more pieces of the profile to the base frame. These will be the guides for the pivot angle bolt on the bed.
We weld the fixed bolt to the frame.
In the rotary corner, we saw a longitudinal hole, which will allow you to move the corner along the guides and fix it with a bolt in the right place.
We will make the legs for the bed from bolts with rounded heads. It will be convenient for them to adjust the horizontal level of the base frame, and set it clearly.
We drill holes in the bracket attached to the grinder and the top of the rack. We fasten steel hooks in it.
We measure the required length of the spring and hook it onto the hooks so that it returns the grinder to the upper position.
We make a trial cut. We check the cut piece of the workpiece for the correct angle.
The stand can be painted in the color you like or simply primed with a metal primer.
It turned out to be an excellent solid stand for the grinder. With such a device, there will be no difficulties in cutting metal blanks at any angle.
Note: all welds, sharp corners of all parts of the rack must be cleaned and rounded. Prepare the rack for painting and paint it in any color you like.
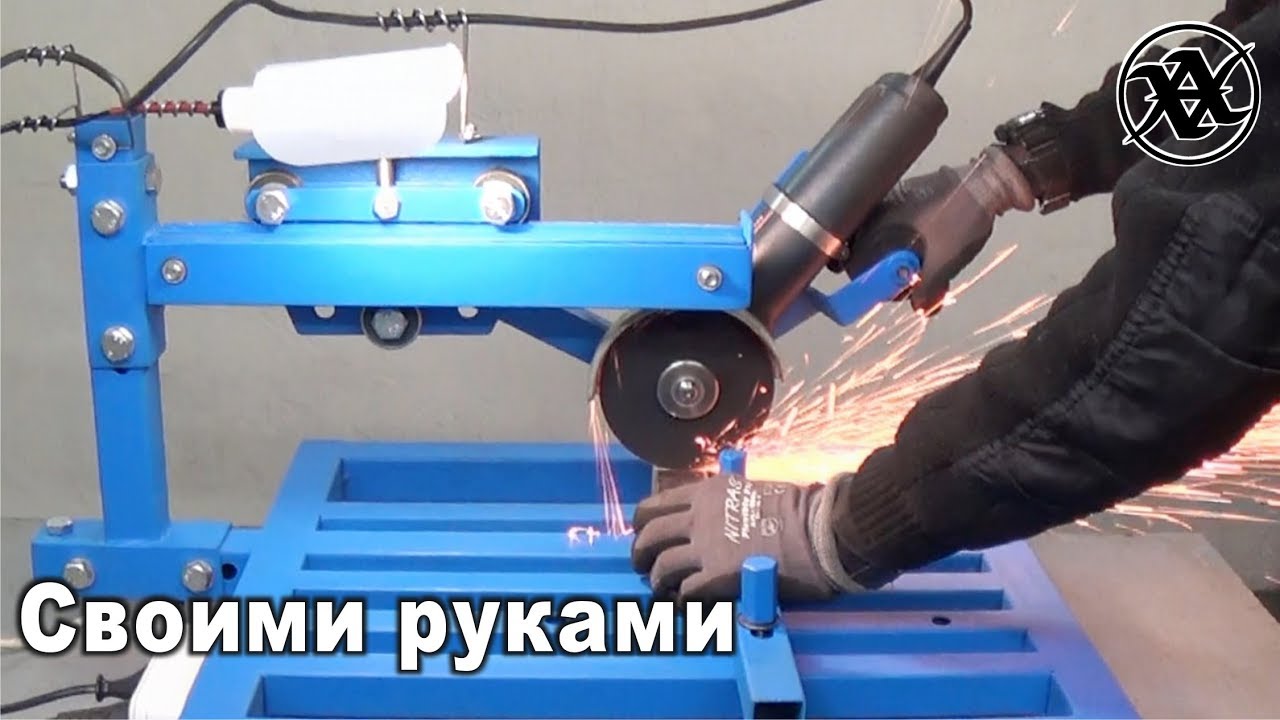
Pendulum frame
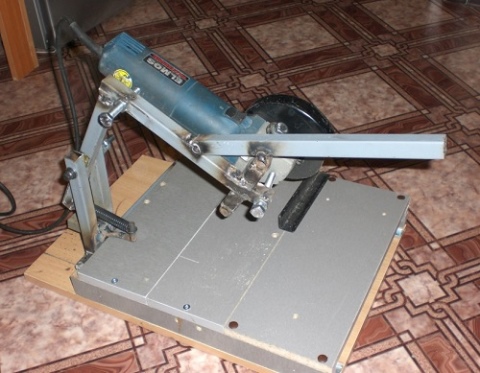
- Support or bed - the part from which the vertical stand departs and where the workpiece is laid for cutting.The supporting part also performs the main function of keeping the entire machine in a stable position.
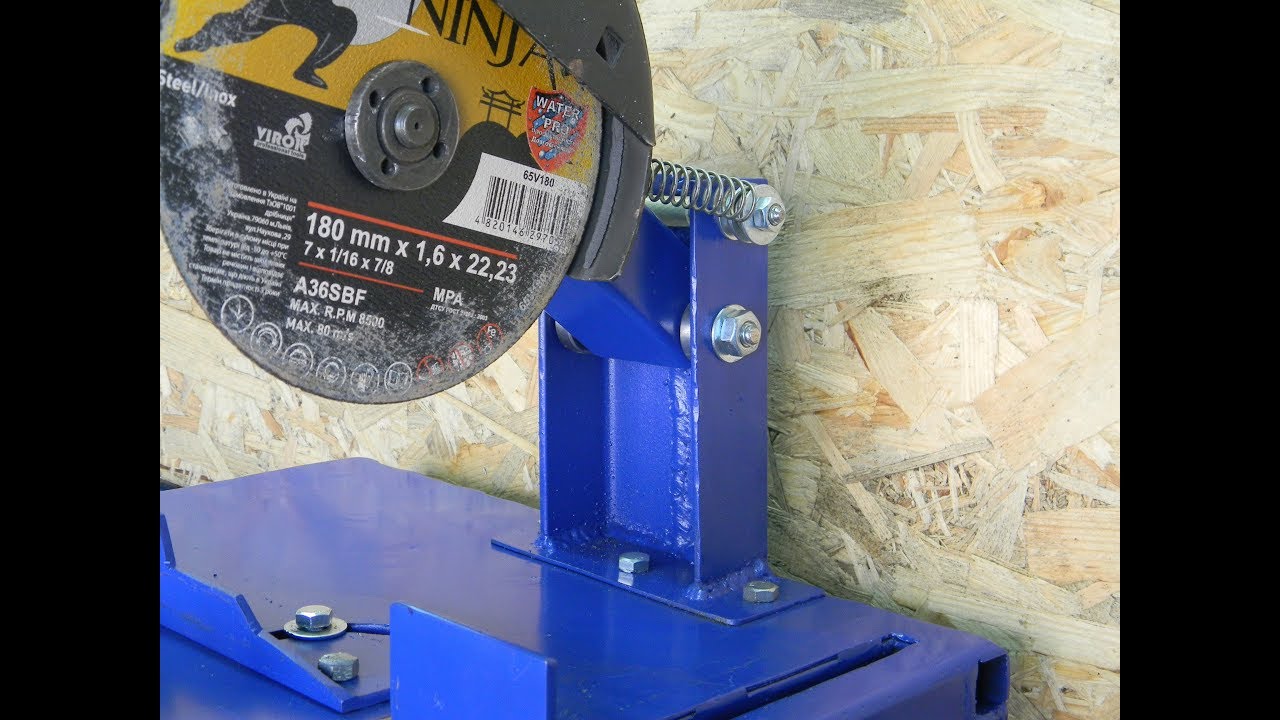
- A vertical fixed stand, or a tripod for angle grinders, - this structural element is part of the pendulum mechanism and a support for the movable console.
- A movable bar or console is a part to which the grinder is directly attached.
The support is mainly made of sheet metal. It can be a factory bed, for example, from a drilling machine or any other where there is a flat platform. On the bed for angle grinders, there must be a guide, where the pipe is abutted during cutting. The guide prevents the workpiece from moving during the operation... In addition, for greater convenience, you can equip the support with a clamping mechanism that will motionlessly fix the pipe to the guide during operation of the angle grinder.
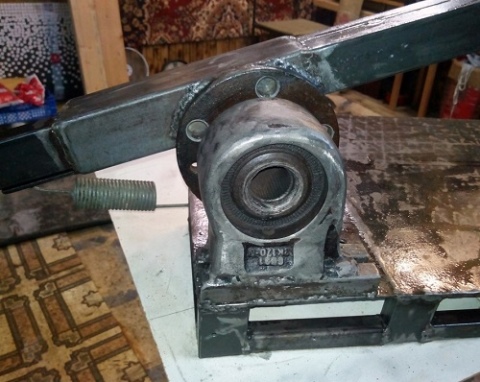
A stand, or tripod, is a vertically going up element. It can be made from a shaped or round pipe. In the upper part, a bearing unit is attached for the movable connection of the rack with the pendulum console of the angle grinder. The height of the tripod depends on the size of the grinder and the device of the pendulum. The type of pipe (its geometric parameters and wall thickness) is selected depending on the power and weight of the power tool.
The pendulum bar of angle grinder performs two functions. Firstly, it rigidly holds the grinder, thereby preventing the disc from moving in the axial direction. Secondly, with the help of it, the tool is fed into the processing area, that is, the angle grinder can be lowered into the working position, cut and again return to the starting position. A special handle is also provided for operating the console.
Counterweight design with shock absorber
- Traditional type. It is made by installing a weight on the tail of the cantilever bar. The weight of the load is selected in such a way that in the initial position the grinder is at the top, but when it is lowered onto the workpiece, no great efforts have to be made.
- Spring mechanism as counterweight. In this case, the elastic force of the spring keeps the angle grinder in the upper position. The most suitable for these purposes is a spring for closing the door leaf.
A shock absorber or stop is also necessary in the construction of the grinder rack. The main task of such an element is to prevent the tool from moving downward below a certain level. At the moment when the pipe is completely cut, the lowering of the grinder should stop.
Counterweight
It is up to you to decide whether the rack should have a counterweight, but having one makes it easier to work and serves as an indirect safety feature. In theory, if you let go of the tool, it should rise to a vertical position, thereby stopping cutting the material.
I would advise you to make the limit switch off in the extreme upper position so that, when the grinder comes into it, it will simply turn off, this measure will strengthen the security measures of your homemade device.
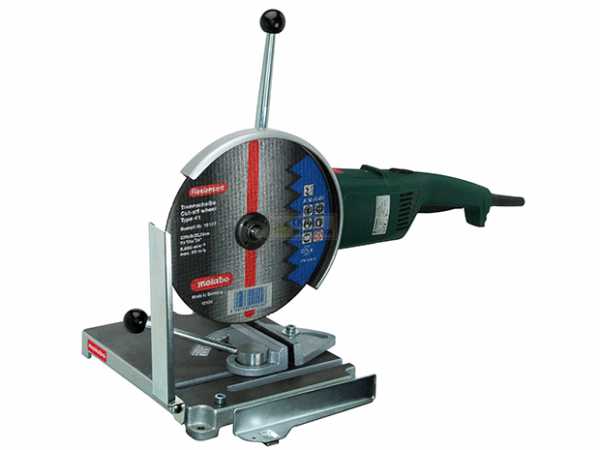
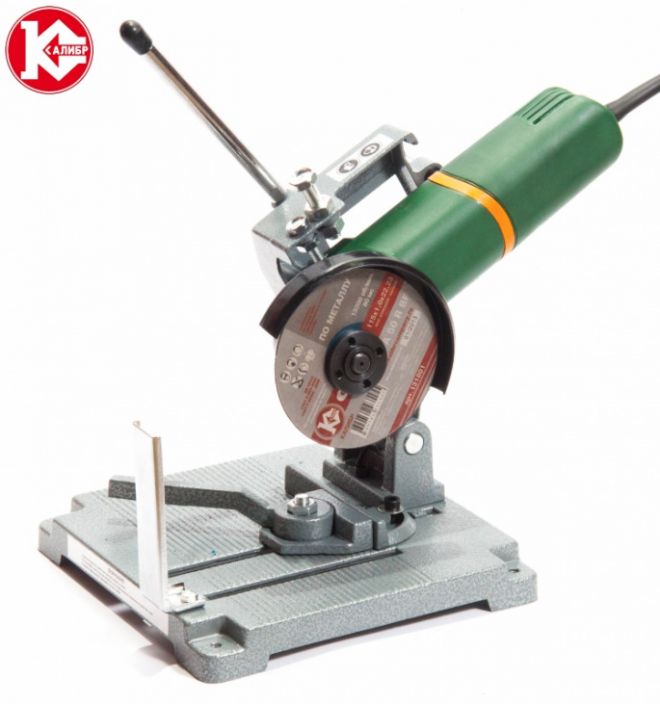
If you look at the photo above, you can see that two of them have counterweights, in the third case it is not. Which, in my opinion, is the drawback of this design. Here are some more examples of how you can make a counterweight. It is enough to put the spring, matching it to the weight of your tool, a simple and effective solution.
We figured out the counterweight, so as not to make the structure bulky, it is better to put the spring as in photo # 5 The stand is easy to manufacture and allows you to tilt the grinder more than 90 degrees, unlike the one in photo # 2, this property can be useful when working with large objects ...
|
No. 6 Counterweight - spring from below |
No. 7 Counterweight - spring from above |
Precautionary measures
It should always be remembered that the rack must be firmly fixed to the bed. To protect yourself from injuries and accidents, you need to adhere to the basic recommendations:
- It is best to secure the power cord with plastic clips so that it does not get tangled under your feet and does not accidentally fall under the cutting tool during active use.
- The cable from the grinder must be securely attached to the movable part of the rack.
- During work, it is advisable to use special protective glasses so that microscopic metal particles do not get into the eyes.
- Before starting the unit, you need to carefully inspect the grinder's cutting wheel for chips and damage.
Today there are many security elements that can be made even at home. As for the optimal tripod size, it is better to give your preference to those models that fit the diameter of the disc used. All parts of the bed must necessarily correspond to the brand of the grinder used.
Experts say that it is good to work behind a pendulum stand, which simplifies the very process of sawing metal blanks. In addition, the pendulum system is designed in such a way that it can be used to quickly and efficiently implement tasks of any complexity. Making such a device at home is quite simple. To do this, you need to take: a high-quality metal profile, a spring, a welding machine, a pendulum and corners.
Particular attention should be paid to the iron table, on which the craftsmen most often install the structure they have created. It needs to be checked for stability, reliability and instability.
In addition, in the process of manufacturing even the smallest parts of the rack, you should not forget about safety measures.
Reliable stops and clamps
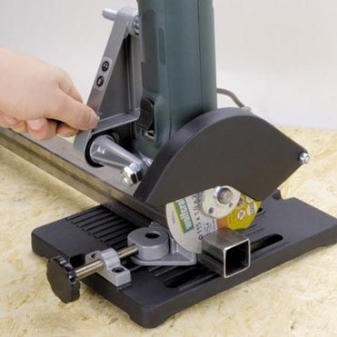
All five photographs show different fixtures for clamping a part, all of them are good and convenient in their own way, and, nevertheless, one can choose the most correct solution from them. The most reliable and correct mounting option is a vice.
- They securely fix the workpiece.
- You do not need to hold it with your hands.
- If the disc breaks during the cut, it is extremely difficult to hold the part in your hands and if it is in a vice, the risk of injury is reduced.
- And if you buy a rotary vise and make a longitudinal groove at the base of the rack to move the fasteners along the cutting line, then you can make an oblique cut, which increases the functionality of your machine.
Safety engineering
As you understand, when making a metal frame, you have to work with welding. But before you pick up this device, you must definitely familiarize yourself with the safety precautions. The welder deals with electric current, so improper handling of the equipment can lead to irreparable consequences.
Before connecting the device to the network, you need to inspect it. Make sure that the cable insulation is not damaged. If the condition of the wires alarmed you, then do not use this welding until you replace them.
After external examination, turn on the device by pressing the "on" button. At startup, only the sound of a working cooler should be heard. This indicates that forced cooling has started working together with the device. When working with welding, you need to remember about the high temperature - the seams to be applied are very hot, therefore, all manipulations with metals must be performed in overalls. Use special gloves, a mask, and rubber-soled boots. The latter should in no case be forged.
Tools and materials
As a rule, at home, a grinder rack is made of profiled metal pipes, since they are very strong and reliable. Although some craftsmen make holders from lumber. In this case, it is advisable to use only the hardest wood species that can withstand heavy loads and not deform during operation. As for metal structures, the problem here is only in the need to use electric welding and the ability to work with it.However, if you think a little, then most of the welding work can be replaced by drilling, that is, using bolted connections. In addition, this option will allow you to almost completely disassemble the machine.
To work, you will need the following materials and tools:
- welding machine;
- puncher;
- grinder;
- metal corner;
- profiled pipes and channels;
- powerful spring;
- relay 12 volts;
- bolts, nuts and a set of keys;
- board made of chipboard or metal (work surface).
Using the grinder
Angle grinder (abbreviated angle grinder) is used for cutting and grinding various materials. The variability of the use of the tool is provided by replaceable working discs and the power of the device.
Low-power or household grinders are used in the household. Designed to use discs with a diameter of 115-125 mm. The tool is small in size, low power motor, light in weight. They are not designed for continuous operation without interruptions, they quickly overheat.

Professional grinders of high power are used in construction work and for industrial purposes. The tool is designed to use discs of 150-230 mm. Heavy and powerful device designed for continuous operation without the risk of engine overheating.
Note! For cutting parts, the edge of the disc plays an important role, and when grinding, the entire surface of the nozzle is used.
The ability to quickly change working surfaces and the high power of the tool allow you to increase the range of use of the grinder. For example, for the manufacture of homemade machines. Machine-tool use increases the level of safety.
Assembling the structure
When a craftsman decides to make his own tripod for a grinder, this helps to avoid many costs, since factory models are expensive and short-lived. But a good result depends, among other things, on the availability of basic skills:
- Ability to handle a grinder and a household welding machine.
- Drilling holes accurately.
- Free time and patience.
 In order for the rack to meet all operational requirements, its assembly must be carried out in a strict sequence. Depending on personal preferences, the master can develop his own drawing that will correspond to a specific grinder model, or you can use ready-made drawings. In addition, before any manipulations, you need to check the operating condition of the main unit. If it does not work well and often breaks down, then there is no need to build a powerful frame for it.
Experts say that the assembly procedure for the rack for angle grinders is as follows:
- Initially, it is necessary to prepare a metal pipe, which must be carefully cut into pieces of a certain length. All manipulations must correspond to the drawing used.
- Drill small holes in the marked places.
- At this stage, make the upper and lower frames.
- Weld metal workpieces with a welding machine or screw onto bolted joints.
- Take a pre-prepared metal sheet or chipboard.
- Depending on the diameter of the rack, cut out the work surface.
- Place the finished surface on the lower platform of the work table.
- Fix everything with bolts.
- Attach the holder to the vertical frame so that the pendulum type of rotation is free.
- Carefully install a precision spring that will return the angle grinder to its original position each time.
- One end of the spring should be fixed on the top of the end, but the other end on the holder.
- It's time to take a 12V relay, which will help increase the level of comfort when working with a grinder.It should be located in such a way that it is convenient to reach the button during operation.
- Carefully inspect the condition of the wiring and check its performance.
- In the workshop, be sure to provide a separate socket for the bed used.
- Take quality paints, varnishes and primers to completely cover the created fixture. These manipulations will help to give the product a complete and effective look. In addition, a protective primer coating will protect the rack from the negative effects of corrosion.
- At this stage, it remains to equip the structure with a movable ruler and a special limiter.
- Check the finished bed for operability, start the grinder at idle speed.
Safety engineering
As with any electrical tool, electrical safety guidelines must be followed. Do not work in rooms with high humidity. When installing the machine on the street, it is advisable to build at least a temporary shelter over the workplace to protect it from precipitation.
Like any cutting tool, angle grinder, even fixed in the machine, requires strict adherence to safety precautions. It is absolutely unacceptable to work without a protective cover around the disc. And also the use of protective glasses or a transparent shield is mandatory.
Gloves are neglected by many - and in vain. Sparks flying out from under the saw stone only seem small and harmless. Crumbs of abrasive and processed material fly like bullets and can penetrate deep into the skin.
You can learn more about how to make a metal stand for a grinder with your own hands.
Secure tool holder
Many, fired up with the idea of making a stand, are looking for drawings on the Internet, without thinking about what exactly they may not be on their tool, since each model is individual and fastening to it must be done, as they say locally.
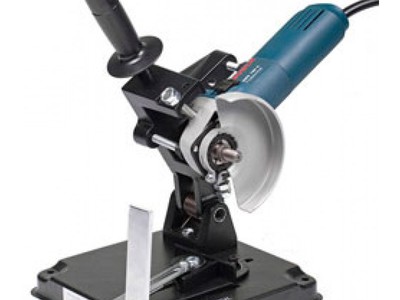
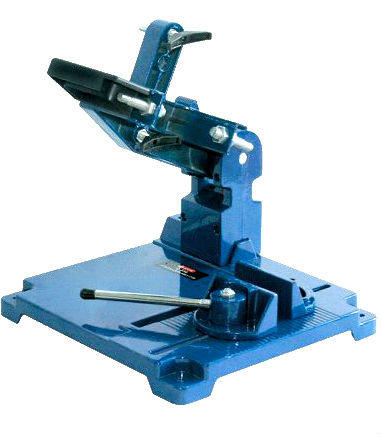
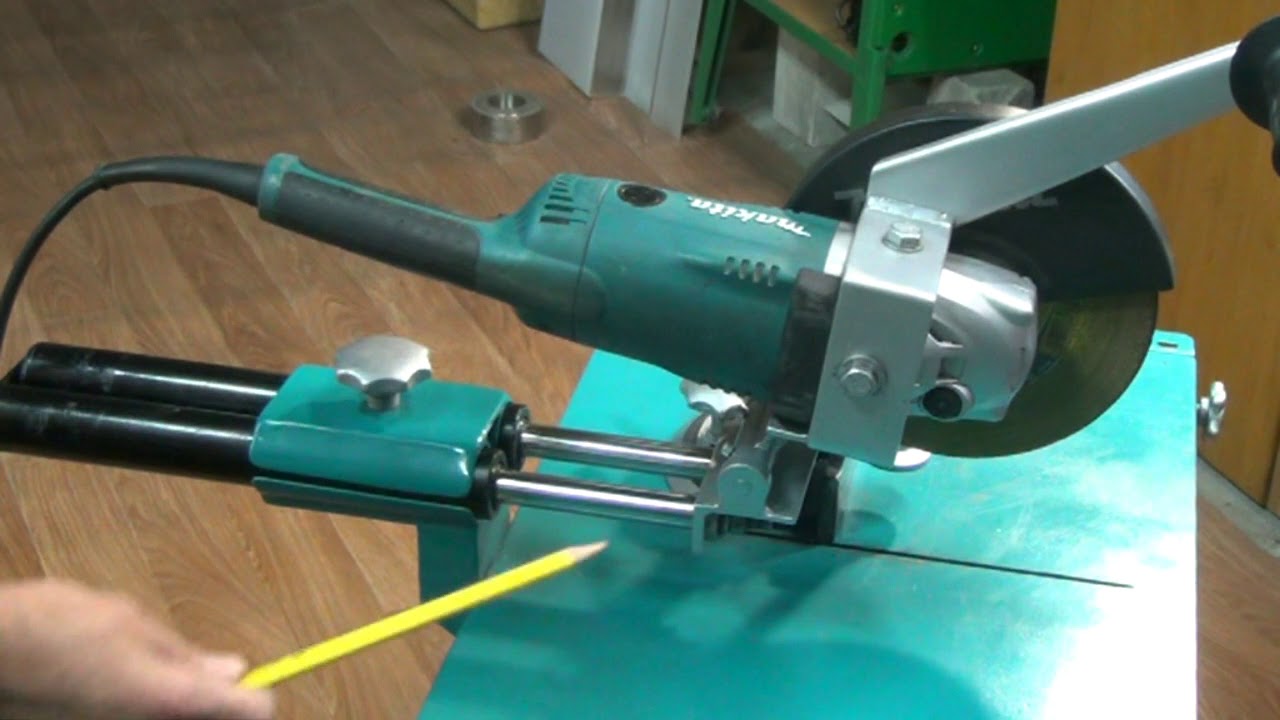
I propose to look at different examples of how people made the mount, and we will take the best from each. Here are some photos of the location and fixing of the grinder based on the needs and desired functionality.
|
No. 1 Fastening the grinder to the frame |
No. 2 Another attachment of the grinder |
|
No. 3 The easiest way to fix the tool on the pipe |
# 5 Another example of interesting fasteners |
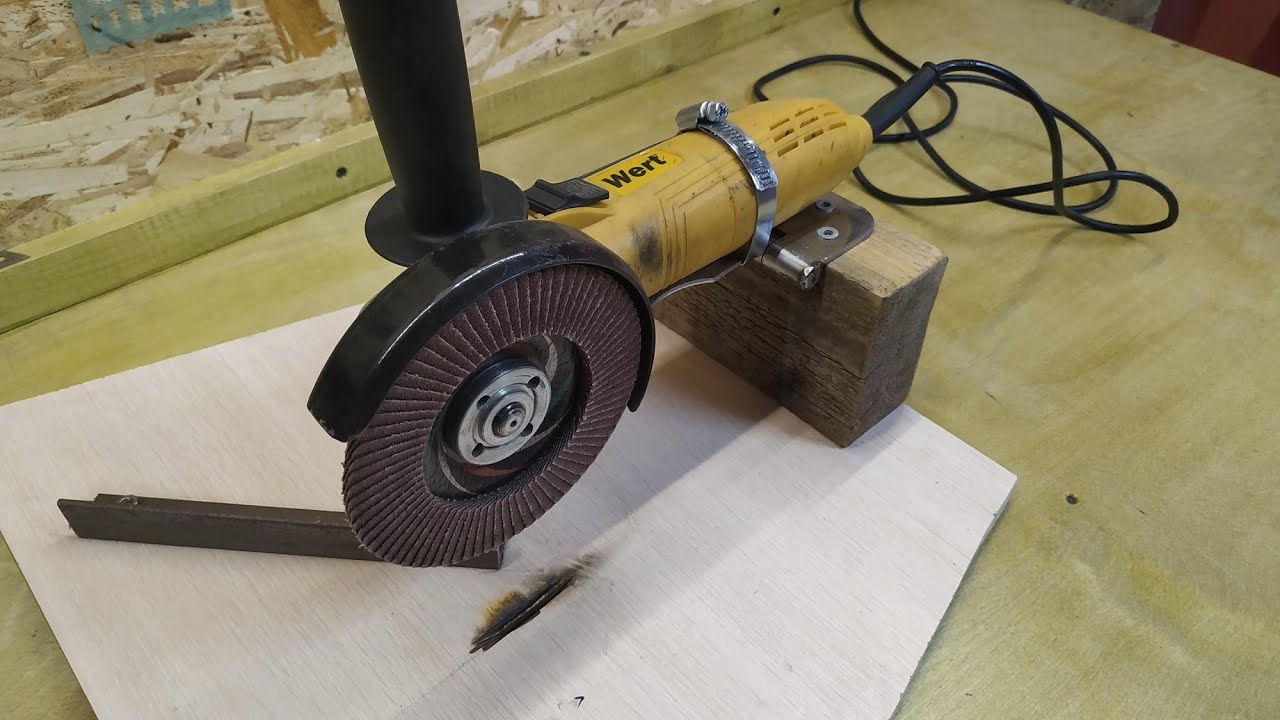
As you can see from the photographs, the fastening of the grinder is individual for each, but the most important thing is that in each of them the tool is securely fastened. In the first photo, the tool is inserted into the frame and fixed with bolts at the handle attachment points.
The second example is similar to the first, only the frame has an individual design and a control knob has been added to it, in the form of a welded 20x20 pipe to control the cutting force and ease of operation.
The third option generally conquers with its simplicity and minimalism. The grinder is attached to a protective casing, in which holes are made for bolts and the entire machine consists of a minimum number of parts.
So, we have decided on the fastening of the tool. In our case, this is the third option - attaching the tool to the protective casing. It is extremely quick and easy to make.
You will need two 10 bolts and two self-locking nuts, only the nuts must be attached to the outside of the casing. A couple of plates and a pipe on which everything is attached. I guess it won't be difficult to find such parts. Watch the video how easy it is to mount
Summarize
What is needed to make a stand for a grinder with your own hands.
- 2 meters of profile pipe, provided that the base for your rack is not lying around anywhere, an ordinary metal frame 400x300 in size.
- A spring for creating a counterweight, you can buy in a store or take from an expander.
- A couple of bolts and a few tubes to make a kind of bearing, if you don't want to suffer with the rotation unit.
- Metal sheet 400x300x3 for a solid foundation.
And in conclusion, a few video examples of how to make a bed for a grinder in an hour with step-by-step instructions and a detailed description of the dimensions. Since everything is clearly described in the video with explanations of the dimensions of the parts, you can do without a drawing.
Simply, quickly from improvised means and that trash that is in almost every garage.The remains of a profile pipe, a metal frame and a few bolts. Yes, welding is indispensable in manufacturing.
But this is not a hindrance either, you can cut the blanks and ask the welder to weld everything for a low price. In any case, it will cost much less than an expensive rack from a store, and in terms of quality it is no worse. v class = 'yarpp-related yarpp-related-none'>


