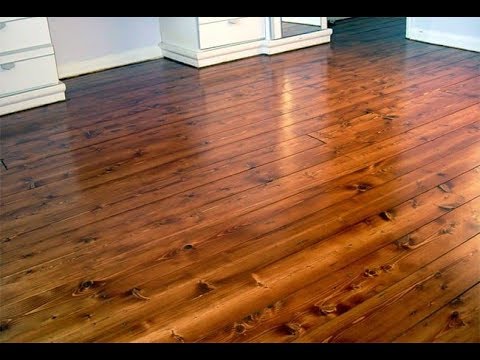
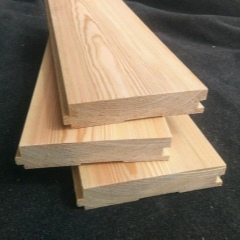
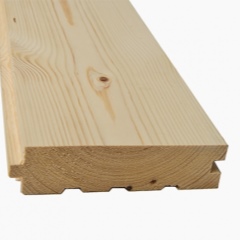
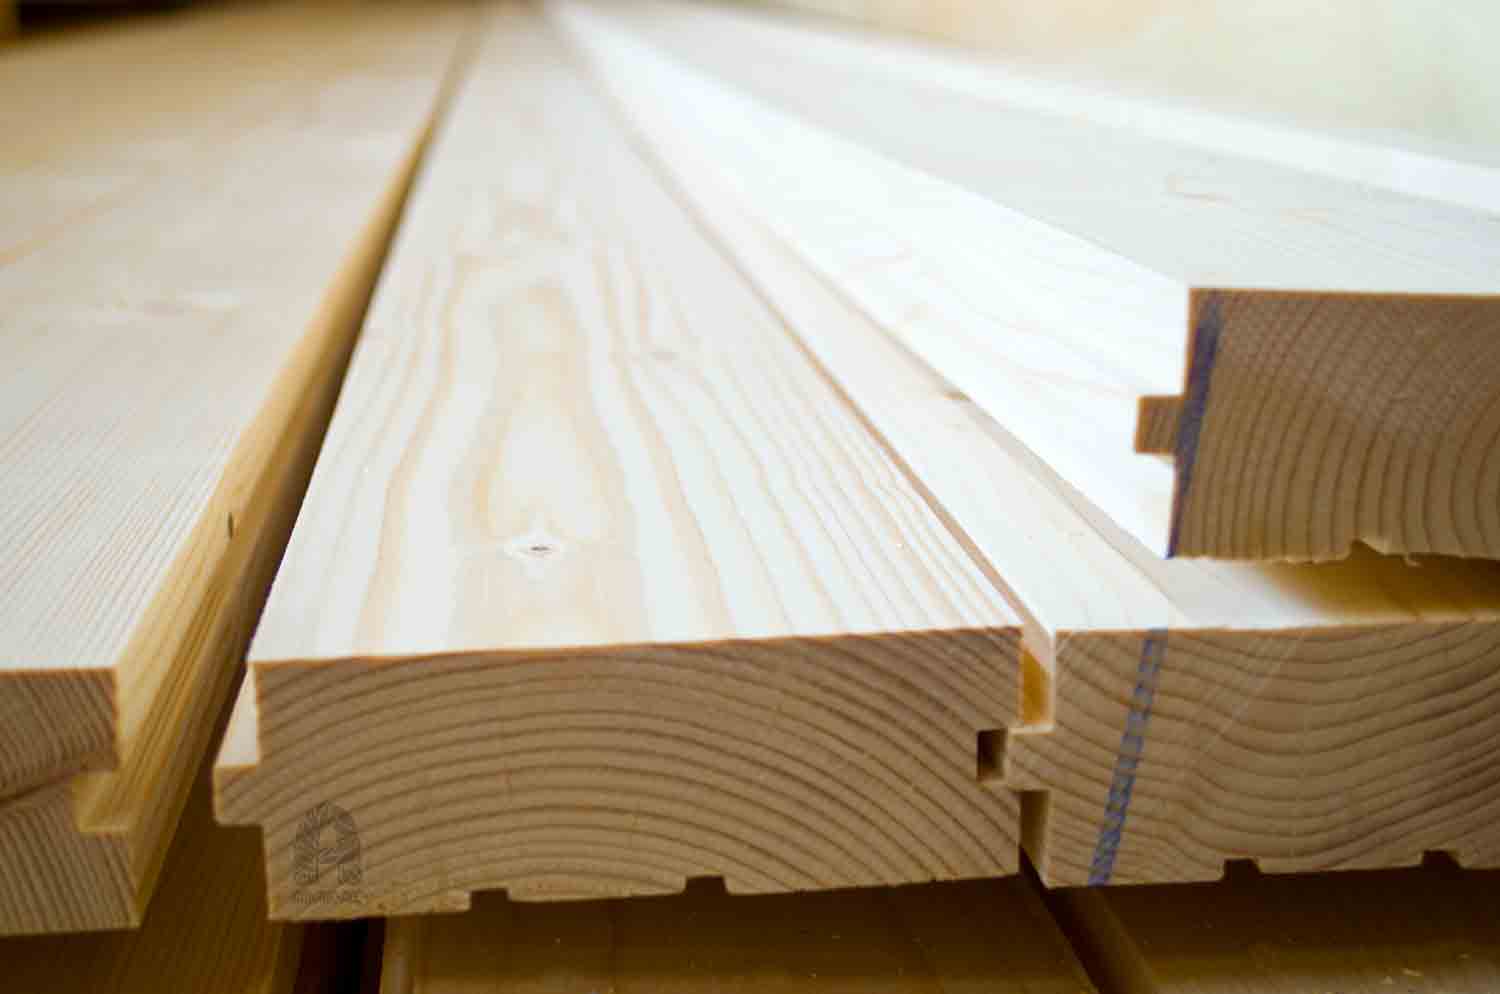
Installation features
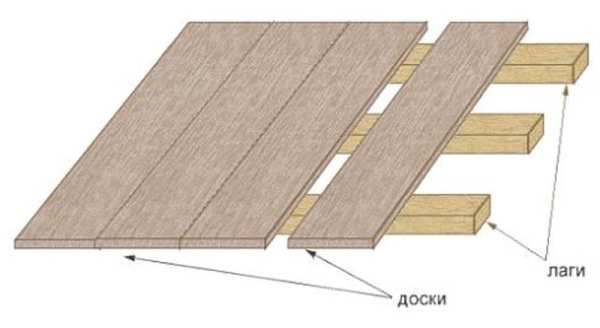
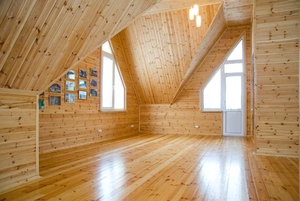
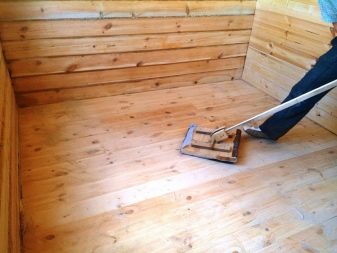
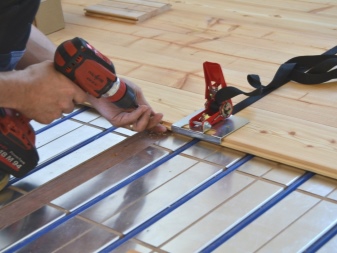
Since the grooved board belongs to the category of flooring, most often its fastening is carried out precisely during the installation of this covering. Not relying on the conscientiousness of manufacturers and sellers, laying is carried out in 2 stages, taking into account its possible shrinkage and deformation. The grooves and tenons selected by the milling cutter in production usually fit together quite effectively. Therefore, during the initial assembly, it is customary to fasten the floor to the logs not entirely, but after several floorboards, with a pass of 4-5 boards.
In this form, the coating is left for a year. After this period, the floor is carefully sorted out, gaps are eliminated, warped elements are replaced. Each board is already planted on self-tapping screws without gaps. If the floor is arranged in the premises of a residential building, initially it is fastened roughly with the wrong side up to avoid abrasion or contamination of the coating. This will give you a clean finish.
Mounting method
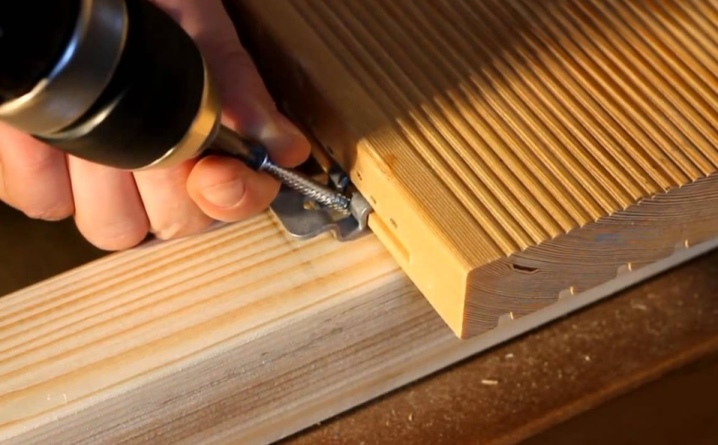
Usually grooved shaped boards are fastened not just in grooves to each other, but also fixed to the base. This is done using different types of hardware. Nails have their own advantages - resistance to damage due to warpage. They can bend, but they won't break. The self-tapping screw does not have such advantages, but it allows you to change the pressure force or even replace damaged strips. When choosing this type of fastener, you should give preference to the special yellow screws over the usual black wood screws.
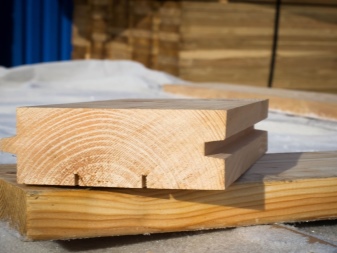
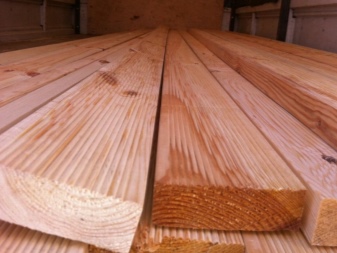
There are several ways to secure the tongue and groove on the joists. The following options are distinguished.
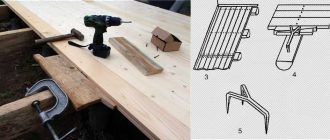
- Into the bed. In this case, nails and screws end up on the front surface of the coating. The option with a face mount is not the most aesthetic, but it fully justifies itself in terms of reliability.
- With concealed installation in a groove. The self-tapping screw is screwed into its lower plane at an angle so that the head of the hardware does not prevent the spike from entering the mount in the future. The method is inferior to the previous one in reliability, since only the lower third of the board will be fixed during torsion. This will lead to cracking of the insufficiently dry material.
- Into the tongue. This method of fastening is considered hidden, it provides for fixing a nail or a self-tapping screw for a spike, which takes up to 2/3 of the thickness. It is more difficult to adjust the flooring in this case, but the aesthetics of the coating does not suffer.
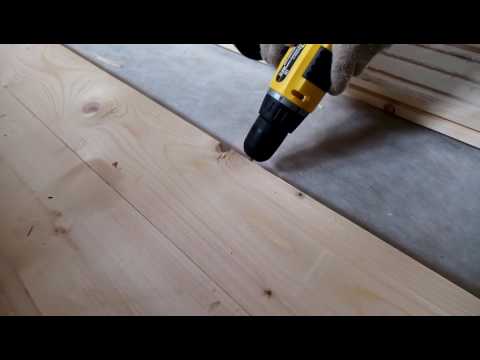
All countersunk mounting methods require preliminary drilling of holes in the thickness of the material. When installing at an angle, select long - up to 75 mm - screws and nails with a rod diameter of 4-4.5 mm.
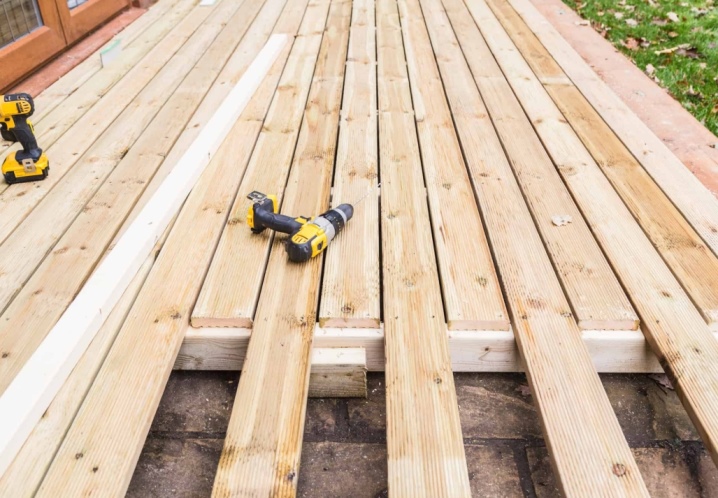
General recommendations
When laying a finished floor based on a grooved board on concrete or cement screed, a chipboard substrate is used to reduce deformation loads on the material connected to the groove. Waterproofing is placed under the sheets. For wall cladding, a vapor barrier is used. Previously, the material is kept indoors for 3-4 days.
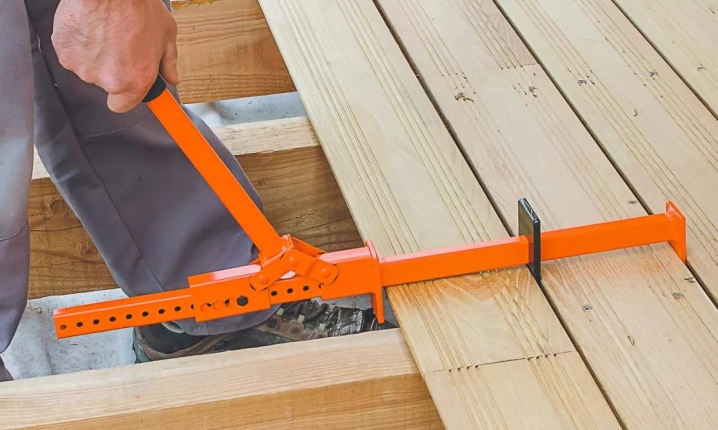
There are a number of general guidelines to help make the job process easier. To perform all the necessary manipulations, in addition to fasteners, you will need a drill, a hammer, and a screwdriver.
Here is the procedure.
- Installation of a waterproofing layer.
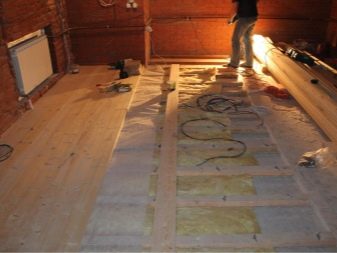
- Setting lag. They are mounted on a level using mounting wedges made of wood, plastic. Fastened to concrete with anchor dowels.
- Installation of thermal insulation in the form of mats or sheets of mineral wool. It should fit snugly against the edges of the created floor battens. It is better to lay a vapor barrier film on top.
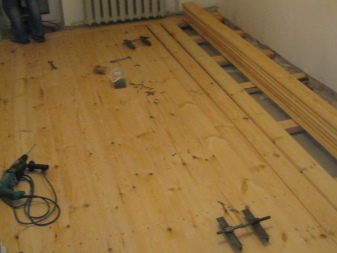
- The first row is laid with a gap from the wall. It is enough to retreat 5-7 mm.At this distance, a board is attached to the face with a gap of about 10 mm from the edge of the entire plank. When fixing in a spike, an area with a groove is placed against the wall.
- Each row is knocked out or pressed with screw clamps. Installation is carried out so that all elements are joined with the most snug fit, without gaps and distortions.
- The fastening continues until the entire floor is covered with the boards. If trimming is required, it is best to prepare a miter saw in advance. It will allow you to get a cut with a perfectly perpendicular geometry, without chips and other defects.
- Completion of work. The last board used in the decking is mounted with a 5-7 mm gap. Padding or wedge can be used. Fastening is done in the same way as the first floorboard.
Considering all these tips, you can cope with the installation of a tongue-and-groove board on the floor with your own hands as quickly, simply and efficiently as possible.
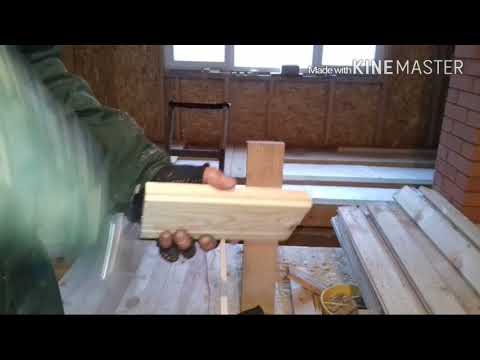
In the next video, you will learn how to make a tongue and groove floor.
Classification and types of grooved boards
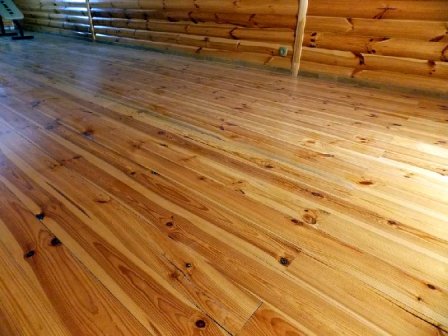
All commercially available grooved floorboards can be classified according to various criteria, which allows the consumer to make the right choice.
When choosing, pay attention to the following points:
1. Board grade
2. Board dimensions
3. Material of manufacture
Now let's dwell in more detail on each of these parameters.
1. Variety of grooved board
The first thing a consumer thinks about is the aesthetic appeal of his future floor and its reliability. And these parameters are influenced by the type of floorboard.
He might be:

Each of these varieties certainly has its own application. Some boards are good for creating an attractive interior, others are indispensable in other, less significant rooms.
2. Dimensions of grooved board
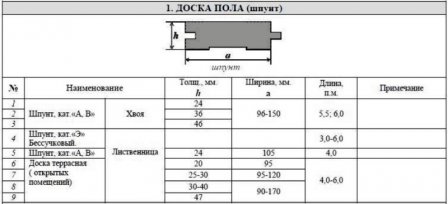
Choosing a tongue and groove for the floor, you must reasonably approach the choice of its size. As for the length, it is better if it is equal (or slightly more) to the length of the wall along which it is laid.
Relative to thickness. It is worth considering the fact that the larger it is, the more reliable and stronger the floor will be. But you should not overdo it either; for each load, you need to select the appropriate thickness of the material.
On sale you can find the following assortment:

3. The material of the grooved board
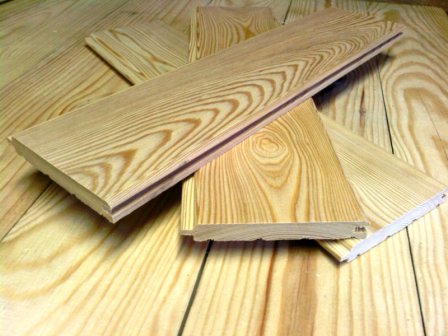
In theory, tongue-and-groove boards can be made from any type of wood, but in practice, only a few types are used for its production.
Batten
Usually the thickness depends on the purpose of the room:
- soft coniferous flooring in living rooms;
- aspen, linden floors are usually laid in baths (steam room, sauna);
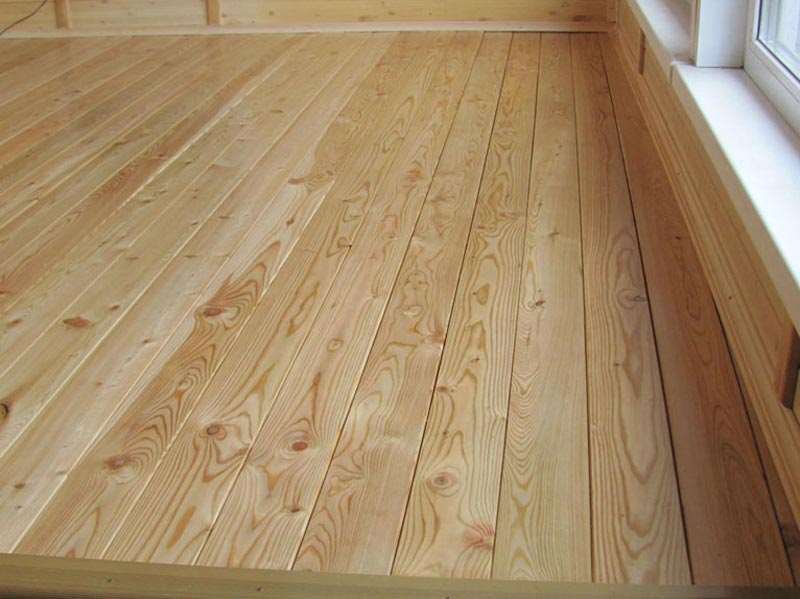
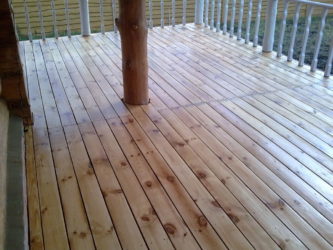
- Larch is good for terraced floors.
Natural flooring has grooves and grooves located on different edges. This property helps to create an even, one-piece floor layer.

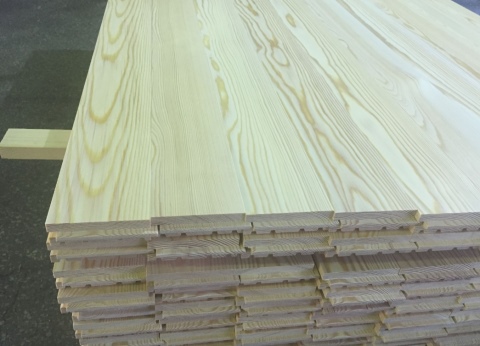
In order for it to fit well, you need to make sure that the stated dimensions are true. They fit in a checkerboard pattern: each new one is in the middle of the length of the previous row. The grooved floor strip also has several grooves (1-3) for ventilation at the bottom.
Floorboards usually have the following dimensions:
- length - 1-6 meters;
- width - 110-136 mm;
- thickness - 27-36 millimeters;
- grooves and spikes are located at a height of about 11 millimeters from the bottom plane;
- The width of the ventilation grooves (grooves) can be about 15 millimeters, there must be the same distance between them.
Standard sizes are 36 * 136 * 6000 mm. The most popular and shortened version is 3000 mm.
What is a tongue-and-groove board
The classic edged board has been used for flooring for many centuries. The result is a warm and even floor, but such a coating has drawbacks that reduce comfort:
- annoying creak of floorboards, which can be very difficult to get rid of;
- gaps between the boards through which moisture and cold air pass;
- splinters and irregularities that are dangerous to the skin;
- protruding nail heads.
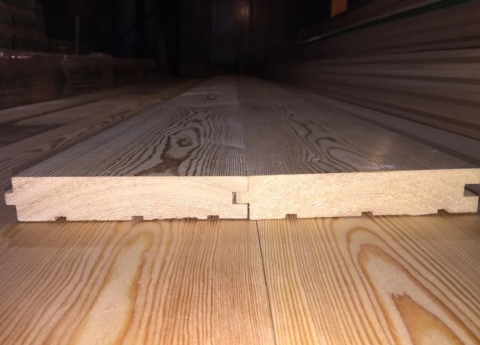
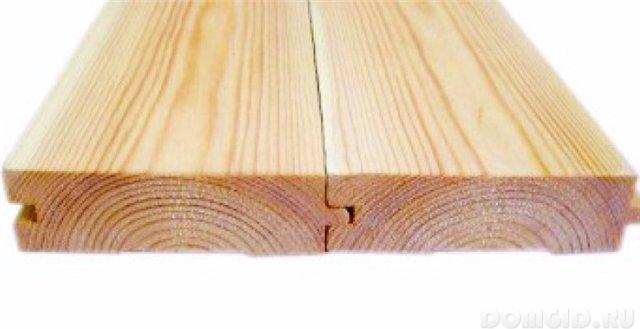
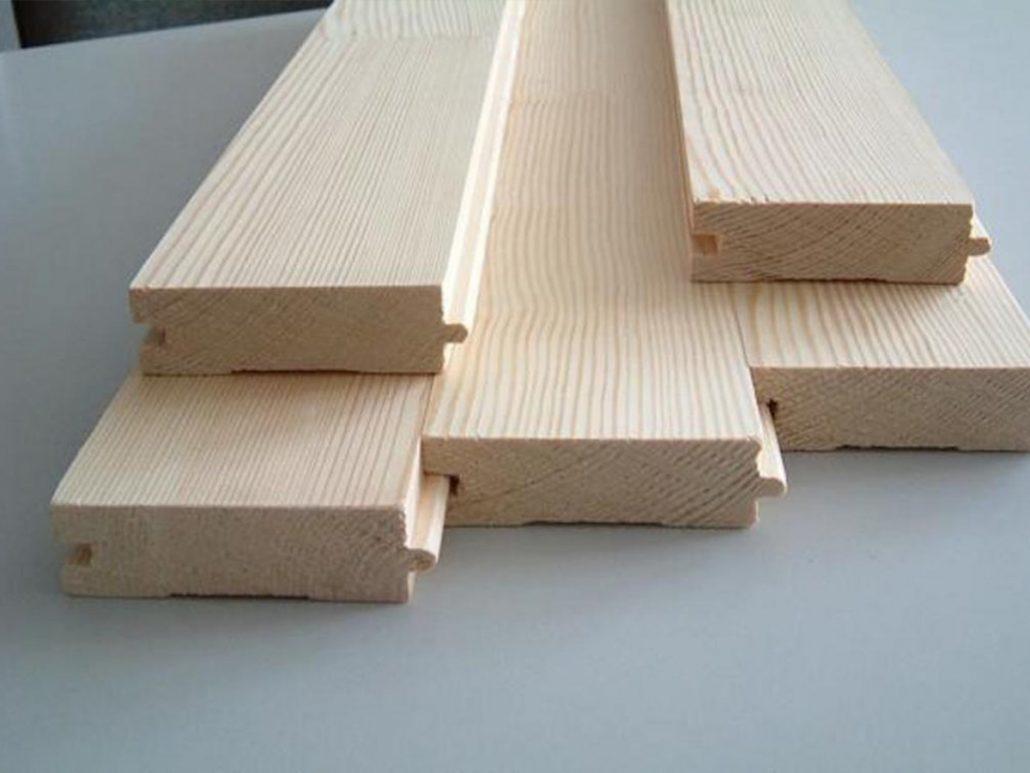
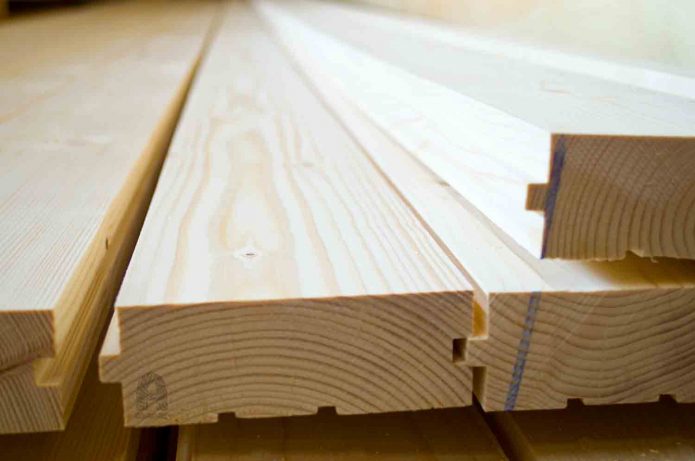 The tongue is a protrusion that runs along the entire edge of the board and closes in a lock when connected to the opposite end of a similar product
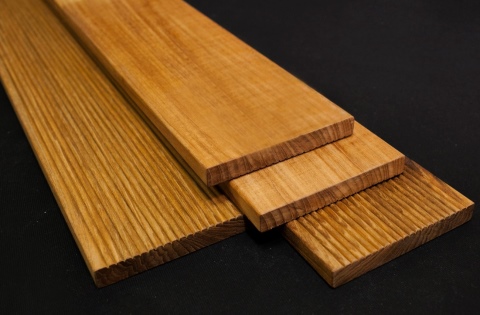
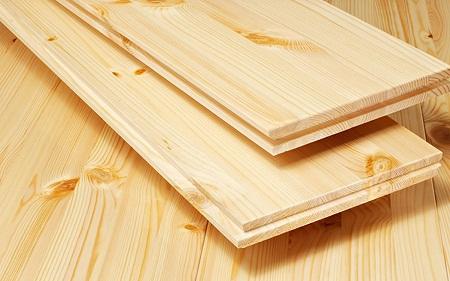
A grooved board is an edged floor board with side surfaces treated for tongue-and-groove for better laying.
Today, a solid wood floor is devoid of unpleasant disadvantages, although traditional varieties of deciduous, oak and coniferous species are used to create it:
- larch perfectly withstands mechanical stress, it is resistant to abrasion and does not rot at high humidity. Such a floor can be used outdoors for the construction of terraces and verandas, it is not required to varnish, if desired, you can use a colorless or tinting oil for maintenance;
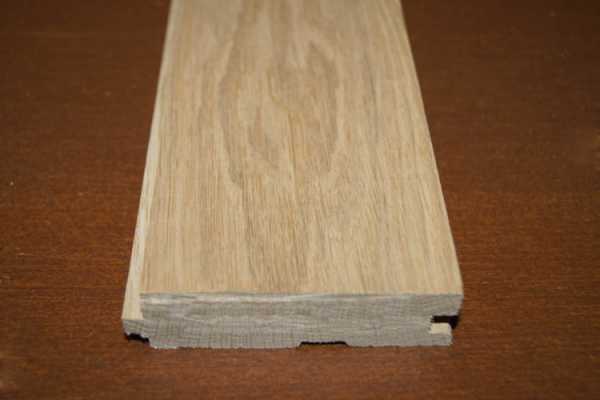
- oak has a dense and hard wood, the oak floor will last a long time and will not be scratched by chairs or heels;
- pine and spruce are soft, pleasant to the touch, but require varnishing.
Planks are also produced from birch, alder, ash, mahogany, teak and other valuable and exotic wood species.
What is it for and where it is applied
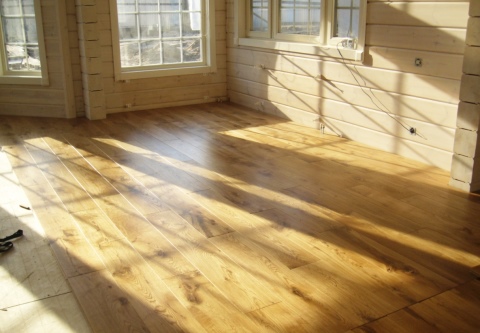
This natural material is used in construction for laying the finishing flooring and subfloor in private houses and apartments, on balconies and loggias, verandas and terraces, saunas and public spaces.
For industrial and commercial premises with a large number of people and equipment, the need for frequent wet cleaning and constant mechanical stress, the use of wooden floor boards is not recommended.
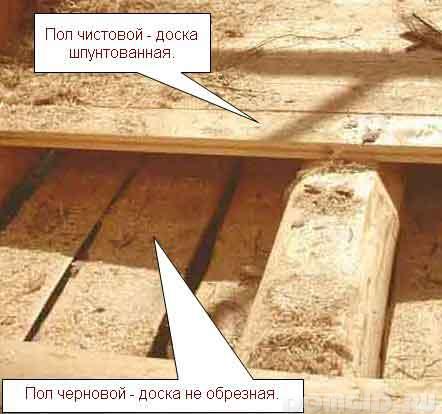
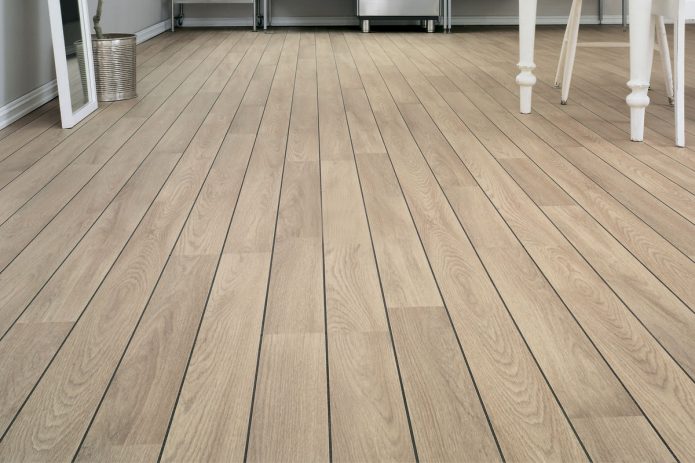 For grooved boards, the bottom layer remains untreated
Alder and aspen in accordance with the current GOST 8242 can be used for flooring only in living rooms. Cheap boards of grade C are usually used for subfloors.
How it works
The tongue-and-groove board has its own design features, thanks to which it acquires improved technical characteristics to create a high-quality finished floor:
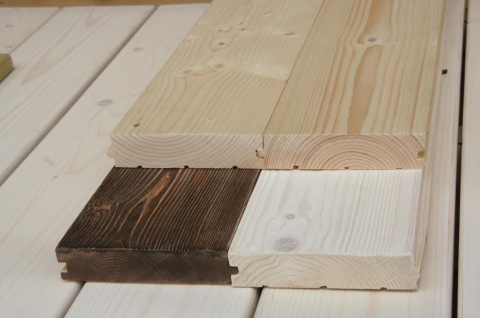
- on the side ends, special locks are made, consisting of a protrusion, the so-called tongue, on one side and a groove, which is ideal for the tongue on the other side of the board. Thanks to this design, the boards are connected to each other, tightly adhering to each other without gaps, a single canvas is formed. Materials with grooves are produced only on the long ends of the boards, and there are also models with locks along the entire perimeter;
- the upper front surface of the board is processed on high-precision grinding machines and is characterized by increased smoothness, it is completely ready for use and does not need finishing;
-
on the lower part of the planks, special grooves are cut for ventilation of the boards and maintaining the moisture level when laying floors on a solid base without creating a frame, for example, on a concrete screed or self-leveling floor. One or two wide grooves up to 3 mm deep or several narrow grooves are made.
The dimensions of such boards are reduced to several standard dimensions for ease of calculating material consumption and ease of installation. The length of the board is usually chosen equal to the length of the room. It is possible to manufacture longer or thicker strips for individual orders.
Standard sizes:
- length varies from 100 to 400 cm;
- width reaches from 8.5 to 10 cm;
- the thickness is from 2.5 to 3.5 cm.
Transparent floor coverings
Clear coatings for wood floors include varnishes, oils and waxes. These products are used to finish the floor in cases where the flooring itself has a beautiful color and pattern, and it makes no sense to hide this beauty under a layer of opaque floor paint.

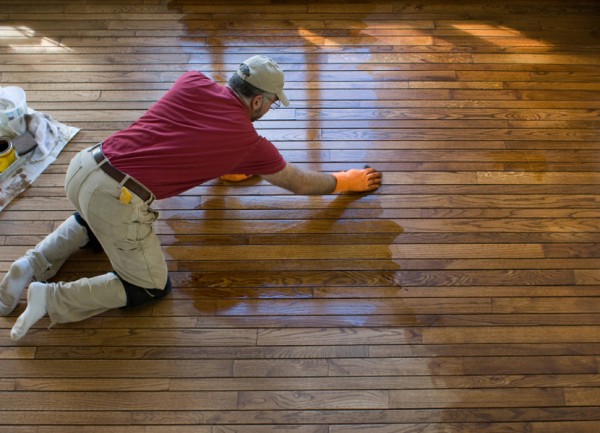
Coating with varnish.
The lacquered floor has a glossy finish, which has a lifespan of one to three years. There are several types of floor varnishes available in hardware stores.Primer varnishes are used as a precoat before the topcoat is applied. This is required in cases when it is necessary to tint wood, protect valuable wood species, and provide better adhesion of the finish coating to the board.
Acid-cured varnishes are used to give wood flooring a more natural, natural look, tint the surface in light colors that are pleasing to the eye.
What is the correct way to paint plank floors? Wood surfaces can also be treated with an anhydrous polyurethane varnish, which is recommended for places with high traffic and the likelihood of chemical attack, a water-based varnish with a less pungent odor and low flammability, urethane-alkyd or alkyd varnishes that emphasize the texture of the wood. Before you start applying varnish to the floor surface, it is recommended to watch the video instructions for working with this type of coating.
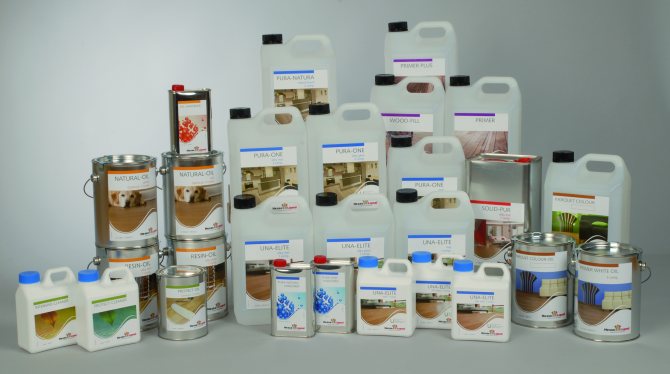
Types of water-soluble polyurethane varnish.
Oils for impregnating wooden floors are made from natural oils, to which synthetic elements are added to protect the wood from external influences. Oil penetrates into the board, increasing its resistance to external factors and extending its service life. Floor waxes are used as a finish to give the surface a beautiful shine. These two types of coatings are most often used for the maintenance of a parquet board.
Features of painting
Floor painting can be done in three ways, each of which is used under certain conditions. In the first case, drying oil or a primer is applied to the wooden flooring, after which dry, first one and then the second layer of paint is applied. This method allows you to get a beautiful surface, if initially the flooring had no visible defects.
The second method includes an additional step, which involves the elimination of floor defects before applying paint layers. In this case, all cracks and crevices are pre-filled and sanded. The third way to paint a wooden floor involves puttingty filler and painting in three layers.
Which of these methods you can use to decorate the floor in your home depends on the original condition of the floor and how you solved the problem: how to paint the wooden floor - varnish or paint.
Choice of boards
To install the floor covering, you must first decide how to cover the grooved floor so that it is as reliable as possible. When choosing boards, you need to build on several parameters:
Wood species
This parameter directly affects the quality and characteristics of grooved boards:
-
Spruce and pine. The main quality for which conifers are distinguished is their low cost. In addition, spruce and pine boards retain heat well, even in the coldest time.
Among the disadvantages of such boards, we can note the weak wear resistance: any point loads, such as furniture legs or fallen objects, will immediately be reflected on the tree. Also, coniferous boards should not be used in rooms with high traffic.
- Larch. As a hard coniferous species, larch differs from spruce and pine in its durability and good resistance to moisture. In addition to its strength characteristics, this breed is distinguished by good visual qualities, therefore, additional varnishing is not required for it.
-
Oak and ash.
Boards made from these types of wood are of the utmost quality and reliability. Pleasant texture and noticeable shade are also advantages. The disadvantage, based on all the positive qualities, is obvious - oak and ash boards are much more expensive than coniferous counterparts.
Sizes of boards
You need to select the dimensions of the boards depending on the size of the room in which they will fit.It will be much easier and more convenient to lay boards, the length of which coincides with the length of the walls along which they are laid. The thickness of the boards affects their cost and reliability.
The standard sizes of grooved boards range from:
- Length - from 1 to 6 m;
- Width - from 70 to 200 mm;
- Thickness - from 18 to 45 mm.
Quality class
This indicator allows you to select boards depending on their purpose and quality requirements.
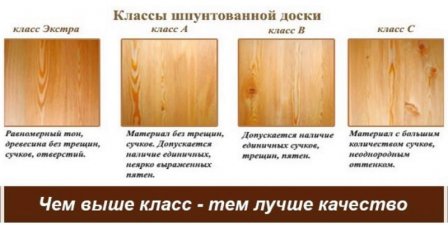
Grooved boards are divided into four classes:
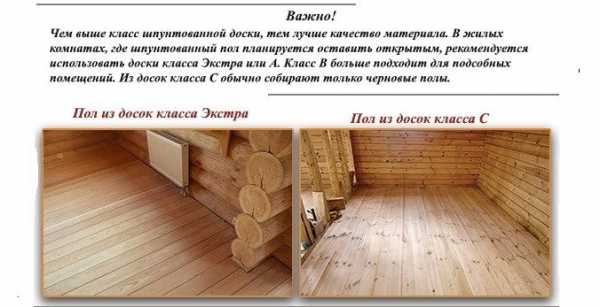
- Extra class (euro groove). Such boards are distinguished by the highest price, but at the same time they are distinguished by a homogeneous structure, shade and lack of flaws.
- A-class. A cheaper option, also free of cracks and knots, but may have an uneven shade.
- B-class. This quality class allows the presence of small spots and small cracks on the surface of the boards.
- C-class. The cheapest material with all kinds of defects: knots, cracks and small single holes. As a rule, economy-class boards are used when creating a sub-floor.
Humidity
This aspect is incredibly important for grooved boards: poorly dried boards are bound to deform and rot after installation, and ultimately the entire floor will have to be re-milled.
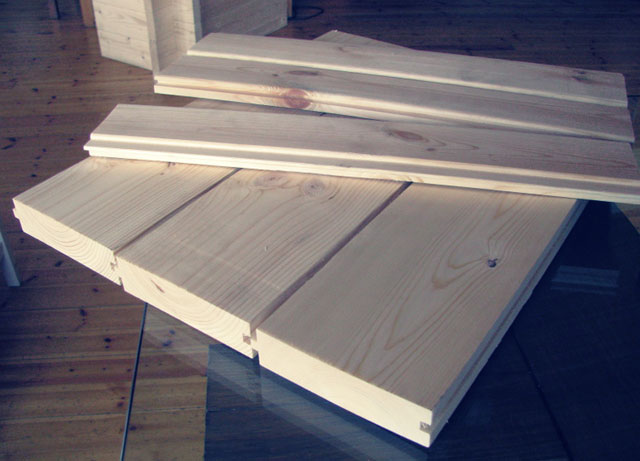
It is for this reason that, before attaching the tongue-and-groove board to the joists or other base, you need to monitor the moisture content of the material using the following recommendations:
- A suitable value for the moisture content of the boards is about 12-16%. To determine this parameter, it is best to use a moisture meter, and if it is absent, you will have to use simple, but effective methods:
- A light tapping on dry wood will give a clear and sonorous sound, while too wet wood will sound dull and almost indistinguishable;
- Wet boards are usually quite damp to the touch. Well-dried boards do not give this feeling;
- A dry board is usually lighter in color than a wet board. In addition, the dried board, after a good processing, begins to shine slightly, while the board with a high moisture content looks completely dull;
- If condensation collects on the inner surface of the packaging of the boards, this always means that the boards are too wet.
Material selection
To get a reliable and durable surface with high consumer characteristics, you need to choose a high-quality material and install it correctly. It is worth starting with the choice. This is a really important stage, you need to take it responsibly.

Wood
The type of wood is exactly what you should pay attention to right away. The floor tongue is made from different lumber, each of them has its own specifics
Pine or spruce. The main advantage of this wood is its reasonable price and availability. It has a good heat capacity, which makes the floor feel warm at any time of the year. Coniferous wood, due to its structure, is resistant to bending, but susceptible to point loads. It is not worth using such a sheet pile board in rooms with a heavy load on the floor, but it is quite suitable for walls.
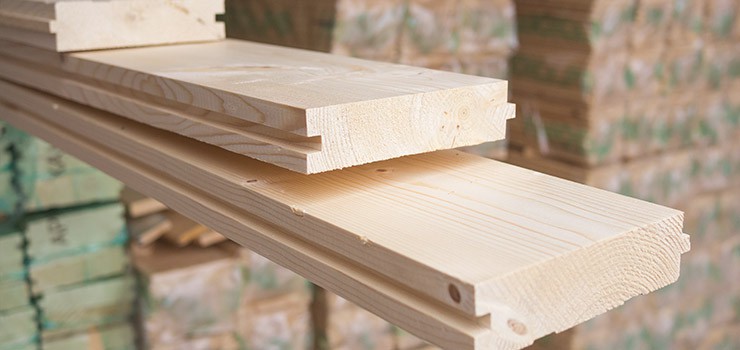
Larch successfully combines the fracture toughness characteristic of conifers and sufficient surface hardness. In addition, the wood has a pronounced texture, which makes it possible to create a beautiful floor without using stains and other dyes.
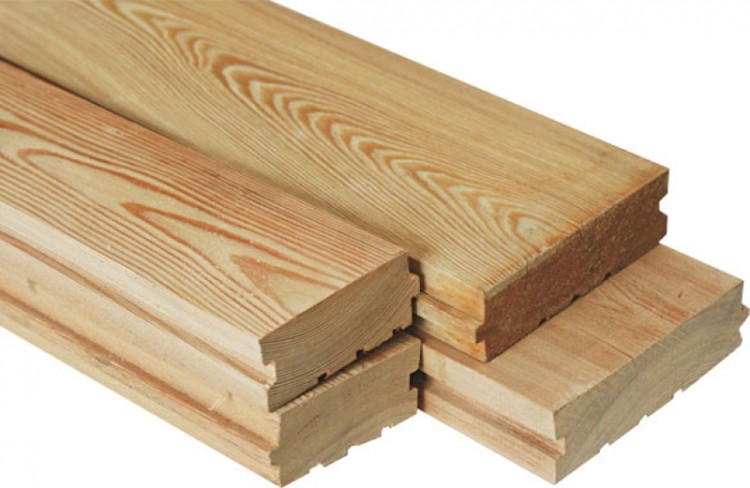
Oak and ash. It is the best choice for a quality and beautiful floor. The wood has high reliability rates, with a bright texture. The only significant drawback of this material is its high price.
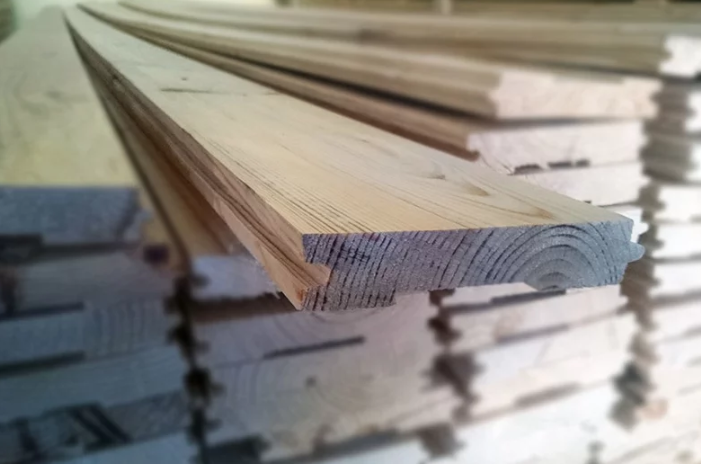
Board dimensions
When choosing lumber, you should pay attention to indicators such as the width, length and thickness of grooved floorboards. The reliability of the finished coating and the simplicity of its installation depend on this.
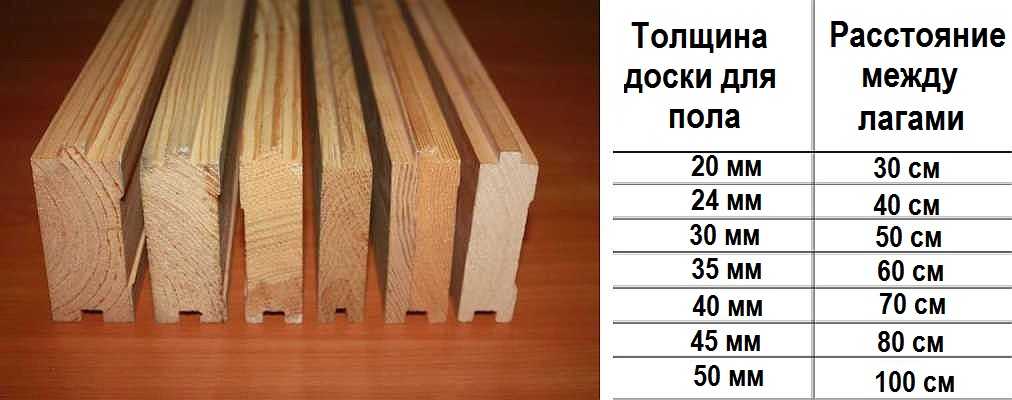
The standard length of the board is 4 or 6 m.The width can be selected in the range from 70 to 200 mm, the thickness - from 15 to 45 mm.
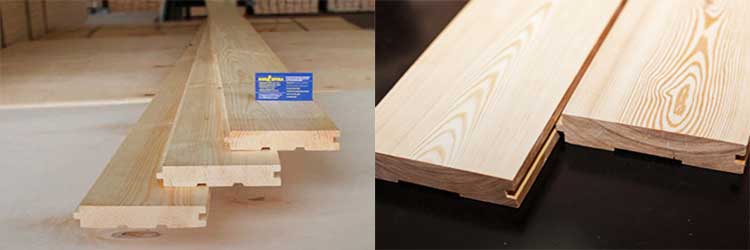
Perhaps the most important material parameter is thickness. The quality and reliability of the coating depends on it. For the floor, choose a board based on the method of installation and the distance between the logs. The grooved board for the wall does not experience excessive loads, its thickness is not so critical.
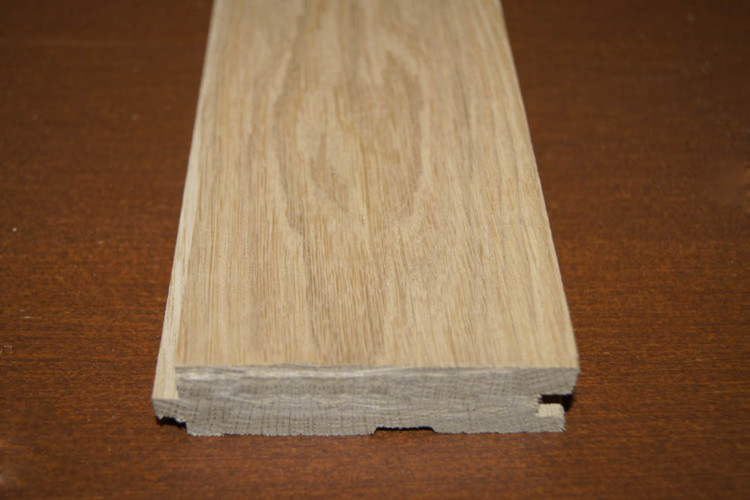
Quality class
There are four quality classes, when buying lumber it is worth considering this. Going on sale:
- extra material of the highest class, without knots, with a uniform color;
- A - the same as extra, but color variation is allowed;
- B - single spots are possible, a number of cracks;
- C - knots, cracks, through holes are allowed.
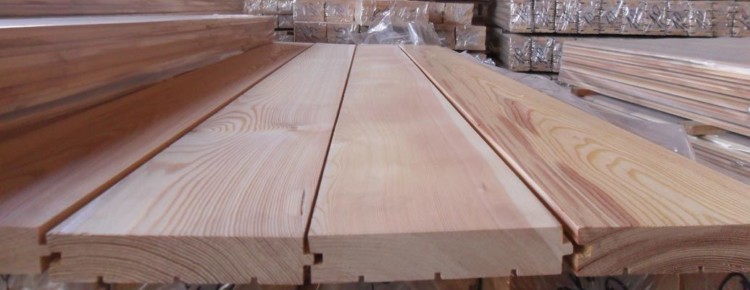
The material, which belongs to the last quality class, is suitable for subfloors or for work inside utility rooms. It is possible to create a high-quality and beautiful coating only with the help of a board of class "A" or extra.
Humidity level
For any lumber, moisture is one of the most important indicators, sheet piling is no exception. Moisture content of no more than 16% is allowed, otherwise, after drying, the floor or walls will warp, which will lead to the need for unscheduled repairs.
To accurately determine the humidity, a special device is used - a moisture meter. If it is not there, you can try to determine it by eye. This will not give an accurate moisture reading, but it will save you from buying raw boards.
What you should pay attention to:
- there should be no moisture on the inside of the packaging polyethylene, otherwise the wood is damp;
- when tapping with fingers, a ringing sound should be heard;
- the surface of the wood should be light;
- excessive moisture is felt to the touch.

If, by any of these signs, the material does not inspire confidence, you should not take it, it is better to contact another store.
How to choose paint?
The choice of paint for a wooden floor is the most important stage of all preparatory work, since the quality and service life of the future coating depends on it. A wide range of varnishes and paints for wood is now offered in hardware stores, which option should you choose?
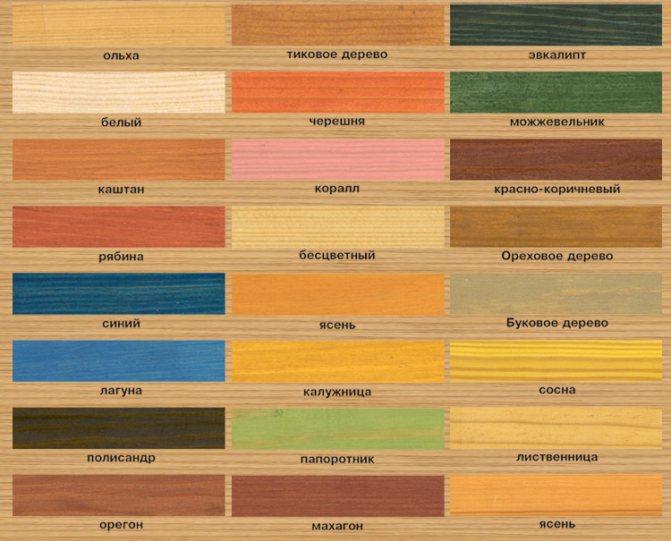
The range of paints is huge.
One of the main criteria for choosing a floor paint is its resistance to chemical and mechanical stress. The floor is a surface on which furniture is constantly moved and periodically moved. How to paint a wooden floor to make it last as long as possible?
The situation is complicated by the exposure to tiny particles of dirt - grains of sand and small stones, as well as chemicals that can accidentally fall on the floor.
Before choosing what to paint the old floor in a wooden house, you should pay attention to three criteria on which your choice will depend. The paint is selected taking into account the type of wood of the floorboards, the operating conditions of the coating, which include humidity, the intensity of mechanical stress and possible temperature drops, as well as in accordance with the type of the previous coating

When buying paint, make sure that all cans belong to the same batch. If the purchased volume is not enough for you, then there is a risk that the bank purchased in the store will differ in color
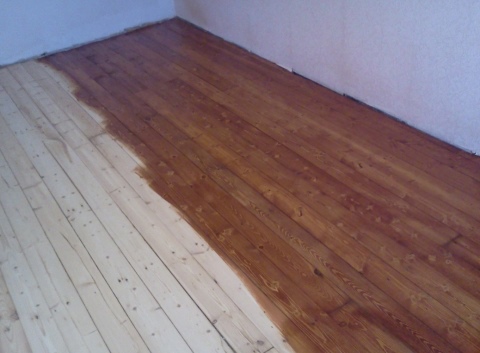
All paints and varnishes used for flooring are divided into two types: transparent and opaque. What is the best way to paint a wooden floor? Transparent coatings leave the natural color of the wood, emphasizing the structure of the wood and protecting the board from external influences. Opaque coatings include paints that completely paint over the floor surface. The difference between the two types of coatings can be easily seen even in the photo.
Aspect # 4 - humidity
The ideal moisture content of grooved boards is 12-16%.
If the boards are poorly dried, then deformations of the finished floor are inevitable. Often there are cracks, warpage of the boards.There will almost certainly be gaps between the planks, so the floor will have to be redone.
The moisture content of the boards can be determined using a moisture meter. If this device is not available, you can get by with simpler estimation methods:
When tapped with your knuckles, dry (suitable for the floor) wood makes a clear, well-audible sound. A wet board, on the other hand, sounds dull, barely audible, and if you touch a wet board, you can feel dampness. There is no moisture sensation on a dry board; the color of a wet board is darker than that of a dry board.
Also, after high-quality industrial drying, the surface of the board acquires a noticeable shine. The damp board remains matt. There should be no condensation inside the packaging foil. Moisture droplets on the film always indicate excessive moisture in the boards.
How to make a do-it-yourself tongue-and-groove board
Another important advantage of tongue-and-groove is the ability to make it with your own hands if you have certain skills in woodworking. This painstaking work requires free time and knowledge of the intricacies of technology, as well as the rules for choosing high-quality raw materials. According to the appearance and condition of the material, the board is divided into the following grades:
- extra is the most expensive variety, there are no knots and defects on its surface, it has an absolutely smooth, homogeneous structure;
- A - a high-class variety, but small spots and darkening are allowed on its surface without the presence of knots or other defects in the wood structure;
- B is the most popular variety in the mid-price category. Knots and other inclusions and spots on its surface do not spoil the general appearance, but create an additional decorative effect of naturalness;
- C - a cheap grade with admissible various structural inhomogeneities and through knots.
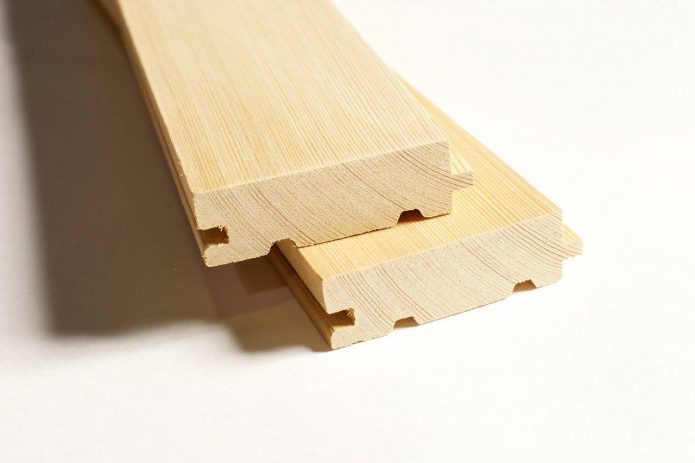 The moisture content of the sheet pile can be easily determined with a moisture meter.
Having decided on the grade, you should pay attention to other criteria for choosing the original sawn timber:
- humidity should be 10-15%, and ideally up to 8%, such indicators are achieved using industrial drying in special chambers, after which the board acquires its stable size and will not dry out anymore. High-quality drying can be determined by a shiny surface and a ringing sound when tapped, and a high humidity level is determined by the presence of condensation on the inside of the plastic packaging;
- the integrity of the packaging will preserve a low level of humidity and the quality of raw materials, when buying, you should also check for certificates, receipts and other accompanying documentation, it is recommended to choose products from well-known large brands that have earned the trust of consumers, a cheap board from an unknown manufacturer may be of poor quality;
- violations of the geometry and smoothness of grinding, especially for high-end goods, are unacceptable, they will complicate the installation and can spoil the appearance of the finished coating. These parameters are checked visually and manually;
- when combining several different types of wood, select boards of the same standard size to reduce the amount of trimmings. The type of wood depends on the purpose of the room and the planned loads, operating conditions.
Required materials and tools
The boards have been purchased, now you can start working.
For home grooving, you will need the following tools and materials:
- tape measure, level, ruler, square, marking pencil;
- impregnation from fire and biological damage;
- jigsaw or hacksaw for size correction;
- jointer with quarter selection function, milling machine;
- clamps for fixing the workpiece.
Step-by-step manufacturing process
Of course, it will not work to achieve a production class of extra-grade boards in a home workshop, but making a lock connection and in the future to get a beautiful flat floor without squeaking and cracks is quite possible.
Stages of work to be done:
- Before work, you should hold the purchased raw materials indoors for several hours to adapt to temperature and humidity conditions. A dry, clean, ready-to-work board must be fixed on the work table with clamps so that it does not stagger or shift during operation.
-
Measure along the long side the middle of the end side surface and mark for the tool joint.
-
With a manual jointer or on a milling machine, you need to very accurately and accurately cut a quarter groove in one long end of the board.
-
At the other end, you need to select the quarters along the edges from the drawn axis to get the tongue.
- Saw grooves or grooves for ventilation on the back of the board, one groove is enough. On the front side, if necessary, grind
- Treat the finished planks with an antiseptic and impregnation against fire, which will extend the life of the floor and postpone the need for repairs.
Video: how to make a do-it-yourself tongue-and-groove board
The tongue-and-groove board will last for decades if the material is chosen correctly and the tongue-and-groove is done slowly and carefully. After installation, it is advisable to cover the floors with several layers of protective varnish, then it will be possible to wash them, move heavy furniture and walk on them on hairpins without the risk of scratching or pushing through. Hardwoods that are resistant to mechanical stress can be coated with a special oil that will accentuate the beauty and reveal the texture of the wood.
Choosing a good building material
To avoid problems with the finished floor, you should take a responsible approach to the choice of grooved boards and the way they are stored.
Aspect # 1 - wood species
The first thing they pay attention to is the quality and type of wood. Grooved boards are made from:
- Spruces and pines are inexpensive, easy-to-work species. Their main advantage is their low price. In addition, they have excellent heat capacity, so spruce and pine floors always feel warm. However, it is better not to use them for floors in rooms with high traffic. Women's heels, furniture legs, fallen objects - all this can leave noticeable dents on the wooden surface. Obligatory treatment with varnish.
- Larch is a hard coniferous species characterized by moisture resistance and durability. Larch board has a beautiful, clear structure, rich color. Thanks to this, it is not necessary to cover it with stains and varnish.
- Oak and ash are durable, hardwoods. Their wood has a distinct texture, rich shade. Ash and oak boards are considered the most reliable and durable. However, they are also the most expensive.
Aspect # 2 - plank dimensions
The dimensions of the grooved boards should also be taken into account. They can vary significantly
Ideally, the length of the boards should match (or be slightly less) the length of the wall along which they will be laid. The reliability of the coating and the price depend on the thickness. The standard dimensions of grooved boards are:
- length - 1-6 m;
- width - 70-200 mm;
- thickness - 18-45 mm.
Aspect # 3 - quality grade
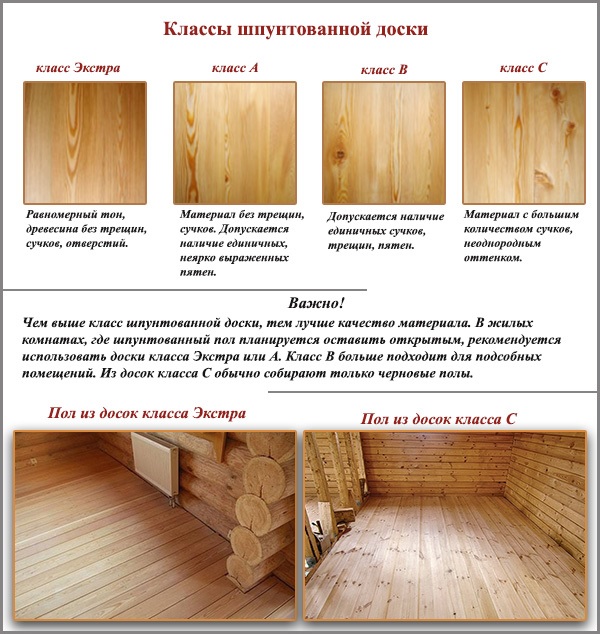
Grooved boards are sorted according to quality class. There are 4 classes in total:
- Extra - the highest class, or, as it is also called, Euroshpunt. This is the most expensive material, without knots, cracks, with a homogeneous structure and shade.
- A - material without cracks, knots, some shade heterogeneity is allowed.
- B - single spots and cracks are allowed.
- C - economy class, with multiple knots, single through holes, cracks. Typically, class C boards are used for subfloor installation.
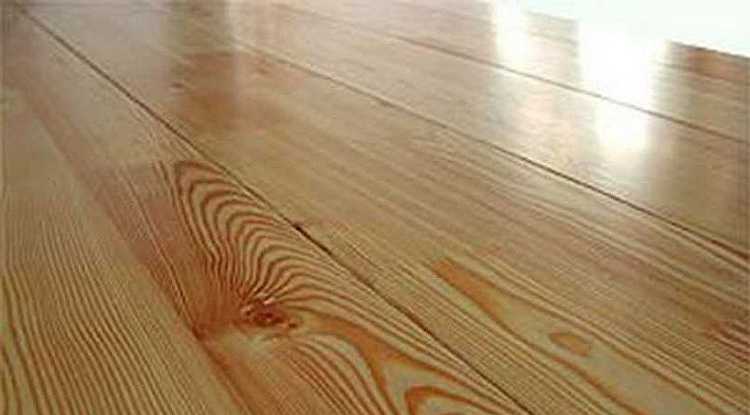
This is how it looks:
Aspect # 4 - humidity
The ideal moisture content of grooved boards is 12-16%. If the boards are poorly dried, then deformations of the finished floor are inevitable. Often there are cracks, warpage of the boards. There will almost certainly be gaps between the planks, so the floor will have to be redone.
The moisture content of the boards can be determined using a moisture meter.If this device is not available, you can get by with simpler estimation methods:
- When tapped with your knuckles, dry (suitable for the floor) wood makes a clear, well-audible sound. A wet board, on the contrary, sounds dull, barely audible.
- If you touch a damp board, you can feel dampness. There is no moisture sensation on a dry board.
- The color of a wet board is darker than that of a dry one. Also, after high-quality industrial drying, the surface of the board acquires a noticeable shine. The wet board remains matt.
- There must be no condensation inside the packaging film. Moisture droplets on the film always indicate excessive moisture in the boards.
Additional recommendations for choosing a grooved floorboard are given in the video:


