Caravan material
Often in the garages of car owners there is an unnecessary load of various rubbish, which it is a pity to throw out, but he did not find a use. You need to delve into these things and see, maybe something will work for making homemade products. What can come in handy:
- wheels and springs from an old car, disassembled for parts;
- pieces of sheet iron;
- channel or corner;
- various fasteners (nuts, bolts);
- pieces of car wiring.
For yourself, you need to decide what should be the carrying capacity of the car trailer (AP) - the passport data of the car indicates for what maximum mass of the trailer it is designed. If some material is not enough, you will have to buy it, you will also need a plug to connect the car's wiring to the AP.
Ready options
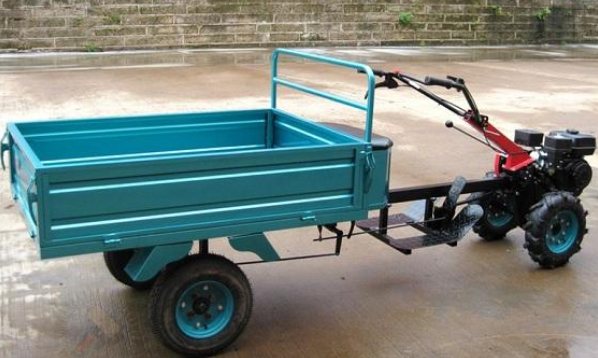
If you start comparing factory carts for walk-behind tractors, their prices will seem simply exorbitant, given that such a product will be used in a limited area and along a simple route.
Although their quality still attracts the attention of many owners of walk-behind tractors, who, for one reason or another, do not manufacture them at home. Although there is something to see - galvanized sides and bottoms, brakes for every taste and soft seats with footrests - almost all types of comfort
You can even get a product warranty. But, since they are all manufactured according to certain standards, their dimensions, carrying capacity and general design convenience often do not meet the needs of customers. Therefore, the question of choice is serious - to buy or to do it yourself?
TPM-350-1
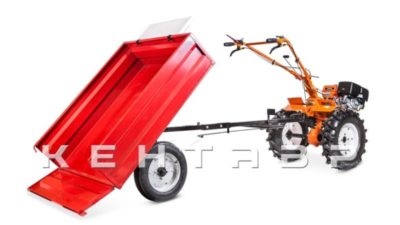
- TPM-350-1 trolley for walk-behind tractors, equipped with band brakes, with a non-galvanized dump body type, has dimensions of 1.2 meters by 1 meter. The carrying capacity of this product is 500 kilograms.
- The trolley is suitable for many models of motoblocks, both foreign, made in China, and for domestic ones, in which components supplied from China are used. Its total length is 2.6 meters and its width is 1.3 meters. The average price is about 18,000 rubles.
- The TP-350-1 trolley is galvanized collapsible for a mini tractor, the body of which is completely assembled from galvanized steel sheets, and is also equipped with reflective elements. With its own weight of 90 kilograms, its carrying capacity is about 500 kilograms.
- The dimensions of the body are 1.1 meters by 1 meter exactly. This cart is equipped with disc brakes and is completely collapsible. True, in the standard configuration, it is only suitable for clinging to a mini tractor.
- In order to use the cart together with the walk-behind tractor, you will need to supplement it with the necessary fastening. The average price of such a product is on average about 20,000 rubles.
-
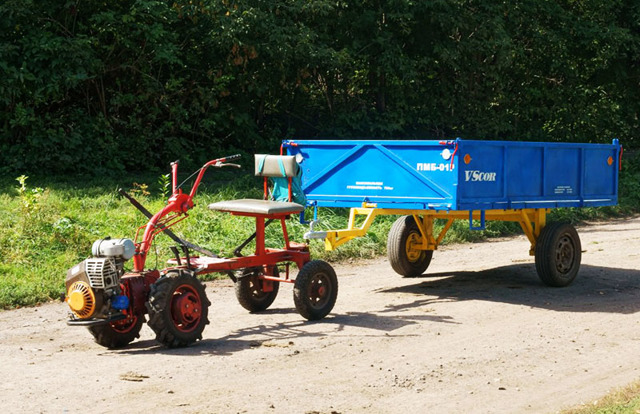
Trailer – this is a cart, which, despite the name, can be used not only with walk-behind tractors of this company, but also with their counterparts. And there are plenty of them, since, like walk-behind tractors, it is made in China.
The same applies to attachments, or rather mounts for it.
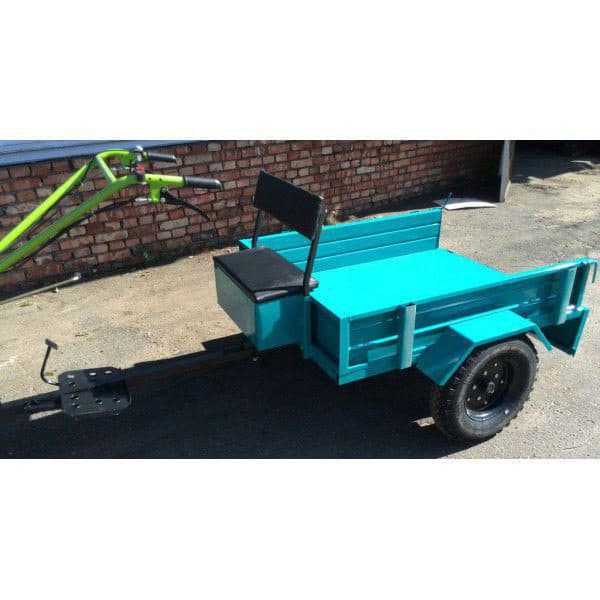
- The dimensions of the trailer body are 1.4 meters by 1 meter exactly, the height is 1.13 meters. Dump trailer type with a loading capacity of 350 kilograms. One of the available amenities that all trailers of this model are equipped with is a convenient glove compartment, which is located under the seat.
- The average price of such a trailer is about 17,000 rubles.
On technology and rules for the production of a trailer
There are different types of cars with large and voluminous luggage racks, but there are most of the middle class cars on our roads. To carry out one-time transportation of baggage, you can use the services of a cargo taxi. In cases of multiple transportations, the use of taxi transportation may not be effective. In this case, the way out of this situation will be to use a trailer for a passenger car.
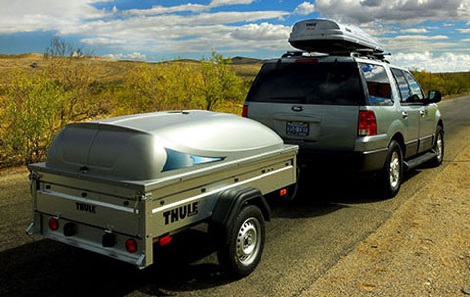
The desire to have a trailer for a car can be fully realized by purchasing the desired factory-made sample presented in car dealerships. Many car owners hope to save some money and try to make a homemade trailer or rebuild the old one, make it more powerful, larger.
New and constantly updated traffic rules and regulatory documents indicate that any rebuilding of a vehicle or its manufacture requires the owner to conduct a technical examination of the vehicle with the receipt of an appropriate certificate for the suitability of this structure, confirmation of its safe operation.
For self-production of a trailer, you should decide on the type of trailer, what to transport and what is required for manufacturing.
For example, in factory trailers, professional devices and structures are used, with special equipment for cargo. These trailers have additional carrying capacity and are capable of carrying loads under different road conditions.
There are such components that are manufactured at the factory using complex technology: hot-dip zinc coating, high-precision resistance welding, and so on.
To make a trailer for a car with your own hands, you will need tools and materials. Having decided to create a light trailer with your own hands, you must already understand what a trailer is and what it will be.
The necessary information on the standards for the manufacture of transport devices makes it possible to create a miracle technique in accordance with the simplified list of requirements of GOST 37.001.220-80, given below:
- For the permissible trailer mass, the limit is up to 1.8 tons. The weight is not more than half the mass of the tug and when the vehicle is without brakes;
- The length of the vehicle is no more than 8 m and no more than one and a half times the length of the car;
- Up to 0.23 m wide and no wider than the car by 20 cm on both sides;
- The height of the vehicle is up to 3 m and not higher than the wheel track of the trailer by 1.8 times;
- The center of gravity with the load should not be higher than the track width and multiplied by 0.725;
- The width of the ground clearance should be no less than the vehicle's clearance;
- By design, a home-made trailer for a car can only be single-axle. The distance between the axes of the paired structure is up to 1 m;
- The load on each side of the trailer must not exceed 0.55% of its own weight;
- The total weight for the trailer hitch is from 25 to 100 kg / s.
The hitch equipment must have the following designs:
- One-piece cable or chain in case the vehicle is disconnected from the vehicle while driving;
- Restraining shoes for self-parking stability;
- Jacking platform;
- Removable lever brake;
- Splash-proof fenders;
- Stand for sign installation;
- Support stand;
- Spare wheel corresponding to the size of the tires of the car;
- Lighting fixtures, wiring and connecting plug.
In order for a homemade caravan to have the required safety, you should buy a towbar fastener.
Is it possible to make a homemade mini tractor trailer with your own hands?
As prices for factory carts rise, home-made mechanisms that can be made at home from scrap materials without much skill and special knowledge are becoming increasingly important.
We will consider several options for designing a homemade trailer - for beginners and for more experienced craftsmen.
Non-tipping trailer for the transport of low-tonnage cargo
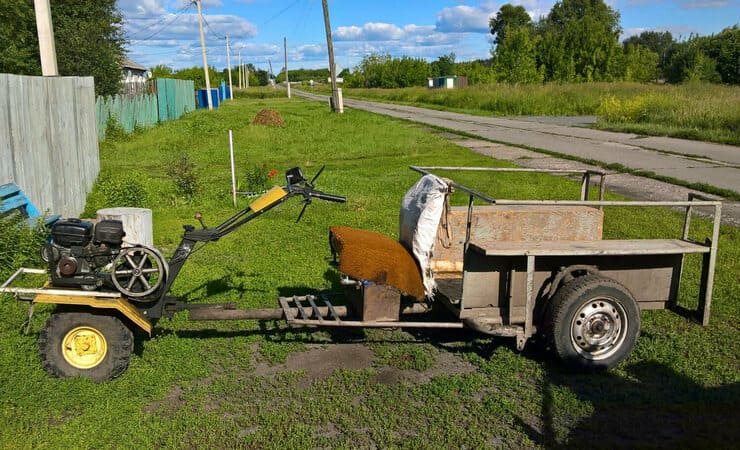
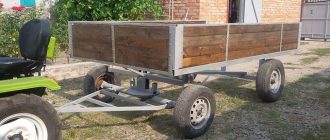
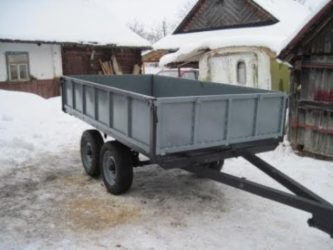
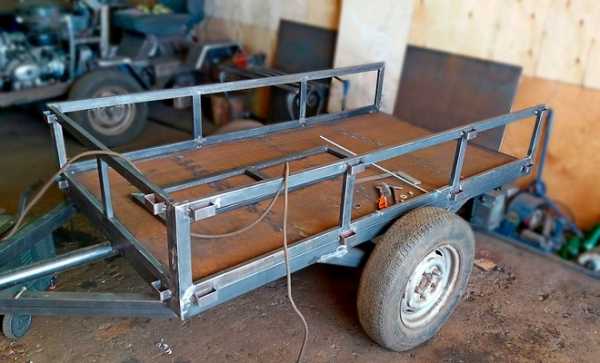
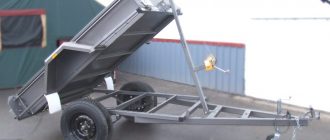
The most primitive design of home-made carts can be called a uniaxial one with 2 transport wheels and without mechanisms for turning the body over.
Work progress:
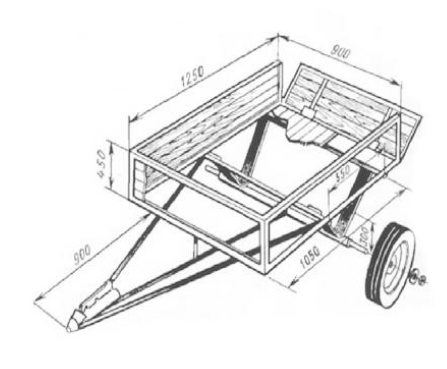
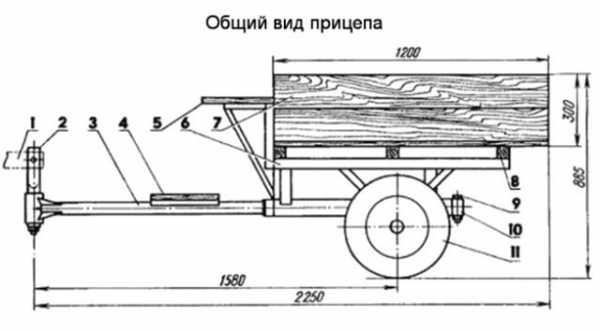
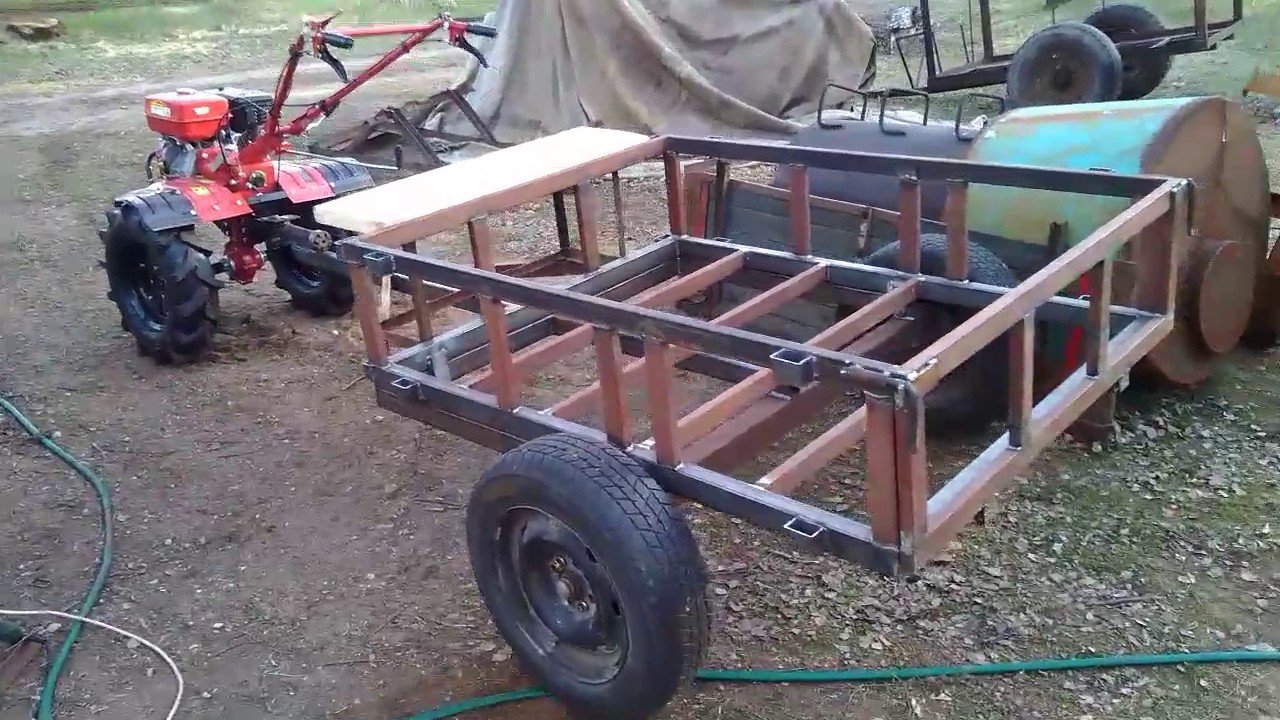
Making a drawing of a future homemade product - it should reflect the dimensions of the finished device, the size of the parts, the size of the sections, etc. As a base, you can use ours presented below;
The cycle of preparatory and organizational work - at this stage, the necessary materials are procured (metal corners, channel bars, stainless steel sheets, wheels, plywood) and tools (electric drill, welding, grinder, screwdriver). It is advisable not to use rotten parts in order to avoid double work in the future;
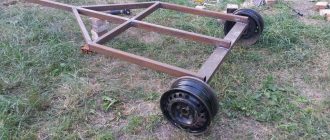
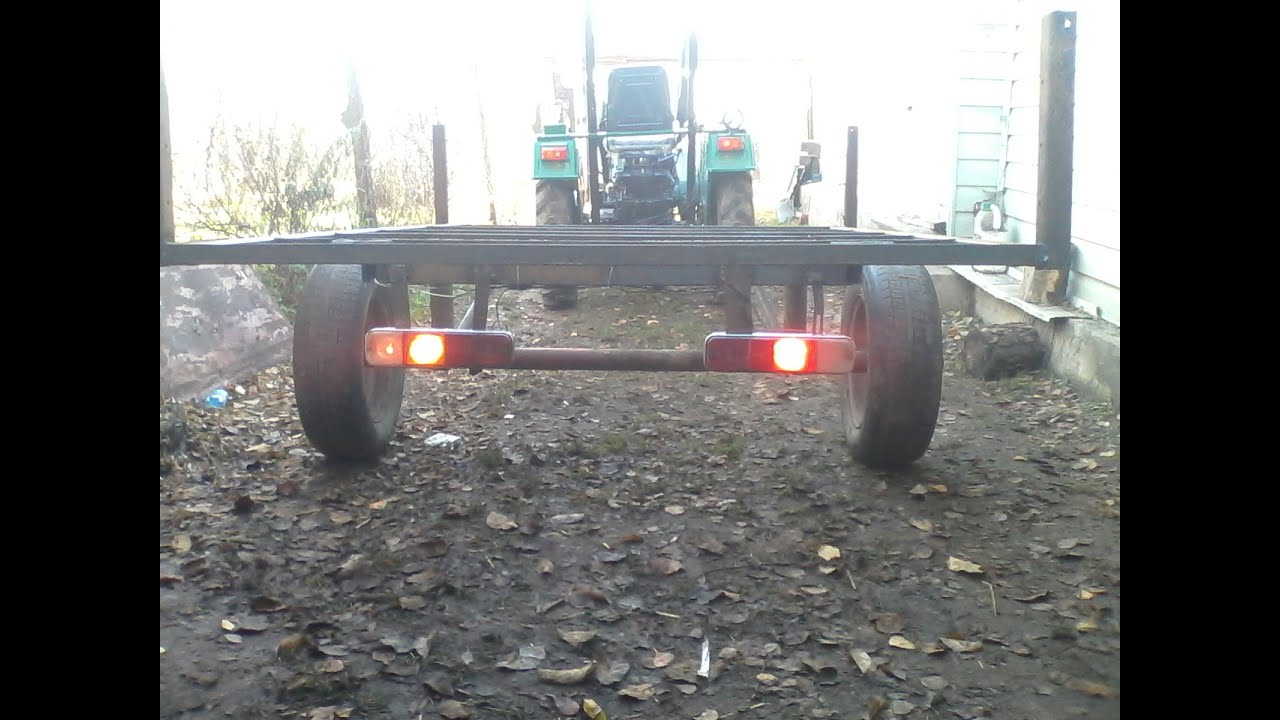
Drawing up the frame - it will be the supporting support of the future homemade product. For it, metal pipes with a diameter of 4 cm are taken, cut to size from the drawing and welded into a rectangle
In the frame, it is important to provide for a frontal traverse, weld a hitch for the central axle and reinforce the rear beam;
Equipment of the wheel part - its axis can be a hollow steel rod connected to the frame with bolts. To strengthen the structure, corner support blocks and side spars can be used;
Body reconstruction - it can be done in wood or metal
Wooden in the presence of dry, undamaged wooden beams will be easier to make, but in durability it cannot be compared to metal. For a wooden body, the beams are dissolved into boards, which are compacted with metal corners, and then they are primed and coated with powder paint. A metal cart is best made of stainless steel or aluminum, which will not rust and will withstand heavy loads;
We adapt the trailing mechanism, which will maintain a balance between the drawbar mount and the frame frame;
We fix wheels - they can be taken from an old walk-behind tractor or a car in the amount of 2 pieces. The advantage will be the availability of tires with a rough tread, which will save you from sinking and slipping on country roads and after rain;
After that, you can proceed to field testing and running the cart.
How to make a two-axle tipper cart for a mini tractor?
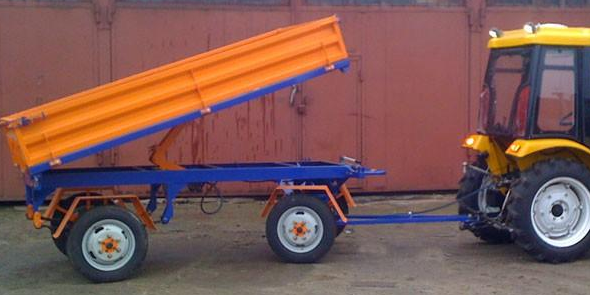
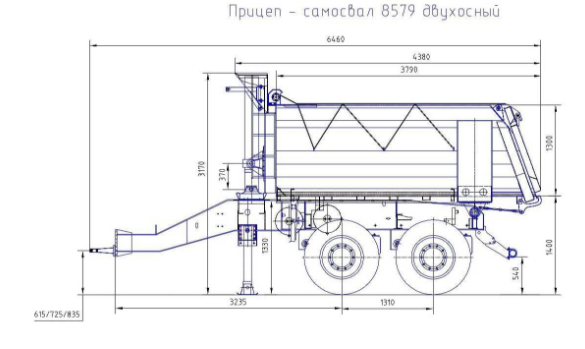
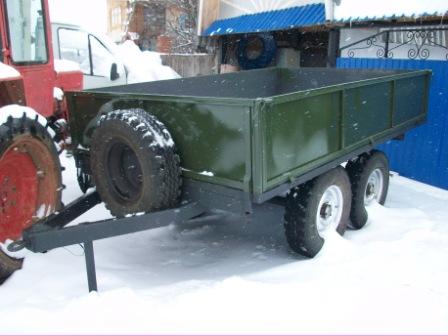
The two-axle cart for a mini-tractor is a four-wheel unit compatible with powerful mini tractors. The optimal length of a homemade product will be 3 m in length and about 2 m in width.
We will need:
- front beam from "Moskvich"
- rods from the MT motorcycle sidecar, which will pull the levers and turn the front wheels;
- the drawbar is made of a cardan from "GAZon" with a welded crosspiece for vertical balancing of homemade products;
- a damping device for the hinged beam to soften the jerks of the mini tractor;
- springs and shock absorbers from "Moskvich" for the rear beam;
- half-inch tube that will hold the front hubs.
We start assembling homemade products from the frame according to the drawing.
The body is made in the same way as a single-axle trailer. After installing the beams and undercarriage, proceed to the assembly of the tipper device.
It can be:
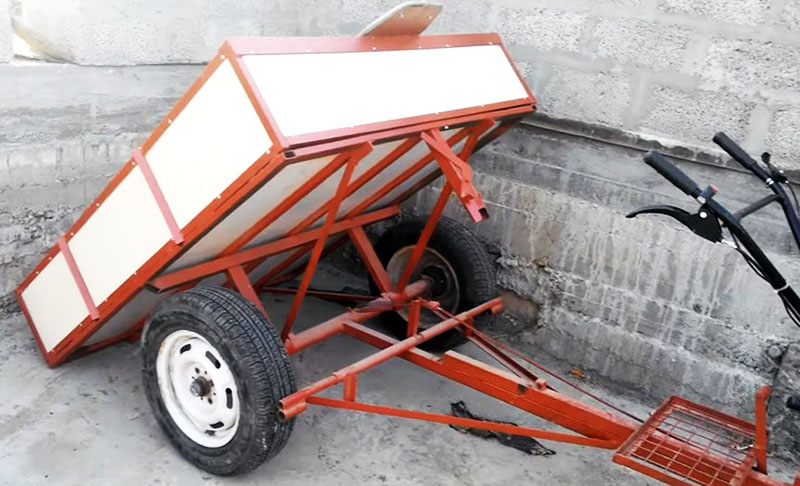
- self-tilting, acting like a conventional lever;
- rising.
The first will require the welding of fastening loops that will hold the body on the axle. In this case, the body will be lifted by a conventional handle with a stopper preventing its spontaneous lifting.
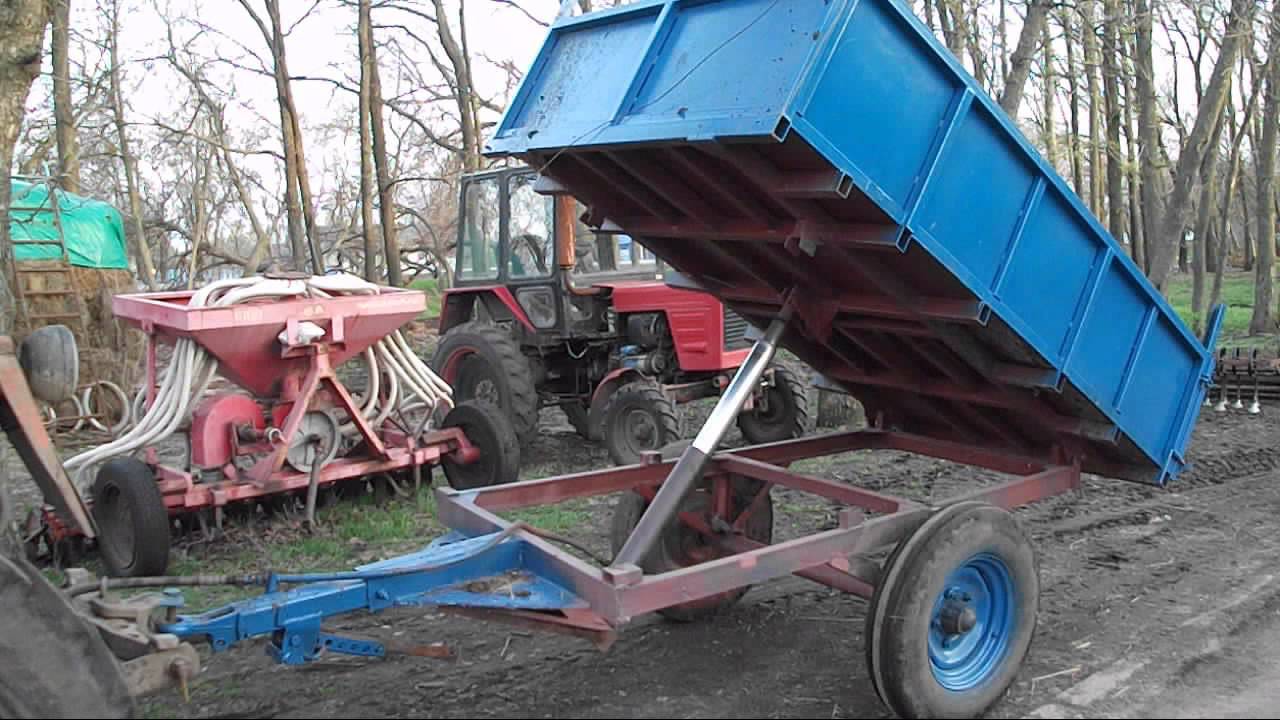
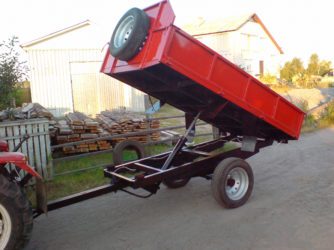
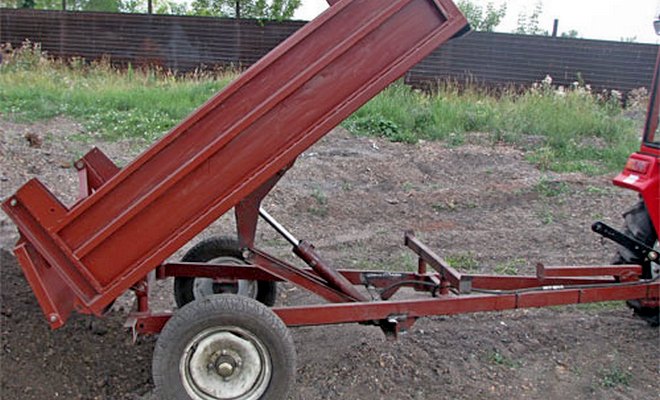
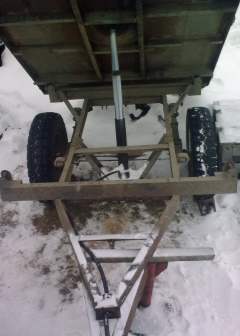
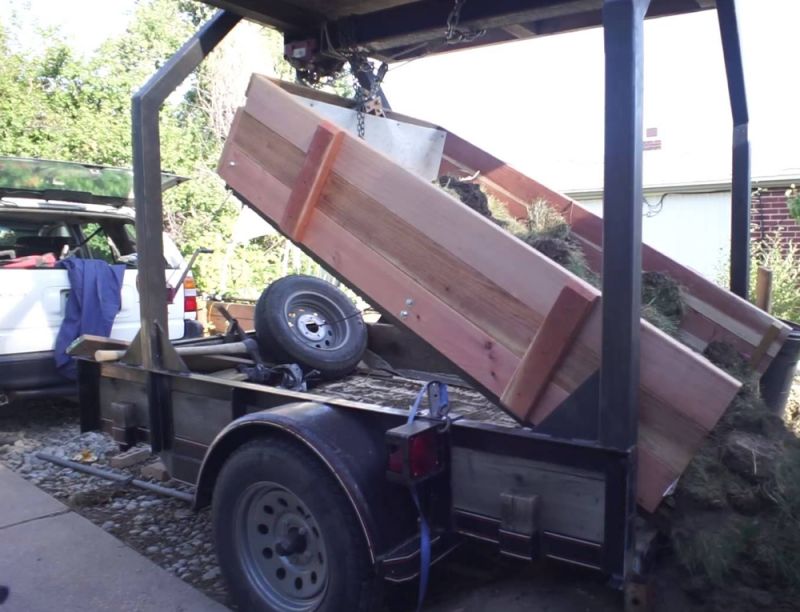
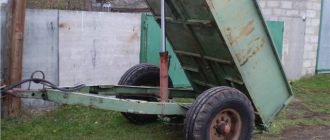
In the second, the homemade product will have to be equipped with a lifting power unit, hydraulics, an oil pump or a hydraulic jack located under the body.
The choice of a tipping mechanism is a purely individual matter. In any case, it must be borne in mind that at least one side must be hinged (better - the rear one).
Differences
The classification of this technique has its own characteristics, the main of which is the number of axles. Trailers and carts for a mini tractor can be 1-3 axle. Each axle is a pair of wheels. Accordingly, the more weight needs to be transported, the more they are needed.
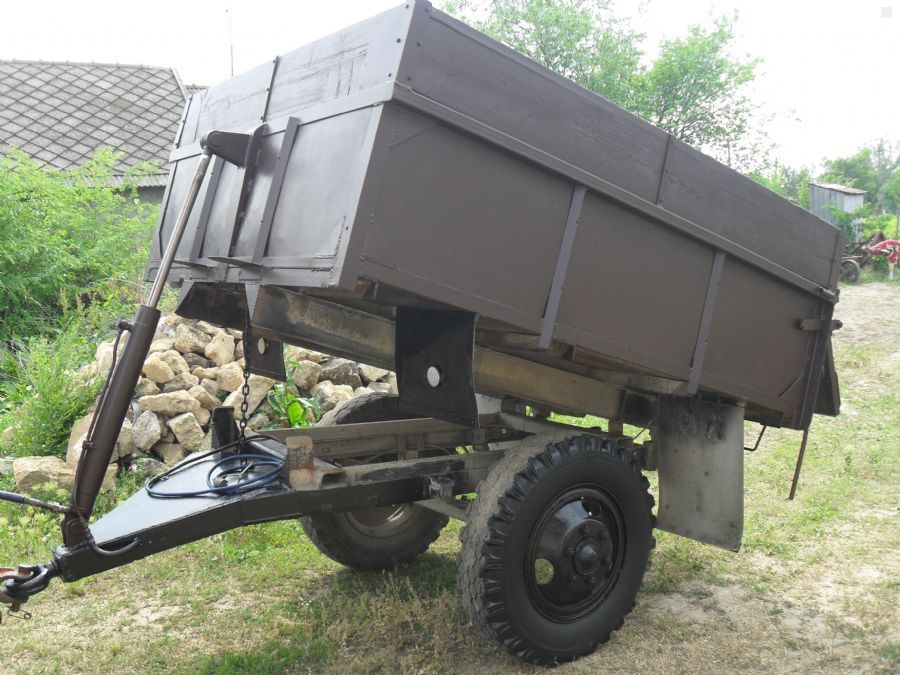
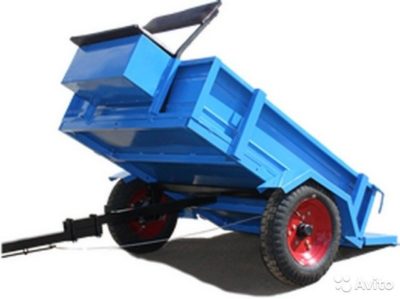
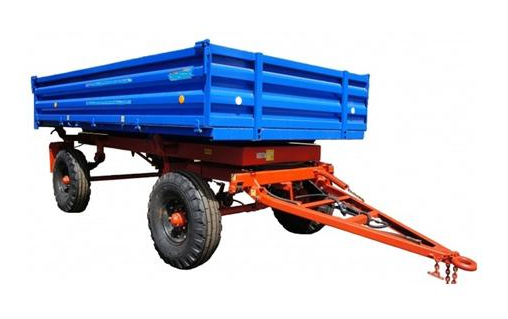
Tipper trailers are used to transport bulk cargo. Outwardly, they are no different from the rest, and can be either uniaxial or biaxial, but they have an automatic unloading function. This type is intended for the transportation of building materials such as sand and crushed stone. But such a device will perfectly cope with the transportation of other solid loads. They can easily unload without auxiliary equipment. The biggest advantage of this option is the savings in time and effort that would normally be spent on the unloading process.
In onboard models, packaged cargo is mainly transported. It can be:
- boxes and containers with crops;
- building materials;
- bales of straw.
This trailer is also suitable for transporting a mini tractor. In this case, the board leans back, which helps to quickly carry out loading and unloading.
Varieties of models
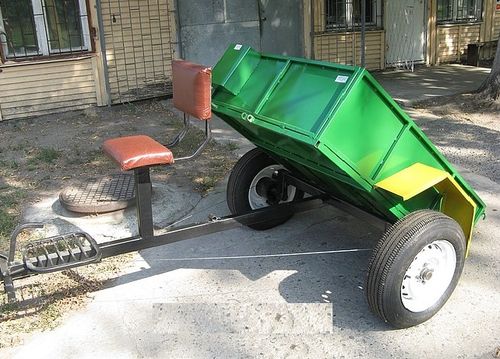
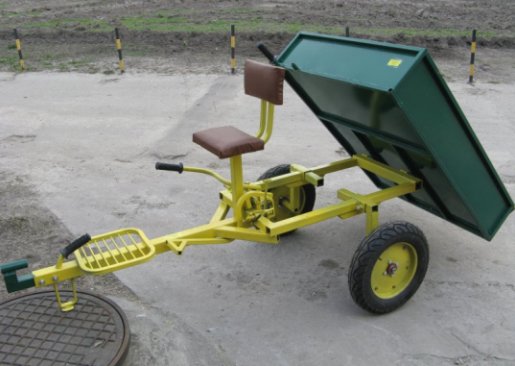
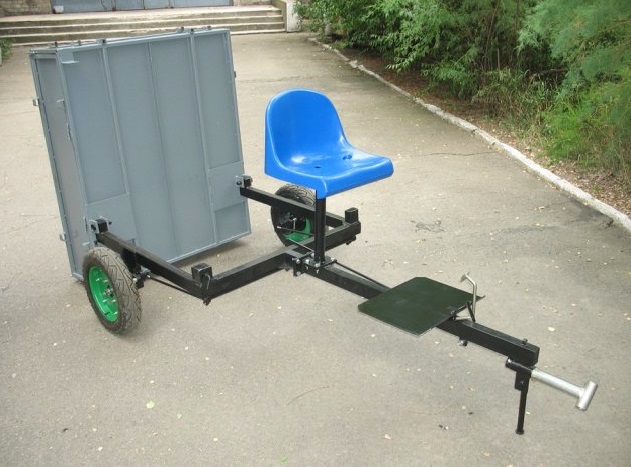
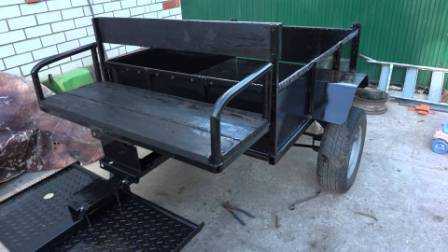
In terms of the number of axles, single-axle models and a compact two-axle dumping version are suitable for a minitractor. Two-wheeled units are suitable for fast transport of small loads up to 200 kg in weight. Most often, such models are similar to wheelbarrows for transporting building materials, only instead of handles there is a special device for an earring on a tractor. The photo shows single-axle trailers for mini tractors.
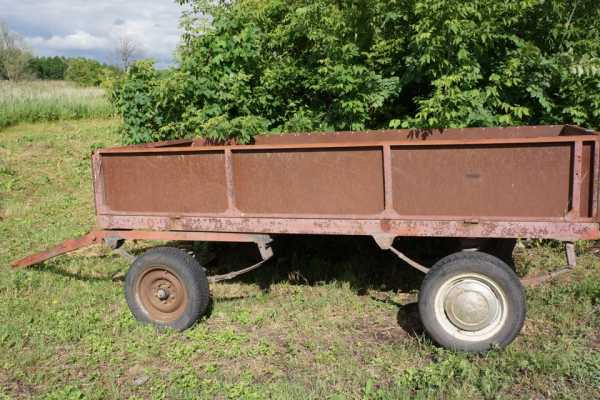
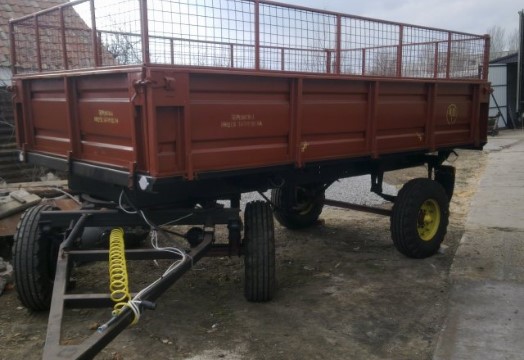
For the transportation of medium-sized loads by weight or large ones in volume, the dump biaxial version of the bogie is better suited. Such a model is characterized by increased stability and is able to withstand a weight of up to 2 tons, although in practice no one overloads it over 1.2 tons. A two-axle trailer for a mini tractor may not have an unloading function, which is not a problem if you need to transport fruits, vegetables and other products that are best not dumped on the floor.
If you buy a dump trailer for a minitractor, then it is better to use it for transporting bulk building materials: crushed stone, sand, clay. Also, this model is useful when transporting grain. Thanks to the unloading function, the unit can be easily disposed of the load. In some cases, such a model is used for garbage disposal, since it does not have to be manually unloaded later.
DIY making
In order to make a caravan yourself, you need to take care of purchasing some materials and tools. In order not to look for the necessary devices during work, they are purchased in advance. List of tools and materials:
Beginning of work
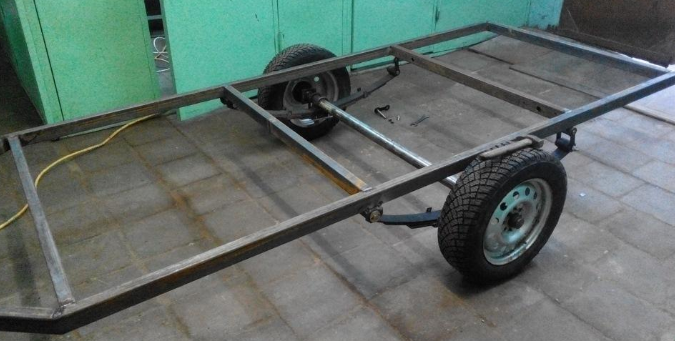
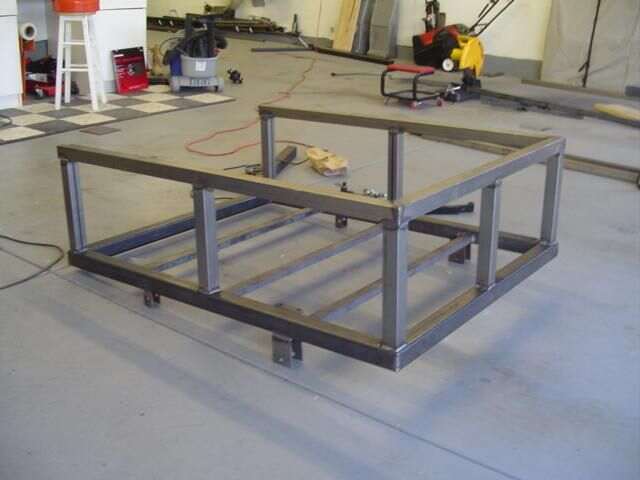
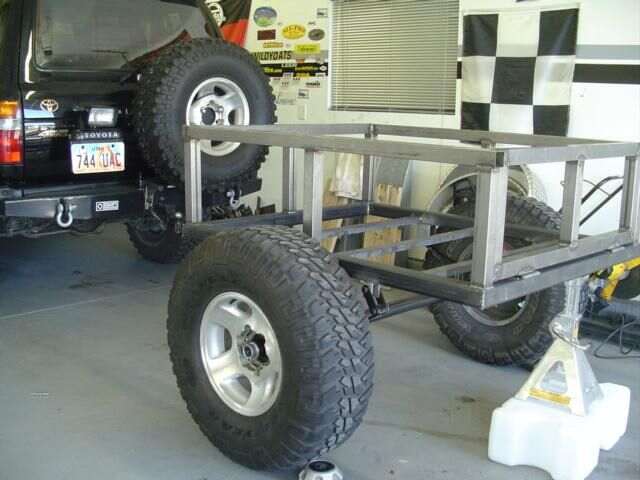
The assembly begins with the trailer frame, which is the supporting structure. It accounts for the bulk of the load. It has increased requirements for reliability and strength. The prepared channel or square pipe is cut to size according to the drawing, two long and two short blanks are made.
They make a rectangular or square base in the form of a frame, to which the sides of a metal sheet will subsequently be attached
Pay attention to the quality of welding, since this is a sore spot in homemade trailers. The hitch is fastened in front of the manufactured frame.
To install shock absorbers, special eyes are placed in the middle of the frame.
It's the turn to make the side frame. For fastening the side railing, vertical posts are strengthened, their length depends on the side height. The vertical elements are connected with each other by additional stiffeners, since during the movement it is the racks that experience the load from the displacement of the load. Additional strengthening ties are made horizontal, vertical, or placed obliquely.
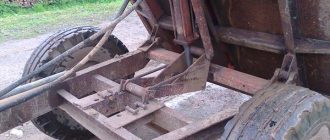
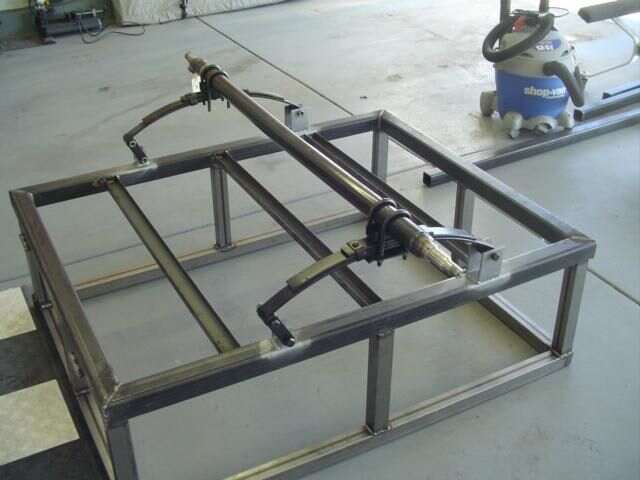
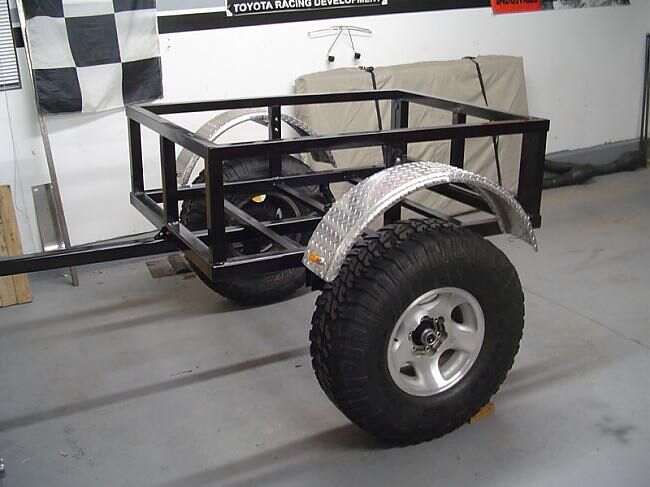
Working with the chassis of a trailer is associated with a lot of difficulties and has its own peculiarities. One is that the axle should be located closer to the rear of the trailer. All design features arise depending on which car chassis is taken for the trailer device.Damping lugs and attachments for jet rods are welded to the frame. The installation and use of the latter are mandatory, since they play the role of elements supporting the bridge.
Final phase
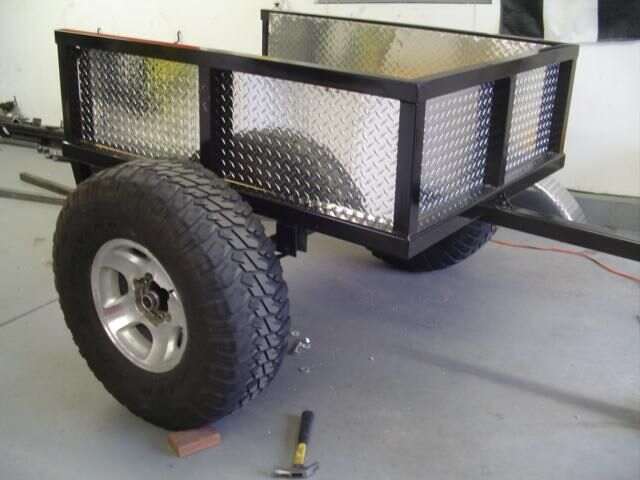
The sheathing of the sides with metal and the manufacture of the bottom of the trailer from plywood is done at the final stage of assembly. A jigsaw is used to cut plywood to the size of the inner space, and sheet steel is cut with a grinder. The bottom elements can be made of a solid sheet or connected from pieces with an overhang of at least 5 cm. All pieces must be attached to the frame and base elements along the perimeter using bolted connections.
The sides are cut to size, which is measured on site. At this stage, using the dimensions from the drawings is irrelevant, since during the manufacturing process, the dimensions of the body frame, as a rule, differ slightly from those provided in the diagrams. Welding or rivets are used as fasteners, which also hold the material well. The boards are attached to all struts and reinforcing ties.
Electrical equipment
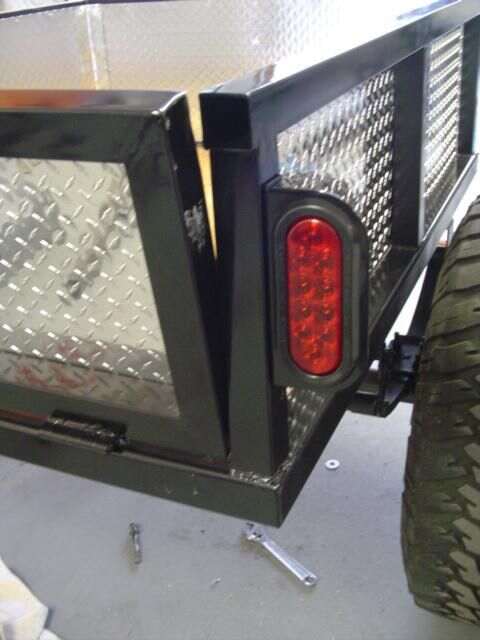
Elements of electrical equipment are installed on the rear wall of the trailer. These include red reflectors of a triangular shape, a reversing lamp, license plate illumination, direction indicators, stop indicators, side lights. On the wall in the front part there are white dimensions and the same reflectors.
The side panels are for orange reflectors. To keep the wires intact, a protective corrugation is put on them. Wire connections must be secure and well secured. Corrugation with wiring inside is conveniently attached to the frame with plastic clamps.
Light car trailers are popular with villagers, summer residents and private construction crews. These units simplify the transportation of goods of different directions. Only it was necessary to unload all this with my own hand with a shovel, if not for a dump truck trailer for a car. A pop-up box trailer takes the hassle out of unloading.
Homemade trailers for mini tractors
Like other factory equipment, a dump trailer for a motorcycle tractor with a convenient unloading mechanism is quite expensive. And, despite the demand, buying it is simply not profitable for novice farmers or owners of a small gardening farm. But still, since it is almost impossible to do without a trailer, those who wish can make an analogue with their own hands.
The key to successful assembly and reliability of the future unit is the creation of a competent project. The drawings should reflect all the parameters of the mechanism, the expected loads and the carrying capacity. Based on this, the design features of the trailer will be determined (clearance height, wheelbase width, body capacity, side height, body length, etc.).
The trailer for the minitractor is assembled in several stages:

- welding of the supporting frame structure (pipes of different sections fastened with a welding machine);
- creation of a wheelbase (a steel rod-axle is attached to the frame using side spars, corner supports, hinges);
- body assembly (The boards are attached to a metal frame structure. Instead of wood, you can use stable profile steel to assemble the body);
- installation of wheels (To assemble a trailer, you can use springs and wheels from any car. At the same time, in order to evenly distribute the loads, it is advisable to place the wheels in the center outside the body perimeter);
- assembly of the hinge (drawbar for connecting the trailer to the mini-tractor).
All units and mechanisms are interconnected and carefully checked. After that, a homemade trailer can be used in agricultural work and transportation of goods.
How to make a trailer for a mini-tractor with your own hands
First, you need to decide what kind of agricultural work a trailer or a homemade trolley for a mini tractor will perform. You can simply transport various loads, or you can transport manure and unload it using a dump truck. It will not be difficult to make the first option, but the second will have to tinker with. Do not rush, you need to immediately do it efficiently and thoughtfully. First you need to draw the diagrams. According to the drawings, a home-made cart or other types of trailers and tractor equipment will be manufactured. It should be borne in mind that the hitch must have good carrying capacity and low weight. Then it is necessary to determine whether the trailer to the tractor will be two-axle or uniaxial.
Consider how to make a single-axle trailer for a mini tractor with your own hands:
- First you need to weld the frame and the reinforcing crossbar.
- It is better to perform all connecting elements and pipe joints by welding. This will ensure the reliability and strength of the structure.
- Then you need to weld the seat racks from pipes of a smaller section.
- Now let's decide on the choice of wheels. Since the product has 1 axle, 2 wheels are required.
- It is better to take wheels for motoblocks. They are excellent in diameter and have a reliable composition. With a reinforced tread, the tractor will be able to carry out more complex types of loads, drive on bad roads, without exposing the tires of the wheels to punctures.
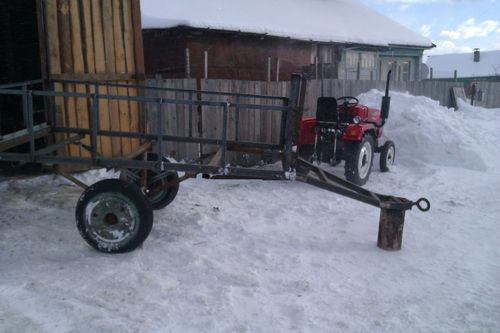
But a home-made two-axle trailer for a tractor is a little more difficult to make than a single-axle one, because a cart with 2 axles needs to do more welding and installation work. The frame can be made as for a single axle trailer. With such a vehicle, if you are a fisherman, you can transport a boat.
A two-axle trailer has a more reliable design, as it has 2 axles and 2 pairs of wheels, so it has a higher carrying capacity.
Also, the weight of the transported cargo is evenly distributed on it.
Consider the requirements for the body. There are no strict correspondences at this point, but there is a choice. The body made of metal is more durable and reliable. But the body made of wood will get wet in bad weather and collapse, even if it is treated with special coatings against corrosion. You can choose a different material, but aluminum and sheet steel are best suited. They are very durable, can withstand heavy loads and are bypassed by corrosion. Next, you need to weld the sides for the trailer.
It is imperative to paint the entire frame and body, making it more protected and reliable. The paint should be chosen taking into account the material. If you chose wood, then the paint should be for wood products. Color, of course, does not play an important role, but dark paint attracts heat to itself, which is not necessary for a tractor. But the light color of the mini-tractor trailer will be just right, because it repels the sun's rays.
Step-by-step instructions for making a homemade trailer
After the entire set of materials and tools has been assembled, you can proceed directly to the assembly of the structure.
The instruction will allow you to do everything quickly and efficiently.
The first thing to start with assembling a trailer is the frame,
in fact, it acts as a supporting part of the structure. Accordingly, special requirements are imposed on it in terms of strength and reliability. To begin with, a channel or pipe is cut into pieces of the required length, after which a rectangular or square base is welded from them, to which the sides will be attached
Particular attention should be paid to the quality of the welds, because
it is in this moment that, as a rule, the main problems of self-made structures arise. In the front of the frame, the coupling device is fastened, and in the middle, the eyes for the shock absorbers are installed.
The assembly of the body begins with the frame of the sides.
First, vertical racks are installed, then horizontal.Separately, it is recommended to strengthen the sides with additional stiffening ribs, since during movement, especially on bad roads, the elements can experience high loads. Additional stiffeners can be both vertical and horizontal.
Installation of the trailer chassis.
This process has a lot of subtleties. For example, the axle should be offset closer to the rear of the trailer. In general, any features during the installation of the chassis are caused rather by the design features of the elements that the car owner preferred to experience. Eyelets for shock absorbers and jet rods are welded to the frame, the latter should not be neglected, since they serve as retaining elements of the bridge.
Sheathing of the sides and bottom is carried out at the final stages.
Sheet steel and plywood are great for this. First of all, the bottom sheathing elements are cut out with a jigsaw, their fastening is carried out using bolts. Further, the side sheathing is made from sheet steel. It is noteworthy that it can be fastened both by welding, for example, and on aluminum rivets, which are quite affordable for purchase.
Installation of electrical equipment.
On the rear wall of the trailer should be installed: red triangles-reflectors, license plate illumination, reversing light, brake lights, direction indicators and dimensions. There should be orange reflectors on the side. The front wall provides for the installation of white frames and reflectors of the same color. It will be much more efficient to use ready-made wiring solutions. It is imperative to use a protective corrugation for the wires. All connections must be tight and reliable. Fastening the wiring harness to the frame is most conveniently carried out using special plastic clamps.





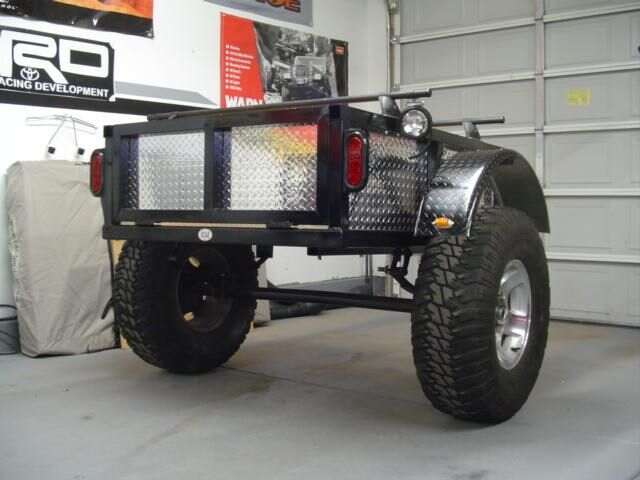
-
Anton.
I assembled the trailer with my own hands on the "Moskvichy" bridge. I was satisfied, for the village the most it. There is only one advice, if you do not know how to use a welding machine, then you should not take it, bolted connections are inappropriate here. -
Kirill.
I assembled the trailer from scratch, the taillights fit perfectly from the gazelle, the frame was welded by a friend. The main problem was with the installation of the bridge. I had to tinker, several times even went to the dealer to see how the "Kurgan trailer" works. Be prepared to spend a lot of time and effort, and carefully weigh the pros and cons.
Many farmers are interested in how to make a homemade mini tractor trailer. Most of the villagers appreciated agricultural equipment, but only more economical and compact, such as a mini-tractor. On such a vehicle, you can not only plow, loosen the garden, mow the grass and remove snow, but also transport various goods. And for this type of work it is necessary to have a convenient and reliable trailer. Many do not dare to buy such a simple but expensive product on the Russian market, but try to do it with their own hands. But where to start and how to make a tractor trailer with your own hands?
Constructive components
The design of the unit includes several main components. Let's consider each of them.
- Frame. It is produced mainly from a corner made of steel; round and rectangular pipe cuts are used. This main part of the product must be especially strong and withstand significant loads. The cart is operated on uneven ground and therefore the frame is severely affected.
- Drove. This is a blank for a wheel axle made of a steel circle with a diameter of 3 centimeters. The axle is about 100 mm long and is welded to the side members and hinge body with corner supports.
- The body of the unit is made of boards 2 cm wide, additionally fastened with steel corners. Then they are reinforced on the frame using strong beams made of wooden blocks with sides of 5 cm.
- The wheels for the trolley can be used from the walk-behind tractor itself, and it is better to use them immediately together with the hub so as not to disassemble. The axle on both sides is sharpened until the diameter of the bearings matches. Before installation, you need to do the mounting of the hub. The main method for this action is pressing. The rear side of the hub is bored and slid onto the axle. The main thing is to avoid skewing. Next, you need to install the wheel rims on the pin and firmly tighten the nuts and put on the caps.
