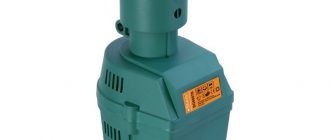
The correct form of sharpening is the key to effective work
As a result of processing, the cutting edge of the drill is given a certain geometry, which is priority for one or another drill diameter and the structure of the machined surface. To obtain the required shape, respectively, different methods of sharpening the cutting edge are used. There are single-plane, conical, two-plane, screw and cylindrical types of sharpening. At home, the first two methods are most often used as the simplest, and drills with a diameter of up to three millimeters are sharpened in one plane, providing a thirty-degree slope of the rear corner. The disadvantage in this case is the high probability of destruction of the working part of the edge due to its thinning, therefore, for drills with a larger diameter, sharpening in the form of a cone is usually used, forming an angle at their tip within the range of 118-120º.

Errors
The most common mistakes in self-sharpening drills include the following:
- The corners are made symmetrically and correctly, but the lengths of the cutting edges differ from each other. In this case, the drilling center is uneven relative to the tool axis. When using this tool, beats will appear. At the beginning of work, it will be extremely difficult to get into the applied markings. In this case, the working element is likely to simply break.
- The centering is accurate, but the cutting edge has asymmetrical angles. From this it follows that when drilling a hole, only one working surface will work. That is, the processing procedure will be very slow, and the working part may overheat and break. In addition, the hole will be broken, that is, its size will be larger than the size of the drill used.
Drill sharpening rules
The drills can be sharpened on special grinding wheels, manually or on machine tools. Before starting work, carefully examine the drills: if there are serious defects on the surface, you need to start sharpening with a coarser abrasive. If the tool is a little dull, use a lapping disc.
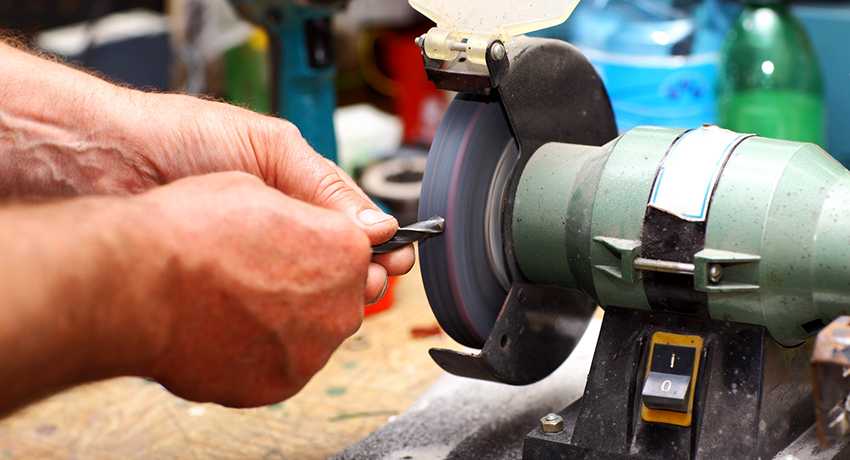
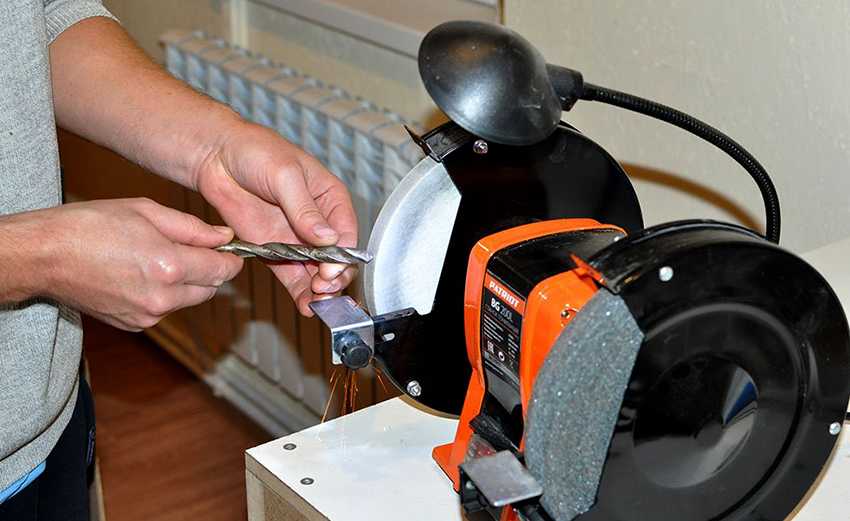
When sharpening by hand with your own hands, you need to follow the rules:
- hold the shank with one hand, adjust the working end with the other;
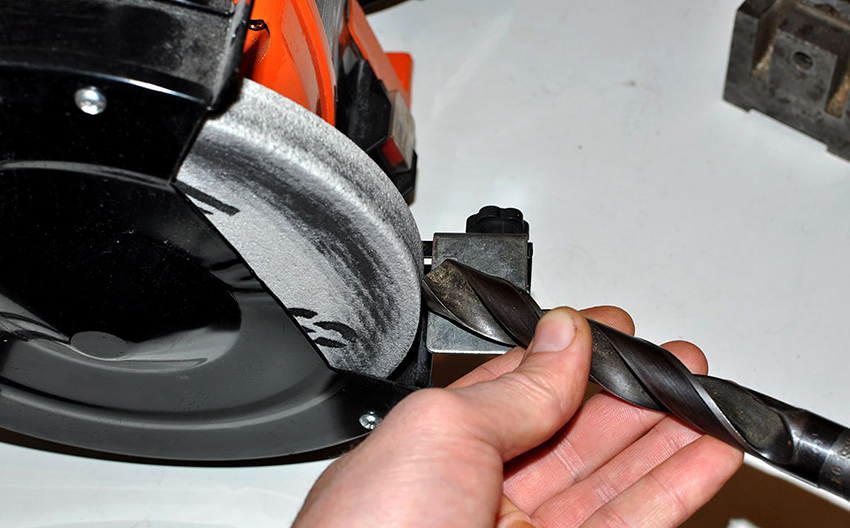
- process the cutting edge with the side of the grinding wheel;
- first, one side is sharpened, after which the drill is carefully turned over and the other is processed.
It is important to maintain the original shape of the drill and the direction of the cutting edges during machining. Care must be taken to ensure that the tip of the tip does not move away from the center, otherwise the tool will deviate to the side during operation.
If the angle of the cutting edges is not the same after sharpening, the drill performance will be poor. This is determined using a template made by hand, or by eye: the shape of the tip should make a cone. To avoid mistakes, it is better to edit on specialized devices.
Features of the sharpening process
If you first decided to sharpen a part with your own hands, do the work in strict sequence.
- The back surface is treated first. So, the drill is pressed tightly and constantly monitored so that the sharpening angle remains the same. As a result of processing, the tip of the drill will resemble a regular taper.
- Next comes the turn of the cutting part.
- The last stage involves finishing the back surface. In this case, it is necessary to make sure that the size of the jumper is no more than 0.4 mm. Naturally, for a large drill for metal, this parameter should be slightly higher.
If something didn't work out right the first time, don't despair. It is best to start practicing with tools that are unlikely to be needed. The main thing is to learn how to press correctly and maintain an angle. In this case, it is necessary to take into account the fact that the lateral parts of the drill, and not the tip, are responsible for drilling. Accordingly, the edges must be sharpened.
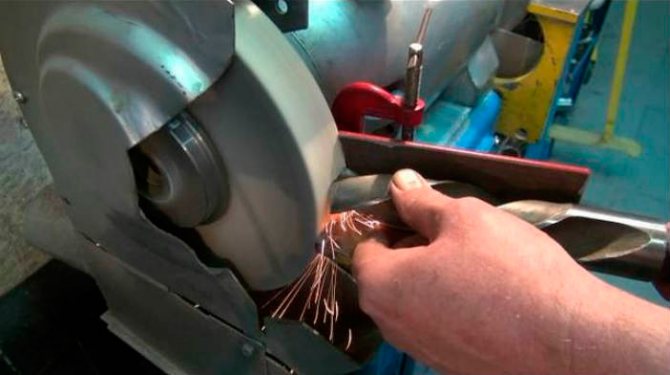
It is important to remember that fine particles are formed during the sharpening process. Due to heating, they fly apart in the form of sparks.
It is for this reason that it is necessary to adhere to safety precautions. It is about the use of protective goggles and gloves. Also, when sharpening, make sure that the drill is securely fixed. Otherwise, it may accidentally escape from the hands.
Recommendations for using the machine
If you decide to use an appropriate machine for sharpening, be sure to prepare your workplace. In particular, we are talking about good lighting. You also need to wear protective gloves and goggles.
First of all, you should decide on the required sharpening angle.
It is important to position yourself so that the grinding wheel is on the right.
Alignment should be performed. To do this, take the working surface with the thumb and forefinger, and the second hand holds the tail edge.
The drill for metal must be rotated so that the cutting edge is parallel.
An important point is the elimination of chipping.
All movements should be performed in a specific sequence.
So, the left hand is moved to the left downward, and the right hand is moved clockwise.
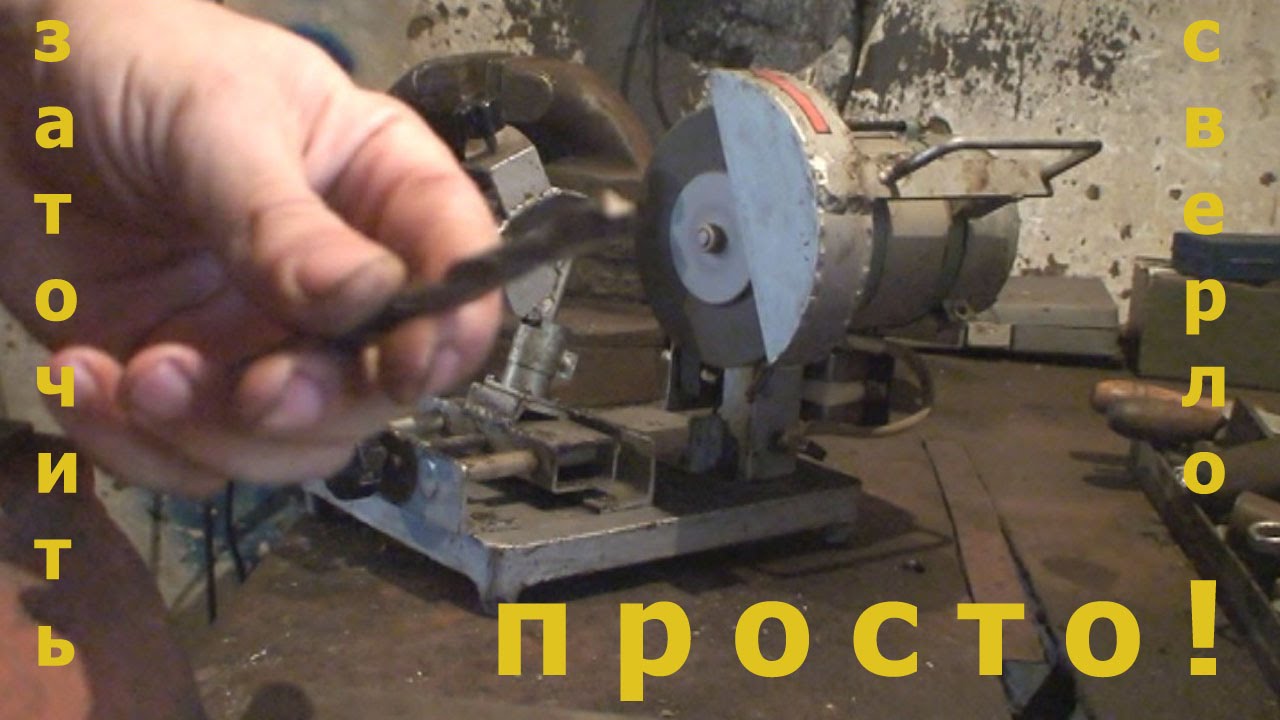
To properly sharpen the drill with your own hands, you must use a suitable device. It can be a household or industrial machine, as well as an electric drill with a special attachment. If you haven't tried sharpening a drill before, check out the video to get started.
Sharpening machine - buy or make?
Do it yourself. Buying equipment will save time. But there are a lot of questions about the combination and installation of additional devices. Thrifty Chinese craftsmen use non-repairable cases and fences made of flimsy cans on household appliances.
Drill sharpening machine
We will start the do-it-yourself drill sharpening machine with the selection of the engine. Try to get a 0.5–08 kW electric motor. The power value is approximate. Drills up to Ø 20 do not create a heavy load when sharpening. We can even apply a low-speed motor from the 60s: durability is guaranteed - then they did it for centuries.
Confused by the weight? On the other hand, the workbench and bracket, if mounted on a wall, will feel less vibration. Don't chase revs. Sharpening of carbide drills is rarely required, and the usual ones made of alloy P6M5 and the like will definitely not burn on a stone with a rotation of less than 900 revolutions.
Requirements for the device for sharpening drills:
- Precise alignment of the motor shaft without radial runout.
- Possibility of installing an additional protective cover.
- Provide for the installation of a non-removable massive base for mounting the engine, additional accessories.
- Installation of a hand-arm with height adjustment, change of the angle of arrangement in the horizontal plane, adjustment of the gap with the stone.
- Take care to install a hinged safety screen made of unbreakable transparent material.
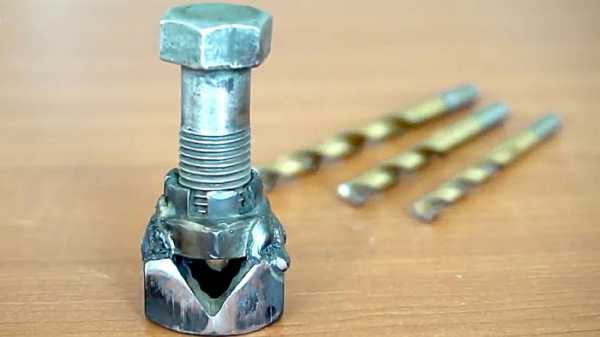
Step number 1 - marking the nut
Nut marking
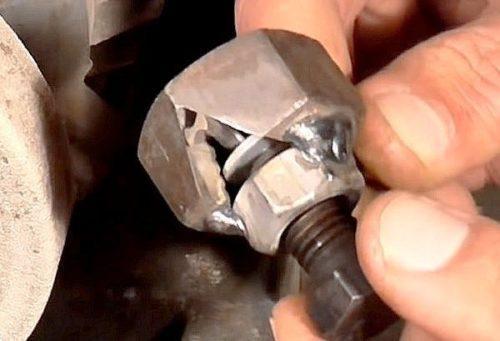
We make a seat for the drill. To do this, using a caliper, mark the nut, as shown in the photo above. We make markings on both sides of the nut.
back to menu
The simplest tools for dressing the cutting edge of the drill
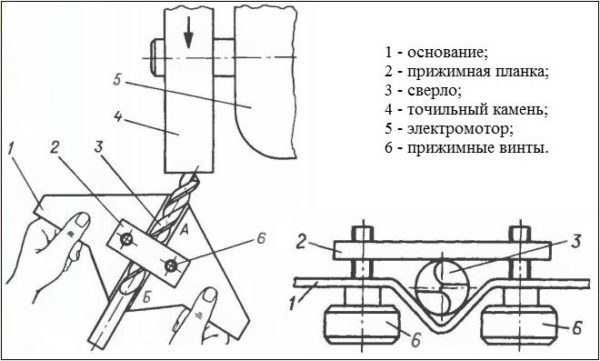
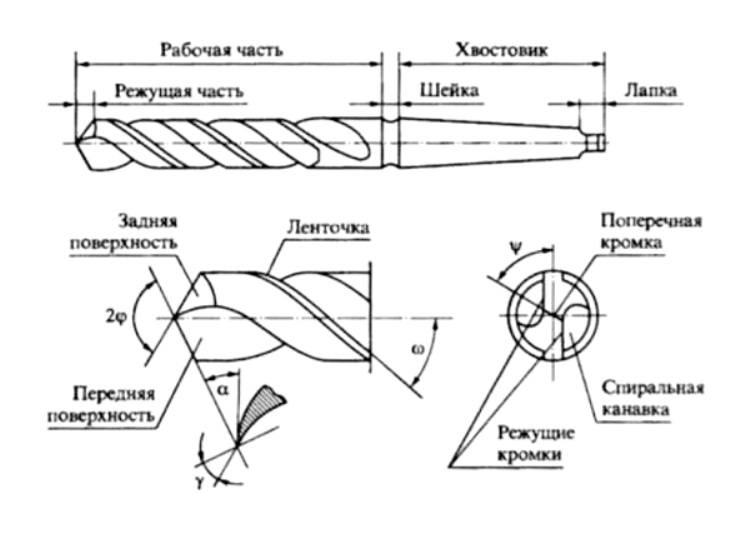
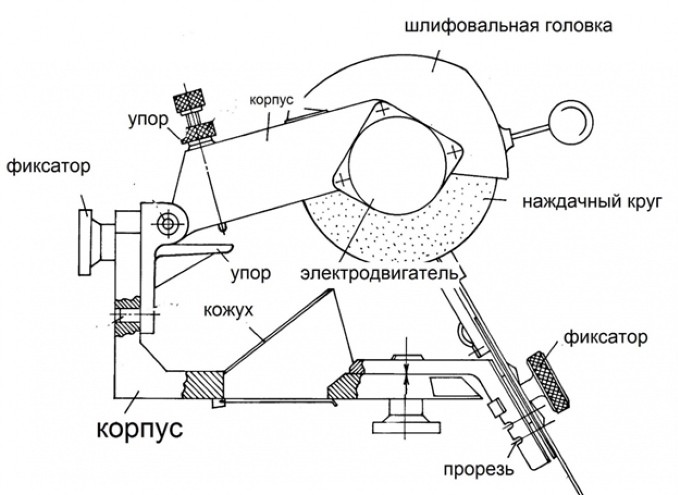
To understand the process, let's take a look at the parts of the handpiece.

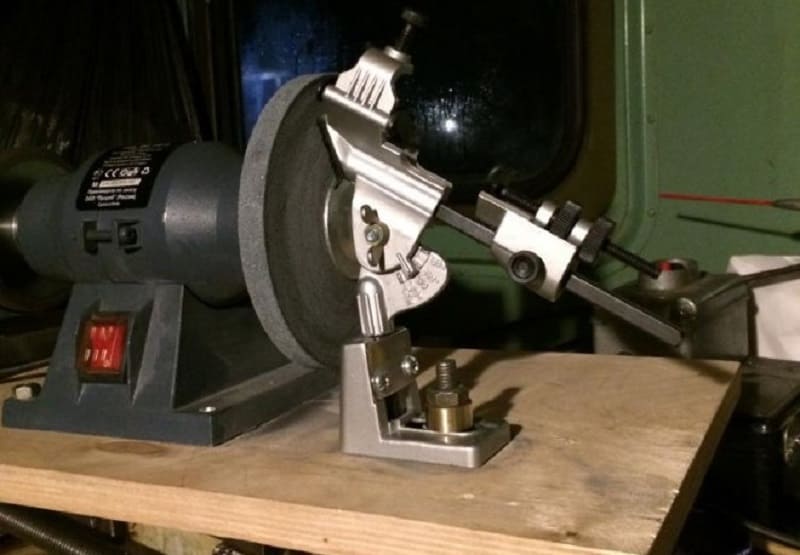
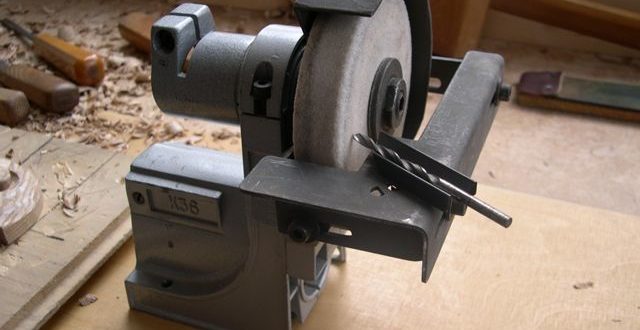
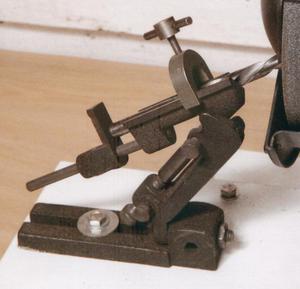
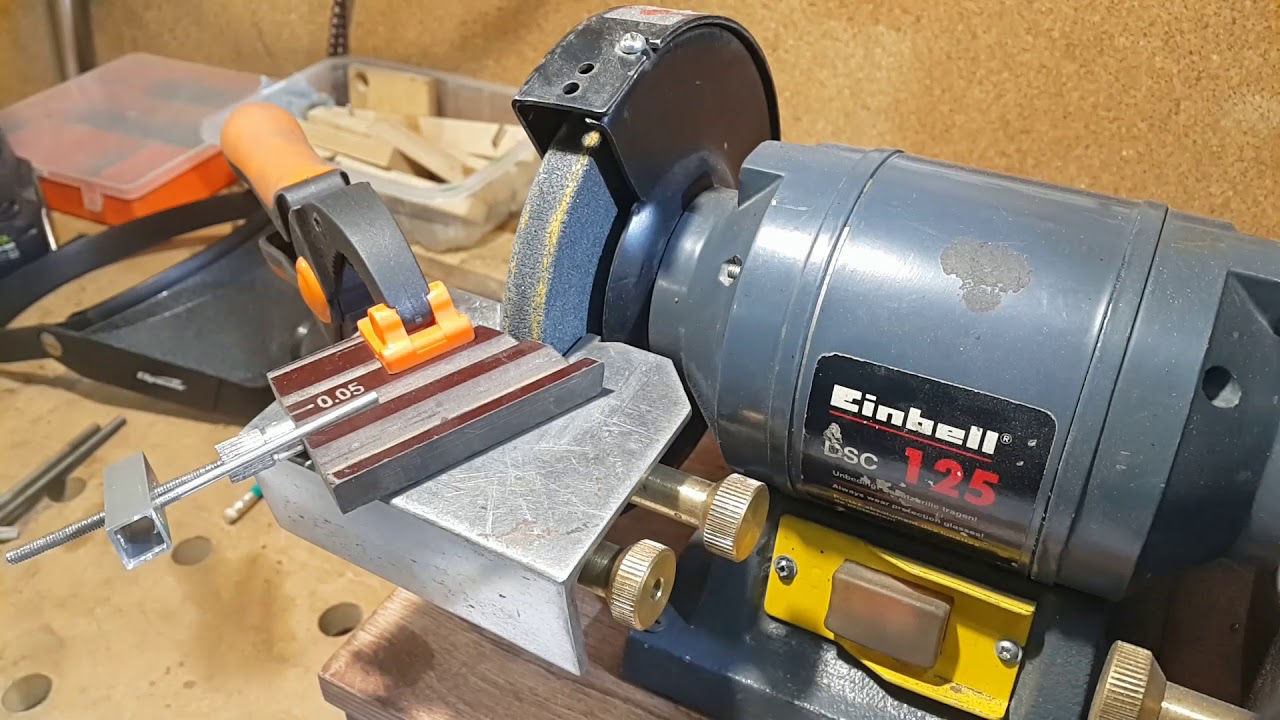
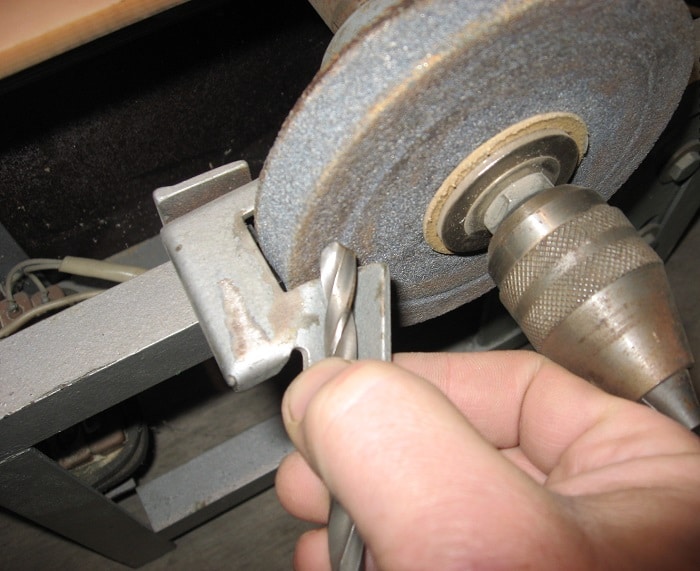
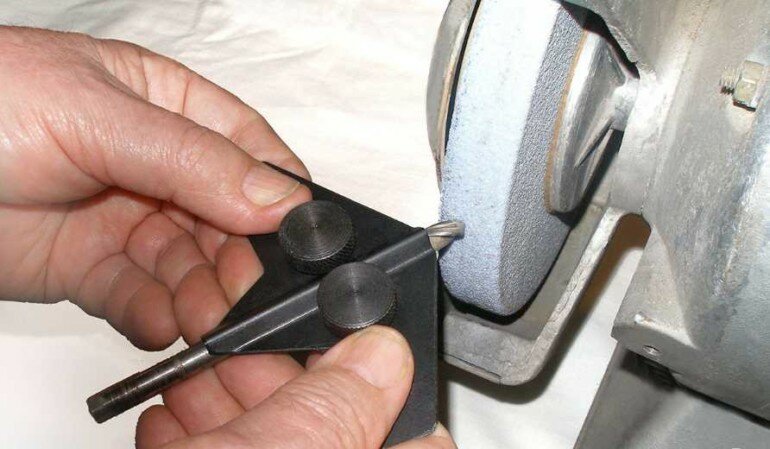
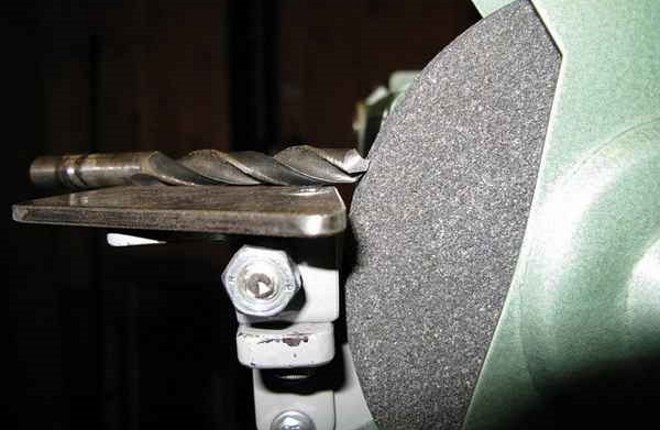
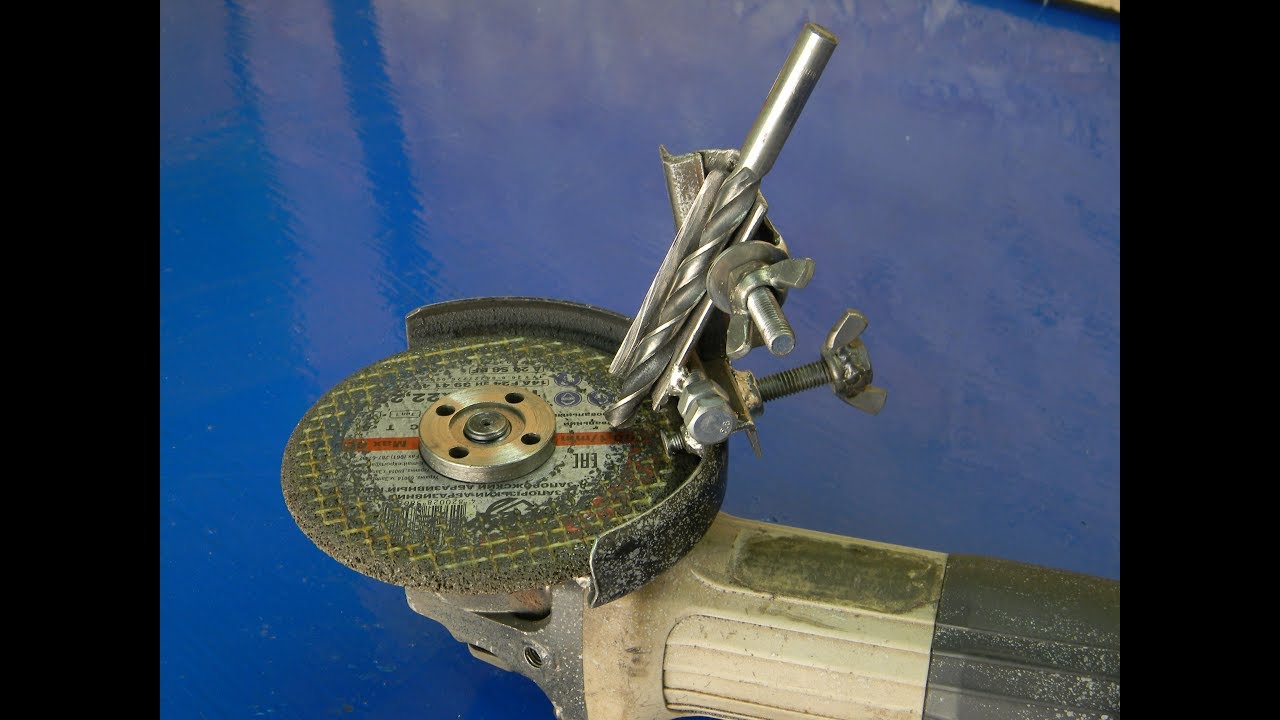
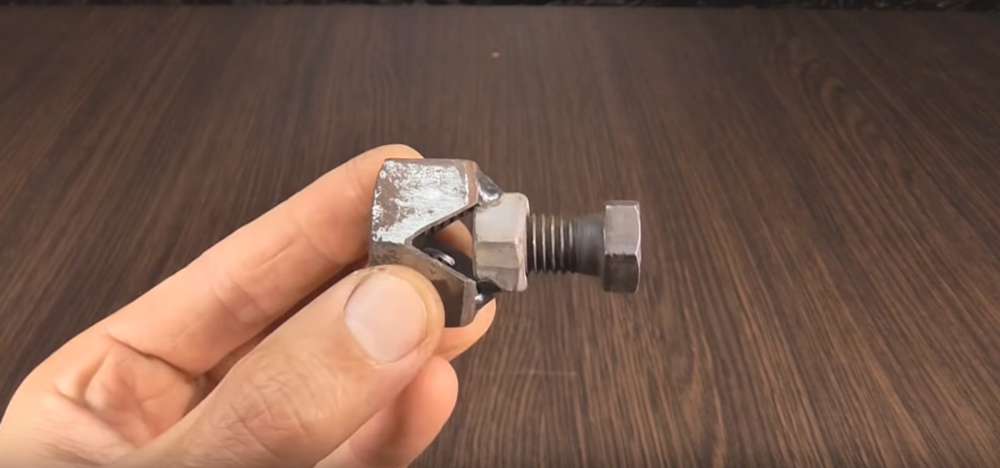
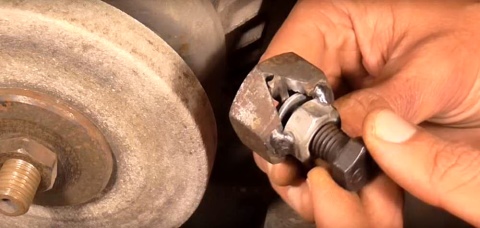
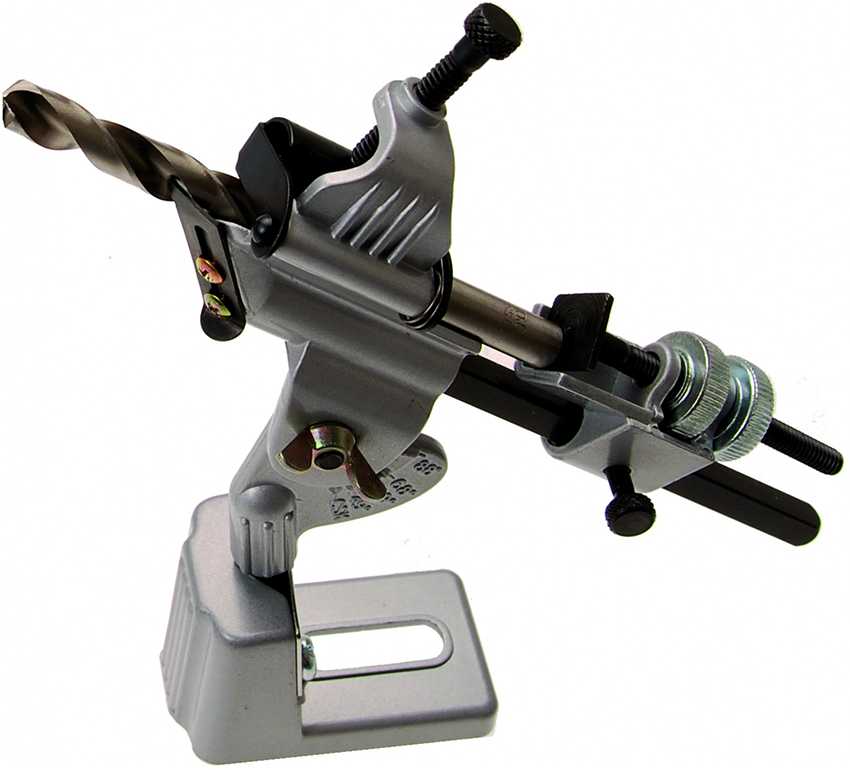
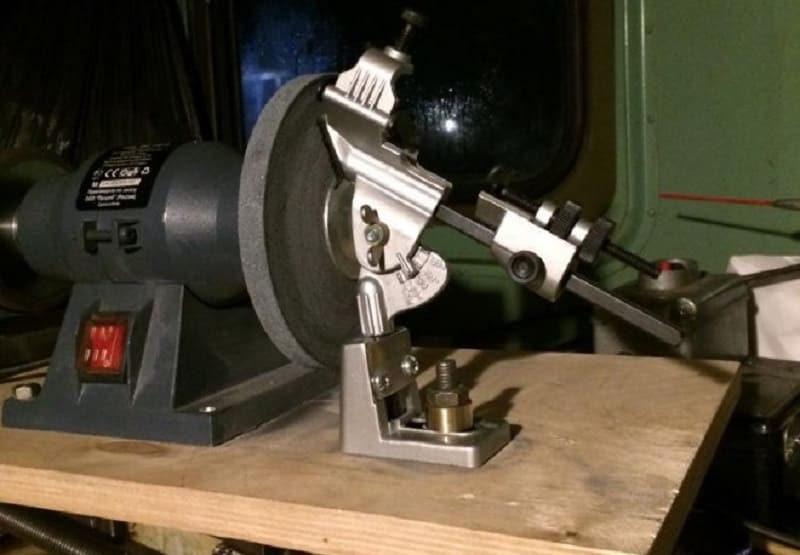
Clamp "swift". To use this device, it is enough to have an emery wheel (sharpener) equipped with a strong handguard.The drill is clamped in the device at the desired angle of rotation of the edge. Controlling the feed angle of the cutting edge, we form it on the grindstone, then, without changing the angle, we “go” to sharpen the backing.

The device necessarily rests on a handcuff, the angles are controlled by hands. If you have certain skills, you can get a good result with obvious savings.
IMPORTANT! Before using the device on high-quality handpieces - practice on defective ones. This will allow you to "fill your hand" and "feel the angle", as the masters say .. Of course, the use of a template is mandatory
Of course, using a template is mandatory.
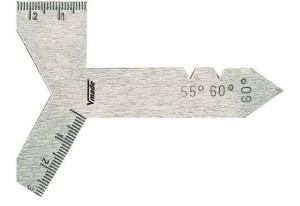
Also, before starting work, you should familiarize yourself with the standard tables of sharpening angles for various drilling materials.
| Processed material | Apex angle, degrees |
| Steel, cast iron, hard bronze | 116 — 118 |
| Brass, soft bronze | 130 |
| Aluminum, duralumin, electron, babid | 140 |
| Red copper | 125 |
| Ebonite, celluloid | 85 — 90 |
| Marble and other fragile materials | 80 |
Sometimes it is enough to simply change the angle and leveling of the handlebar, and sharpening large drills becomes a simple task.
This method is appropriate for small volumes of work and the absence of high requirements for the quality of drilling. If you drill regularly and accuracy is important, you will have to buy a sharpener or make one yourself.
Additional devices
Hand-made accessories will make the work of sharpening drills more convenient and accurate.
Template for verification. The template is cut from a sheet of thin (1 mm) soft metal (aluminum, copper). The template reveals the angles at the tip, the length of the working edges, the angle between the working edge and the bridge. Since it is almost impossible to check the clearance angle of the drill with a template, the sharpening angle is verified. The template is cut out before using the drill for the first time.
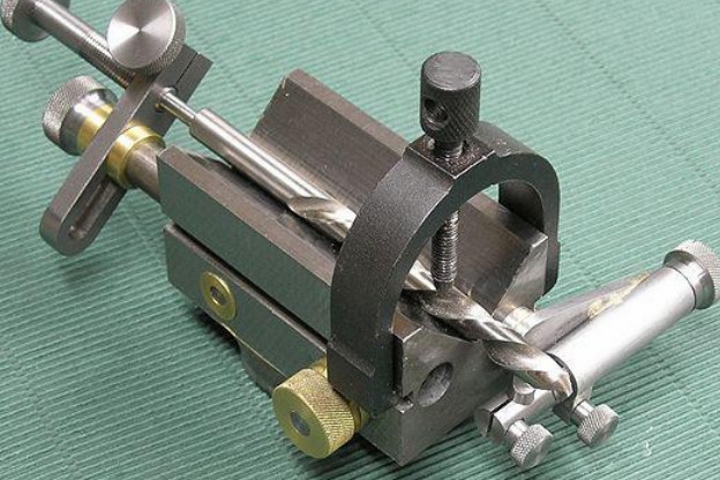
Guide. This is a small attachment, which is made of a metal strip and is fixed to the body with a bolt. During operation, the drill is placed on the guide and brought to the grindstone.
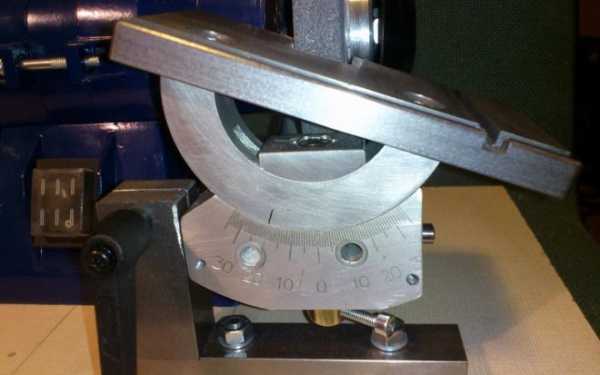
Protractor. On the stand, which is described above, the divisions of the sharpening angles are applied. You can cut off part of the metal protractor with corner marks and attach to the stand. You need to cut off a part with angles of more than 30 degrees, since smaller ones are not used when sharpening.
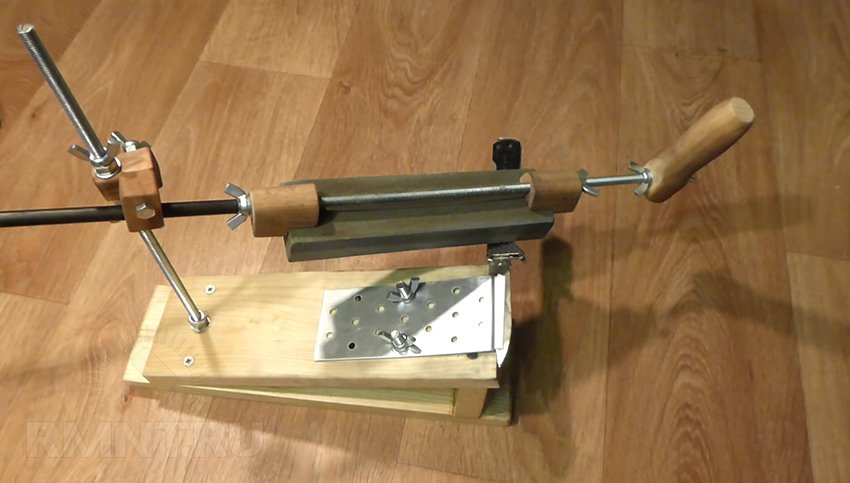
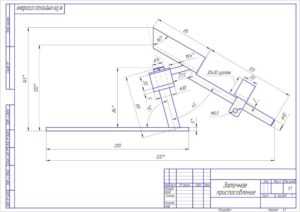
A device that facilitates sharpening drills. It is a fixed bed and holder with holes for inserting torches of different sizes. The holder can be removed. The bed is made of a 50 mm board, a rail is attached to it at an angle of 32 degrees. The rail exposes the tool holder at the required angle. The do-it-yourself holder is cut from a bar, the surface of which is removed at an angle of 65 degrees. The beveled part fits to the rail. The bevelling angles of the holder and lath depend on the type of sharpening.
Multifunctional mechanism
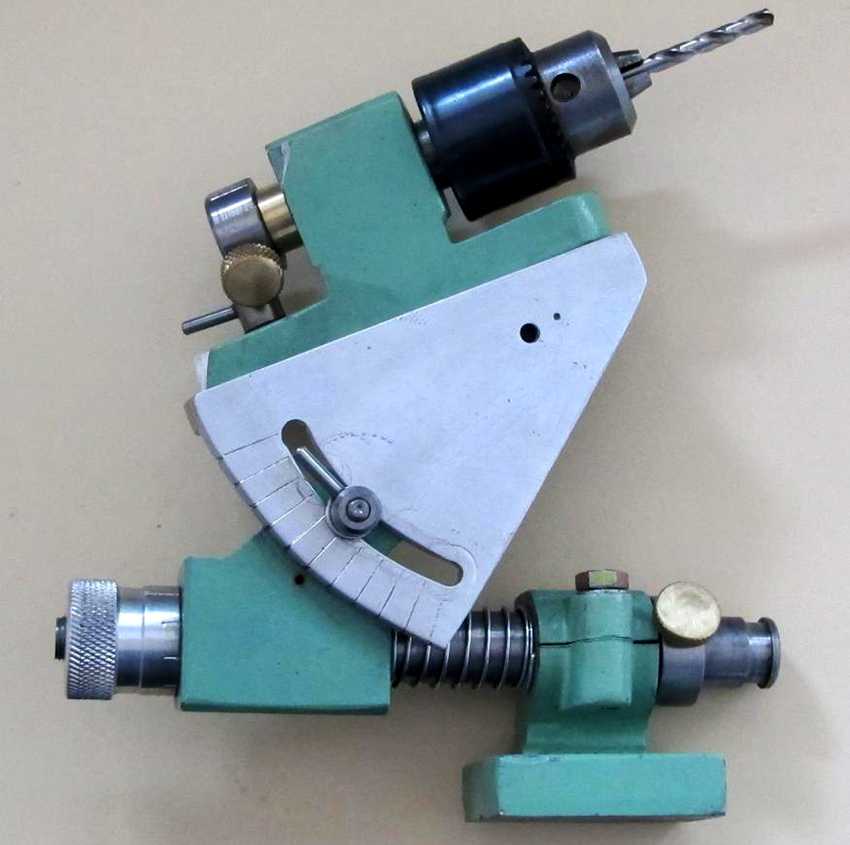
Drill sharpening will become easier with this mechanism. The device consists of:
- roller skids;
- guide;
- shaft;
- protractor;
- drill chuck.
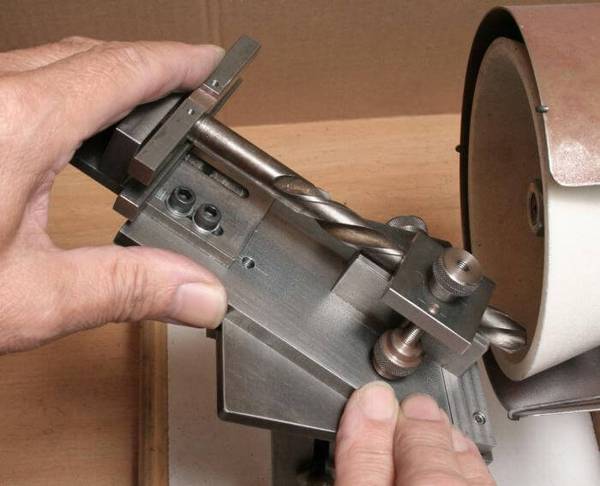
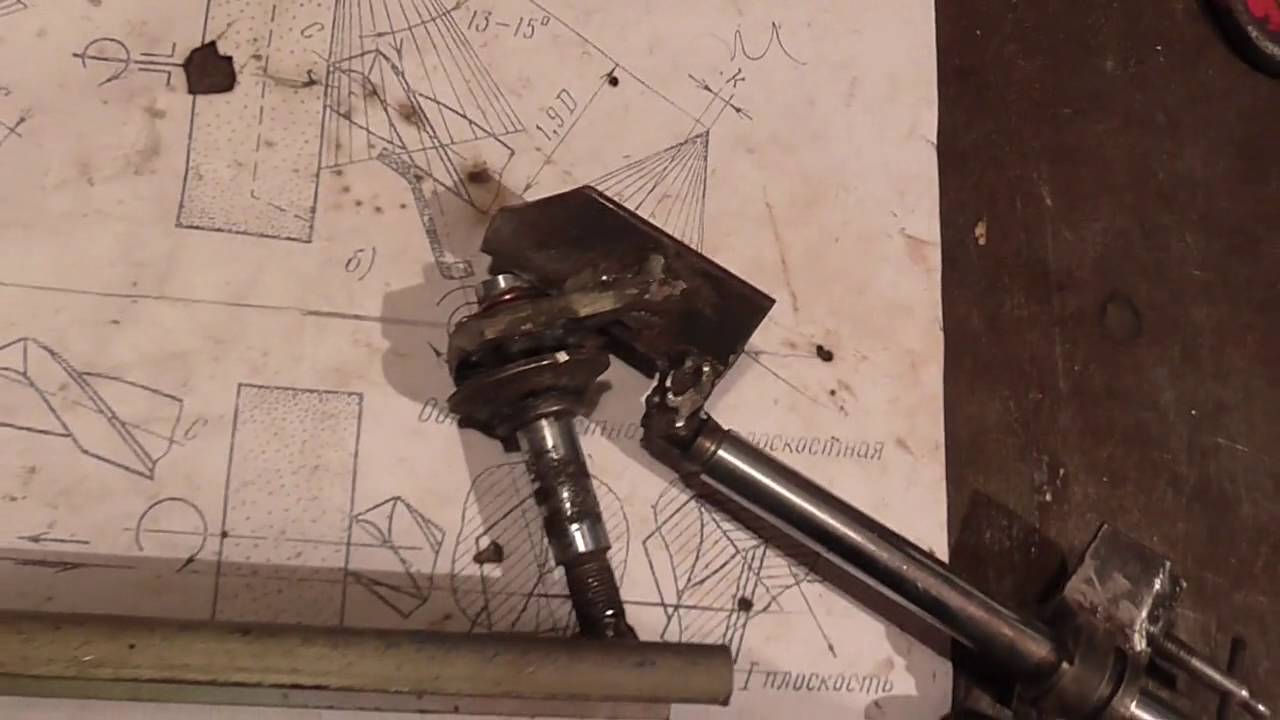
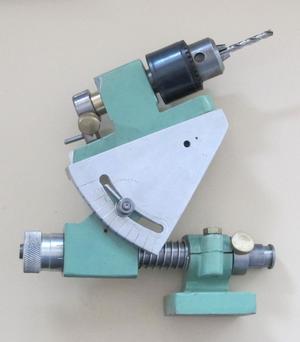
The guide should be made wide enough, a protractor is attached to it. The pivot is a bolt inserted into the hole provided. Guides and a movable plate are placed on the rotary part. An axis, a tube is fixed on its surface, on one side the axis ends with a drill chuck, on the other - with a handle. The movement of the thrust plate is provided by the threaded axle.
At the bottom of the thrust plate there is a limiter (also known as a pointer), which simultaneously indicates the required displacement angle and fixes it in the desired position.
The mechanism works as follows:
- the drill is fixed in the chuck;
- the thrust plate is locked at the required angle;
- the tool is rotated along the longitudinal axis using the handle;
- mark the corner;
- turn the cutter 90 degrees and process the second half, reaching the marked angle.
Instruments
For sharpening, two types of devices are used: attachments or stops for universal use and highly specialized devices.
The simplest devices include a manual holder. This tool only serves to hold the object in a specific position. Sharpening control is carried out visually. For this, an arbitrary reference point is applied. Therefore, experience is required to work with this device. Its advantages include simplicity, compactness, and low cost. The main disadvantages are low processing accuracy and increased requirements for the performer's skills.
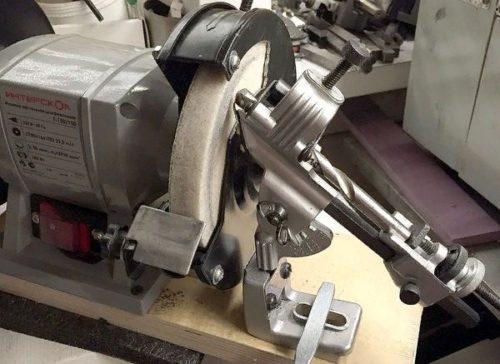
The electric sharpener stop is a universal fixture that serves to fix tools and is not specifically designed for a drill. Many models have a tilt angle adjustment and are equipped with a marking scale. This determines the better accuracy of work than with a manual holder, however, in this case, the skills of the performer are of great importance. In addition, there are more advanced and versatile options with additional height adjustment and designed for mounting parts on a workbench instead of an emery body. Such stops are compatible with any electric grinders and allow you to process cutters, chisels, knives, screwdrivers, etc.

Semi-professional drill guides are more advanced tools than those discussed above. They provide reliable fixation of all linear parameters with the setting of values by marking and high-precision control of sharpening (up to microns). Installation of the device in the gutter excludes its displacement or rotation. It is assumed linear movement, controlled by a limit stop or by the performer, and the movement of the edge along the arc. These attachments provide good sharpening quality. However, professional skills are required as the drill type must be taken into account for correct processing. Due to the lack of automation, the guides are classified as professional devices. However, there are also semi-automatic guides equipped with a grinder. They eliminate the need for bench rests and disc changes.
It should be noted that all the devices discussed above are designed for standard electric grinders. In view of this, an emery disc must first be installed.
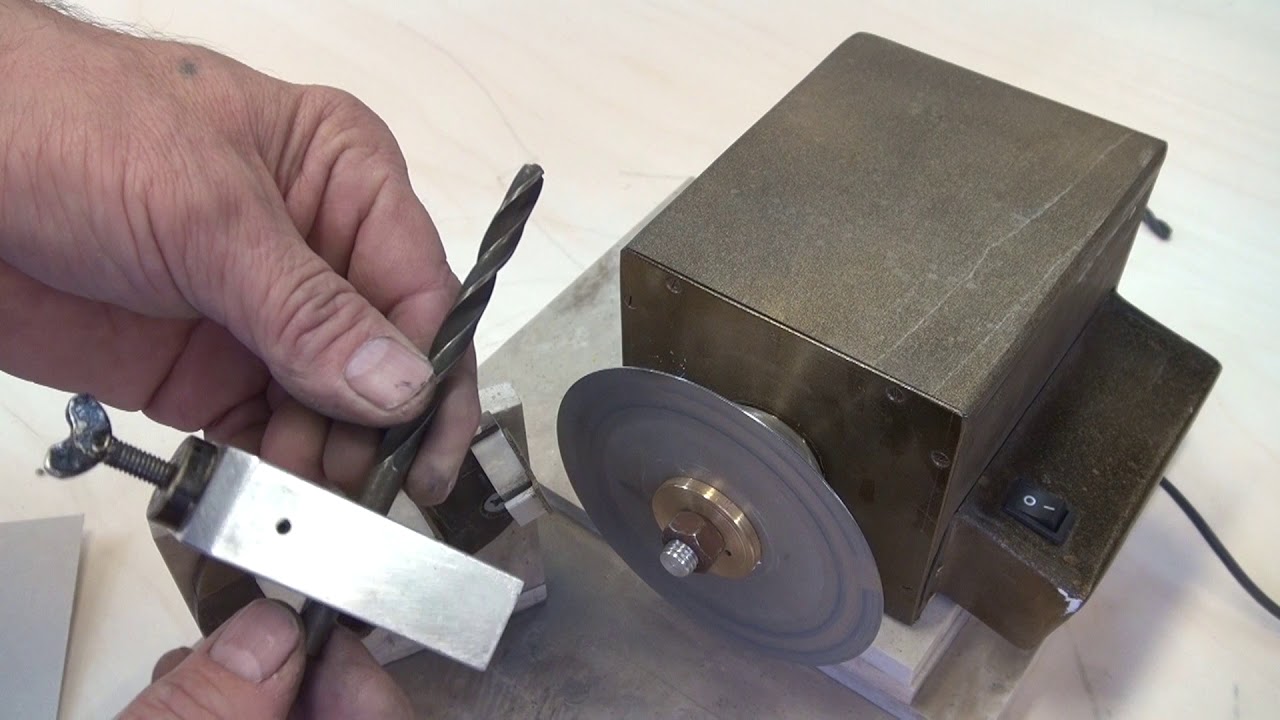
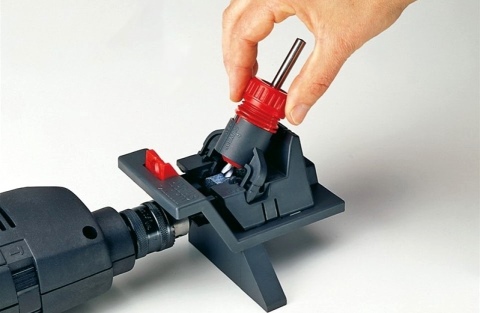
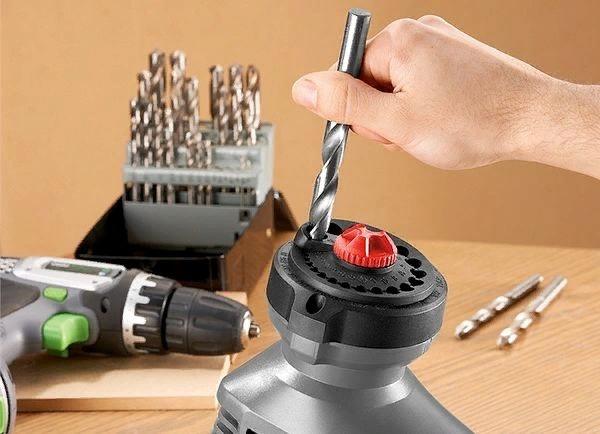
Electric sharpening machines are designed for rebuilding twist drills. That is, these are highly specialized devices. Their main advantage is considered to be ease of use, which eliminates the need for special skills and user experience. This is due to the automation of the device. The contractor only needs to place the drill into the hole, taking into account its diameter. This also eliminates the possibility of errors, ensuring accuracy. However, there are no settings for most of these fixtures. In view of this, they are more relevant for domestic use. Some models are equipped with a scissor and knife attachment. There are professional options that allow operator control of the sharpening. In the models under consideration, the drill is mounted in an individual cartridge instead of a common holder. They are equipped with settings for sharpening angle, material removal depth, edge processing method.
Another simple option for domestic conditions is presented by attachments for sharpening drills. The drill attachment for sharpening drills includes a casing with emery inside.
In industrial conditions, with the intensive use of drilling machines, it is necessary to constantly restore their working elements. For this, there are stands presented by professional stands with sharpening devices for various options. They are versatile and powerful, but quite expensive.
Regardless of the type of fixture used to sharpen the drill, accuracy control is carried out using a template. It allows you to determine the accuracy of the cutter angles.
Manufacturing process
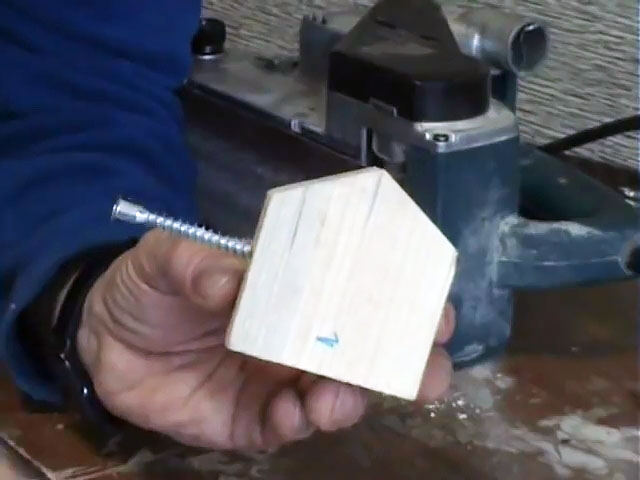
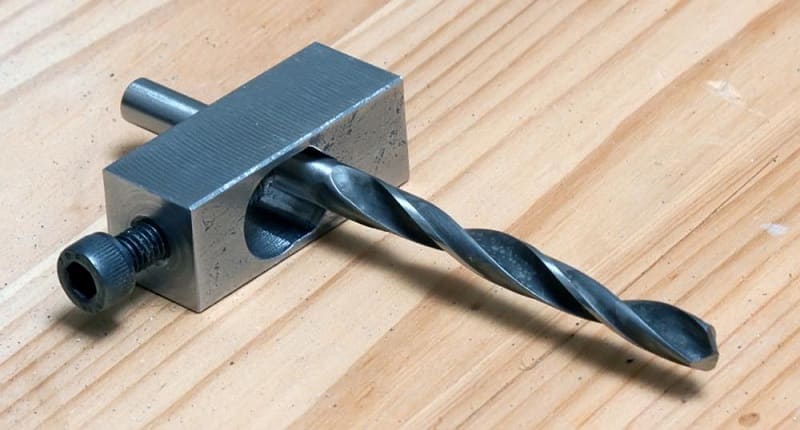
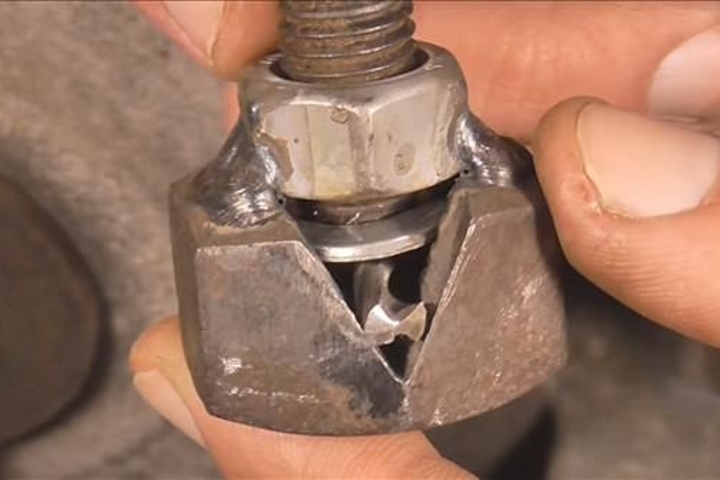
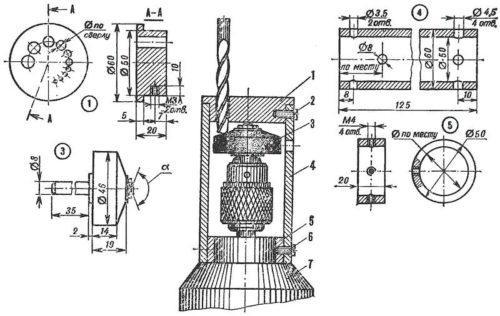
Find the center at the end of the rectangular bar, drill a through hole in it. You can use an ordinary drill. If in doubt about your skills, then find the center on the opposite end, with its help you can control the verticality of the hole
This is a very important condition. If you do not complete it, then the cutting edges of the drill after sharpening will not be the same.
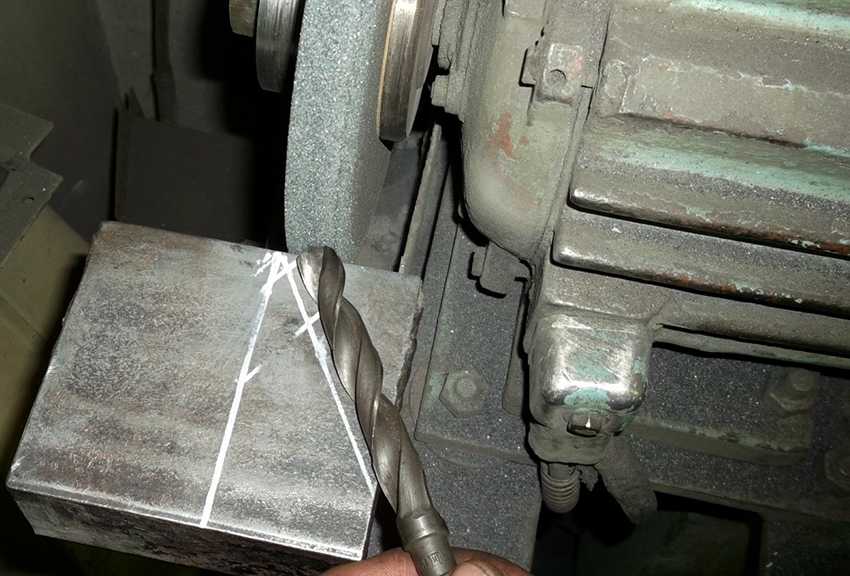
At a 120-degree angle, cut the two corners of the block. First, you need to draw two lines at an angle of 30 degrees, they must intersect exactly in the center, this is also an important condition. Consequence of failure - the center of the drill will shift to the side, while drilling the tool will hit. The cut must be strictly perpendicular to the planes. For control, also draw lines on the back side of the bar, then along them you can correct the cut on a grinder. There should be a 120 degree angle at the top, this is a universal size for metal drills.
When turning, the drill is inserted into the hole; you can use a Euro screw to fix it in a given position. On the side face, a hole of the appropriate diameter must be drilled before connecting to the central hole. This completes the manufacturing work.
Specificity of device operation
In households, electric drills and screwdrivers are often used to drill various materials from wood, concrete, metal and ceramics. Many users of such equipment have repeatedly encountered a problem that causes dullness of the working part of the drilling tool during operation.
 When working with metal, intense heating of the cutting part of the drill can occur, which exposes it to rapid wear and further unsuitability. To avoid this, it is necessary to periodically check the geometric norms of the cutting part and, if possible, sharpen it to the required parameters. For drilling metals, as a rule, twist drills are used. Additional inspection of the tool before performing work extends its service life.
When working with wood, the cutting part practically does not lend itself to wear, and concrete drills are equipped with solid victory plates, which do not need sharpening and are used until they are completely worn out.
Fixture elements
To make a device for sharpening, you will need some elements and tools:
- Stand;
- Toggle switches for turning on / off the sharpener;
- Sharpener disc;
- Electric motor;
- Electric cable for connecting the device to the network;
- Plugs;
- Material for the body.
All the components of your drill sharpener will be located inside the housing. This way you will be able to increase your own safety when working with grinding equipment.
When assembling the structure, leave the pulley from the electric motor accessible, since a disc is put on it for sharpening. It is advisable to pre-select a stationary place for the machine, since it should be fixed on a workbench or work table.
The process of assembling the grinding device itself is as follows.
- Install the electric motor in a pre-selected location.
- On the table where the fixture for turning metal drills will be located, mark the mountings.
- Use an electric drill to make holes according to the markings for the mounting bolts.
- Fix the electric motor in its rightful place with metal clamps.
- Fix the casing, which will act as a protection.
- Place the grinding disc on the motor pulley.
- The motor itself should have an elongated pulley, as this will be more convenient when using the sharpener. Remember to put a washer on the pulley before installing the wheel.
- If the pulley and wheel diameters do not match, you can use an adapter sleeve. A thread hole is drilled on the side of the sleeve, onto which an auxiliary fixing bolt is then mounted.
- It is not necessary to choose an engine that is too powerful. High RPM will only hurt your metal drills. Most craftsmen adapt an engine removed from old washing machines for a grinding unit.
- After completing the assembly, connect the toggle switches, connect the engine and all electrics through the cable to the outlet.
Assistive devices
If you managed to assemble a fairly useful sharpening device for various drills for metal, wood or plastic with your own hands, we advise you not to stop there.
There are several additional elements, equipping the grinder with which you will significantly expand its functionality and increase your own comfort level when working on drills.
- Checking template. To determine the correct angles when sharpening a drill, a special table or template will come in handy. The template will always be at hand. With its help, you will determine how correct the sharpening angles are, what is the duration of the working edges, what are the angles between the jumpers and the working edges. Templates are made from thin, soft metal based on a new drill before first use;
- Guides. A kind of small attachments made of metal strips. They are bolted to the body of the grinder. When working, you will need to put the drill on these guides, gradually bringing the sharpened tool to the abrasive stone;
- Protractors. The easiest option is to take an ordinary metal protractor, cut off part of the device and fix it on a stand. Cut off the part of the protractor where the scale is more than 30 degrees. This is due to the fact that the sharpening of the drills at a lower angle is not carried out.
Multi-tasking fixture
If you make such a device, the accuracy and convenience of sharpening drills for metal will increase significantly. At the same time, it is quite simple to assemble the structure. To make a mechanism, arm yourself with the following components:
- Roller skids;
- Guides;
- Shaft;
- Protractor;
- Drill chuck.
- It is recommended to make the guide wide and fix the protractor on it.
- The pivot axis will be a bolt that is inserted into a pre-aligned hole.
- On the rotary part there is a guide and a movable metal plate.
- An axle and a tube are mounted on the surface of the plate.
- One end of the axle is used for installing the drill chuck, and the other is used for the handle.
- The thrust plate will move by the threaded axle.
- A limiter is located at the bottom of the plate. It performs two functions at the same time - it fixes the mechanism in the required position and indicates the desired angle.
The process of the device looks like this:
- The cutting drill is installed in the chuck;
- The plate is fixed in the required position to create a sharpening angle;
- The device rotates along the longitudinal axis by a handle;
- The angle is marked;
- The cutter is turned over 90 degrees, after which the second half of the drill for metal is processed with your own hands.
What you need to build
El / engine
Various drills, including those of large diameter, are sharpened on the machine in everyday life. In addition, the initial processing of the cutting edges of the tool and their finishing are separate stages of work. Therefore, you will have to change the circle and put the one that is at hand from the previously purchased ones. Since the machine is a long-term equipment, it is necessary to mount it for the future. Based on this:
- engine power: about 1.2 - 1.5 kW is enough;
- power supply: single-phase. Any garage or small workshop (shed) on the site, with rare exceptions, is connected to the 1f 220/50 line. This should be the starting point.
Sharpening wheel
Moreover, there should be several of them, with different grain sizes. For reliable fixation of the abrasive on the engine shaft, bushings are prepared that clamp it on both sides.
Sharpening device
You can limit yourself to the simplest "shelf", but then you will not be able to maintain the required angle. This kind of work requires a lot of practical experience.
The device can be purchased, although it is quite rare on sale.
The best option is to make it yourself. For example, these are:
Elements of the scheme
- Magnetic starter (with 3 pairs of contacts) for a 3-phase circuit.
- Button "start / stop" or 2 different - to turn on and off the machine. And the third is obligatory - an emergency stop. It is often combined with a pedal, which is much more convenient and safer, since the hands will be busy when sharpening the drills.
- Wires. At the specified engine power, it is enough for 1 "square".
The simplest connection diagrams for three-phase motors are shown in the figures:
An acceptable one is easy to find on the Internet, depending on what kind of motor is used, how its windings are connected ("star" or "triangle"), to which voltage source it will be connected (1 or 3 phases).
Protection elements
- Shroud over the circle.
- Screen (desirable).
There are certain types of work in which the drills are sharpened only on machine equipment, and not manually.
- When drilling to deeper depths where light re-sharpening is required.
- If the drills are universal, they can work even with materials of high density.
- For making blind holes with a special tool.
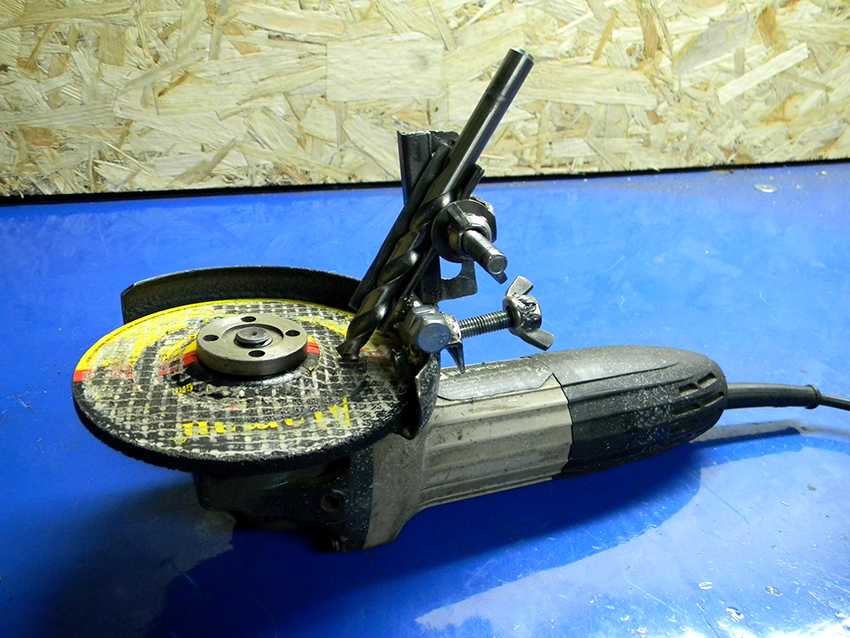
It is not recommended to sharpen drills using a grinder for several reasons. Firstly, angle grinders are unlikely to be securely fixed. Secondly, the accuracy will be unsatisfactory. Thirdly, after the end of such sharpening, it is rather difficult to make the correct fine-tuning of the drill. Fourthly, this technique is suitable only for partial restoration of the working capacity of a tool of a relatively small diameter (no more than 5).
Making a machine is not all. It needs to be positioned correctly in order to sharpen the drills as conveniently as possible. The place, the height of the installation is a personal matter of the master. But there is a general requirement - to exclude the slightest vibration of the equipment and ensure its leveling.
If the workbench in the garage is rather "flimsy", you will have to mount a special table on metal legs. A large corner, pipe or channel is suitable for this. The tabletop, taking into account the weight of the machine (primarily the engine), must be strong. Thin sheet metal is not an option. The machine stand can also be made of wood, but of sufficient thickness. Its attachment also requires attention. It should be as reliable as possible, at all points provided on the engine bed, and only on bolts.
When deciding on the circuit for turning on the engine, it is necessary to provide for the possibility of changing the number of revolutions. Since you will have to work with different drills, you need to know - the harder the material of the tool, the lower the angular speed of rotation of the abrasive wheel should be.
As practice shows, not all inexperienced craftsmen understand when a drill needs sharpening. Signs indicating that the instrument is dull:
- grinding (sometimes "humming") at the initial stage of drilling;
- rapid heating of the metal, often accompanied by a characteristic odor.
Failure to sharpen in time will significantly reduce drill life and is the most common cause of drill breakage.
In the process of drilling various hard materials, the drills are constantly dull. Such a circumstance can cause serious inconvenience, especially when it is time to get the job done. It is almost impossible to use a dull and worn drill bit. For the convenience of work, it is necessary to restore the size and geometry of the product.To sharpen it in the right way, you will need to learn several features and methods of such a process. You can make a drill sharpening machine yourself if you understand the structure of such a device.

