Cost calculation
According to the list of prepared materials, it is necessary to carry out the calculation. All elements that already exist should be removed from a number of materials. Then you need to calculate the price for the rest of the materials. It is necessary to proceed from the average and high prices. Then the price of the instruments should be calculated. If you have a welding machine, you will only have to purchase gas or electrodes.
However, it will not be possible to predict everything. For example, if you decide to attach a seat to the device, and it is too old, you will have to look for another. However, in the presence of cheap elements, the design can be made quite functional.
Varieties of trailing devices for a walk-behind tractor
Single-axle gardening machines usually have hitch points at the front and rear. What is directly attached to the wheelset is usually called attachments, and everything that is attached through a special hitch is called trailing attachments. The latter are divided into highly specialized and multifunctional.
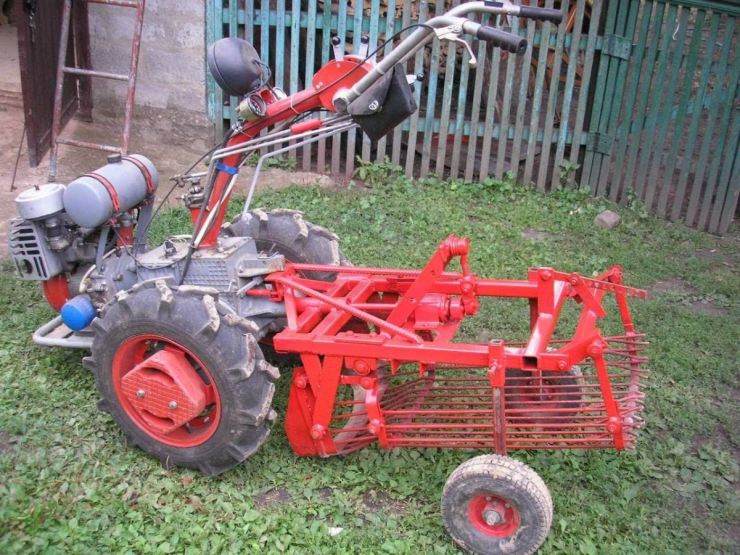
The first type is a harrow, which the walk-behind tractor drags along, or a potato planter. There are also specialized devices, for example, a ski module for deep snow; as a trailer, two-seater sledges on long runners are attached at the rear. The second type is the landing gear or, more simply, adapters. They are absolutely universal, that is, they are just intermediate links between the walk-behind tractor and the devices that are designed to cultivate the land.
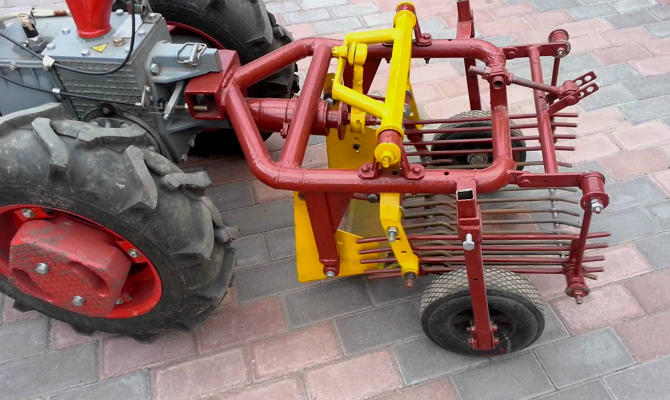
Potato planter behind a walk-behind tractor
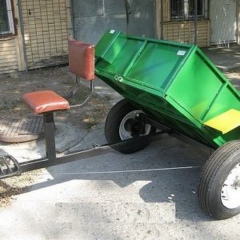
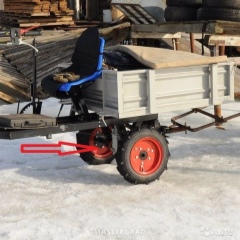
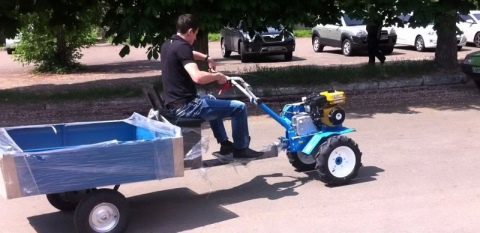
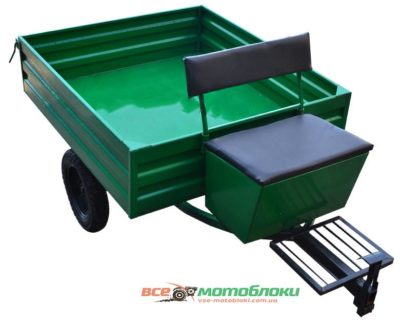
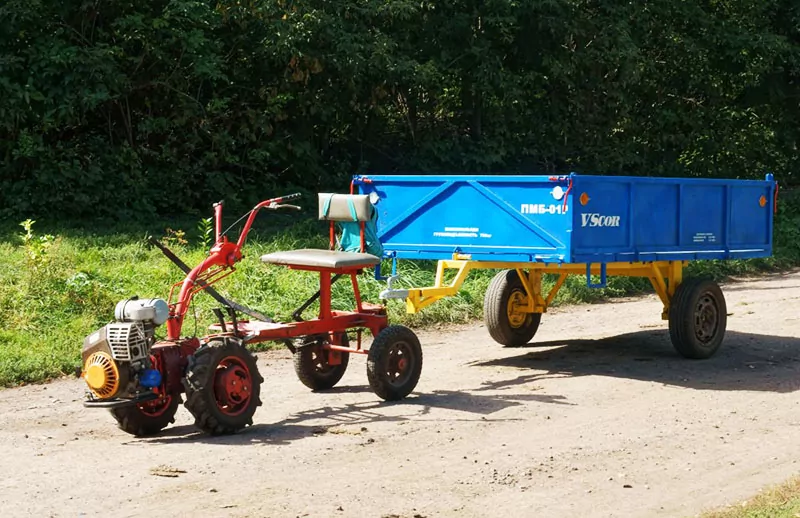
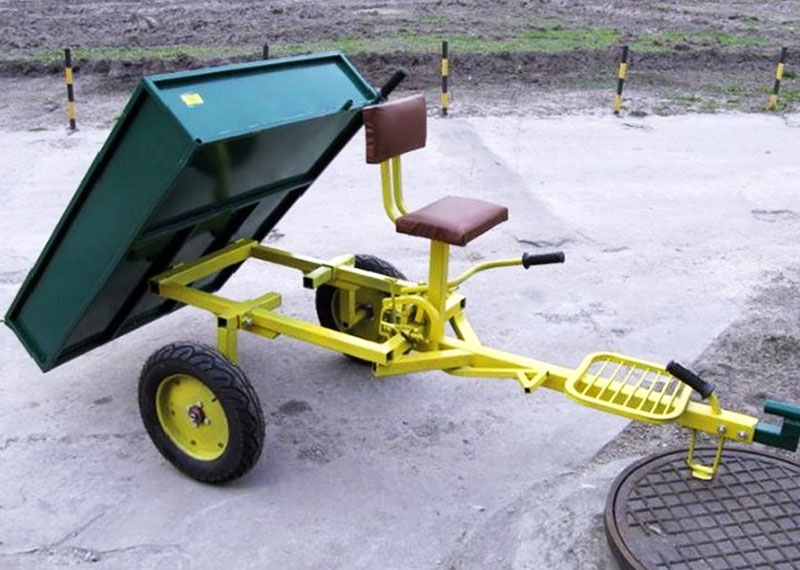
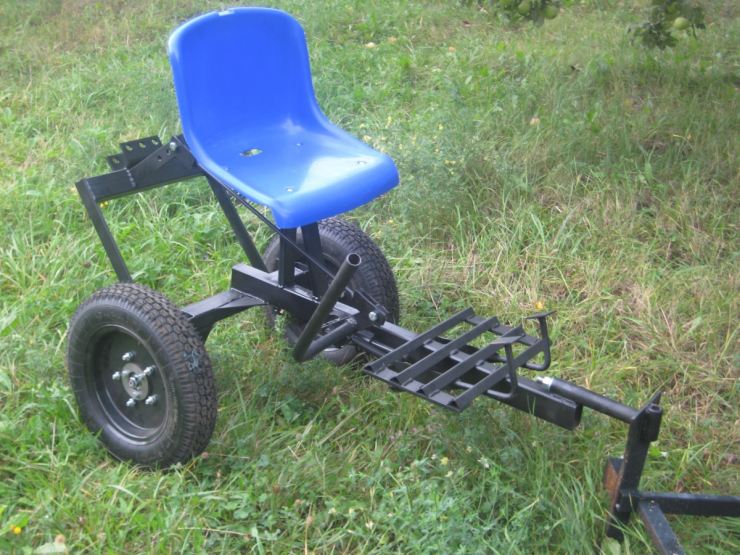
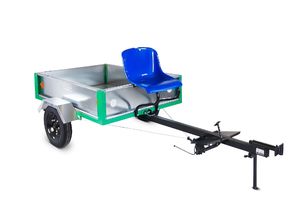
In other words, you can fasten the harrow directly to the two-axle technique and walk alongside, turning the steering wheel to the right or left, or, after installing the landing module, attach it behind it. In this case, the operator is provided with a more comfortable control of the walk-behind tractor, in addition, the adapter allows you to hang 2 devices at once, in front and behind. The adapter usually looks like a longitudinal beam with its own wheelbase, a seat is installed on top, and there is a footrest.
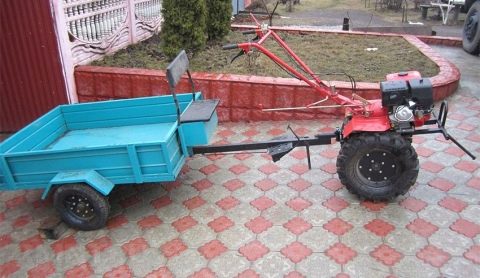
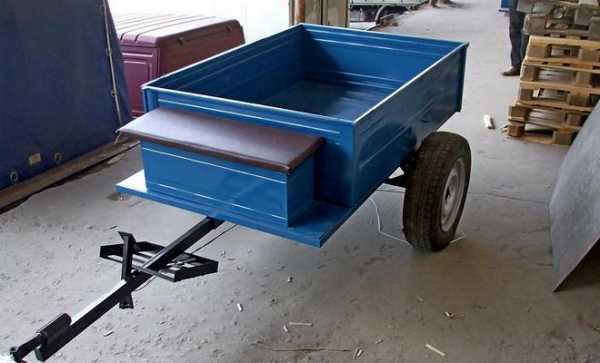
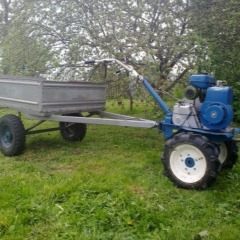
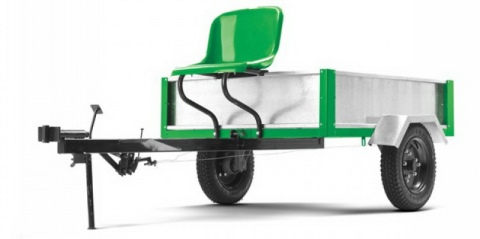
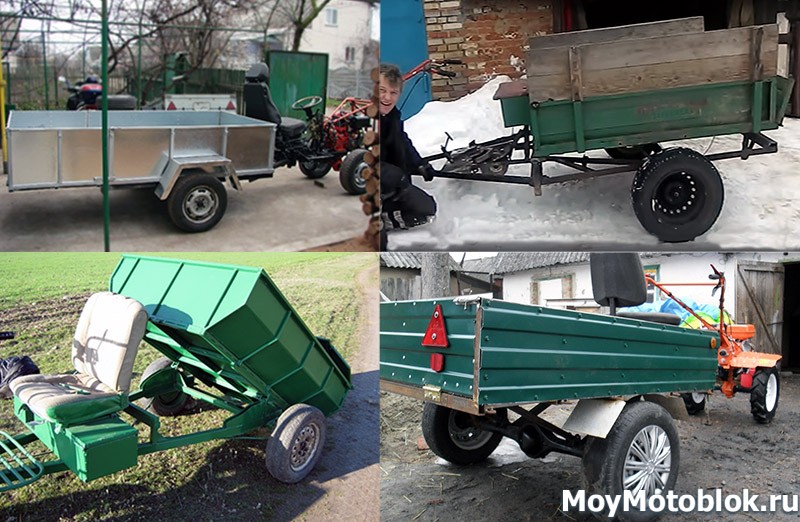
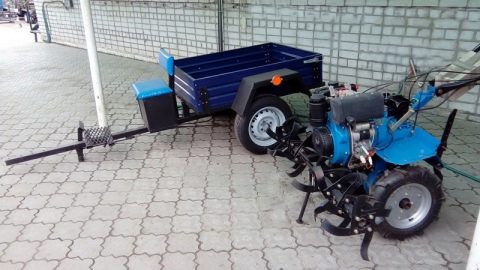
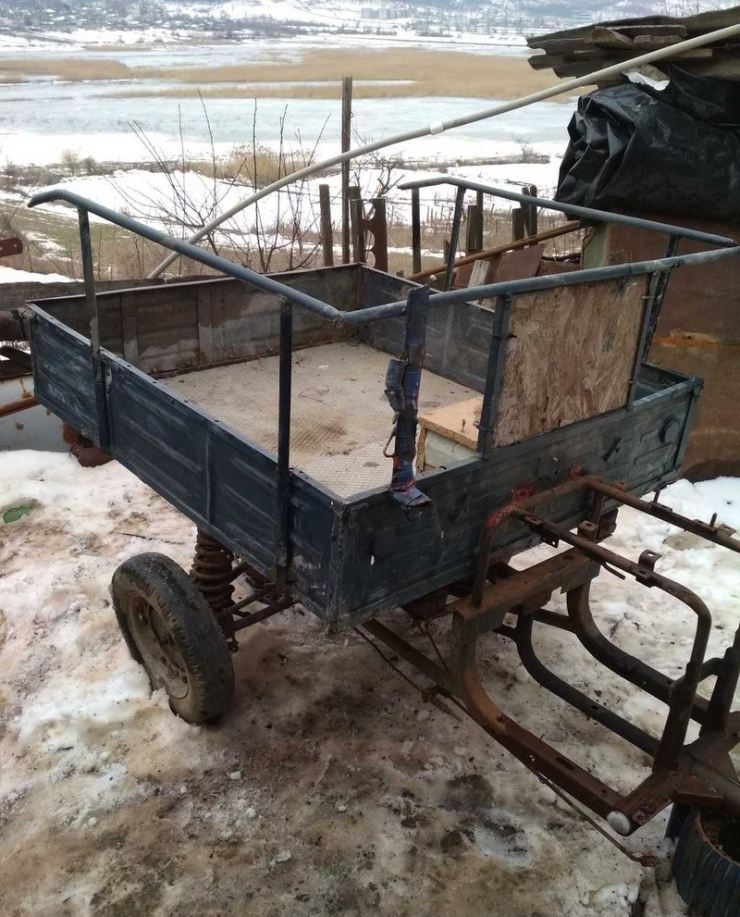
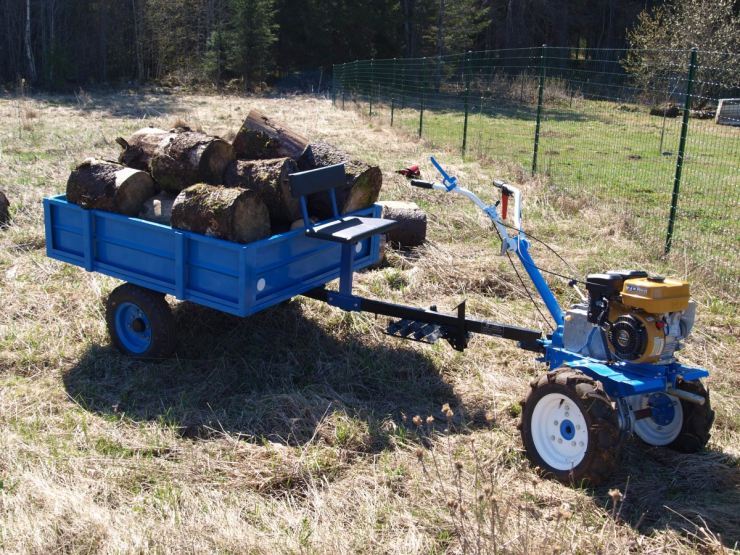
We should also mention bogie trailers, since, on the one hand, they are highly specialized and are intended only for the carriage of goods, however, they can carry anything. The trailer is a variant of the adapter, but its wheel axle is significantly shifted back and lengthened, since it is on top of it that a rather capacious body, rigidly reinforced or of a dump type, is usually installed. There are quite a few modifications that differ in the material from which the body is made, wheelbase and maximum load.
Build process
If you are going to make a trailer for a mini tractor at home, you will need the following tools and materials:
- steel sheets;
- plywood;
- steel channel;
- aluminum tubes;
- chassis;
- electrical equipment;
- wheels;
- metalworking tool;
- welding machine.
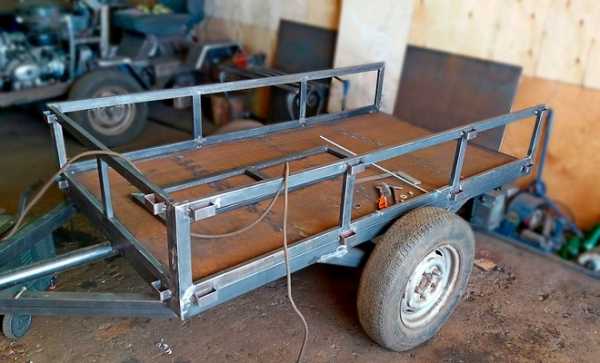
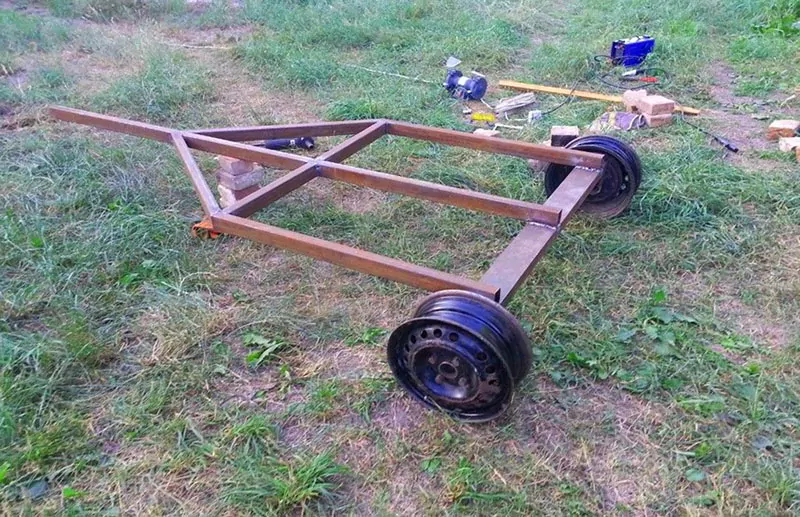
At the very beginning, you need to weld a frame that acts as a supporting frame. It can be made from round pipes with a diameter of more than 40 cm. All fasteners must also be welded.
Now you can proceed to the manufacture of the wheelbase, where a steel rod should be used as an axle. It is bolted firmly to the frame and side rails and corner supports can also be used. A do-it-yourself trailer for a walk-behind tractor can serve you for more than one year to transport various things.
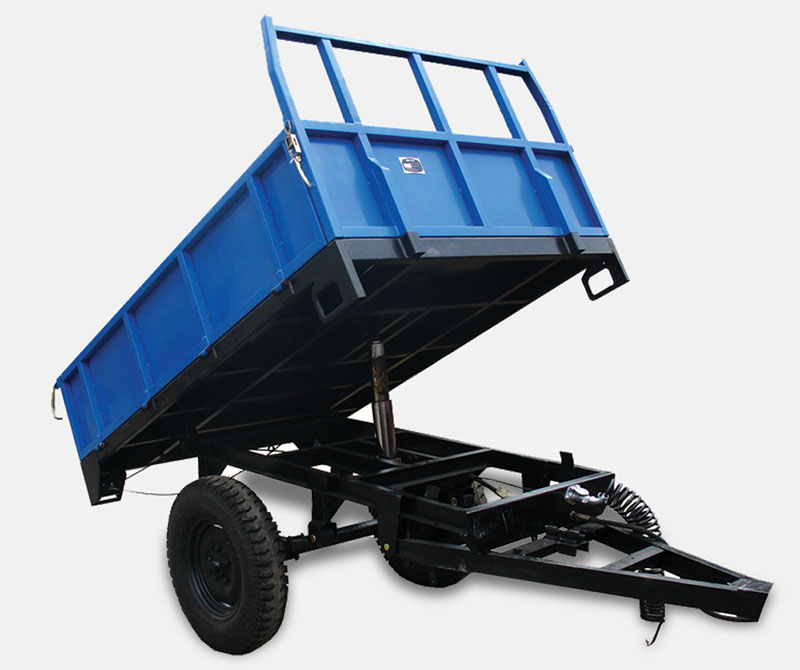
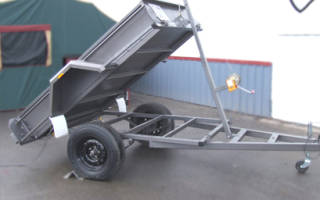
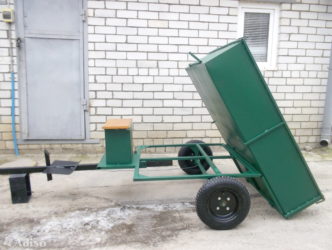
Dump trucks are able not only to transport household appliances and materials, but also to unload them with ease.For this, the structure is equipped with a special body, which has a rectangular shape. The unloading mechanism is usually located at the rear.
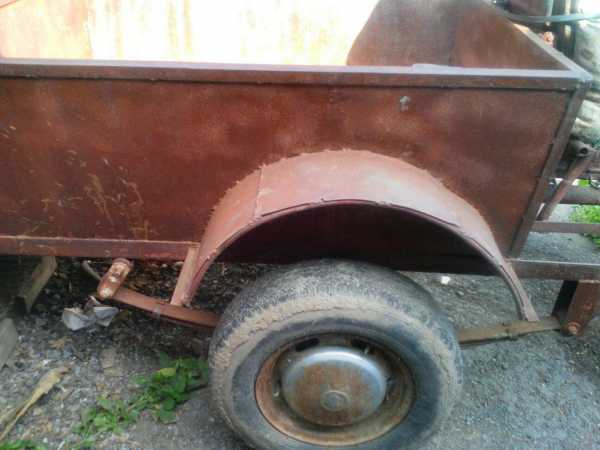
In addition, experts advise making your device from the most ordinary materials that are always at hand. You can make a trailer with your own hands from an old Moskvich car, capable of holding a load of up to 750 kg. It is inferior to a product from a motor scooter with a carrying capacity of up to 500 kg. The maximum weight that a trailer for a walk-behind tractor lifts with its own hands reaches one ton.
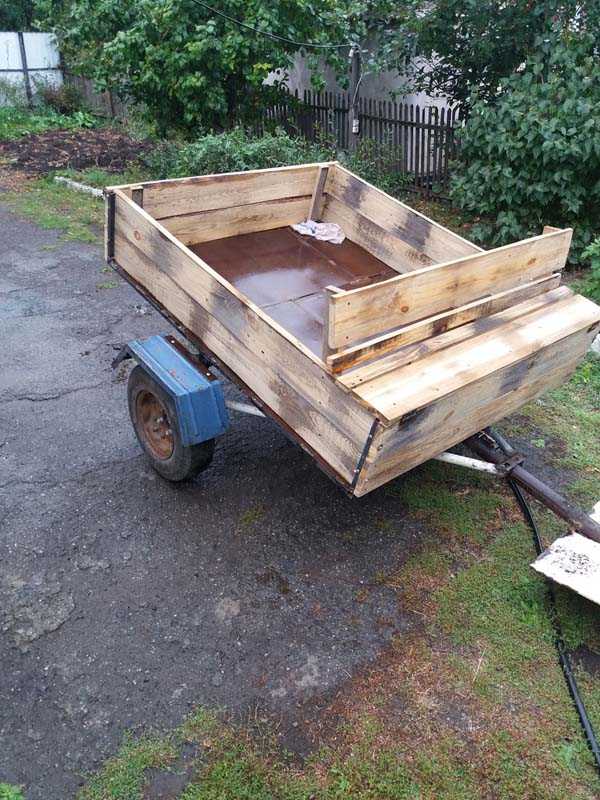
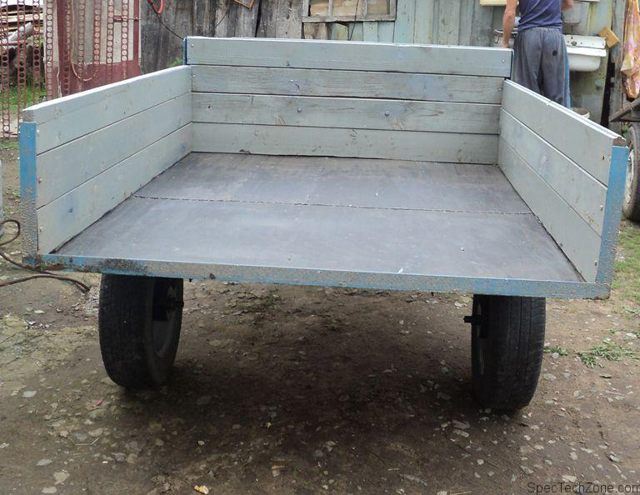
The best dump truck body is made from boards of any type of wood
It is important to choose all the required sizes. The body height is selected depending on what exactly you want to transport
Boards should be thoroughly dried and secured tightly with metal corners. This guarantees a strong connection and resistance to heavy loads.
The center wheels are located at the bottom. They are spaced (one from the other) at the maximum possible distance to distribute the weight. They provide complete safety and must be as reliable as possible. To do this, you can take the main part from the articulated drawbar, which is inserted into the tubular body of this movable part. This part has a fuse at the top that gives an extra layer of protection against accidental disconnections.
Approach the assembly structure carefully, as this part has a high vibration and friction load.
After all the parts are prepared, they need to be assembled into one device. It is impossible for one person to do this, so it is best to work in pairs. Be careful before each assembly step. Check the quality of the fastening of the assemblies, the reliability of the hinges and the tightness of the bolts several times. When the device is ready, it needs to be run in first without load. This process is necessary in order for the parts to rub against each other.
Self-production of a hitch for a walk-behind tractor
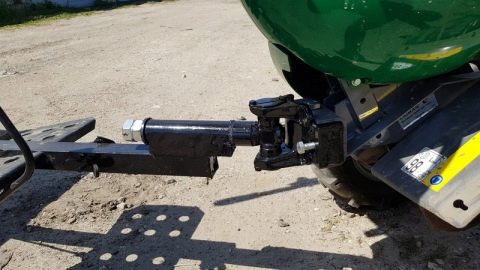
A special hitch is used to connect the trailer to the walk-behind tractor. Its dimensions and design may differ depending on the model of the walk-behind tractor. In general, such a system should ensure the stability of the structure and facilitate the controllability of the walk-behind tractor.
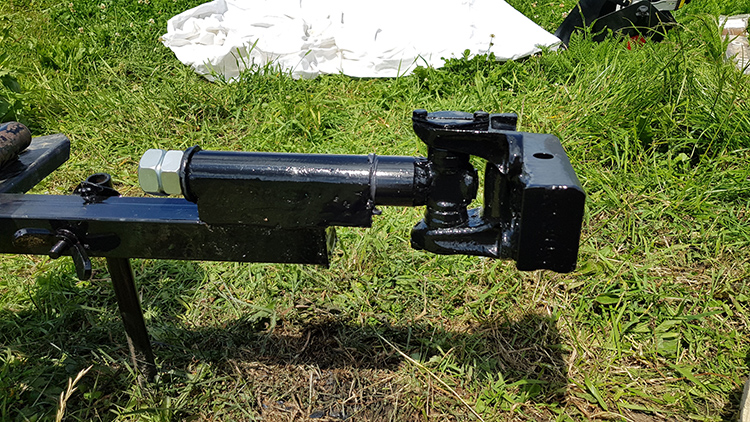 The configuration of the do-it-yourself walk-behind tractor hitch may differ
Drawings of a hitch for a walk-behind tractor
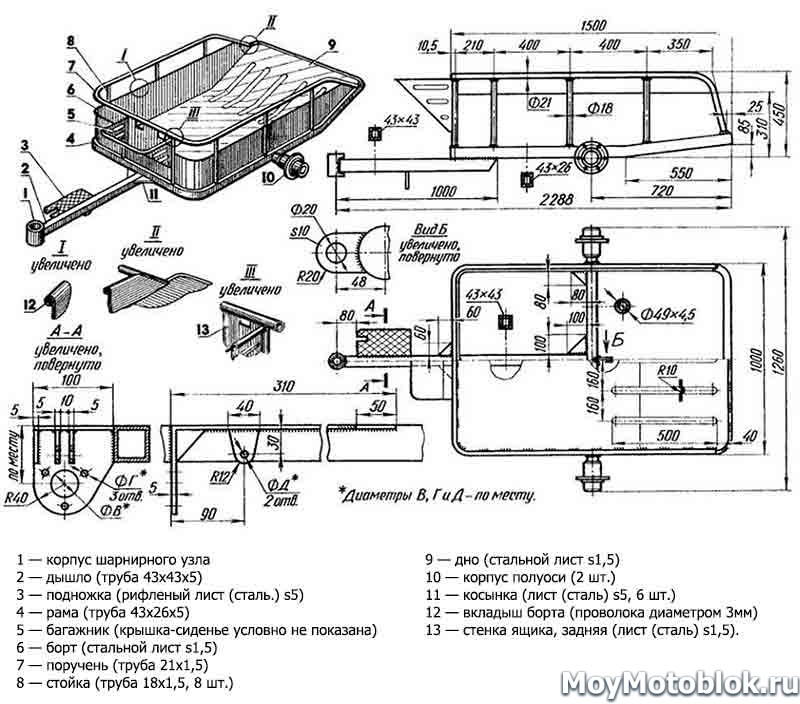
To make a hitch for a walk-behind tractor with your own hands, you need to develop a detailed drawing. It will contain all the necessary information about the main elements and their sizes. When developing the design, the features of the walk-behind tractor are taken into account. We offer you to get acquainted with the drawings of possible options:
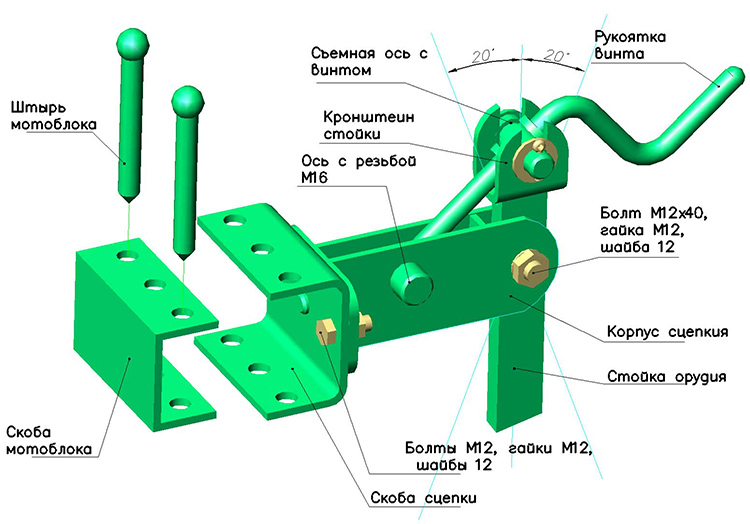
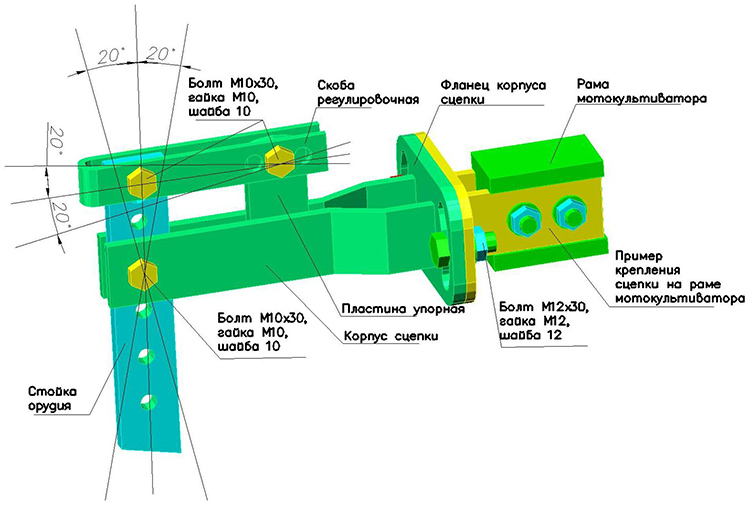
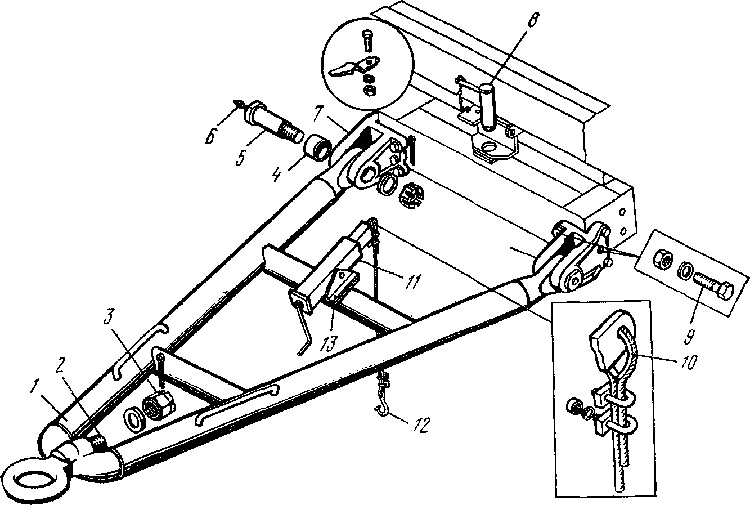 PHOTO: f.6324780.xyz
How to make a hitch for a walk-behind tractor: an algorithm of actions and video instructions
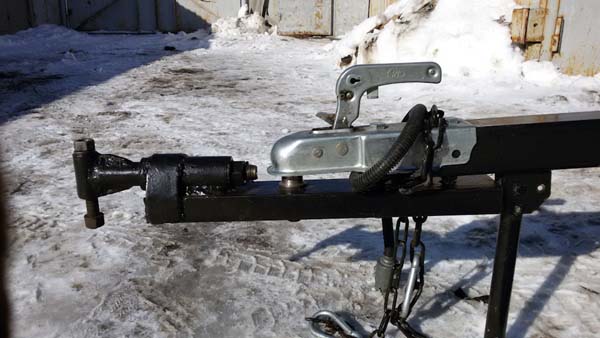
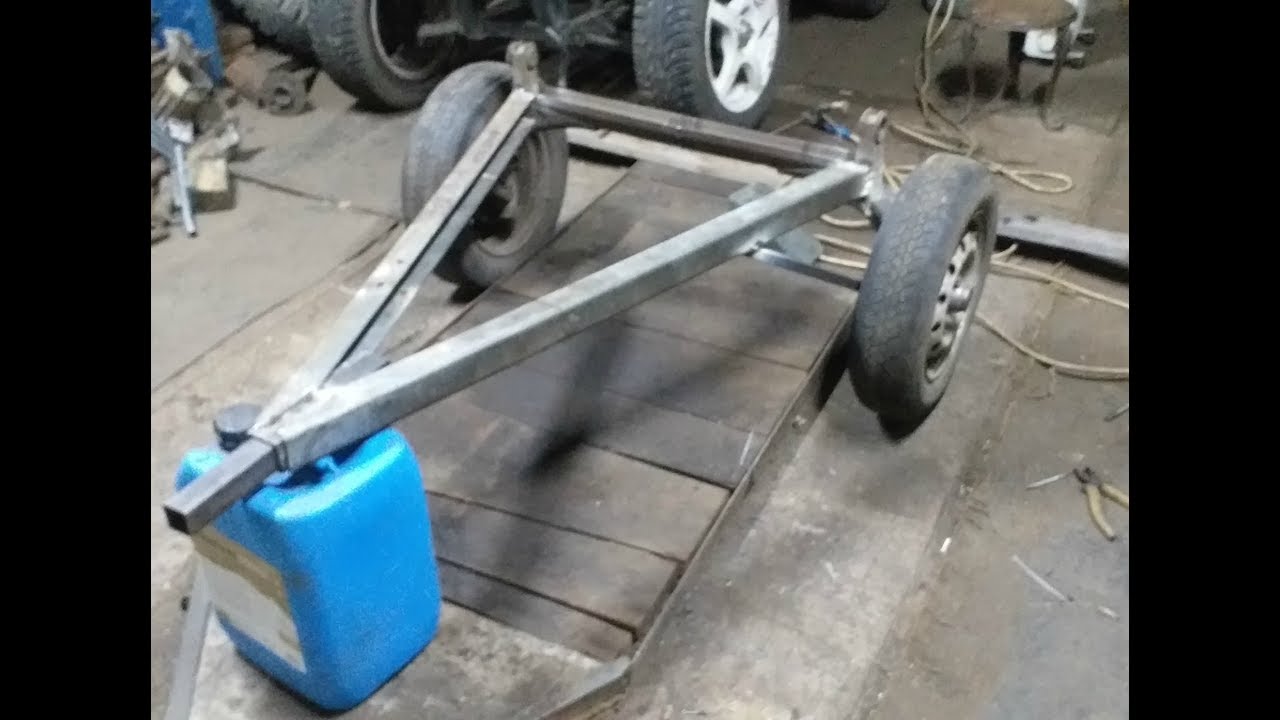
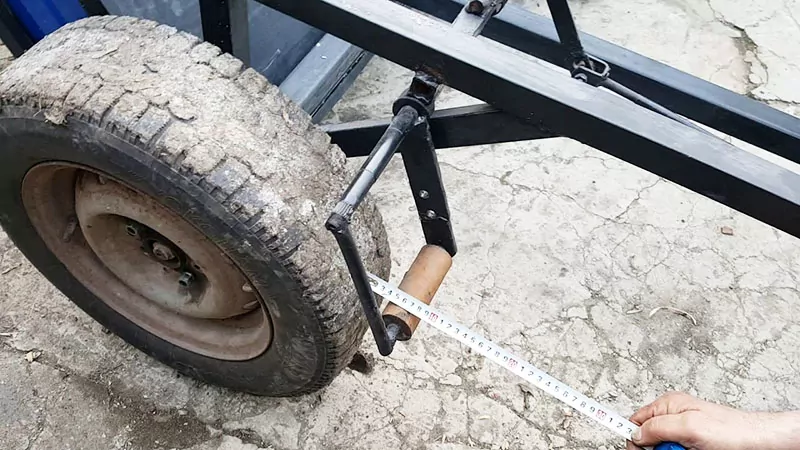
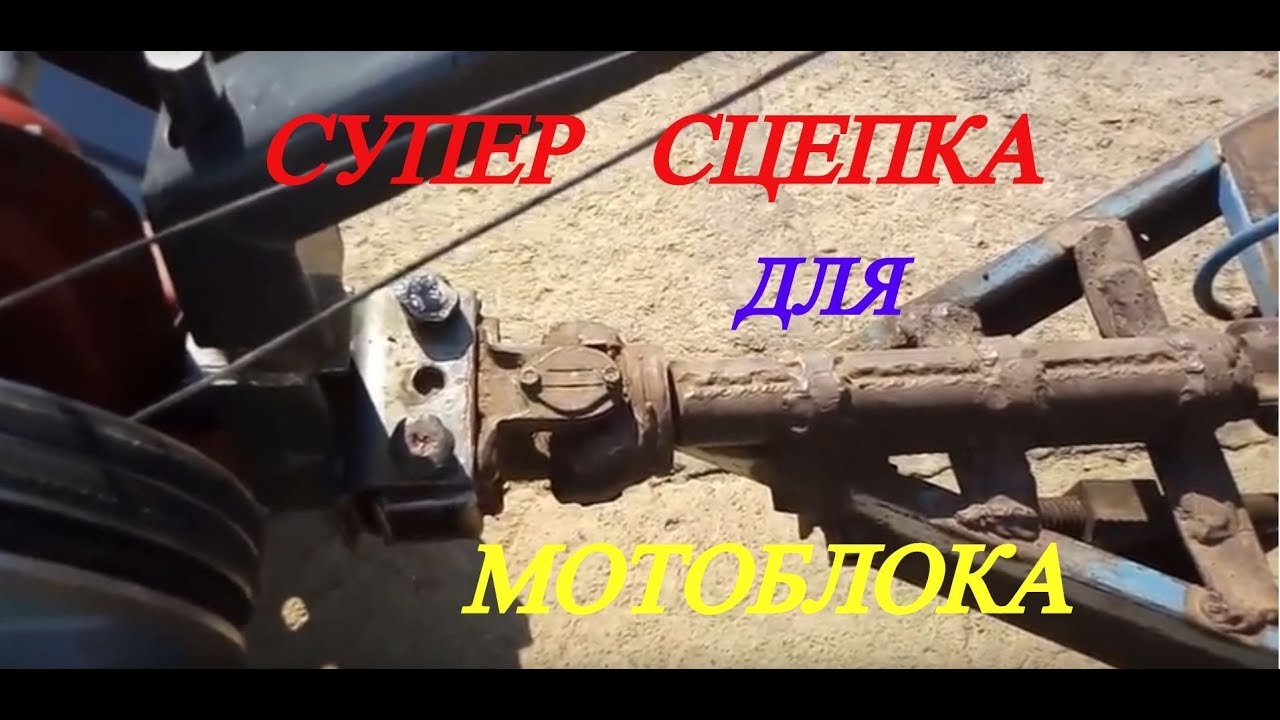
Drawbar - a system of welded pipes connected to the side member of the trailer. At the junction, a hitch for the walk-behind tractor is mounted. Its installation should be relatively simple. At the same time, the connection should be strong, reliable, making it possible to ensure easy rotation of the trolley with the walk-behind tractor.
Having studied the photos, videos, having developed drawings with dimensions for making a trailer with your own hands, you can start assembling the structure. The work is carried out in the following sequence:
- at the junction of the drawbar pipes, weld on a piece of pipe with a diameter of 40 mm and a length of 10 cm;
- we press two bearings into the pipe;
- from the side of the trailer, install a washer on the pipe. It will be used to accommodate the threaded axle from the hitch;
- we form a coupling from a square pipe. For this, a through hole is drilled, the diameter of which is equal to the transverse dimensions of the fixing pin;
- we reinforce the square tube with a sheet of metal. The edges of the pipes are bent.
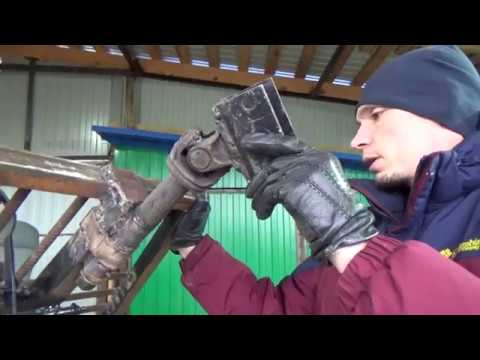
We offer you to watch the video, which tells how to make a trailer hitch for the Neva walk-behind tractor with your own hands:

Features of creating a trailer
A motoblock trailer is a rather complex system with an independent assembly process. For this reason, preliminary preparation for the process is required.

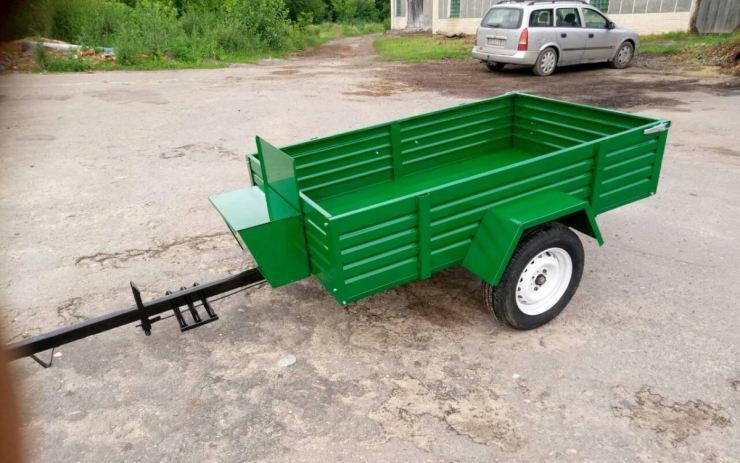



Here are the steps that must be present in the algorithm for creating such an important helper:
- First of all, you should think about drawing up an accurate and complete plan, scheme.
- Next, prepare all the necessary materials for the details, which we will talk about a little later.
- Organize a workplace for assembly where nothing will interfere with you. You should have quick access to all tools.
- Further, the previously made drawing is transferred to the parts. They are cut and sawn out, welded and the rest of the preparation work is carried out.
- The next step is to assemble and fit all components of the selected trailer.
- Surface painting and varnishing works.
Self-production of a trailer for a walk-behind tractor
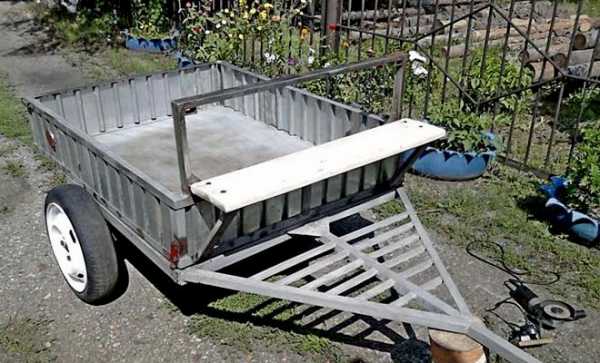
The design of the cargo adapter for the walk-behind tractor cannot be called daunting. In the presence of electric welding, a grinder and a drill, almost every owner of a hand tractor will be able to make a trailer to a walk-behind tractor with his own hands.
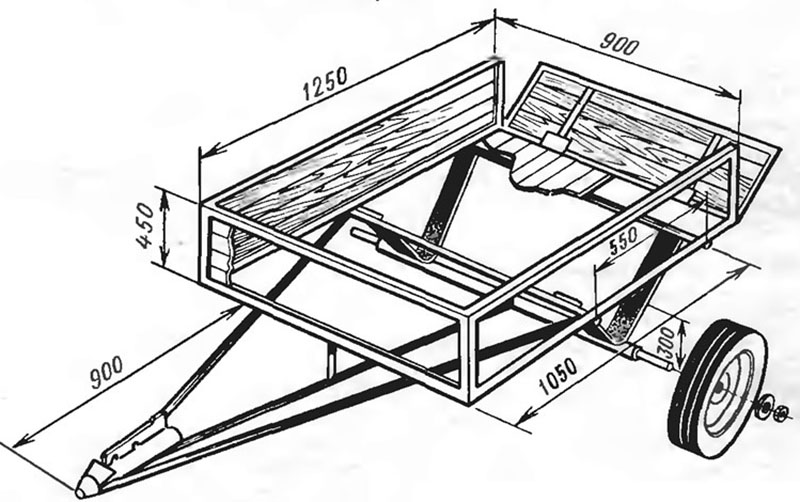
The main structural elements for the manufacture of which a drawing or a detailed diagram is required are the frame, carrier and body.
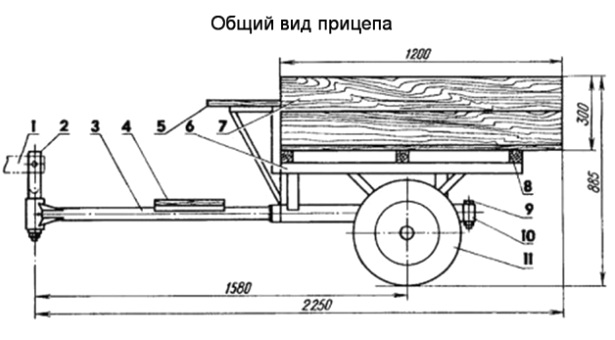
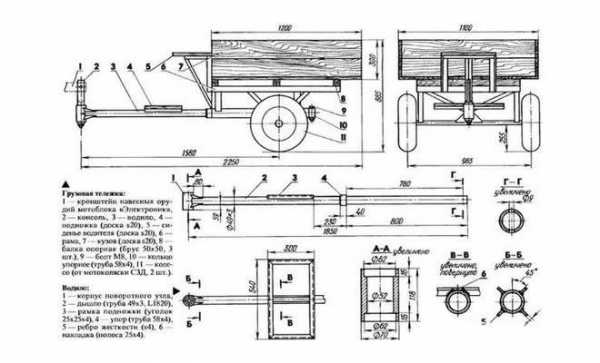
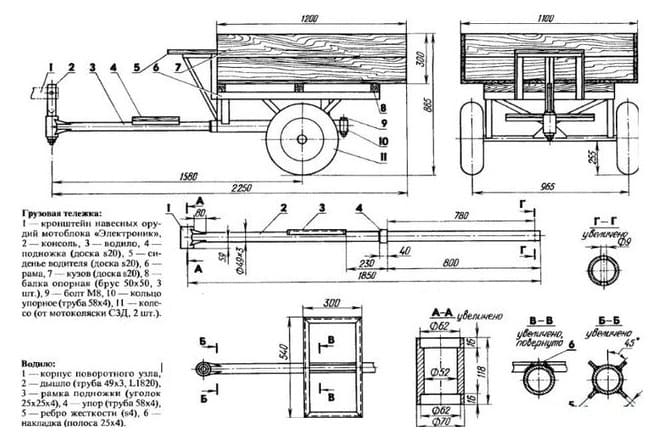
1 - motoblock hinge bracket; 2 - rotary console, 3 - carrier; 4 - footboard; 5 - seat (board 20mm); 6 - trailer frame; 7 - side of the body from a board of 25 mm; 8 - support beam of the frame (bar 50 × 50mm); 9 - fixing bolt of the hinge M8; 10 - rear hinge assembly; 11 - wheel
Studying the device of the trailer for the walk-behind tractor shown in the figure, you will notice that the carrier through the swivel unit and the console is connected to the trailed module of the walk-behind tractor. The other end of the carrier is inserted into the center tube of the frame.
The tube-in-tube design forms a kind of long hinge. It allows the wheels of the trailer to change their position independently of the wheels of the walk-behind tractor while overcoming pits and bumps. This solution avoids deformation of the trailer structure.
Rice. 1
1 - swivel unit; 2 - "drawbar" (round pipe 60 mm); 3 - footrest frame (corner 25 mm); 4 - stiffeners
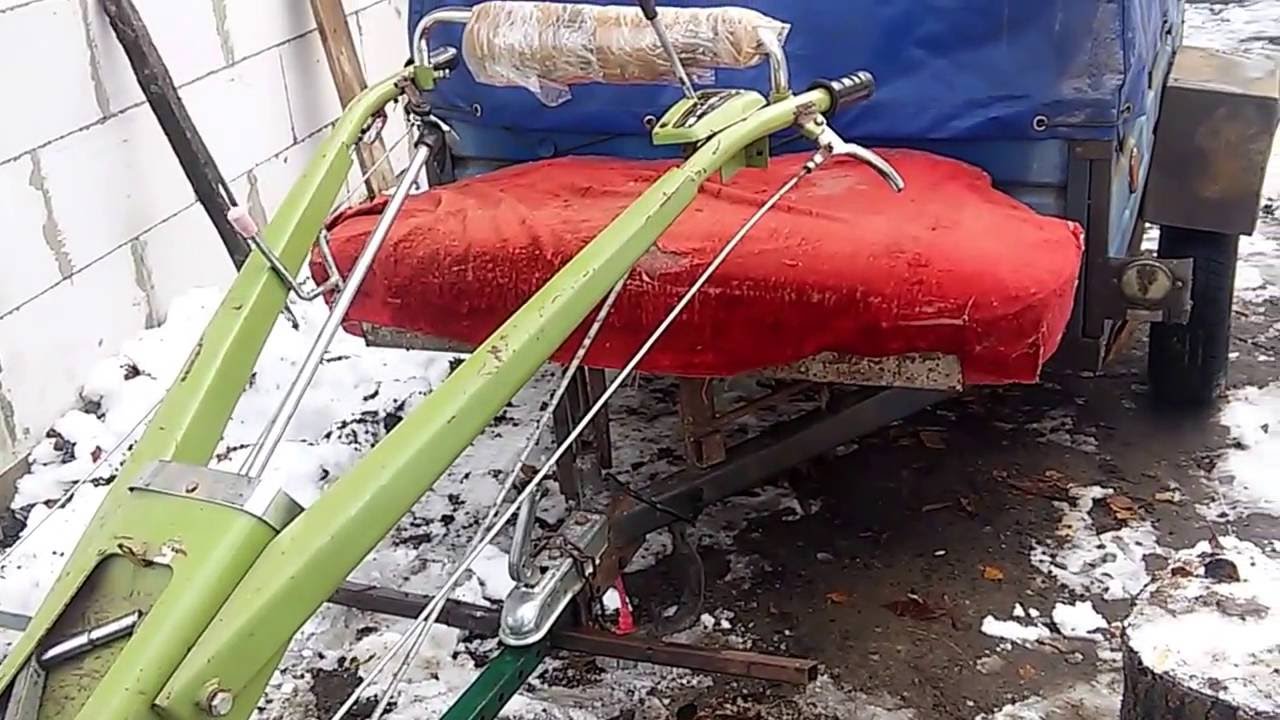
The articulated hitch of the walk-behind tractor with a trailer is made using a console - a steel axle. It stands in the swivel block of the carrier on bearings. A flange is welded to the upper part of the console, with which it is attached to the hitch of the walk-behind tractor.
To strengthen the joint of the drawbar with the body of the swivel unit, it is necessary to use 4 stiffeners from a steel strip 4 mm thick.
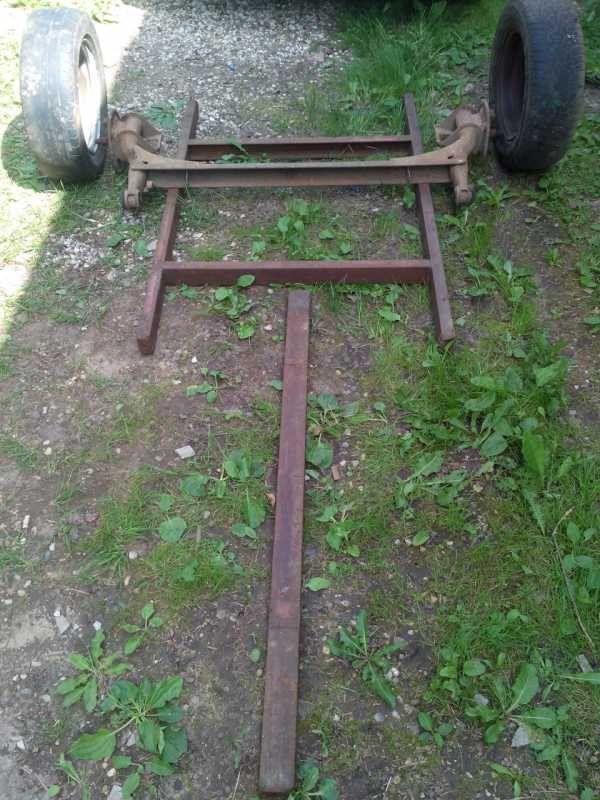
When making a homemade trailer for a walk-behind tractor, its frame is welded using several types of rolled metal: corner, rectangular and round pipes. The supporting frame must be strong and rigid so that its structural elements do not deform when moving with a full load.
 Fig. 2
1 - brace (corner 20 x20); 2 - seat frame (corner 20 × 20); 3 - seat racks (corner 40 × 40); 4.5 - front struts (pipe 40 × 20); 6 - body frame strapping (corner 40 × 40); 7, 8 - wheel axle struts (corner 32 × 32); 9.10 - rear struts (pipe 40x20); 11 - reinforcing cross member (corner 40 × 40), 12 - central pipe 58 × 4; 13 - axis (rod 30 mm), 14 - gusset (sheet 4 mm).
 Rice. 3
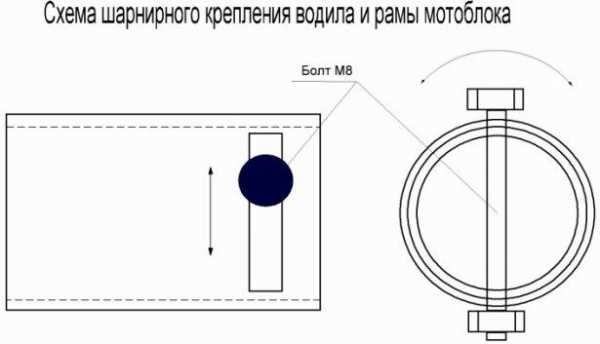
To fix the carrier pipe, a hole is drilled through them in the central tube of the frame and a bolt with a locknut and a hairpin is inserted. In this case, a long "window" must be cut out in the central pipe.
In it, the fixing bolt passing through the carrier tube can move around the trailer axis without moving in the longitudinal direction. This is the final step necessary for the reliable operation of the pipe-in-pipe joint described above.
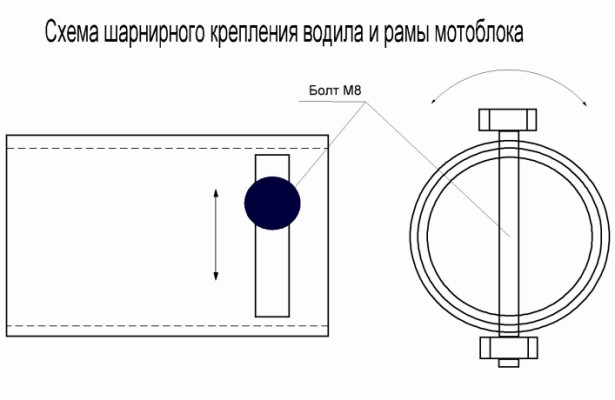 Node 1
For the manufacture of a wheel axle, you need to take a rod of high-quality steel with a diameter of 30 mm. It is connected with the central tube of the frame, the strapping of the platform from the corner and the struts by electric welding.
A fixed body can be made from 25 mm boards or its sides can be made of steel sheet 1.5 mm thick by welding it onto vertical posts from a 40x40 mm corner. If there is a need to open the sides, then several loops must be welded to the frame, to which the side frame will be attached. Latches must be welded to the corners of the frame, which will fix the sides in the transport position.
In a properly balanced trailer for a walk-behind tractor, the center of gravity of the load is located closer to the front side and does not go beyond the axis of rotation of the wheels. This requirement must be taken into account when drawing up a drawing of a homemade design.
As wheels for the trailer, you can use passenger cars, having bought them assembled with hubs. Before installing the wheels on the axle, carefully grind its seats for the inner diameter of the wheel hub bearings and provide a locknut with a locking cotter pin.
Useful video on the topic:
Practical advice
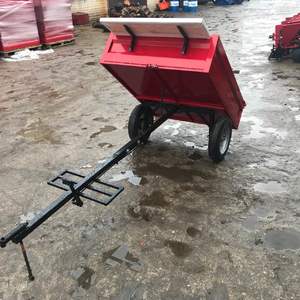 If the power of the equipment does not exceed 5 liters. with., the optimal dimensions of the trailer in length and width will be 1.5 and 1 m. When the parameters of the body are calculated, pieces of the required length are cut from the pipe and the frame is welded from them. The design turns out to be quite rigid, so there is no need to install reinforcing elements in the corners. To make the seam smooth and of high quality along the entire length, work should be done on a flat surface, best of all - using electric arc welding.
Body assembly and painting
The sides of the trailer are framed with a profile of 25-30 mm. Sheathing is assembled from sheet metal, which is then attached to the professional pipe with threaded connections. The metal for the body must be free of rust. If there is corrosion, it is removed mechanically, and then the surface is coated with a primer rust converter. Try on the body to the frame. If all dimensions are the same, a test build is performed. Then they disassemble, set the body aside, and cover the frame with oil paint. It is necessary that there are no unpainted elements anywhere.
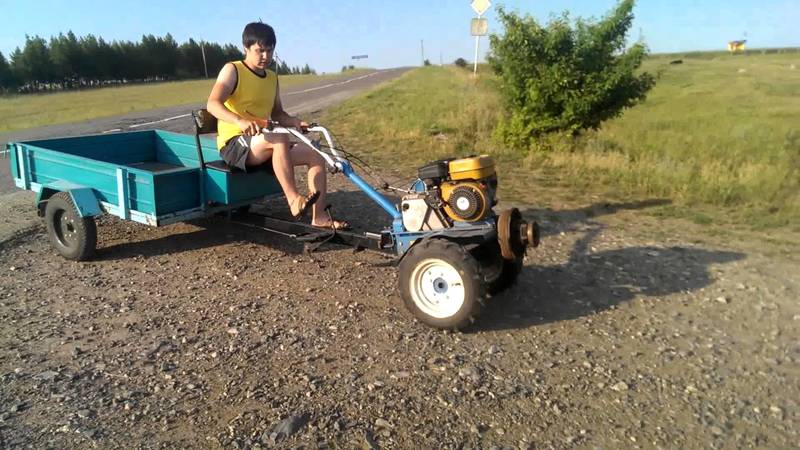
The body flooring is also covered with paint, after which it is installed in its place. The joints are fixed with fasteners, then the protruding parts of the bolts are painted so that corrosion does not appear in these places. If the dried paint has lagged behind in some places during installation, these areas are tinted. A drawbar is made from the thickest pipe.
Steering gear
 Since the design provides for a folding cart, special axles are made from the bottom in the middle. To prevent the folding mechanism from jamming during lifting, it is necessary to maintain alignment. The reinforcement bushings are mounted using a 5-6 mm plate. The same parts are welded to the hitch (drawbar), which serves as the base frame.
Do-it-yourself assembly of a swivel joint requires increased accuracy. A circle of stainless steel with a diameter of 5 cm is taken as a basis. The studs are also turned from steel, only hardened. Since the intensity of movement of the hinge will be low, you can do without bearings, the main thing is to regularly lubricate the mechanism.
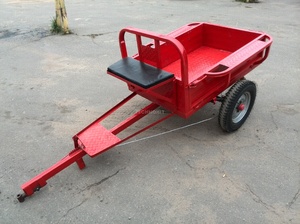 When everything is ready, perform a test load and check if there are any problems during the course, during turns, when starting, stopping, etc. If the equipment with a trailer works normally in all modes, the structure is ready for operation. If the power of the walk-behind tractor allows, the cart can be loaded from 300 to 700 kg.
A self-made trailer is several times cheaper than a factory one, and it will serve for more than a dozen years. The main thing is to use quality materials, observe dimensions and carefully assemble.
Materials and tools
To create a trailer for a walk-behind tractor with your own hands, you may need the following tools:
-
welder;
-
"Bulgarian";
-
lathe;
-
drill;
-
spanners;
-
hammer or sledgehammer;
-
ruler or measuring tape;
-
screwdriver;
-
fasteners (bolts, nuts, etc.);
-
sandpaper;
-
file;
-
electric saw.
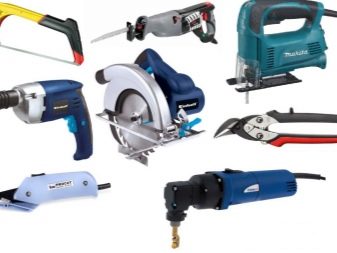
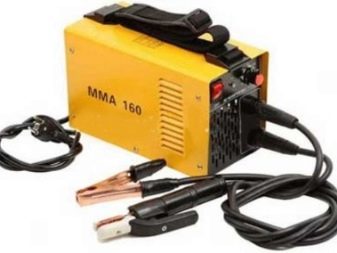
Depending on what materials will be used for the future trailer, the set of tools may vary slightly. However, most of them are indispensable when creating additional equipment for a walk-behind tractor.
First of all, when choosing materials, it is worth considering what the trailer body will be made of. The cheapest material for it is wood.For example, you can use boards with a thickness of about 0.2 cm. It should be borne in mind that they need reinforcement at the corners with metal overlays. It is convenient to mount such a body using support frames made of timber and bolts.
Wooden trailers are best suited for transporting bagged loads. In this case, the sides of such a device will be non-folding. It is advisable, before you finally choose what the body will be made of, calculate the load, and also estimate what kind of goods will be transported in it.
You can also make a body from metal sheets, the thickness of which is from 1 mm. This material is the most versatile. It is also quite easy to make it durable with a primer and paint.
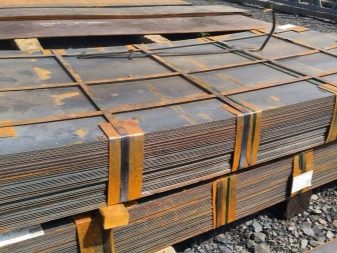
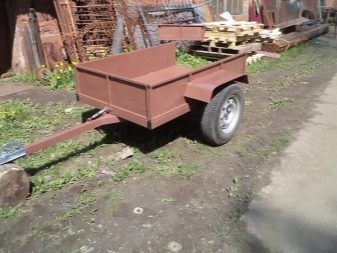
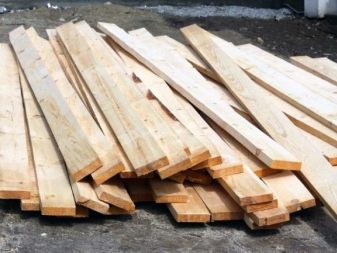
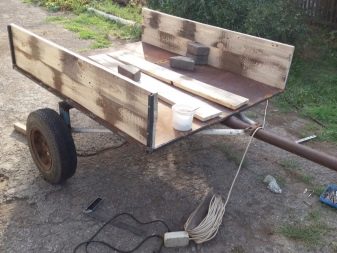
The corrugated board is also suitable for the manufacture of a trailer. However, it should be borne in mind that this material needs additional stiffening ribs.
To make the wheel axle, you can use a steel rod approximately one meter long. This length will allow you to place the wheels on a homemade trailer in the most correct way. Also, a VAZ-2109 beam is suitable as an axis. A good option is to use the entire rear axle, including the wheels.
Wheels from any equipment can be used as wheels. The only condition is that their size matches the technique. For example, wheels from a cradle or Zhiguli are a good option for a trailer. You can also use wheels from garden equipment with a radius of 40.6-45.7 cm. Wheels from the Ant motor scooter would be a good option.
How to make the bottom of the cart
The most unreliable, but fastest way to make a bottom for a cart is to perform work using an edged wooden board. However, if you want to get a strong and durable device, then the bottom should use metal sheets with a thickness of at least 2 millimeters as a material. A trolley with such a bottom will last for many years without rotting or requiring frequent repairs.
When all the intermediate steps and components have been completed, you can start assembling the unit. To do this, it is better to follow a certain sequence:
- The main pipe is welded to the additional one, which performs the axle for the cart. Any off-the-shelf vehicle wheel assembly can also be used.
- The motoblock hitch is attached to the opposite side of the pipe. You need to make sure that the welding is strong so that the welded parts do not separate at the most crucial moment.
- Attach the hubs firmly to the ends of the main axle, preferably also using welding.
- Next, fit the wheels, fix them with nuts and bolts, tighten them securely and tightly so as not to lose the discs on the way.
- Next, a parking device is attached to the beginning of the pipe so that the trailer takes a horizontal position when it is uncoupled from the motorcycle and stands idle.
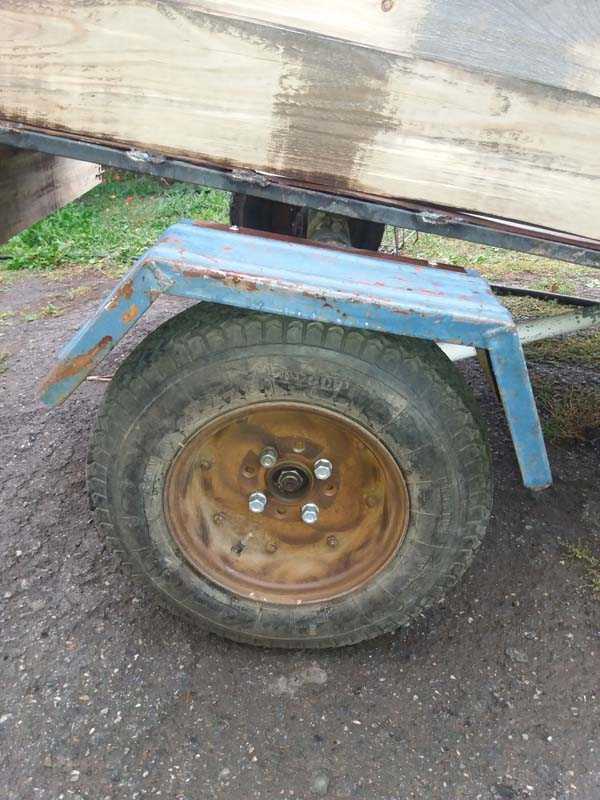
- The last step is attaching the body and fenders.
After completing all the steps, the cart is almost ready for use. Simply attach the chair and footrests for the person who will operate the unit. For this, the steering wheel and the corresponding levers are used. Driver comfort and convenience can be improved by attaching a backrest to the seat and padding it with soft material, or simply placing a pillow under the back.
Having familiarized yourself with how to make a cart for a walk-behind tractor, you can easily and simply, following the instructions set out, make a device with your own hands, significantly reducing material costs, and get an excellent assistant when working in the garden and a personal plot, which will not only save your strength, but and shorten the time. You can, without hesitation, be engaged in the transportation of the harvested crop, various fertilizers, materials for construction, using for this not a car, but a walk-behind tractor.
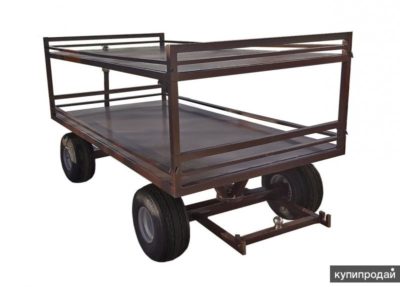
Trolley for walk-behind tractor - trailed equipment for universal agricultural motor vehicles for transporting goods on personal and land plots.With the help of such a mechanism, garbage, animal feed, building materials, fertilizer, grain, inventory are transported.
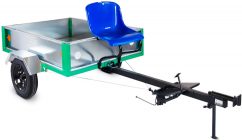
The trailer and adapter for the walk-behind tractor are varieties of homemade products made by skilled mechanics. The adapter is a longitudinal beam with its own chassis, driver's seat and footrest. This module makes it possible to work the soil in a sitting position, as well as attach 2 equipment at once - in front and behind.
The bogie is a type of adapter with a difference in the design of the undercarriage.
A purchased cart for a walk-behind tractor is expensive. To save financial resources, craftsmen make it themselves, design construction drawings, select the necessary materials. The process of creating such a useful vehicle does not take long and is not difficult. Even a beginner, at least a little versed in technology, can handle it.
A brief review will help you understand the question of how to make a trolley for a walk-behind tractor yourself with good performance characteristics.
Using an adapter to expand capabilities
The landing and steering device allows you to work on the land in a more intensive mode. If walking behind a walk-behind tractor is limited, as a rule, by the speed of the operator's movement and his endurance (high speed will quickly lead to fatigue), then the adapter solves this problem. That is, you can slightly increase the speed of plowing the land or hilling, if the weight of the plow or the speed of the cutter allows.
The same goes for removing snow or leaves from paths with a rotating brush. But with a blade for snowdrifts it will be more difficult, since it will often be necessary to reverse, which is more convenient to do while standing, simply rolling back the walk-behind tractor, than sitting and switching the direction of travel.
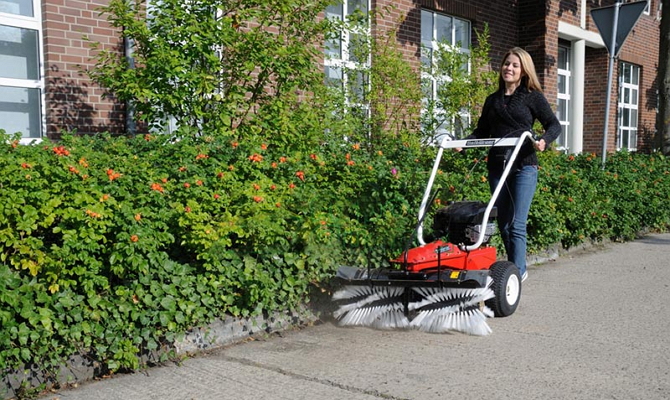
Rotating leaf brush
But this applies to the front attachment. But the rear, which clings to the adapter, depends solely on the landing gear itself. There are actually adapter modules and frame modules, the difference between them is quite significant. The first ones are almost always made on the basis of a bar equipped with a driven axle under the operator's seat. There is also a footrest on the longitudinal metal beam, where there is often a pedal for connecting with a cable to the clutch of the walk-behind tractor. Budget models do not have such a pedal, and you have to switch by leaning forward towards the body, which is not very convenient.
Frame types of landing and steering devices look completely different; they are ready-made kits for converting single-axle equipment into full-fledged mini-tractors. In fact, the metal frame is installed so that the walk-behind tractor is in the center (under the driver's seat) or in the back. In this case, the adapter is connected rigidly, and the steering is switched to the front axle driven by means of the simplest rods. Of course, the steering column of the walk-behind tractor is dismantled as unnecessary. In some cases, the frame provides for the installation of a single-axle garden device in the front, which somewhat simplifies the assembly of the mini-tractor.
The advantages of adapters with a movable hitch are obvious: on the basis of a walk-behind tractor, more powerful and comfortable garden equipment is assembled very quickly, which can also be used as a vehicle. In addition, a strictly calculated load is distributed on the axles: the front wheels carry the weight of the engine, and the rear wheels carry the weight of the operator. However, the plus sometimes turns into a minus, in particular, due to the movable hitch, the overall stability of the equipment deteriorates. Frame landing and steering devices are deprived of this drawback due to the rigid connection with the walk-behind tractor. In addition, their advantage is that the mass of the entire structure is transferred to the plow, and not just the adapter. The disadvantage is the complexity of reworking equipment.

