Peculiarities
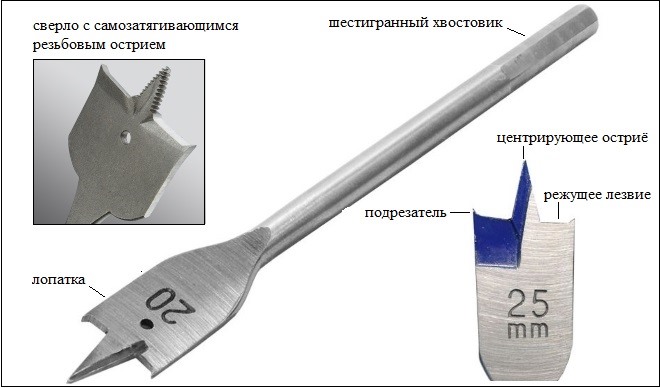
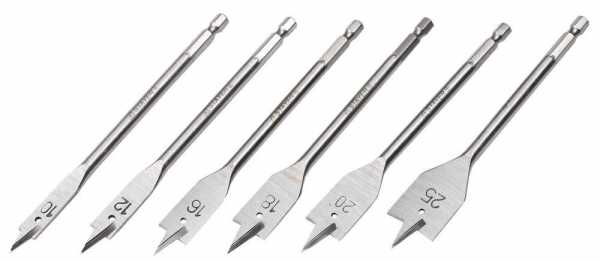
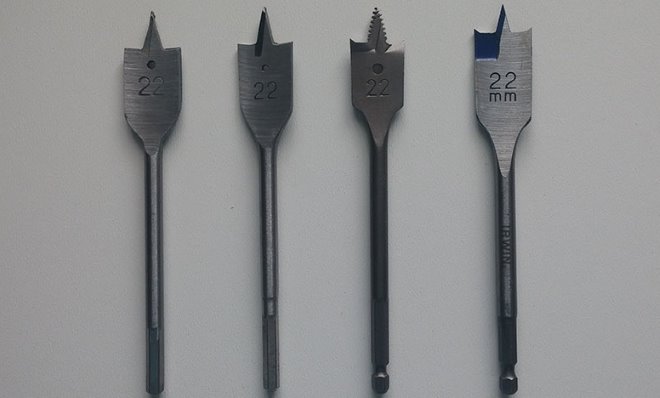
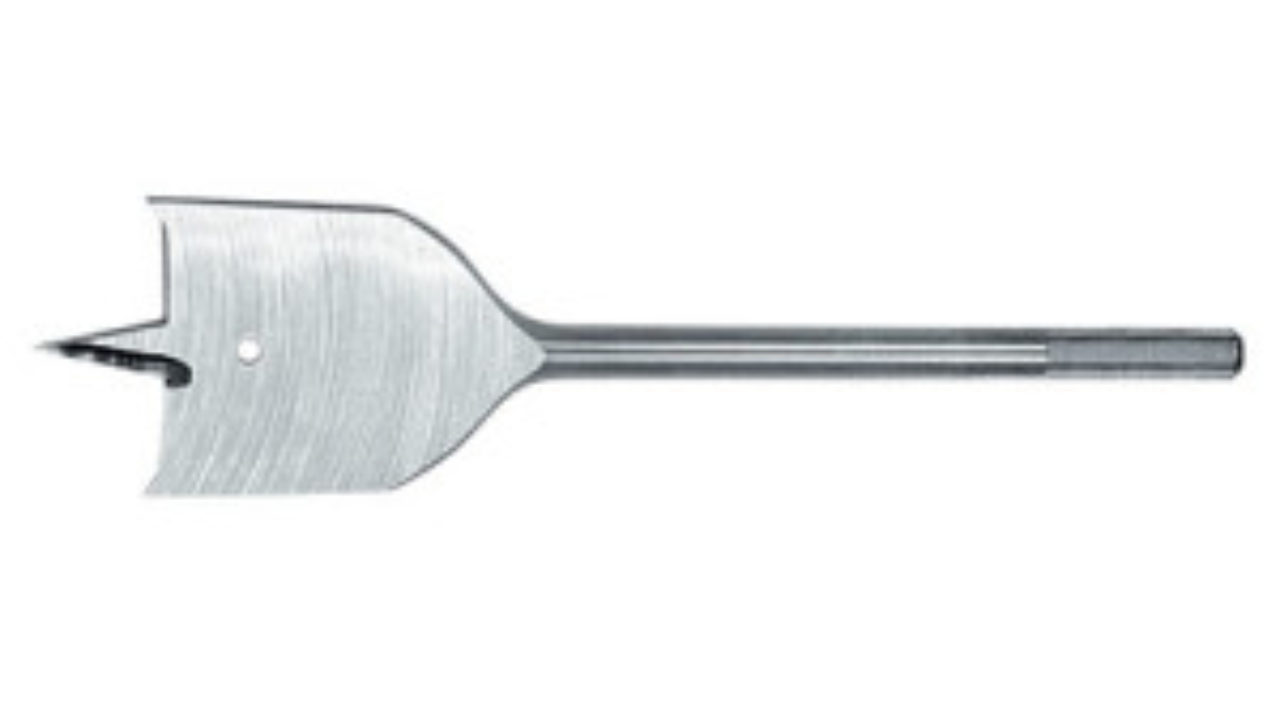
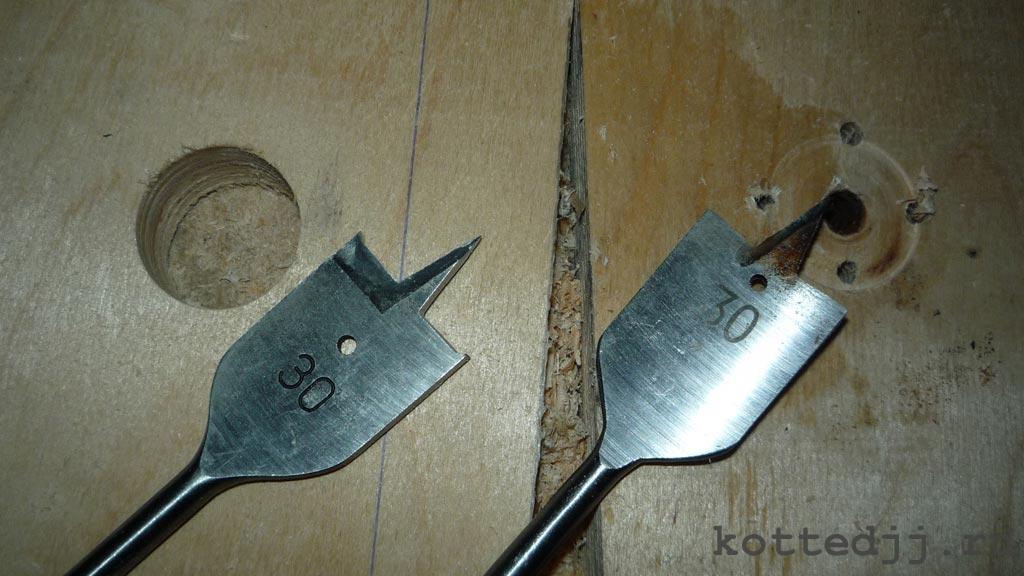
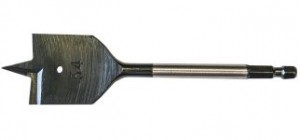
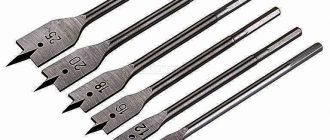
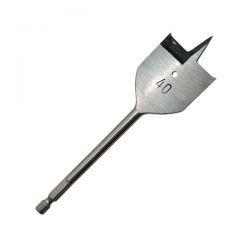
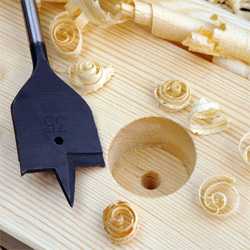
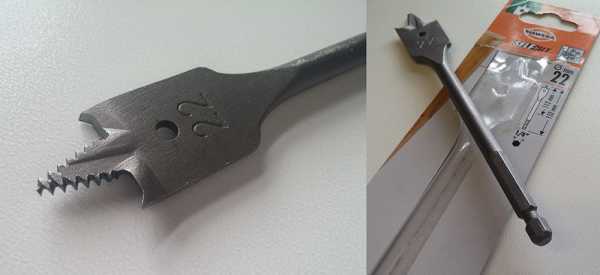
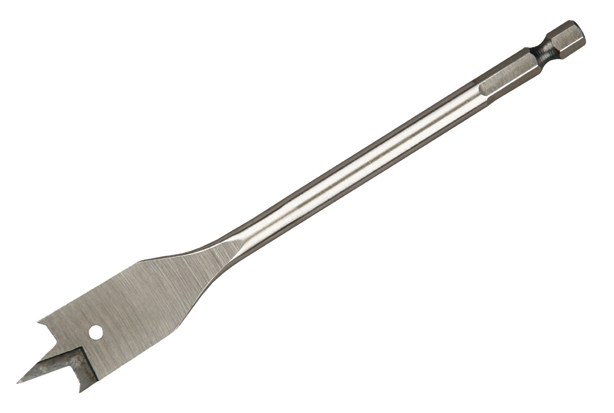
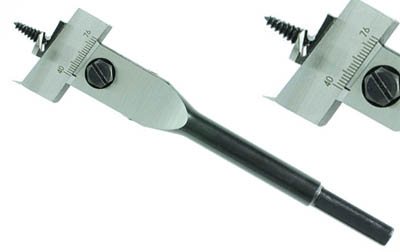
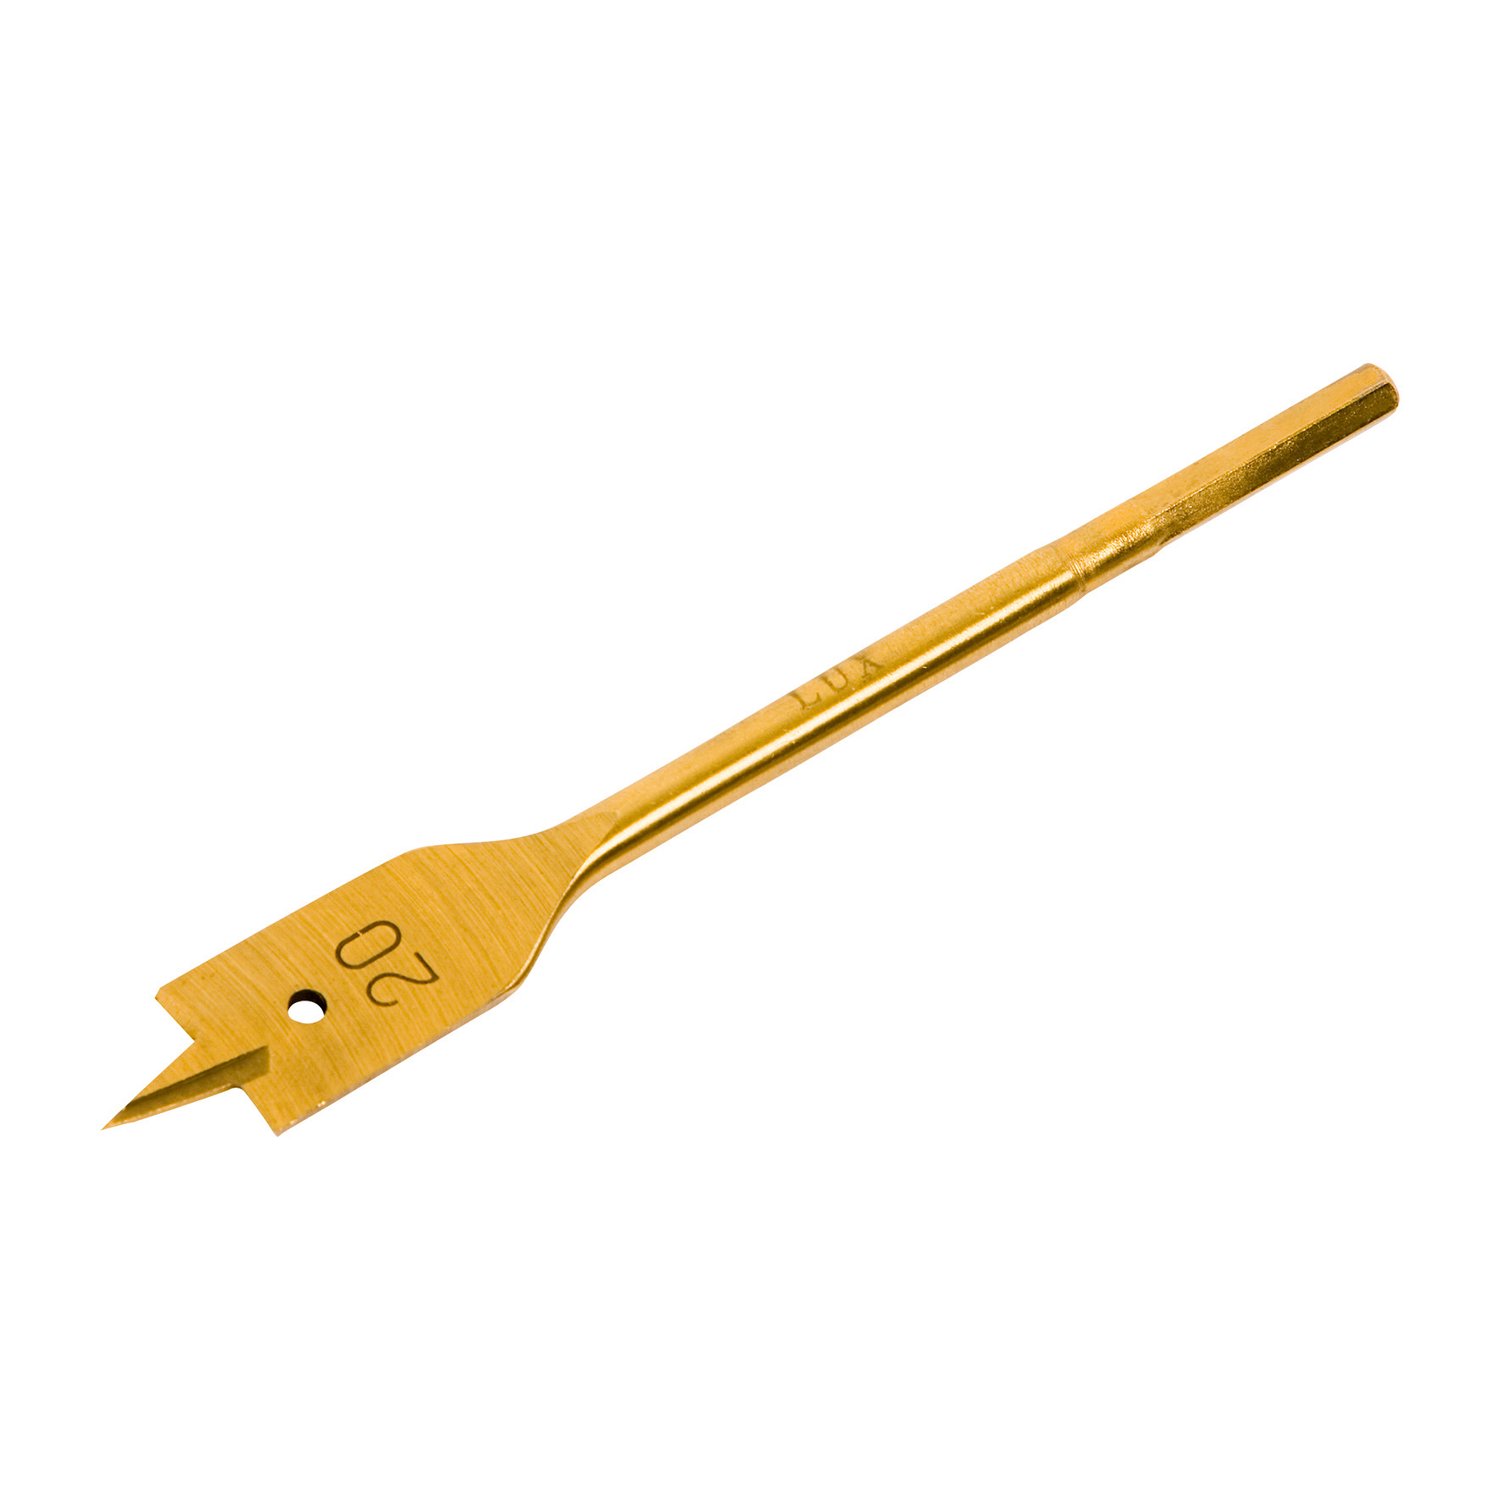
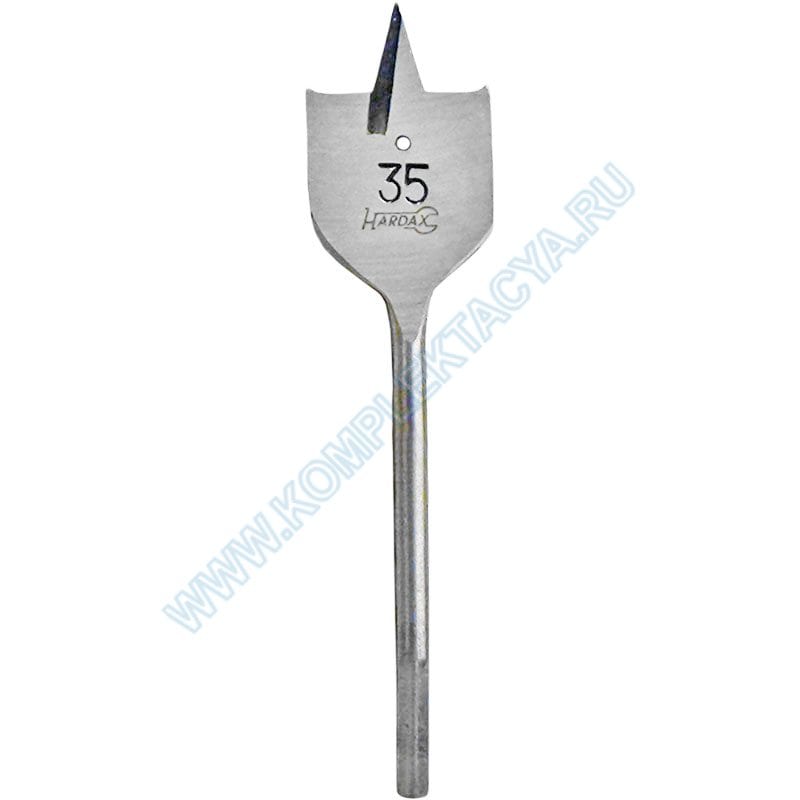
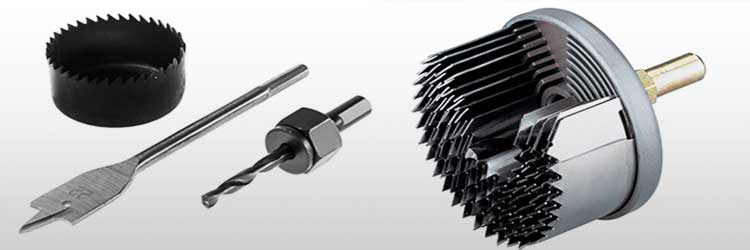
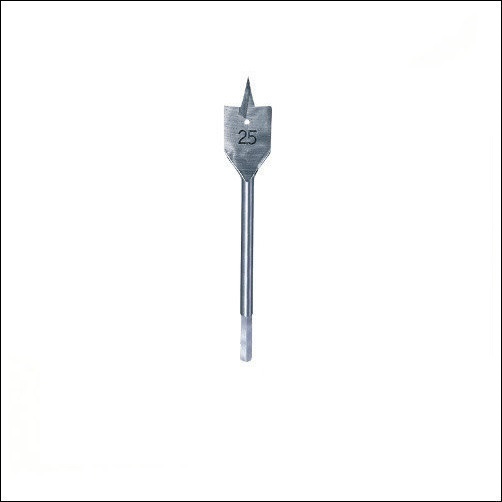
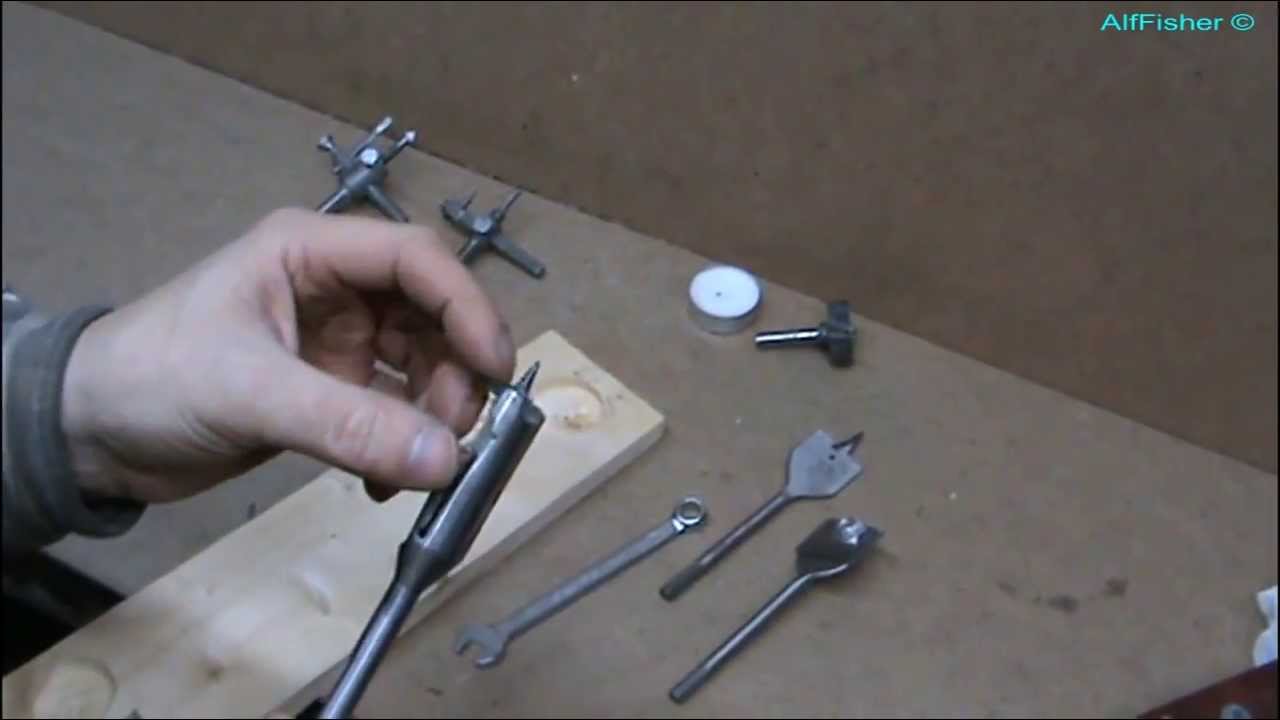
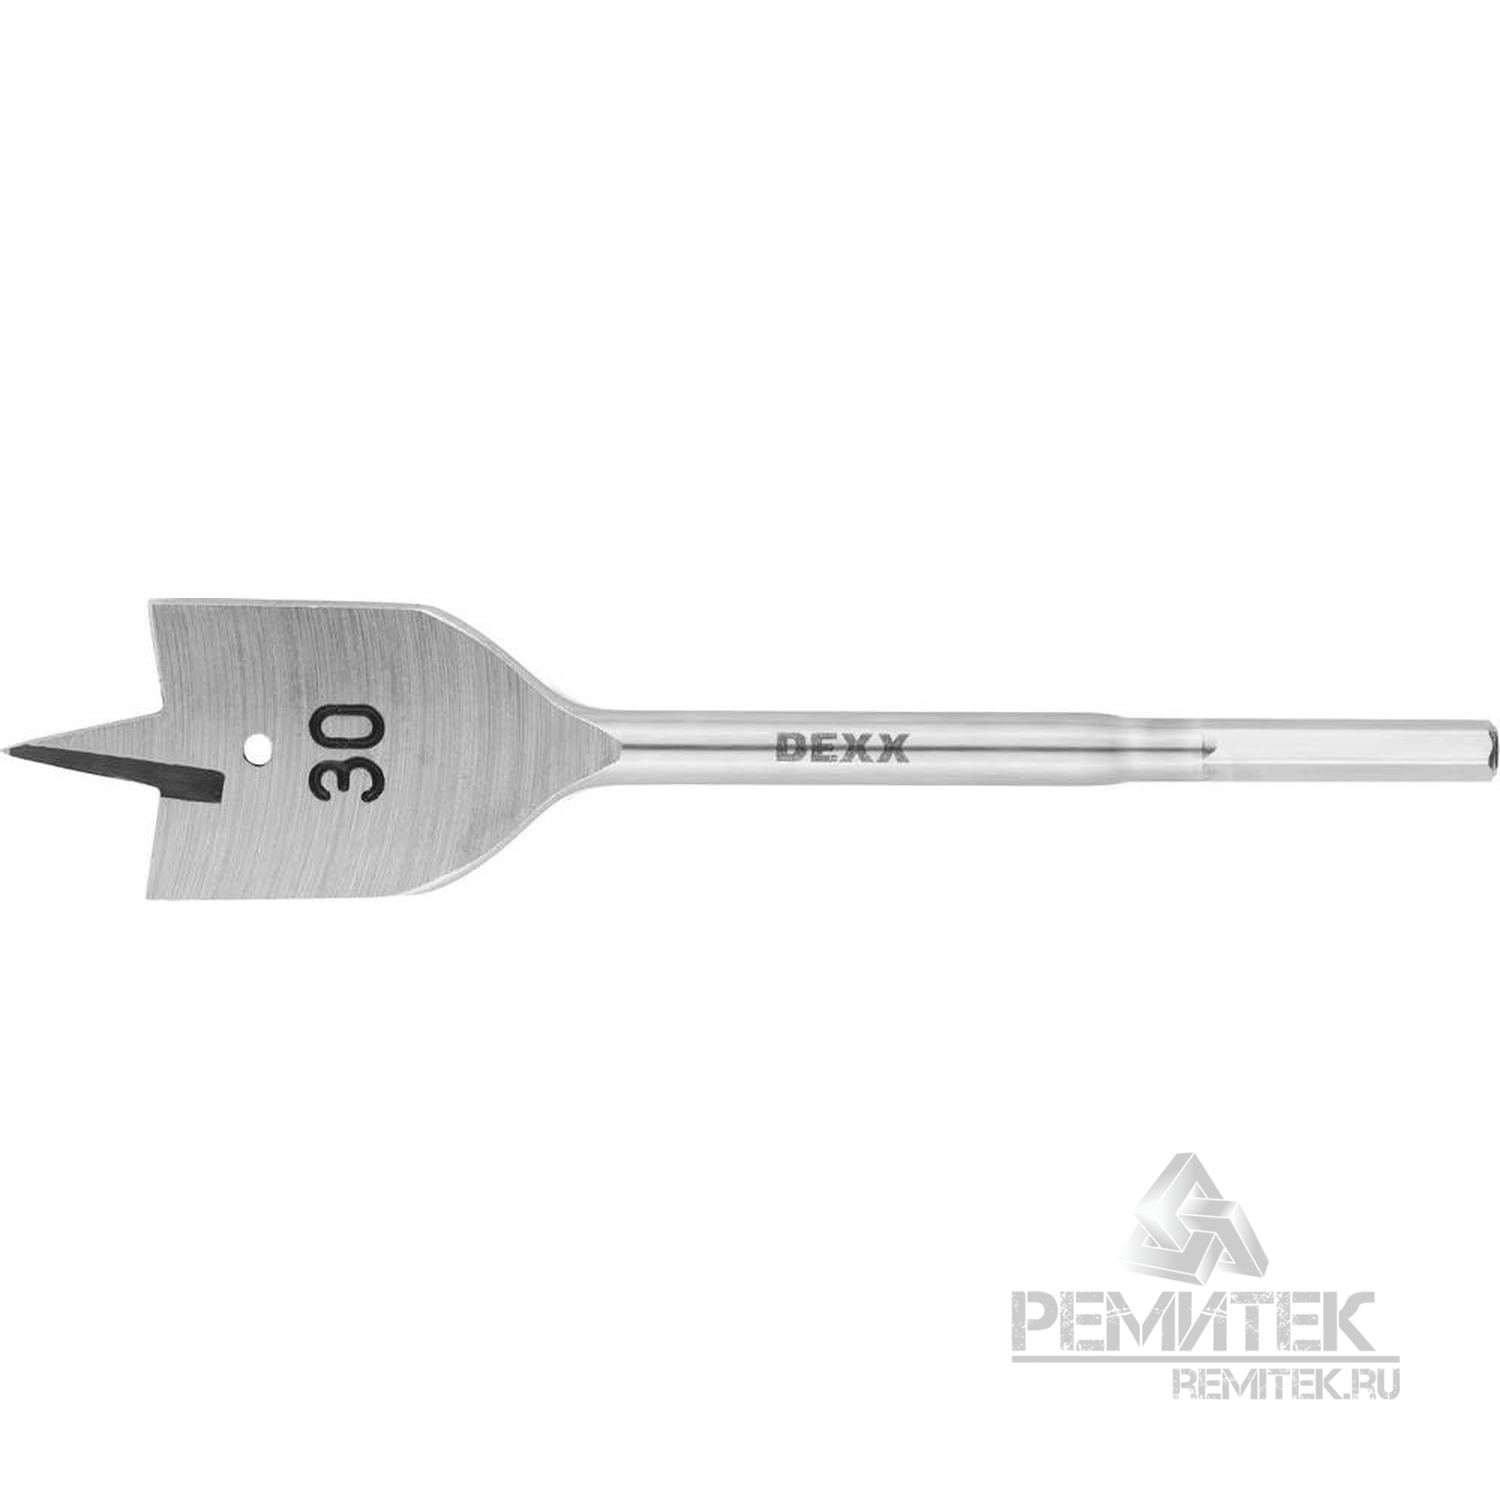
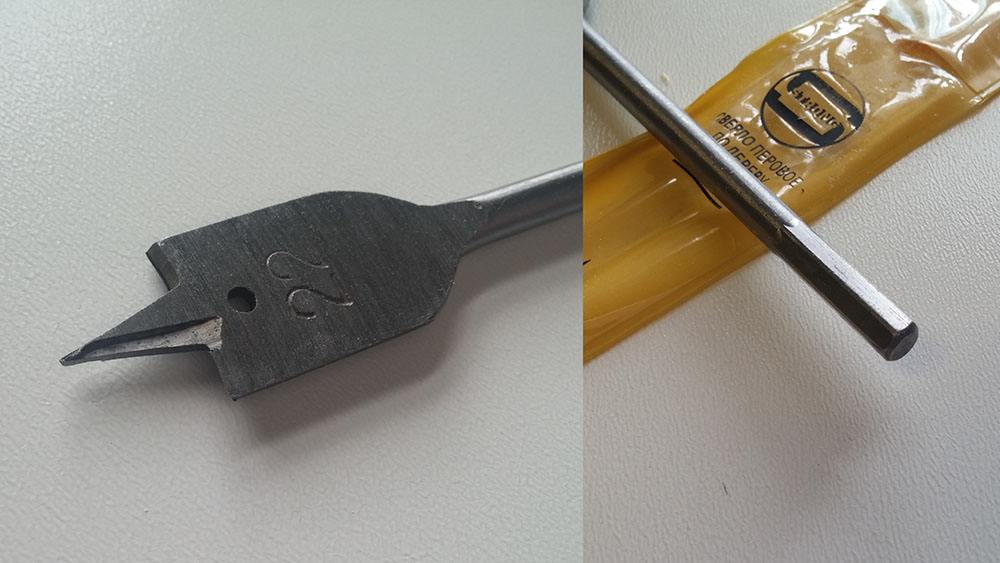
The wood drill bit consists of a working body and a tail section. The drilling process is performed by the working part, which looks like a flat, but sharply sharpened small blade. At the end of the blade, strictly in the center, there is a small cone-shaped protrusion, which is used to mark the center of the future hole in the workpiece material. The widened blades of the pen tool have sharpened edges located on both sides of the tool, relative to the tapered ledge.
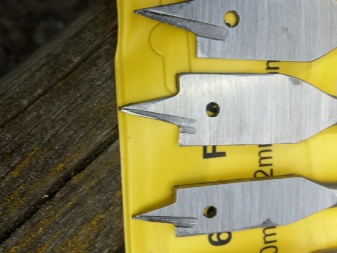

Pen tools for drilling are made with one working side or with two cutting surfaces. A single-sided pen drill cuts a 75-90 ° cut angle on the workpiece material, while a double-sided tool model cuts at a 125-135 ° angle.
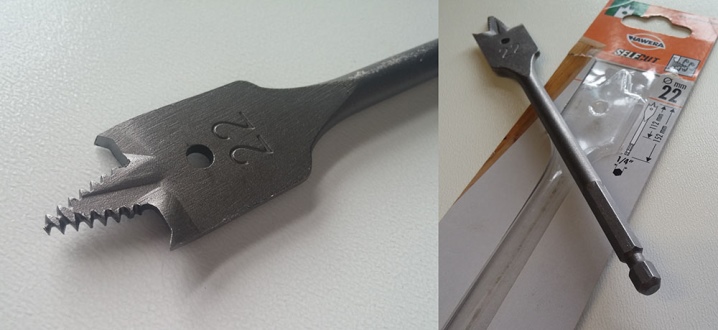
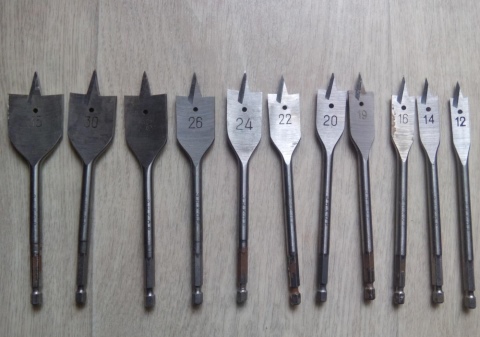
In the production of pen drills, manufacturers adhere to verified proportions laid down between the width of the working blade and its thickness. For example, for a tool with a diameter of 5 to 10 mm, the thickness of the working part will be from 1 to 2 mm. Drills with a diameter of 10 to 20 mm have a working part thickness of 2 to 4 mm. If the pen drill has a diameter greater than 20 mm, the blade thickness will be 6 to 8 mm.
Using an electric machine
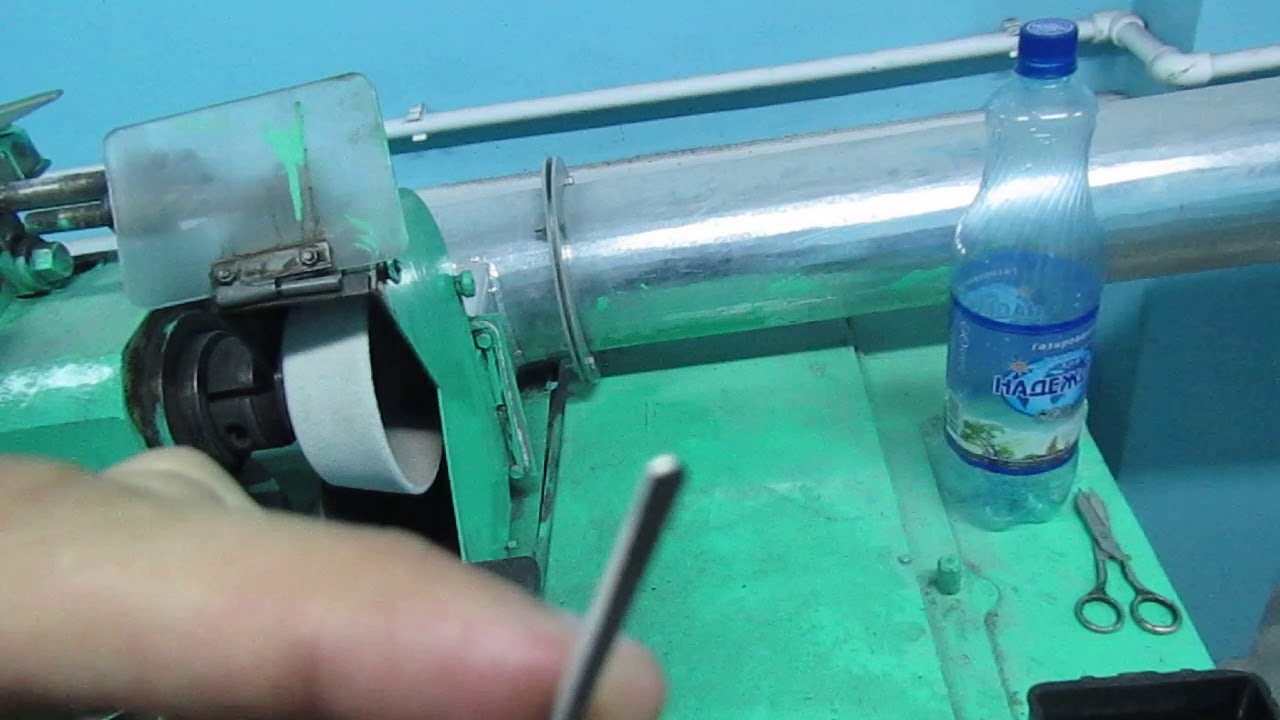
To begin with, it is worth clarifying that this process will be quite difficult for those who have never sharpened before. If you are one of these people, then try to practice and sharpen an already worn out tool that you have not used for a long time. Only after a little training will you get an idea of how things are with the process. It will be possible to get down to business directly.
The work is painstaking - one extra movement can ruin the instrument, which, of course, you do not need
Therefore, it is very important to follow the instructions below, it will help you to do the procedure in the most correct way.
During execution, you need to be guided by several rules that will ensure you a good outcome:
- place a container of cold water next to it - it will come in handy for cooling an overheated drill;
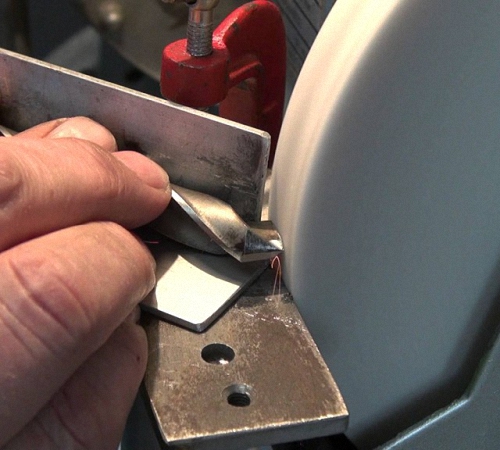
- 45 degrees is the most correct angle. Therefore, try to keep the element in this position;
- the drill is installed on the edge of the machine disk - this is the most correct option;
- if you want sharpening to be done as accurately as possible, then place the element in the washer - this way you will be sure that the work will go well;
- the trailing edges of the drill must be tucked a few millimeters and then monitor their evenness;
- the jumper of the tool should be thin, this will provide you with the greatest convenience in work;
- after the process is almost complete, slow down the machine speed a little and continue sharpening;
- after finishing cool the finished item with water, make sure it works properly. If this is not the case, then continue the process until the instrument is in optimum condition.
Selection Tips
In modern hardware stores there is a huge selection of pen drill models, which differ in the brand of the manufacturer and the cost, depending on the quality of the product.
When choosing this tool, you need to pay attention to the following most important parameters
- Proportionality of the shape - there are two sharpened blades on the working part of the drill relative to the central tapered ledge. Both parts of the product must be symmetrical and sharpened at the same angle.It will not be superfluous to check the compliance of the tool with the drill diameter indicated on the packaging, this is especially true for Chinese-made products.
- Sharpening quality - the working part of the cutting blades of the drill must be well sharpened, free from chipping, chipping and meet technical standards. The drill is sharpened automatically in production and looks perfectly flat.
- Defects - the purchased tool should be carefully examined for hidden flaws, which can be both on the working surface of the product and on its rod body. The drill, made in the factory, has no deformation, scratches, chips, abrasions and traces of rust.
In order not to be mistaken with the choice of a pen tool for drilling and to purchase a really high-quality and reliable product, experts advise paying attention to the color of the metal it consists of. The metal of the most durable drill has a deep dark color, which is acquired by the material during the processing of its surface with hot steam.
If the drill has a steel dark silver shade, this indicates that the tool has not been subjected to additional processing, which means that it is less protected from mechanical stress, and its hardness is lower than that of a dark-colored analog.
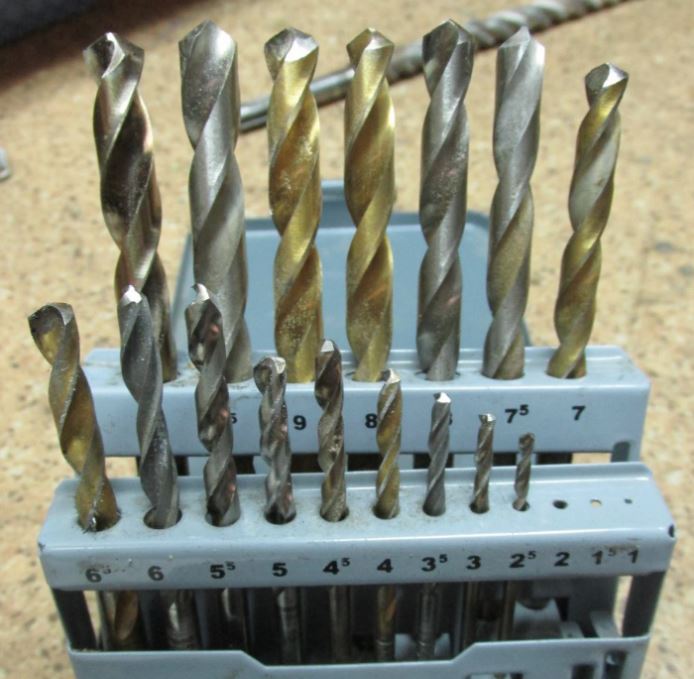
Some pen drills have a distinct gold color and a shiny surface. Seeing such a tool, you should know that the manufacturer has treated its surface with a titanium nitride coating. This coating significantly extends the service life of the drill, maintaining its cutting properties during operation, and titanium also protects the surface of the drill from mechanical damage. With a titanium pen drill, you can work with particularly durable materials by making holes of a given diameter in them, while the drill does not have to be regularly adjusted or sharpened - this will need to be done much less often than on conventional pen drills made of uncoated steel alloys.
Advantages of using the machine
Another feature that the machine gives is movement with the help of a motor.
Therefore, as a column, it is realistic to use any bearing assembly with a shaft.
At the end of the shaft, we will have a mount for the drill. It is best to use bolts for a secure fit.

After the tool is fixed, we turn on the sharpener, and the column itself is brought to the circle so that the back of the drill for metal is turned for sharpening.
This is convenient, because even before turning it on, we can adjust the correct angle to sharpen the drill.
The main disadvantage of an ordinary device is that you cannot take it outside the garage, and a lot of space is needed inside the room.
Therefore, there is an option to use a nozzle machine.
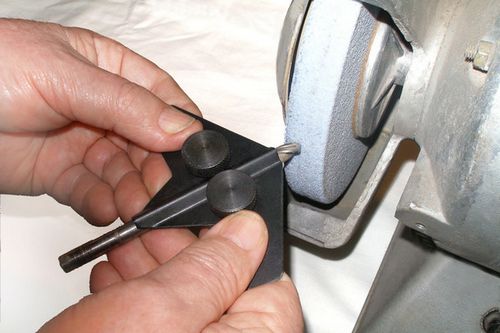
In such a device, on the one hand, there is a connecting unit, thanks to which the nozzle is installed on the drill spindle, and on the other, you can find a hole for drills for metals.
It is easy to sharpen the tool in this way even with your own hands - just insert it all the way and turn on the mechanism.
And the slightest shifts during work can result in injuries. A grinder cannot achieve high quality, it is only suitable for metal drills with a small diameter.
And after the sharpening process, you can not do the debugging.
Finishing is an important part of the process when it is necessary to sharpen a tool.

At the factory, it allows you to remove all irregularities at the end of the procedure, to give the cutting part smoothness.
If the drill is solid and uniform, it will last much longer and better.
If desired, finishing can be done at home. To do this, simply change the circle to one made of silicon carbide.
A diamond stone is used here as a grinding wheel. With this process, the emery wheel simply will not give the desired results.
Before sharpening the tool, it is worth measuring the soldering, because if it is less than 10 millimeters, it no longer makes sense to sharpen. Only a complete replacement is needed.
Remember that the harder the material of the tool, the lower the rotational speed of the wheel should be.
Video:
And for a victorious drill for metal, the speed is generally at a minimum, so as not to damage the cutting part.
Sharpening is carried out with short and smooth touches, excluding sharp movements.
When it comes to soldering, they are sharpened in the same way as conventional drills - from the back.
Operating rules
To obtain the greatest efficiency when performing work with a perforated drill, as well as to extend the period of their operation, the following rules must be observed.
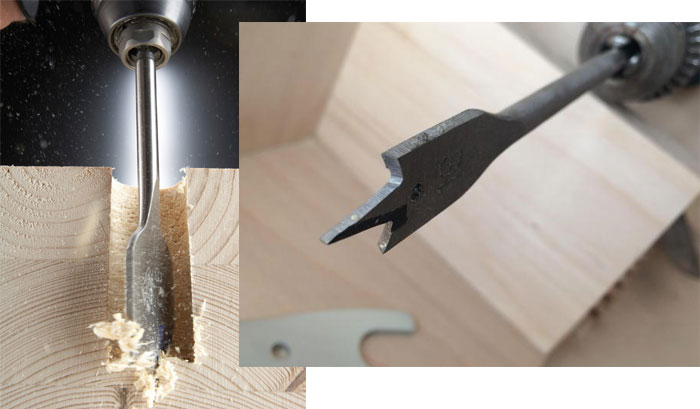
- Work on drilling holes in wooden surfaces should be carried out at low drill speeds, with an indicator of no more than 300-450 rpm. The rule should be observed - the thicker the drill diameter, the lower its rotation speed should be. This approach allows for better results and keeps the drill from deforming.
- To perform work with a pen drill, an electric drill is most suitable, which has the ability to adjust its power, while a screwdriver cannot always give the desired force and rotation speed for the drill.
- If the standard length of the drill is clearly not enough to make a hole in hard-to-reach places, it is required to use a specially designed adapter for this, which is fixed in the chuck of the electric drill.
- Before starting the drilling work, the section of the working surface of the workpiece is carefully measured and the place of work of the drill is outlined, that is, the point where its cone-shaped protrusion will be installed - this will be the center of the circle to be performed when the tool is operating. Further, the drill must be installed relative to the working plane, only maintaining an angle of 90 °.
- It is recommended to start the drilling process at low speeds of the electric drill, gradually adding them as the drill goes deeper into the workpiece material. Adding RPM to the drill will help the drill go through the material more easily and protect the drill motor from overheating. When you notice that the core drill has reached the required depth within the workpiece material, the drilling process must be stopped.

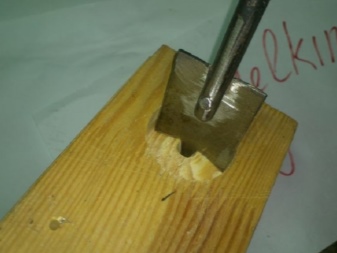
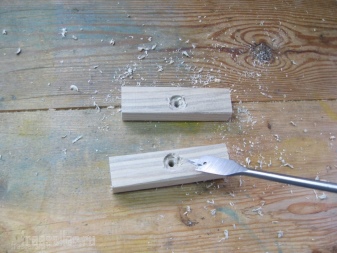
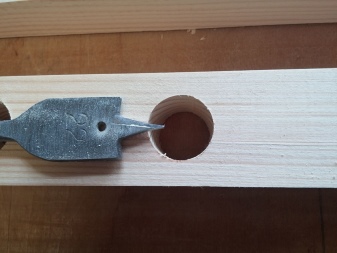
After the hole in the workpiece is made, inside its niche, if it is not through, a lot of waste material will be collected in the form of shavings.
To do this, the drilling is stopped, the shavings are removed from the hole, and then the drill is again immersed in the formed recess and continues to drill to the required depth.
The main parameters of the part
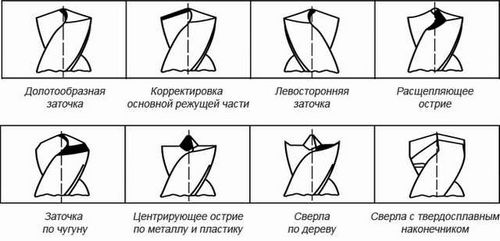
So that you can sharpen the tip correctly, first of all, let's look at its main elements, which include:
- a cutting part (cutting edge) formed by the convergence of the groove surface and the flank surface;
- the front surface, which is located under the cutting edge;
- the back surface, which is located behind the edge:
- jumper located between the two back surfaces.
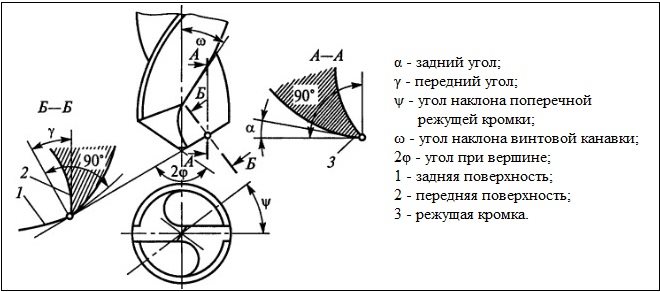
During the operation of the nozzle, the cutting edge, bridge and back surfaces suffer the most. Therefore, the restoration of the tool occurs by sharpening the rear surfaces, to which we adjoin the cutting edge and the bridge. However, not everything is so simple: in order for the edge to become sharp again and a clear jumper to form, the sharpening angles must correspond to the values from the table:
Compliance with these values will allow the cutting edge to always be the first to contact the surface of the workpiece, which will ensure maximum tool efficiency. The length of the cutting edge depends on the nose angle. Compliance with it will allow the chips to fit well into the groove and come out.If the angle is made sharper, the width of the cut strip will increase, as a result of which the chips will clog the groove and stop being removed from the hole with all the ensuing consequences. A too obtuse angle will reduce the efficiency of the drill.
Initial stage of work
First of all, let's decide what will be needed in the do-it-yourself sharpening process.
When sharpening drills for metal, and even with your own hands, you always have to look for an alternative to factory tools, because there are special grinding machines in production.
At home, the minimum set in order to sharpen a drill for metal will be more difficult to find.
First you need to buy special grinding wheels.
Usually you need one circle, but with frequent use it will wear off quickly, so it is better to take several at once, for a reserve. The circle itself is installed with your own hands on a rotating shaft.
While the drill is sharpening, it will heat up at the same time. If it is not cooled, then during operation it will fail faster due to the temperature difference.
It is equally important to maintain the angle, here control by eye is unacceptable. It is because of this problem that people buy a special device so as not to constantly carry out tedious calculations.
It is necessary to know the angle of approach of the drill for metal. The key angle is the rake angle and can be defined in the main cut plane as the angle between the rake and the base of the cutting end.
The flank angle has the same parameters, only along the flank plane. The corner at the top can be seen if you look at the metal drill from the side: it is between the two edges.
Do not forget about precautions when working with your own hands. Since we have to work with sharp parts, it is better to protect our hands with gloves.
Be sure to wear glasses when sharpening.
In the process, small particles will fly off from the circle, which are also very overheated.
Watch the position of the tool, because if the feed angle is incorrect, it can be pulled out of your hands.
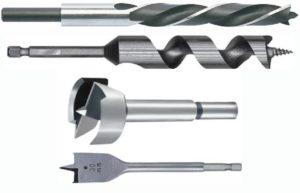
When do you need a special tool for drilling wood
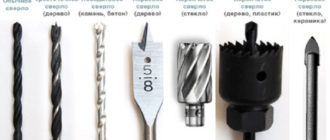
The question of how and what is the best way to drill a hole in a product made of chipboard, MDF, plywood or solid natural wood is relevant not only for carpentry specialists and those who are professionally engaged in the manufacture of furniture, but also for home craftsmen who prefer many household chores do it yourself. The choice of drills for wood in such cases is done depending on what type of holes you need to drill:
- deaf, not having an exit from the opposite side of the product (designed for mounting hinges on interior doors or on doors that are equipped with furniture structures);
- through (elements of threaded connections (bolts and pins) are placed in them, without such holes it is impossible to install door handles and locks).
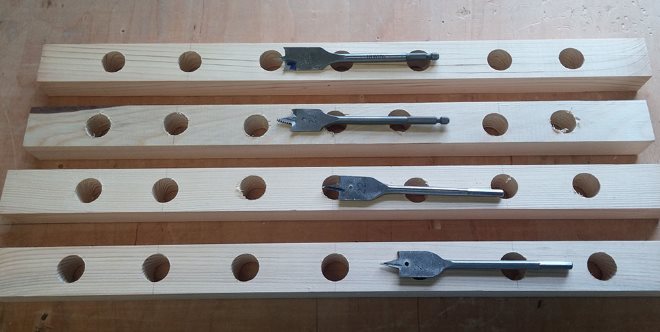
The main purpose of the feather drills is to quickly make shallow through holes. Be aware of the protruding drill tip when drilling blind holes
For woodworking, you can purchase an expensive tool (such as a disc cutter). However, not in all cases its use is justified. For most situations where you need to drill through wood, an easier-to-use and significantly more inexpensive tool will do. These are, for example, pen drills, which, despite their affordable cost, are highly efficient in use. You can use a wood drill bit in a set with both an electric drill and a conventional screwdriver.
How to choose?
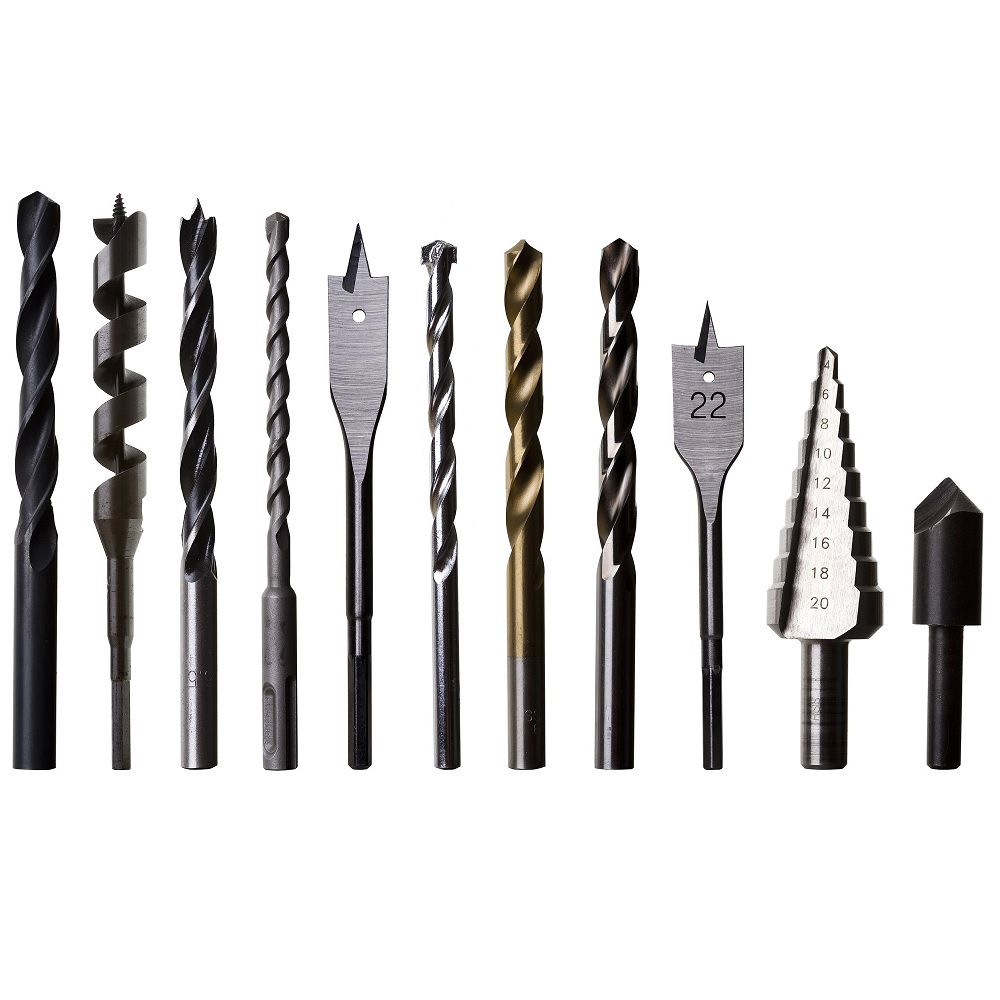
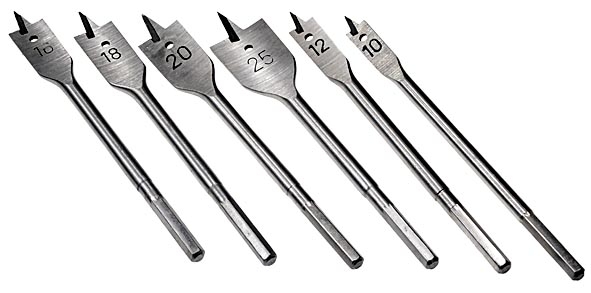
First you need to decide what material you will work with. Based on this, it is necessary to choose a feather nozzle. Each of them is marked with a corresponding marking - it can be 3, 6, 9 and even 10. This number indicates with what diameter (in millimeters) the drilling will be carried out
And it is also important which shank the nozzle has - it depends on whether it is suitable for any tool (be it a drill or screwdriver) or not.
Three-sided shanks will fit any chuck. If the shank has an SDS modification, it will be possible to “mount” it only with a hammer drill, for which it is, in fact, designed
It is also very important to pay attention to the color that the drill has. If it is gray, it means that the steel from which it is made is not hardened, that is, the product is rather fragile and will not be suitable for strong materials such as tiles or tiles.
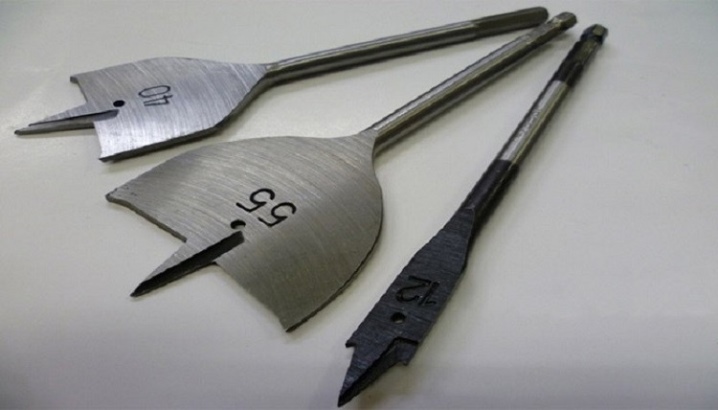
The black color of the nozzle indicates that it has undergone an oxidation procedure, that is, a hot steam treatment. Thanks to this treatment, the product is protected from corrosion and overheating, it becomes more durable. Light gilding on the drill indicates that it has passed the tempering procedure. And bright gilding - that the tip is coated with titanium nitride or titanium carbonitride, which makes it suitable for working with the most durable materials.
It must be remembered that drills on which spraying or abrasive is applied will last much longer than products without spraying, but it will not be possible to sharpen them. The most durable will be a diamond-coated drill - it can be used to make holes even in concrete.

How does a Lewis drill work?
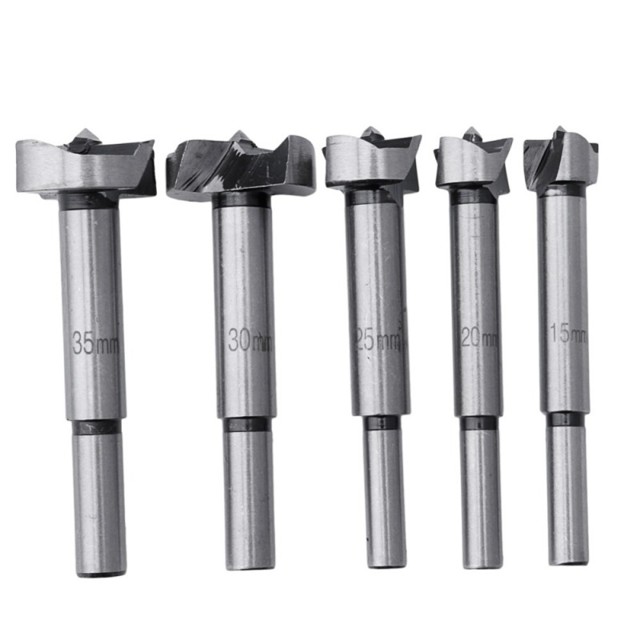
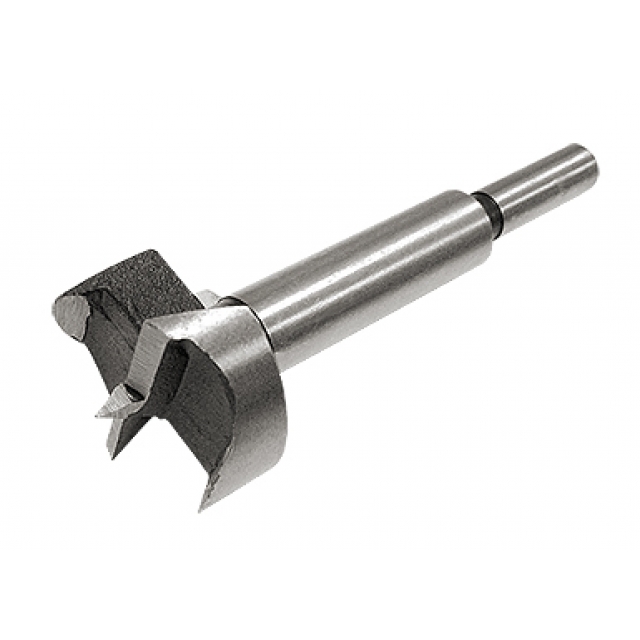
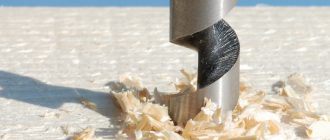
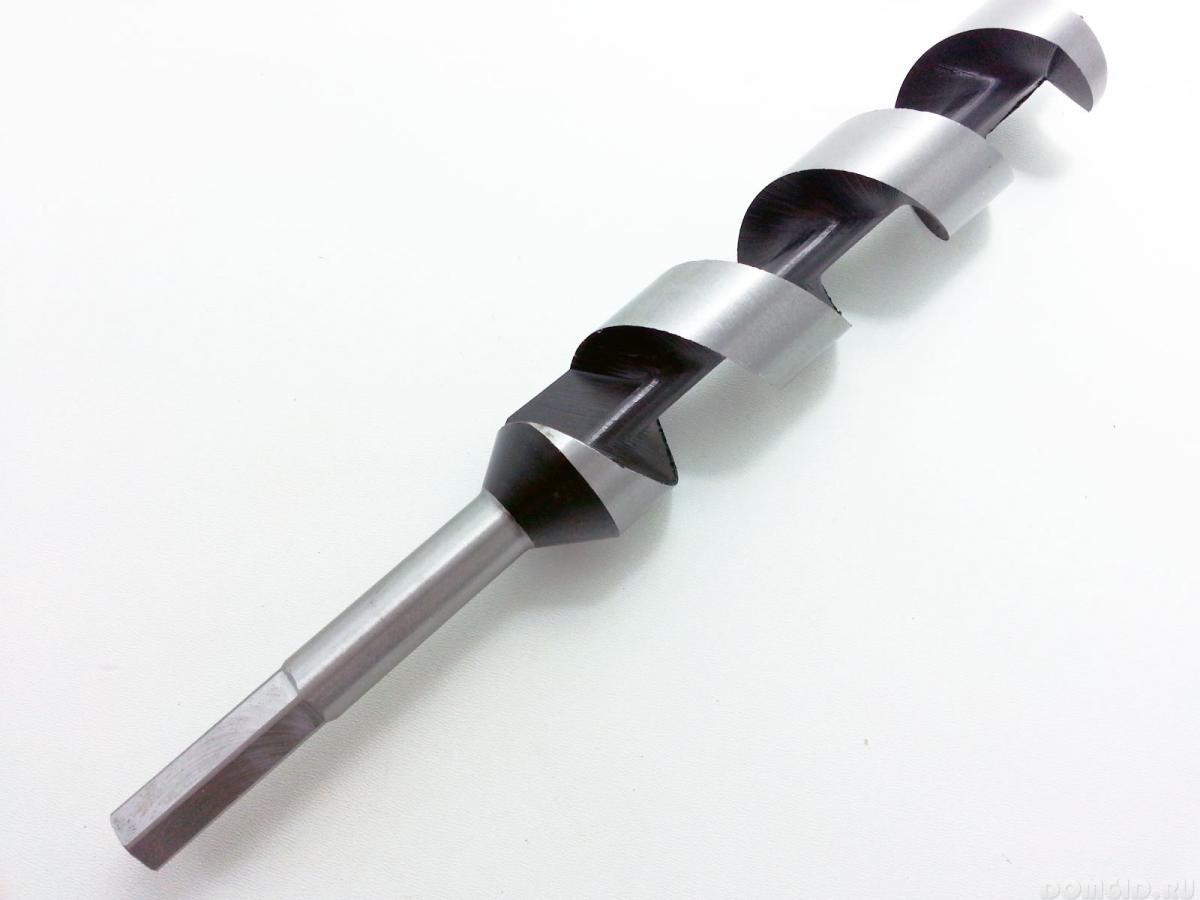
At the initial moment of drilling, a tapered point is pressed into the material, which, when rotated, is embedded in depth. Then the main, spiral part of the drill rests on it. Unlike other designs of wood drills, the tool in question initially has only one working edge, and then drilling occurs with a spiral cutting part. As the total length of the cutting edge increases, this helps to reduce the total axial force on the drill, but increases the risk of jamming and "drift" of the drill from the center.
Read also: Areas of business with the use of cnc milling machines
The first problem is solved as follows. First, it is preferable to install the Lewis drill on low-speed, more powerful drills. Secondly, such spiral-like drills are impractical to use for making holes in hard woods, since the resulting shavings contribute to the jamming of the waste in a rather long groove. Usually the number of revolutions is chosen inversely proportional to the diameter of the resulting hole.
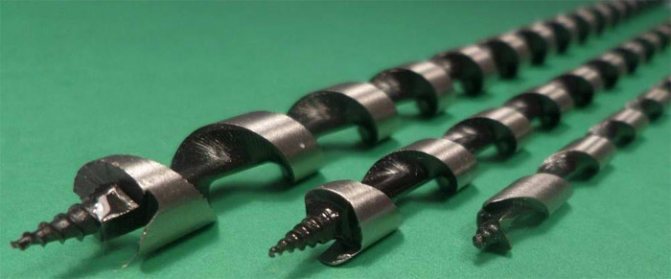
To solve the second problem, the twist drill can be used as a reamer, and the preliminary cut, with the exception of very deep holes, can be performed with a conventional drill. It is known from operating experience that direct hole making using a Lewis drill is advisable for diameters not exceeding 15 ... 30 mm. In other cases, feather drills are used, and the spiral is used only on the last pass, when it is required to increase the smoothness of the side walls.
The moisture content of the wood when using such a drill does not matter, as well as the direction of the wood grain.
Selection Tips
A tool of any shape has its own criteria and must comply with them. You can determine the quality of the purchased tool by its appearance, color, as well as by the material from which it is made.
- Material. It is impossible to visually determine the quality of the material. Therefore, before buying, you need to make sure that the product has a quality certificate. Chinese counterfeits are often sold undocumented.
- Appearance. A quality product has a flat, smooth surface. Various cracks, scratches and damages are defective. The cutting area must be neatly sharpened. Long drills should be straight. It is very easy to check them for quality; it is enough to roll them on a flat surface. All irregularities will be immediately visible.
- Colour. In order for the tool to have additional strength, it is manufactured using a special technology.You can find out which processing method was used by the color of the product. The steel color indicates that no additional processing has been carried out. Spraying with a yellow-gold color relieves metallic stress. A product treated with titanium nitride (bright gold color tool) will have a long service life. The black drill has increased durability. Steam was used in its processing.
- Package. Products from well-known manufacturers have good, high-quality packaging. All fakes are badly packed, and the text is sometimes misspelled.
- Price. The higher the price, the better the product is. All budget tools have a short lifespan.
Taking care of their reputation, well-known stores will not sell fakes.
And no matter what tool you buy, in order for it to be of high quality and last a long time, you should contact reliable and trusted suppliers.
We sharpen the drill at home - sharpening angle and other nuances
The sharpening process is quite painstaking and includes several stages.
The very first stage is visual inspection for chips and microcracks. If available with HSS core drills, the decision is made to shorten the drill or write it off. It is not possible to restore TCT drills.
The second step is to determine the shape of the tooth, the presence of edges, features of sharpening, the number of teeth.
At the third stage, the drill is fixed in special equipment, the desired angle is set according to the manufacturer's table, or the universal table supplied with the sharpening machines.
Most often, the number of teeth is set using a dividing disc.
After successive grinding at the set angles of all teeth, the angle changes, and grinding continues.
With intensive use and frequent sharpening, as well as when shortening the drill, it is necessary to sharpen the front surface of the tooth (in depth). This operation is also performed on a universal sharpening machine with disc replacement.
As a rule, the resource of a core drill is reduced by 25% with proper sharpening, but compared to buying a new drill, the benefits are obvious.

